Last Chance to enter! 3 winners will be announced tomorrow!
Great new products to start off the DIY lovers’ new year! Elmer’s is generously giving away a product package to 3 DIY Show Off readers! Woo hoo!!!
Elmer’s has a new line of hardware glues perfect for DIY projects and quick fixes—inside and outside of the home
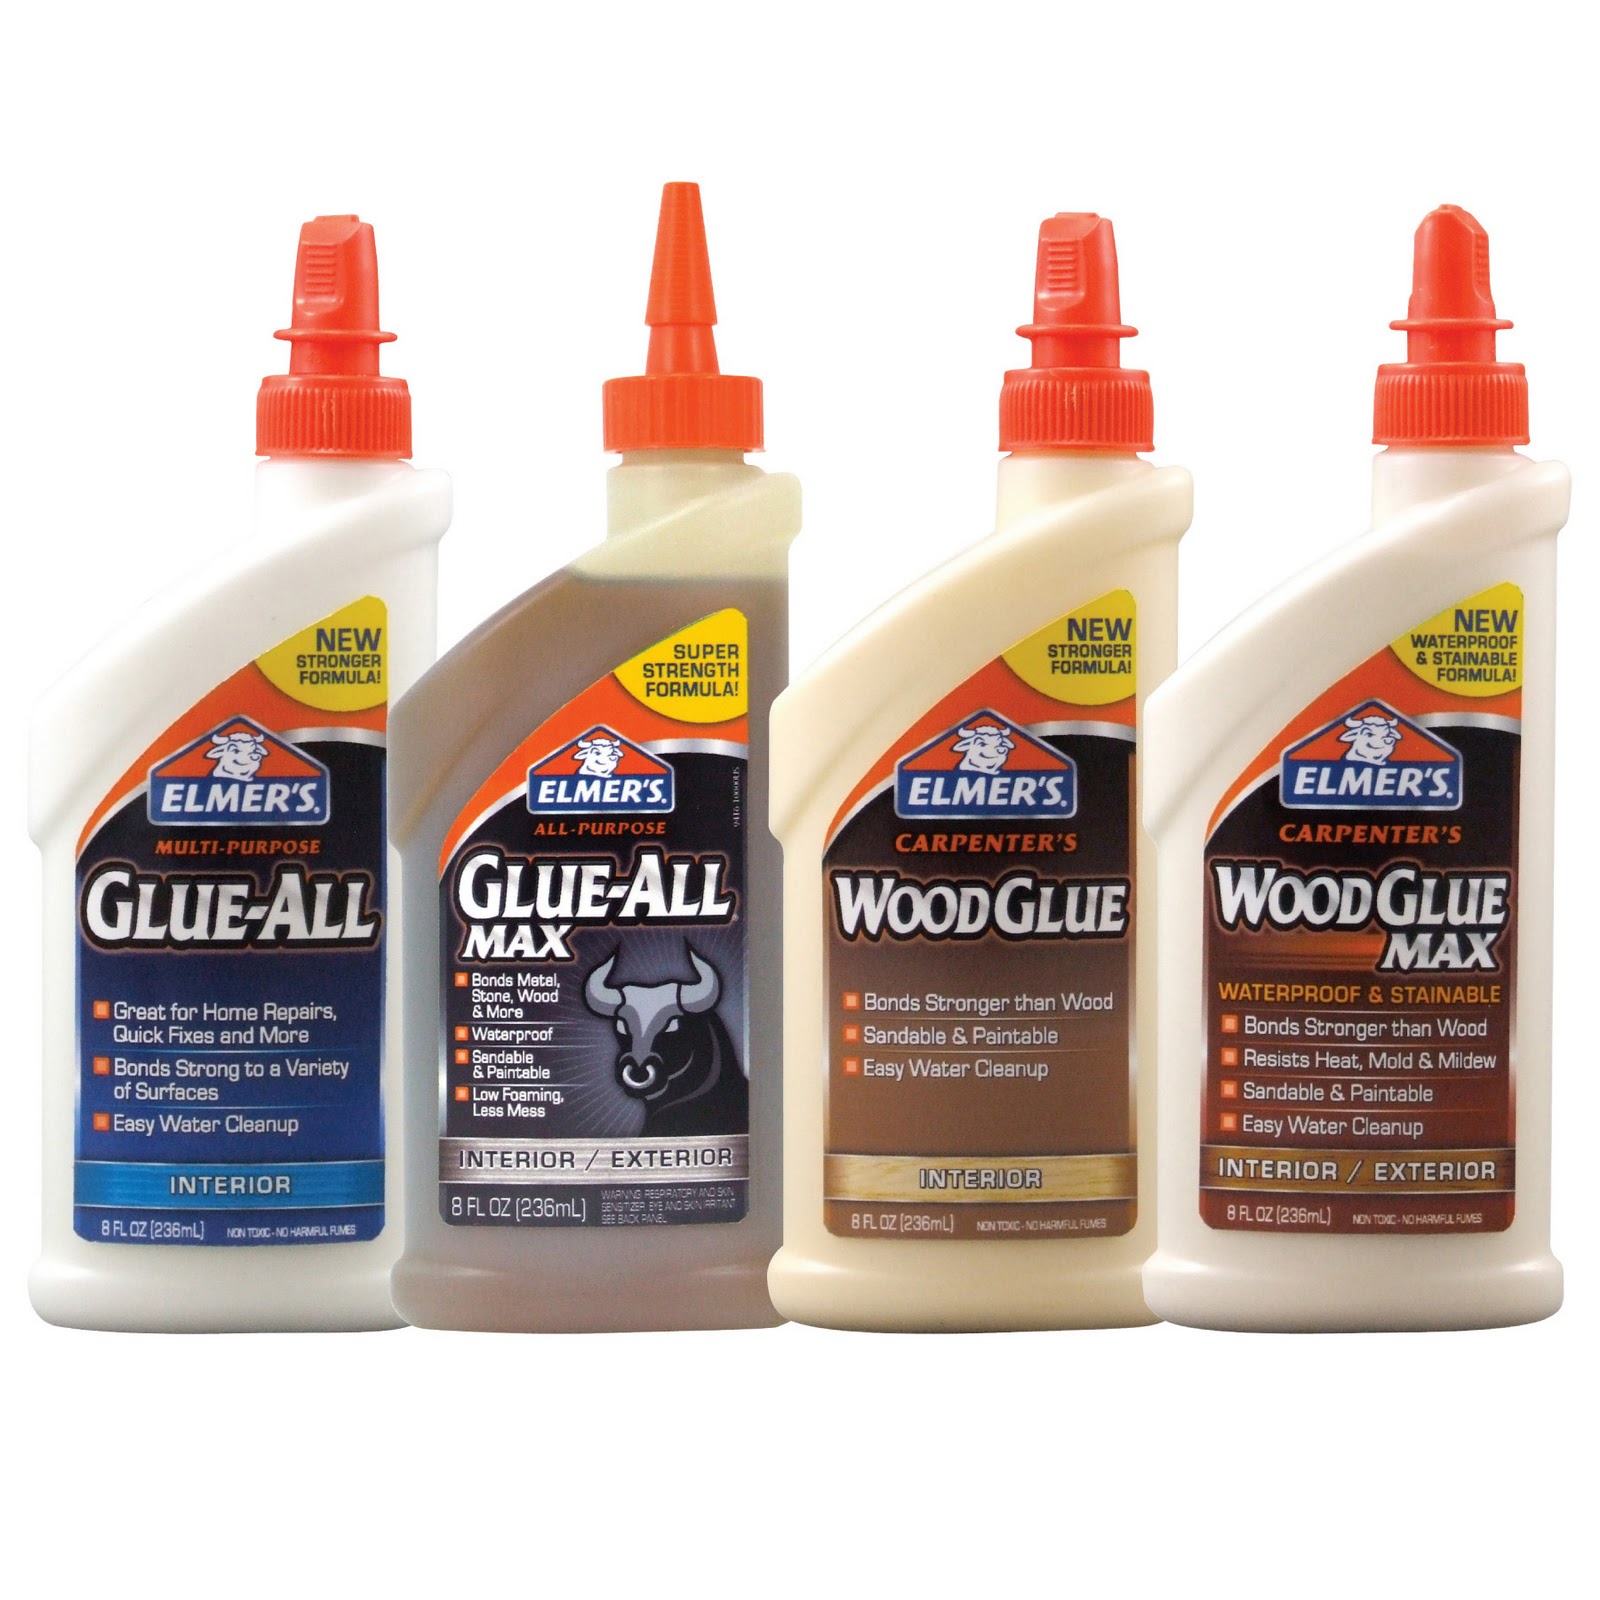
The new line, which has been streamlined to four products, gives users a very clear choice based on the type of project they’re tackling:
·Elmer’s Carpenter’s Wood Glue – It’s great for interior projects, non-toxic, easy to clean up with water, sandable and paintable. It also creates a stronger bond than the wood, meaning the wood will break before the bond does.
·Elmer’s Carpenter’s Wood Glue MAX – Elmer’s newest all-in-one wood formula tackles indoor and outdoor projects. It’s waterproof, sandable, stainable, paintable, non-toxic, easy to clean up with water and bonds stronger than the wood. It also resists heat, mold and mildew.
·Elmer’s Glue-All – This strong multi-purpose adhesive is great for interior projects, works best with wood, pottery, paper and cloth, dries clear and is non-toxic.
·Elmer’s Glue-All MAX – This is an extremely strong polyurethane, multi-purpose adhesive, perfect for indoor and outdoor use. It’s also sandable, paintable and waterproof and works on a variety of surfaces including stone, metal and wood.
This will be the last DIY Holiday Highlights party this season. Are you sad? Or glad the holidays are nearly over?
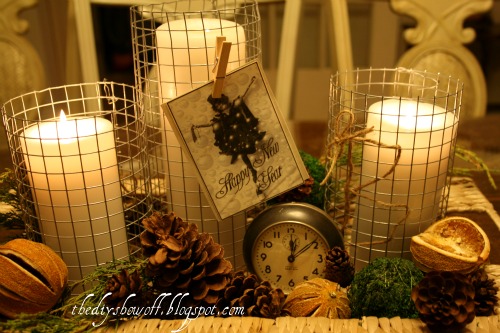
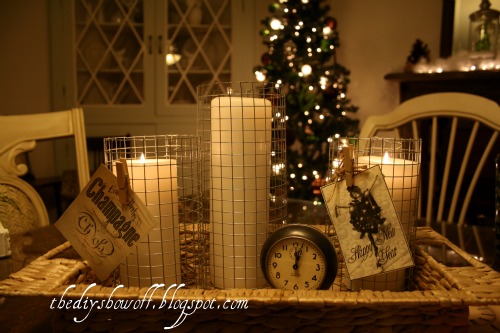
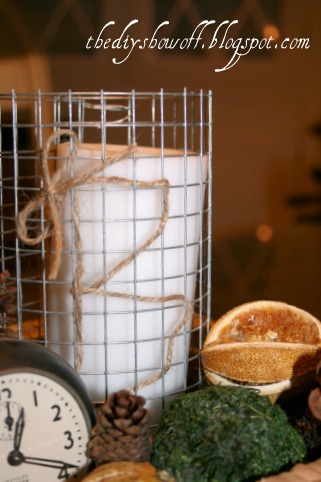
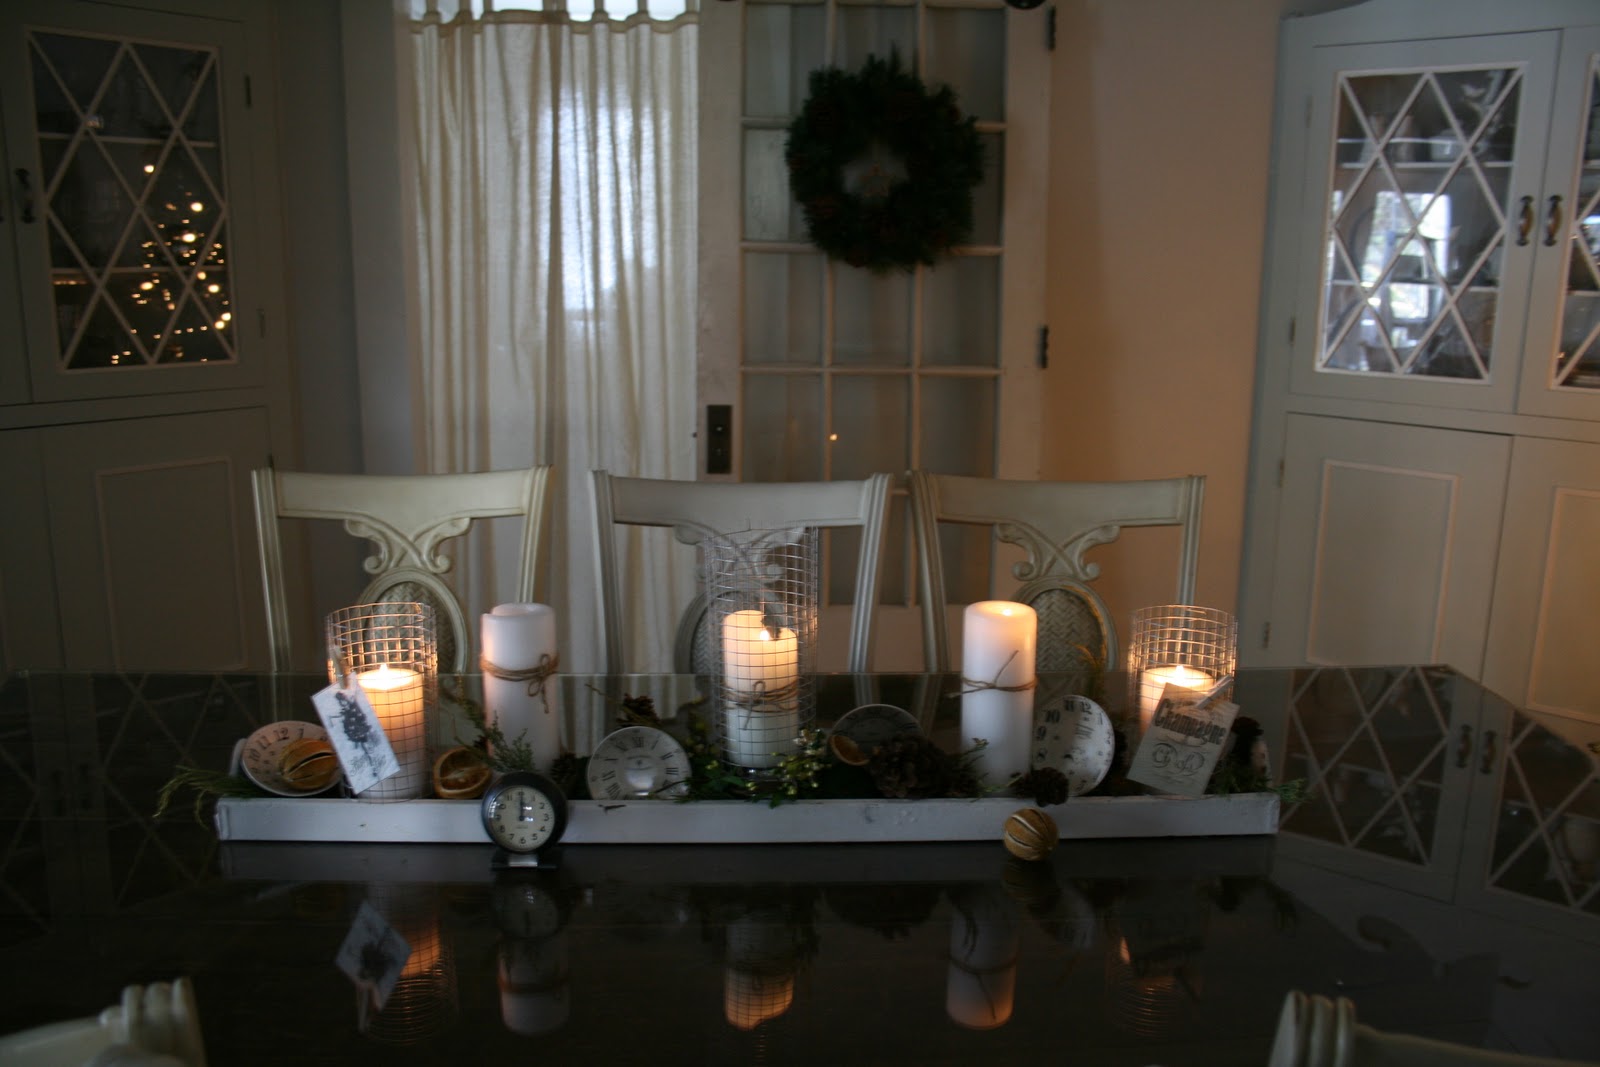
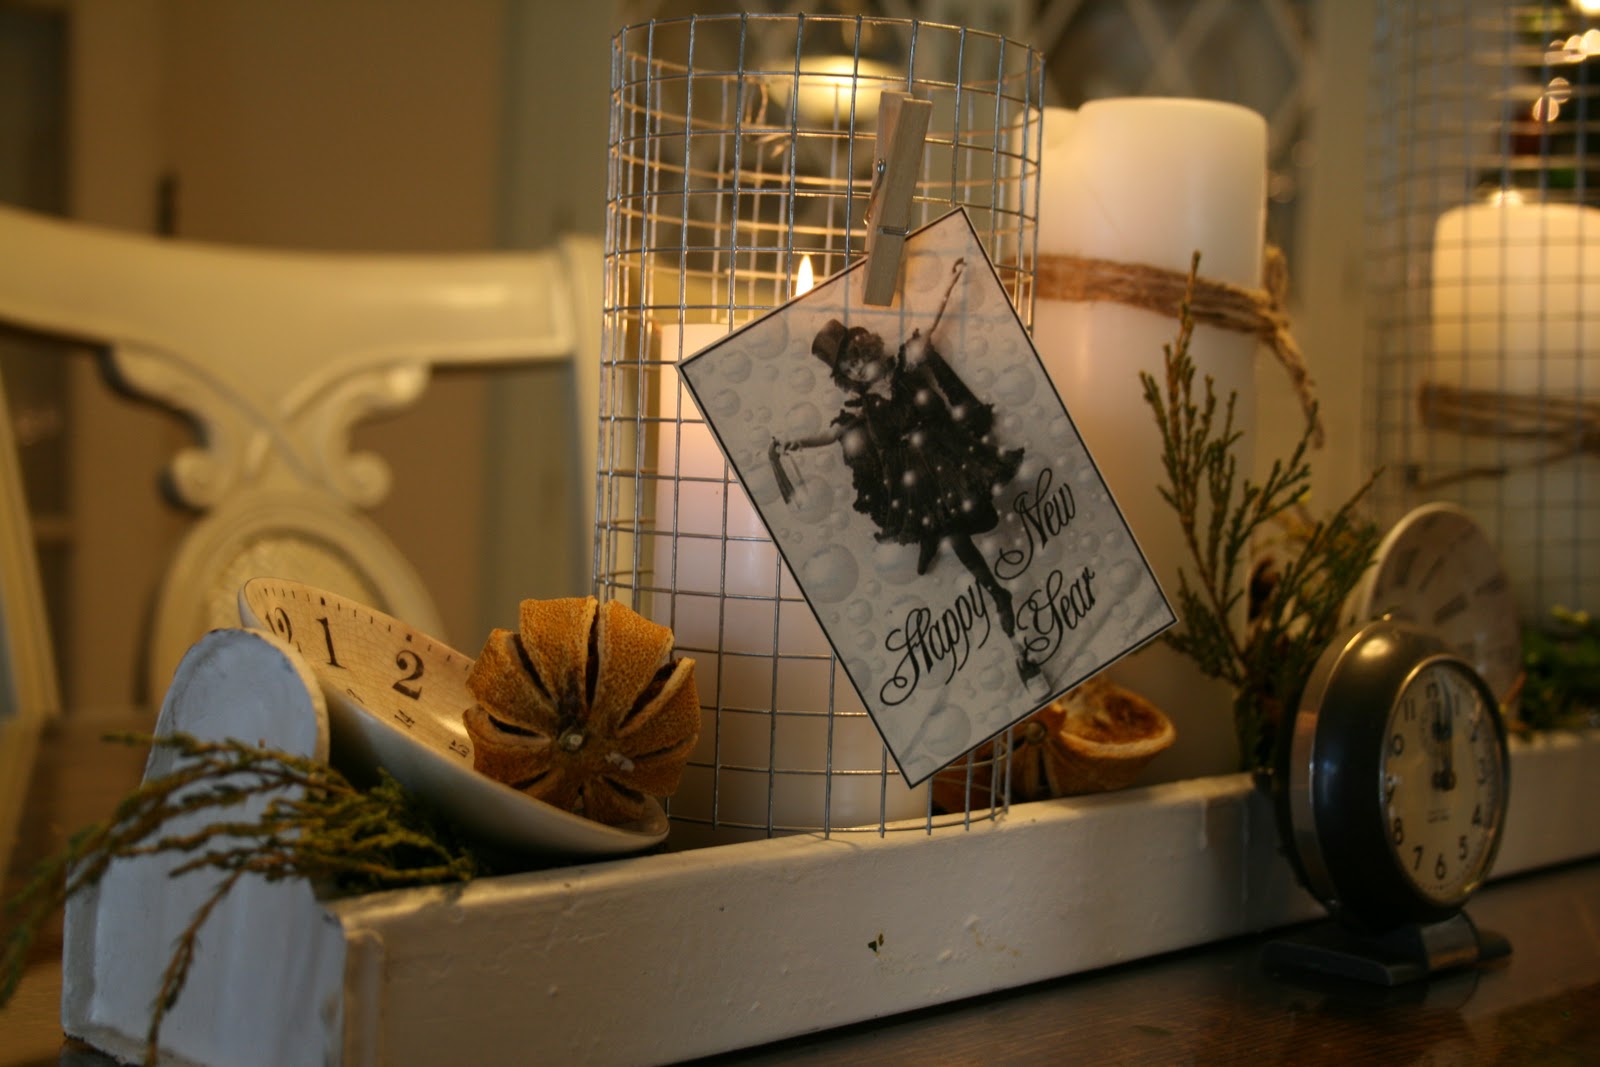
New Year’s Centerpiece
I was at our local True Value and came across “hardware cloth”. Intrigued, I brought it home. Then got creative, using it to dress up my candles!
Here is what I did.
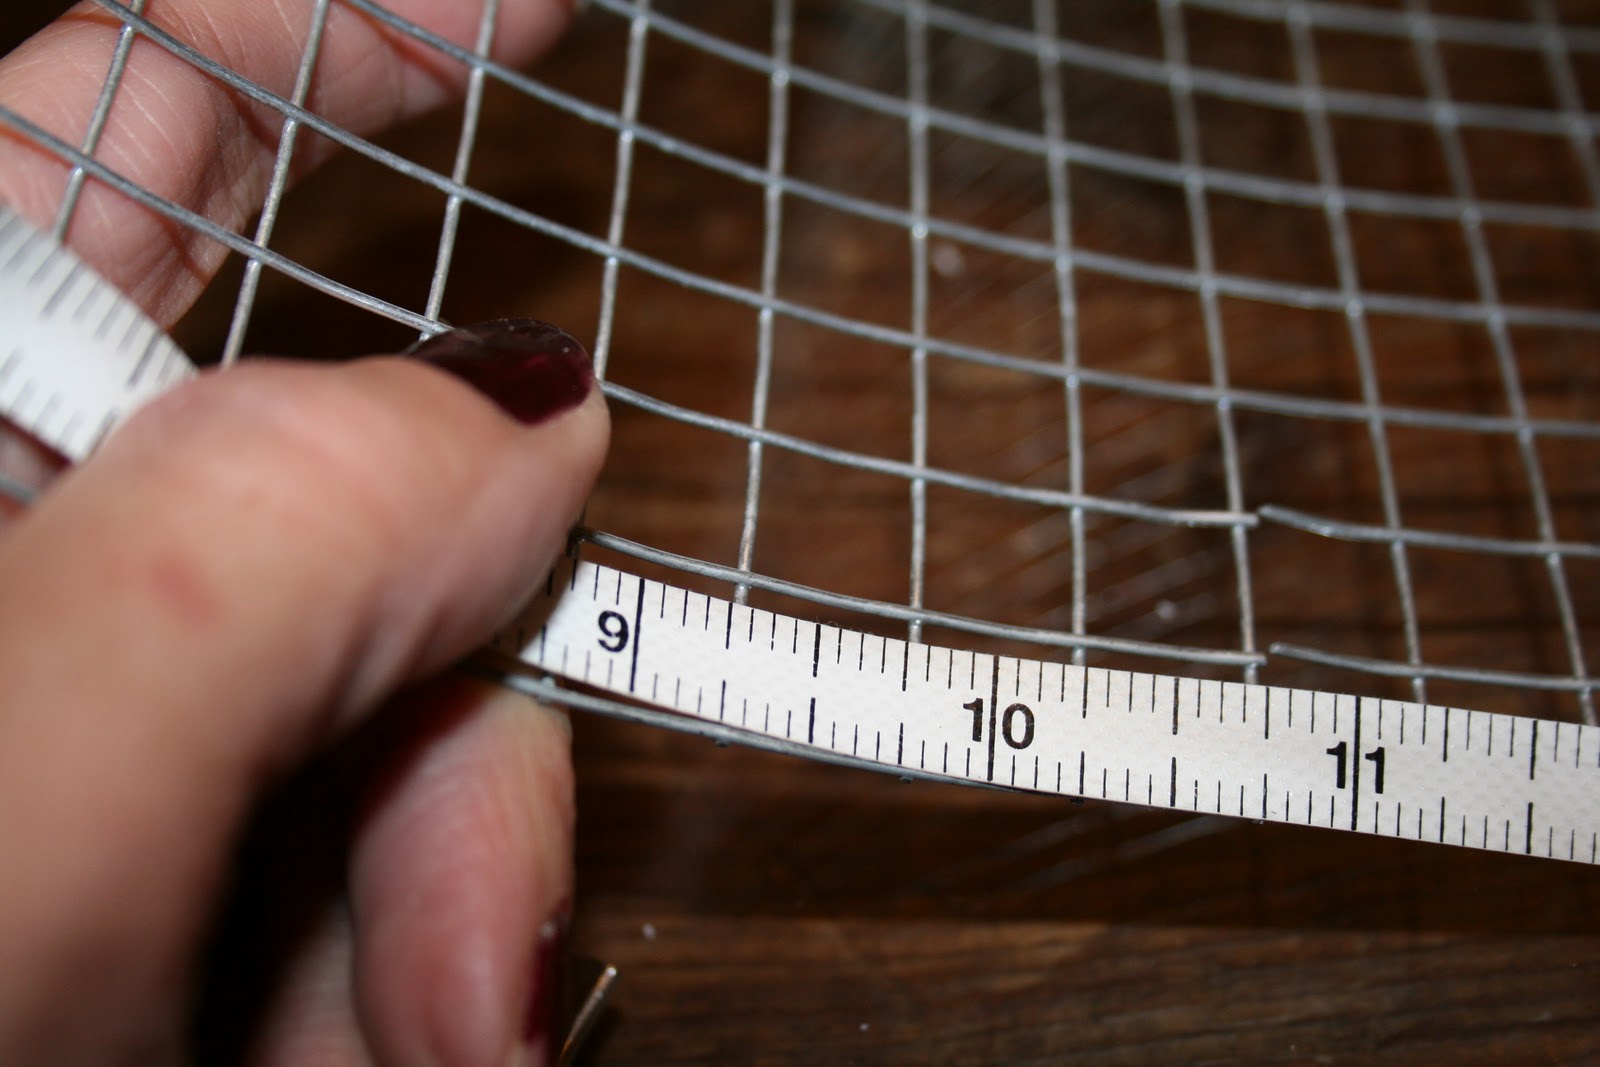
1. Measure candle and mark height and width of candle on wire mesh.
2. Using wire cutters, cut the wire to the correct size. I went a few inches bigger.
3. The wire mesh comes wrapped in a long piece of wire. Cut small piece of it to use as a “tie” and make a cylinder, overlapping rows. It’s tricky to get it not to be crooked. I used needle nose pliers to help bend the “tie”.
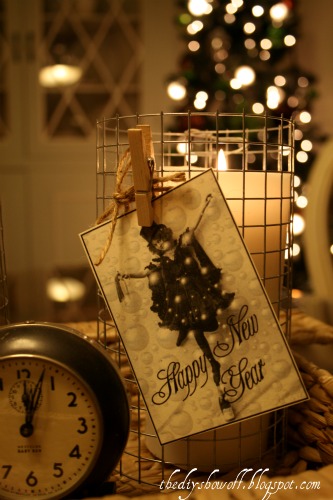
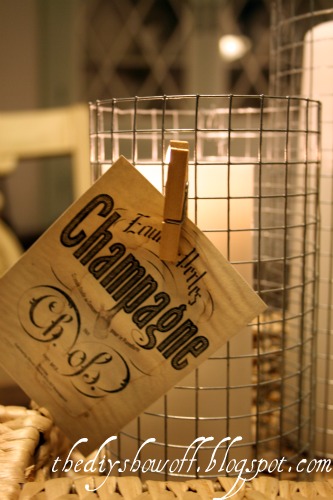
4. Embellish. Weave twine to create a monogram, add seasonal tags that can be swapped for the change in holidays, add ribbon, etc.
Warning – make sure if you accessorize the wire that you keep embellishments away from the flame! I’m sure you know that but just in case, I don’t want you to start a fire! If you’re a little accident prone, maybe try flameless candles. 😉
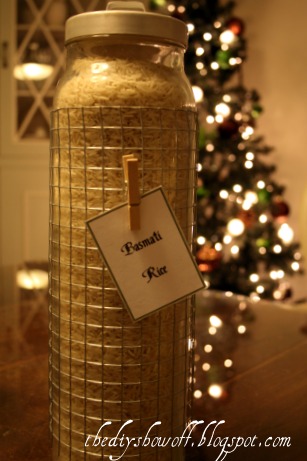
Since I love to re-purpose things, especially DIY…I also love them on our glass cannisters which aren’t labeled. Cannister cozies!
More pics…
*~*~*~*~*~*~*~*~*~*~*~*~*~*~*~*~*~*~*~
I was one of the bloggers selected by True Value to work on the DIY Squad. I have been compensated for my time commitment to the program as well as my writing about my experience. I have also been compensated for the materials needed for my DIY project. However, my opinions are entirely my own and I have not been paid to publish positive comments.
~*~*~*~*~
Let’s see the last of your DIY Holiday Highlights!
Please share your holiday posts below!
You must use the button above (or html code on left side bar) and link to this post to share the linky love.
Add your permalink (not your blog url, but your holiday project post url which is the web address that goes directly to your holiday project blog post, not your blog address). Feel free to link a Past Post, just invite your readers in a current post with a quick note.
Or email your link to thediyshowoff@gmail.com and I will add it for you.
If you notice your link has disappeared –please check the content of your post. Is it holiday related? Add the link back to The DIY Show Off to your post today with a quick note to your readers about the party and try again! I love when everyone participates and readers check out everyone’s links, but I think the return favor of linking back is the nice thing to do so everyone plays fair and enjoys all of the projects and links. Links not related to DIY holiday projects or holiday decor for inspiration will be deleted. Please make sure you follow the above steps.
~*~*~*~
~*~*~*~
Don’t forget to enter the NEW year GLUE year Giveaway!
Stock your supplies – get ready for the year year!
We have three built-in corner china cabinets in our dining room. Two are identical.
I made a mistake when we moved in. I was in a rush to get things cleaned up and painted. I was a little inexperienced with painting too. My paint job was semi-gloss over semi-gloss without sanding and the paint started to peel. Before:
The bottom doors were a little boring too. Just plain and we didn’t like the direction of the handles.
I sanded all of the wood using my Dremel Multi-Max.
I had to do some scraping too. Live and learn!
We added some picture frame molding to the doors to give them a little more interest. We mitered the joints. Since the trim was so narrow, we used Locktite to keep them in place rather than finishing nails.
We didn’t know it at the time, but always ask your True Value Hardware Store associate if they sell lumber. We just recently learned that our True Value carries lumber! It’s in the warehouse! Good to know!
We added weights and the let them dry a few days.
Then we brushed on two coats of primer.
I use Purdy and Benjamin Moore paint in Silver Sage. I did use painter’s tape on the edges of the built-in because of the corner angle. Normally, I can get a perfectly straight line with my Purdy paintbrush and a sturdy hand.
I didn’t repaint the diamond glass door trim on the top doors and I used the same paint there on the picture frame molding. I’ll have to update with pictures during the day (soon). Sometimes the Benjamin Moore silver sage looks green, sometimes blue. It’s subtle against my linen colored walls. I love it! We still need to add the handles but we’re trying to decide if we want to go with something completely different before we start drilling holes. 🙂
More pictures of our dining room makeover. It feels like something is missing…I love when Niski walked into the reveal pictures. 🙁
Office door above used to look like this…
We found an original French door in the barn. The above door leads to my office and a part of the house that was added on a couple decades ago. As you can see, there no farmhouse charm. Inspired by Amy of WhisperWood Cottage, we were inspired to bring the French door back into the house . The barn door hardware and track were $30 on CraigsList (a huge difference from $300-500 brand new!).
We removed the old door frame trim. The Dremel Multi-Max was used to cut into the old trim so we could install trim with more character. Removing the entire piece of trim to be able cut it would have been a much larger project (taking pieces of plaster wall with it, etc.) so my Dremel Multi-Max with the cutting attachment was perfect for the job!
Our new trim is similar to what is in the rest of the house. We took extra care to attach the top beam into the studs since it will support the weight of the track and door…
We used carriage bolts to attach the horseshoe brackets to the French door.
Mr. DIY shows me what it will look like when it’s hanging…
When we bought our house, this is what the dining room looked like facing the back yard. There was a single door to go outside, nasty carpets and dirty white walls.
When we moved in, the mocha walls (the ceiling is a few shades lighter – Mr. DIY drywalled that ceiling after taking down stained tiles). It was a big improvement but it felt so dark even after we installed French doors to the back yard.
Our new reclaimed barnwood table just didn’t look good with the mocha shades. We used Mythic Paint in bleached linen to lighten things up.
Now the dining room feels like it belongs in our old farmhouse…
I was one of the bloggers selected by True Value to work on the DIY Squad. I have been compensated for my time commitment to the program as well as my writing about my experience. I have also been compensated for the materials needed for my DIY project. However, my opinions are entirely my own and I have not been paid to publish positive comments.