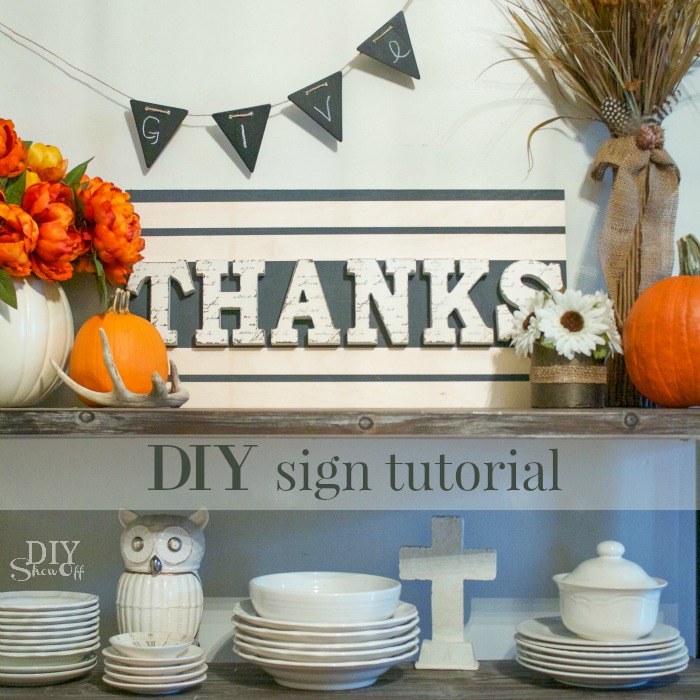
Most parties are behind us but I wanted to share this easy DIY hostess gift. Make up a custom and personalized clipboard using these supplies:
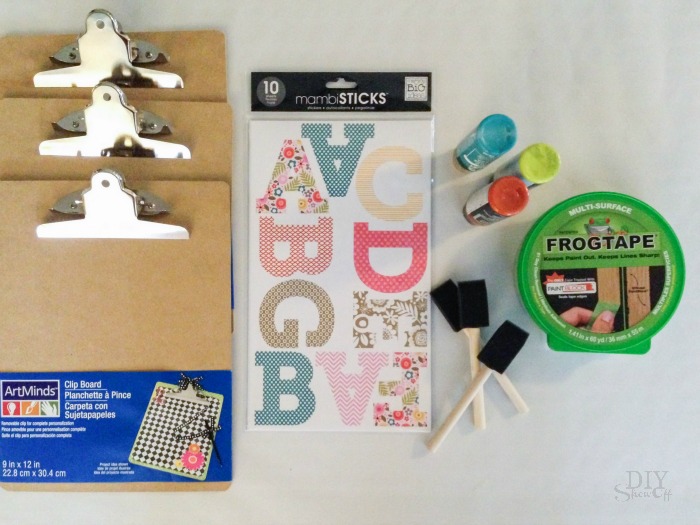
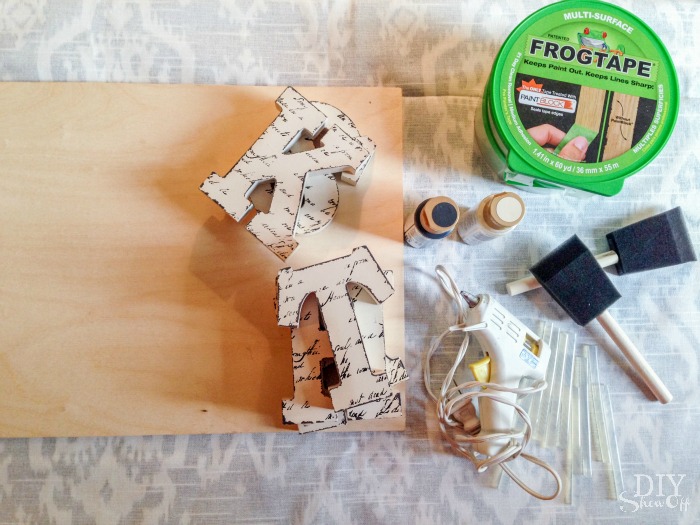
• clipboard
• FrogTape®
• craft paint and paint brush
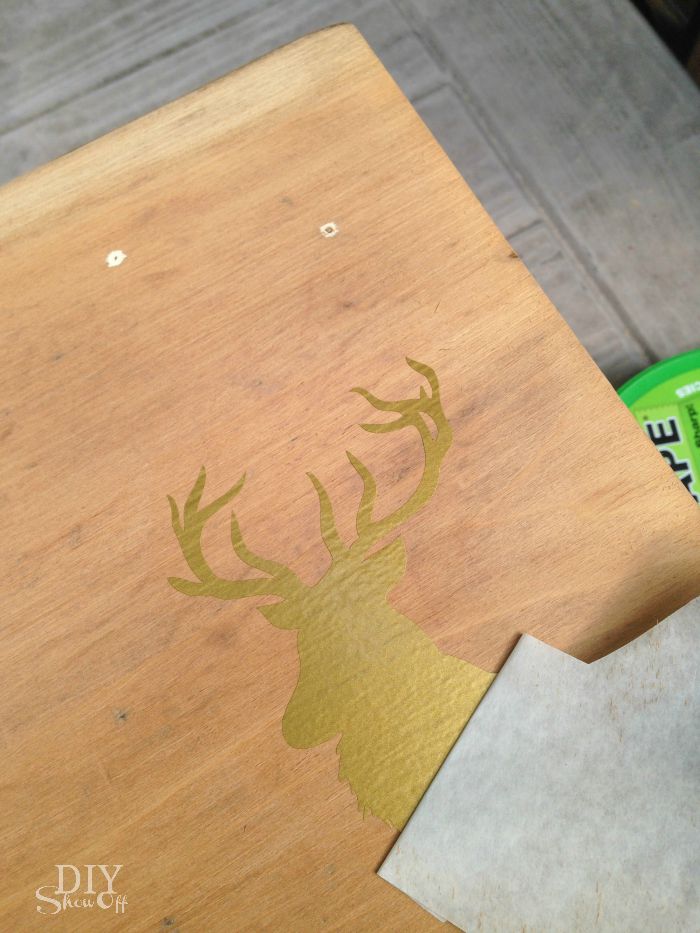
• large monogram stickers
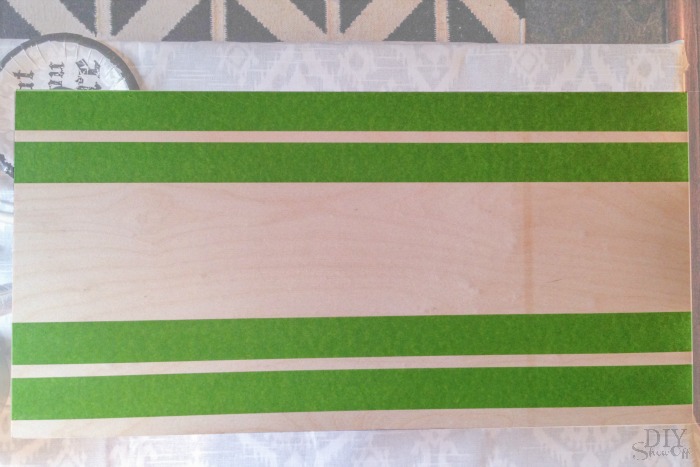
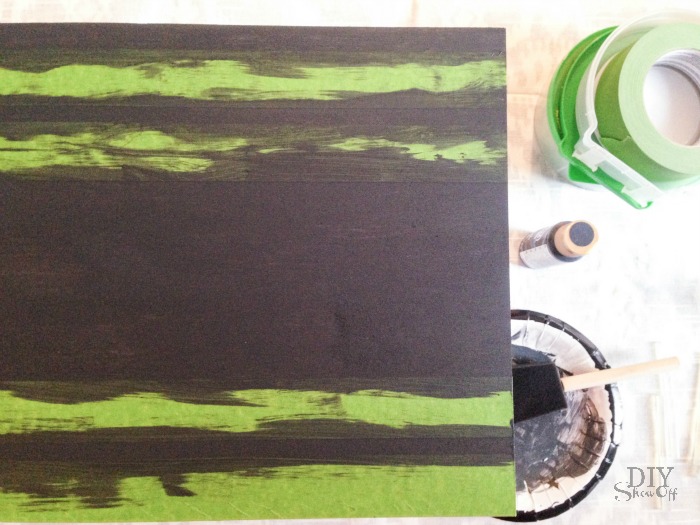
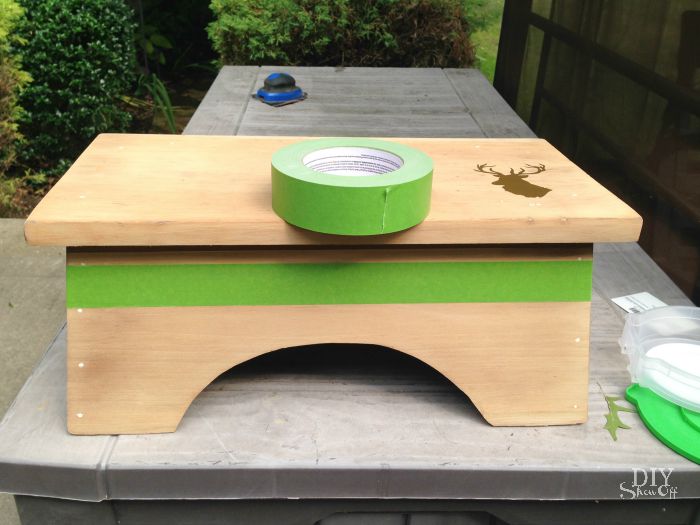
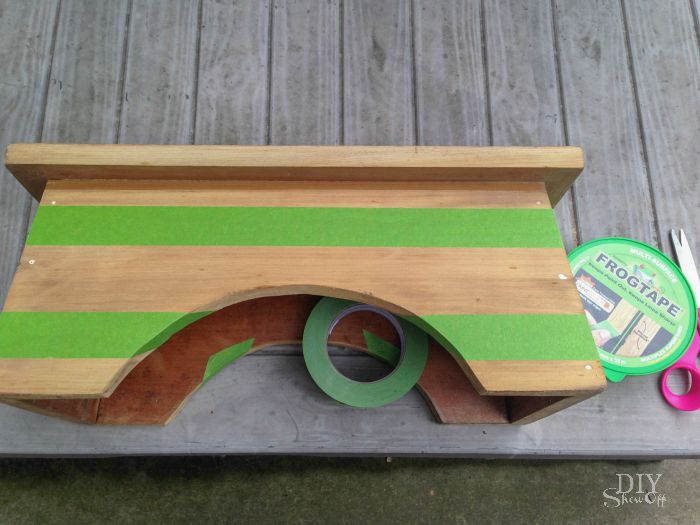
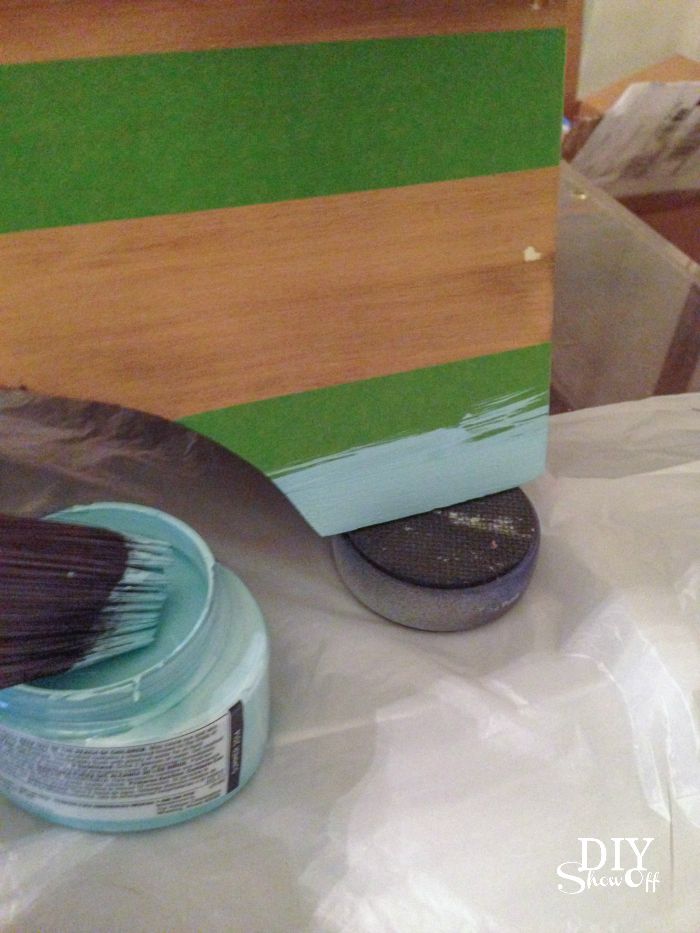
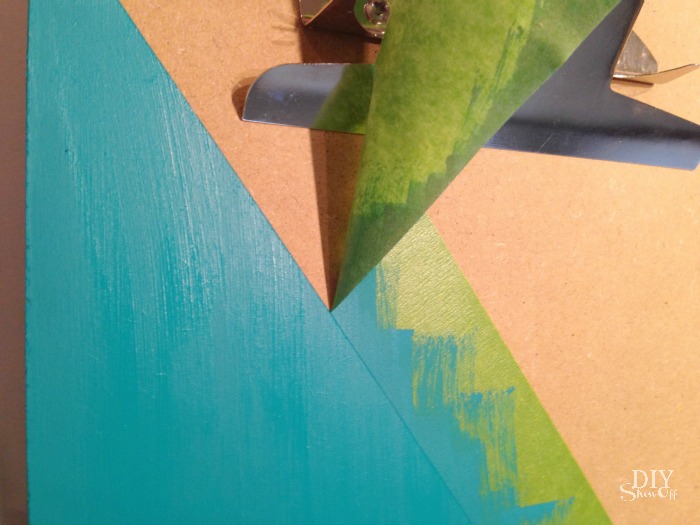
I created a simple design using FrogTape. I did a simple diagonal. Get creative!
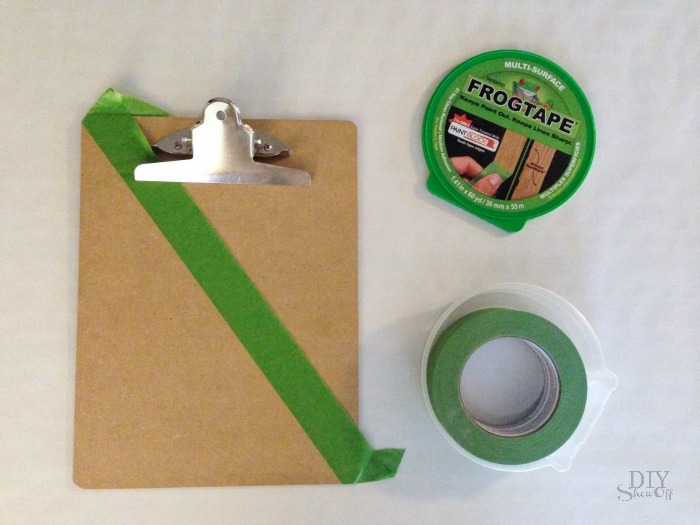
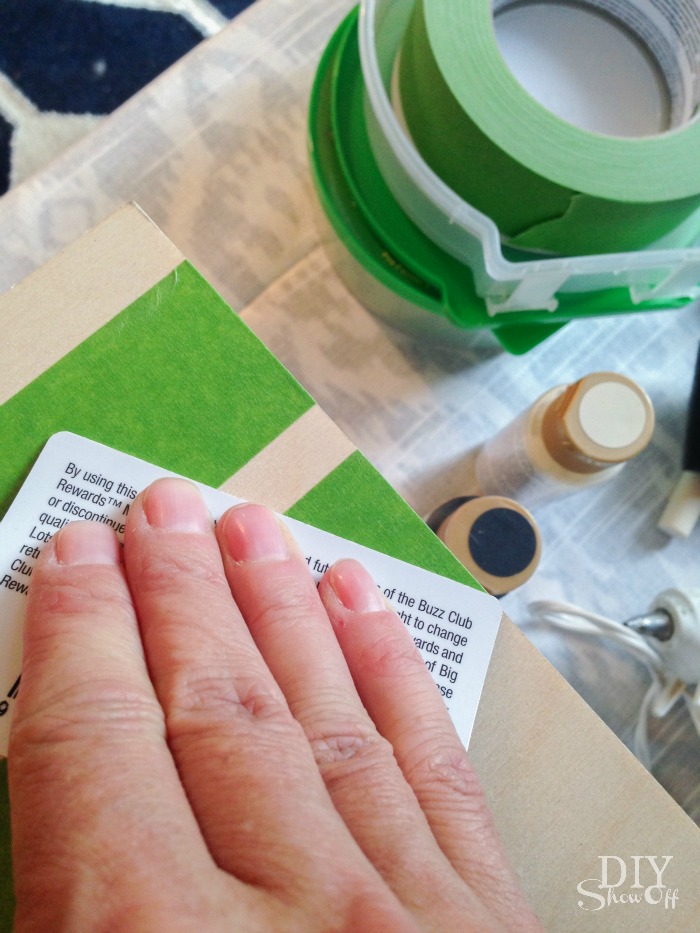
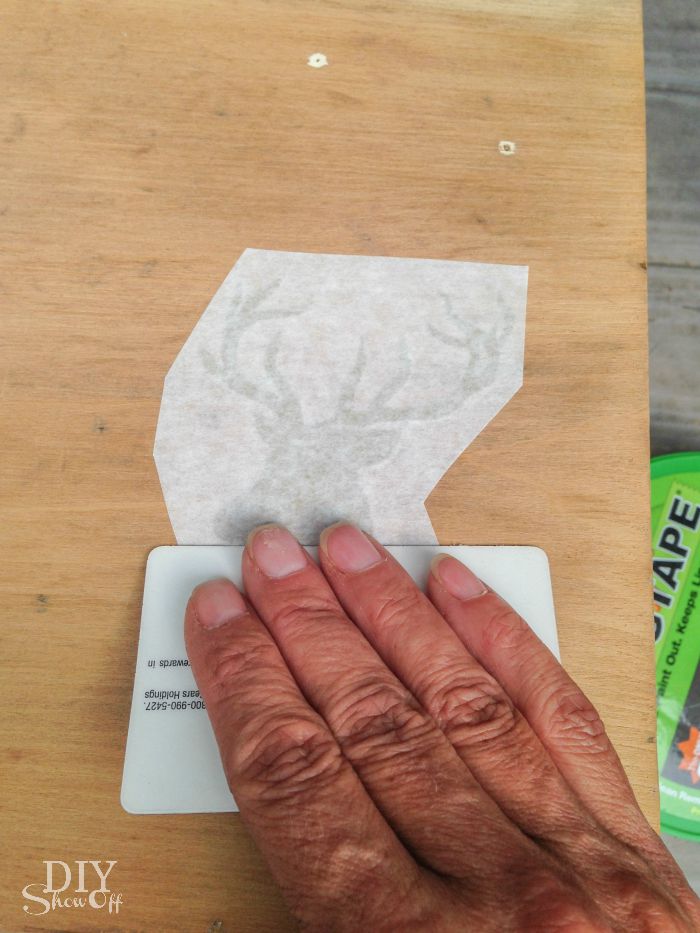
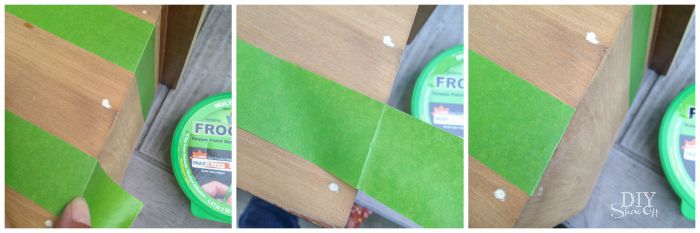
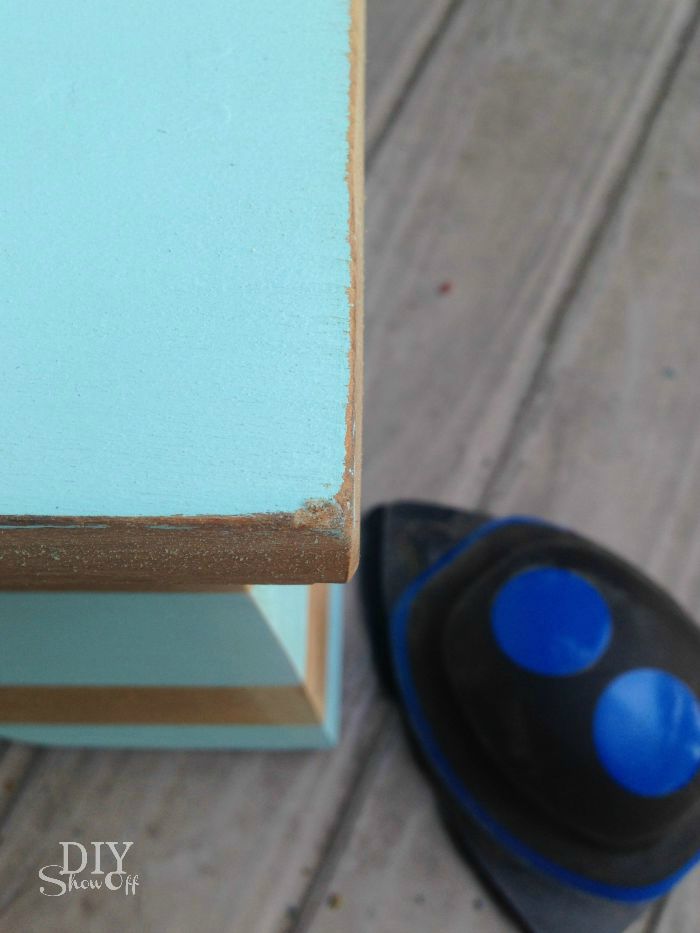
I burnished the edges of FrogTape where tape will meet paint using a credit card (or my thumbnail) to activate the Paintblock® Technology for crisp clean lines. 
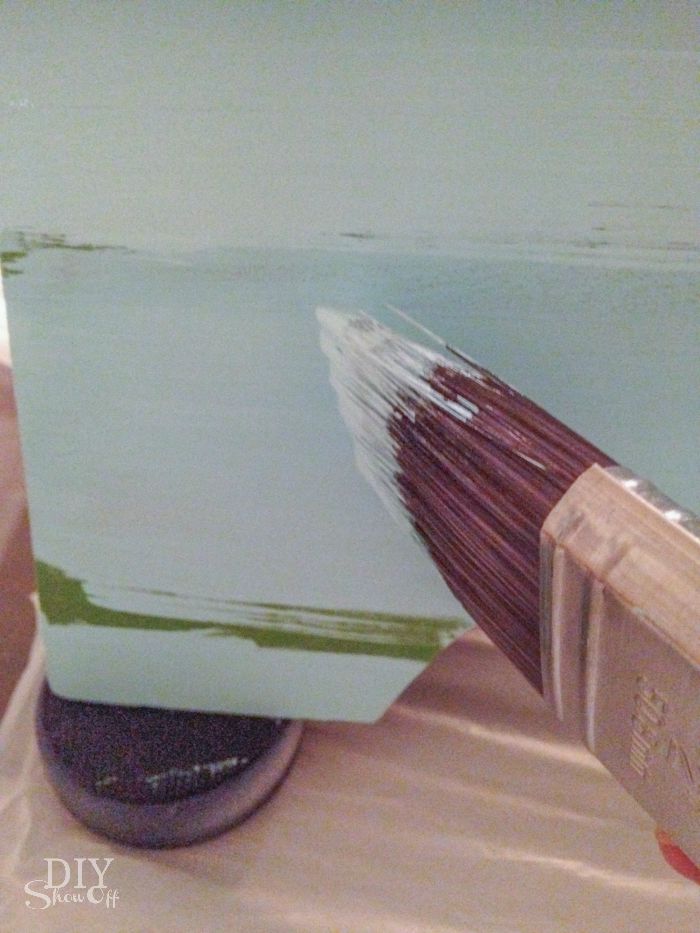
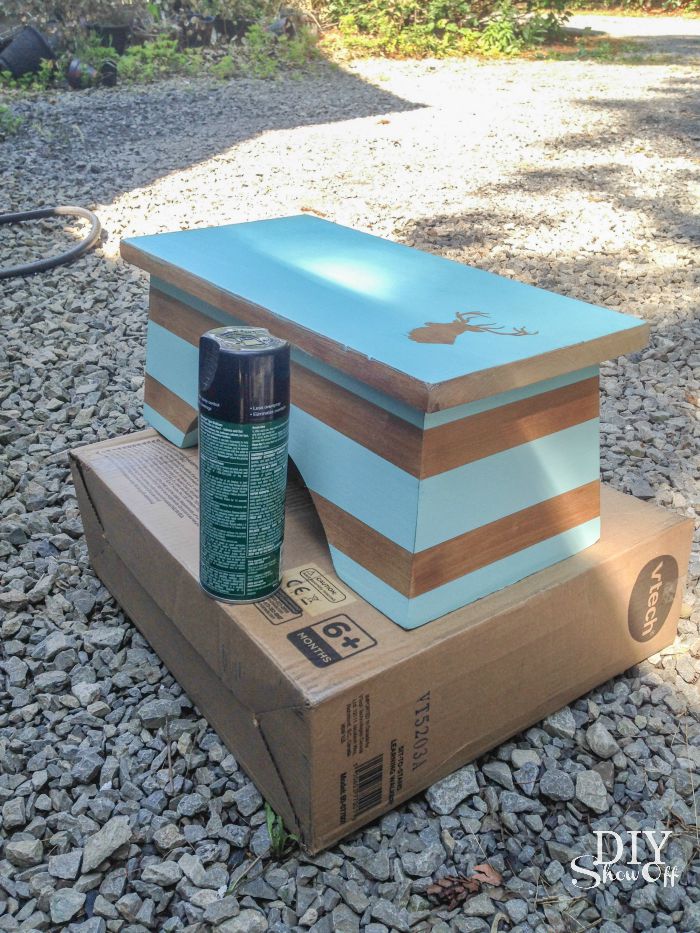
Next I applied two coats of paint to the clipboard on the bottom side of the tape.
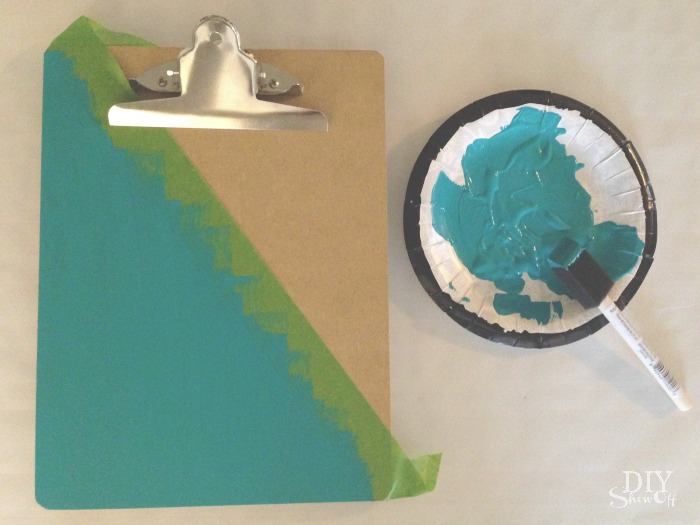
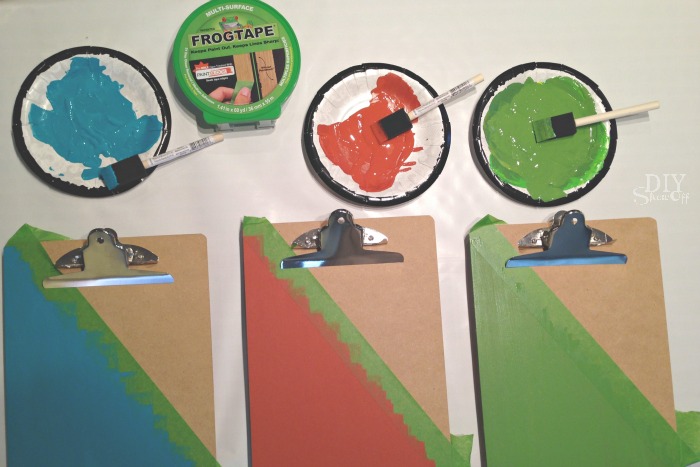
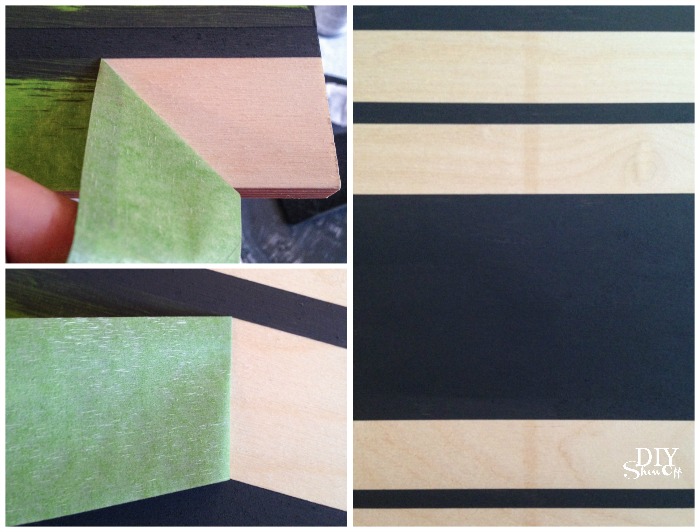
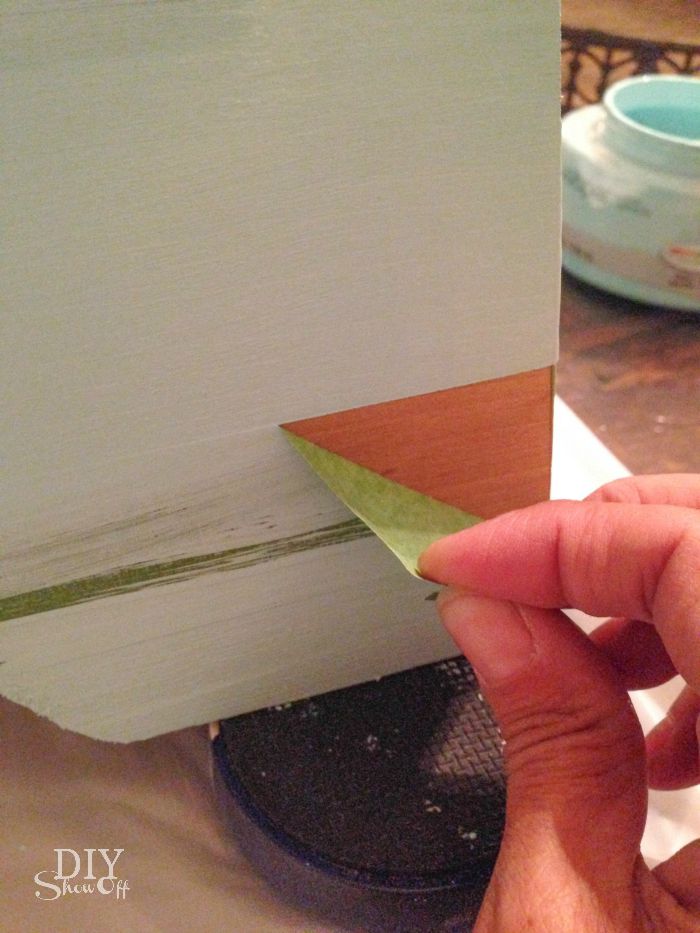
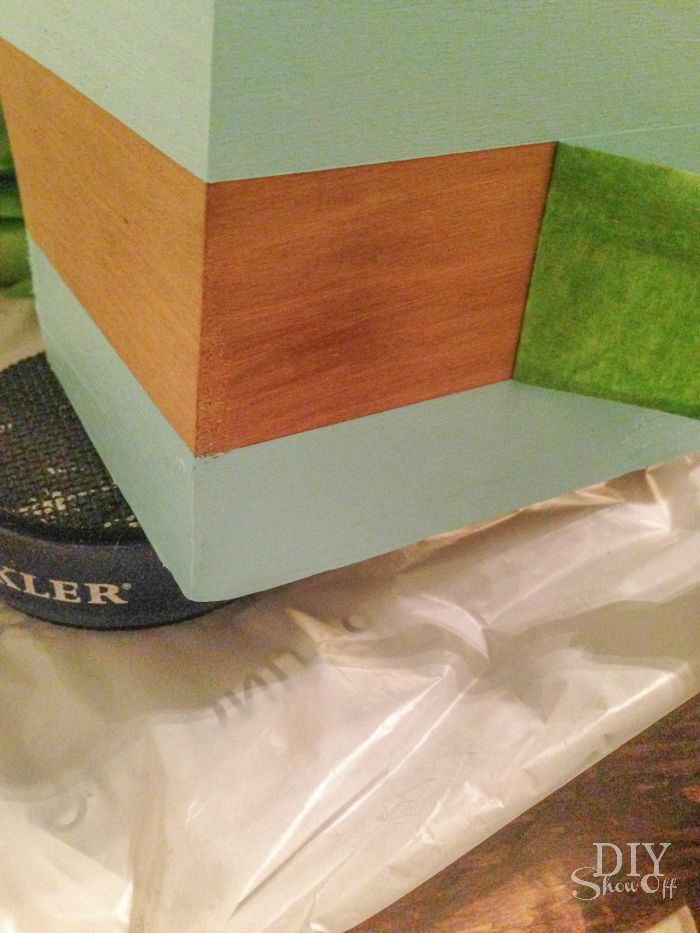
While the second coat of paint was still wet, I carefully removed the FrogTape.
Then I let the paint dry.
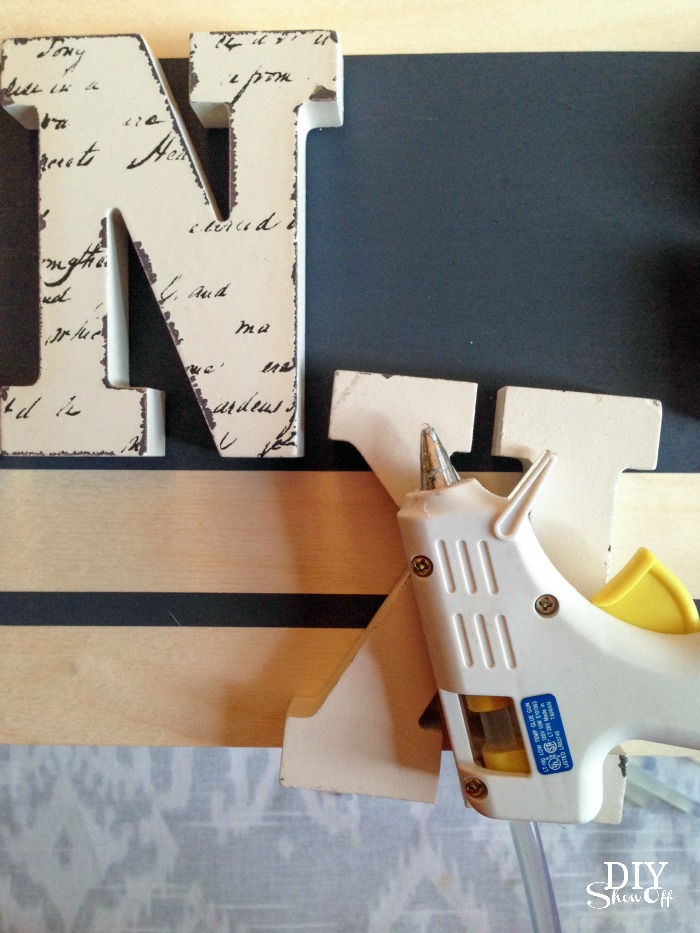
Once paint is dry, add fun monogram stickers to personalize.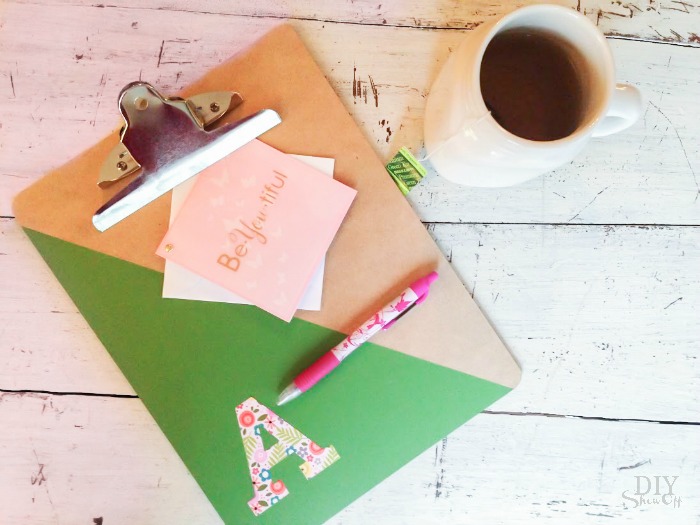
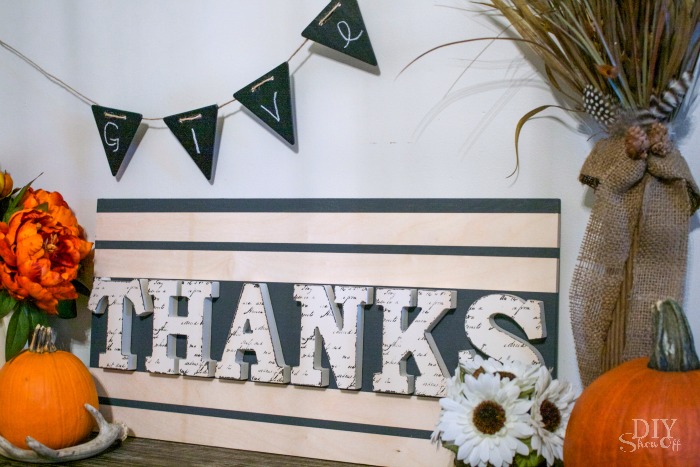
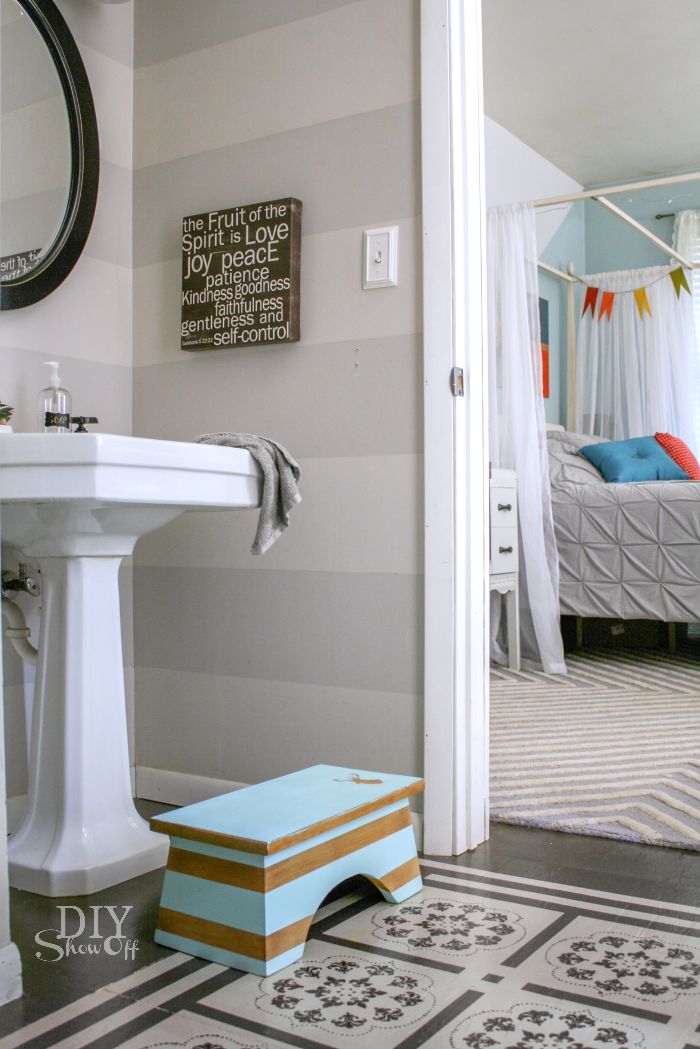
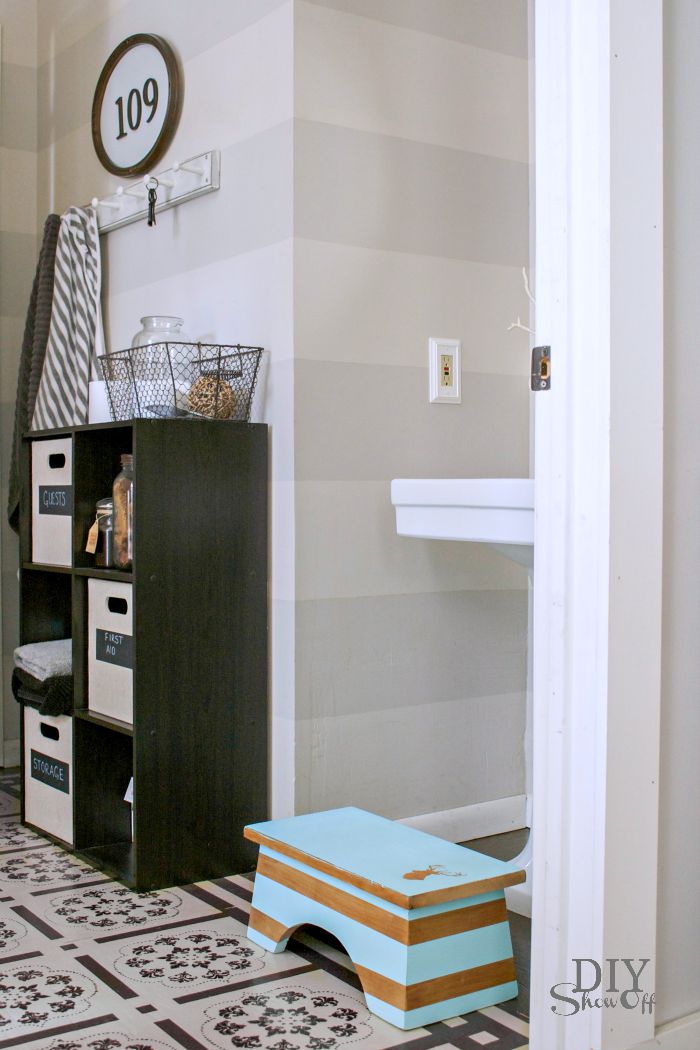
Attach a gift card/greeting card for a birthday or a calendar or agenda for a new year’s eve party hostess gift. Make one for yourself to keep important papers organized or search online for free printables to fit the occasion or theme. 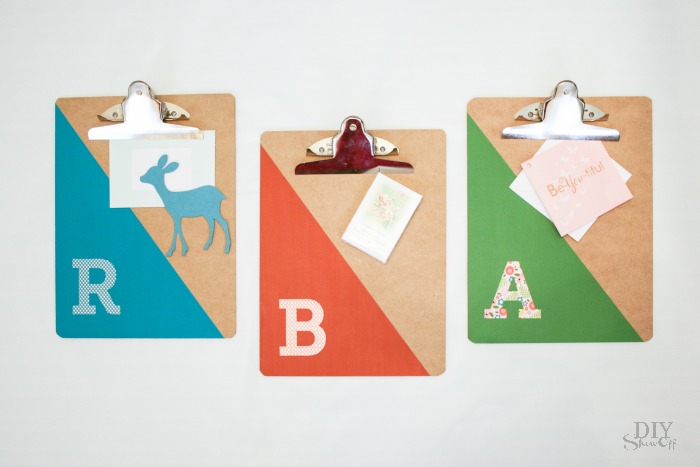
*I received compensation to complete this project for using FrogTape® products. All opinions, projects and ideas are based on my own experience.
![]()