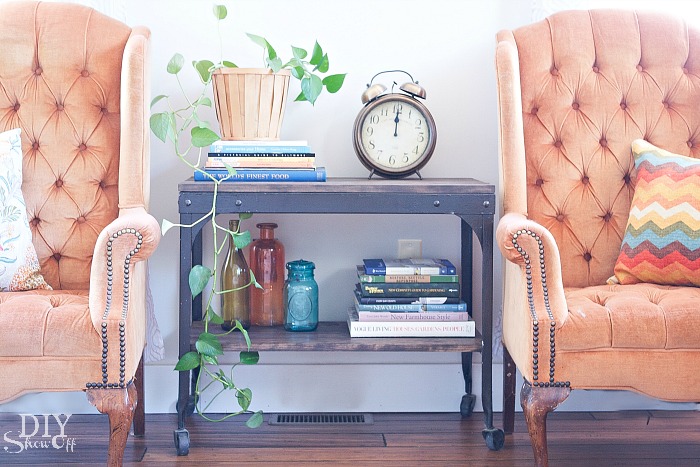
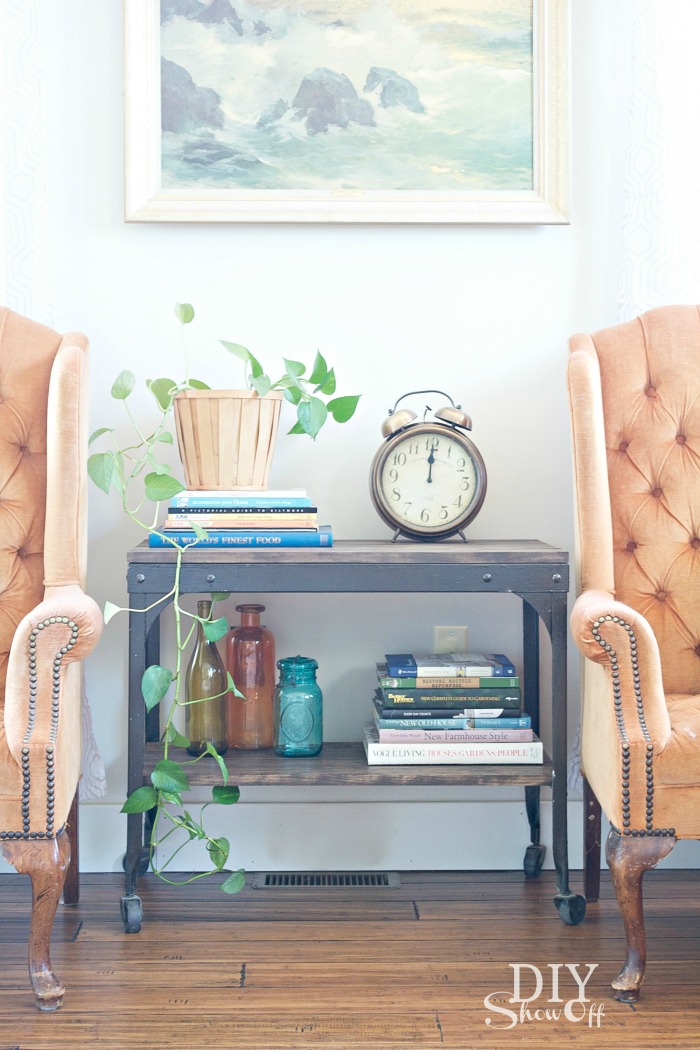
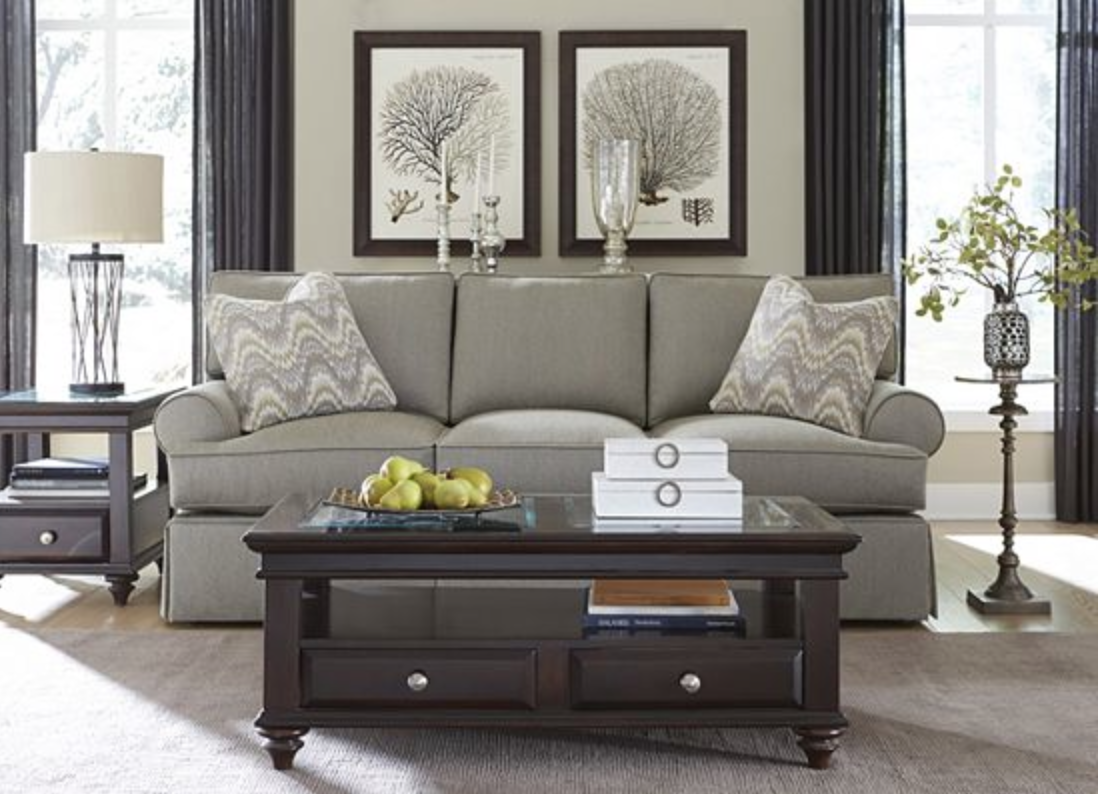
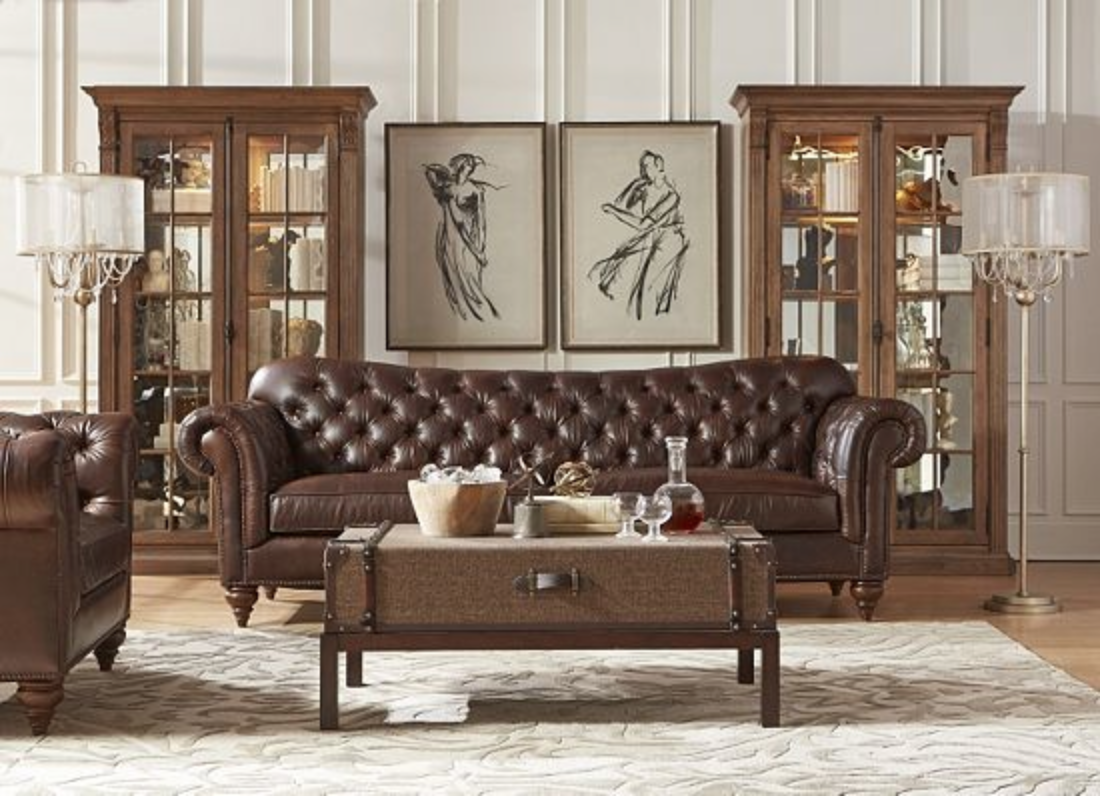
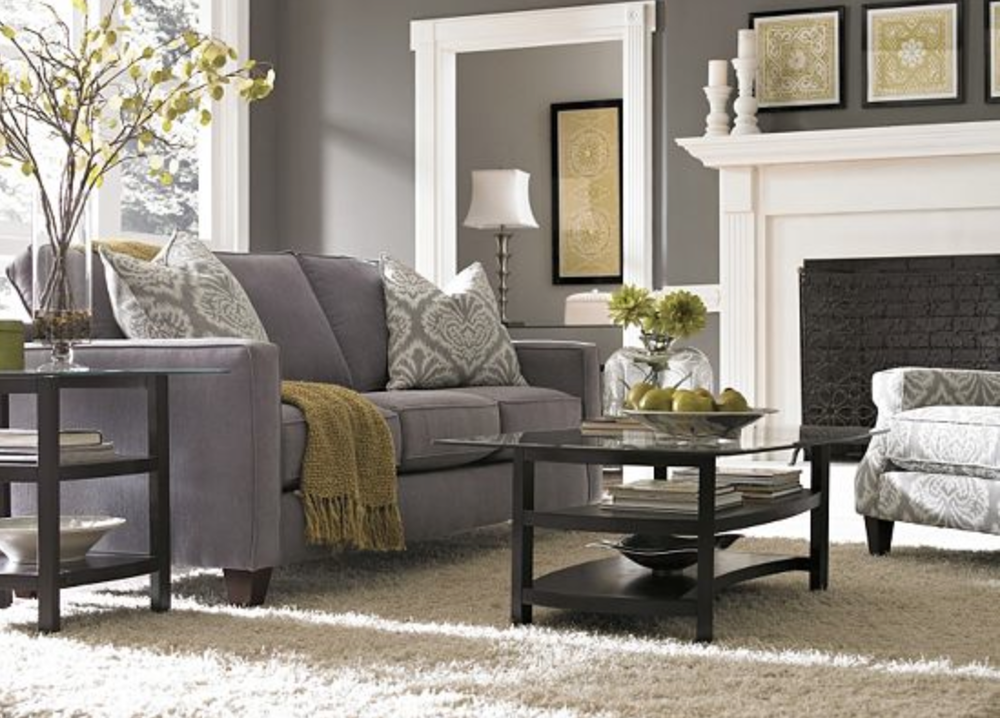
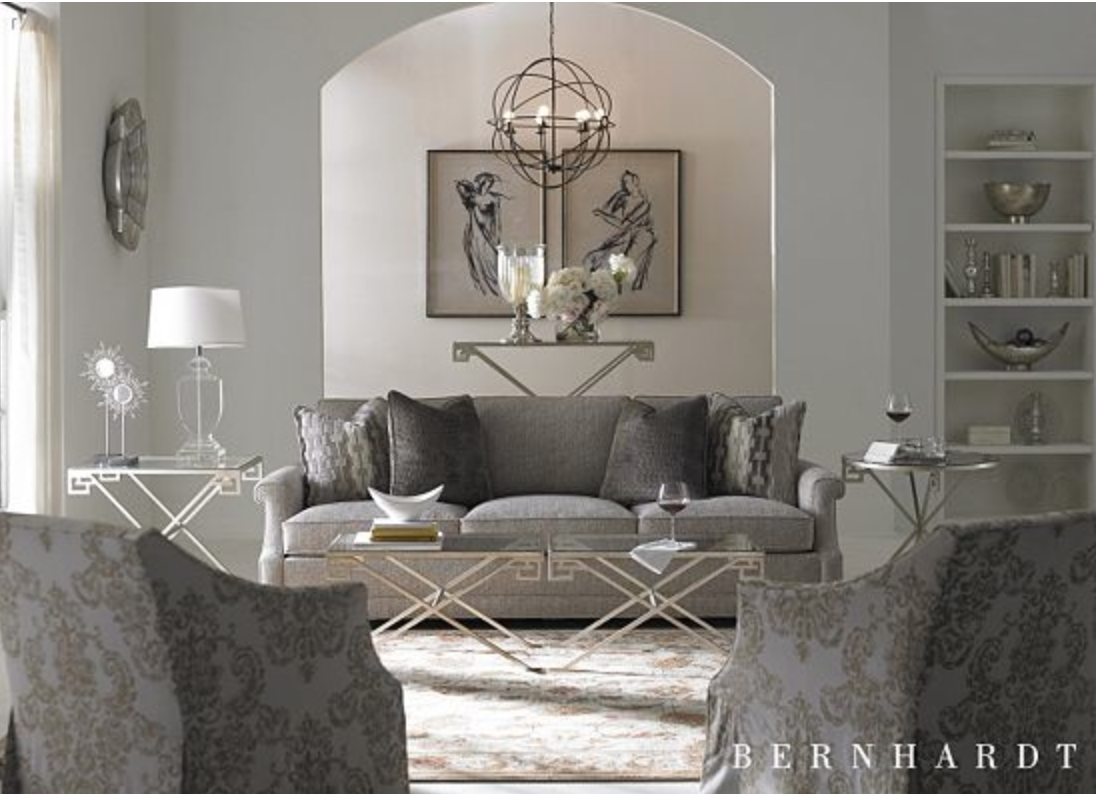
One of the rooms in our home that is on the “to-do” list is our living room. My style changes often however, living room furniture is something we live with for 10+ years so here are some things I like to consider and some inspiration from Havertys (click the images below for information on each specific sofa):
- Size and shape – Do I prefer a standard size and shape?
 Smaller?
 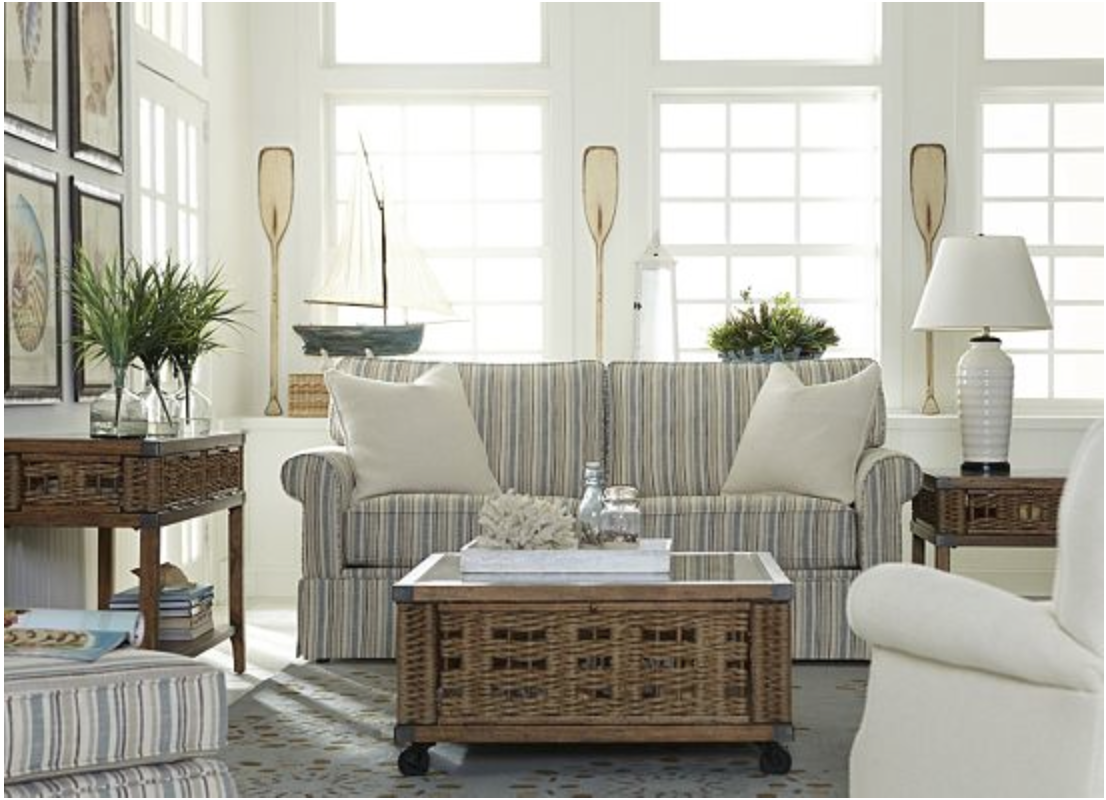 L-shaped?
 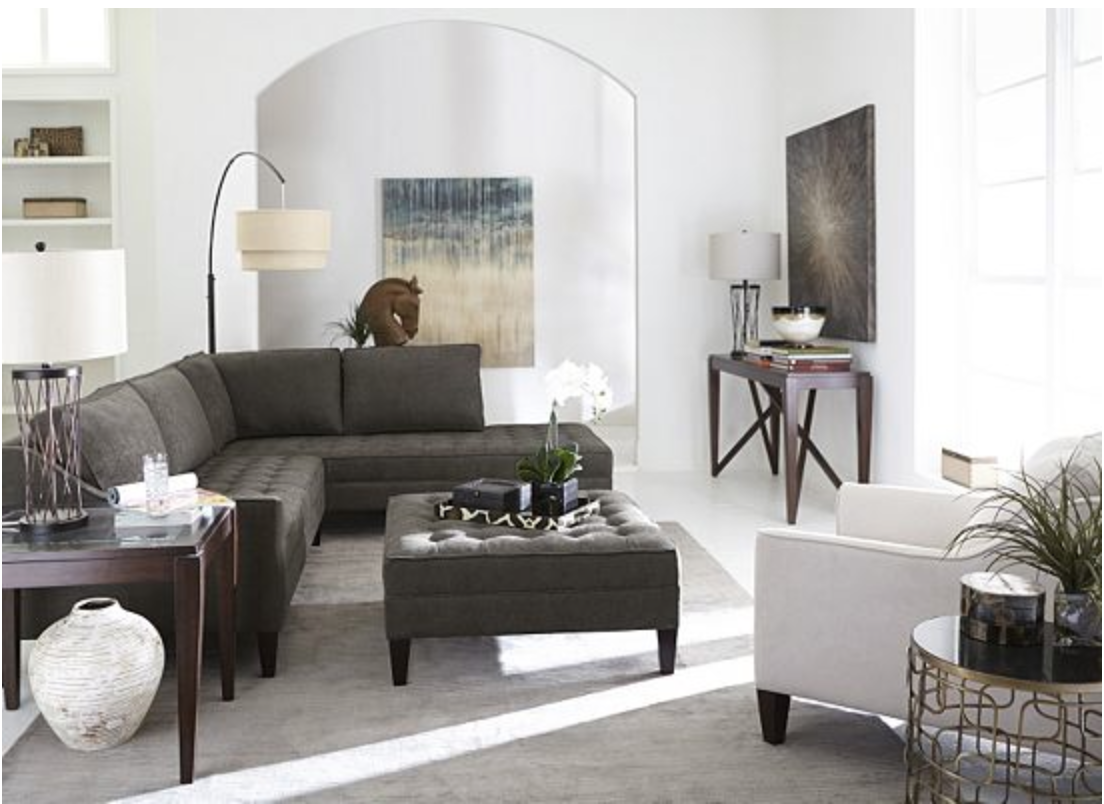 Sofa and love seat or sofa chairs?
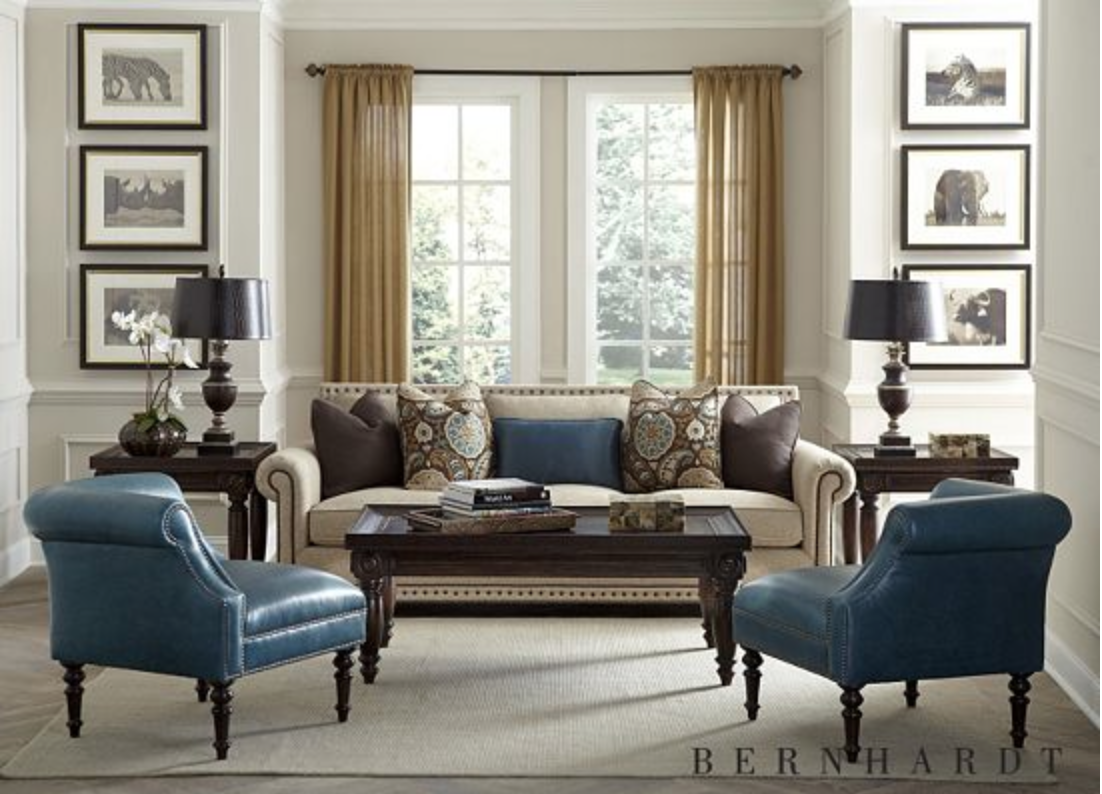
- Furniture placement – I frequently rearrange furniture for a fresh new look as well as take Christmas time into consideration. Furniture against the walls…
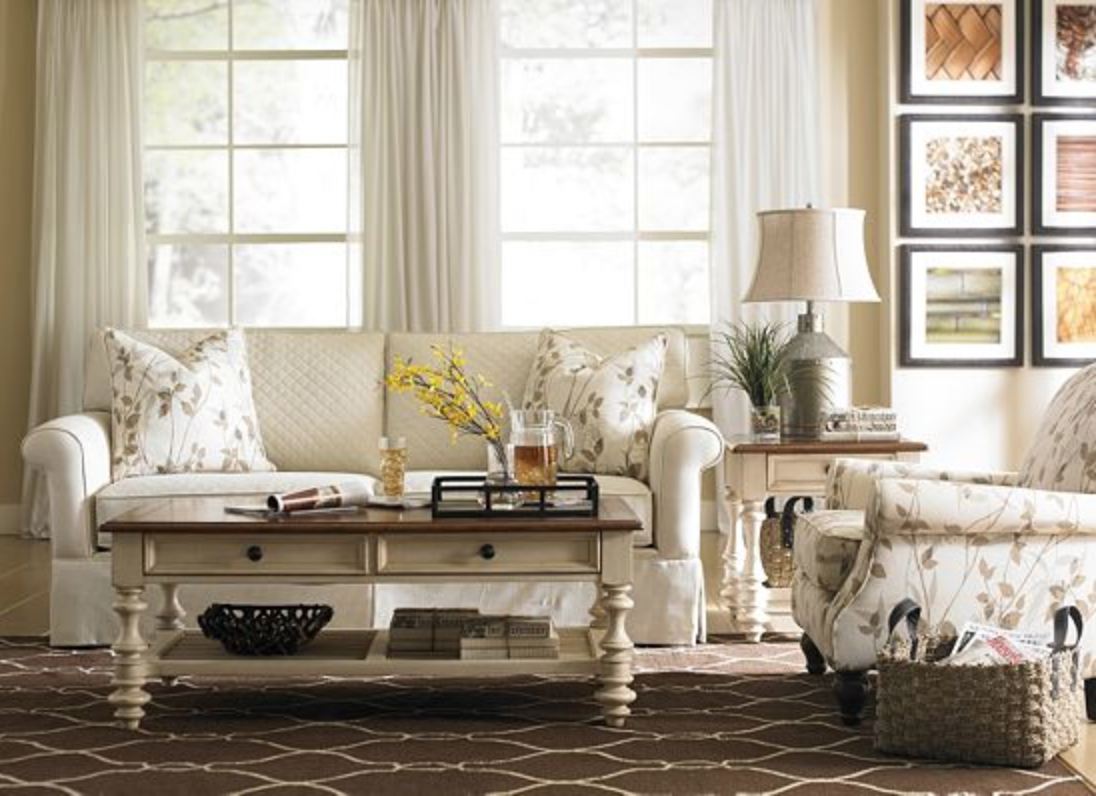 or defined/separate seating areas?
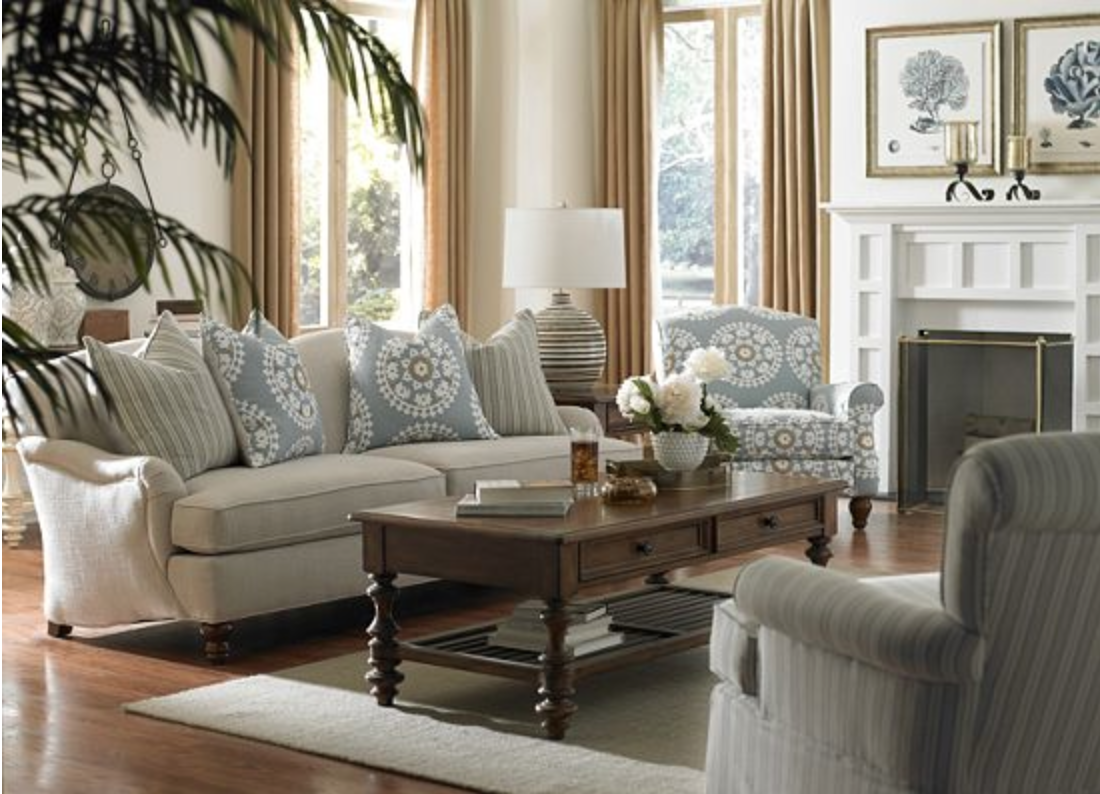
- Room’s function – Conversational?
 Relaxing/lounging?
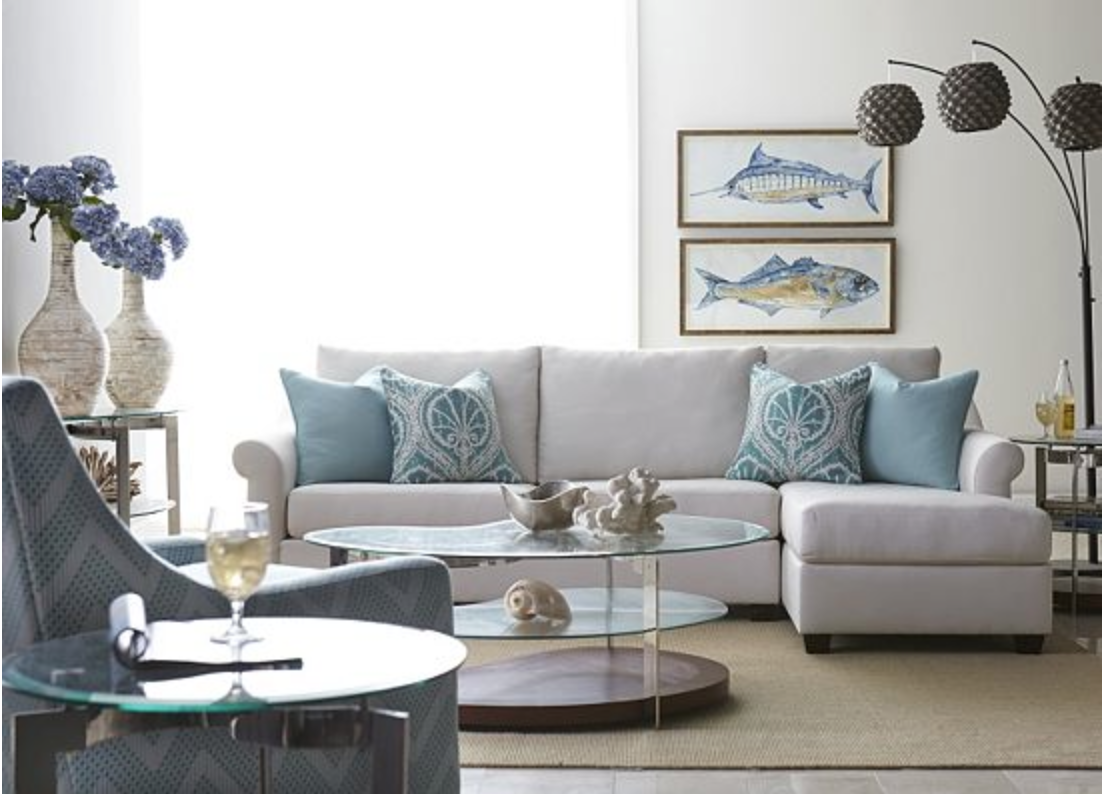 TV viewing?
 - Color – I prefer to keep large furniture purchases neutral since I like mixing things up and changing things out often. How about you?
- Material – Leather?
 Upholstered/fabric?
- Style – What style fits our home? Classy and chic?
 Eclectic?
 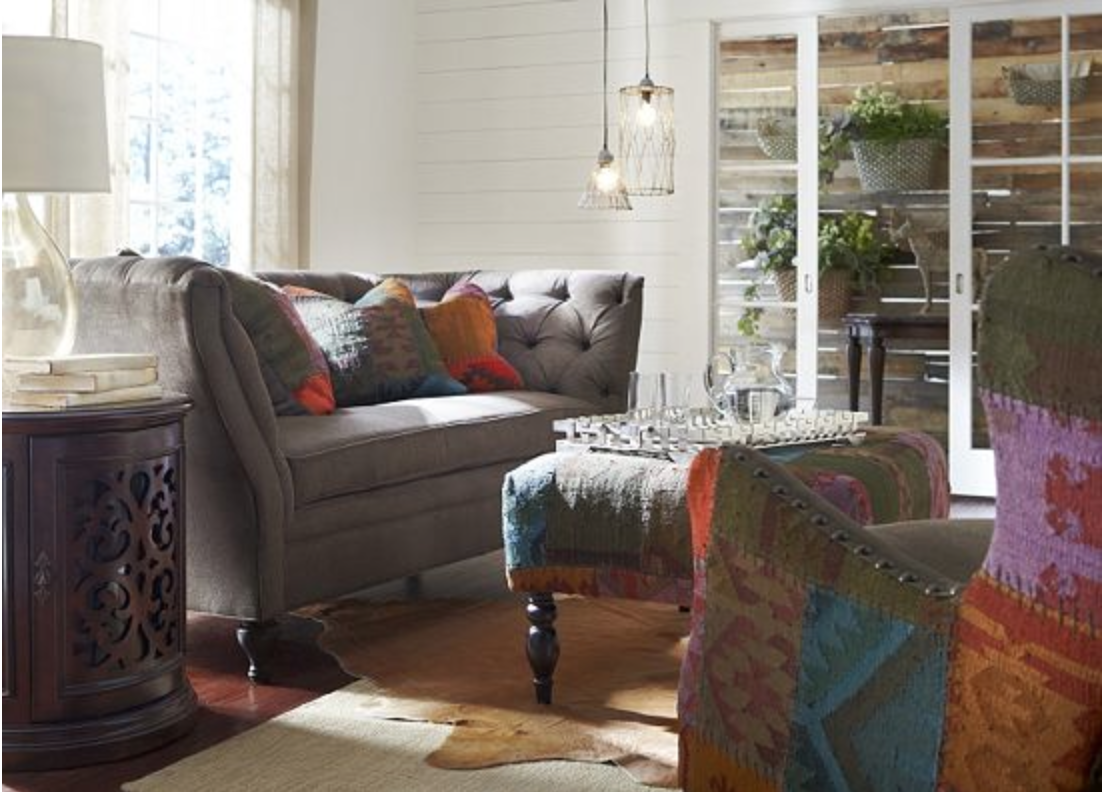 So many combinations and options.
Because I can guarantee that within that 10+ year time frame, our living room will go through different stages, different color trends and styles.
I may have mentioned my indecisiveness a time or two so coming up with a couple of different ideas makes the process a little easier. When looking at purchasing large furniture, I have a small list of “must haves”. Large furniture purchases must be:
- of good quality
- durable
- neutral
- affordable
How about you? What is your decision making process when purchasing large pieces of furniture? How do you stay on on track with decorating/redecorating your home?
Share your Havertys purchases on Instagram using the hashtag #HavertysInspired – Havertys will be responding to reader shares! Visit and follow Havertys to stay up to date with the latest events, sales and trends: Website, Mobile Site, Blog, Facebook, Pinterest, Twitter.
Havertys helps you bring your vision to life. Visit Havertys.com to find a store near you, detailed product information and design tools to guide you in your home decor purchases.
This is a sponsored conversation written by me on behalf of Havertys. The opinions and text are all mine.