


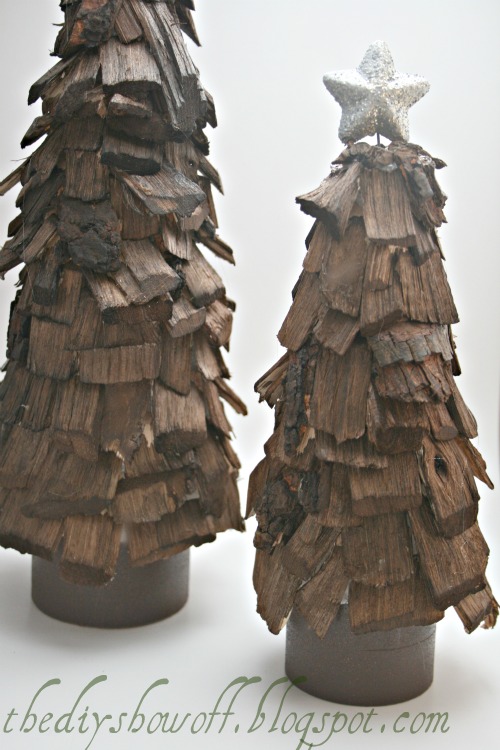
Wood Chip Tree Tutorial
Materials:
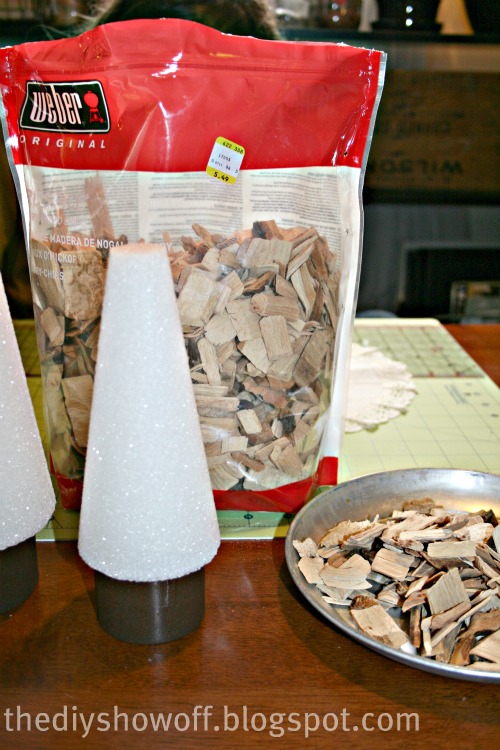
- 2 Styrofoam Cones, two different sizes
- Hot Glue
- Wood Chips (Grilling section at True Value)
- PVC pipe fittings, 2 different sizes
- Krylon Fusion for Plastic spray paint (sparkly brown)
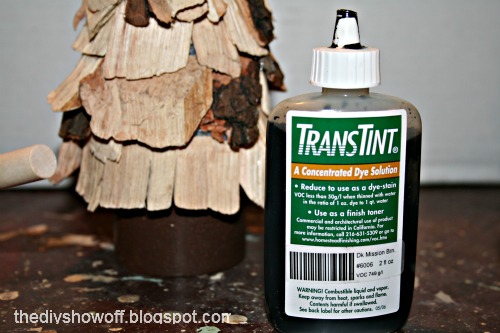
- Paint, stain or dye
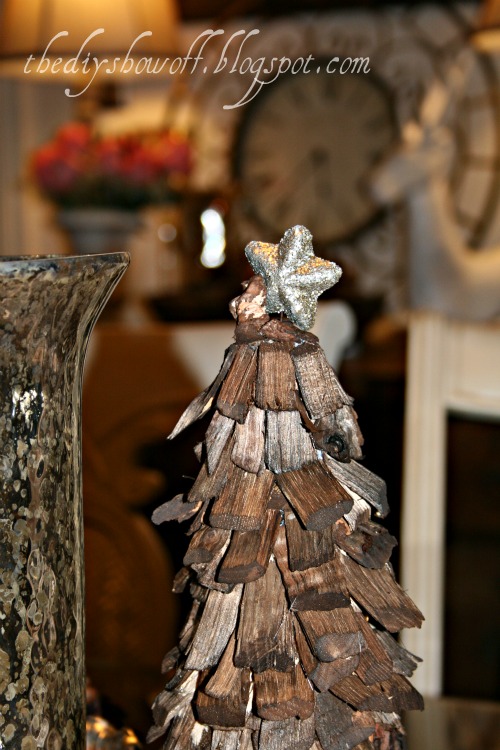
- Small Star (holiday pick from craft store)
Tutorial:
1. Spray PVC pipe fittings. Let dry.

2. Attach pipe fittings to bottom of styrofoam cones with hot glue.

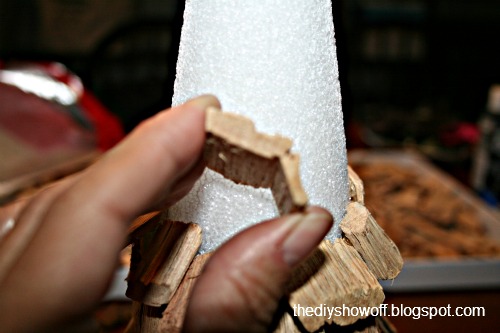
3. Using hot glue and starting at the bottom, glue wood chips around the Styrofoam cone.


4. Continue working upwards in layers. Find the right pieces is like putting together a puzzle. I liked using pieces with bark for texture.
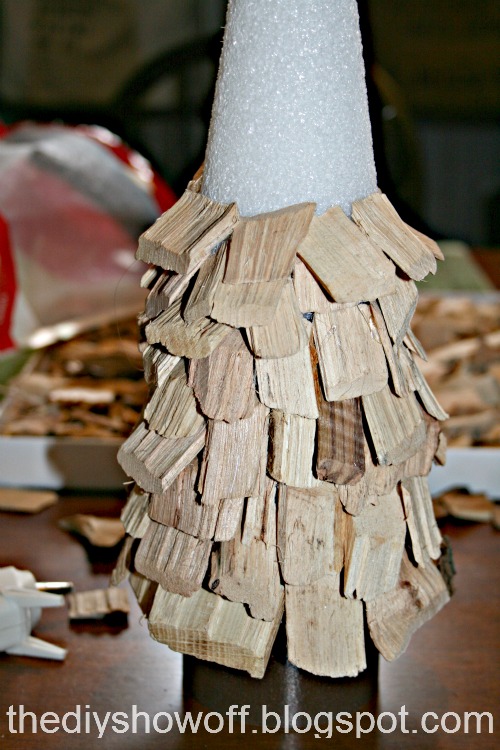
Note: The Weber wood chips were cut on an angle. Gluing the angle and attaching to the cone, made the chip stand out a little.

Note: Thin wood chips can be snapped which is helpful for placing on curved surface.
5. Paint or stain the wood chips and let dry.


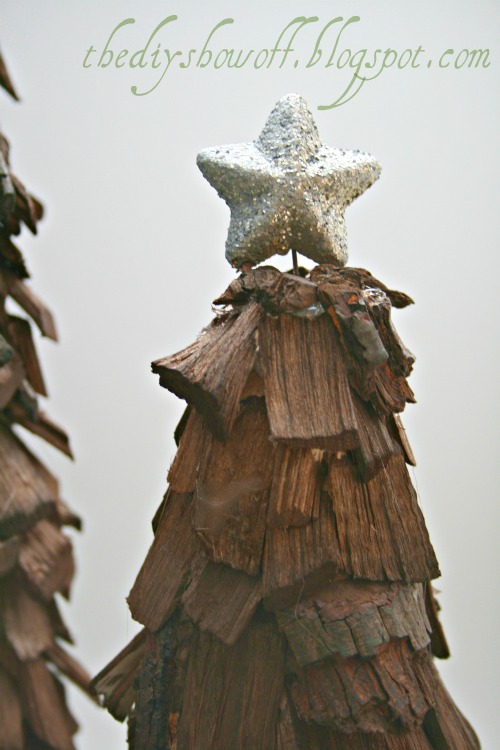
6. Add star to top by poking wire into Styrofoam or secure with hot glue. Embellish if desired.
My inspiration was the West Elm seagrass tree but due to a shortage of sea grass in western PA, mine turned out different but not in a bad way…

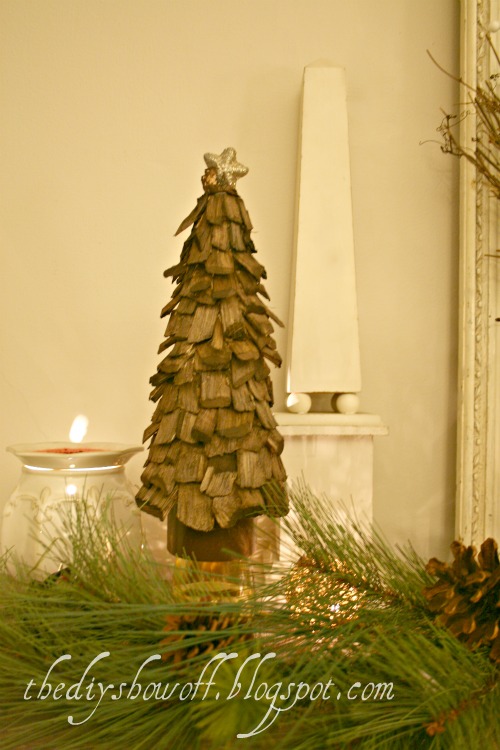
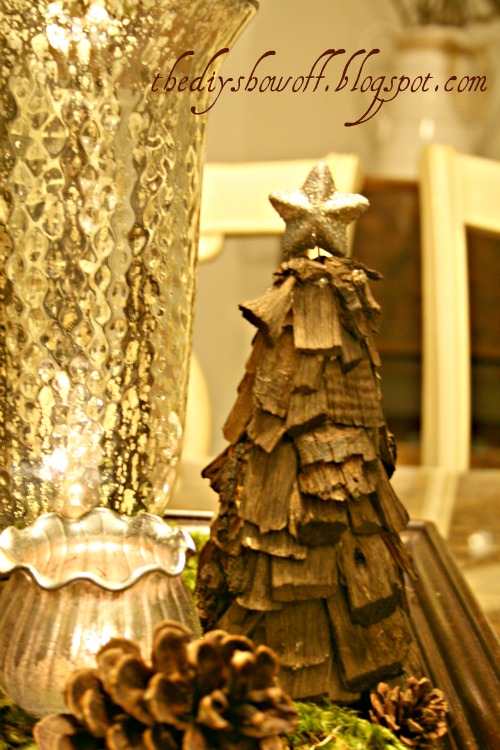
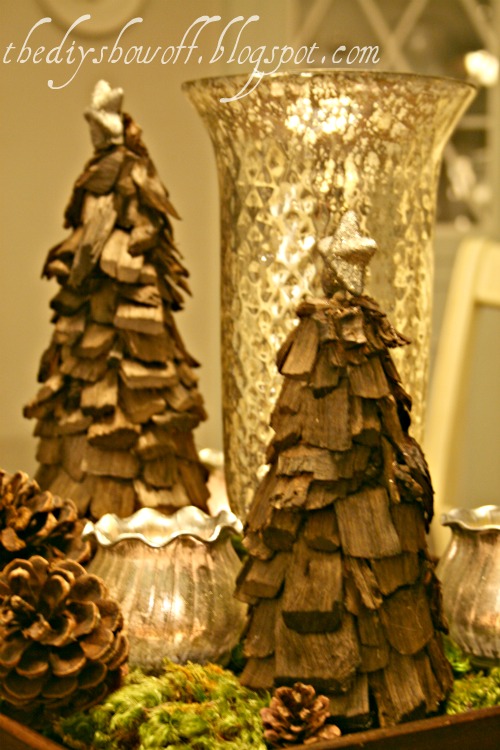
Simple. Pretty. Natural.


*~*~*~*~*~*~*~*~*~*~*~*~*~*~*~*~*~*~*~
I was one of the bloggers selected by True Value to work on the DIY Squad. I have been compensated for my time commitment to the program as well as my writing about my experience. I have also been compensated for the materials needed for my DIY project. However, my opinions are entirely my own and I have not been paid to publish positive comments.
~*~*~*~*~


is anyone else having issues with their email feed subscription? I don't seem to be getting them anymore and I checked my junk and safe settings.
I keep adding the code for the button to my posts and my blog and nothing shows up
Wow! Fab and easy to make. I love it.
Wow! Fab and easy to make. I love it.
I love the trees Roeshel! The vignette you created is beautiful. I love the natural, rustic feel. Can't wait to see more of your Christmas decor!!
Awesome project Roeshel! Thanks for hosting the party too! I have so many great project ideas, I will be crafting easily into 2012!
Great idea! I know my MIL would love a couple of those trees her in hill country home.
Your trees are beautiful and thanks again for hosting another great party. I always look forward to it each week!
love your trees–so pretty Roeshel!
I have nothing to link up. I haven't done a thing for the holidays yet. 🙁
painted my kitchen counter tops today though!
have a great evening!
gail
I love rustic decor for the holidays. I wonder what Pottery Barn would charge for something similar.
I love the wood chip tree. It's going on my to-do list!
Thanks for hosting this extra party!
I love your wood chip tree! I included it in my tree round up today! Thanks for the inspiration.
http://designdininganddiapers.com/2011/12/top-10-tuesday-13-diy-decorative-trees/#.TueoDEo_hew
Pingback: DIY Farmhouse Christmas DIY Show Off ™ – DIY Decorating and Home Improvement Blog
These are so pretty! Pinned, tweeted & linked over from Facebook (StyroCrafts). Thank you!
I wish I had a tenth of your imagination!! These are outstanding and so ca-ute!!
Merry Christmas!!
xoxo
Jeri
Pingback: Christmas in the Sitting RoomDIY Show Off ™ – DIY Decorating and Home Improvement Blog