DIY painted foam playmat becomes wall art

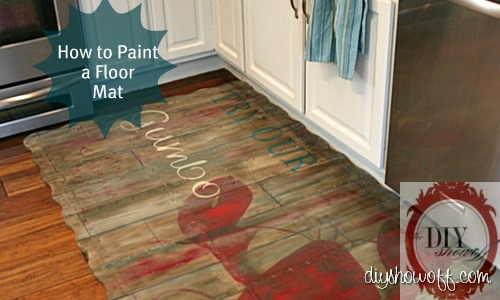
The long weekend here means catching up on some little projects that kept getting put off. Remember when I painted a foam playmat, thinking it’d be a great kitchen/cooking mat?
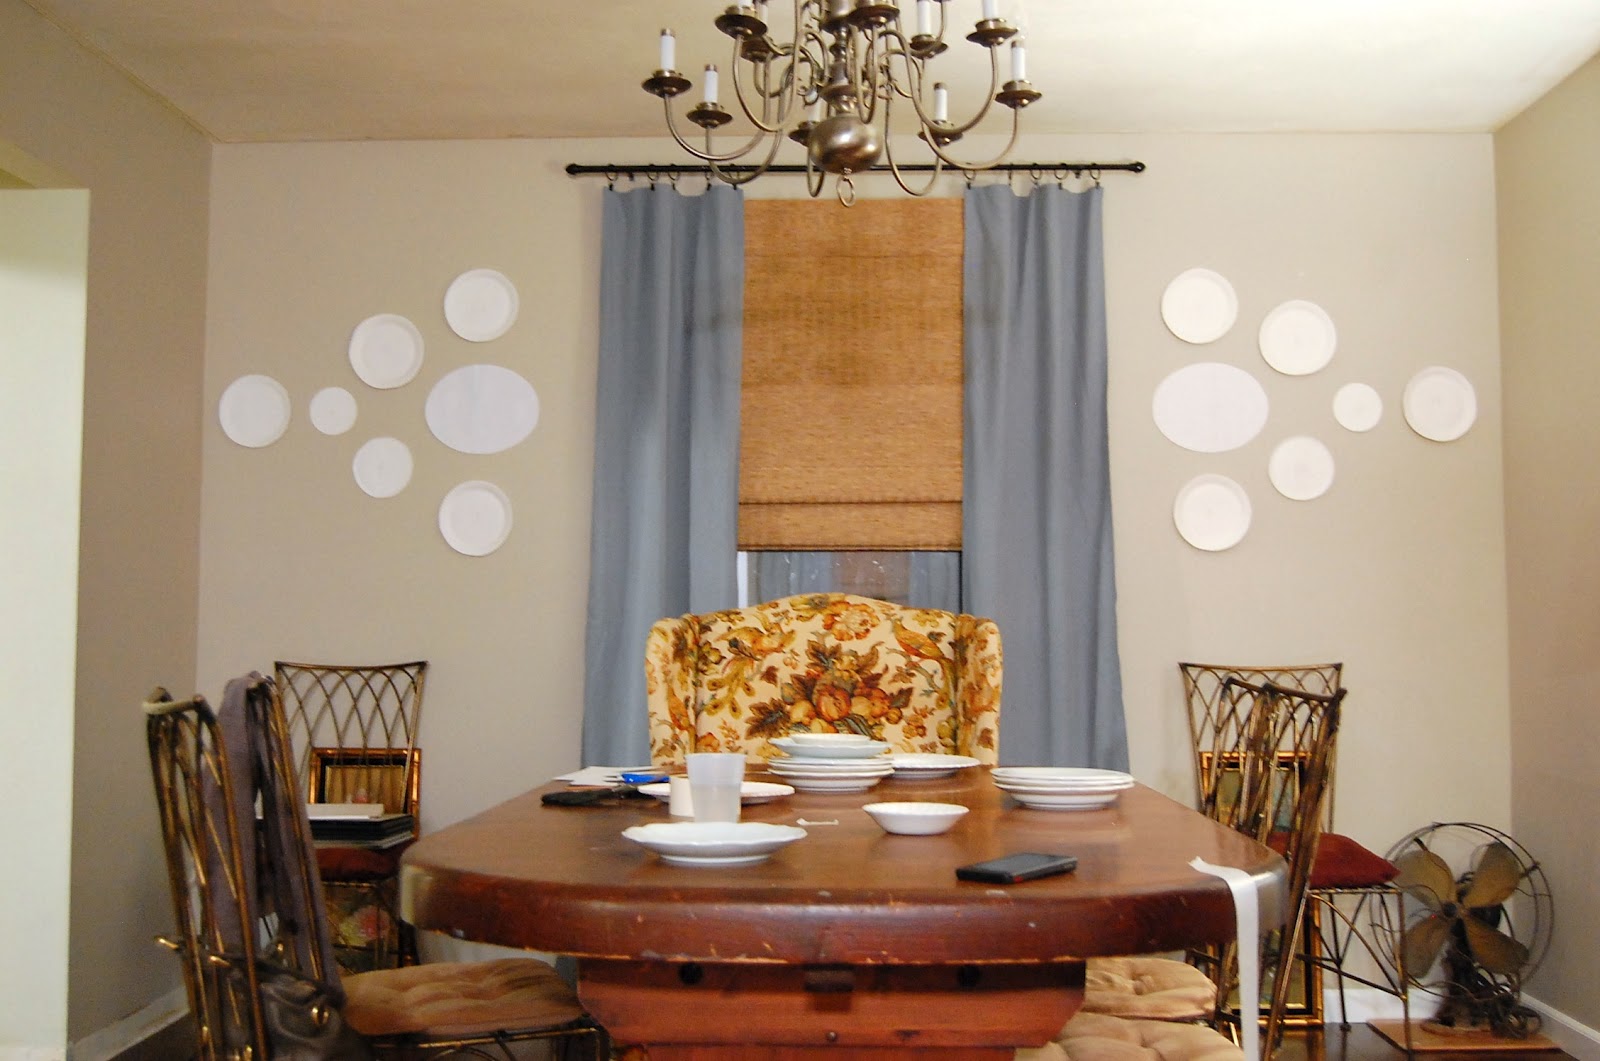
before…

painted playmat tutorial, DIY kitchen mat, Gorilla tape

after…

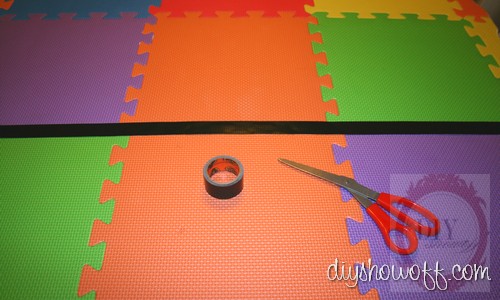
{painted foam playmat tutorial}

How to paint a foam playmat, floor mat, do it yourself, DIY, vintage restaurant sign, aged, distressed, lobster, beachy, New Orleans

It looks great there, doesn’t it?

DIY, tutorial, painted floor mat

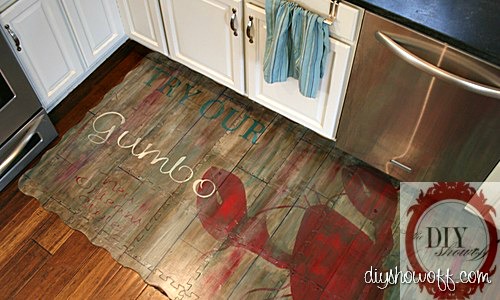
It really does. But, Mr. DIY is the cook and he’s not always neat, if you know what I mean. Food flies everywhere.  And you guys – it was just so pretty. I’ve never painted anything so large that came out so well and I just couldn’t let it get covered with food and smashed down by grown up weight and feet and ruined. I’m so proud of that painted playmat. I’ll make another for this area with a farmhouse theme, I promise.

In the meantime, we have this huge blank wall at the barn patio…

barn patio makeover

Know where I’m going with this? It can be affordable huge DIY wall art too and looks awesome here…

barn patio after

and just for fun, here is what this covered barn area looked like when we bought our house…

and now…

painted foam playmat

And there will be more projects here on this covered patio area {with better lighting and pictures} as I update this space. It’s great for entertaining: cook outs, picnics and bon fires. It’s a cozy comfortable place to relax and get away from the house too, to curl up with a good book with some privacy, even in the rain.

I love the way the playmat fills up the huge empty wall. What do you think?

DIY Show Off - FacebookDIY Show Off - TwitterDIY Show Off - PinterestDIY Show Off - Feed


Dining Room Plate Wall

I love the look of plate walls – a great way to fill a wall with so many options to fit your own personal style.

Meet: Hilary from My So-Called Home.

dining room before

Hilary shares my issues with indecision. What to put on the walls? She finally realized it would be better to put something there and change her mind later on than to do nothing at all. And of course, lots of Pinterest browsing helped, specifically these two lovely rooms:

Then her idea became a reality. Now all she needed was a whole mess of random plates and she knew exactly where to get them– the same place she scored her awesome campaign dresser. This place has more dishes so many dishes (how dreamy!) Most of the dishes Hilary got were about 50¢ each.

Hilary washed and dried and numbered (masking tape) her plates.

Secret: One of her plates is not actually ceramic but this sweet little incredibly tarnished silver dish that took a couple coats of primer and white paint to fit in with the rest.


Hilary found adhesive cloth hook hangers in the “hooks and hangers” section at Lowe’s.

Hilary used paper plates and paper patterns to create a template.

Before:

And After!


Who knew that a few thrift store plates could create such a big fun impact?

Hilary is also happy to report that three moons have passed since these plates went up and they’re all holding strong.

I love Hilary’s collection of plates. I also love every other dining room detail. A beautiful appetizing dining area.

Do you have a plate wall?

I have a dining room plate wall too. Let me clean up in there and I’ll share an update in the near future. Hilary, thanks for sharing your beautiful dining room, inspiring plate wall and tips for a hanging! Pop over to see more budget friendly LOVELY DIY at My So Called Home.
DIY Show Off - FacebookDIY Show Off - TwitterDIY Show Off - PinterestDIY Show Off - Feed


Styrofoam Convex Mirror Tutorial

I got crafty at the DIY Club recently. Loving most things Pottery Barn, these PB Found Parat Mirrors were on my birthday wish list but that day came and went and besides…

parat mirrors

they aren’t convex mirrors and the price tag of $79/each isn’t something I’d really want to spend. Lamps Plus has this LARGE convex beauty for $104. Definitely not in my budget.

convex wall mirror

I’ve always wanted to do something with convex mirrors so I decided to create a DIY version.

Materials:

  • Styrofoam 12″ wreath forms (I used 3)
  • DecoArt MagiKote
  • Dark brown spray paint
  • DecoArt Americana paints (Ebony and Traditional Burnt Umber)
  • Hot glue
  • 8 1/2″ Convex mirror (x3) affiliate link:
DIY convex mirror tutorial

Tutorial:

1. Using a foam brush, coat the top and sides of Styrofoam wreath form and let dry.

The DecoArt MagiKote seals the Styrofoam, creating a paintable surface.

Without on the left, MagiKote on the right…

2. Give each Styrofoam wreath form 2 coats of spray paint (dry between coats).

3. Remove brackets from back of convex mirrors.

4. Attach convex mirrors to center of wreath with hot glue. I used hot glue on the back of each mirror. Once in applied to the Styrofoam in the center, I used hot glue around the perimeter of each mirror too.

5. Touch up with Americana paints.

6. Let dry and hang using Command velcro strips.

What do you think?  {besides the fact that the top one is a little off?!} It’s okay. They’ve since been moved and are now aligned.

I love them as they were but I can never leave well enough alone so I’ve done a little embellishing using beaded garland (attached with hot glue)…

beaded detail on DIY convex mirror

My convex mirrors are hanging using Command Velco Strips.

DIY convex mirror

These will go in our master bedroom makeover but for now I’m liking them here, in the family room

DIY convex mirror tutorial

…until next week when you’re likely to see them moved again. It’s a sickness. I just love rearranging. You know you do that too right? . . .

They’d look fab horizontally displayed too!

DIY convex mirror project

Like this project? I’d love for you to share! 

DIY Show Off - FacebookDIY Show Off - TwitterDIY Show Off - PinterestDIY Show Off - Feed


DIY Club