DIY Holiday Wall Decals

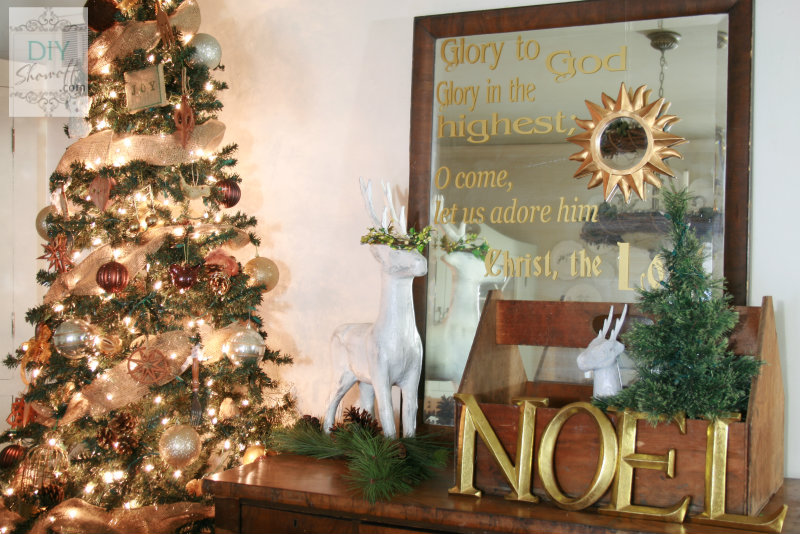
DIY vinyl holiday wall decals are perfect for adding some festive touches to existing decor during the holidays. Great for making new decor too! Last year I added gold vinyl lettering to a large mirror (Glory to God in the Highest).

Christmas Dining Room 2012

Christmas mirror

I also love using vinyl lettering to create signs or to place directly on the wall.

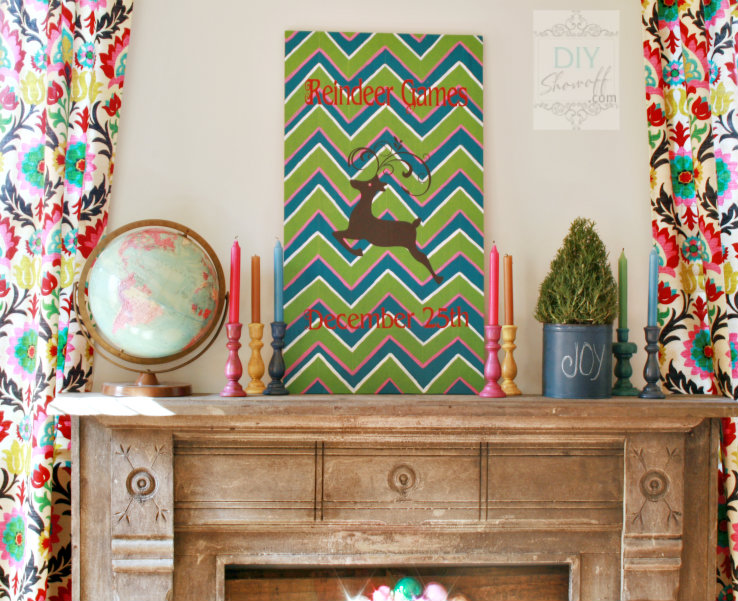
Reindeer Games Sign Tutorial

DIY chevron Christmas Reindeer Games sign

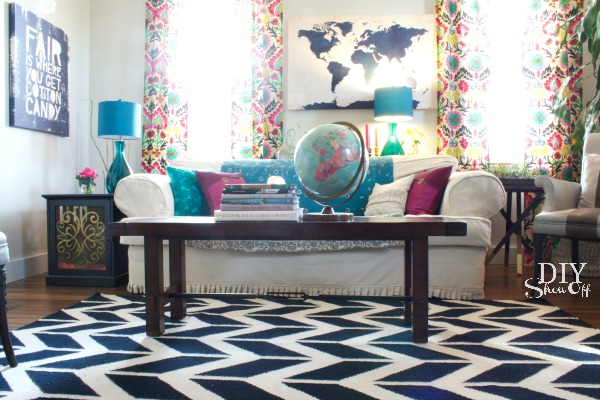
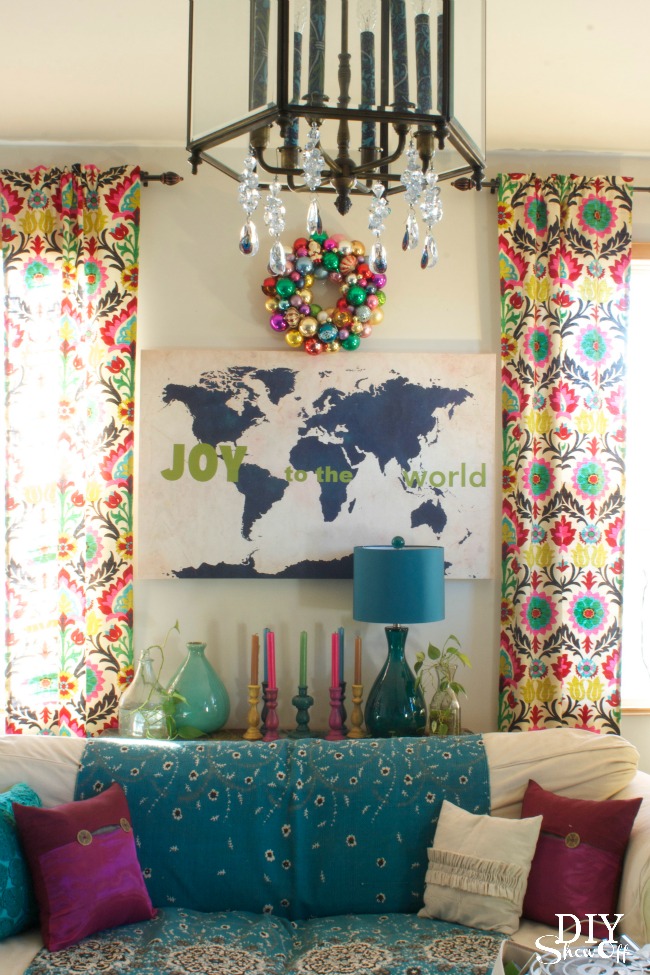
But this year, I have a large world map in the family room. I tested the vinyl on the canvas and it didn’t cause any damage so this project got the ‘green light’ for me! Yay! (Please do your own test before applying vinyl directly to canvas or art work.) If it didn’t work, plan B was to use vinyl lettering on a wood plank sign for above my canvas. or to add vinyl lettering to a laminated map poster. 

before {family room makeover}

family room makeover

MaterialsI used:

Tools: 

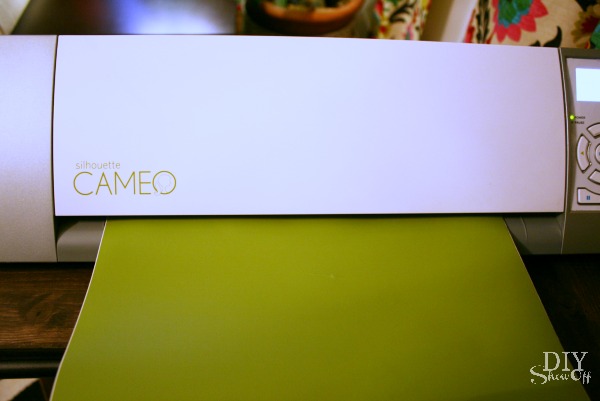
  • Silhouette Cameo

What I did:

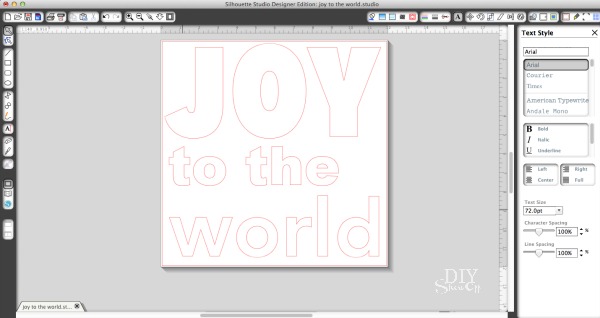
I created my lettering for “Joy to the World” using my Silhouette Studio software.

Joy to the World Christmas lettering

*Incidentally, there is a nearly identical ‘world shape’ as shown on my canvas, so you could also cut out vinyl continents in any color and apply directly to the wall or onto a large piece of plyboard to create your own overall “Joy to the World” wall decals. 

Load the vinyl into the Silhouette Cameo color side up. 

Happy Crafters Tutorial

Adjust the blades as needed and send design to “cut”. 

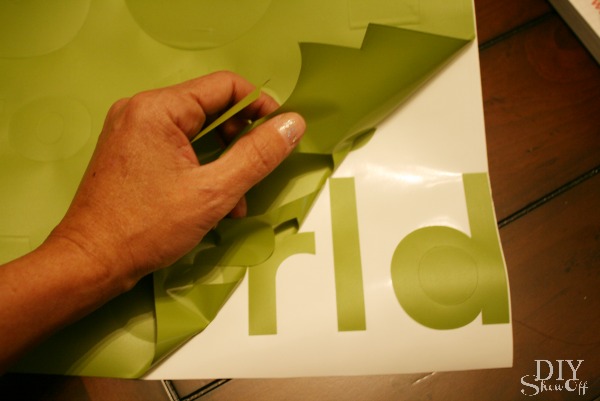
Remove vinyl from machine and weed away negative space around lettering and centers from the letters o and e.

Joy to the World vinyl wall art

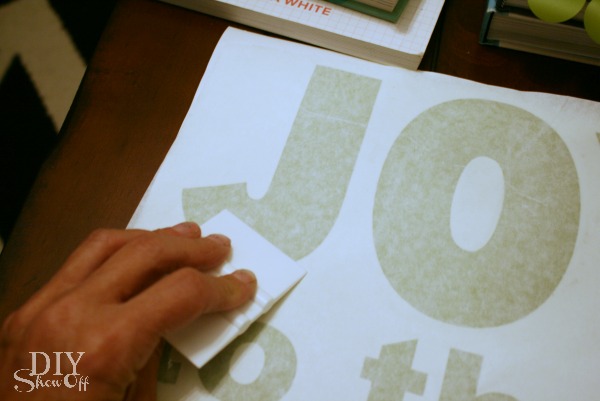
Place transfer paper over the design and rub with a credit card. 

Joy to the World vinyl wall art

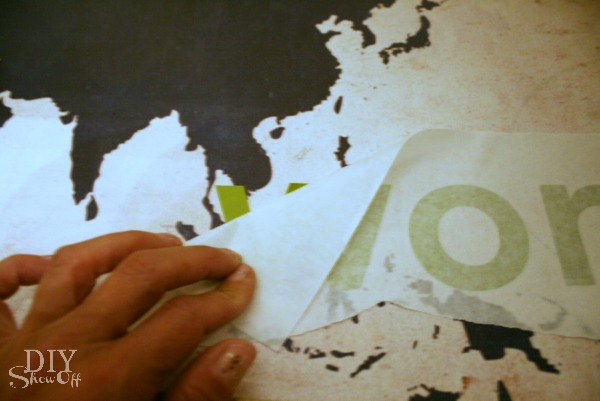
Peel away waxpaper backing from lettering. If letters are sticking to the wax paper, replace transfer paper and rub again. Sometimes I have to use my thumbnail to help the vinyl transfer.

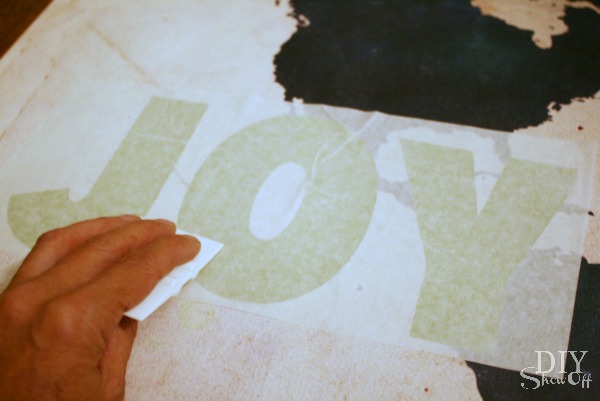
Place vinyl design with transfer paper onto the canvas.

Tricky! Rub the design without stretching the canvas. I supported the back side of the canvas with a book before rubbing. 

Joy to the World vinyl wall art

Peel away transfer paper. 

Joy to the World vinyl wall art

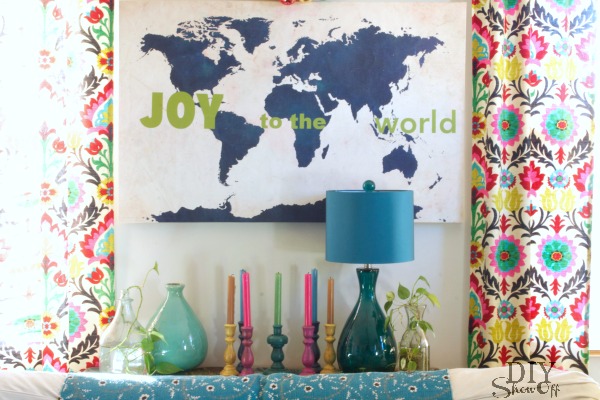
All done!

The best part is that I can remove the vinyl letters after the holidays without damaging my printed canvas (remember to test your art before attempting this – or create a specifically designated piece for the holidays). 

Joy to the World Christmas wall art

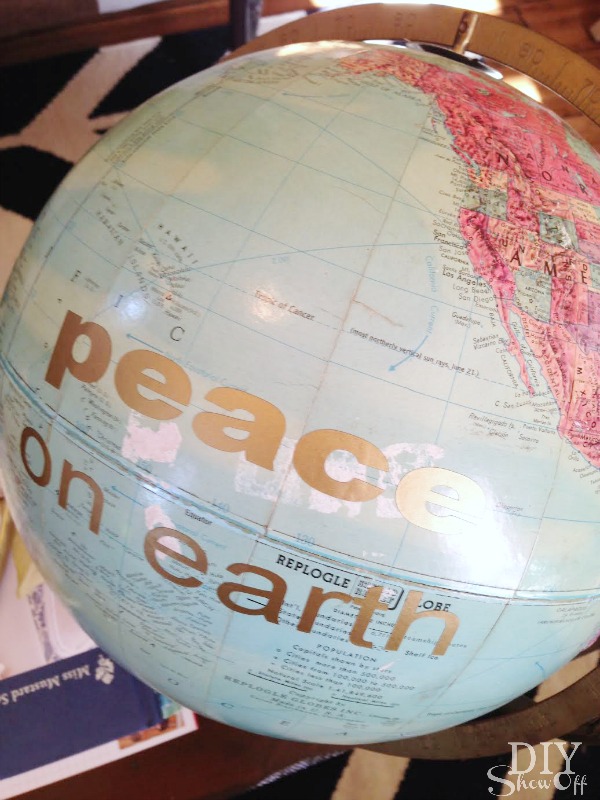
I also added “peace on earth” to my globe to help camouflage the area where numerous price tag stickers removed the map paper…

peace on earth globe

How are you adding vinyl to your holiday decor this year? 

Joy to the World Vinyl Decals on Map

*This post is sponsored by Happy Crafters. Tutorial, experience and opinion is my own. 

HClogopngsmall

Iron On Vinyl Applique Tutorial

Hello DIY friends! We’ve been working on creating a recycled brick patio and path under the grape arbor/gazebo and I’ve been doing some crafty things before we initiate project Laundry Room Makeover. 

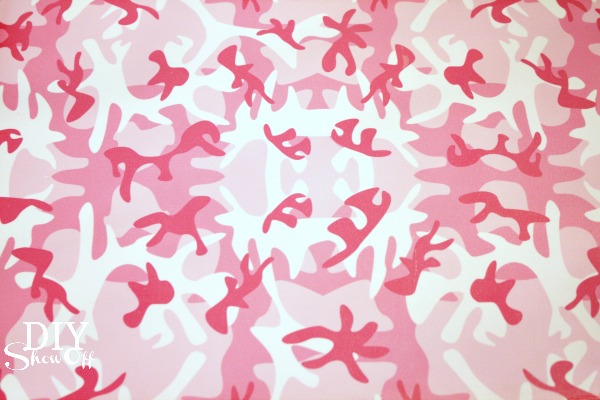
Happy Crafters sells patterned iron-on vinyl. Isn’t that so cool?! Patterned! Houndstooth and polka dots…I see more personalized gift ideas in my future. 

Iron On Vinyl t-shirt Tutorial at diyshowoff.com

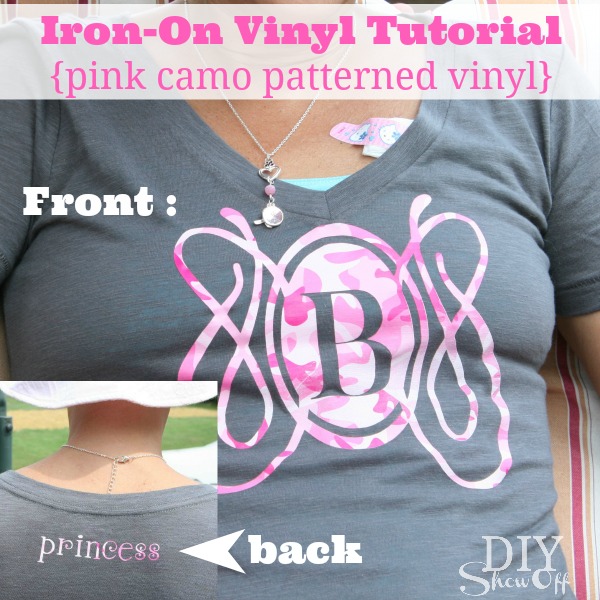
When I saw the pink camo iron-on vinyl at Happy Crafters, I knew I had to have it even before I knew what I’d do with it. You’re either a camo person or not. It’s not my style but several of my sister’s items of clothing have a camo design. And since she’s currently undergoing chemo for breast cancer, “pink camo” seemed perfect for creating her a special little gift. Her days are filled with not feeling so well, so comfort is key and I decided on personalizing/monogramming a t-shirt.

Iron On Vinyl t-shirt Tutorial at diyshowoff.com

Materials:

Tools I used: 

  • Silhouette Cameo
  • Iron

Tutorial:

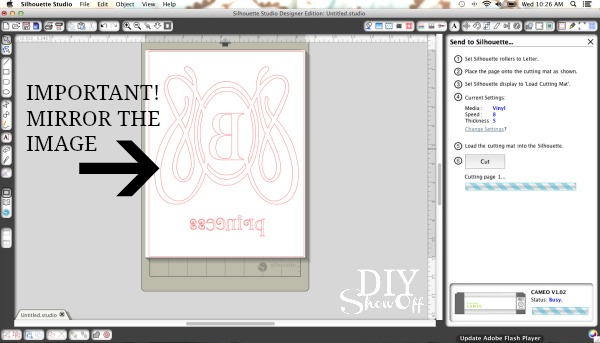
1. I started by creating and sizing my design using my Silhouette Design Studio software. I had purchased a fancy letter “B” for another project which worked well…all scroll-y. Perfect and reminiscent of cancer ribbons. I also spelled out “princess” for a little extra embellishment. REMEMBER TO MIRROR YOUR DESIGN (right click, “flip horizontally”)! 

mirror image vinyl design

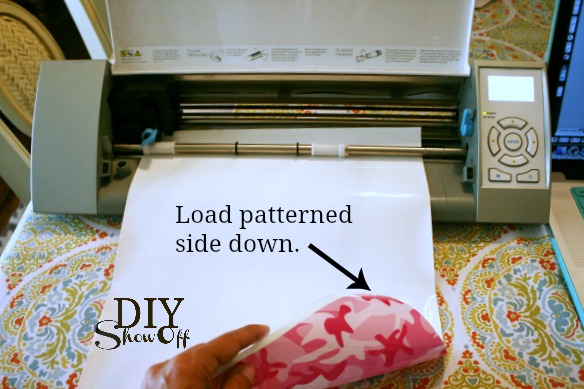
2. Load the vinyl patterned side down into the machine. 

Iron On Vinyl t-shirt Tutorial at diyshowoff.com

3. Settings for cutting the iron on vinyl are blade 2, speed 8, thickness 5. Then I simply sent the design to ‘cut’. 

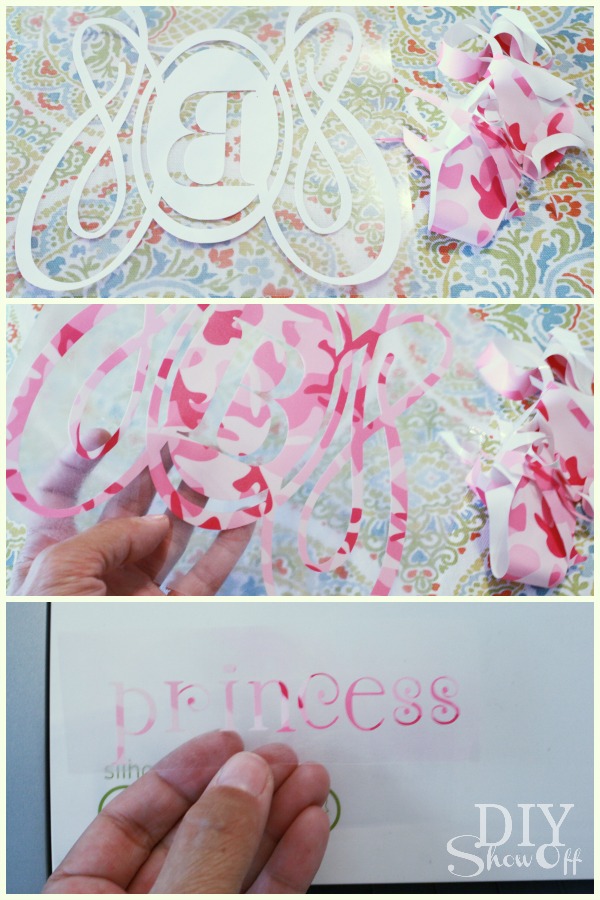
4. Once the cutting was done, I weeded (removed) the excess vinyl that’s not a part of the design. 

Iron On Vinyl t-shirt Tutorial at diyshowoff.com

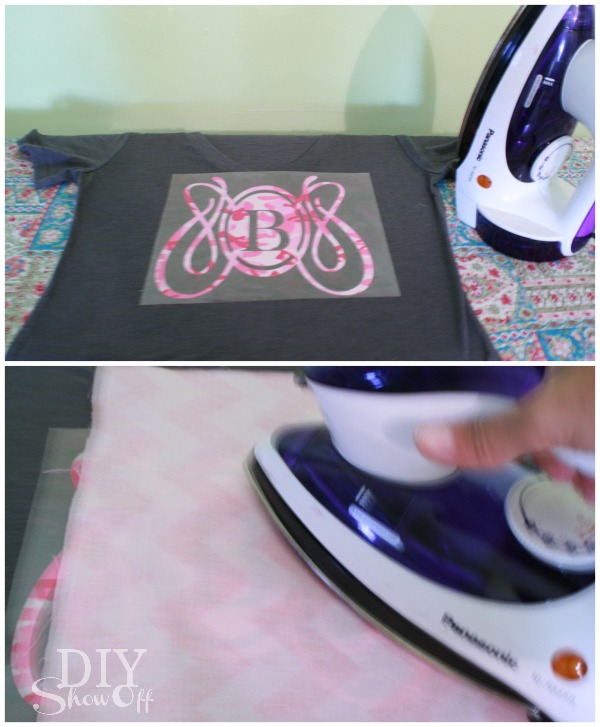
5. Place design onto t-shirt. 

6. Cover design with a cotton dishcloth. I used a scrap piece of cotton fabric. Iron on high, pressing down 25-30 seconds on each part of the design (no steam).

Iron On Vinyl t-shirt Tutorial at diyshowoff.com

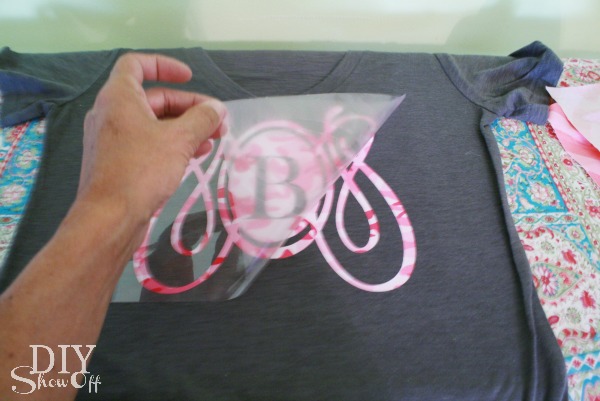
7. Remove the transparency. (If the design lifts too, then place the transparency back into place and iron again.)

Iron On Vinyl t-shirt Tutorial at diyshowoff.com

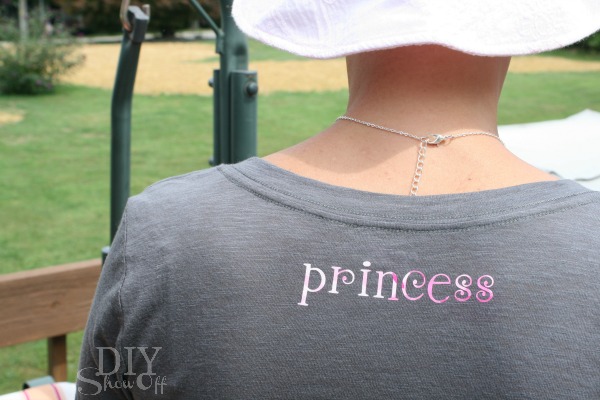
That’s it! Easy! I repeated the same steps to adhere “princess” near the neckline on the back of the t-shirt…since she doesn’t have hair covering that area right now. Here’s my sister rocking super model bald and wearing her new t-shirt…she’s such a good sport since this was right after her chemotherapy. 

Iron On Vinyl t-shirt Tutorial at diyshowoff.com

Iron On Vinyl t-shirt Tutorial at diyshowoff.com

I really loved working with this vinyl. It has sort of a “rubbery” texture. Great for making personalized gifts. Check out the other patterns too!

*This post is sponsored by Happy Crafters. Tutorial, experience and opinion is my own. 

HClogopngsmall

Decorating a Lamp Shade with Vinyl

Lamp Makeover

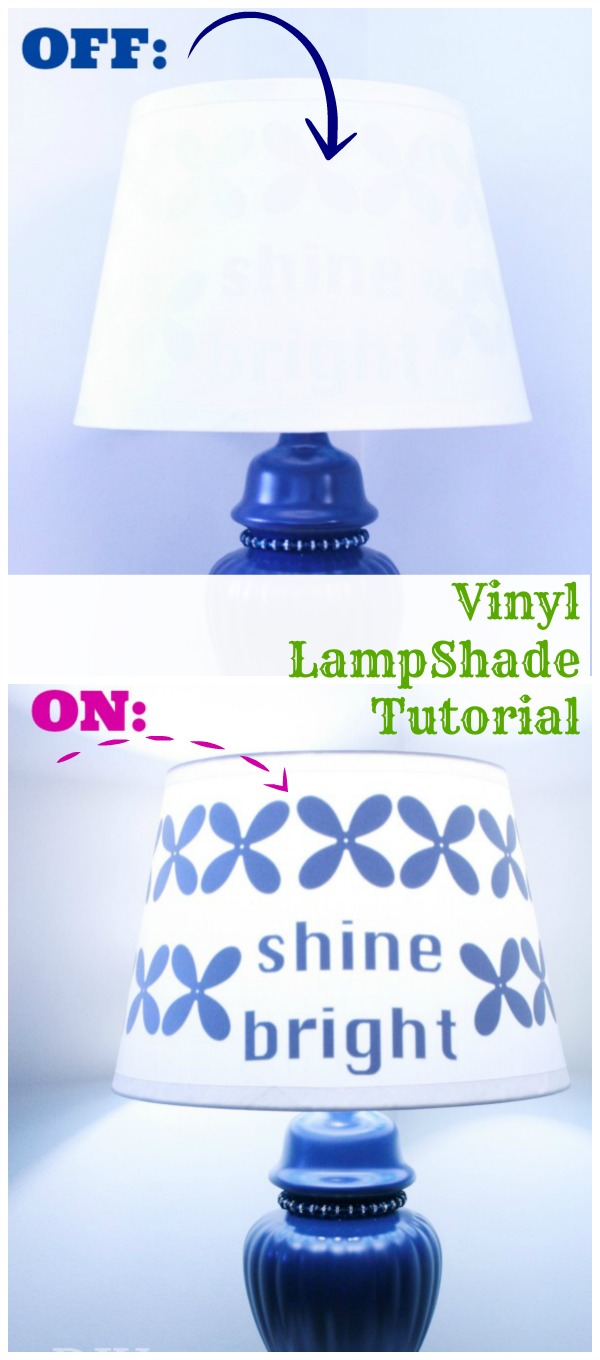
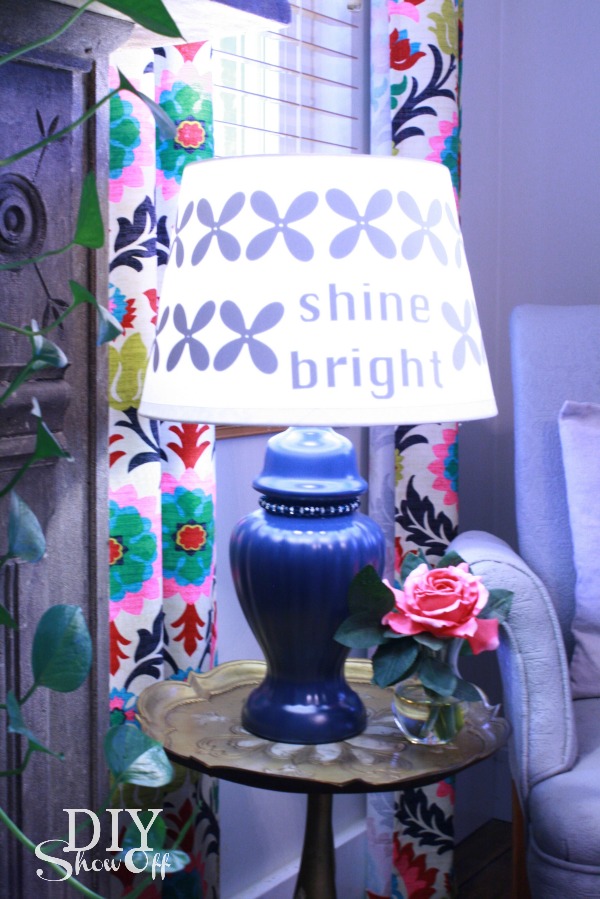
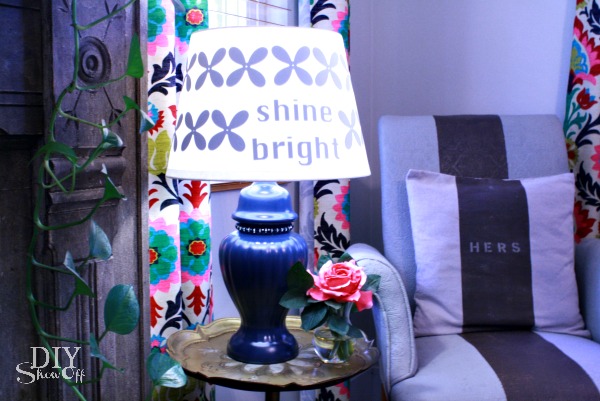
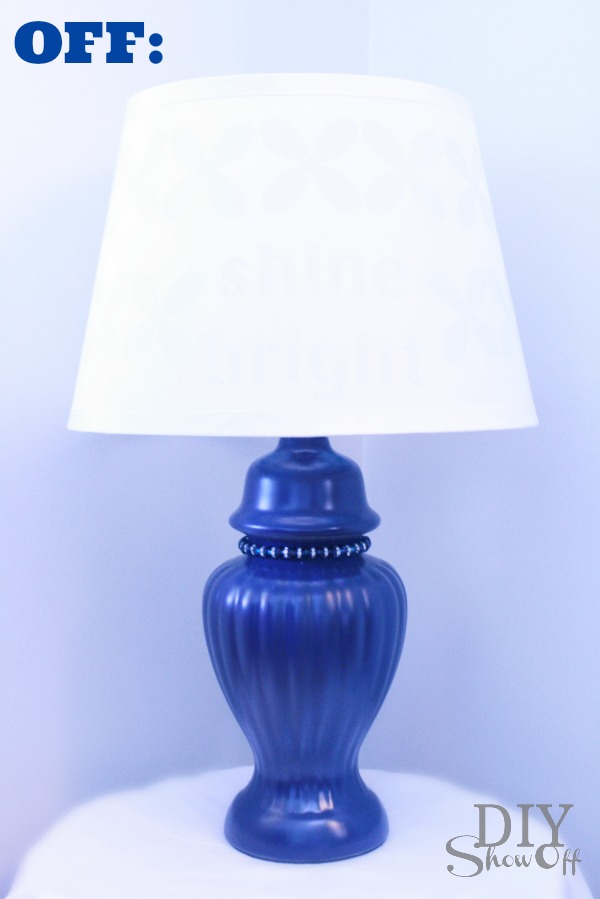
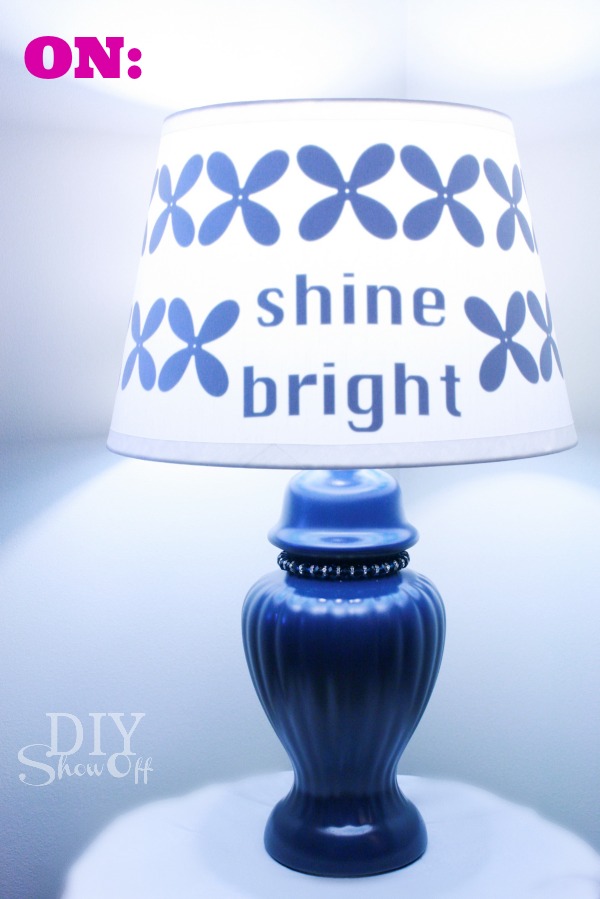
Plain white lamp shades are the perfect clean slate for adding a little DIY color and pattern to a room. I used vinyl on the inside of my shade to make it a little more special. When the lamp is turned off, the design is subtle, almost invisible but when the lamp is turned on, there’s a sweet little reminder to “shine bright”.
vinyl lampshade tutorial

Materials I used:

lamp shade and vinyl

  • old lamp
  • FrogTape® Multi-surface
  • spray paint (Valspar Indigo)
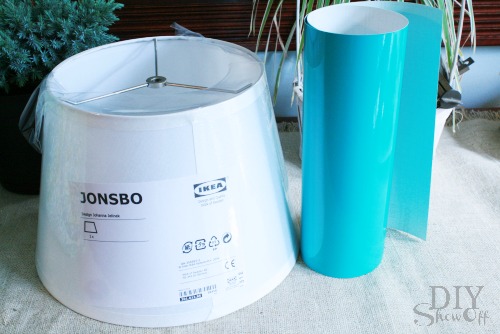
  • Ikea Jonsbo lamp shade
  • Glossy adhesive vinyl (turquoise) from Happy Crafters
  • optional: elastic gemstone bracelet

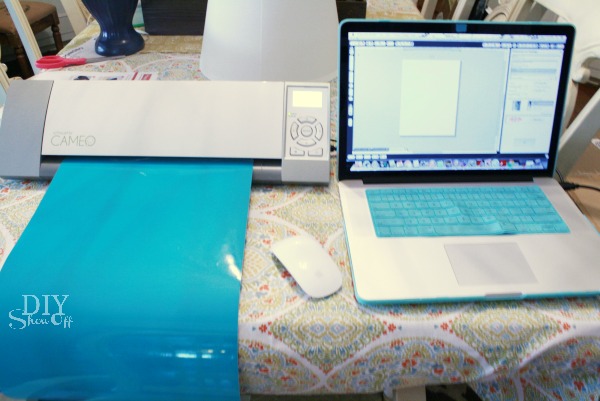
Tools: Silhouette Cameo

How I did it:

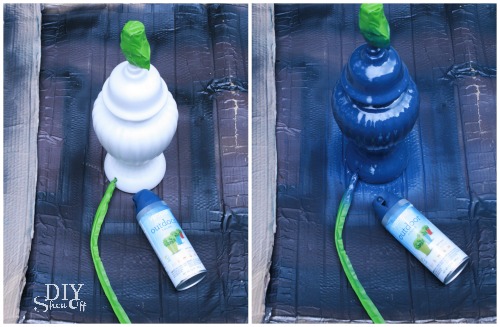
After taping off the light socket and cord using FrogTape®, I spray painted my old lamp a pretty navy and let it dry. Then simply removed the FrogTape to reveal a nice clean cord and nice clean switch and socket. 

spray painting lamp

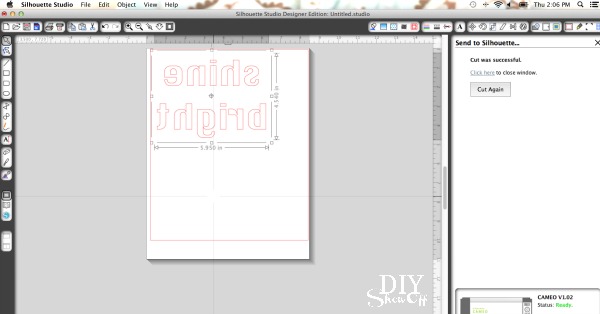
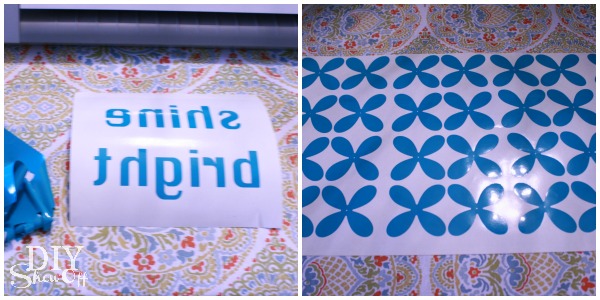
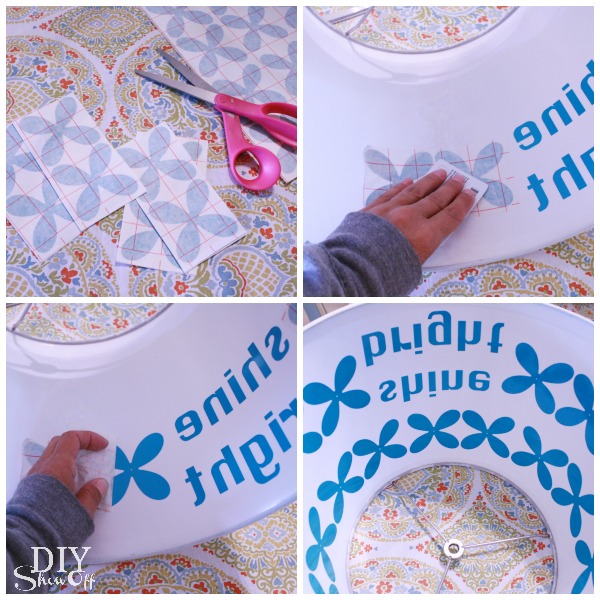
For the vinyl wording: I created my lettering in the Silhouette Design Studio. Be sure to right click the text when finished and “flip horizontally” so it shows backwards. IMPORTANT: MIRROR IMAGE the TEXT!

mirror image text

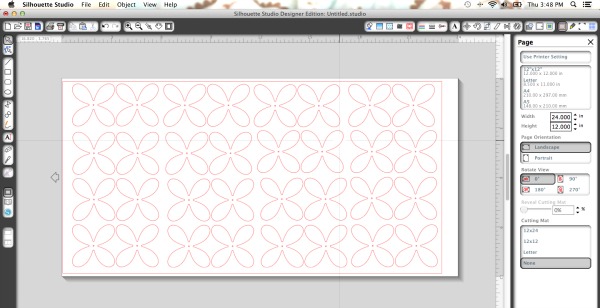
I also used a flower garland shape for my design in addition to “shine bright”. 

vinyl flower design

I sent both to my Silhouette Cameo to “cut” once I adjusted my settings for vinyl. If you don’t have a vinyl cutter, you could also use vinyl decals if the design looks the same backwards (remember: text must be flipped horizontal/mirror image for this project).

Silhouette Cameo tutorial

I then removed all of the unnecessary vinyl from my designs by weeding away the vinyl that isn’t a part of the design…

vinyl lettering and design

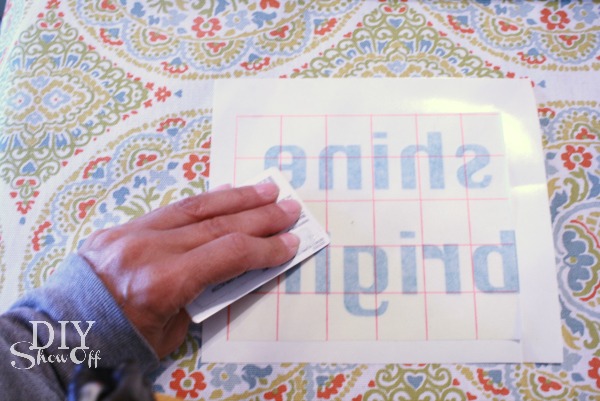
and added the transfer paper. 

Happy Crafters vinyl

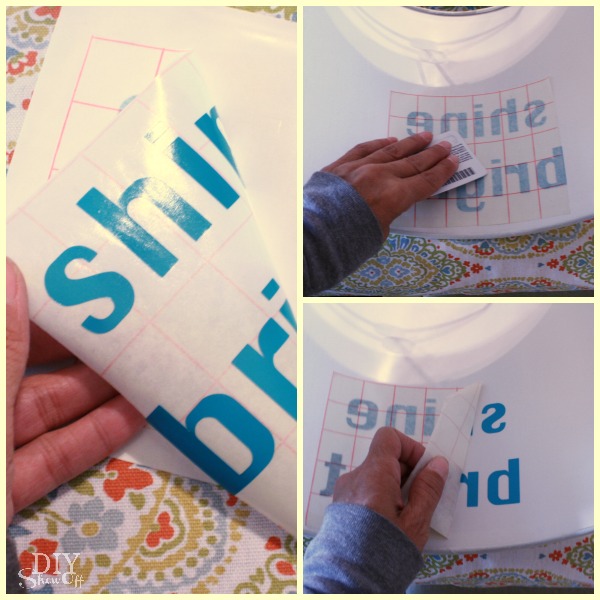
I removed the waxpaper backing and placed my designs on the inside of the lamp shade. I used a credit card to rub down the design for transferring. Then I removed the transfer paper. 

applying vinyl to lampshade

Note: I found cutting and adding my flower design in sections of two to be the best way with the rounded/tapered lamp shade. Keep vinyl pieces individual/smaller sized to go around the curved lampshade to prevent wrinkling when applying. 

applying vinyl to plastic lamp shade

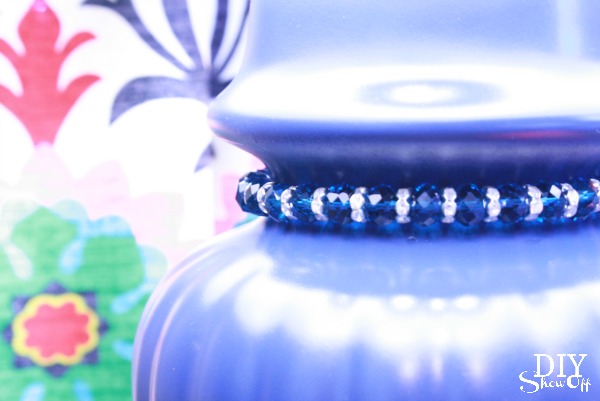
I added the turquoise bracelet for a little additional bling. 

accessorizing lamp

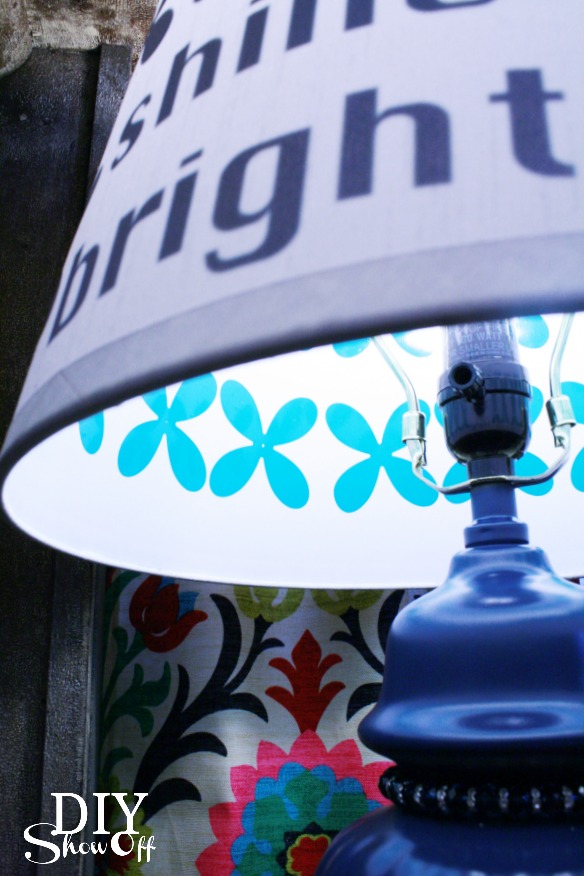
Here’s a shot of the inside and outside. I do love how the turquoise vinyl lettering on the inside shows navy-ish on the outside. I couldn’t have planned that better if I tried!

inside outside of lampshade

It’s perfect on a side table in our family room for a little extra reading light…

lamp makeover

lamp makeover

Lamp off… 

lamp makeover

 Lamp on…

lampshade makeover


NEAT! Love it! I also thought “Note to self: Relax.”, a monogram or a damask pattern would have been pretty. What would your lamp shade say?

FrogTape Blog Squad*This is sponsored by FrogTape®. FrogTape provided by Shurtech. The opinions are completely my own based on my own experience. 

Happy Crafters supplied the vinyl for this sponsored blog post.

 HClogopngsmall