This week Bri and I ventured to a {LARGE} antique shop in Beaver Falls, PA called Antique Emporium. I’m pretty sure I’ve been there before, but before a major re-organization. If I have the place right, before it was packed full from floor to ceiling and quite chaotic (I love that kind of place – where you have to get dirty and dig for treasures and decide you want to see the vintage lamp that’s on top of an armoire sitting on top of a dresser) but this day, in this place, everything was organized into awesome groups. It was still packed from floor to ceiling on all three levels
{3 floors!}
every one of over 100,000 antiques neatly in their place.
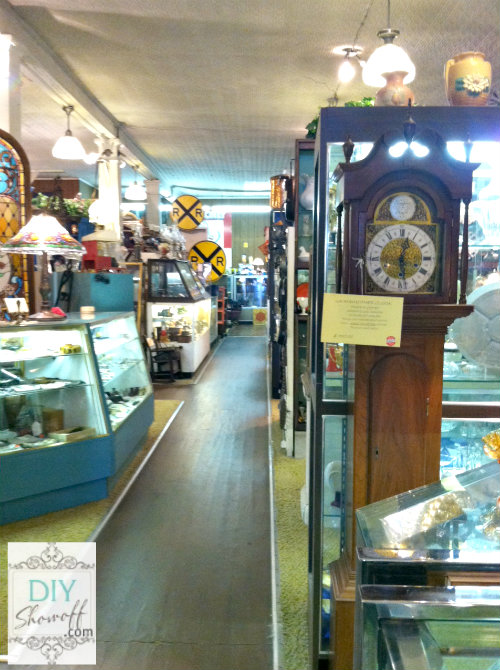
It’s the kind of place where you wish you were a contestant in a shopping game. Imagine running through the all those aisles upstairs, down stairs and in my lady’s chamber (remember that frightening nursery rhyme: Goosey Goosey Gander?) filling a shopping cart! Dreamy! But then, stairs (the nursery rhyme!) are not ideal shopping cart terrain, and I’d trip and get scraped knees and a broken arm and knock down the Hummel display {how sad!} and security would not so kindly escort me out and there was a heavy downpour going on with super scary lightening and exploding thunder, so I controlled myself and maintained a leisurely normal person’s stroll up and down the aisles instead, ’cause it’s a classy antique emporium and not a candy shop and I’m a grown up, not a kid.
So…Upon entering, we were welcomed by the friendly clerk and given instructions detailing the 3 {THREE!} floors of antiques (I almost wanted to ask for a treasure map so I could mark “X’s” on where I wanted to go). We were invited to help ourselves to the wine bar…don’t mind if I do! Although I didn’t…it was still before noon after all and that fear of wine+stairs+crashing hummels shattering into 100,000 pieces…no wine for me.
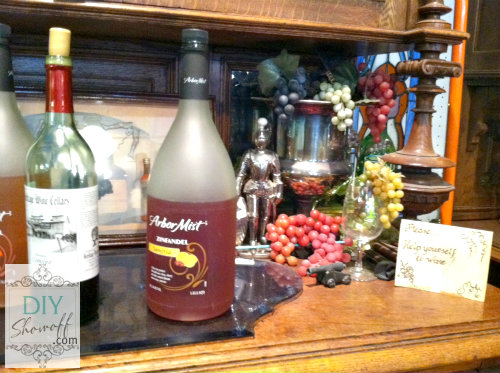
Here are some pictures I managed to sneak in with my i-phone. Doesn’t it make you all nervous to whip out your big ‘real’ camera, set up your umbrella lights and re-arrange the decor? Oh, another dream. haha! I always feel like I have to be sneaky because more than likely – I’m the one being filmed looking all suspicious with my camera-phone, glancing over my shoulder to make sure no one is watching me snap inconspicuous pictures for the sake of blogging.
antique settee {drool!}…
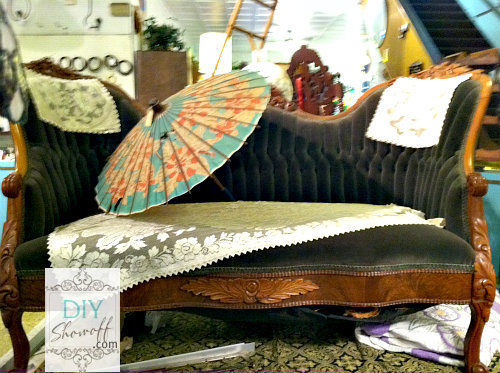
However, I’m sure the friendly, knowledgeble owner – or as we like to refer to him now after our tour around the store, our good friend, Jim, wouldn’t have minded in the least.
Jim was super helpful in answering our questions as well as pointing out favorite antiques and entertaining us with “Jim humor” and interesting stories behind certain treasures. 100,000 antiques and 100,000 facts in that guy’s head. Amazing.
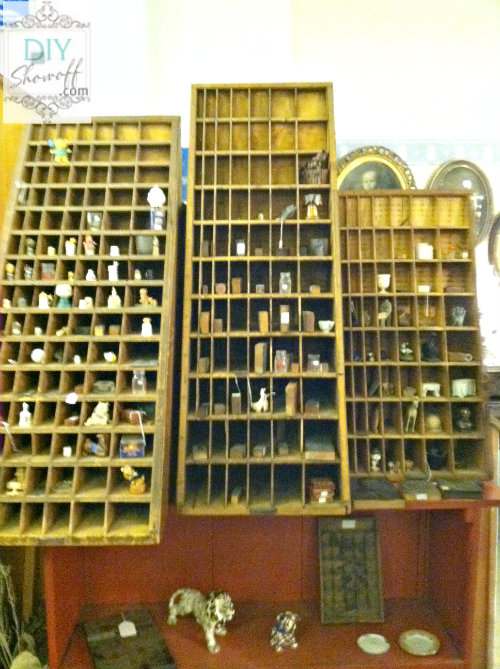
Bri really wanted one of these antique printer shop racks but they served a ‘small world’ display purpose and weren’t for sale (well, everything has a price…just not in her price range). They’re not the print shop drawers that we love to use as shadow boxes, they’re more like pieces of furniture, sort of like a leaning cubby shelves.
Something for everyone…
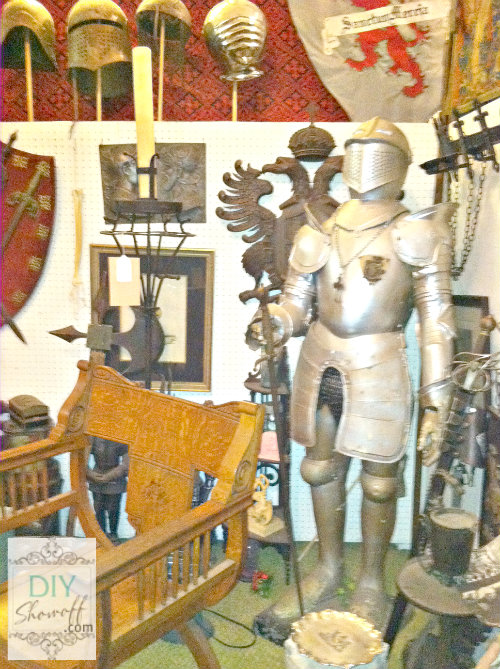
Medieval antiques…I had my eye on a crown. Shining armor without the knight.
Plenty of home-making gadgets from the 1800s including antique apple corers, hand mixers, old washboards and wringer washers, rug beaters, meat grinders…all for women. Makes me oh-so-thankful to be living in modern times!
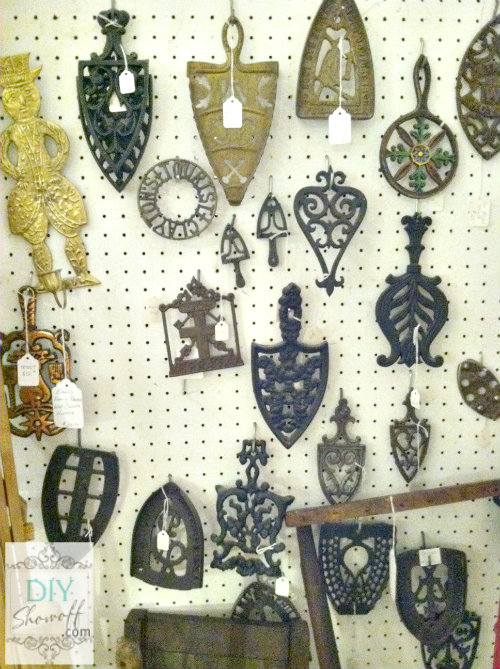
antique trivets
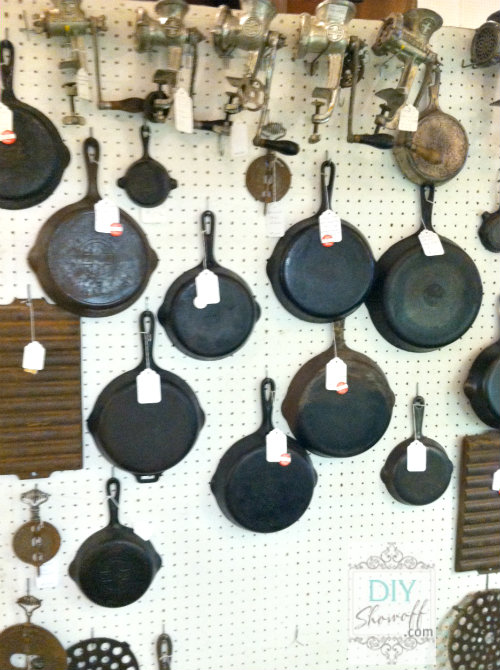
Cast iron skillets and a few baffles. Baffling!
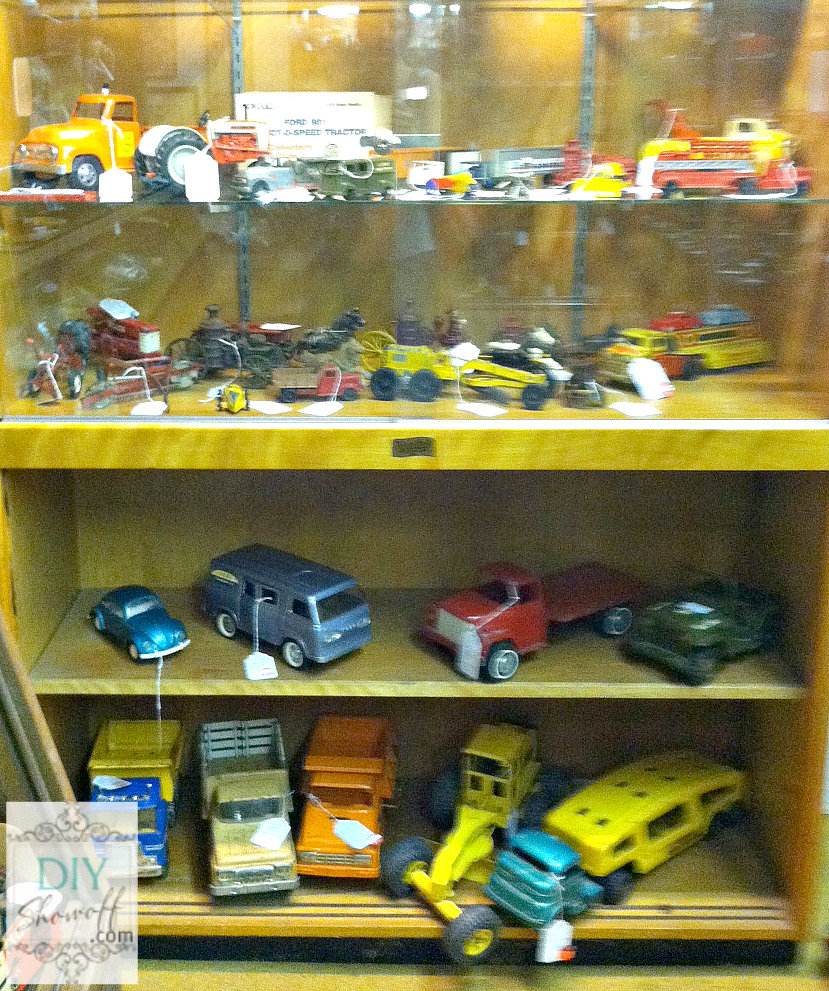
We contemplated taking home an antique toy truck…
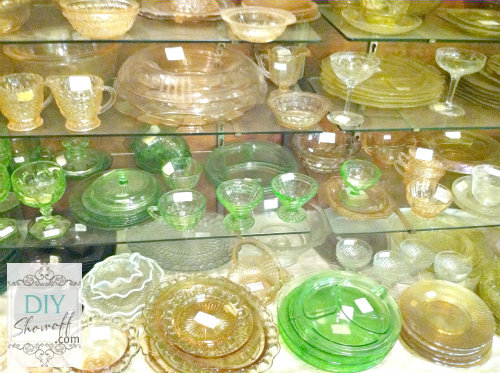
I wanted to dig out my dimes and play carnival games to win this pretty antique depression glass but fought the urge (remember carnival coin toss or am I showing my age?)…
Lots of lanterns…
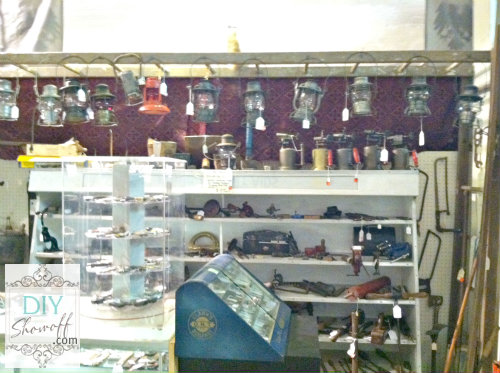
Are you an antique geek {I mean that in a flattering and positive way}? We love antique and vintage for decorating and collecting but not for ‘museum’ style display. I mean, if I found out I owned something really rare and worth a gazillion dollars, I’d ‘freak’ like I won the lottery but there might be the chance that I cleaned it wrong or broke it or gave it a distressed paint technique or repurposed it so for the most part, we collect old cool things no one wants or things that have little value. We’re okay with that. 🙂
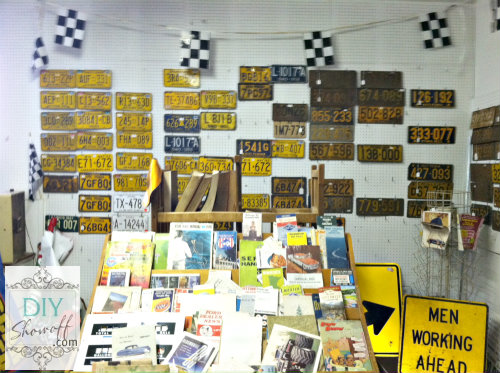
road signs and license plates…
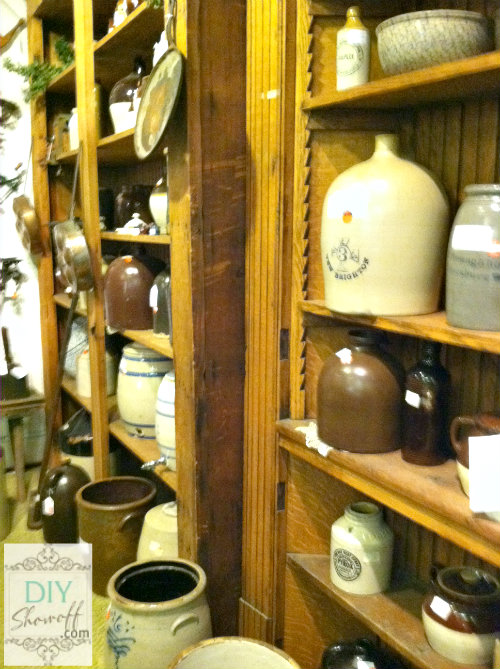
antique crocks…
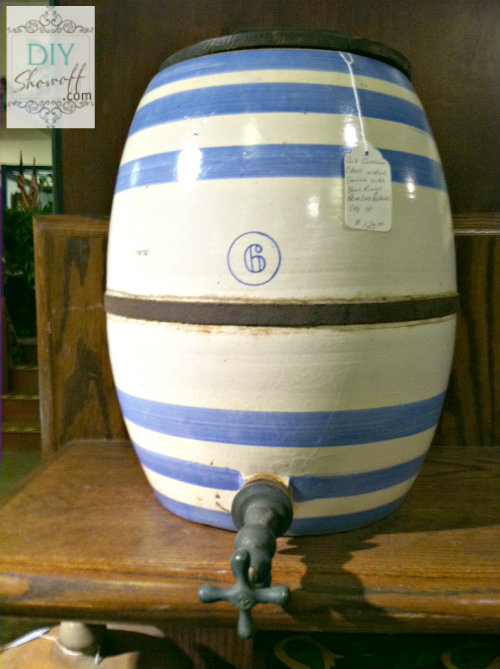
What a crock! I love this one! But the price was a little steep at $125 considering I just purchased an old milk can with spout for $15 at a yard sale a month or so ago, I wanted it but I didn’t “need” it…
{hummels unbroken!} and so many antique clocks.
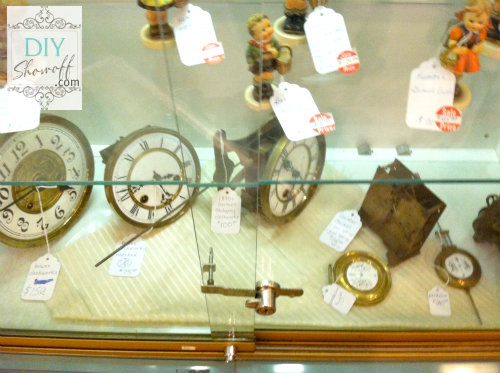
What else did I see? Too much to mention!
- Collector’s items like “Coca Cola” and Santa, even “dogs”
- Shining armor without the knight
- Antique doilies and lace
- Antique radios and old records
- Vintage ceramic animals – elephants are a sign of fertility so I quickly moved on.
- Vintage keys
- Pocket watches
- Antique tins and baskets. I love these types of storage possibilities, but these were rare tins and baskets…pricey.
- Antique prints, art and posters. Bri snagged a framed vintage ad. Forgot to get a picture though.
- Vintage mason jars – love!
- Old crates – more love!
- Estate jewelry – I love vintage jewelry, especially watches.
- Antique cameras and photographs.
- Antique morgue accessories! Oh yes I did but didn’t nose around too long in that section!
- Vases and urns
- Vintage Barbie dolls and dolls
- Vintage hats and mufflers, even boots and a few dresses
- Plenty of electric fans – no a/c and it was hot hot hot in there!
- What didn’t I see?! I don’t know! I think they had it all!
So what did I buy? It was antique overload and believe it or not, I only purchased one thing. The price wasn’t too bad (think of what it’d cost at Pottery Barn or even TJ Maxx). I spent $50 for this GINORMOUS beautiful Victorian terrarium…
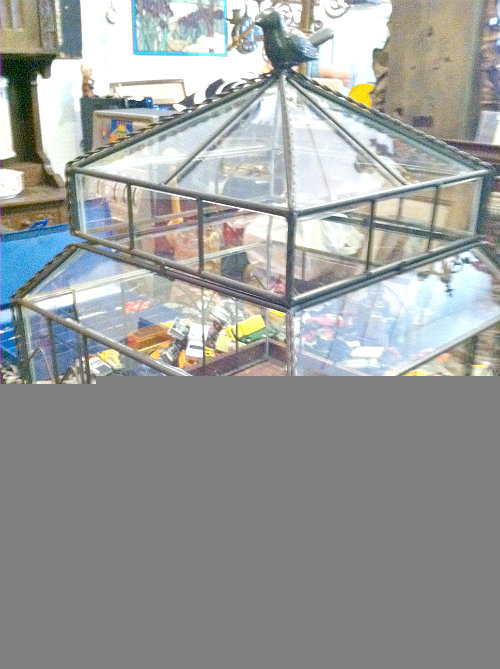
{Thank you, Jim, for braving the torrential downpour to haul this to my car for me!}
Ideas?
- Reptile cage (highly unlikely since I’m not really a reptile loving kind of girl).
- Repurposed bird feeder. I’m sort of upset with the birds around here for their use of the bathroom in my pretty barn patio so no rewards for birds any time too soon.
- Display case. Since I didn’t find an antique crown for my not-so-royal head…probably not. I could fill it with my clock collection though!
- Bakery case. Bakery goodies! Yum! But, gasp! Chocolate fingerprints on glass! No thanks! Okay, for real…with my sweet tooth, it’d be displaying sugary crumbs more often than goodies.
- Kitty time out chamber. Just kidding!
- Vignette under glass – I probably will do this with it on occasion since I love to re-arrange and decorate. Something pretty for Christmas with faux-snow and pine!
- aTerrarium! {ding.ding.ding.ding.ding! We have a winner!} A plant house (that’s what my receipt reads) Original, no? I’m thinking the cutest little fairy garden with pretty plants, a little path, a fairy, a butterfly, glitter dust, a bottle of Alice’s “drink me” to ‘shrink me’ so I can wander along the pretty paths and nap under a mushroom.
All of this dreaming today, huh? I promise you that none of the following were consumed while writing this post: Wine. Mushrooms. Glitter. I claim a little exhaustion combined with paint fumes. 😉
What would you do with it?
See more thrifty treasures at Rhoda’s:
If you’re local and want to check it out, here’s the scoop:
Antique Emporium
818 Seventh Avenue
Beaver Falls, PA 15010
75 Dealer Booths on 3 Floors
Over 100,000 items ~ 28 years in business
No Crafts & Few Reproductions
See what I’m doing with it and where it’s going coming soon!
*This is not an advertisement. I’m not affiliated with Antique Emporium or being paid to write this post. I’m just sharing our antique adventure and my thrifty treasure.
May you’re weekend be filled with thrifty treasures!


