Decorating Ideas Made Easy ~ Beautiful Master Bedroom Makeover

Hi DIY friends! I’d like to introduce you to Jennifer from

Decorating Ideas Made Easy

Jennifer’s website is all about teaching others about interior decorating on a budget and she also runs a blog where she highlights different projects. It’s so fun ‘e-meeting’ others who share our love of decorating. Jennifer is also an interior decorator, and runs her own business. I’ve enjoyed browsing the links on her side bar.

decorating ideas made easy

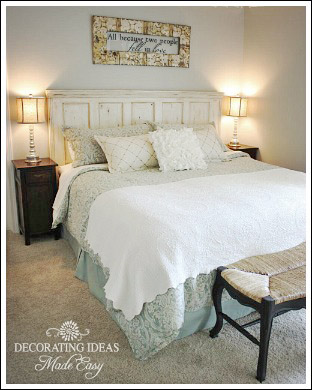
Today she is sharing her beautiful master bedroom makeover which started with beige walls and two pieces of faux finished furniture. Jennifer was ready for some soft color and a calm relaxing retreat. She started with choosing a “Gray Shell” by Porter Paints for the walls because of it’s blue undertone.

rustic beach bedroom

{the headboard is an old door!}

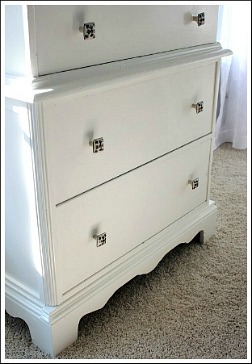
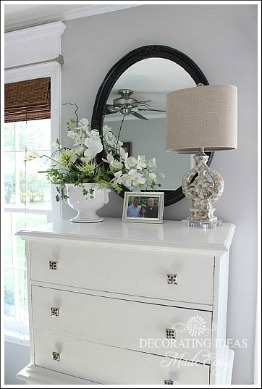
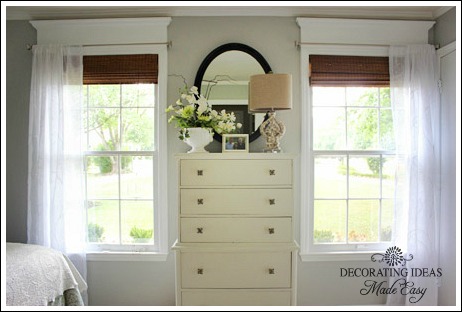
Then she painted her furniture white to create a clean and fresh look and purchased bamboo blinds and sheer curtains to soften the room.

painted white dresser

Her search for quality and affordable bedding resulted in finding pretty blue damask pattern set at 65% off. Lucky girl! It’s so pretty!

diy door headboard

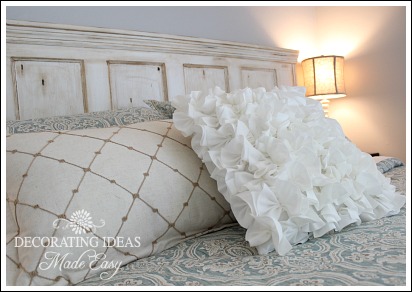
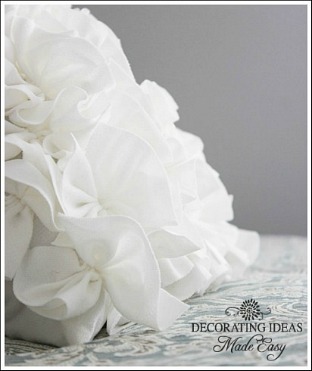
Accessorizing the room with a ruffled pillow, bench and lamps were layered into the room. I love her choice of decorative accents.

ruffled pillowdecorative accents

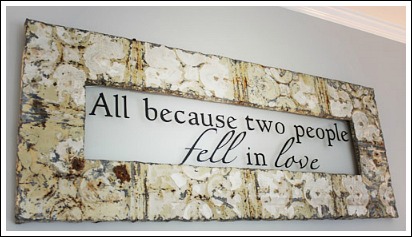
As her budget began to run low, her DIY creativity kicked in and she created a beautiful unique piece for $7 for above the bed. So sweet!

DIY wall art

Didn’t she do an amazing job on a tight budget? I think it’s so peaceful and relaxing. I want to snuggle up in that bed after a long week! I’d have a hard time leaving!  See more details on this master bedroom makeover at Decorating Ideas Made Easy. 

master bedroom makeover
DIY Show Off - FacebookDIY Show Off - TwitterDIY Show Off - PinterestDIY Show Off - Feed


Apartment Progress ~ floors are sanded!

It’s been a mega DIY couple of weeks here folks! Where I challenge myself to see just how much DIY I can squeeze into a tight deadline (6 wks.) in the apartment renovation. Sounds like work to most people I know but for me, I say “let the fun begin!”. This rental is my life sized mini-doll house! Here’s an update:

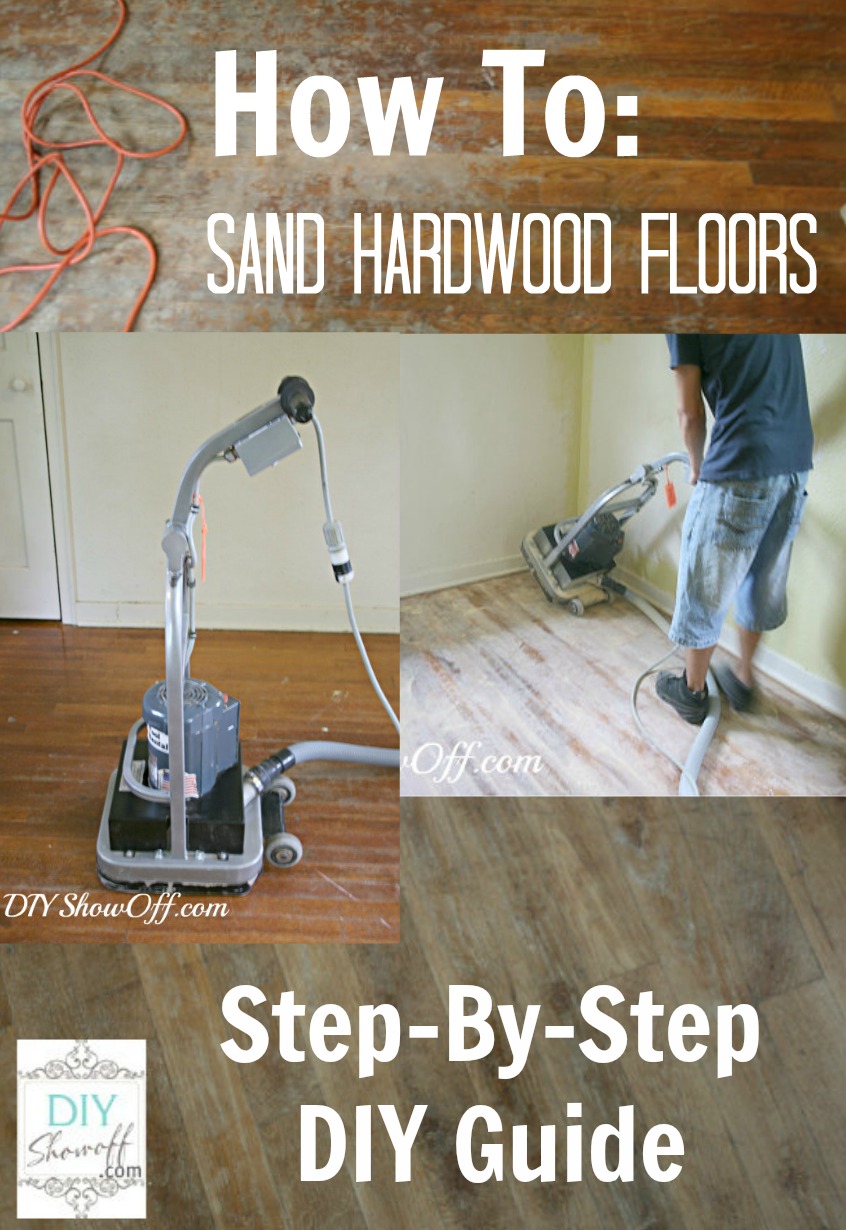
how-to-sand-hardwood-floors

{graphic courtesy of Fox Hollow Cottage}

Apartment Progress!

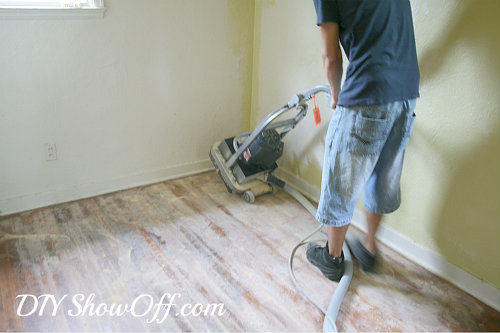
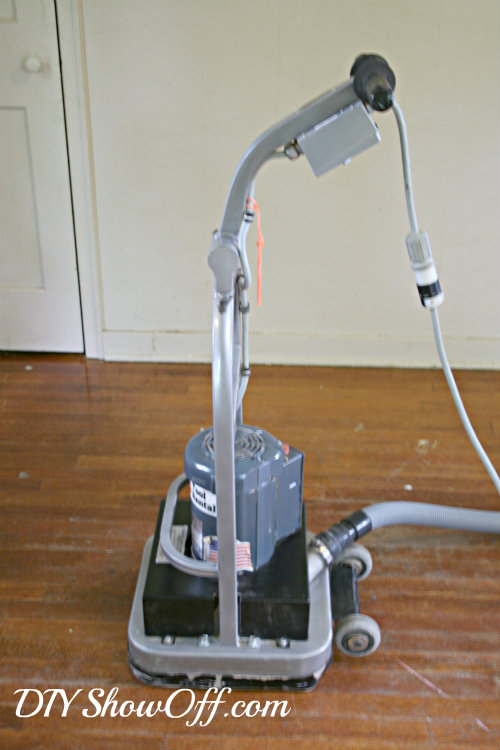
I rented an orbital sander and I enlisted the help from my 19 year old nephew, Kaleb. {muscles, people – I don’t have them!}

orbital sander

HOW TO SAND HARDWOOD FLOORS

{How we did it.}

  1. Floors were cleaned.
  2. Floors were sanded (24 grit) with the orbital sander. Thank goodness my nephew helped because I seriously doubt I could have carried that thing up the stairs and from the looks of it, once the power was turned on, that thing had a mind of it’s own and took off! I know my limitations. And orbital sander wrangling ain’t one of them. Paying a nephew was a wise choice. Much better for Kaleb to restrain the monster sander than me being spun around in circles and crashing through walls, gouging the floor as I go. (It really wasn’t that bad…I’m just little and wimpy but most people would control the orbital sander without difficulty.)
  3. I swept up the dust.
  4. Then he sanded again (60 grit).
  5. Then swept.
  6. Then sanded again (120 grit).
  7. Then swept again!
  8. I used my Dremel Multi-Max and a palm sander where needed in corners, under radiators and around the edges where floor met baseboards. My little muscles could handle those guys. I did the edging with the 3 levels of sandpaper.

{Please don’t mistake these legs for mine…they’re Kaleb’s!}

how to sand hardwood floors

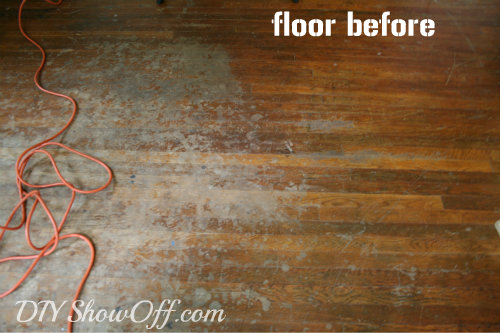
I really don’t know anything about the previous renter/owner. Perhaps their situation wasn’t so easy, but they definitely were not clean and did some damage.

hardwood floors before

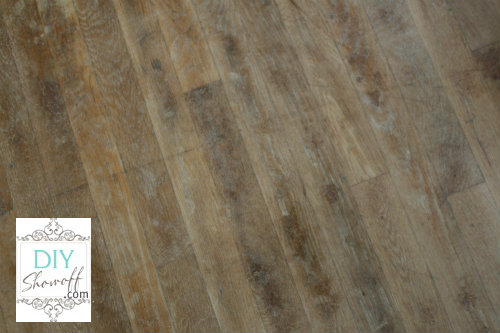
So, floors are now sanded!

sanding hardwood floor

There’s a method to my out-of-order renovating madness. I sanded the floors first before painting the walls because I didn’t want to have to scrub the walls twice (1 – the grime before and 2 – after sanding due to the fine layer of saw dust after sanding floors). Next up is covering the floors and painting the ceiling, walls then trim because I don’t want to lose the weekend waiting for the floor stain to dry.
As you’re reading this, I’m probably at the rental DIY’ing! More to come!

Oh! Hoping for better pictures in the near future. I always have trouble making what I’ve learned ‘stick’ and resort to shooting in auto but I sat in on the Photography session at the Haven Conference and Josh and Kevin really had a way with making it more interesting.  I’m all signed up for Photography 101 to learn how to use my DSLR and to finally learn the skills to take better pictures…
ShootFlyShoot.com

I’m also giving their affiliate program a try and invite you to join me in learning! DIY Show Off - FacebookDIY Show Off - TwitterDIY Show Off - PinterestDIY Show Off - Feed

Supporting Habitat for Humanity {summer contest} – One Project Closer’s The Better Half

Supporting Habitat for Humanity

I apologize! I’ve been so busy with working on the demo in the dirty dinky apartment that I’m a little behind in sharing updates on the Before and After Series – Habitat for Humanity going on at One Project Closer’s The Better Half. Forgive me? Awe, c’mon – I’m covered in grime here and so sore! So here are some updates:

If you haven’t already, you’ll want to check out the winner chosen by Traci from Beneath My Heart:

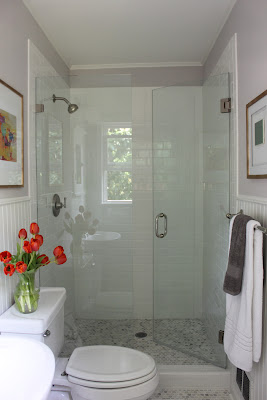
Bathroom Transformation by Tenth Avenue South

bathroom makeover

The winner chosen by Michelle at Ten June Blog:

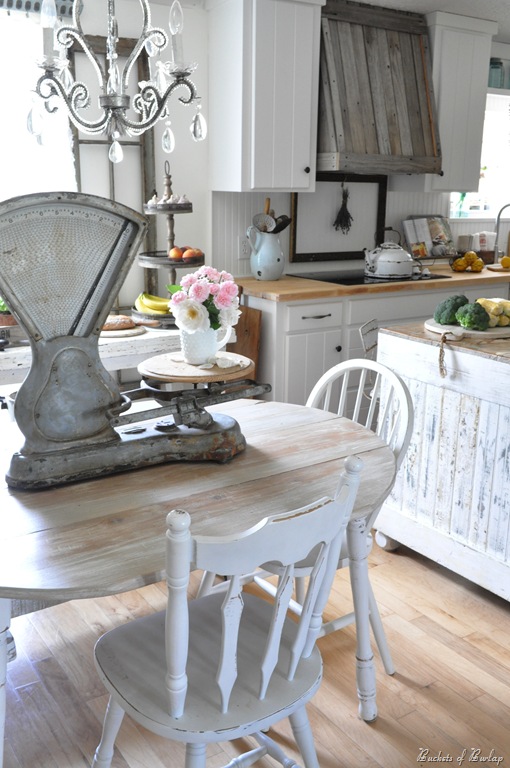
Rustic Country Kitchen Makeover from Buckets of Burlap

farmhouse kitchen

and finally, be on the look out! This week’s winner will be chosen by Rhoda at Southern Hospitality.

southern hospitality

There’s still time! I’ll be judging the week of August 19th and I want to see your before and after projects there!

How can YOU help and win? Submit your pictures and a before/after story from a home improvement project you worked (no contracted jobs) sometime in the past year. Every week of the summer until September 21, a winner is selected and their story is published online. Each winner gets a $50 gift card to either Lowes, Home Depot, or Amazon, and a donation of $100 to Habitat for Humanity in the winner’s honor! There’s more! At the end of the Summer, the best submission, as voted on by readers, wins a bonus $150 gift card to one of the three stores above. You can enter your home improvement project and see who’s hosting each week HERE.
DIY Show Off - FacebookDIY Show Off - TwitterDIY Show Off - PinterestDIY Show Off - Feed