DIY Project Parade – DIY Photo Backdrop

Image

Hi DIY friends!  Having a productive weekend?

I’m far from a professional photographer. However, I do take pictures for my family. And friends. And sometimes friends of family and friends. {And of lots of DIY projects too!} Plus my girls and I love fun photo shoots just for fun as well. My camera sees a LOT of action. So I was thrilled to get this lighting kit and backdrop for Christmas because I was a good girl this year. 😉

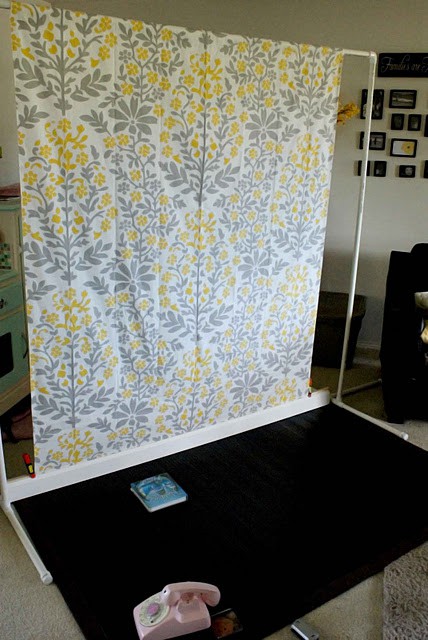
But honestly, being my thrifty DIY self, if I hadn’t have gotten the above kit, I definitely, would have been making a DIY PVC pipe version like the tutorial shown here. You know what else I’ve considered using?  A clothes rack (simple to assemble/store and a nice smaller portable version – you might even have one ‘hanging around’ in the closet or basement!)…

Recently I saw this on on Pinterest by Kim from Easy Peasy Pie

and I was inspired! Who wants a plain white or black backdrop when you can have a pretty designer custom looking background? Kim uses a beautiful Target tablecloth. Use curtain panels, twin flats sheets – vintage from the thrift shop would be awesome and affordable and both of those options have rod pockets.  Or choose a pretty fabric. I purchased 2.5 yards of the fabric below from Joann’s.

  1. Iron fabric.
  2. Iron approx. 3 inch hem. Flip the raw edge under and iron.
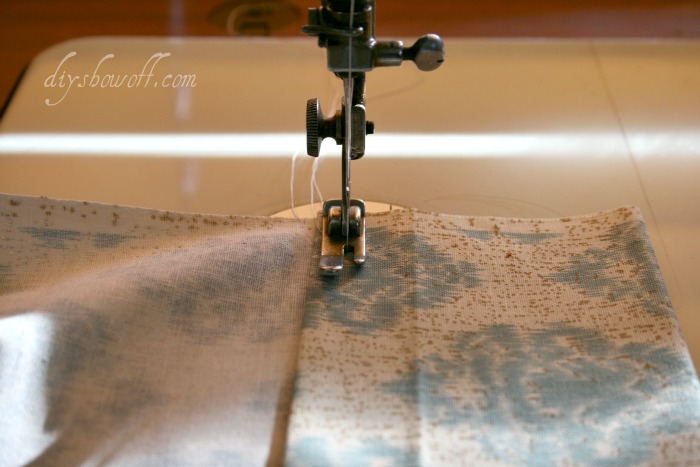
  3. Sew close to the edge, creating a rod pocket.
  4. Slide into place on top rod.

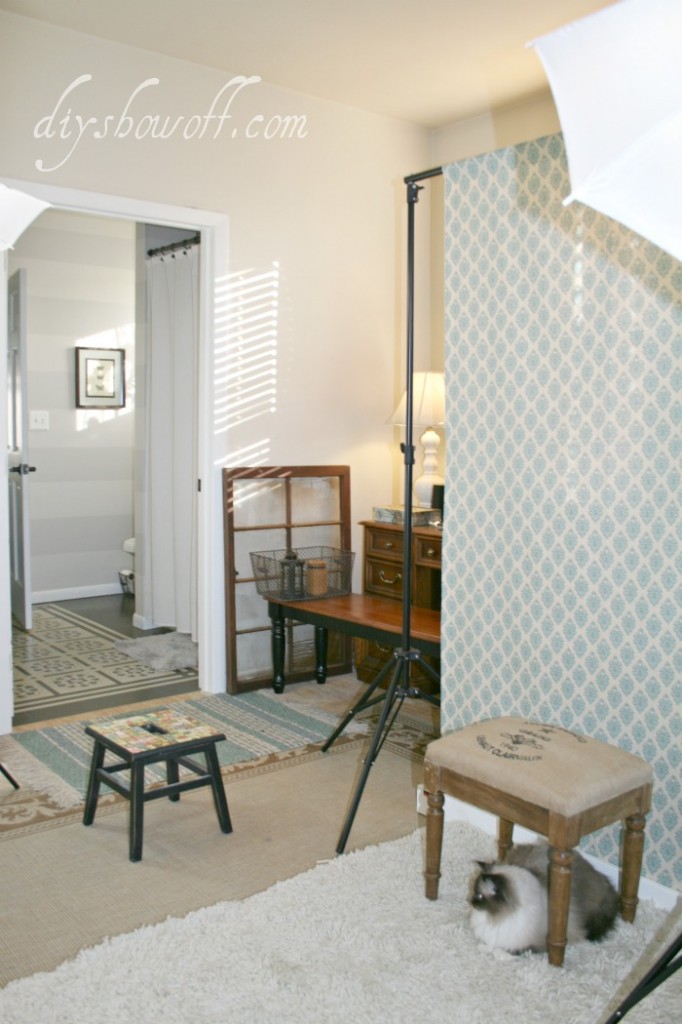
Take it a step further with a faux baseboard:  I had two 1x4s left over from the guest bedroom makeover (lucky me – one was even painted!).  Place fabric between boards. I set the back board on top of the back side of the fabric and made sure the fabric was pulled taut…
Place finished board in front and clamp ends. Clamps were about a dollar for 4″ size at the hardware store.
So like Kim says, I can fool everyone into thinking I have a fancy schmancy house when in reality our family room needs lots of work…
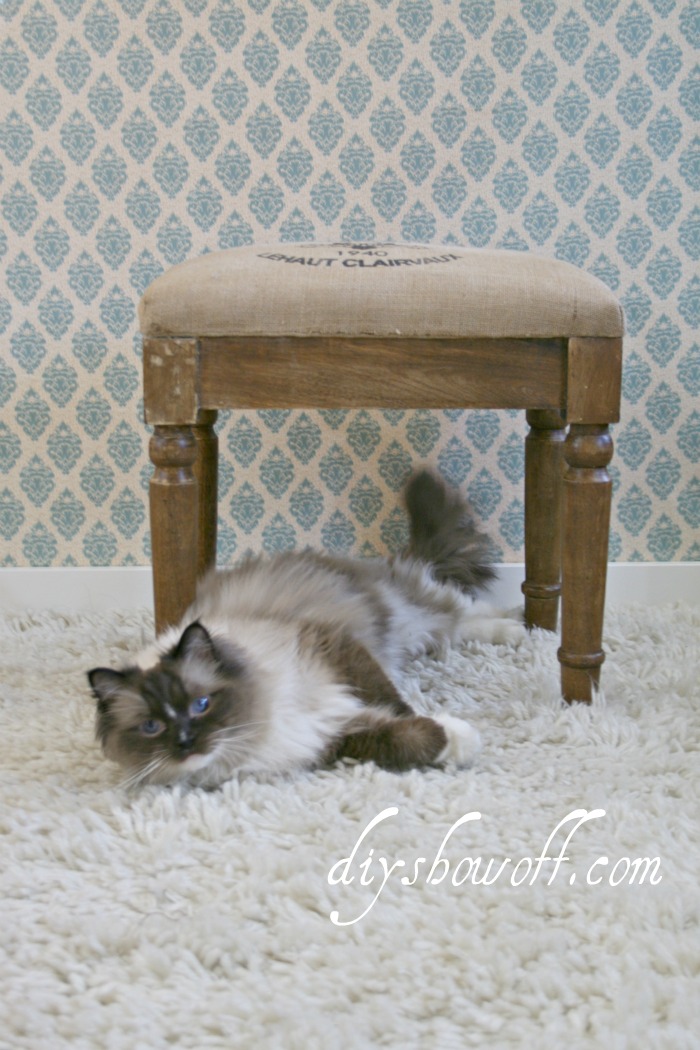
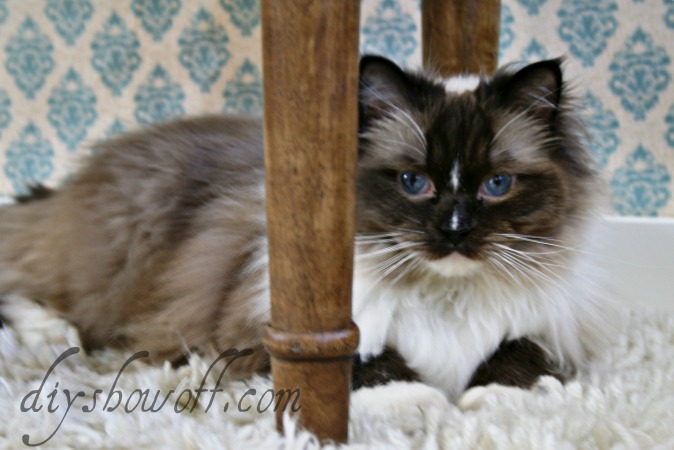
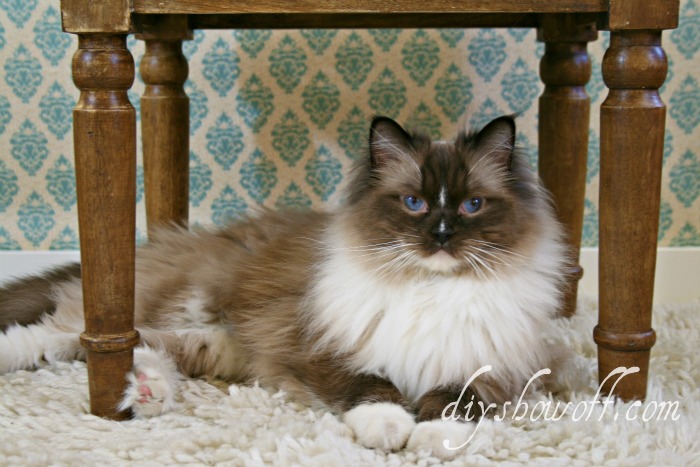
Whenever I  need a photography model, I just start placing photo props in place and Lalka jumps right in, makes her self comfortable and claims it as her own.  Diva!
“Me not working hard?
Yeah, right! Picture that with a Kodak
Or, better yet, go to Times Square
Take a picture of me with a Kodak”…Give Me Everything, Pittbull
I think this shot is for her catch.com profile…

Single female Ragdoll seeks Casanova.
Works pretty well, doesn’t it? Looks like I have a pretty wallpapered wall in my home.
Thanks so much to Kim for the inspiration!
Like it? Go ahead and Pin It!  I’m joining the fun with Kara, Holly, Ashlee, Rebecca and lots of other creative bloggers here:

The Pinterest Challenge

Let’s see what you’ve been up to!

The DIY Show Off

1. You must use the button above (ADD BUTTON HTML CODE FROM SIDE BAR TO YOUR POST) and link to this post to share the linky love. You post must be recent, shared at one DIY Project Parade only (not continuously) and be DIY related.
2.Include your name or blog name and project title. Add your permalink (not your blog url, but your DIY project post url). Feel free to link a Past Post, just invite your readers in a current post with a quick note.
3.Or email your link to thediyshowoff@gmail.com and I will add it for you.
4.If you notice your link has disappeared -please add the link back to The DIY Show Off to your post today, a button or a quick note to your readers about the party and try again! I love when everyone participates and readers check out everyone’s links, but I think the return favor of linking back is the nice thing to do so everyone plays fair and enjoys all of the projects and links. Also – this blog party is for DIY projects only. Links not related to DIY will be deleted. Please share your link one week only.
5.  If reading this in an email or reader, pop over to https://diyshowoff.com to see the inspiring DIY projects linked up!
6.  NOW you can “like” the links!  What a fun idea!  Most liked links may be included in a post of DIY Project Parade highlights later in the week.
7.  Visit a few other links to make some new friends, get some creative ideas and feel free to leave me a comment. I’m likely sitting here on the computer and could use a happy distraction!


Joining the new party here too…five days five ways | feature friday free for all
Catch As Catch Can at My Repurposed Life

Tickled Pink at 504 Main

Small DIY – adding useful color to the kitchen.

This isn’t much to share today, but it’s a start to the new year.  Starting small and working my way up to bigger and something awesome. In the meantime, this works for me and maybe you haven’t thought to do the same and I’ll start a new trend and everyone will have mugs hanging around under cabinets. So here goes.  It doesn’t take much DIY to make this girl smile.  🙂 Santa brought me these turquoise Fiesta mugs for Christmas…

Ooohhh!  So pretty!  Our kitchen has a lot going on but not much color.  I think displaying these is a good idea. Easy convenient reach, pretty pop of color and not using valuable real estate in the already crowded cupboards…the cave where ugly mugs (you know you have a couple!!) go to live.
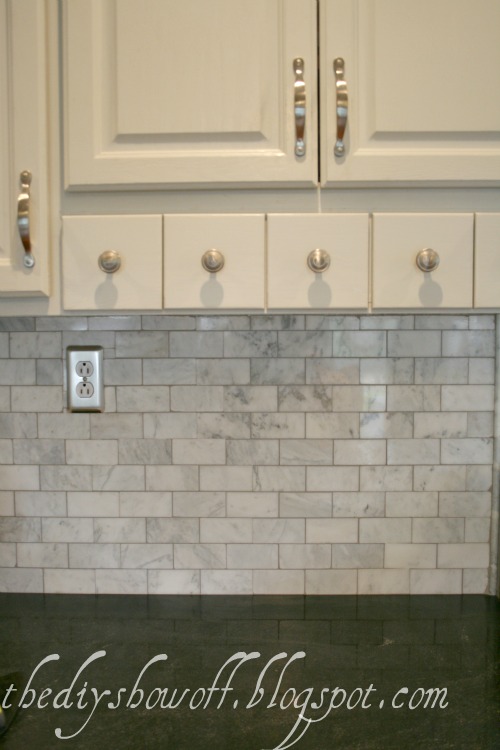
Upper cabinets before:  I do love the new granite, the marble backsplash and painted cabinets (which are actually a light grey)…but it could use something more. I’m not one for NOT decorating almost every nook, as you know.  Minor addiction. But look…it needs something happy, right?
Using Rockler’s Screw Lube on the screw part of each cup hook made for super easy screw-in. Who knew?  I mean – SUPER easy. Like good hold and smooth turning into the wood. Have you ever tried it?  Made me feel like I had big muscles – little effort!
After…

I love the colorful accent to an otherwise neutral area, don’t you? Easy reach for tea time too.

See the full but small and EXCITING tutorial (that might be exaggerating a little, but there’s TONS more really fun stuff there to see too!) at the DIY Club.  🙂 DIY doesn’t always mean having to break a nail or destroy a room to make a small accomplishment feel rewarding. One small step to get the motivation going.  What have you completed this first week of the new year?  Baby steps or DIY super hero feats?  Come back to link to the DIY Project Parade tomorrow to ‘show off’.

While on the subject of First Project of the Year – have you seen what our friend, Amy, is up to? This IS exciting! Get ready!

I know once I finish a bigger DIY project this month, I’ll be joining the party. What an awesome dream come true prize!  Cool, huh?

Enjoy the weekend!
Pin It

Decorating dilemma. Advice appreciated!

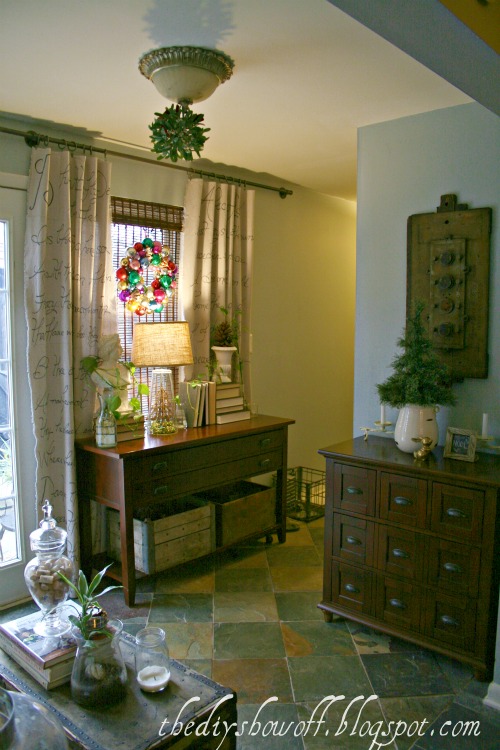
I’m having a bit of a DIY dilemma, a DIY moment if you will. I need your help and advice. History of this odd little room: I know I just shared a sitting room makeover with you. I painted the walls then decorated for Christmas. This room is right off of our dining room. The short hall to the right in the picture leads down the basement stairs.

I’ve un-Christmas-ed it and de-cluttering feels so good!  But now I’m re-thinking things. I’m so indecisive.  DIY is a disease, I tell ya. 😉 But friends, it’s a room without a real purpose. It deserves a real name and meaning in our home. It’s actually one of my favorite spaces. Small, lots of light and easy to clean.

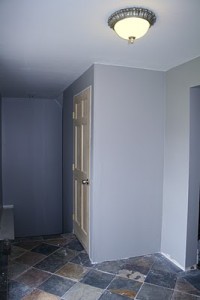
When we bought our house, it looked like this: (GASP!  Hey…what was it even back then? I have no clue…no one needs 3 back doors/back entryways, do they?) Maybe everyone inside really needed to escape to the outside because it was in poor condition?

We installed French doors to bring in some light.

Much better!

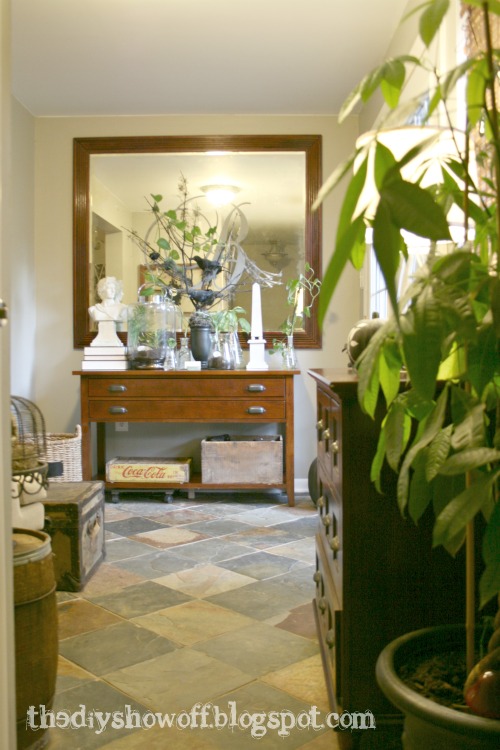
Looking from the dining room:

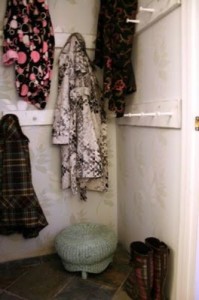
We added a closet to a corner that housed a cubby area running beside the basement stairs.


Mr. DIY installed the slate tile…

We call it the mudroom…but we don’t enter the house here. We don’t exit the house here either. Maybe sometimes in the summer if we’re entertaining on the patio. But it does have a twin sister on the back side of the house…(into the kitchen which is where we enter/exit):

(Oh…how I miss summer!)

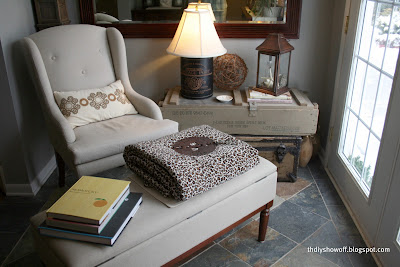
So, anyway, it became the sitting room and it’s had a lot of different looks:

to this:

to this…

to this…

then this…

But, the only one who sits there is Lalka. DON’T sit in that seat! Your backside will be covered in fluff.

I just painted the walls last month and I love the drop cloth script curtains (tutorial here) so they’re staying. I also like the mirror (recycled). But other than that, I’m indecisive.

So I was thinking…maybe keep it a sitting room because I love rearranging and decorating in there. It gives me my monthly (maybe even bi-weekly decorating fix!) I’d love to add a settee. I’ve been searching Craig’s List for months to give an old piece a little DIY love but no luck so far. How cute is this one from Frou FruGal?

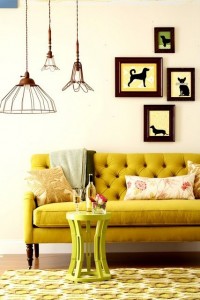
I’d love to DIY a thrifty treasure to look like this…

{via pinterest}

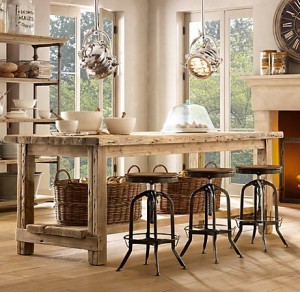
And then my mind wanders and I think maybe a little more dining area seating would be a nice option? We do entertain on occasion and although our dining room table can seat 8 (10 if we squeeze in), it might be nice to have a little extra dining/seating, especially with nieces and nephews. Something like this…

{via Restoration Hardware}

The views of the back yard under snow or the barn and grape arbor in summer would be pretty at dinner scene. It’d also be an option that works with something else, but that’s a secret. 😉

Or a photography studio? (I take pictures for my family/nieces/nephews.) It might be a challenge to keep it looking nice and a little odd off the dining area (although if I can talk my cook into starting a blog, it might be handy!).

{via pinterest}

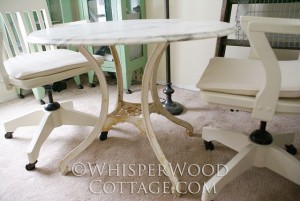
Or an office area? Love this the changing ‘studio’ at WhisperWood Cottage (I’m not the only one who loves to rearrange a room!):

 But we do have two other “office”/desk areas in our home and I actually sit on the couch in the living room with my laptop. lol Go figure! I should sit in the “sitting room”, huh?

I did warn you that I’m indecisive, didn’t I? What do you think?  What would you do? I may have already decided but I’m curious about your input and advice. And with the right idea, I could change my mind…again.  Thanks!