
DIY Vinyl Pumpkin Decals

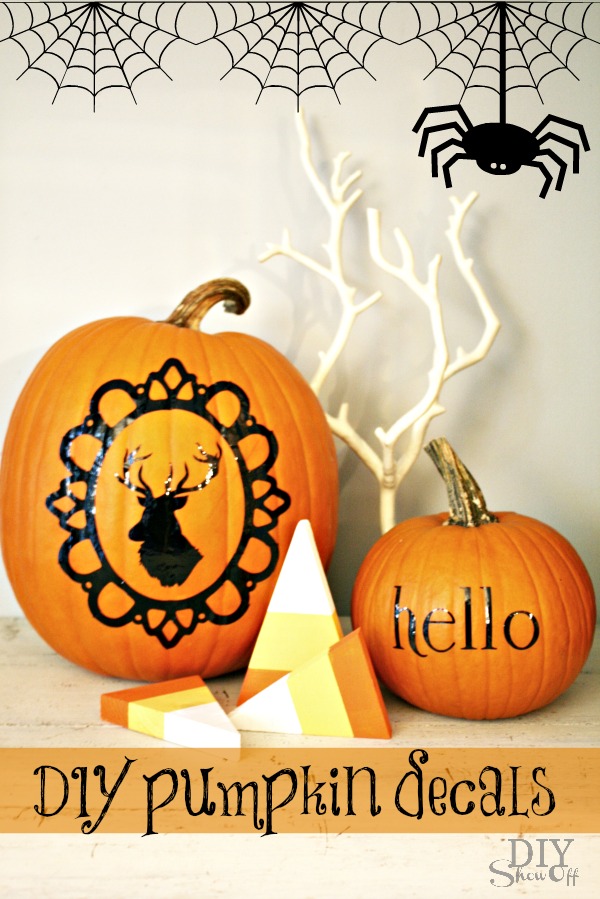
With the girls all grown up and on their own, I have little desire to carve a pumpkin to create a jack-o-lantern. And my pumpkin carving skills are a bit juvenile so I’m loving this alternative to carving…my pumpkins look so pretty! 
DIY vinyl pumpkin decals

Materials:

  • large glossy adhesive vinyl from Happy Crafters
  • transfer paper  
  • pumpkins

Tools:

  • Silhouette Cameo

What I did:

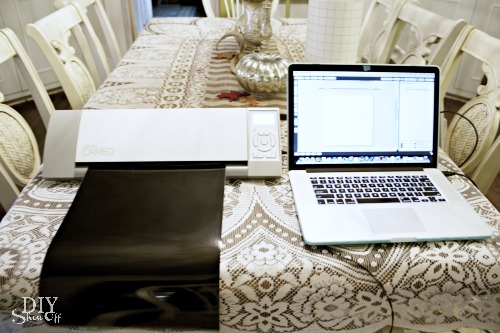
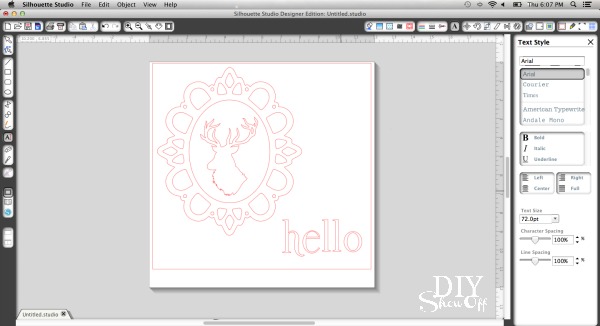
1. I purchased a deer silhouette and frame from the online store and sized them in my Silhouette Studio designer software to fit my pumpkins.
DIY vinyl pumpkin decals

2. Then sent my decals to “cut”. 

DIY vinyl pumpkin decals

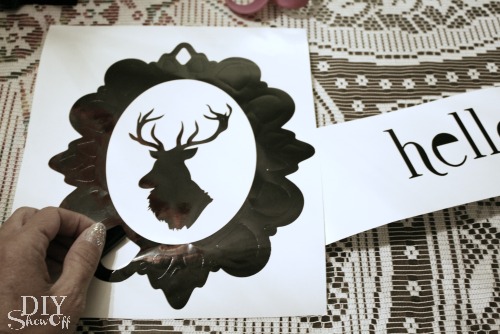
3. Peel away (weed) the negative part of the design.
DIY vinyl pumpkin decals

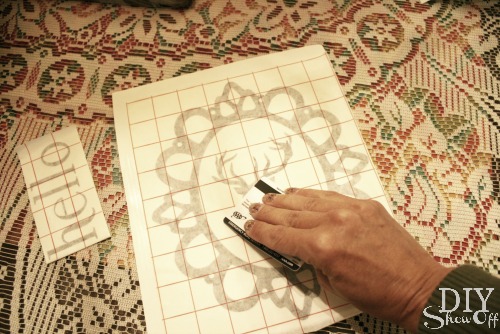
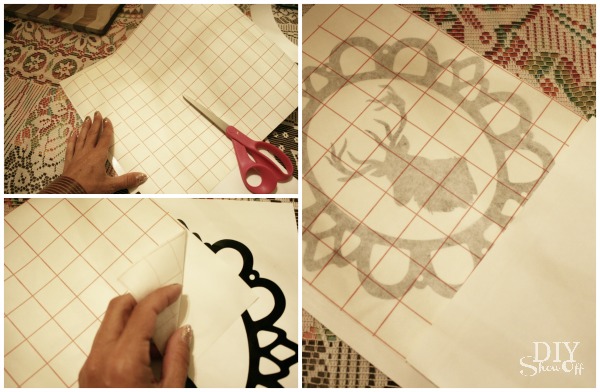
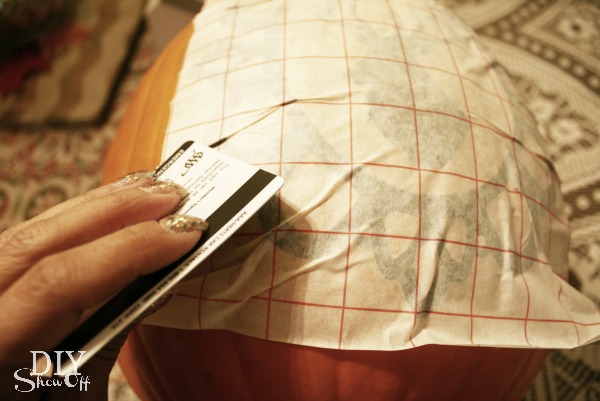
4. Cut transfer paper to size. Peel away wax paper backing and smooth transfer paper into place.
DIY vinyl pumpkin decals

5. Rub design with a credit card.

DIY vinyl pumpkin decals

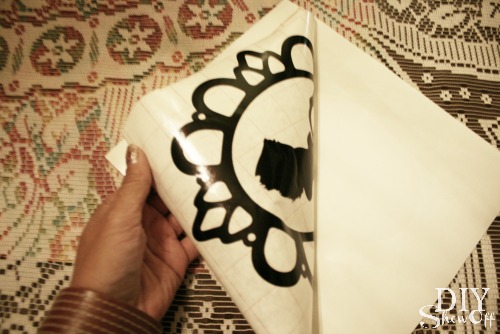
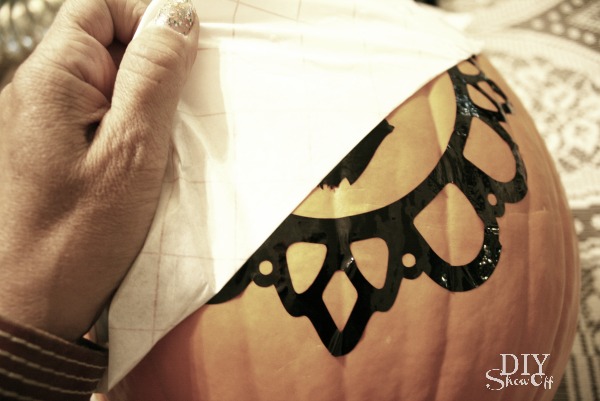
6. Peel away paper backing from the vinyl decal, transferring it to the sticky transfer paper. 
DIY vinyl pumpkin decals

7. Position on pumpkin and lightly rub decal with a credit card. 
DIY vinyl pumpkin decals

8. Peel away transfer paper. This might get a little tricky because of the pumpkin’s uneven surface. You may have to use your fingernail to help with the transfer.
DIY vinyl pumpkin decals


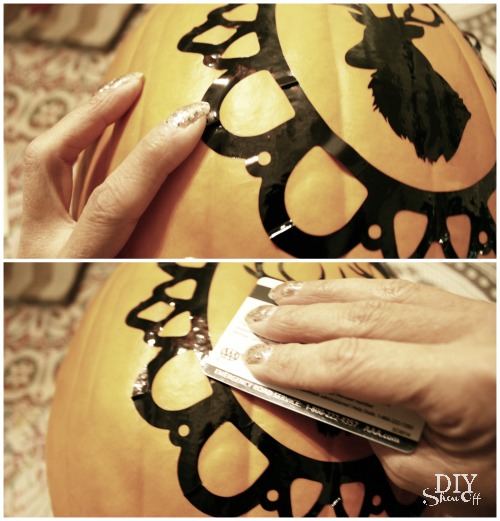
9 .There are also wrinkles in my vinyl decal…but it doesn’t take away from the design. I just smoothed it down the best I could using my fingernail and credit card. 
DIY vinyl pumpkin decals

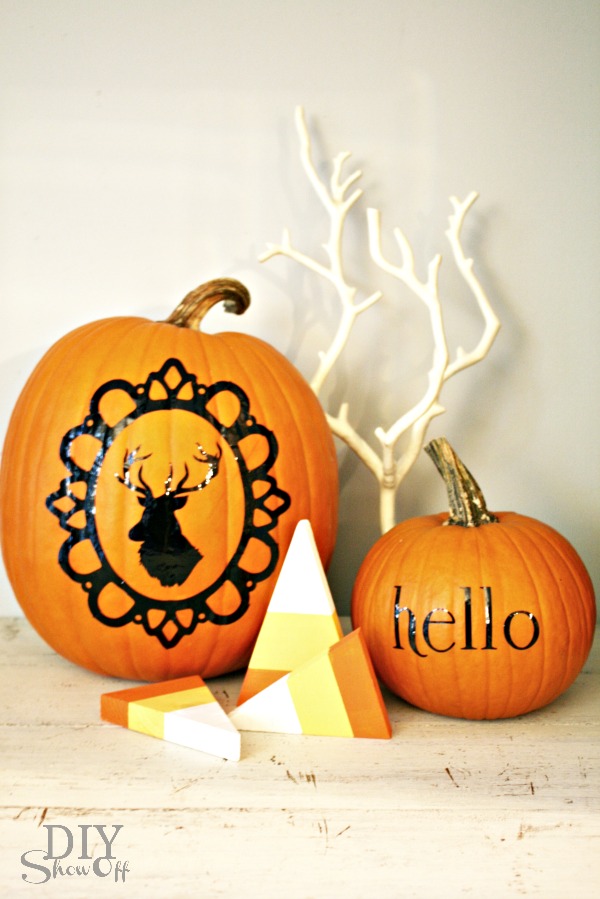
All done and so cute! SO many options. I noticed that the Silhouette America online store even had sets of eyes, noses and mouths for jack-o-lantern faces. A monogram or spooky ghost or black cat would be great too!
DIY vinyl pumpkin decals

See the tutorial for the candy corn here.
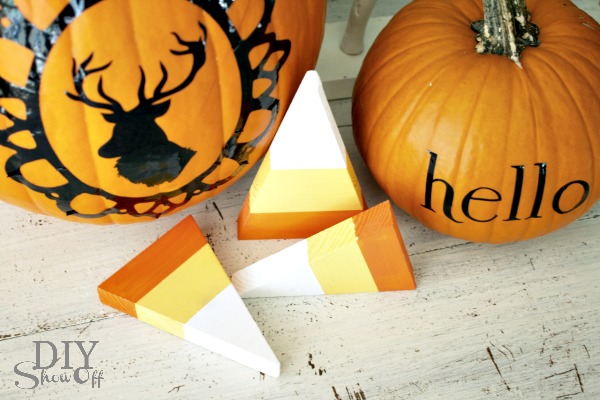
DIY vinyl pumpkin decals


Linking up to the Lettered Cottage, Pumpkin Party and Cuckoo4Design Pumpkin Parade

*This post is sponsored by Happy Crafters. Tutorial, experience and opinion is my own. See more projects at Happy Crafters blog.

HClogopngsmall

Decoupaged Pumpkins

This isn’t a unique idea but there are so many variations, it’s easy, fun and so pretty.  I did decoupage pumpkins a few years ago but after seeing the cutest scrapbook paper at Canvas Corp…

I couldn’t resist doing another. There’s no such thing as too many pumpkins, right?

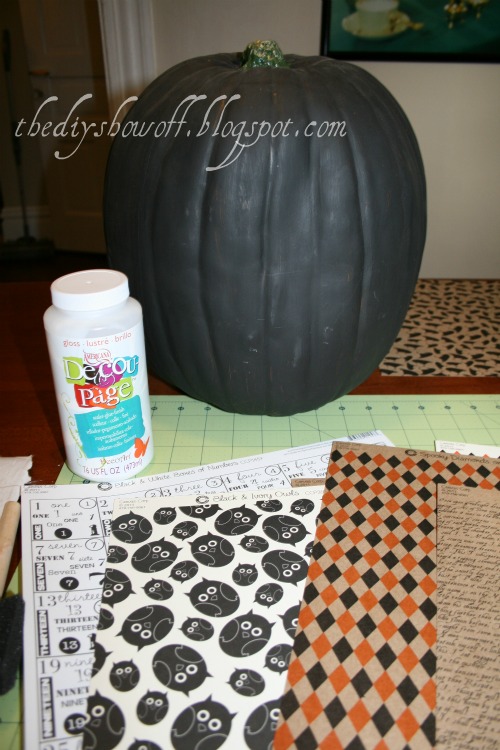
Supplies:  Faux pumpkin, scrapbook paper (Canvas Corp. has a beautiful selection), sheet music, book pages or newspaper and Deco Art Decoupage.

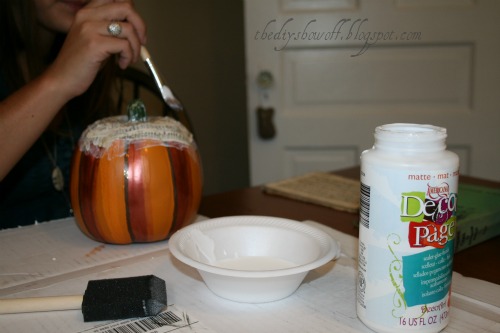
Apply Decoupage to pumpkin using a paint brush or foam brush.

Apply decorative ripped or cut up paper and coat with Decoupage again.

It goes on white and dries clear.

Embellish.

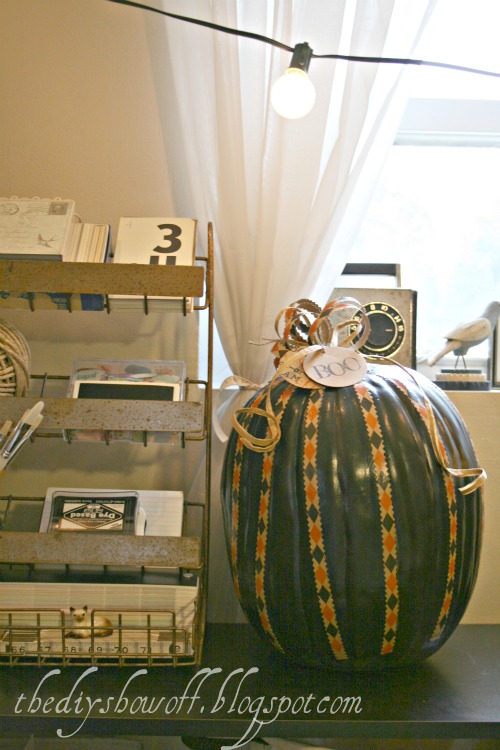
Pretty! Festive for my craft room…

decoupaged pumpkin

Have you decoupaged anything lately?

October’fest of Fun – craft highlights

Yesterday’s theme was “fall/Halloween” crafts (party is open for a week!). Did you link up? Here are some fun crafts from my fellow October’fest of Fun hostesses:

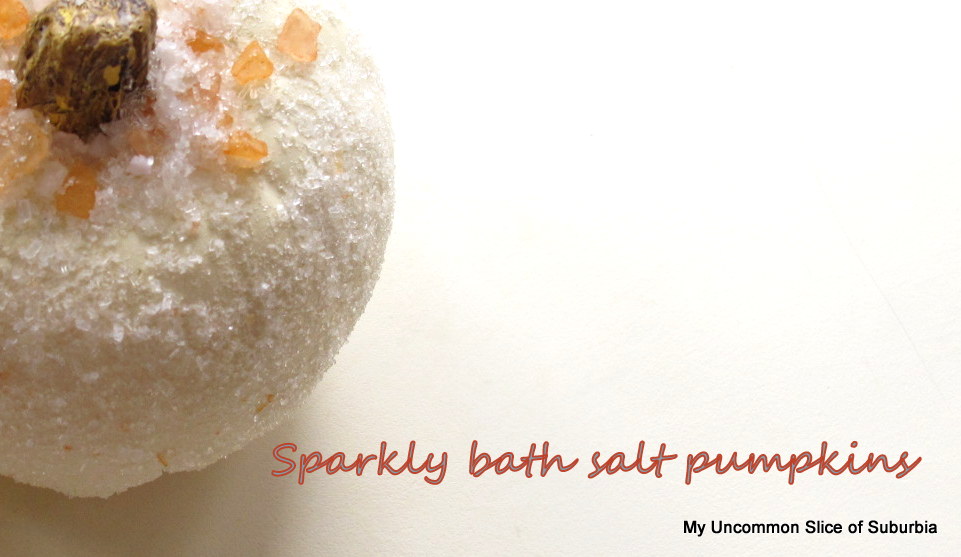
Kristin from My Uncommon Slice of Suburbia shared her bath salt pumpkins

sparkly bath salt pumpkins

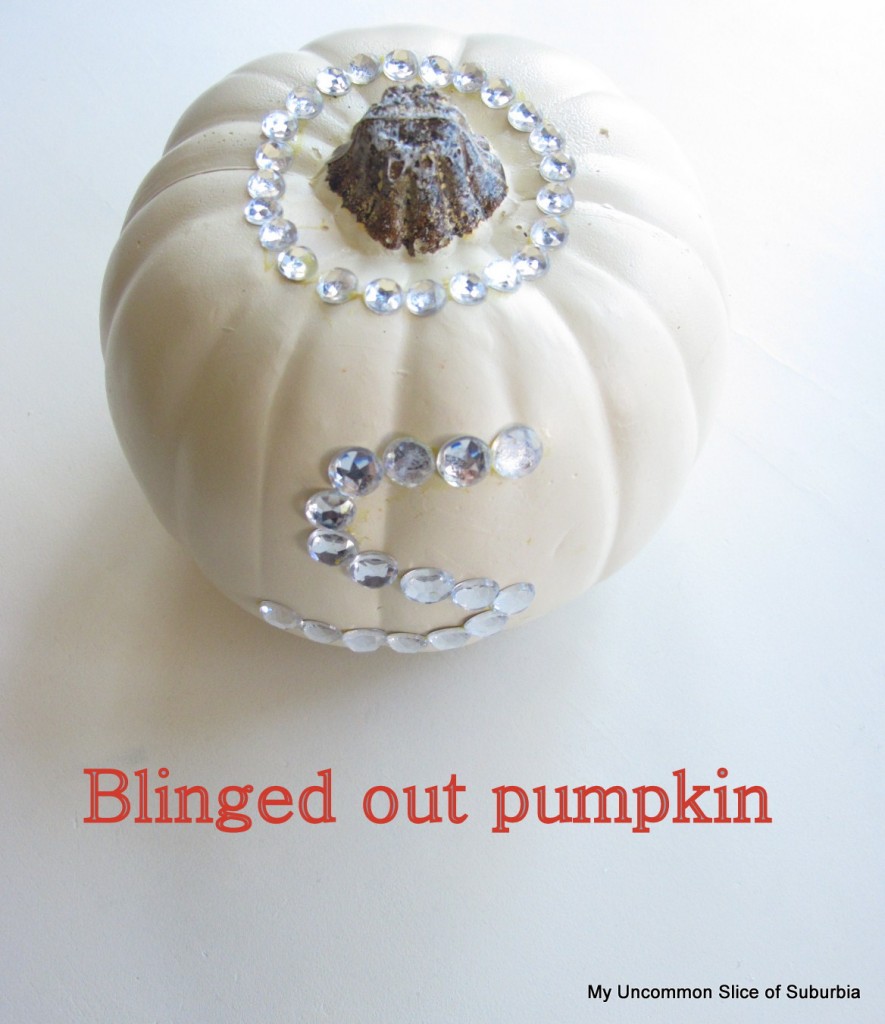
and bling pumpkin

bling pumpkin

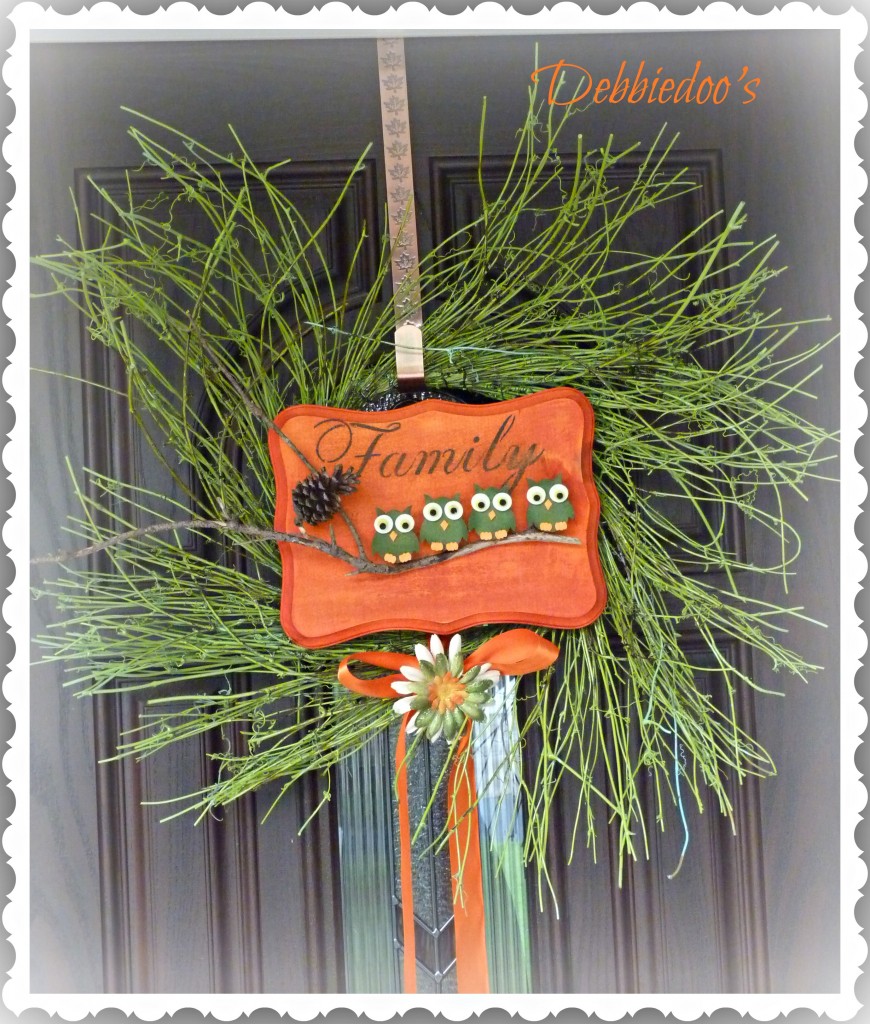
Debbie from DebbieDoo’s shared her adorable DIY fall sign

DIY fall owl sign

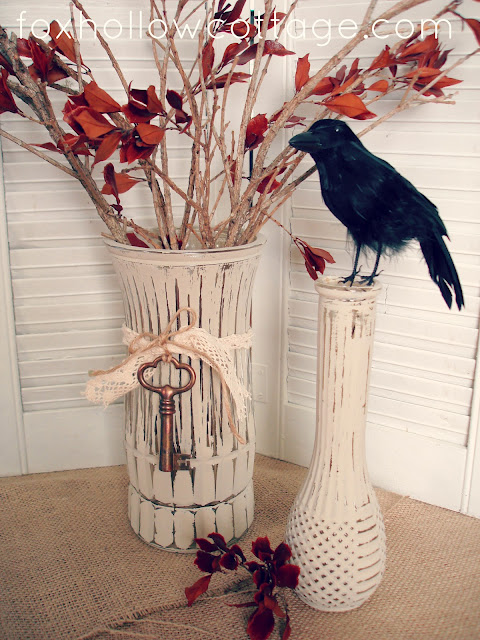
Shannon from Fox Hollow Cottage has a great tutorial for painted distressed glass vases

distressed painted glass vases

The fun continues today!

octoberfest of fun link party

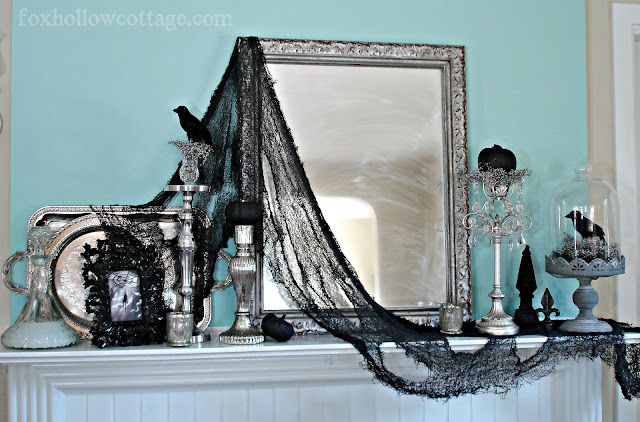
Shannon from Fox Hollow Cottage is hosting the “fall/Halloween” mantel event. I love her spooky Gothic haunted Halloween mantel. Need some mantel decorating ideas? Check out the festive links!

gothic halloween mantel at fox hollow cottage

Autumn is Approaching! (Fall Craft Project)

What a great idea and I am loving ALL of the inspiration. I’m not quite ready for fall, but what a lovely way to prepare myself. Head over and check out all of the fall fun!


Here’s my post:

I know. I know. It’s a little early….
I don’t know what your weather is like, but here in PA, it’s beginning to feel a lot like Autumn. It’s still August for goodness sake! But chillier temps (currently 59 degrees!) and a trip to Michael’s where Halloween and fall have already been on display for a few weeks = autumn on the brain. (I didn’t procrastinate this year!)


(Note: I AM NOT ready for the summer to end just yet…where’d it go?)

Last fall my daughter and I got crafty and I decided to make it a tradition. I’ll share that project with you next month some time but now for Met Monday hosted by Susan at Between Naps on the Porch, I want to show you what we did this weekend.

Remember my house number flower pots? Well, soon those flowers are going to flower-heaven as fall frost gets closer, right? Then what? Well…introducing my House Number Funkins (faux pumpkins) with glow in the dark glittered numbers (which look so cool glowing but photographing in the dark is a little tricky):

I haven’t put them out yet. I’m not quite ready to say good bye to summer and my petunias are still soaking up the last of summer but I’ll be all ready when it’s time.

Here’s what I did.1. In Microsoft Word, I enlarged my house numbers in a font I liked. (heavy heap). I printed them on old card stock.

2. Then I cut out the numbers to create stencils.
3. I traced them onto my pumpkins. Using the actual number instead of stencil worked a little better since it’s not a flat surface. (I didn’t take a before picture…but this is pretty much what it looked like before. You’ve seen a faux pumpkin…kind of boring and plain.)
4. I painted them using metallic craft paint. This took a couple of coats. Fun project in front of a movie since it’s time consuming and repetitive. I just did stripes on mine with house numbers since they’ll mostly only be seen from the road.
5. After the paint was dry, I used a cheap, small paint brush to apply glue to the numbers.
6. Then I poured on Martha Stewart’s glow-in-the-dark glitter.
(Nestie friends – D&R Halloween Nightmare II – Return of the Glitter Pumpkins)


My daughter painted this one:

That’s as far as I got today. But I will also:7. Spray a protective coat of matte lacquer over my pumpkins and the glittered numbers for outdoor durability.
8. Cut a hole in the top so that I can add sand or rocks to give them weight (to prevent blowing away when it’s windy). That’s it. I’m really happy with how they turned out and can’t wait to update this little area about the 2nd week of September. They will go here:

Summer
Fall
Watch for details next week relating to
The DIY Show Off – Autumn DIY Fest!

~~~~~~~~~~~~~~~~~~~~~~~~~~~~~~~~~~~~~~~~~~~~~~