Painted Stenciled Paneled Walls

Angel’s Room: When my sister planned her move from Florida to PA last summer, I can’t tell you how happy we all were! We love having her ‘home’!  The budget for decorating their rental home was super tight. I wanted to surprise my teenage niece, Angel, with some pretty and fun accents in her bedroom. I know it’s not easy for a 16-year-old to move away from friends, but we are so excited to have our family local again. I wanted her to have a welcoming, pretty space of her own.

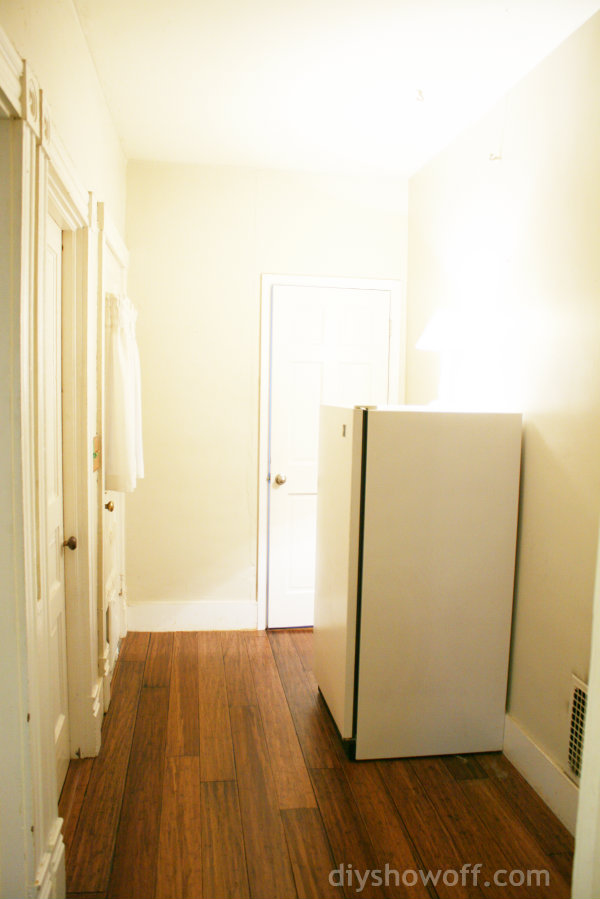
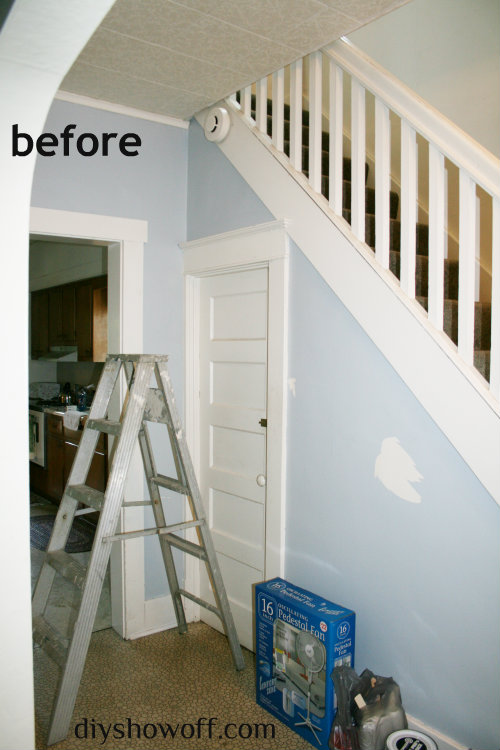
This blog post is sponsored by FrogTape. The walls are paneled (that old faux-paneling sheets) and since it’s a rental, we had no choice but to ignore the ugly green carpet.Thankfully it was clean, only in this one bedroom and in decent shape.

paneled walls before

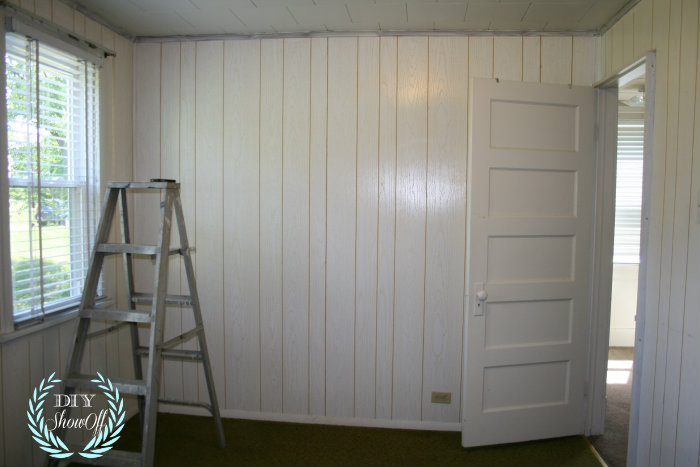
Rental Tip: It never hurts to ask the landlord if cosmetic changes/home improvement materials can be reimbursed or if material receipts can count as cash towards the security deposit. I’m almost always given a green light. Free labor for the home owner and more personal choices for the renter.

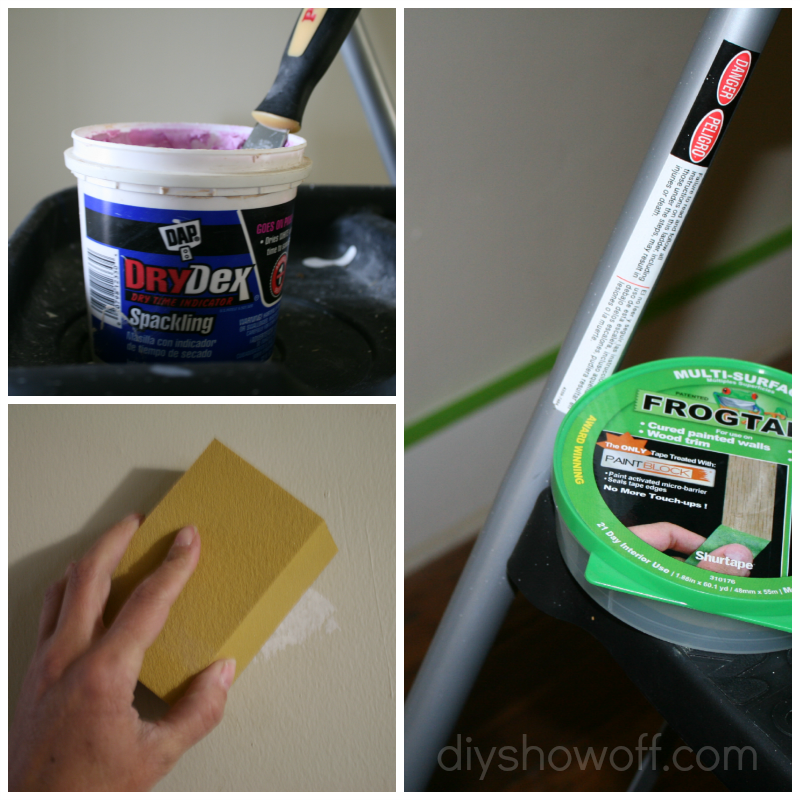
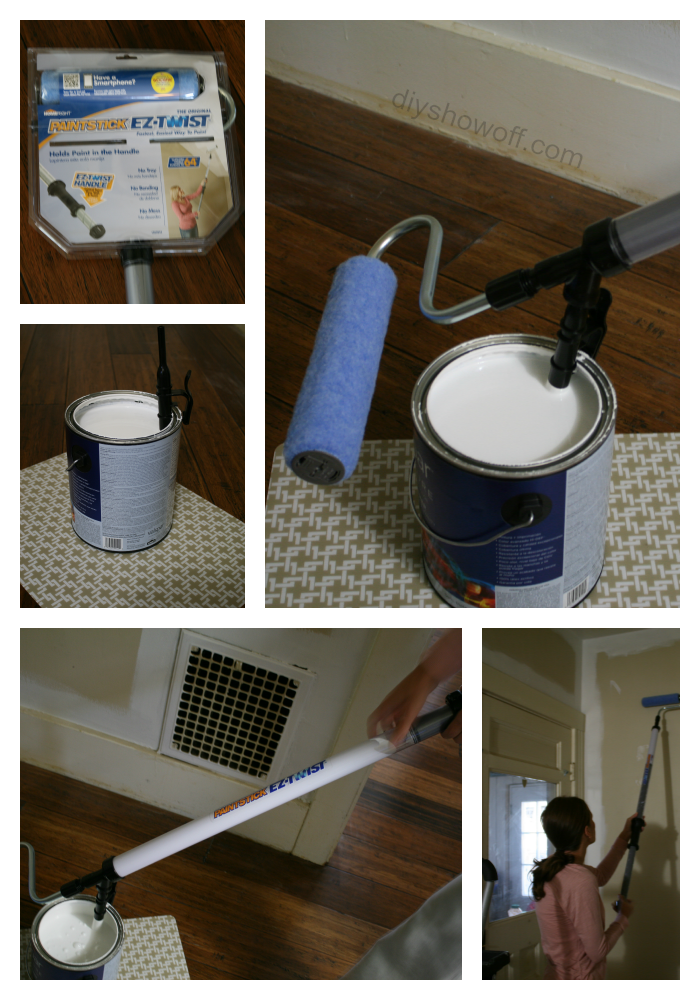
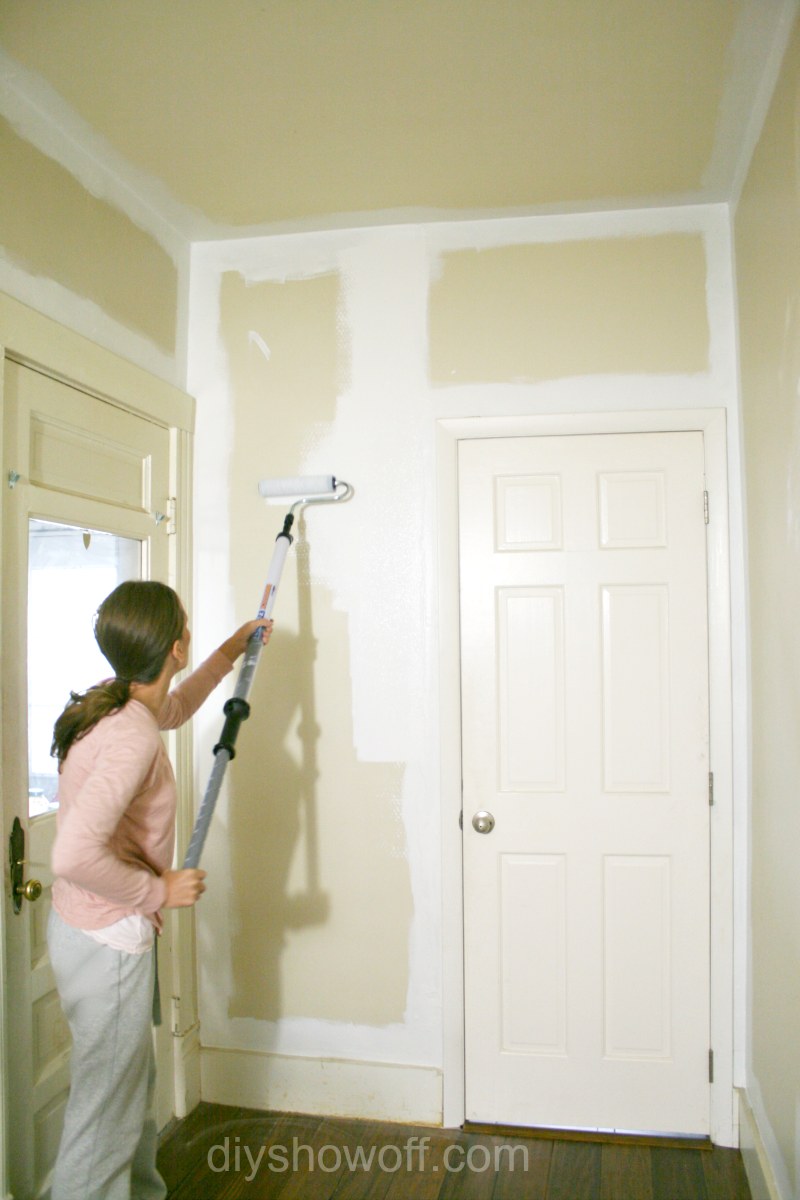
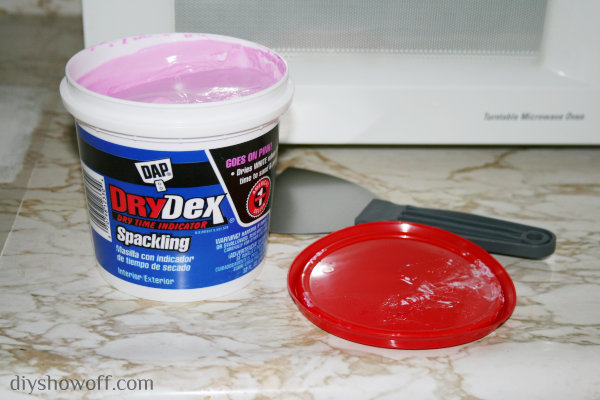
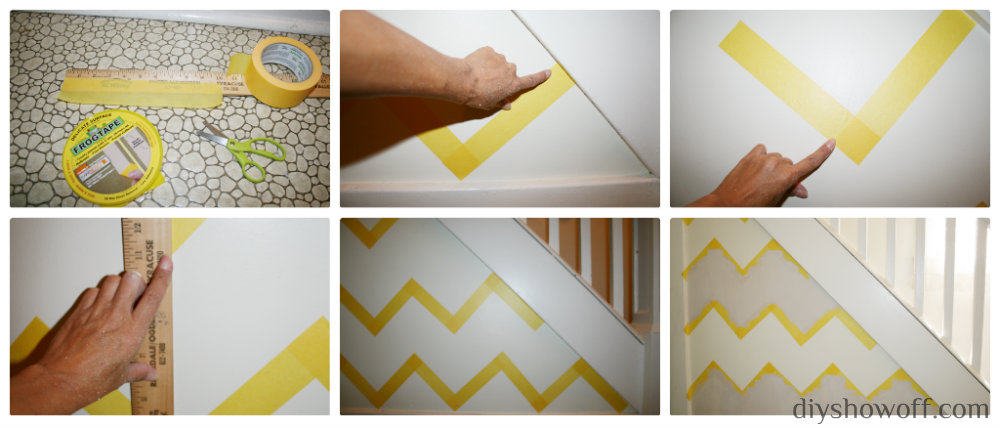
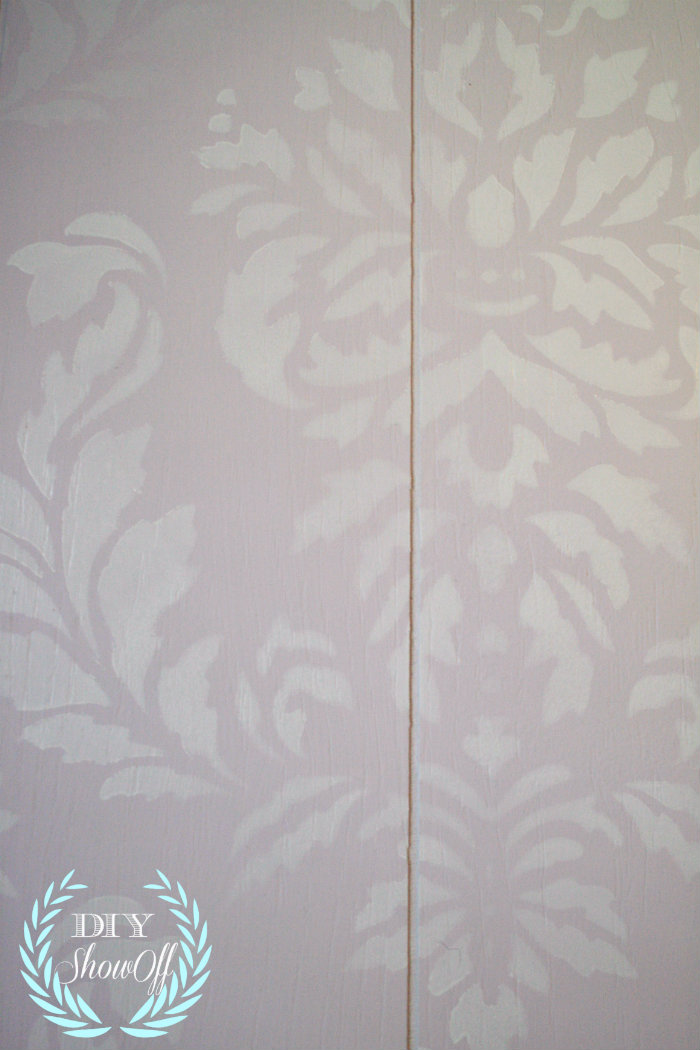
With permission from the landlord to paint the paneled walls, I chose a Valspar Signature Paint + Primer. Color is “Lilac Mist”. Painting paneling is NOT fun. All of those grooves. Hard work! But it is worth the effort. The next day, I then used my damask Cutting Edge Stencil (held in place with a piece of FrogTape) and simply rolled on the stenciled design using leftover white paint.

damask stencil

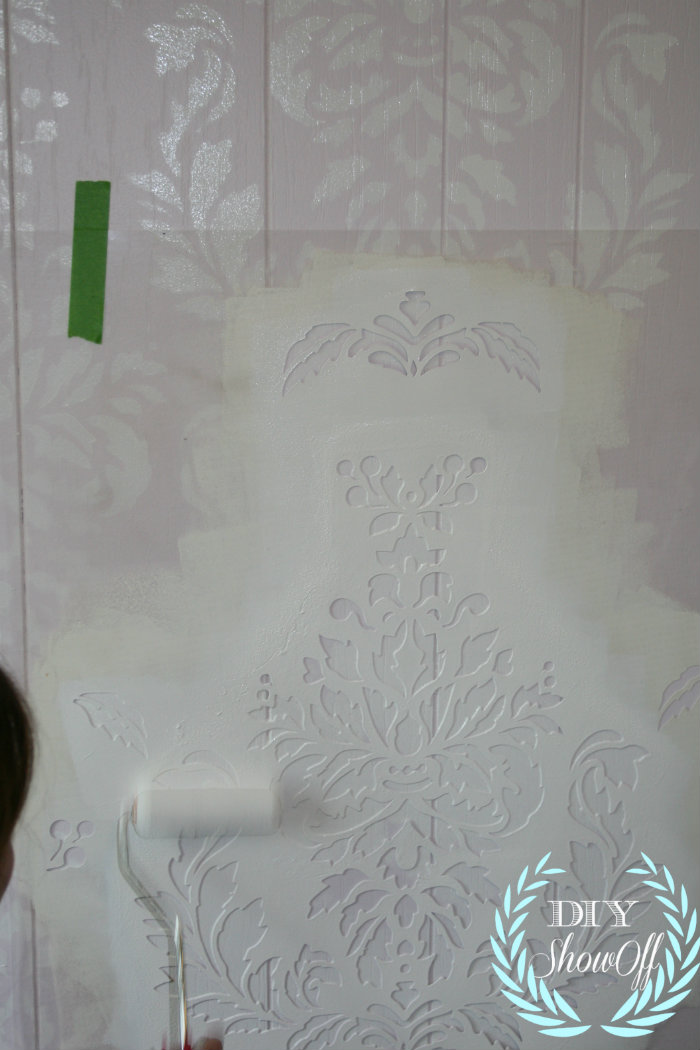
The result is very subtle and so pretty…

lilac and white damask

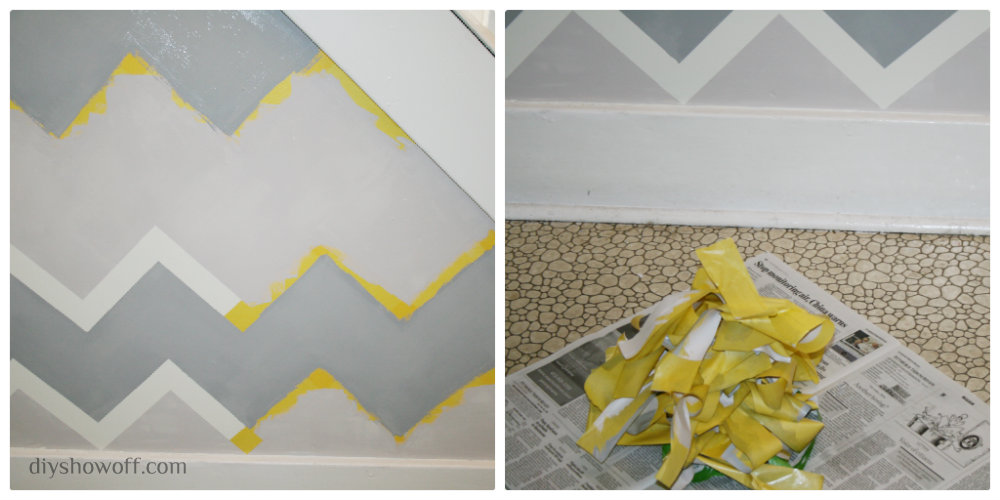
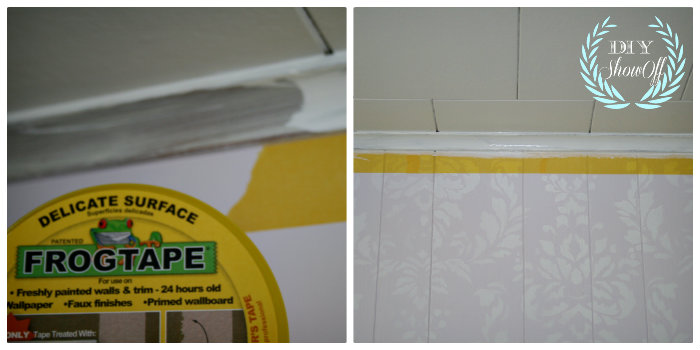
I let the paint dry for a day before using FrogTape Delicate on the walls so I could paint the moulding around the room…

FrogTape Delicate

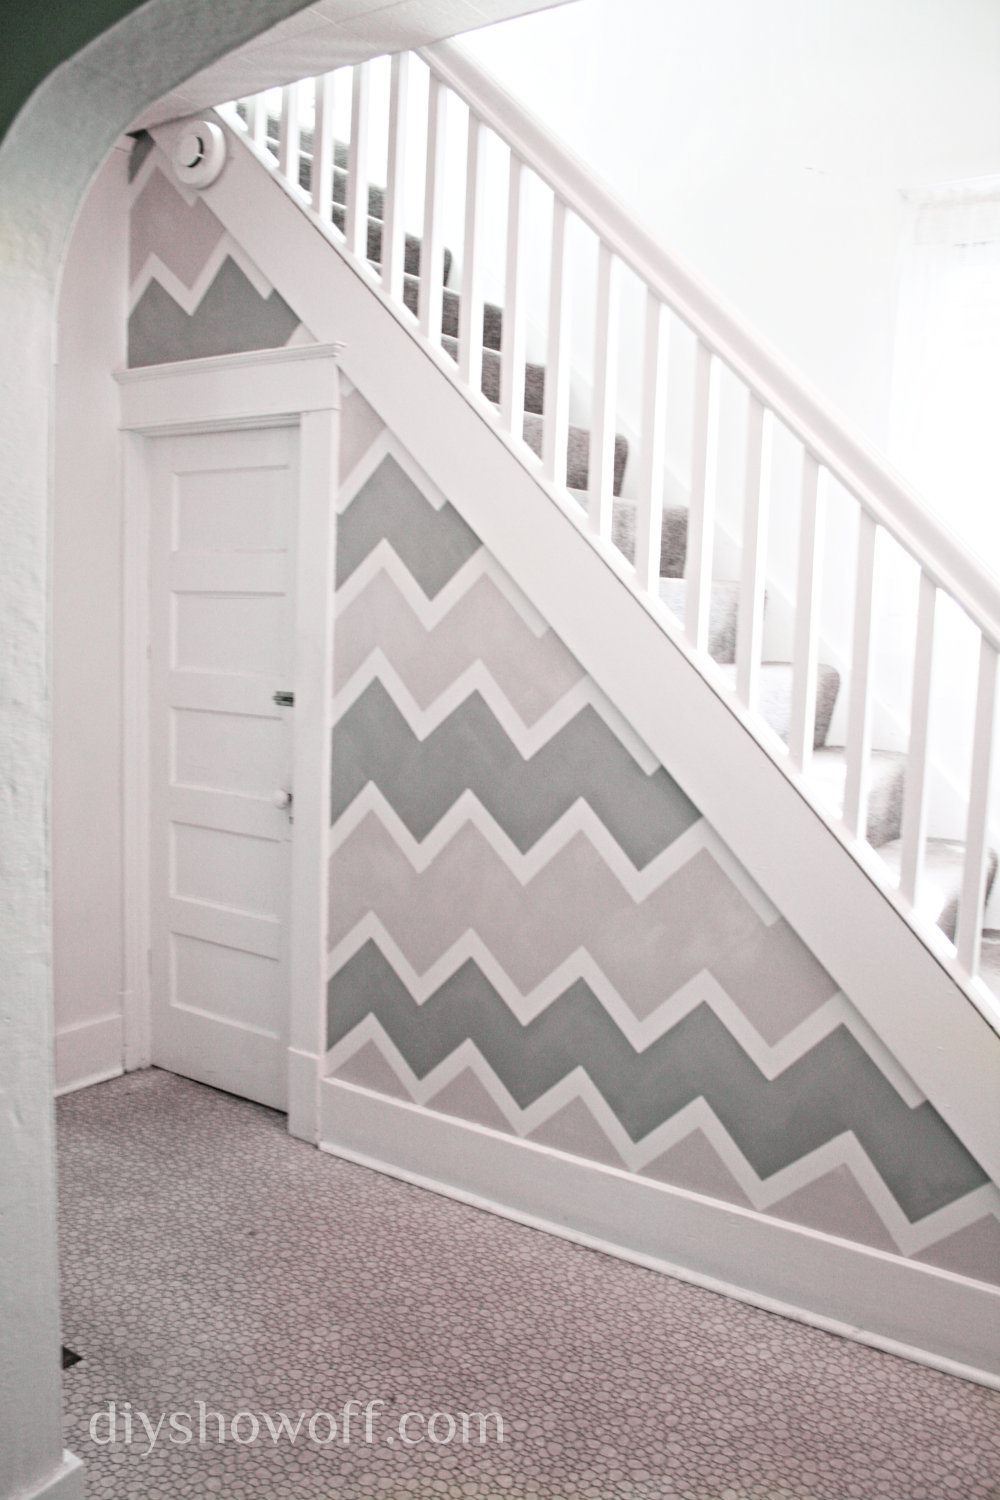
Pretty, isn’t it? Light, soft and subtle and much better! Even the landlord approved.

paneled damask walls

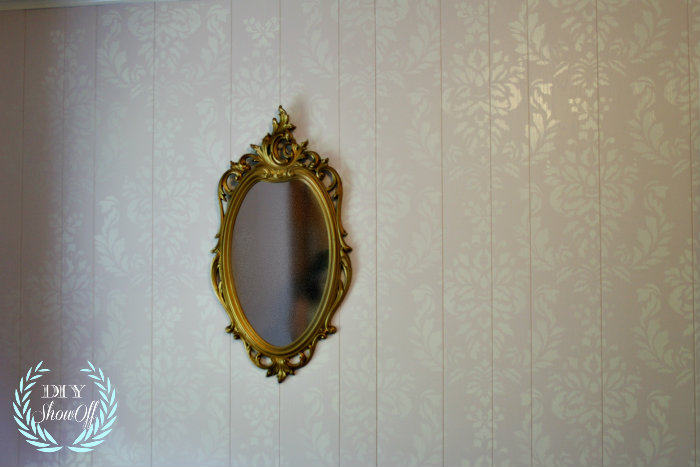
{reveal pictures will be better quality!}

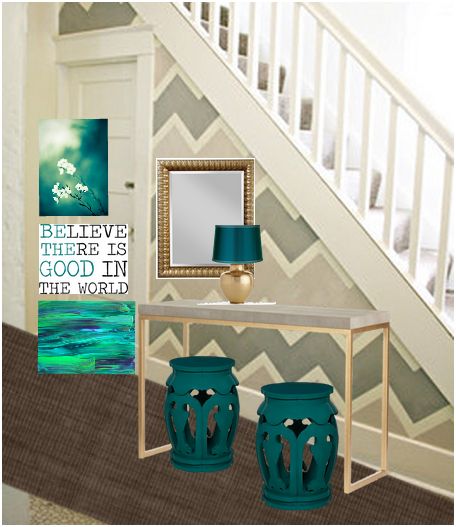
Next up: some thrifty wall decor and room accents.

*This sponsored by FrogTape. FrogTape provided by Shurtech. The opinions are completely my own based on my own experience.

 FrogTape Blog Squad

Pantry Progress and PaintStick Review

It’s been one of those weeks where my DIY projects don’t produce a jaw-dropping reveal, just behind-the-scenes DIY. However, there is progress! I recently had the opportunity to review the HomeRight PaintStick. You know how much painting goes on around here and I actually have a thing for paint gadgets (remember the edger?) so I was excited to give this a try.

A few weeks ago, I shared our plans for turning this space…

open pantry before

into an organized open pantry area. Here’s my inspiration, {pantry from Emerson Made}:

Emerson Made open pantry

First up, I needed to prep for painting by filling holes, sanding and taping off what I didn’t want painted with FrogTape. Then I cut in around all of the trim in this room.

paint-prep

This old house has high ceilings so I chose the HomeRight EZ Twist PaintStick to assist me in getting the painting job done.

I watched the helpful videos on HomeRight‘s webpage for tips. They sure made it look easy enough which made me even more skeptical – like a “too good to be true infomercial”. But surprisingly, it was easy! I think opening the package was the most difficult part.

The paintstick holds paint right in the stick! Attach a tube into the paint can, attach the paintstick to the tube, pull back on the handle and “fill ‘er up”.

paintstick-ez-twist

It takes a bit for the paint roller to become saturated, just roll and twist the handle to release the paint. The roller itself has small holes, releasing paint from inside. I had the walls and ceiling painted in less than an hour. It really was awesome!

painting


Ugh…that trim. Scratched up from installing bamboo floors and in need of shoe moulding. We’re getting there. In the meantime, I’m planning on doing a subtle stenciling/paint treatment on these walls and ceiling, so both were painted with the same paint in an eggshell finish (color is Valspar Cool Grey).

cool-grey

I was dreading the clean up, but it was surprisingly easy enough and not quite as time consuming as I anticipated. I simply cleaned the parts in the basement utility tub with water according to video directions.

What I liked:

  • Eliminating the need for a messy paint tray and possible drips paint from tray to wall or ceiling. 
  • The speed of painting without having to go back and forth to a paint tray.
  • The coverage (cover an 8’x8′ area with one fill)
  • Minimal paint waste (left over paint stays in the can…easy to empty the paint in the paintstick right back into the can too).

From beige walls and creamy trim to cool gray walls . The walls look so much better, but ahhhhh! That trim! Yellow-y next to cool gray. Guess what I’m doing this weekend?! Ultra white trim coming right up and one step closer to an open pantry! Woo hoo!

cool-grey-paint

So for you: “Yay or nay” for painting gadgets? For me: anything that makes the job easier/quicker!

This post/review is sponsored by HomeRight but the opinion is my own.

This is a sponsored post brought to you by FrogTape. The opinions are completely my own based on my experience.

FrogTape Blog Squad

Accent Wall Before and After

Patti (my youngest sister) is renting but has permission from the landlord to paint…and to be creative about it too. The entryway wall before had peeling paint…

wall-before

I scraped and sanded until we had a smooth finish. Holes and cracks were patched using DAP’s DryDex (spackling that goes on pink, dries white) and sanded.

dap-drydex-spackling

The walls got a coat of primer and a base coat in a neutral light gray color.

Using FrogTape Delicate (the yellow painter’s tape with PaintBlock Technology, safe for freshly painted walls) the next day, I created a chevron/zigzag pattern.

accent-wall-tutorial

Then painted the zigzag stripes alternating a left-over darker gray paint and left-over gray-beige paint (the color under the tape is a lighter gray).

As soon as I were finished painting the second coat (while it was still wet), I removed the FrogTape Delicate.

removing-FrogTape

Next up cleaning the dingy vinyl floor and decorating.

After (paint is still drying):

accent-wall-after

Patti just happens to work part time for a thrift store so she gets first dibs on all of the eclectic treasures (and has a good eye for what can be transformed). Lucky girl! If it was me, I’d never get out the door with a paycheck. I’d be trading those dollars for thrift store goodies!

Even though the wall now sports a busy pattern in 3 colors, the colors are neutral enough to work in some fun colorful accents and patterns. {All accessories found on Polyvore.}

teal, gold & gray

teal-gray-entryway

 coral, black & gray

coral-gray-entryway

emerald & navy

navy-emerald

gray & mustard

gray-mustard

Looking forward to seeing what she does, how about you? Which color(s) do you like?

This is a sponsored post brought to you by FrogTape. The opinions are completely my own based on my own experience.

 FrogTape Blog Squad