Earlier, I shared the pantry reveal and I’ve had a few questions related to one of the walls as to whether or not I used wallpaper.
While I do love the look of wallpaper, I’ve had enough wallpaper removal to last me a lifetime so the answer is ‘no’. It’s paint! If you’re a long time DIY Show Off fan, you know that I am a big fan of using FrogTape® to create fun accent walls (see here, here, here, here) and with the addition of the Shape Tape, there are even more options for a creating a fun accent wall. I’d prefer to lightly sand and repaint than strip wallpaper in the future, wouldn’t you? 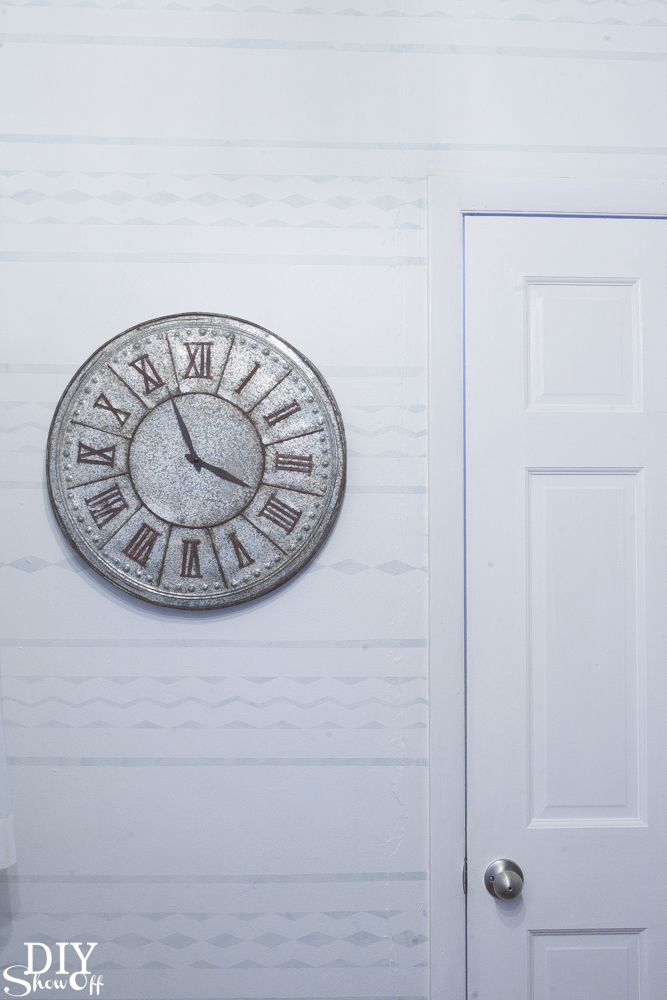
My wall is small. I used FrogTape and chevron Shape Tape to create a fun accent pattern with a tribal/Aztec feel. My lines were mostly “eyeballed”… but use a level and pencil if you’re more of a perfectionist. 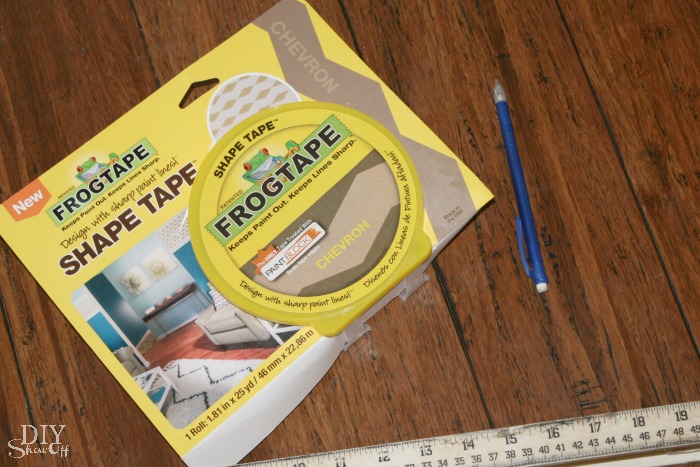
I started at the bottom of my wall space and created straight lines with the Multi-Surface FrogTape and lined it up with the chevron Shape Tape to create stripes, zig zags and diamonds…no real planning out a pattern…I just got creative working my way about 1/3 of the wall (again, no measuring).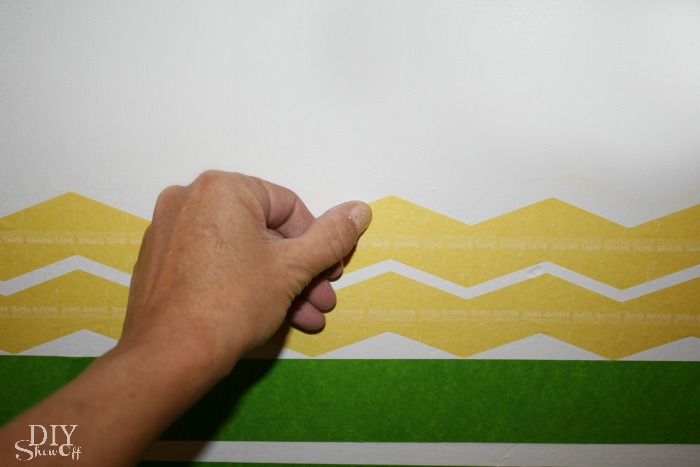
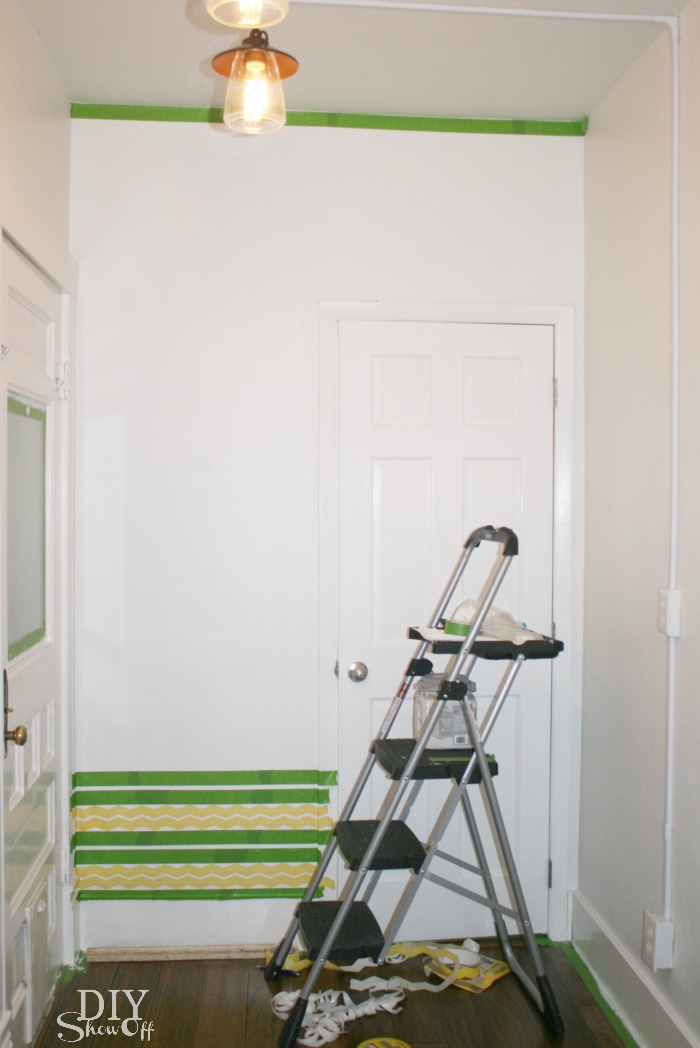
Then worked my way down from the ceiling to about 1/3 of the wall space copying the same pattern I used at the bottom of the wall.
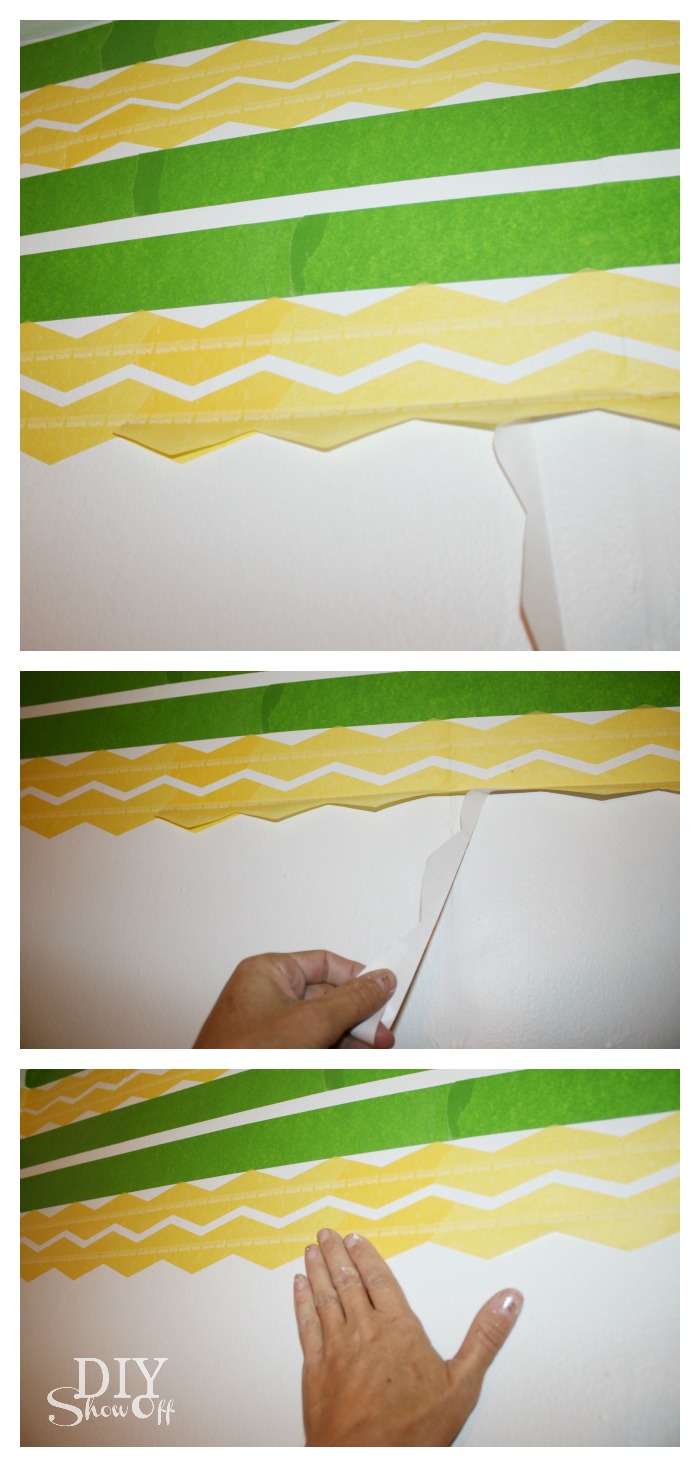
Next I found the center of the wall and spaced out a similar pattern there to meet the bottom and top design. Since it’s the center, I didn’t feel it had to be a perfect match with the top and bottom pattern. I was right! It only adds to the uniqueness of the design. Here’s how it looked with the taping complete:![]()
I actually painted the walls with my base color last April. It’s Valspar (Cool Grey). I didn’t want a loud bold design, so I used some leftover True Value Platinum (Old Fashioned…a light blue/gray) from our kitchen walls as the accent color.
Once my tape design was complete, I used a credit card to burnish the edges of the tape as I worked by rubbing the tape edge then painting the section. I only did one coat (again, I wasn’t looking for bold results and wanted the irregularity of one coat). This wall is bumpy in places so just doing a light colored pattern helps to take focus off of the wall’s imperfections. 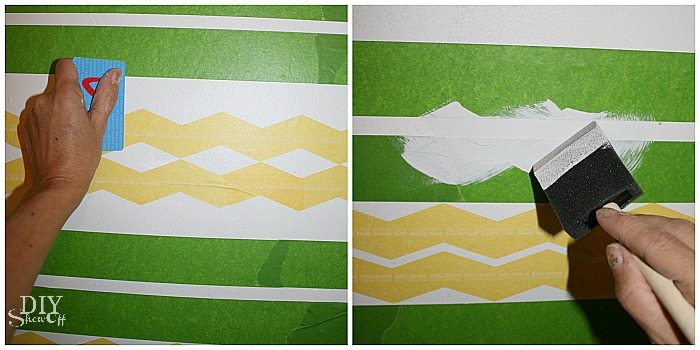
As soon as I was finished painting, while the paint was still wet, I removed the tape.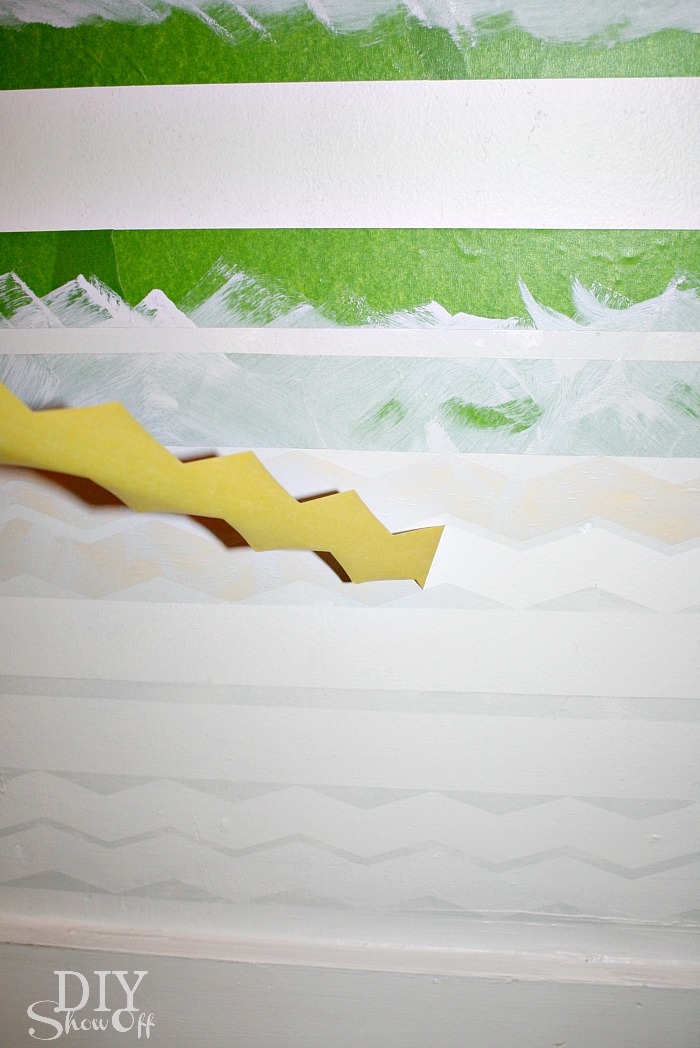
So within a 1-2 hour time frame, my wall had an awesome new ‘wallpapered’ look with a subtle design!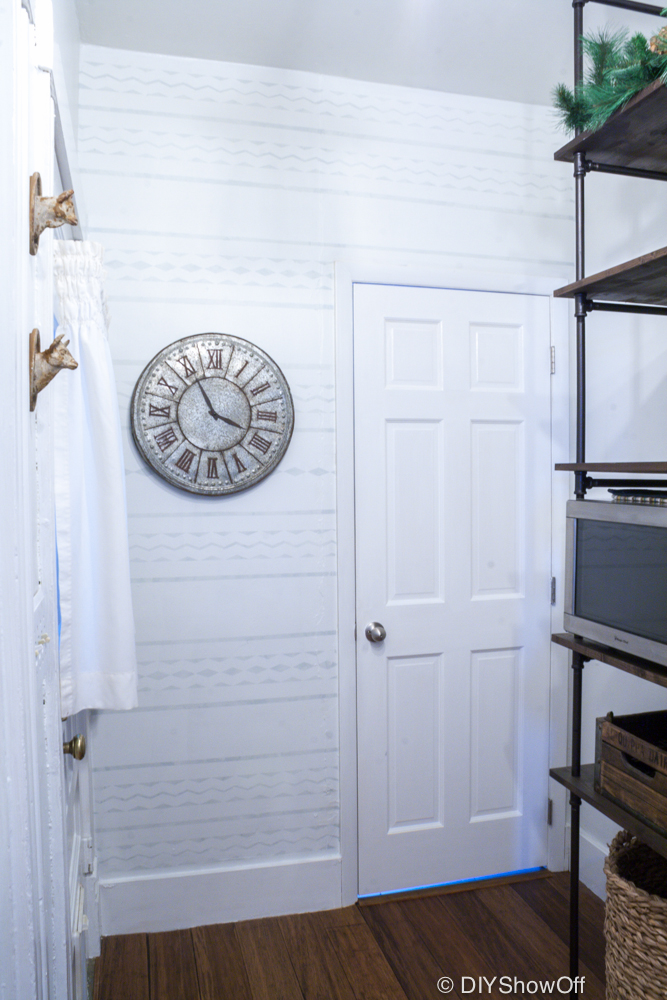
I was going for a tribal or Scandinavian vibe. From a distance, it reminds me of writing paper. Remember it from grade school?
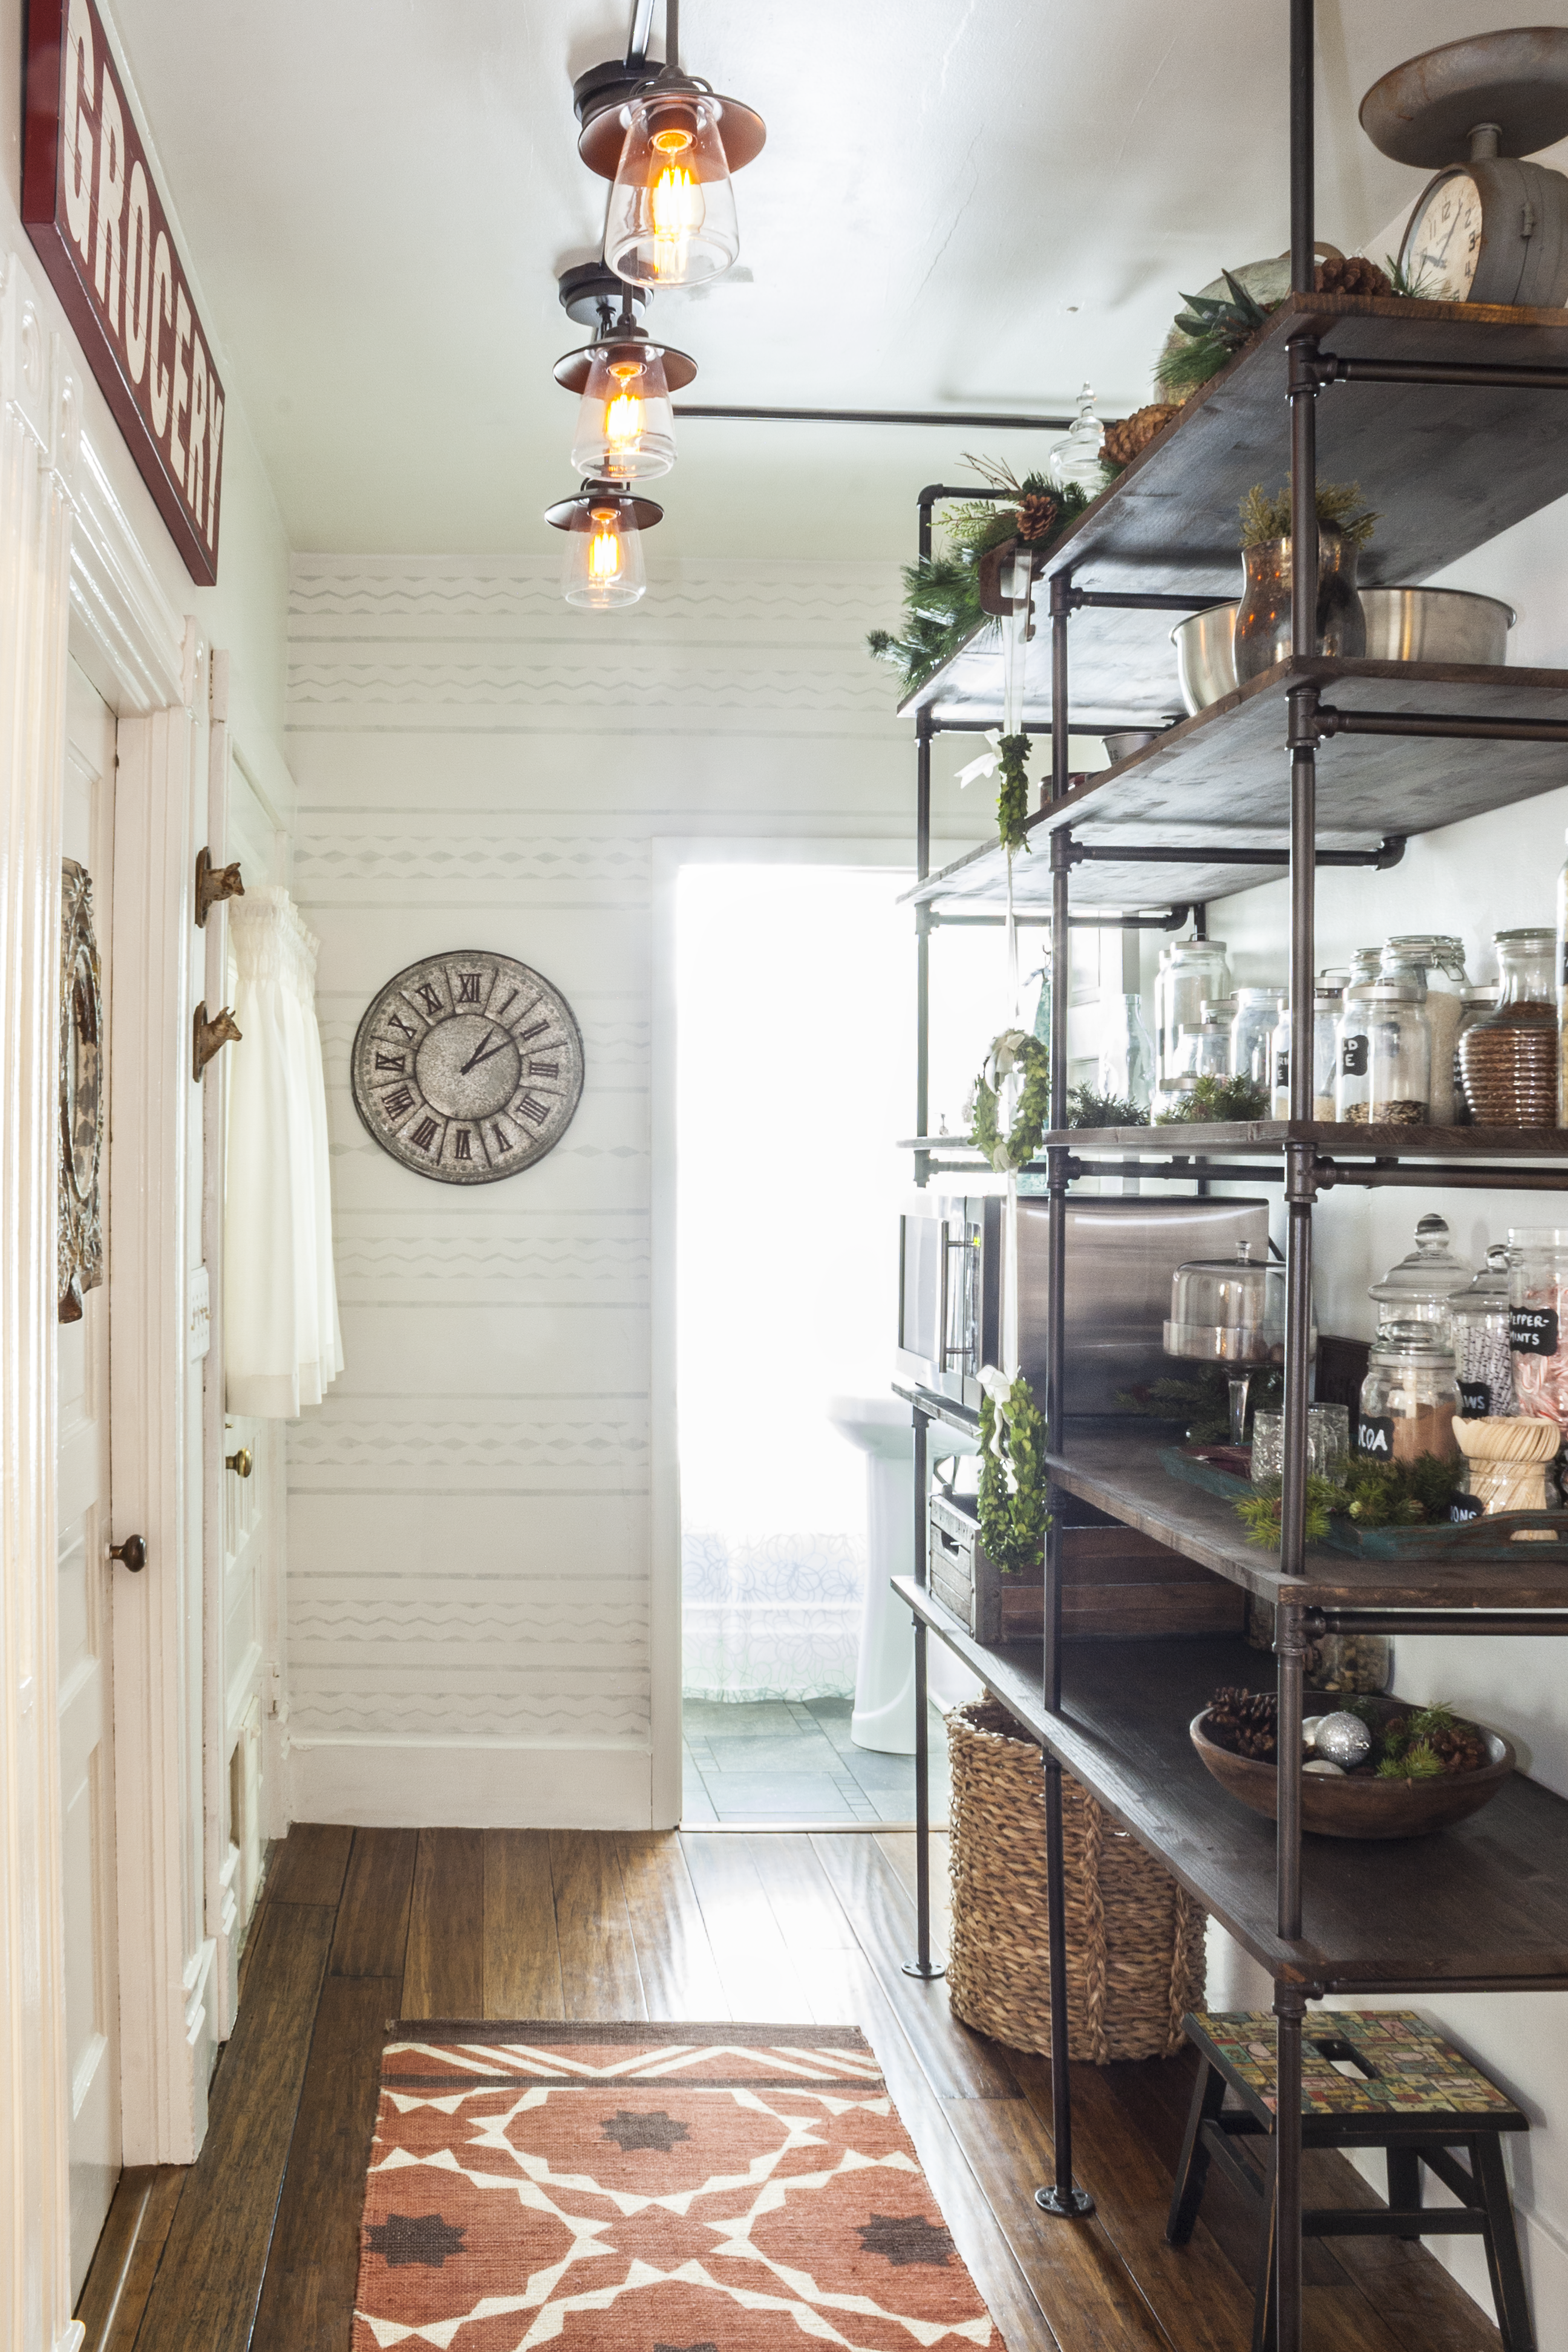
What I love about this: Cost for 1 roll of FrogTape and 1 roll of chevron Shape Tape is less than a roll of wallpaper! Use leftover paint! It’s also less time consuming and less work – all for the same look as wallpaper without the headache to install or remove plus the option to personalize colors and design.
![]()
Disclaimer: I received compensation to complete this project for using FrogTape® products. All opinions, projects and ideas are based on my own experience.
Sharing at Home Stories A to Z – Tips & Tutorials Party
Like what you see? Get reminders and updates delivered right to your inbox: