Meet Robin from
Robin is a fairly new blogger who blogs about enjoying every day life. She recently gave her master bedroom a closet a makeover.
The “after” is so organized!

Meet Robin from
Robin is a fairly new blogger who blogs about enjoying every day life. She recently gave her master bedroom a closet a makeover.
The “after” is so organized!


Full post and dressing room details/closet organization here.
The closets also had a lot of wasted space.
Shelving installed!
After:
This one only had 1 rod for hanging clothes…
With the addition of two shelves in wasted space and an extra closet rod…
Accessory trays (secured to the wall with 3M velcro hangers) organize nail polish…
Easy Hang Closet Extension Rods double hanging space for boots shown above and pants/skirts as shown below:
A little seat for pulling on boots…
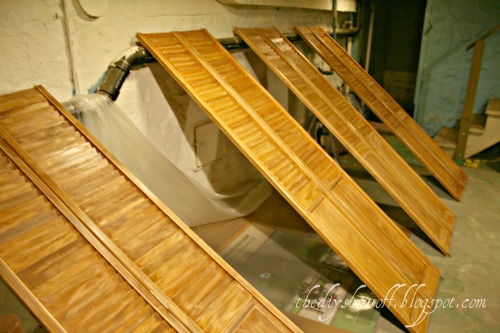
Two extra sets of bi-fold doors becomes a folding/dressing screen (attach with hinges in the center)…
Behind the screen…
A GoodWill found tiered candy dish holds favorite accessories…
Inspired by Martha Stewart, trim/molding organizes my shoes. Four 42″ pieces hold 24 pairs of my {heeled} shoes…
(See the trim/molding shoe storage how to here)
We’re working on a special area for Mr. DIY. Here’s one of the things we made for the area:
(Oh – I wasn’t fond of the brassy color so I gave mine a coat of antique gold spray paint and splattered with a darker brown for an ‘old’ look).
More on this clipboard’s specific purpose coming up! You’ll never guess. 🙂

Ps. Still working on the subscription issues…I’m keeping my fingers crossed that the full post shows in the feed today! EDIT: It looks like the full post is in the feed but images are not. Back to the drawing board! Thank you so much for your patience!