Beverage Recipe Vinyl Decal

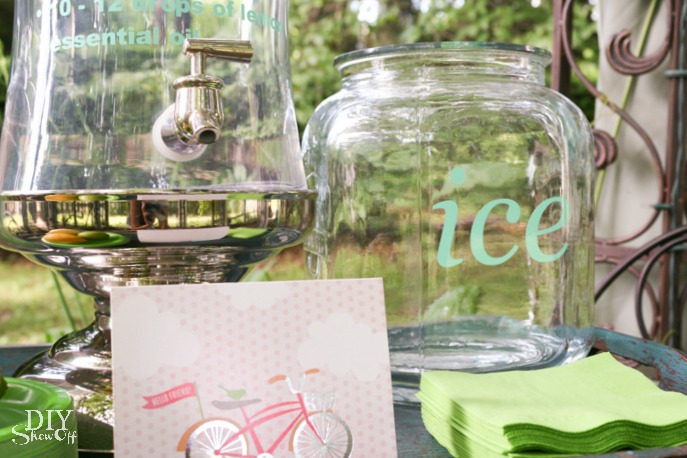
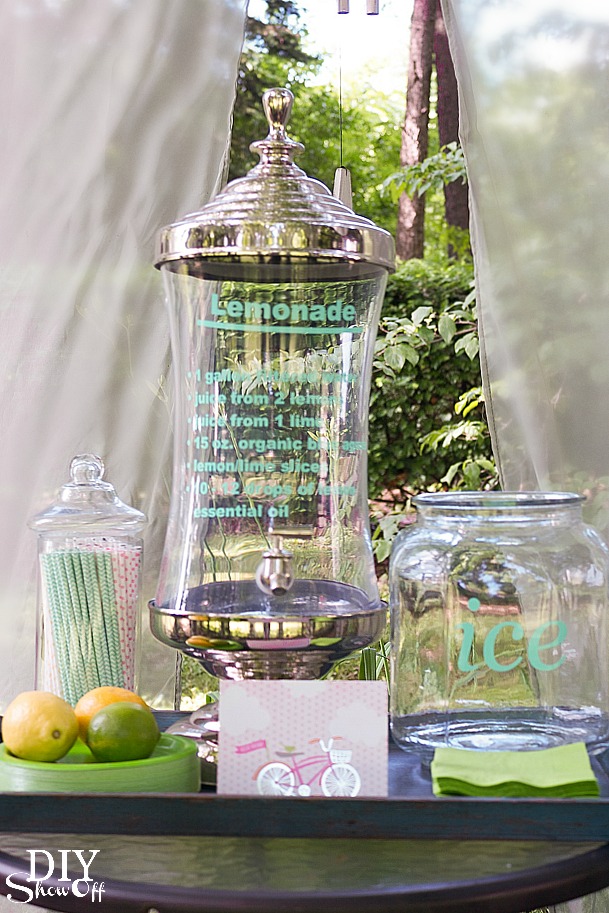
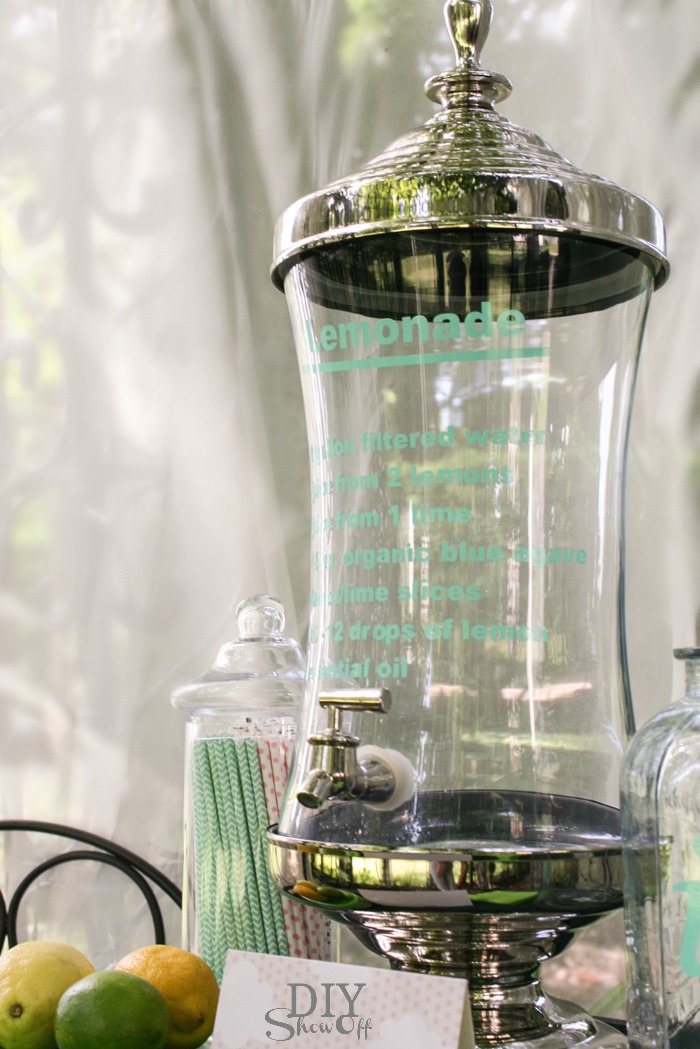
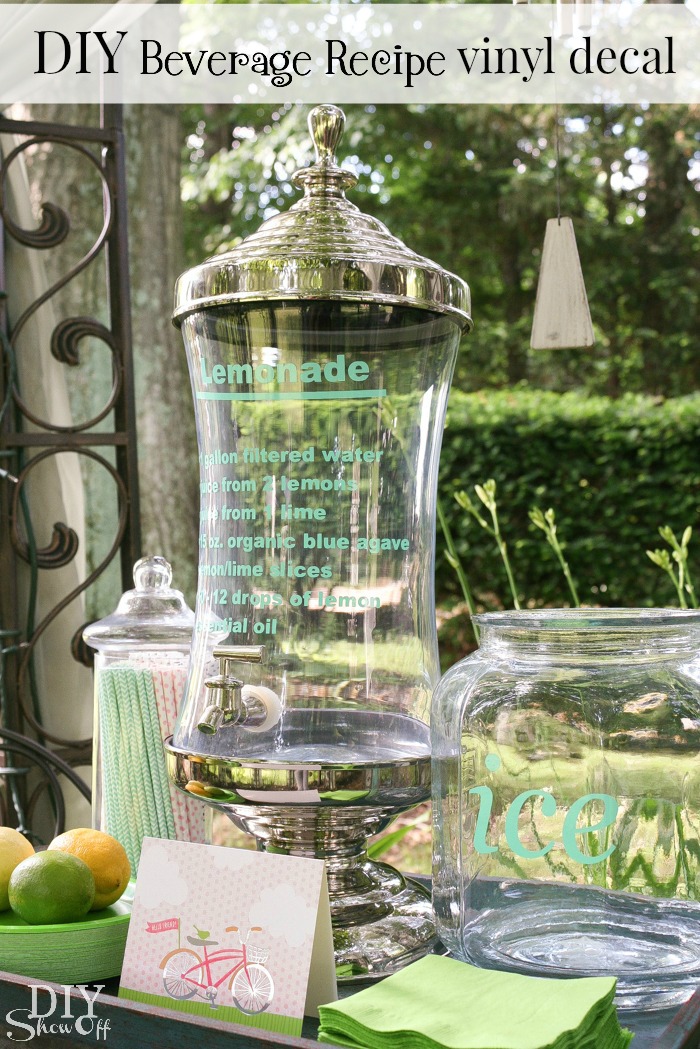
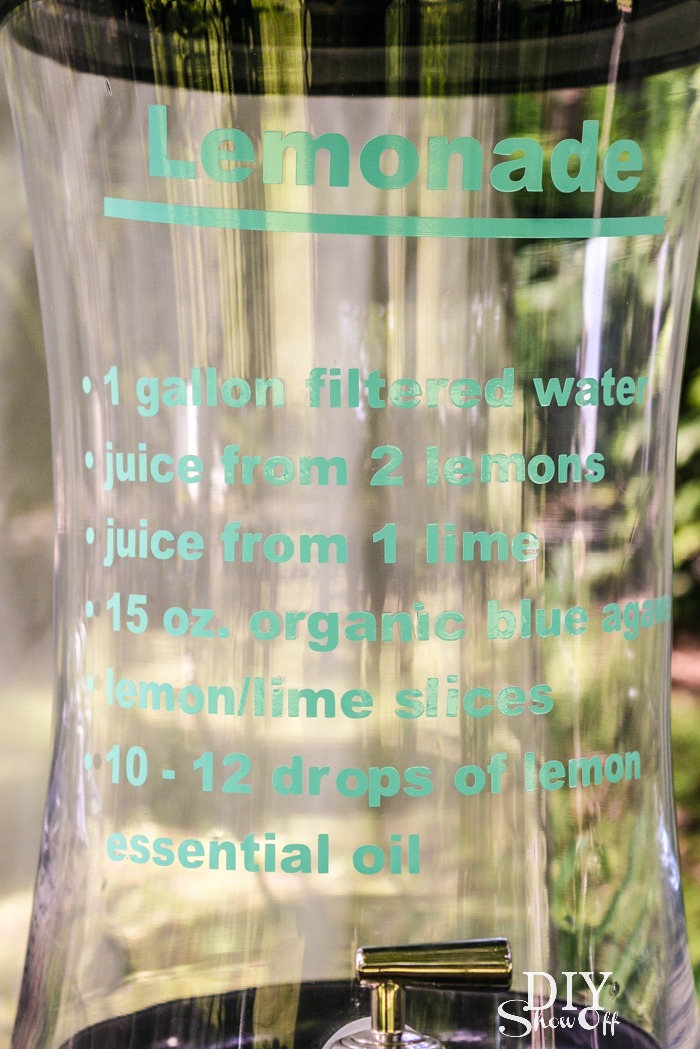
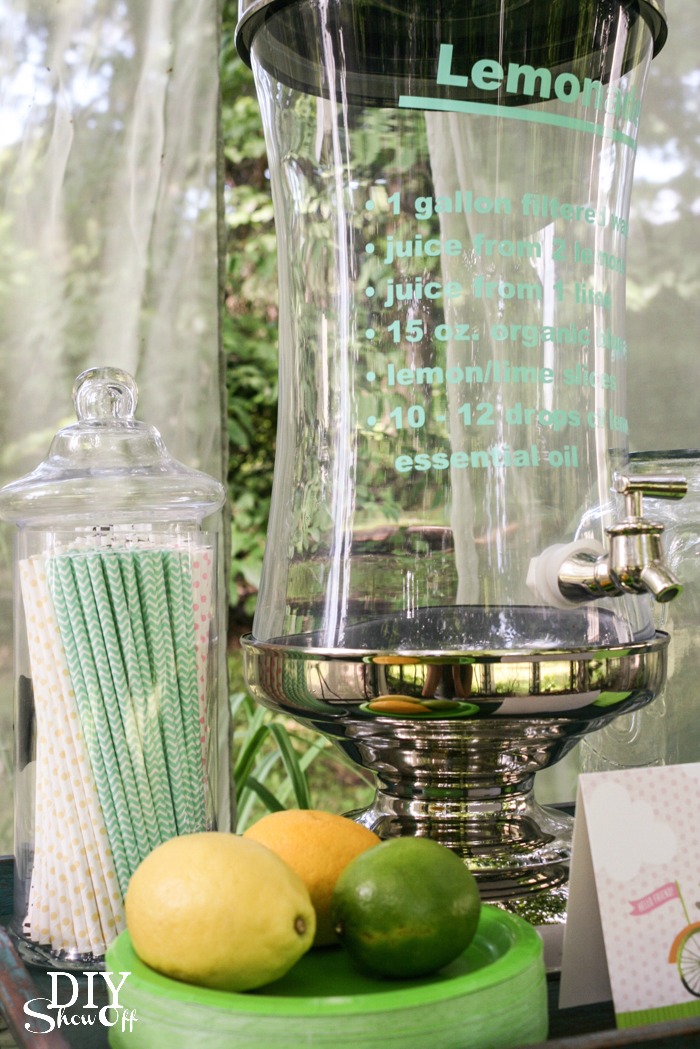
Summer time in our home = lots of entertaining and hauling out the fancy glass beverage server for homemade lemonade is a must. Labeling glass containers lets guests know exactly what they’re consuming.

Beverage Recipe Vinyl Decal Label Tutorial

DIY lemonade recipe vinyl decal on beverage glass

Materials:

  • Glass beverage server
  • Happy Crafters Glossy Adhesive Vinyl (mint)
  • Transfer paper

Tools Needed:

  • Vinyl cutter (I use a Silhouette Cameo)
  • Scissors

What I did:

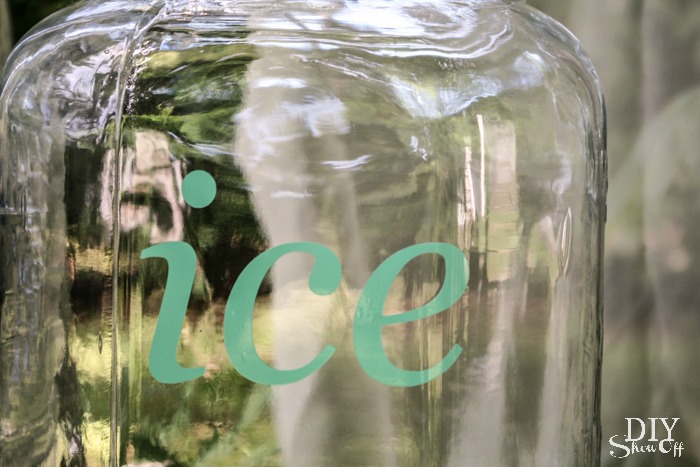
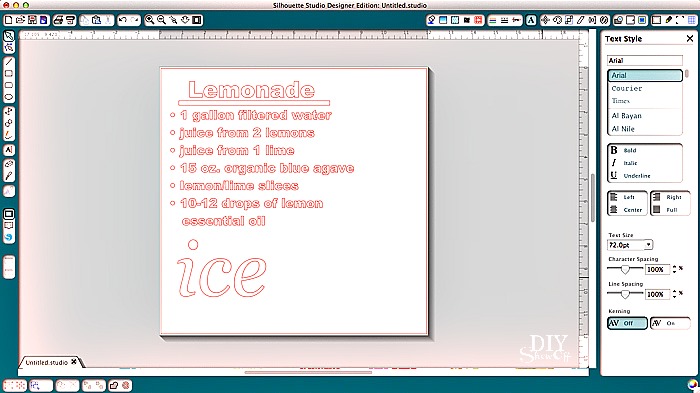
Open up Silhouette Studio Designer software. Choosing the font tool, write up a label. Simply the name of the beverage or ice. I included my lemonade recipe too. 

lemonade vinyl label tutorial

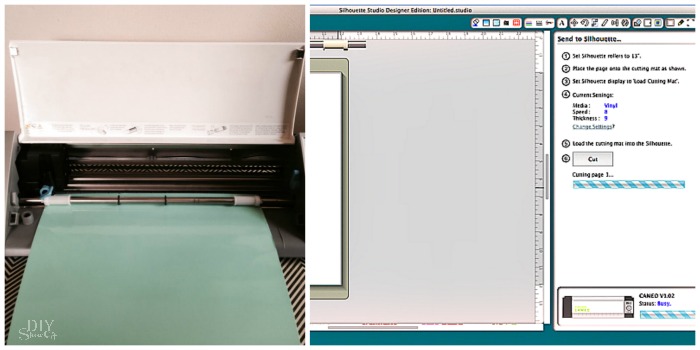
Load the vinyl, color side up into the machine. Adjust blade settings for adhesive vinyl and “send to cut”.

lemonade vinyl label tutorial

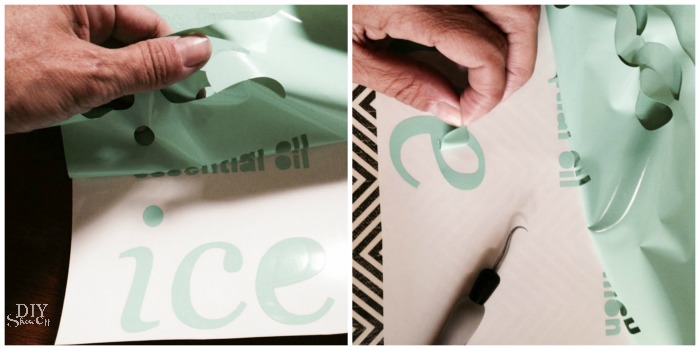
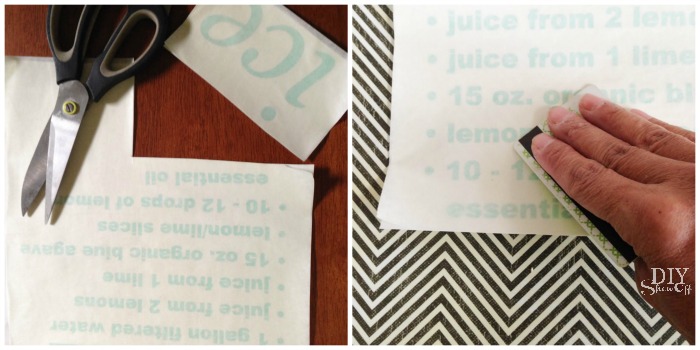
Unload vinyl, trim design if needed and weed away vinyl that isn’t a part of the design. 

lemonade /beverage vinyl label tutorial at diyshowoff.com

Apply transfer paper to the vinyl. Rub with a credit card. 

lemonade /beverage vinyl label tutorial at diyshowoff.com

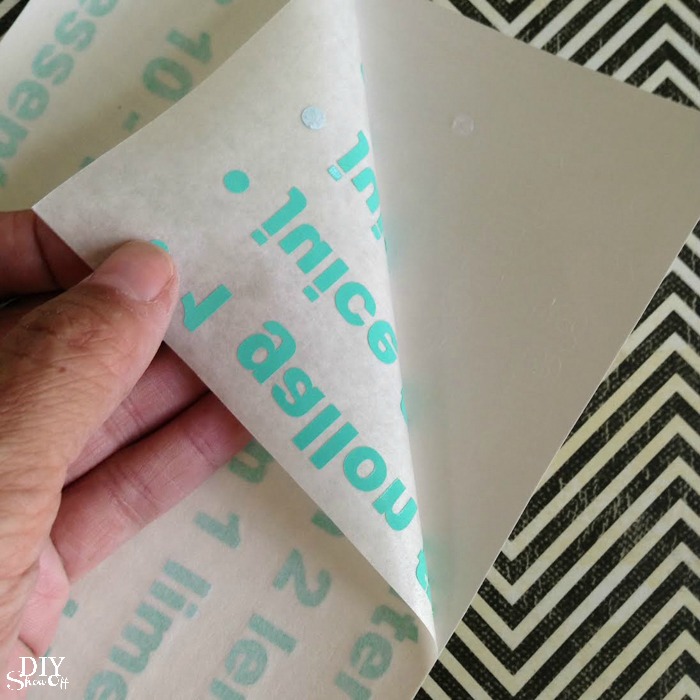
Peel away backing (vinyl will transfer, showing reverse on the transfer paper).

lemonade /beverage vinyl label tutorial at diyshowoff.com

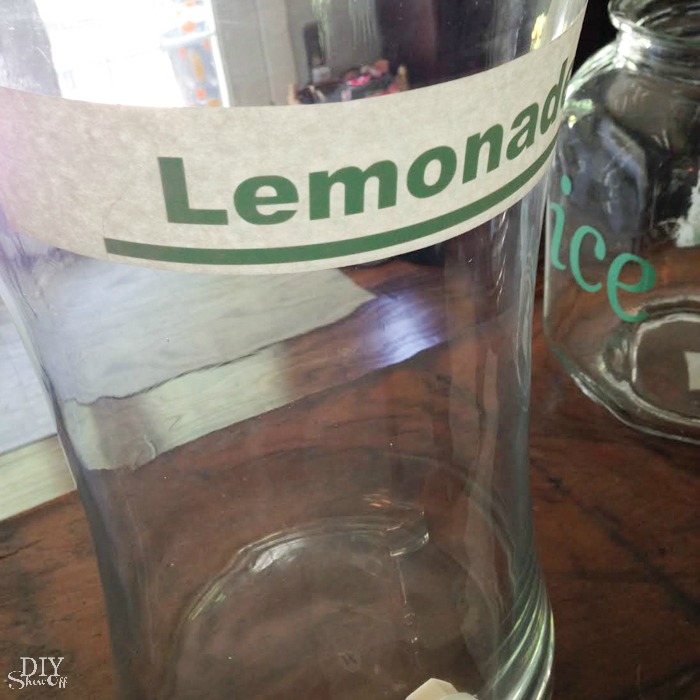
Place sticky side of the vinyl/transfer paper design to the glass. 

lemonade /beverage vinyl label tutorial at diyshowoff.com

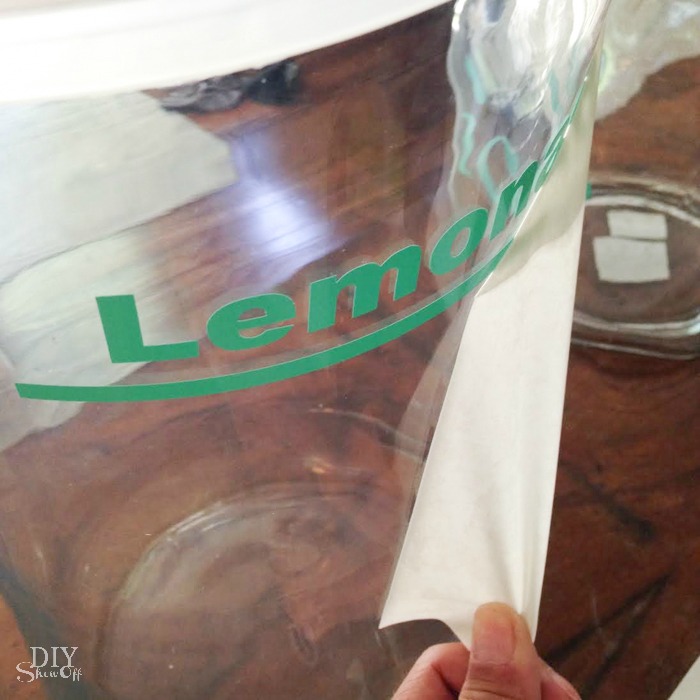
Rub with a credit card then peel away transfer paper. 

lemonade /beverage vinyl label tutorial at diyshowoff.com

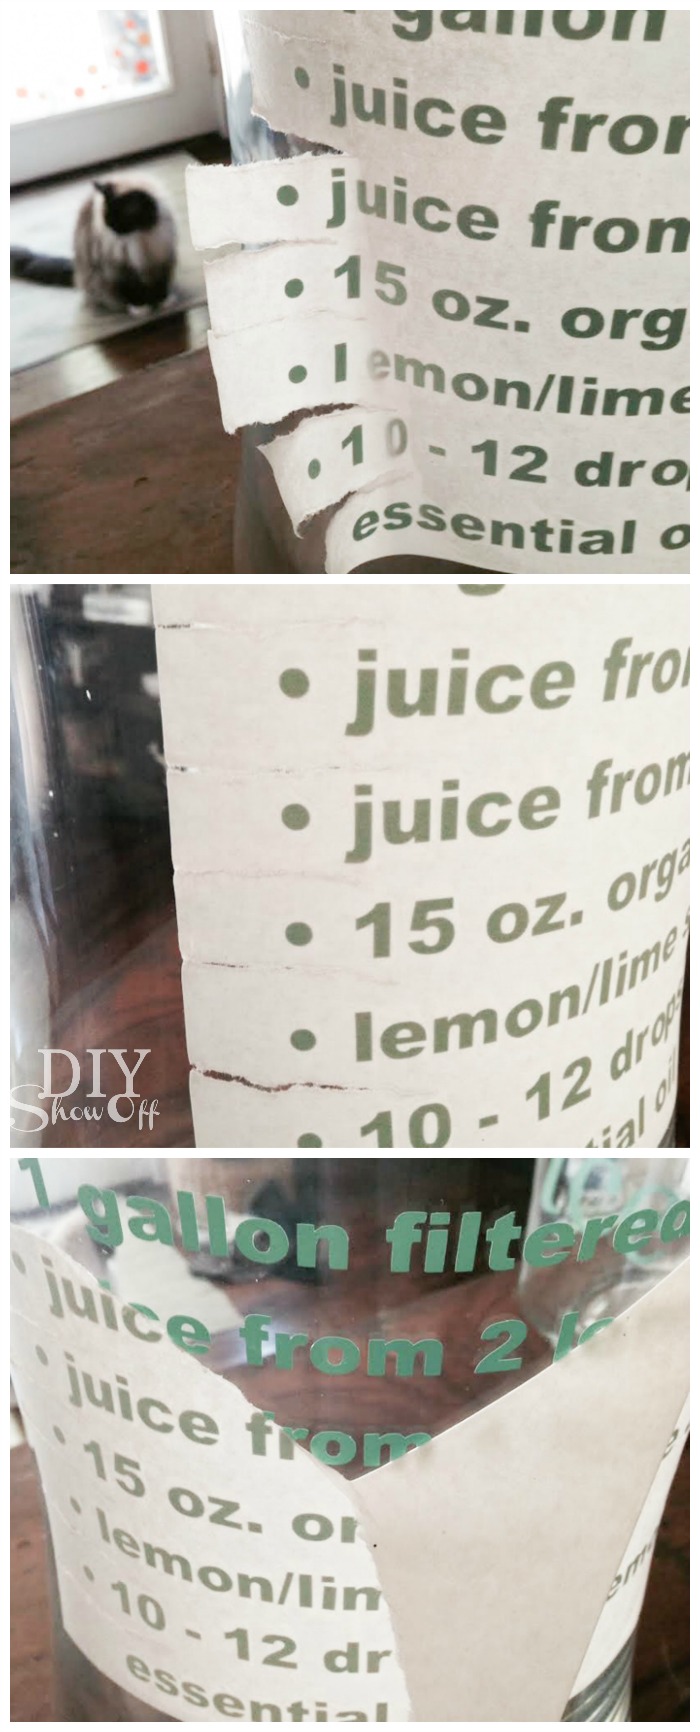
Tip for curved surfaces: Stick the center of the decal first. Apply by working from the center point out. I found it easier to carefully tear the transfer paper on each end between text to avoid wrinkles. 

lemonade /beverage vinyl label tutorial at diyshowoff.com

Mix up your beverage recipe and serve!

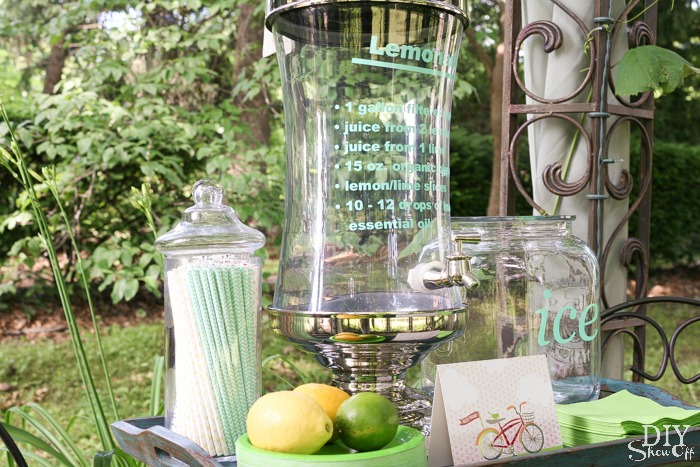
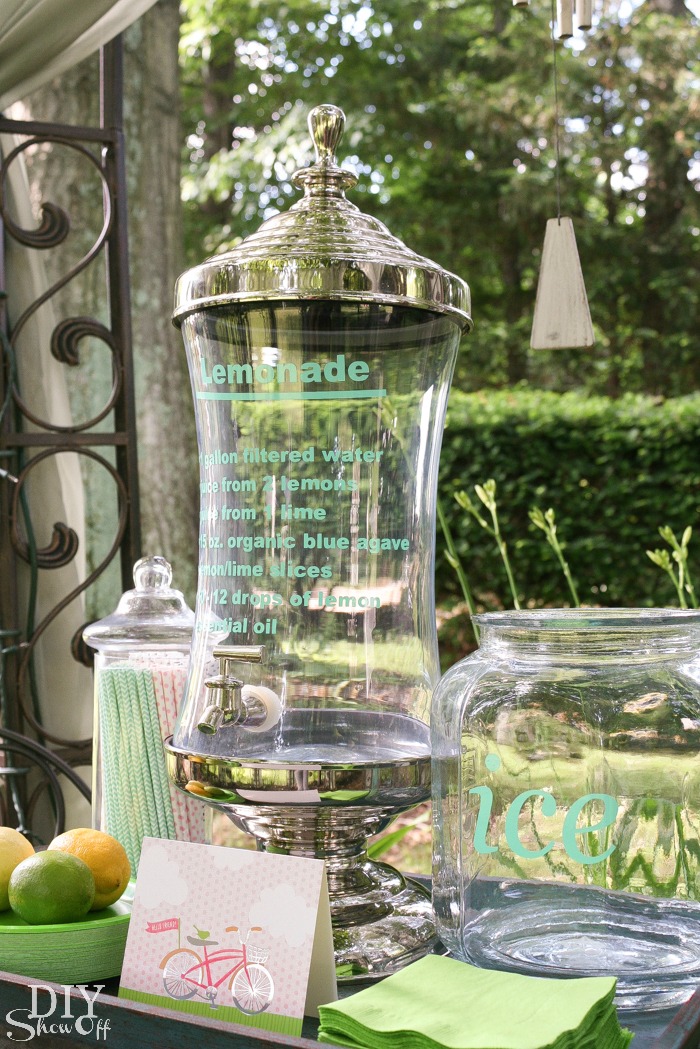
DIY beverage containter vinyl label at diyshowoff.comDIY beverage containter vinyl label at diyshowoff.com

Party time!

DIY beverage containter vinyl label at diyshowoff.comDIY beverage containter vinyl label at diyshowoff.comDIY beverage containter vinyl label at diyshowoff.comThese glass containers are washed by hand. And I’ll simply peel off the vinyl lettering when if I want but I think it’s going to stay throughout the season. DIY beverage container vinyl label at diyshowoff.comThese glass containers are washed by hand. And I'll simply peel off the vinyl lettering when if I want but I think it's going to stay throughout the season. DIY vinyl decal for lemonade recipe
Visit The Shabby Creek Cottage for another fun summer vinyl project!

summer-mantel at The Shabby Creek Cottage

*This post is sponsored by Happy Crafters. Tutorial, experience and opinion is my own.  Check out all the supplies at Happy Crafters for inspiration for your next project. 

HClogopngsmall


Party Favor Jewelry Dish

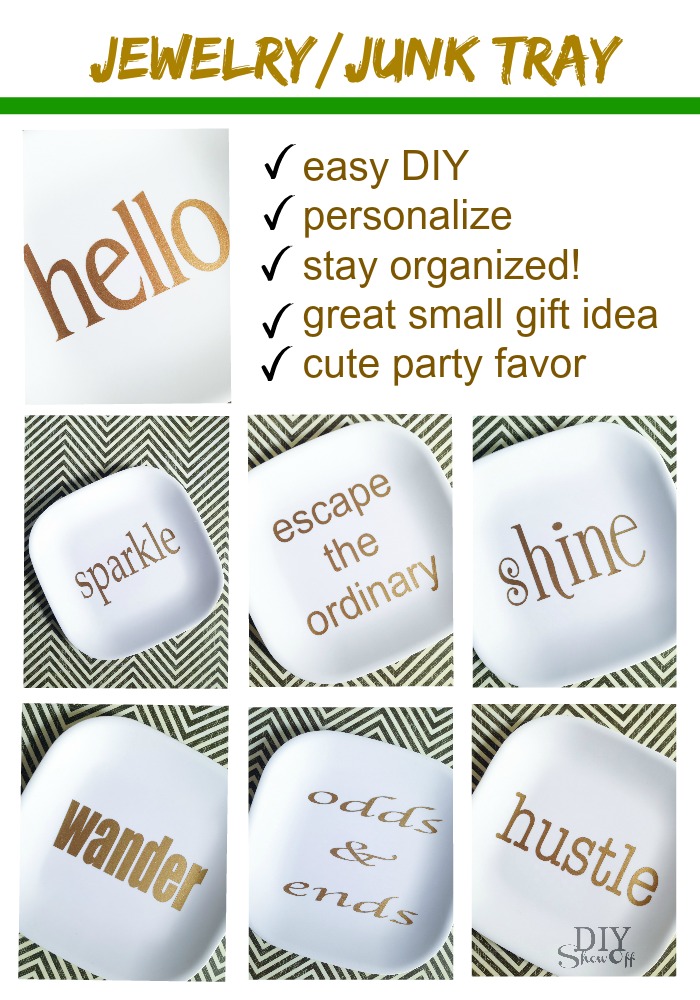
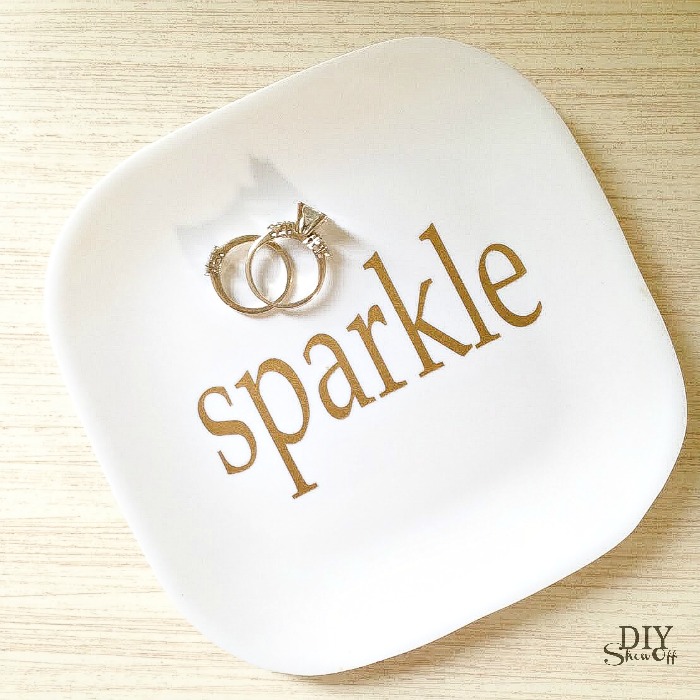
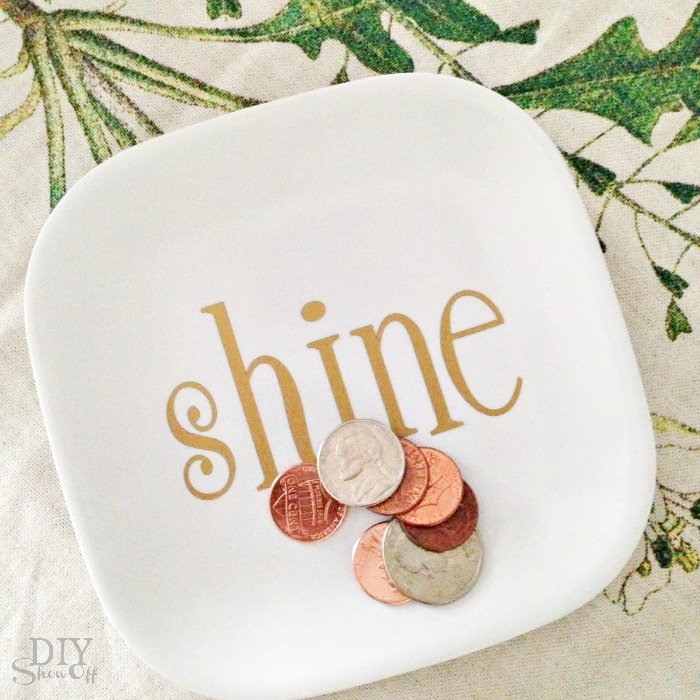
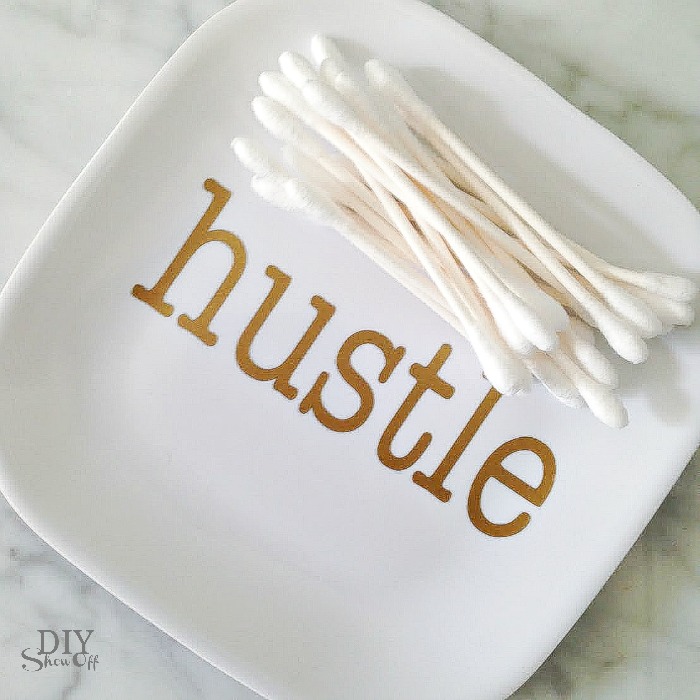
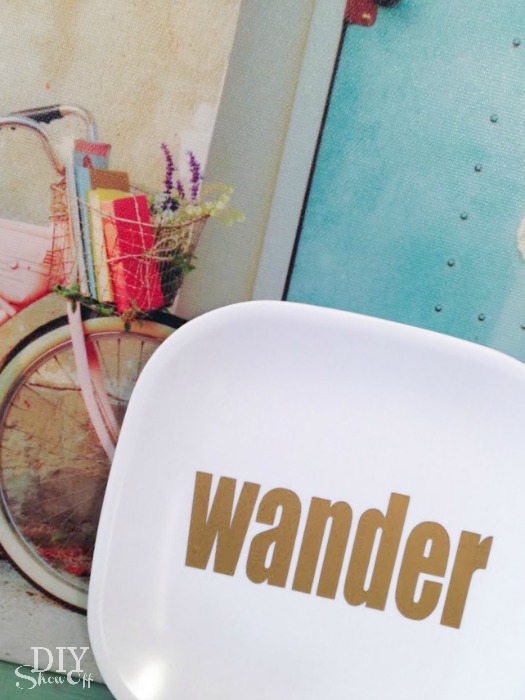
Looking for an easy DIY party favor idea? These melamine appetizer plates with vinyl decals make a cute little gift!

jewelry junk tray tutorial @diyshowoff.com

What I used:

What I did:

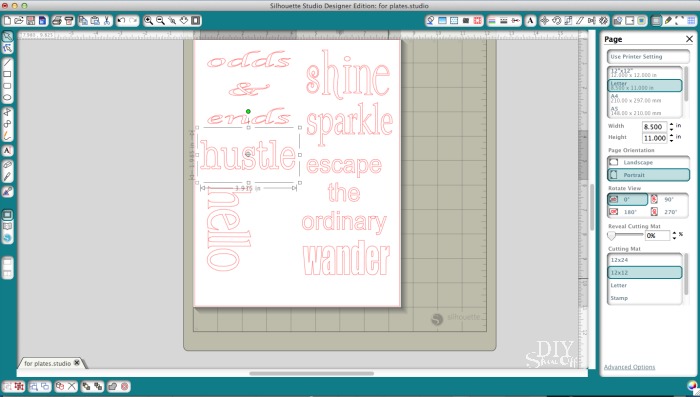
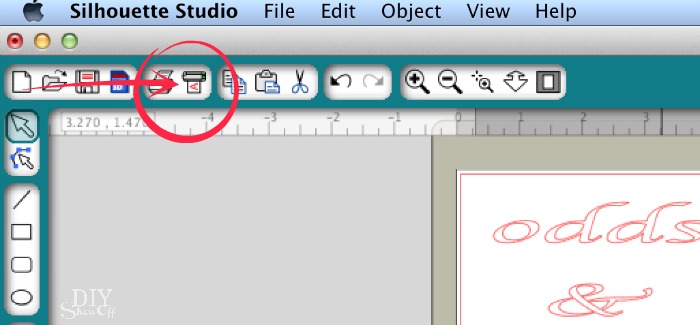
Measure flat center area of plates. Mine allowed for a 3.5 inch square design. Open the Silhouette Studio Design software and create words using font/text in a size that fits. I created six different designs.

vinyl decal tutorial for plates @diyshowoff.com

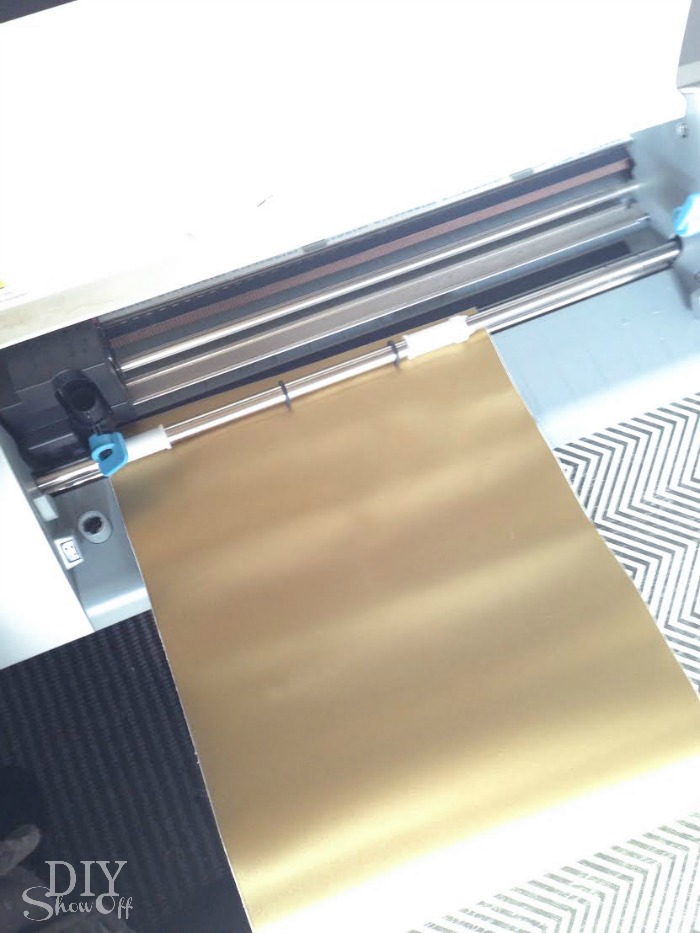
Load adhesive vinyl into the vinyl cutter color side (vinyl side) up. 

vinyl decal tutorial for plates @diyshowoff.com


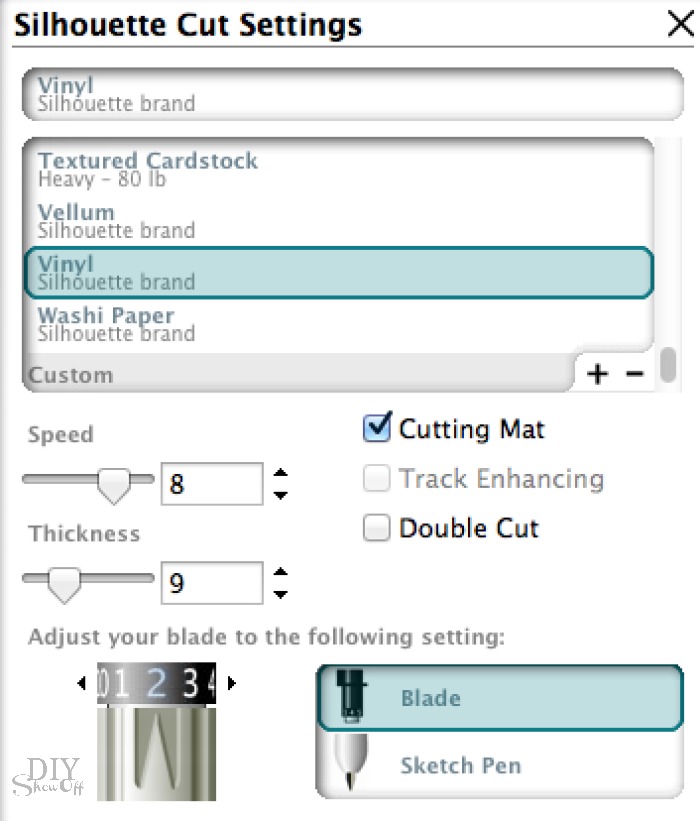
Adjust blade setting for vinyl. 

vinyl decal tutorial for plates @diyshowoff.comSend to cut and unload vinyl.

vinyl decal tutorial for plates @diyshowoff.com

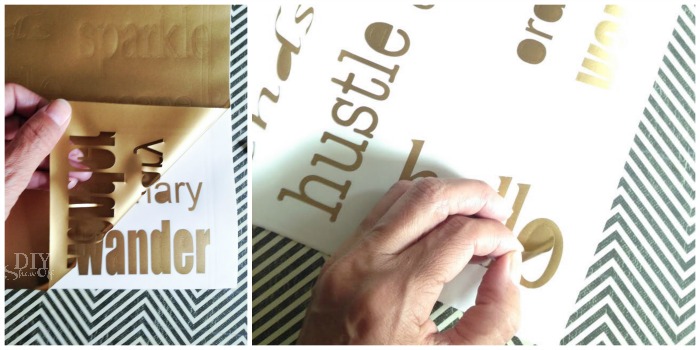
Weed away excess vinyl from the design. 

vinyl decal tutorial for plates @diyshowoff.com

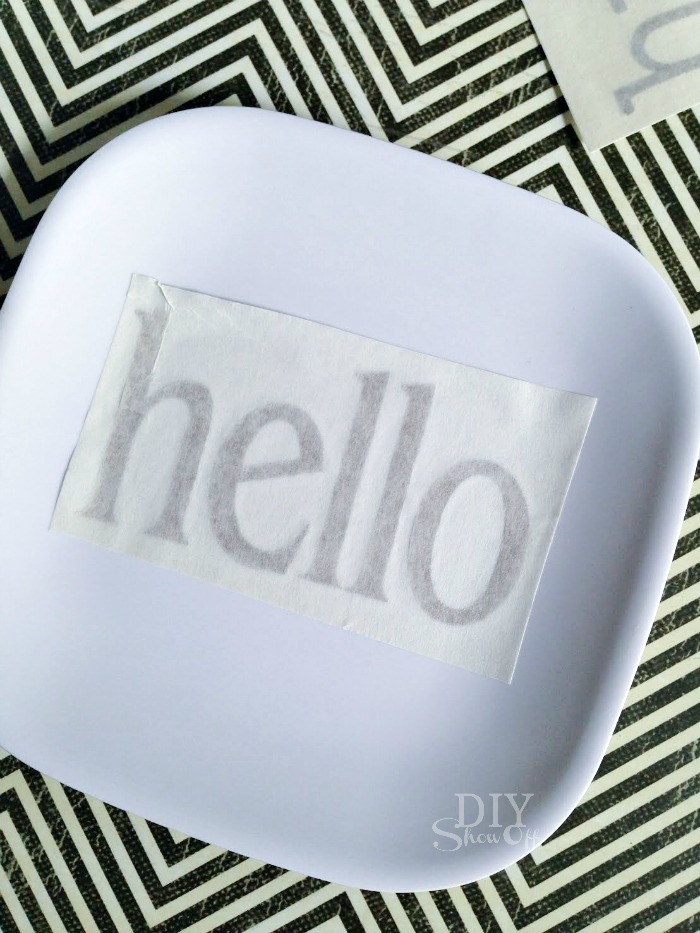
Apply transfer paper over the vinyl lettering. 

vinyl decal tutorial for plates @diyshowoff.com

Cut into individual designs. 

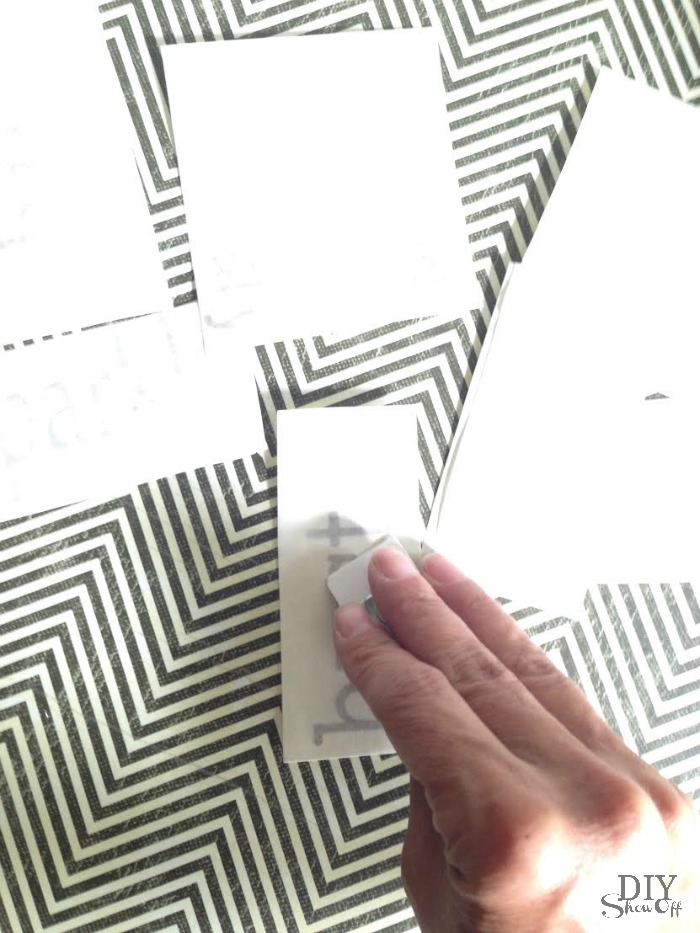
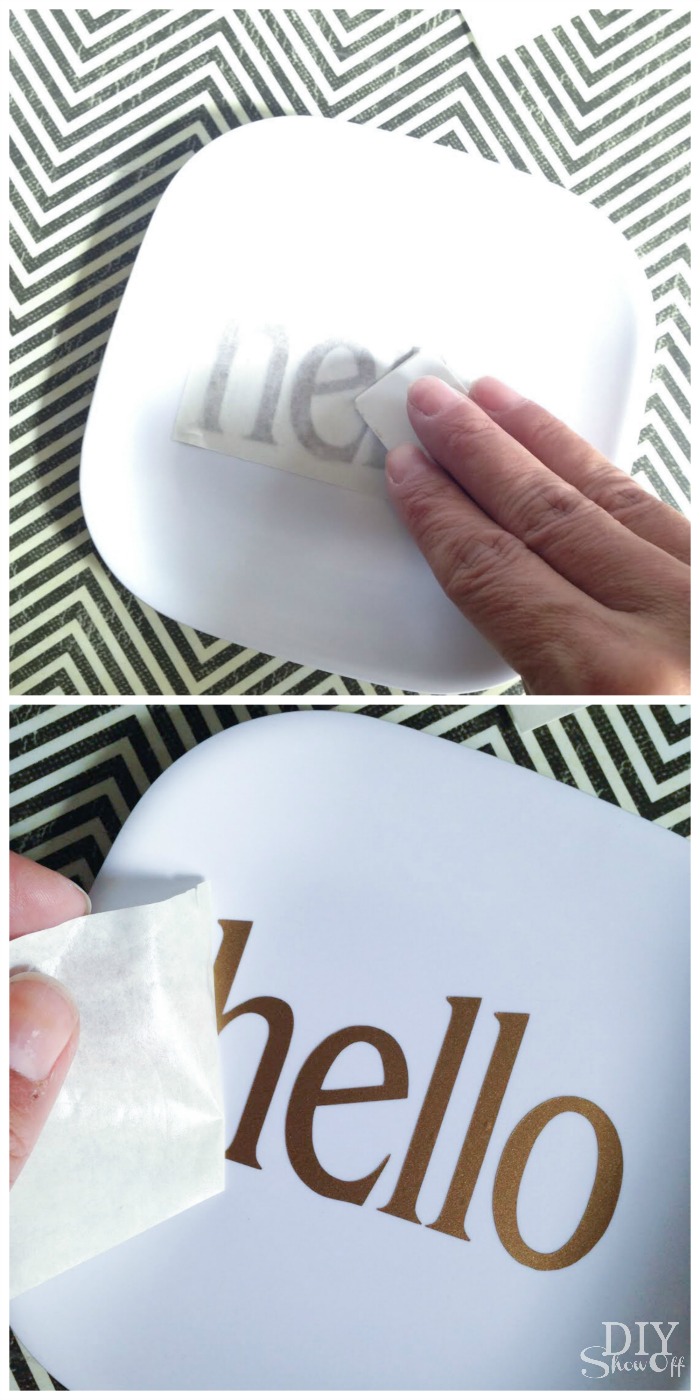
Rub the transfer paper over each piece. I just grabbed a hard plastic name tag with a straight edge. You could also use a credit or gift card. 

vinyl decal tutorial for plates @diyshowoff.com

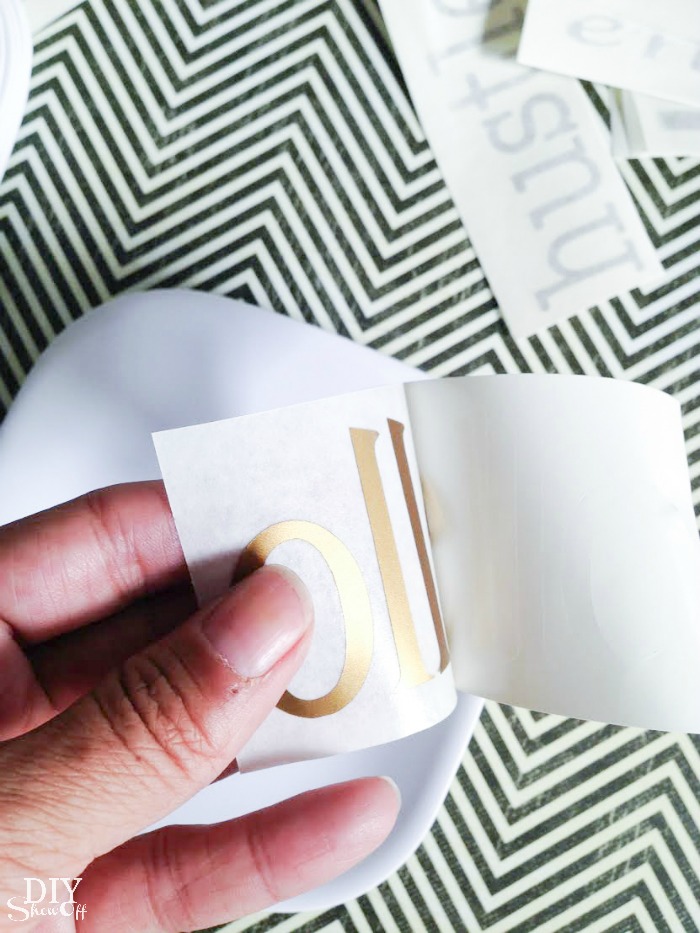
Peel away wax paper backing, transferring vinyl to the transfer paper. 

vinyl decal tutorial for plates @diyshowoff.com

Place onto plate. 

vinyl decal tutorial for plates @diyshowoff.com

Rub with plastic card and remove transfer paper. 

vinyl decal tutorial for plates @diyshowoff.com

Simple but so many options. Try different colors, different fonts, personalize with quotes, monograms, shapes or words. 

Cute inexpensive gift to include with a card or gift basket or to use as party favors. 

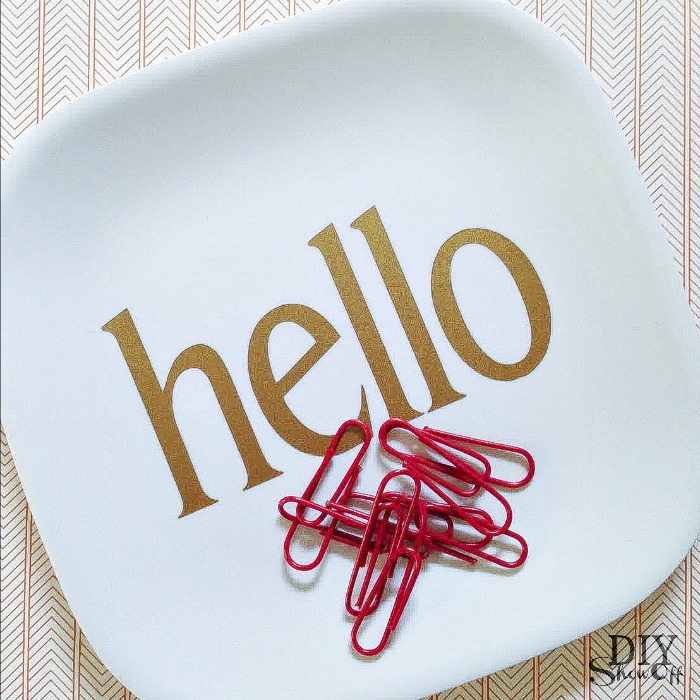
Perfect for keeping tabs on jewelry, paperclips on a desk, keys in an entryway, spare change in the laundry room, Q-tips in the bathroom, etc. 

sparkle vinyl decal plate tutorial at diyshowoff.comhello vinyl plate decal tutorial at diyshowoff.comshine vinyl plate decal tutorial at diyshowoff.comhustle vinyl decal plate tutorial at diyshowoff.comkate spade inspired plate tutorial at diyshowoff.comwander vinyl decal plate tutorial at diyshowoff.com

*This post is sponsored by Happy Crafters. Tutorial, experience and opinion is my own.  Check out all the supplies at Happy Crafters for inspiration for your next project. 

HClogopngsmall

Decorate Your Rain Boots!

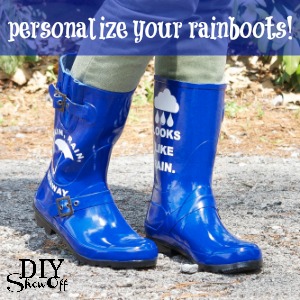
April showers bring May flowers! Dress up your rain boots by creating custom vinyl decals. 

DIY rainboots vinyl decal design tutorial at diyshowoff.com


Materials:

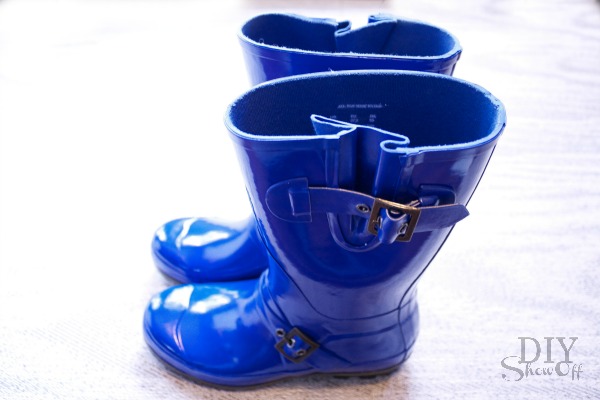
Rain boots before:

DIY rainboots vinyl decal design tutorial at diyshowoff.com

What I did:

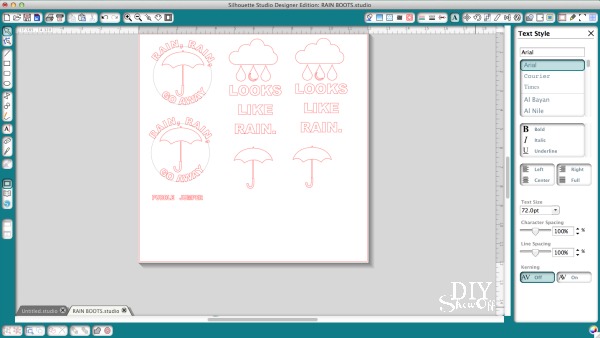
I created a design with umbrellas, rain clouds, raindrops and text in my Silhouette Design Studio software. Be sure to measure design area on boot and size vinyl design to fit. 

DIY rainboots vinyl decal design tutorial at diyshowoff.com

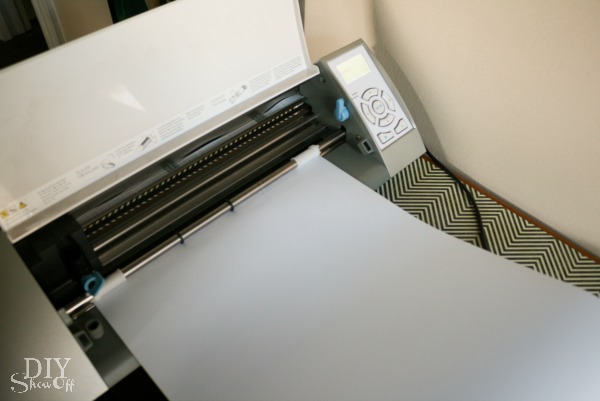
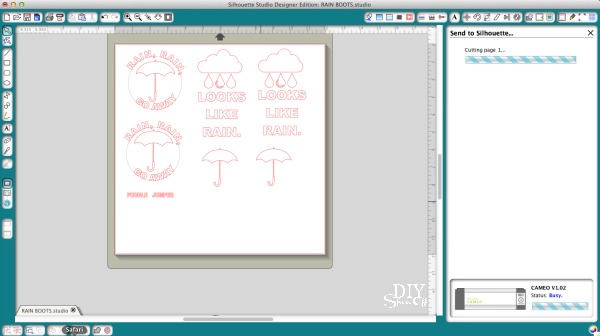
Insert vinyl into the machine, vinyl side up. Adjust blade settings and send design to cut. 

DIY rainboots vinyl decal design tutorial at diyshowoff.comDIY rainboots vinyl decal design tutorial at diyshowoff.com

When cutting has finished, unload vinyl from machine. Weed away the excess vinyl that’s not a part of the design. 

DIY rainboots vinyl decal design tutorial at diyshowoff.com

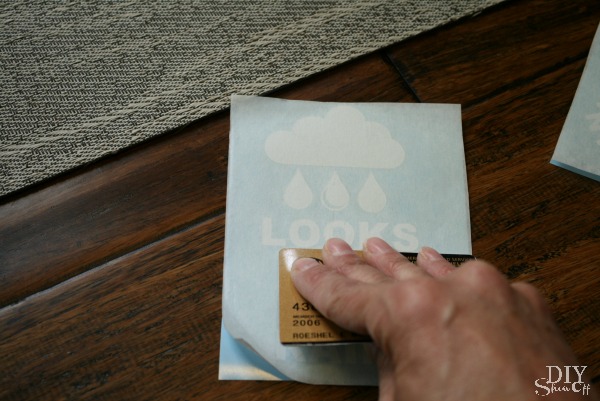
Apply transfer paper to vinyl. Rub with a credit card. 

DIY rainboots vinyl decal design tutorial at diyshowoff.comDIY rainboots vinyl decal design tutorial at diyshowoff.com

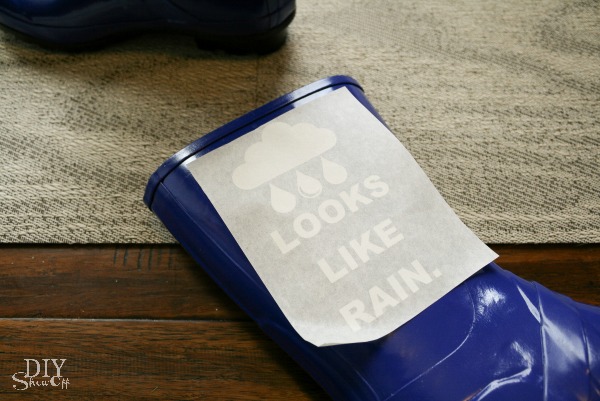
Remove wax paper back, transferring vinyl to sticky transfer paper. 

DIY rainboots vinyl decal design tutorial at diyshowoff.com

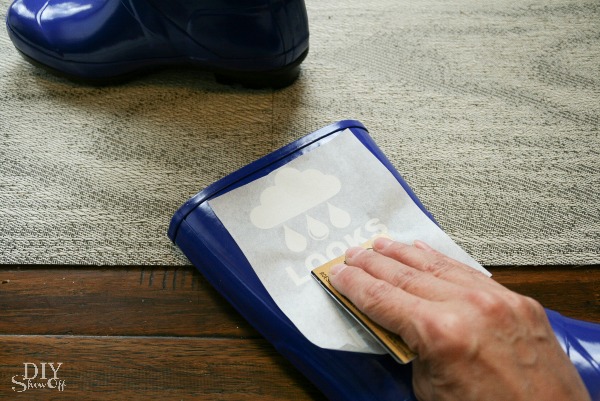
Place vinyl design onto rain boot. Rub with a credit card to transfer the vinyl to the boot.

DIY rainboots vinyl decal design tutorial at diyshowoff.comDIY rainboots vinyl decal design tutorial at diyshowoff.com

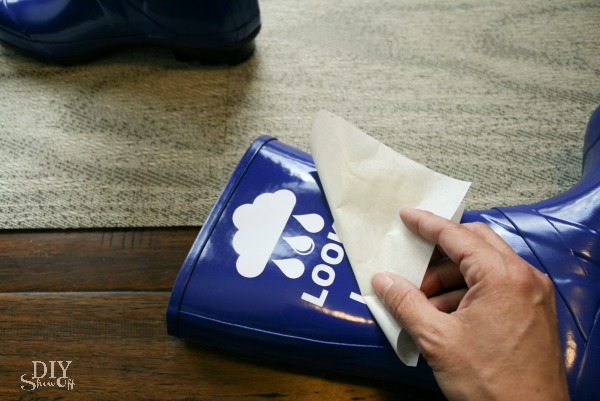
Slowly peel away transfer paper.

DIY rainboots vinyl decal design tutorial at diyshowoff.com

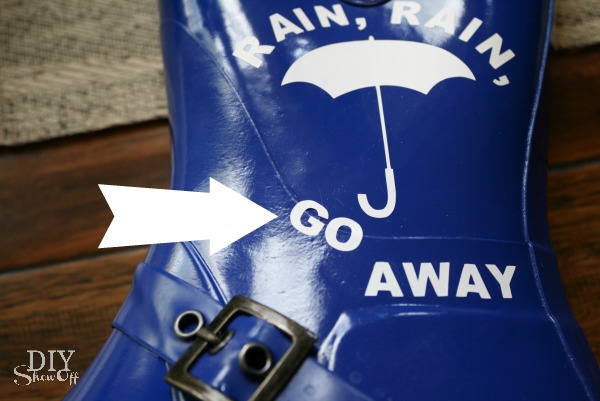
Remember in step 1 where I mentioned measuring and sizing. Oops. I was a bit off. So I peeled up the vinyl, like stickers, and re-placed them for a better fit (not over a seam). 

DIY rainboots vinyl decal design tutorial at diyshowoff.com

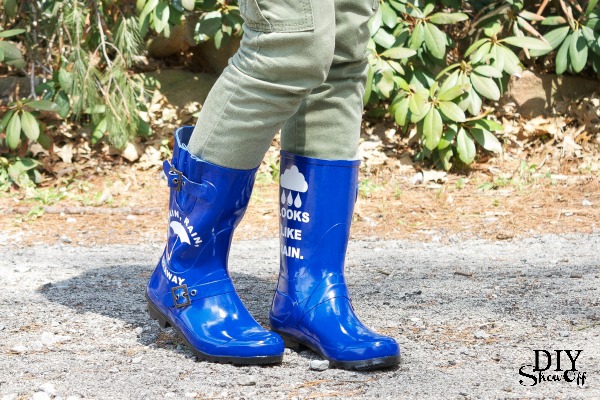
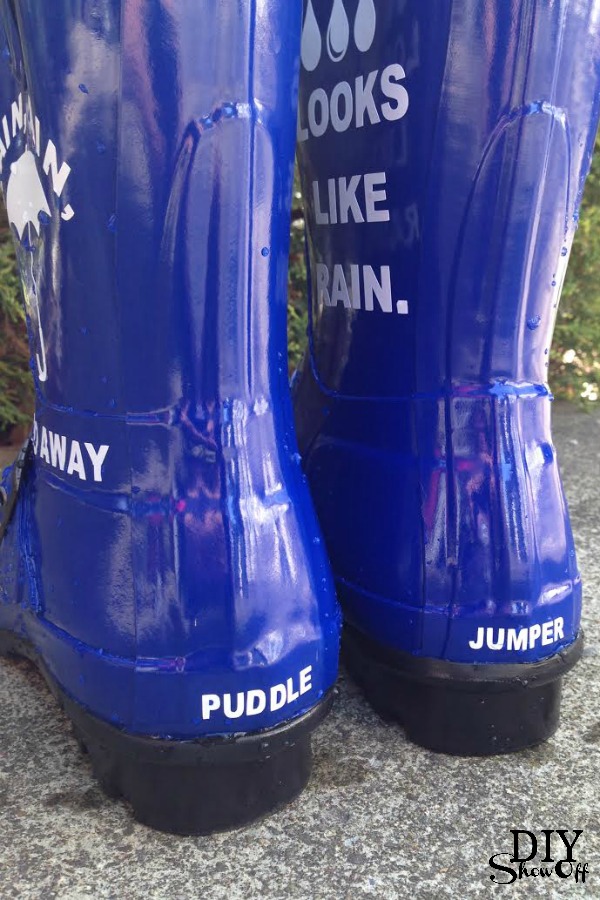
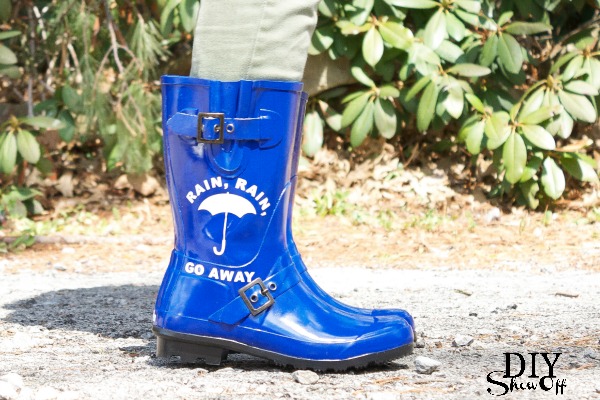
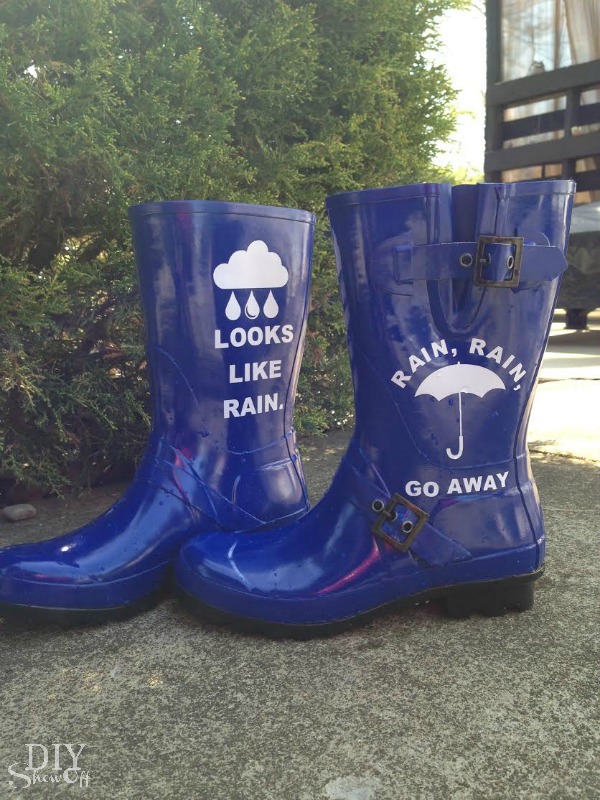
Now I have cute custom rain boots! I also tested the vinyl adhesive using water and the vinyl is still “stuck”! 

DIY rainboots vinyl decal design tutorial at diyshowoff.comDIY rainboots vinyl decal design tutorial at diyshowoff.comDIY rainboots vinyl decal design tutorial at diyshowoff.comDIY rainboots vinyl decal design tutorial at diyshowoff.com

Lots of fun options to play with! Raining cats and dogs, dance in the rain, your name or a cute and trendy design. What would you create for your rain boots?

*This post is sponsored by Happy Crafters. Tutorial, experience and opinion is my own.  Check out all the supplies at Happy Crafters for inspiration for your next project. 

HClogopngsmall