DIY Metallic Iron On Decal Tutorial

DIY metallic iron on decal tutorial @diyshowoff

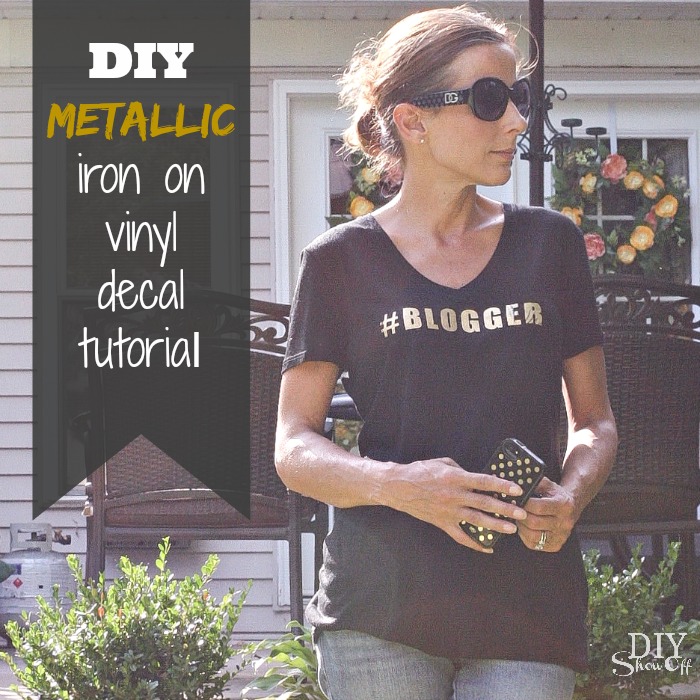
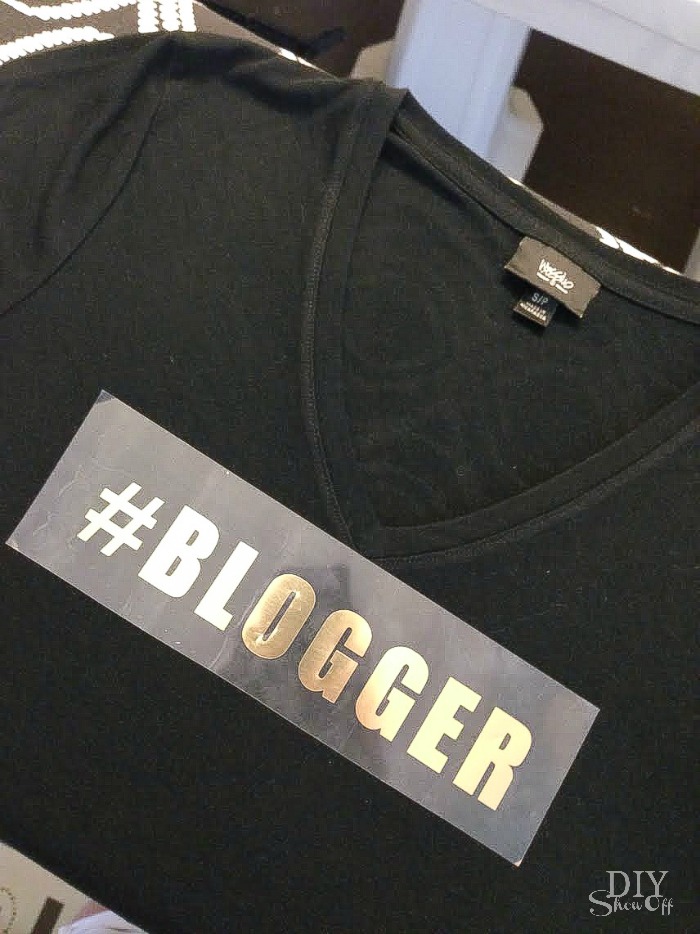
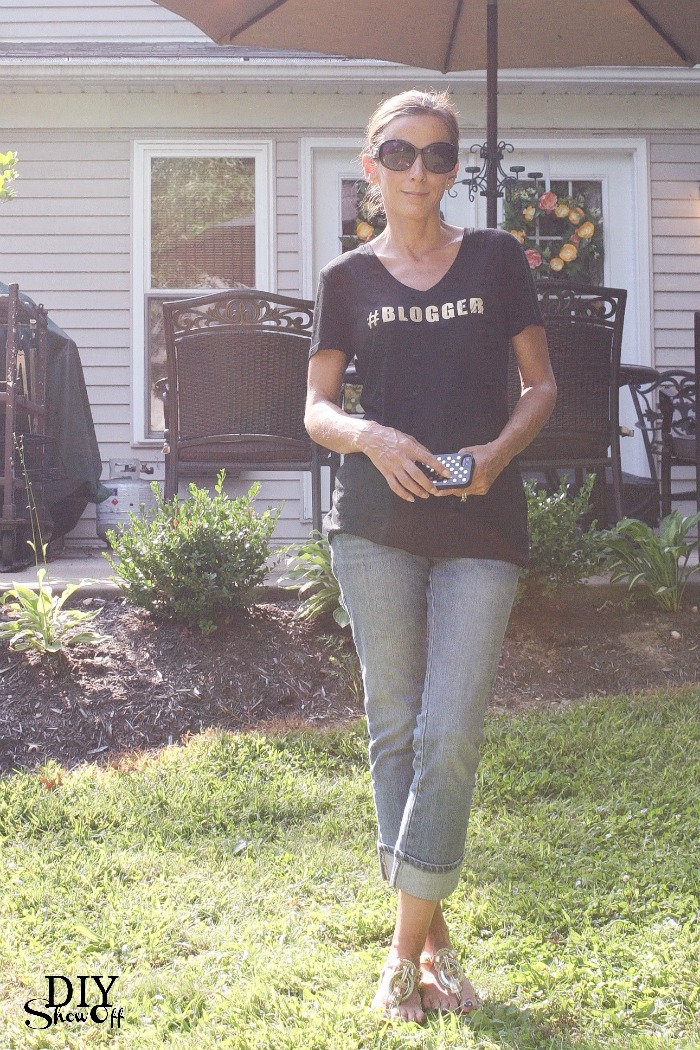
I know, I know. I just shared a t-shirt tutorial a few weeks ago that I created for my sister but making up your own personalized iron on decals is so fun! Recently my blog buddy Julia from Cuckoo 4 Design (love her!) shared on her FB page the coolest t-shirt. It read “#BLOGGER”, however it’s only available in Germany so thinking along the lines of DIY (as usual), I decided to make my own for my August Happy Crafters project. They have a great selection of metallic iron on vinyl that I couldn’t wait to use.

DIY metallic iron on decal tutorial @diyshowoff

Materials:

What I did:

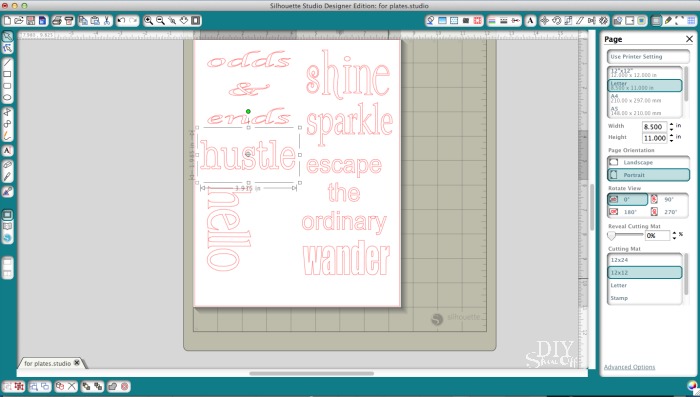
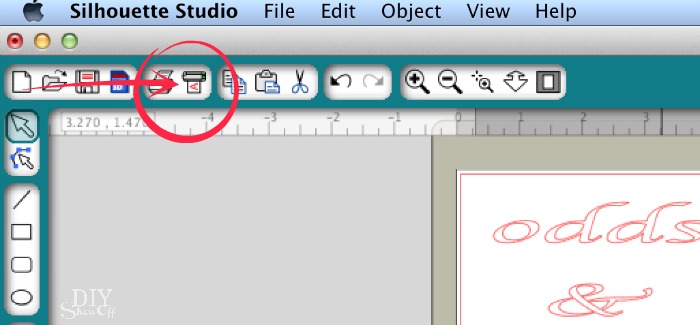
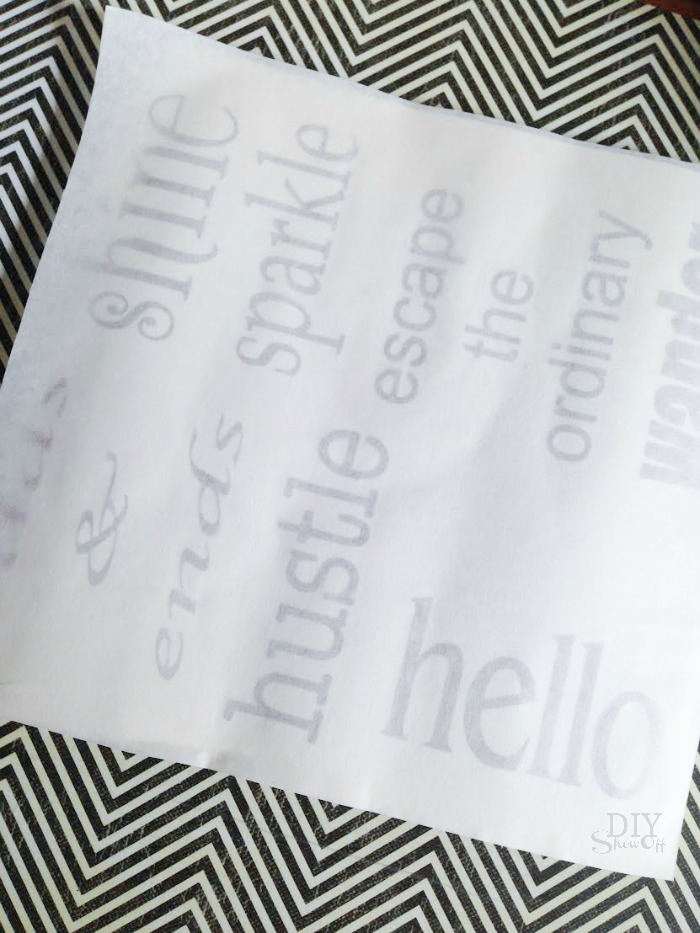
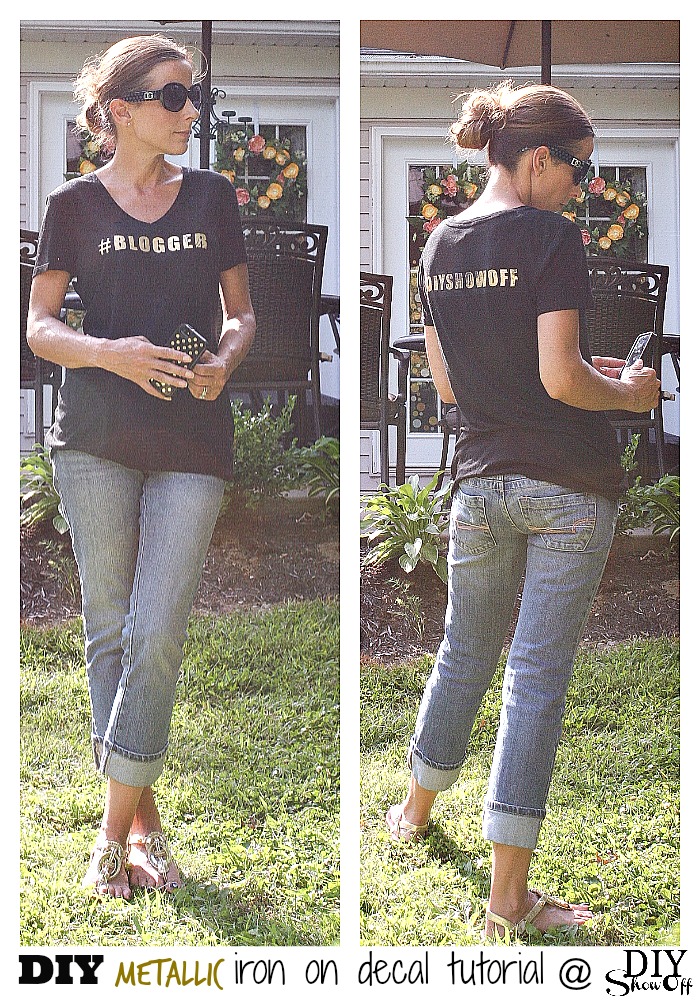
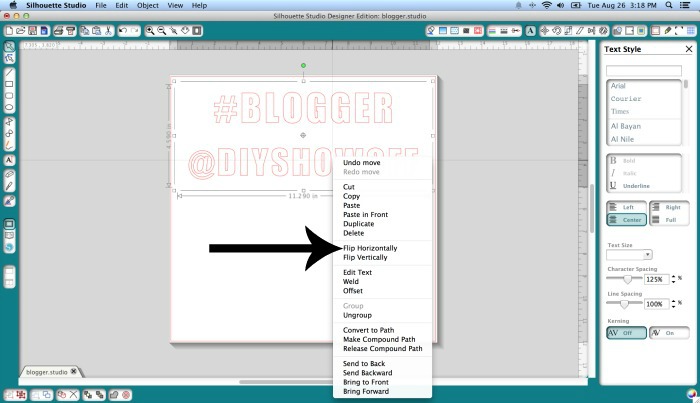
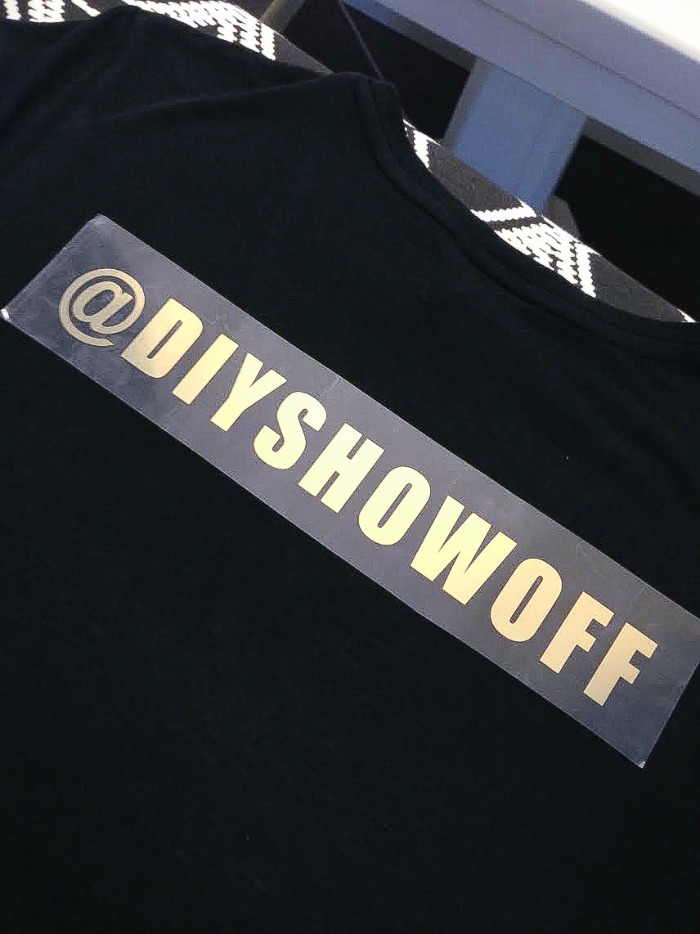
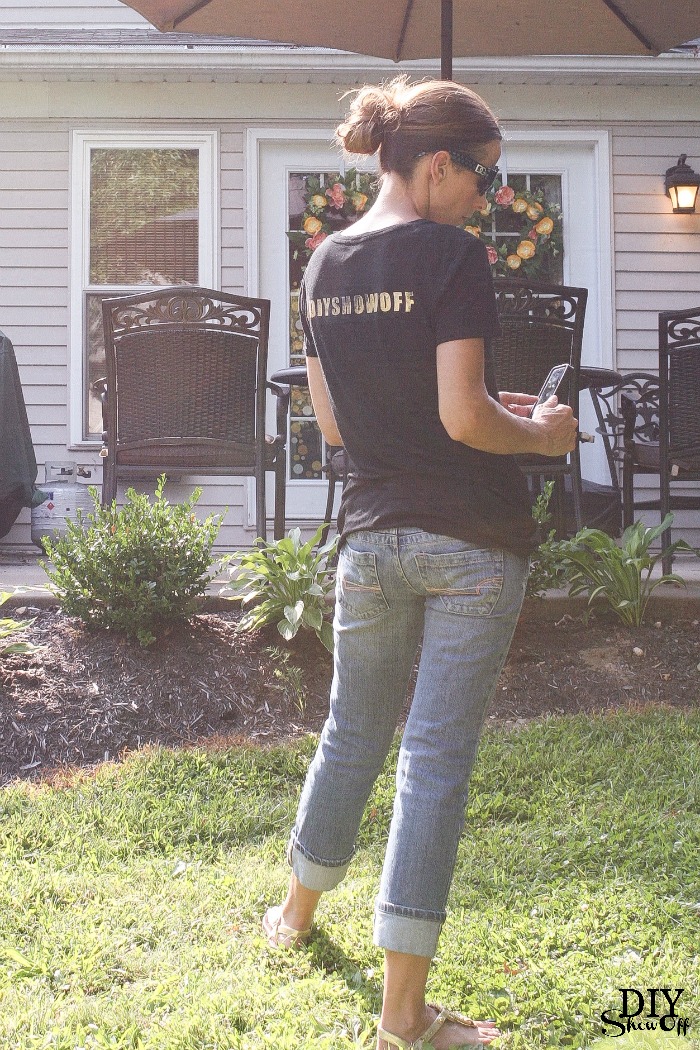
Open up your Silhouette Studio Design Edition software and create the text “#BLOGGER” for the front of the shirt. I also added “@DIYSHOWOFF” for the back of mine. Center on a 12×12 space. 

metallic gold #blogger vinyl decal tutorial @diyshowoff #happycrafters

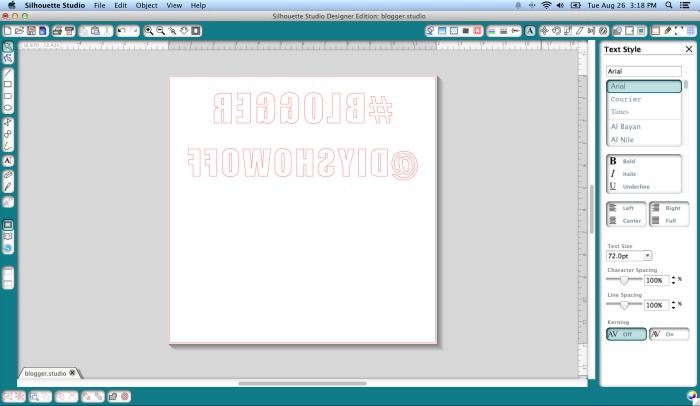
Right click the text box to bring up the edit menu and select “flip horizontally”. You’ll need to mirror the text for cutting. 

metallic gold #blogger vinyl decal tutorial @diyshowoff #happycraftersmetallic gold #blogger vinyl decal tutorial @diyshowoff #happycrafters

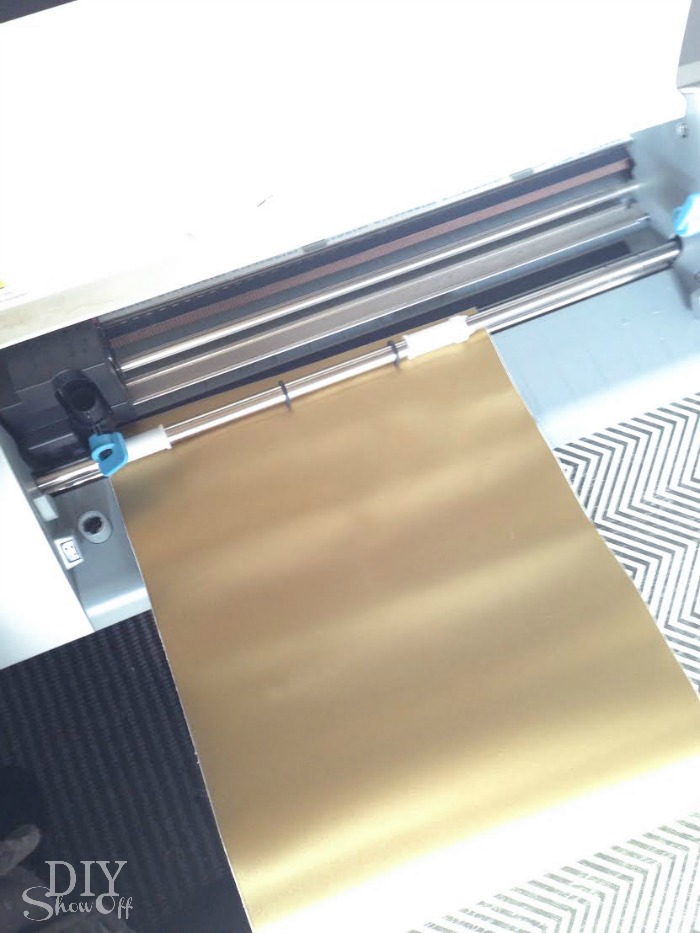
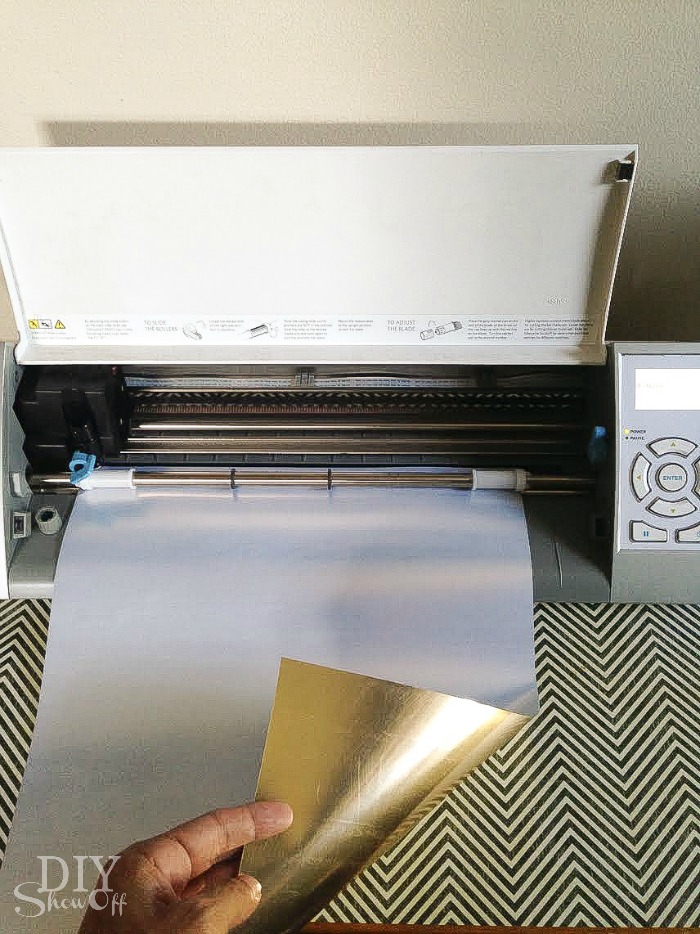
Load the iron on vinyl into the machine gold side down (back side up). 

metallic gold #blogger vinyl decal tutorial @diyshowoff #happycrafters

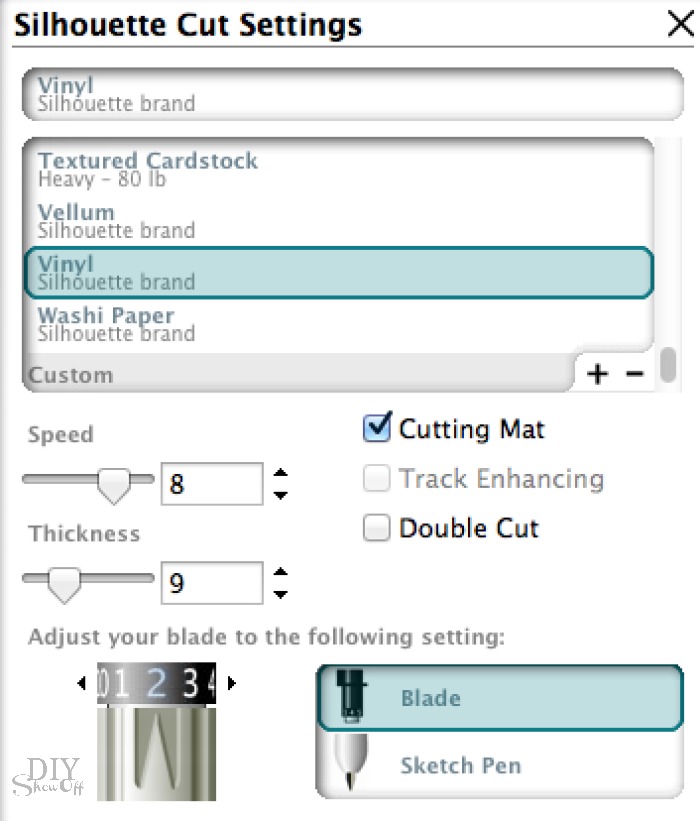
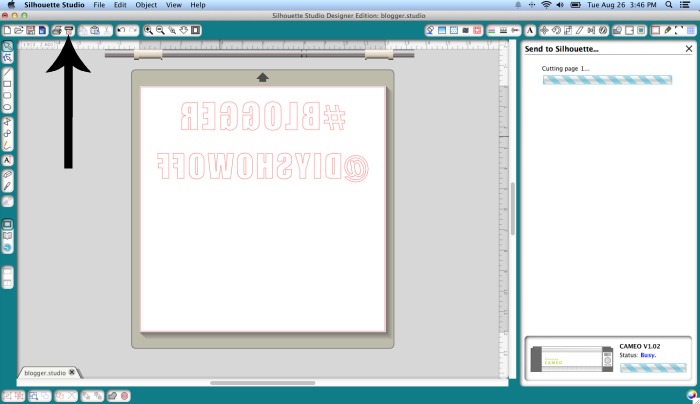
Adjust blade setting for heat transfer and send to cut. 

metallic gold #blogger vinyl decal tutorial @diyshowoff #happycrafters

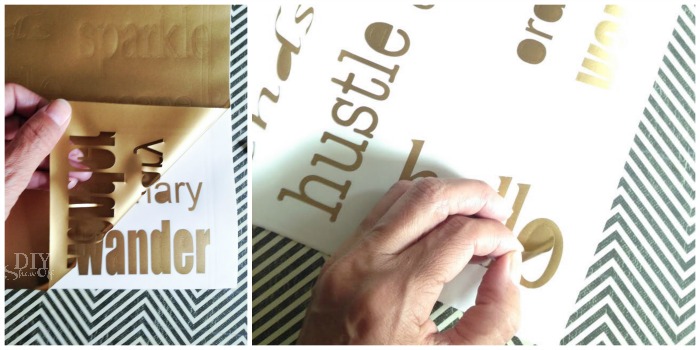
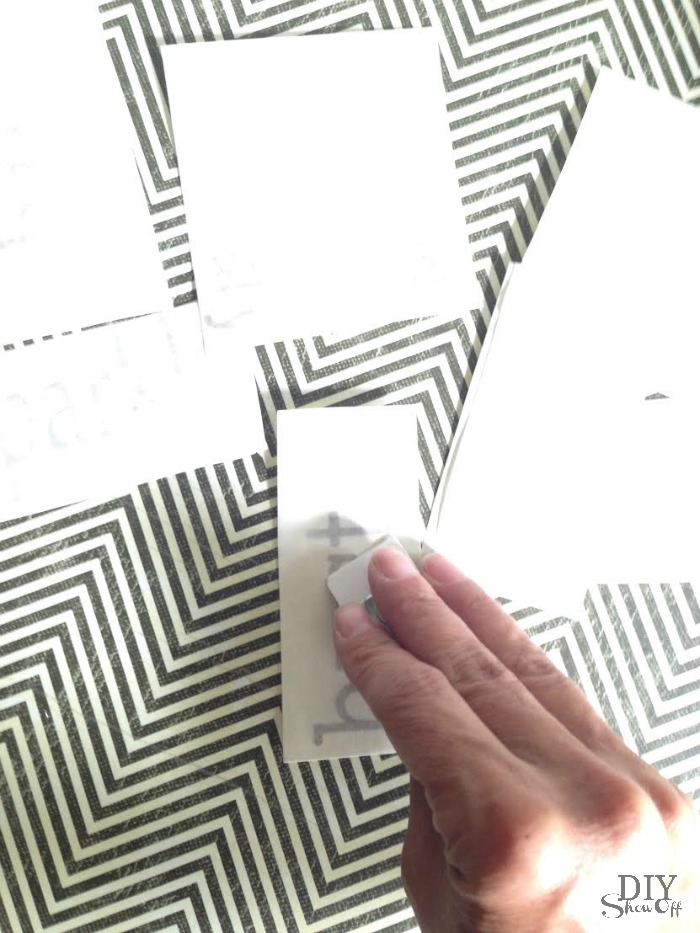
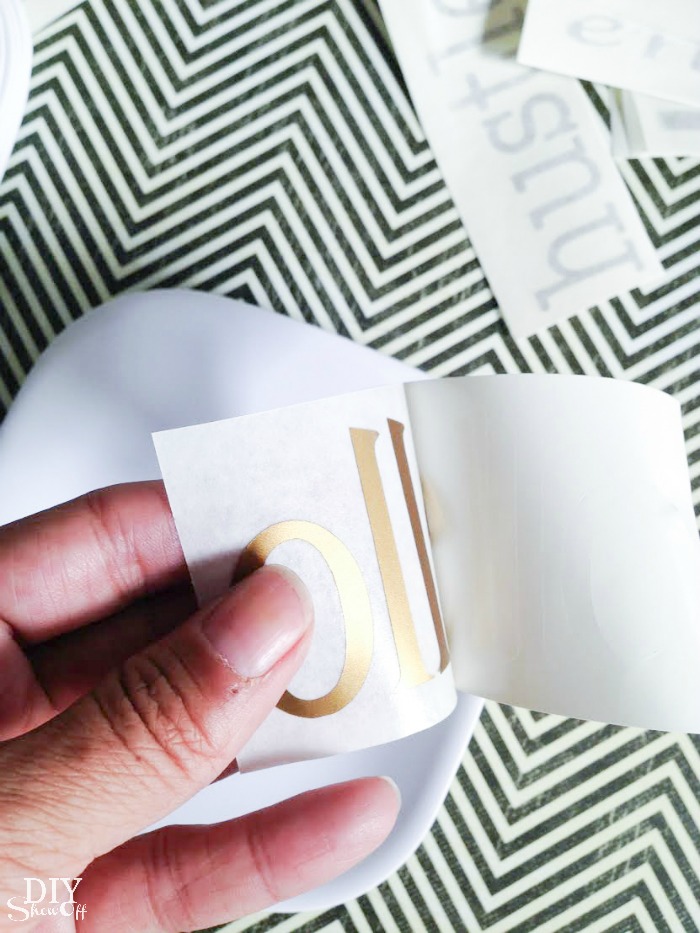
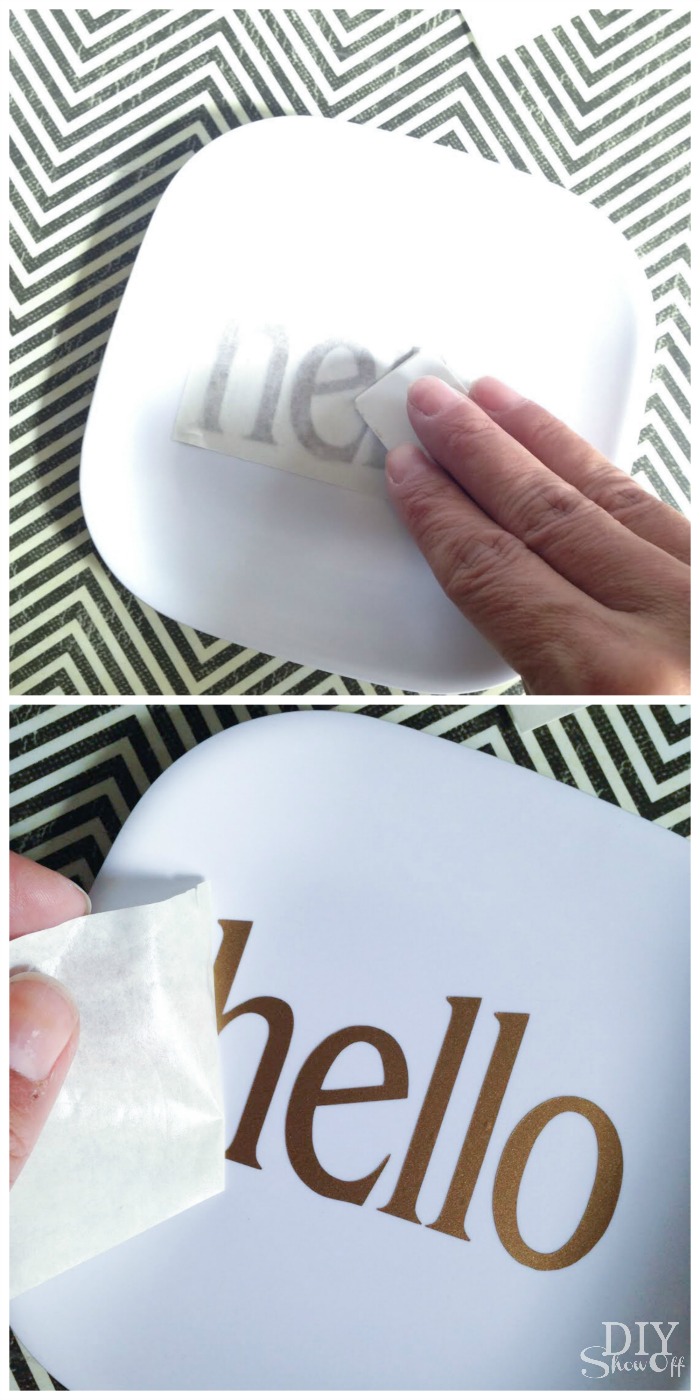
Unload from the machine and weed away excess vinyl. The silver/gold side will peel away from a tacky transparent side (your text will be stuck backwards to the tacky side). 

metallic gold #blogger vinyl decal tutorial @diyshowoff #happycrafters

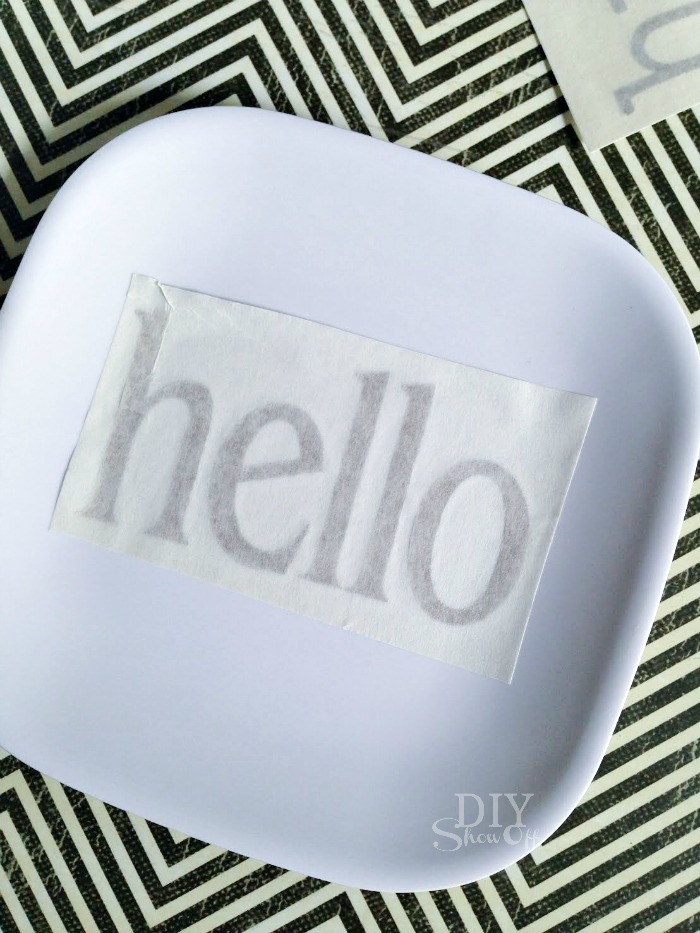
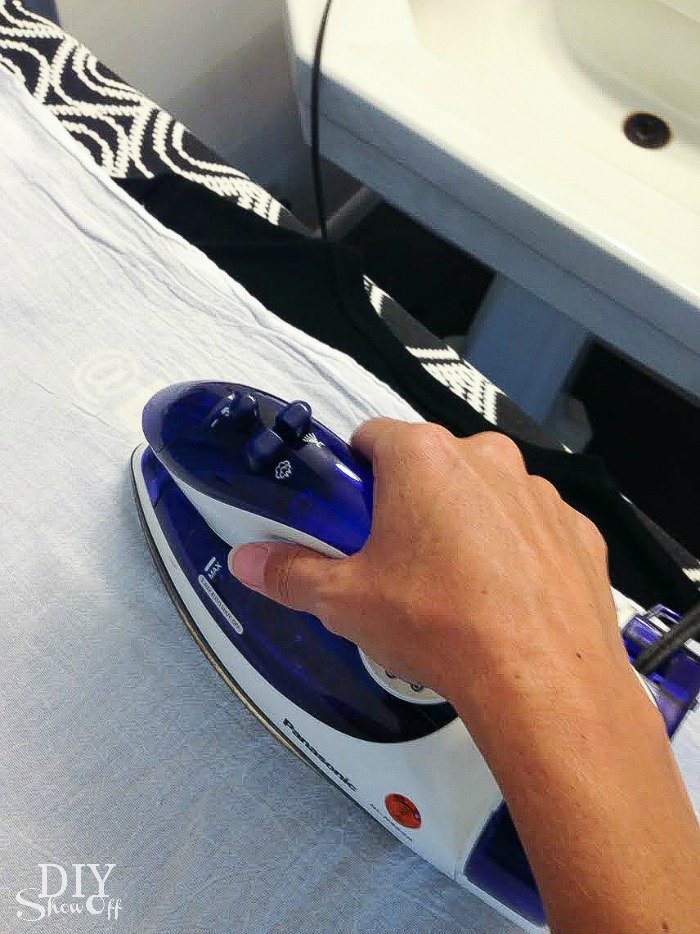
Smooth out the shirt onto an ironing board. Place iron on vinyl decal tacky side down in the spot where you’d like it to show on the front of the shirt. 

metallic gold #blogger vinyl decal tutorial @diyshowoff #happycrafters

Cover the decal with a cotton dish towel (or scrap fabric). Iron on high adding pressure according to the instructions provided with the Happy Crafters iron on vinyl. 

metallic gold #blogger vinyl decal tutorial @diyshowoff #happycrafters

Slowly peel away the transparency. If you notice that the vinyl hasn’t adhered, replace transparency and iron again applying more pressure. 

metallic gold #blogger vinyl decal tutorial @diyshowoff #happycrafters

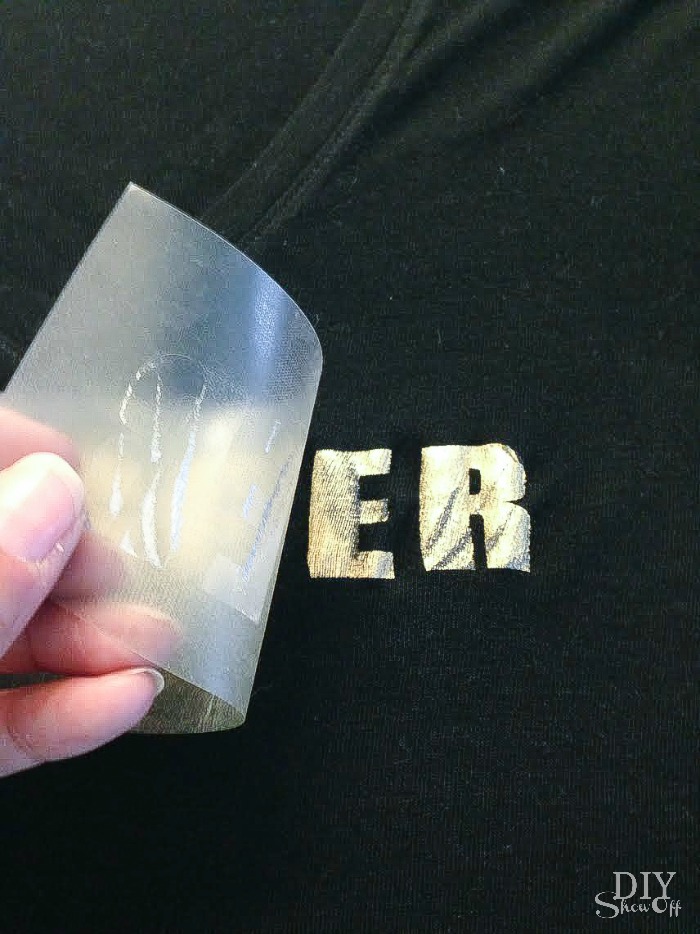
Once transparency is removed, I replaced my cotton dish towel and ironed the lettering flat. 

metallic gold #blogger vinyl decal tutorial @diyshowoff #happycrafters

Repeat the same steps for adhering the iron on vinyl decal to the back you may want to slide a piece of cardboard inside of the shirt first to prevent re-heating the front iron-on decal. 

metallic gold #blogger vinyl decal tutorial @diyshowoff #happycrafters

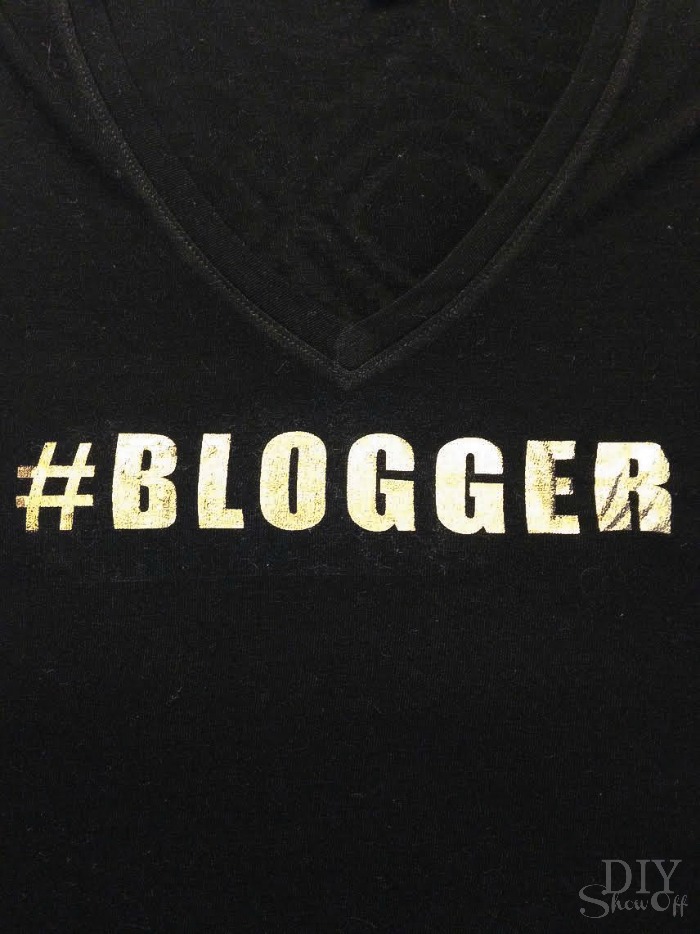
That’s it. I may have ironed mine on too high a temp so I have a sort of distressed look to my decal … which I love! So you may want to do a practice run/test to get it just right if you’re not a fan of the distressed lettering. Good luck! 

metallic gold #blogger vinyl decal tutorial @diyshowoff #happycrafters

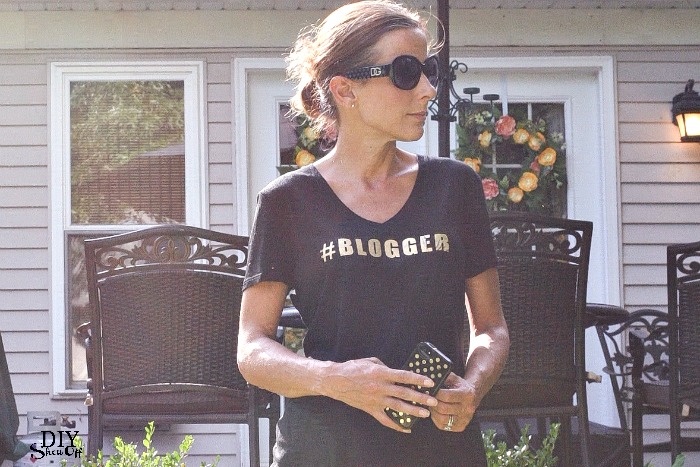
And…it coordinates with my black and gold polka dotted iPhone case. #stylish haha!

metallic gold #blogger vinyl decal tutorial @diyshowoff #happycraftersmetallic gold #blogger vinyl decal tutorial @diyshowoff #happycrafters

What hashtag would you choose for your shirt? 

*This post is sponsored by Happy Crafters. Tutorial, experience and opinion is my own.  Check out all the supplies at Happy Crafters for inspiration for your next project. 

HClogopngsmall


Essential Oils Gift Basket Idea

Looking to share Young Living essential oils in the way of a gift or searching for a fun incentive or prize idea? 

Young Living Citrus Essential Oils gift idea @diyshowoff 

If you’re making healthier choices such as adding drinking more water to your daily routine like I am, you’re going to love this! Of course incorporating more water into your diet is super healthy but how about kicking that up a notch or two by adding a drop of lemon, lime or grapefruit essential oil? 

And since Young Living citrus essential oils are so potent they break down the petrochemicals in plastic water bottles, using glass or stainless steel is a must! I recently put together a gift basket for a friend and it turned out pretty cute so I thought I’d share it here too.

Contents: (some affiliate links below)

Young Living Citrus Essential Oils gift idea @diyshowoff

Great for so many different occasions: birthday, get well, a fun prize, encouragement, thank you, just because, bon voyage, congratulations, Christmas, a great giveaway, promotional.

What are Young Living Essential Oils anyway? Start HERE for more info. As always, feel free to contact me with any questions!

Been sitting on the fence? Today is the day! Sign up with a distributor membership and purchase the premium starter kit using #1836762 and not only will I send you a free Essential Oils Quick Reference Guide, but also a some free gifts (incentives change from month to month!)

Young Living Citrus Essential Oils gift idea @diyshowoff

*These statements have not been evaluated by the FDA. This product is not intended to diagnose, treat, cure, or prevent any disease. 

Party Favor Jewelry Dish

Looking for an easy DIY party favor idea? These melamine appetizer plates with vinyl decals make a cute little gift!

jewelry junk tray tutorial @diyshowoff.com

What I used:

What I did:

Measure flat center area of plates. Mine allowed for a 3.5 inch square design. Open the Silhouette Studio Design software and create words using font/text in a size that fits. I created six different designs.

vinyl decal tutorial for plates @diyshowoff.com

Load adhesive vinyl into the vinyl cutter color side (vinyl side) up. 

vinyl decal tutorial for plates @diyshowoff.com


Adjust blade setting for vinyl. 

vinyl decal tutorial for plates @diyshowoff.comSend to cut and unload vinyl.

vinyl decal tutorial for plates @diyshowoff.com

Weed away excess vinyl from the design. 

vinyl decal tutorial for plates @diyshowoff.com

Apply transfer paper over the vinyl lettering. 

vinyl decal tutorial for plates @diyshowoff.com

Cut into individual designs. 

Rub the transfer paper over each piece. I just grabbed a hard plastic name tag with a straight edge. You could also use a credit or gift card. 

vinyl decal tutorial for plates @diyshowoff.com

Peel away wax paper backing, transferring vinyl to the transfer paper. 

vinyl decal tutorial for plates @diyshowoff.com

Place onto plate. 

vinyl decal tutorial for plates @diyshowoff.com

Rub with plastic card and remove transfer paper. 

vinyl decal tutorial for plates @diyshowoff.com

Simple but so many options. Try different colors, different fonts, personalize with quotes, monograms, shapes or words. 

Cute inexpensive gift to include with a card or gift basket or to use as party favors. 

Perfect for keeping tabs on jewelry, paperclips on a desk, keys in an entryway, spare change in the laundry room, Q-tips in the bathroom, etc. 

sparkle vinyl decal plate tutorial at diyshowoff.comhello vinyl plate decal tutorial at diyshowoff.comshine vinyl plate decal tutorial at diyshowoff.comhustle vinyl decal plate tutorial at diyshowoff.comkate spade inspired plate tutorial at diyshowoff.comwander vinyl decal plate tutorial at diyshowoff.com

*This post is sponsored by Happy Crafters. Tutorial, experience and opinion is my own.  Check out all the supplies at Happy Crafters for inspiration for your next project. 

HClogopngsmall