Pantry Lighting Details

Some of you were wanting more details on the lighting when I shared the pantry reveal. The lighting in the open pantry area was a challenge. 1. There was no overhead/ceiling light to begin with. 2. Walls and ceiling are plaster. 3. Outlet was old and controlled by a switch on the wall. 

farmhouse pantry

Electrical work for the lighting was not DIY. My husband has installed recessed lighting in the kitchen but he was able to run electrical from the previously installed ceiling light, so it wasn’t quite so challenging. For the pantry area, no previous lighting meant pulling the wires from the wall to the ceiling. He started with drilling holes in the plaster wall and ceiling but the wood beam where wall meets ceiling had us realizing this job was ‘over our heads’ and not just literally. It was at this point that we decided to hire an electrician.
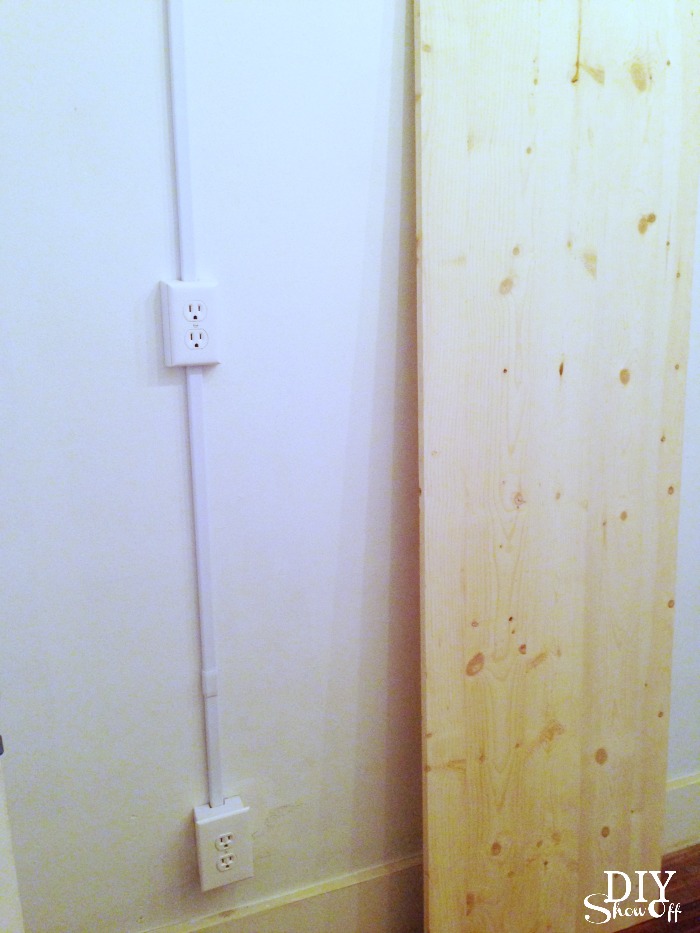
outlets

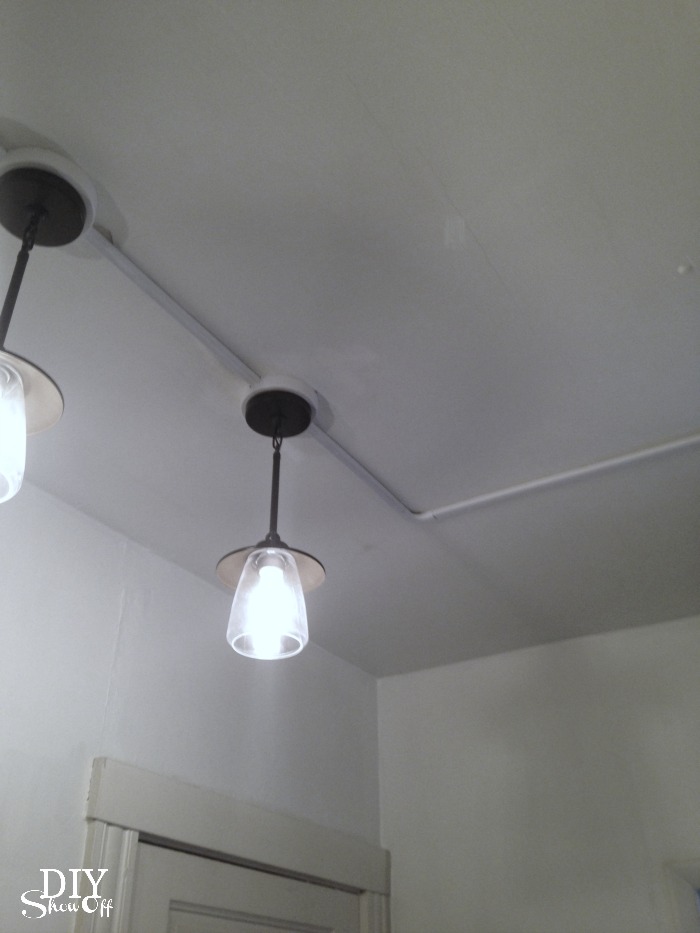
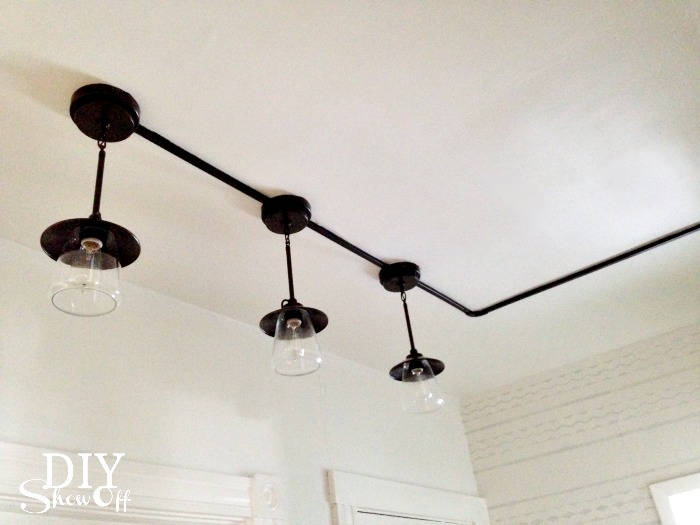
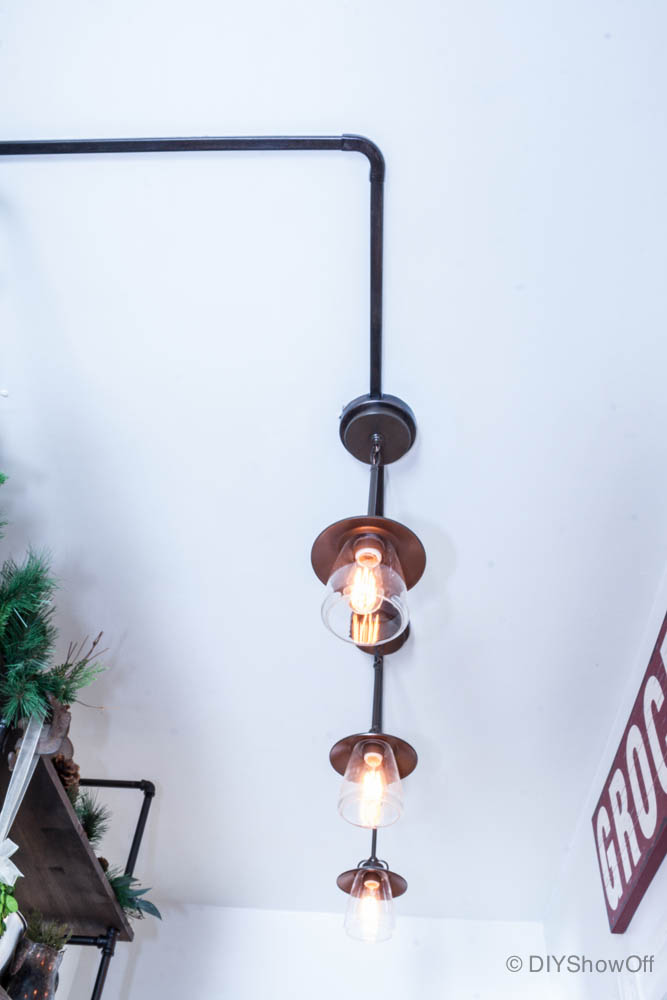
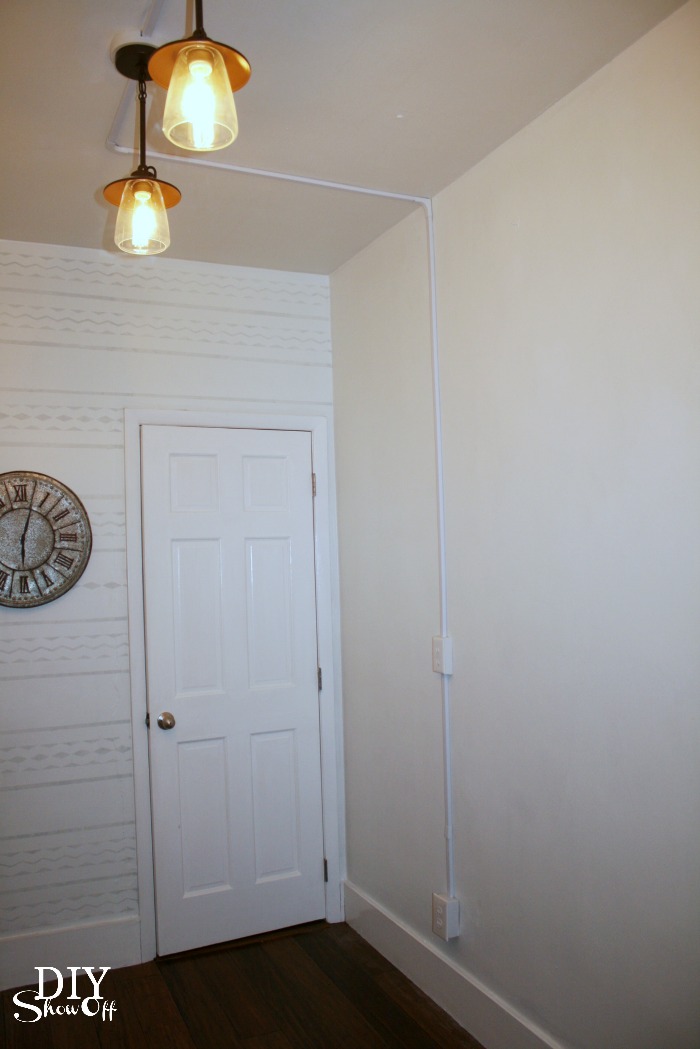
Then after some thought and to keep labor costs down, I let the electrician know that I wanted the wiring to run on the outside of the wall. He changed the old outlet near the floor (the old type that meant I needed an adapter anytime my plug had three prongs), added another outlet a little higher up to accommodate the microwave sitting on the pantry shelf (so I wouldn’t have to drill holes into the wood shelves for the cord to reach down to the lower outlet) and ran the lighting wiring up the wall, to the ceiling with a 90 degree turn to place the lighting. He also made the switch work for the lighting only, disconnecting the switch from the outlets. In hind site, I think this was something we could have done, but when in doubt, seek professional advice! 
connecting light fixtures

pantry lighting

Cord covers for the wiring from outlets, along the outside of the plaster wall, along the ceiling and connecting each individual light fixture.

I centered the lighting from the front edge of the shelving to the other wall and since I chose pendant lights, I made sure they were out of the way of an opening door. 

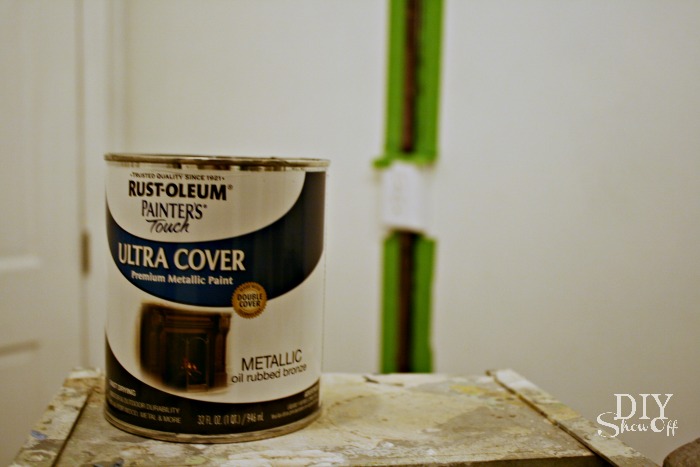
Then with the help of FrogTape® Multi-surface, I painted the track oil rubbed bronze.cord cover
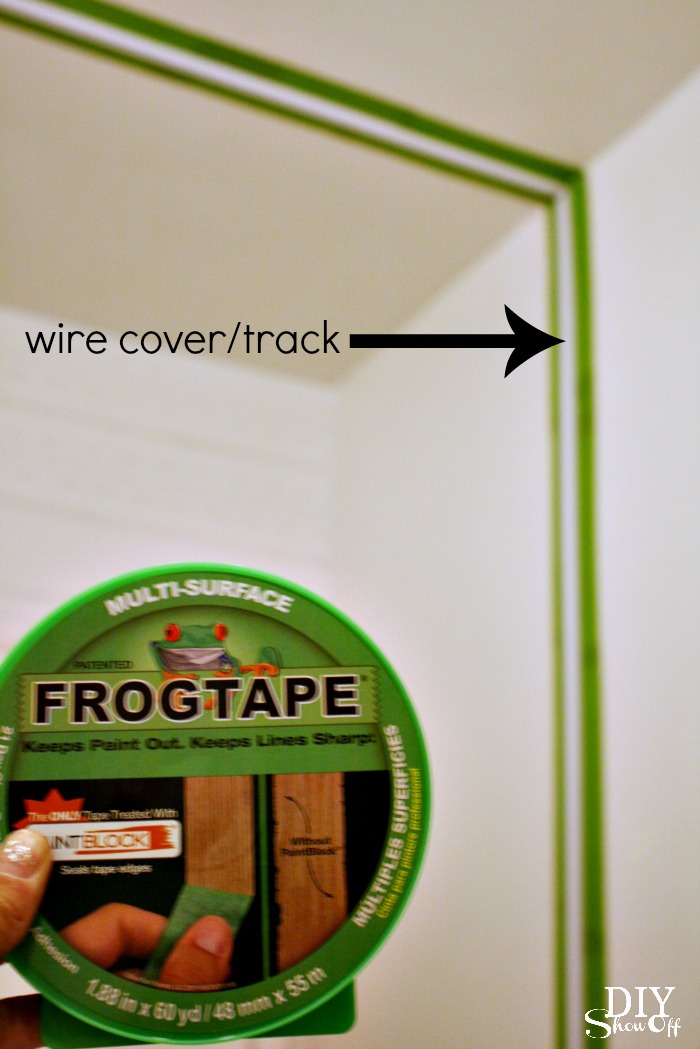
I simply taped off either side of the conduit track along the wall and ceiling with my FrogTape and used my thumbnail to activate the PaintBlock® Technology. Then just painted the track. The oil rubbed bronze paint is sticky since it’s oil based so drying time is longer but still worth the work. It took two coats. 

oil rubbed bronze paint

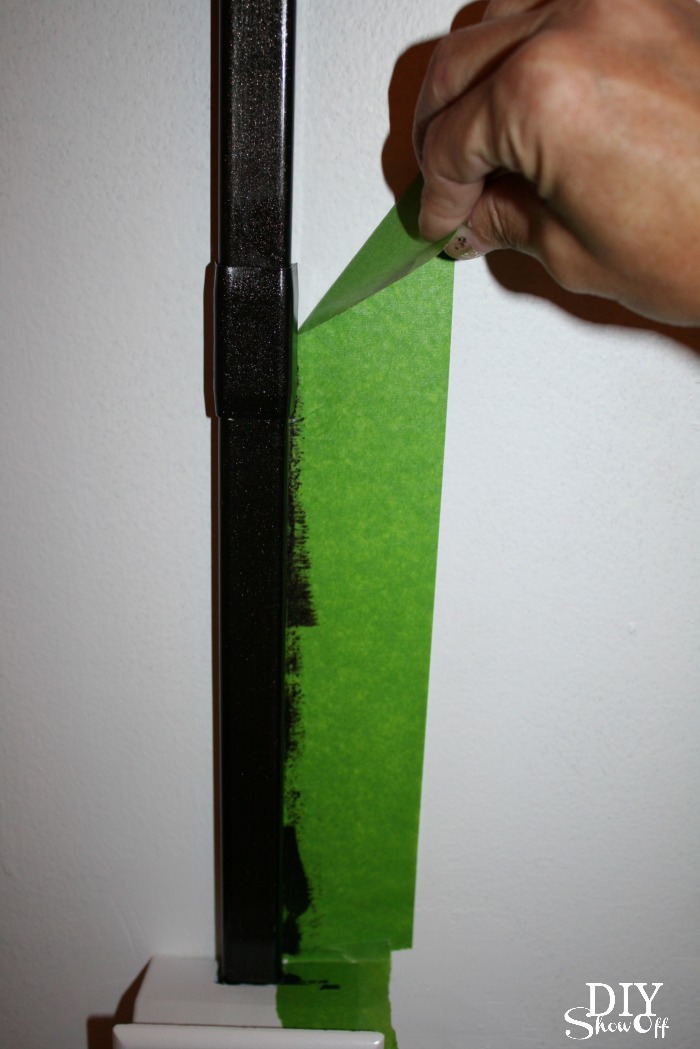
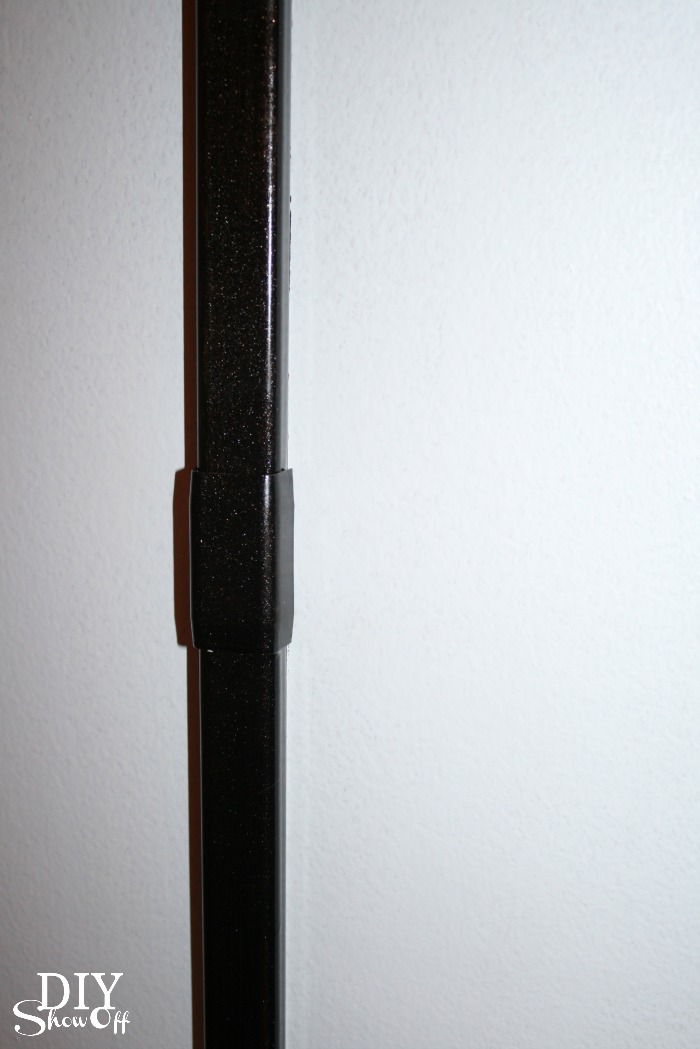
As soon as I finished applying the second coat, I removed the FrogTape. Nice and clean! Note: paint will take a long time to cure!

removing FrogTape

Painting the conduit the same color as the walls and ceiling would help disguise it more but I think the oil rubbed bronze against the white ceiling adds to the industrial charm, don’t you? Especially with the pipe shelving.

RustOleum Oil Rubbed Bronze

I love it!

industrial pantry lights with wall track

Project Supplies:

farmhouse industrial pantry lighting

 We also added a dimmer…

farmhouse pantry


{open pantry reveal}

FrogTape Blog Squad

Disclaimer: I received compensation to complete this project for using FrogTape® products. All opinions, projects and ideas are based on my own experience. See the  FrogTape® Blog Squad for more inspiration!

Easy Painted Patterned Accent Wall DIY

Earlier, I shared the pantry reveal and I’ve had a few questions related to one of the walls as to whether or not I used wallpaper.

easy painted accent wall

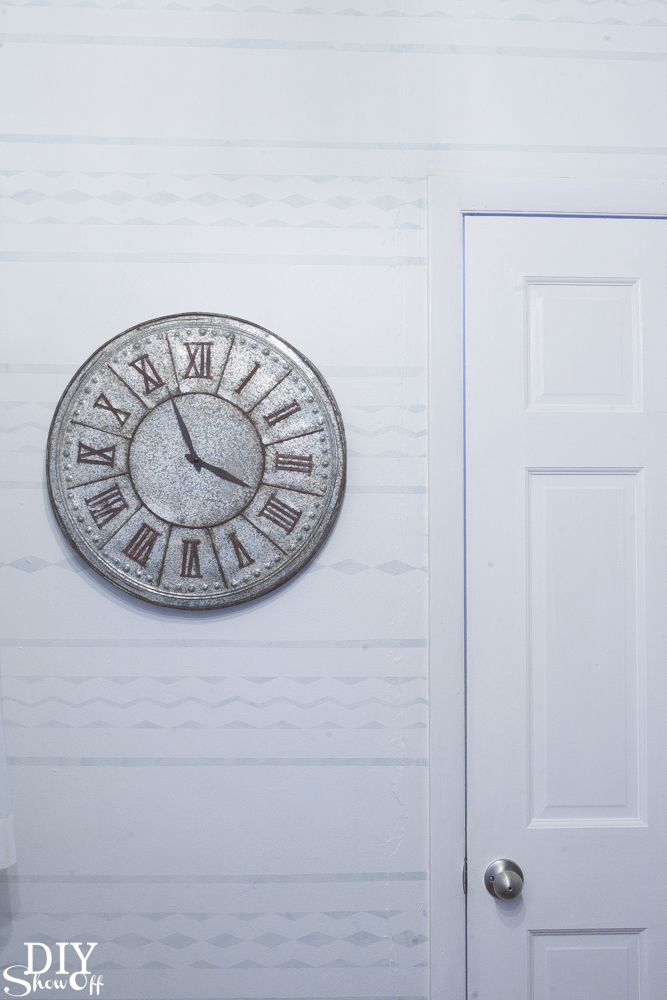
While I do love the look of wallpaper, I’ve had enough wallpaper removal to last me a lifetime so the answer is ‘no’. It’s paint! If you’re a long time DIY Show Off fan, you know that I am a big fan of using FrogTape® to create fun accent walls (see here, here, here, here) and with the addition of the Shape Tape, there are even more options for a creating a fun accent wall. I’d prefer to lightly sand and repaint than strip wallpaper in the future, wouldn’t you? painted Shape Tape accent wall

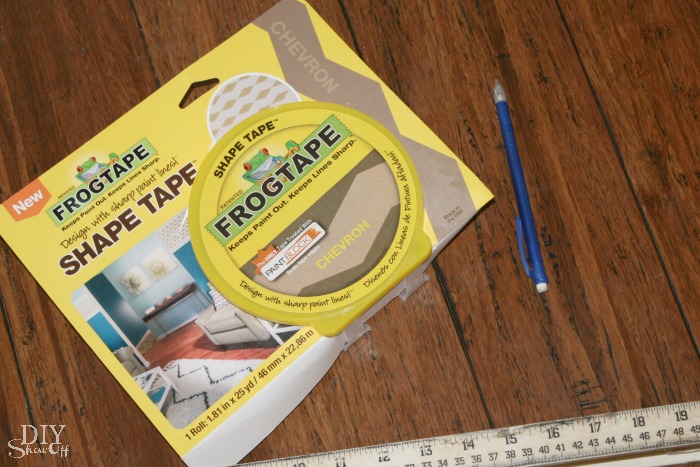
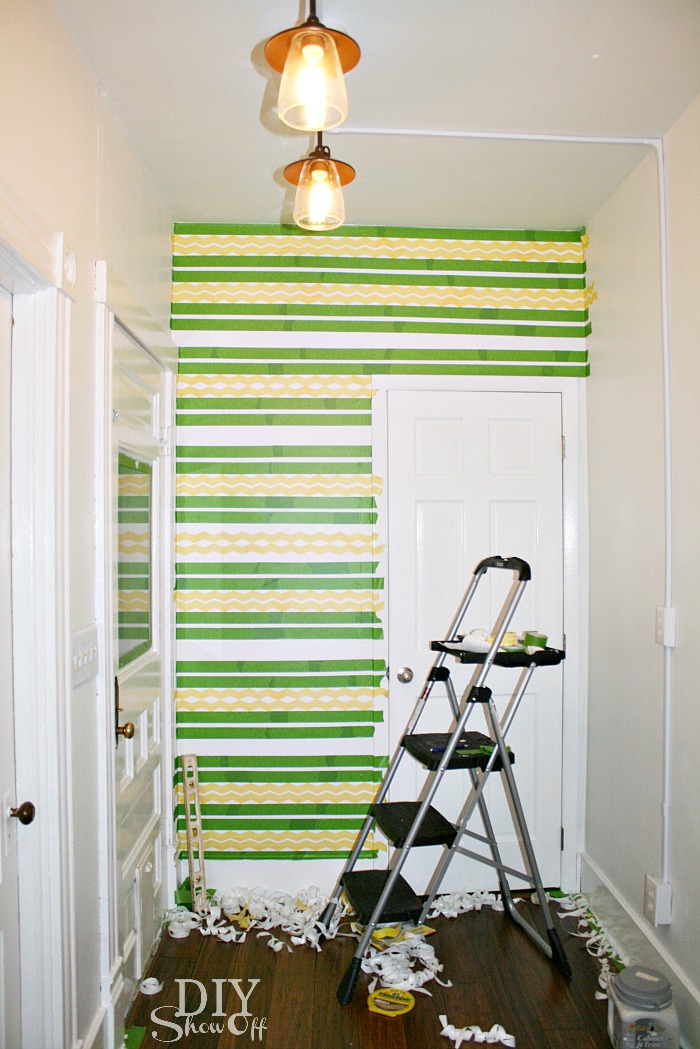
My wall is small. I used FrogTape and chevron Shape Tape to create a fun accent pattern with a tribal/Aztec feel. My lines were mostly “eyeballed”… but use a level and pencil if you’re more of a perfectionist. FrogTape Shape Tape

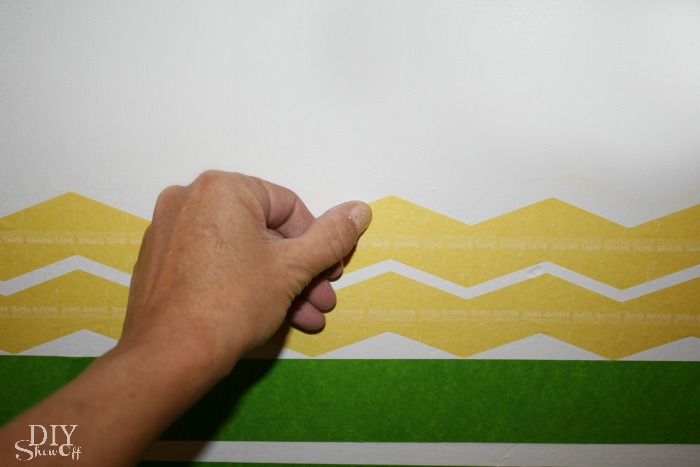
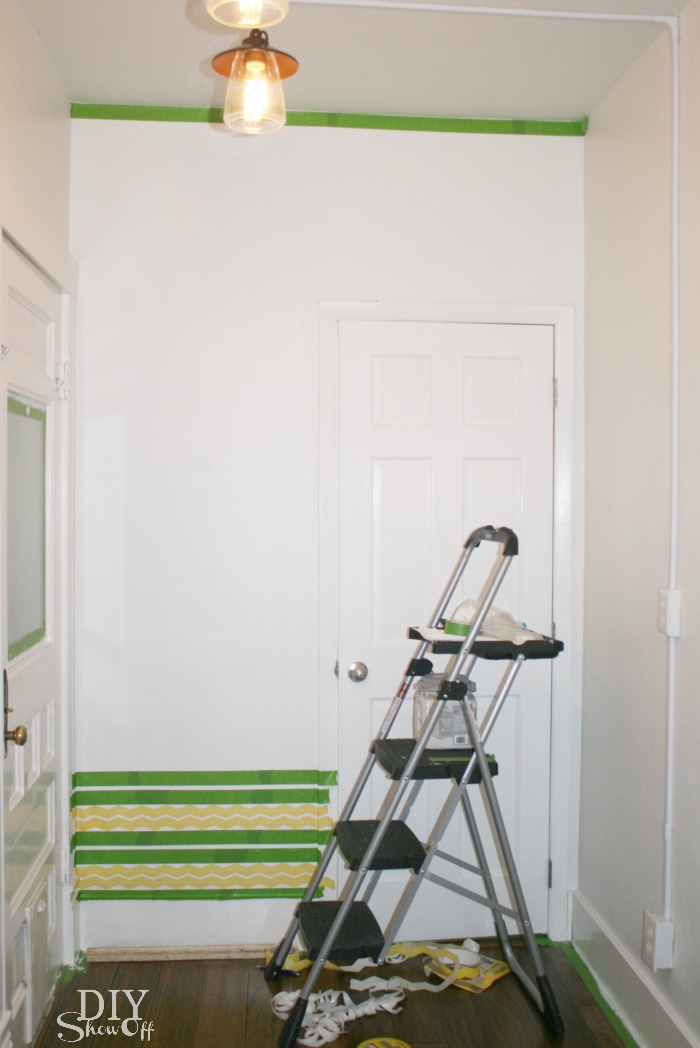
I started at the bottom of my wall space and created straight lines with the Multi-Surface FrogTape and lined it up with the chevron Shape Tape to create stripes, zig zags and diamonds…no real planning out a pattern…I just got creative working my way about 1/3 of the wall (again, no measuring).FrogTape Shape Tape accent wallShape Tape Accent Wall

Then worked my way down from the ceiling to about 1/3 of the wall space copying the same pattern I used at the bottom of the wall.

FrogTape Shape Tape application

Next I found the center of the wall and spaced out a similar pattern there to meet the bottom and top design. Since it’s the center, I didn’t feel it had to be a perfect match with the top and bottom pattern. I was right! It only adds to the uniqueness of the design. Here’s how it looked with the taping complete:FrogTape chevron Shape Tape accent wall

I actually painted the walls with my base color last April. It’s Valspar (Cool Grey). I didn’t want a loud bold design, so I used some leftover True Value Platinum (Old Fashioneda light blue/gray) from our kitchen walls as the accent color. 

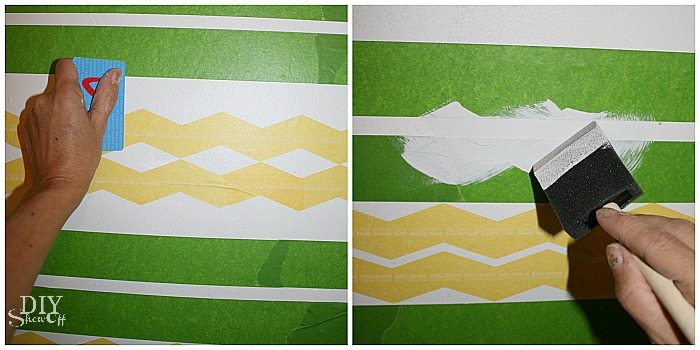
Once my tape design was complete, I used a credit card to burnish the edges of the tape as I worked by rubbing the tape edge then painting the section. I only did one coat (again, I wasn’t looking for bold results and wanted the irregularity of one coat). This wall is bumpy in places so just doing a light colored pattern helps to take focus off of the wall’s imperfections.  FrogTape tutorial

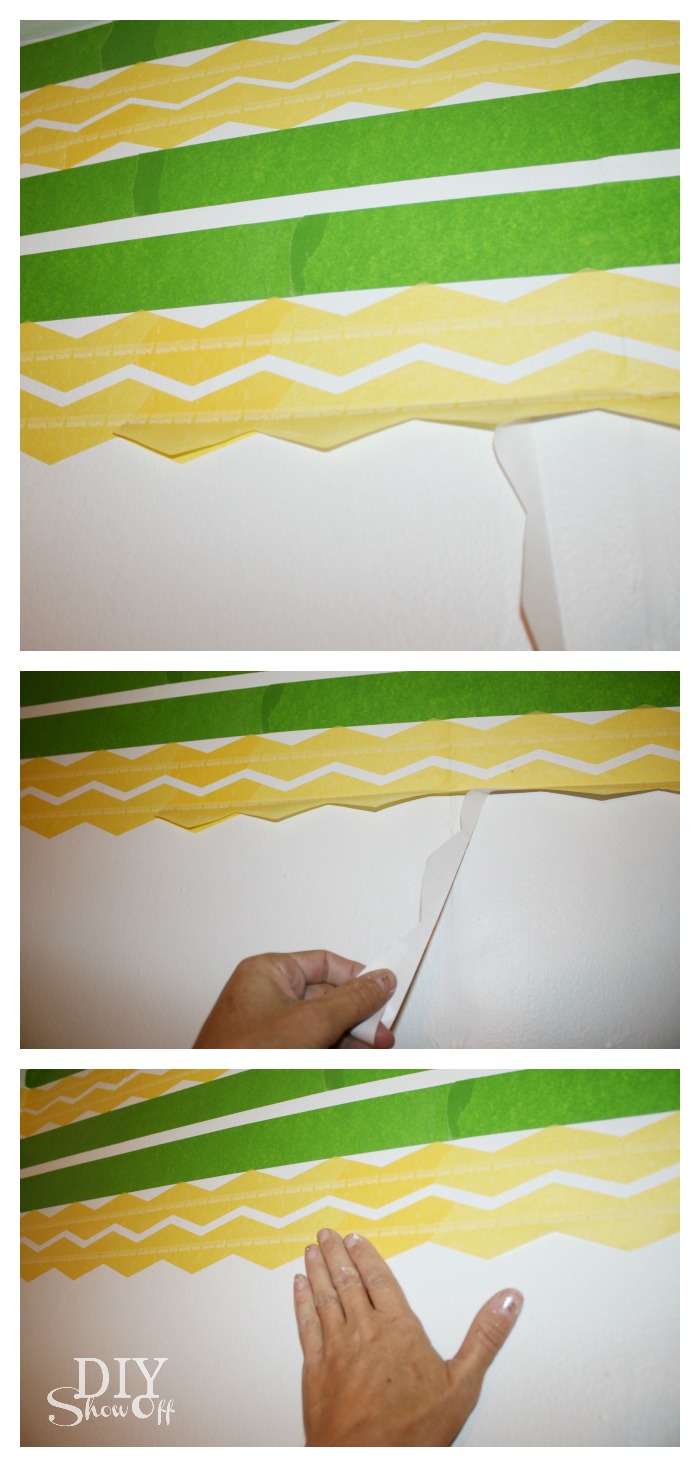
As soon as I was finished painting, while the paint was still wet, I removed the tape.removing FrogTape

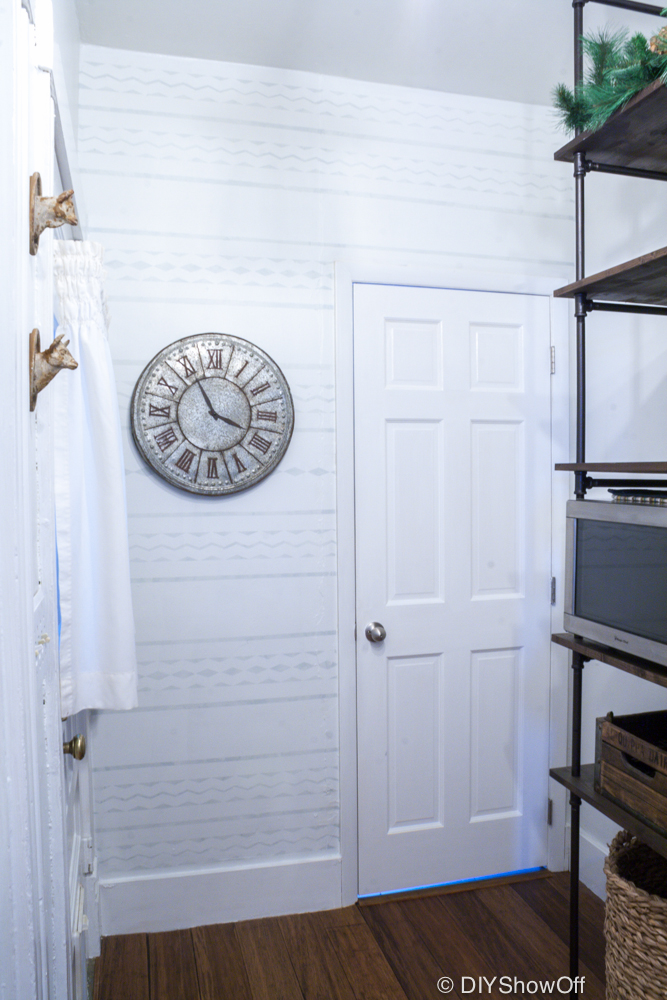
So within a 1-2 hour time frame, my wall had an awesome new ‘wallpapered’ look with a subtle design!Painted Pantry Accent Wall 

painted Shape Tape accent wall

I was going for a tribal or Scandinavian vibe. From a distance, it reminds me of writing paper. Remember it from grade school?

farmhouse pantry 

What I love about this: Cost for 1 roll of FrogTape and 1 roll of chevron Shape Tape is less than a roll of wallpaper! Use leftover paint!  It’s also less time consuming and less work – all for the same look as wallpaper without the headache to install or remove plus the option to personalize colors and design. 

FrogTape Blog Squad

Disclaimer: I received compensation to complete this project for using FrogTape® products. All opinions, projects and ideas are based on my own experience.

Sharing at Home Stories A to Z – Tips & Tutorials Party

Like what you see? Get reminders and updates delivered right to your inbox:

Enter your email address: 

Delivered by FeedBurner

Ornament Frames

Ever want to draw attention to a special ornament on your Christmas tree? Why not frame it?Christmas ornament frame

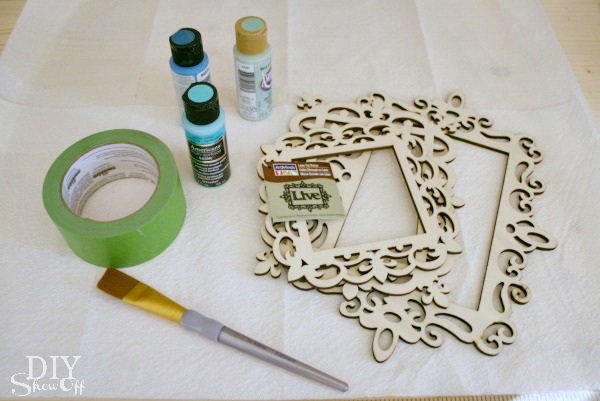
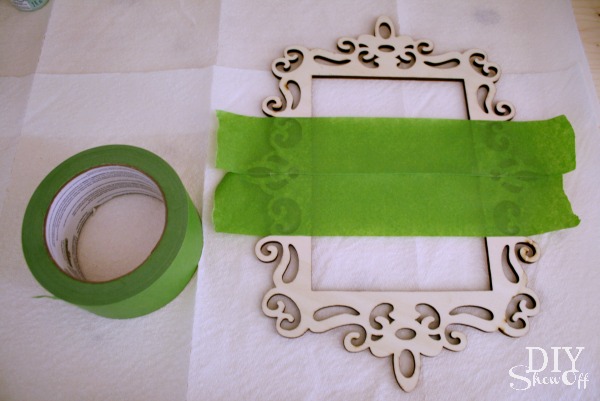
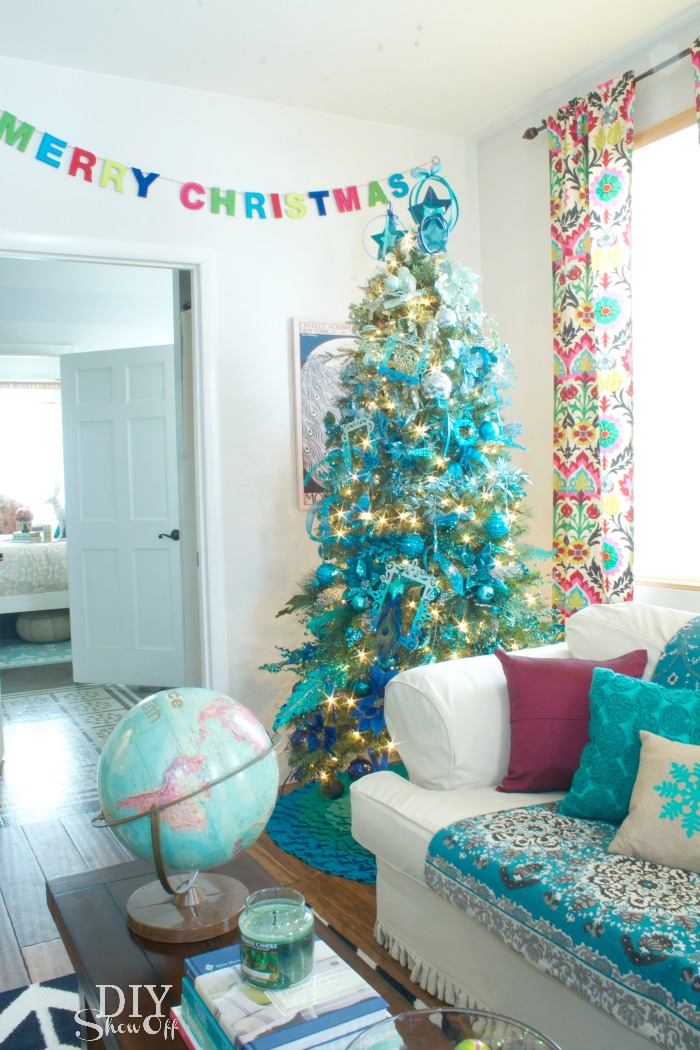
I used FrogTape® and acrylic craft paint to give mine a fun ombrè look for my ombrè Christmas tree. Here’s how:ombre ornament frame supplies

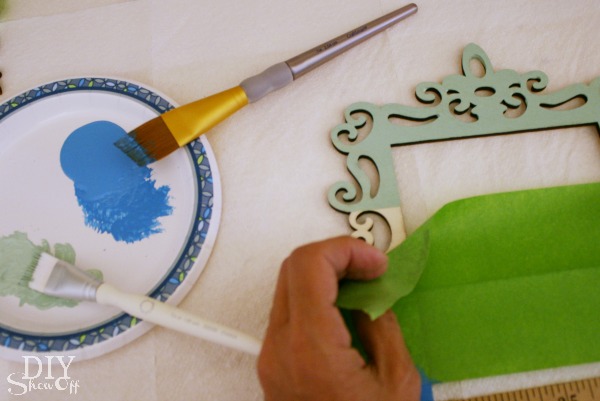
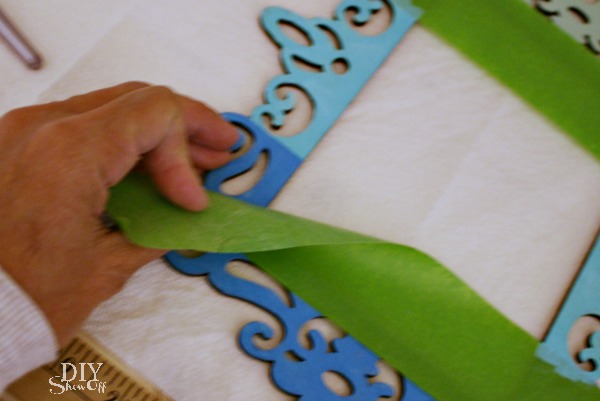
Tape off the middle section of a frame using FrogTape. I pressed down on the edges of the tape with my thumbnail in order to get a crisp clean line. ornament frame tutorial

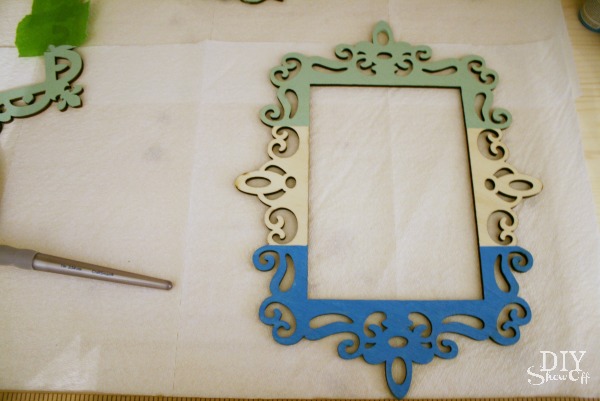
Then I painted the top and bottom sections using my lightest paint color on top and the darkest on the bottom.

While the paint was still wet, I removed the FrogTape and let the paint dry.ombre ornament frame tutorialstriped ombre ornament frame tutorial

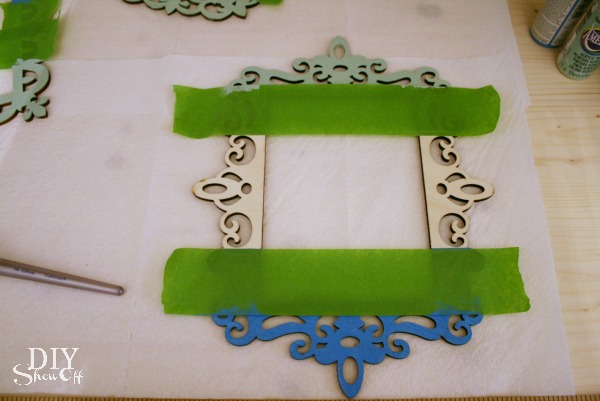
Then I taped off the middle section and followed the same steps.painted ombre ornament frame tutorialChristmas ornament frame tutorial

The frames serve as custom color coordinating ornaments themselves but they also draw the eye to the “framed” ornament.Christmas ornament picture frame Do you have a favorite or meaningful Christmas ornament?eclectic colorful Christmas

FrogTape Blog Squad

Disclaimer: I received compensation to complete this project for using FrogTape® products. All opinions, projects and ideas are based on my own experience.

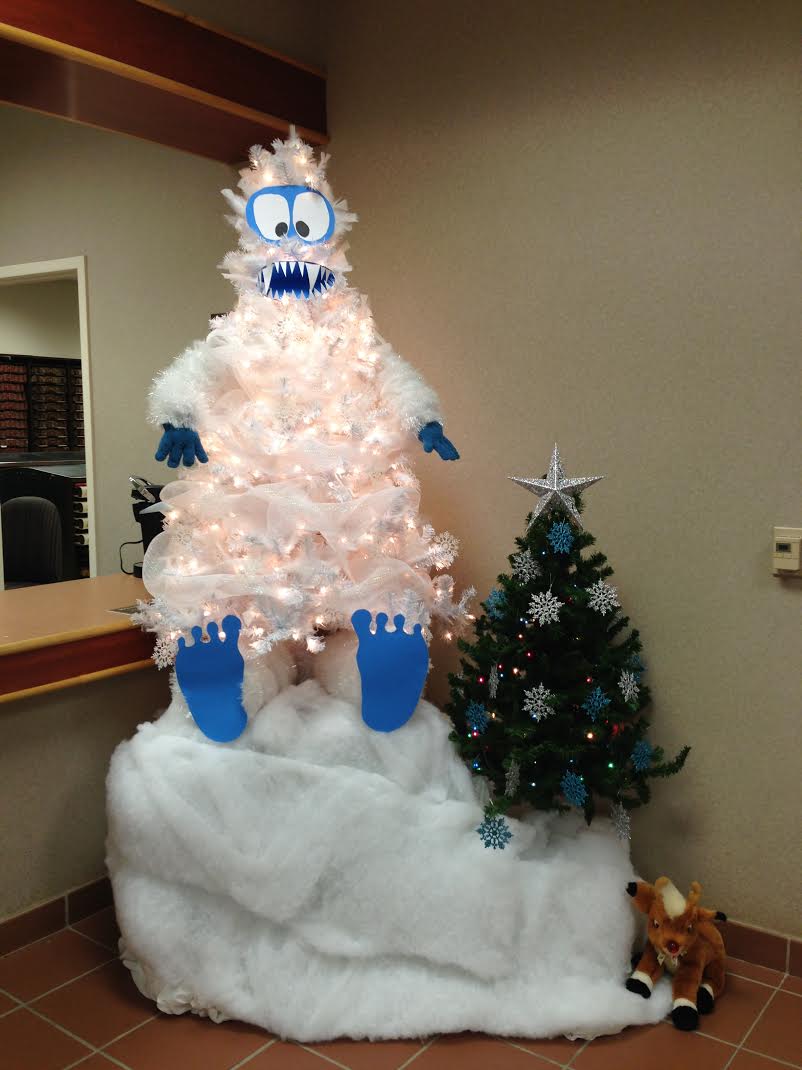
Bumble tree submitted by Courtney for the Christmas Tree Contest

Bumble