DIY {dresser drawer} Dog Bed

As a part of the Lowe’s Creative Ideas team, I was excited that the May Challenge revealed using Pantone’s 2013 Color of the Year…emerald! I knew it’d be the perfect fun color for the new dog bed I planned to make for Rosie. Pantone’s Emerald is one of those colors that would look amazing paired with navy, yellow, tangerine, coral, raspberry, fuchsia or pink. I decided to go girly for our new female furry family member.

DIY Dog Bed

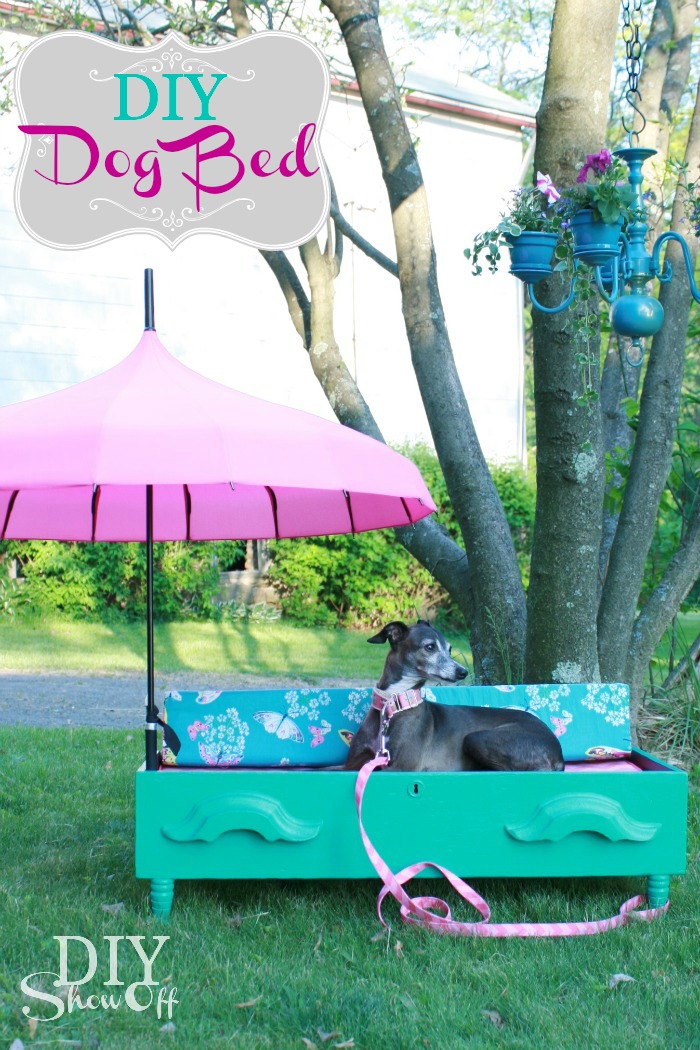
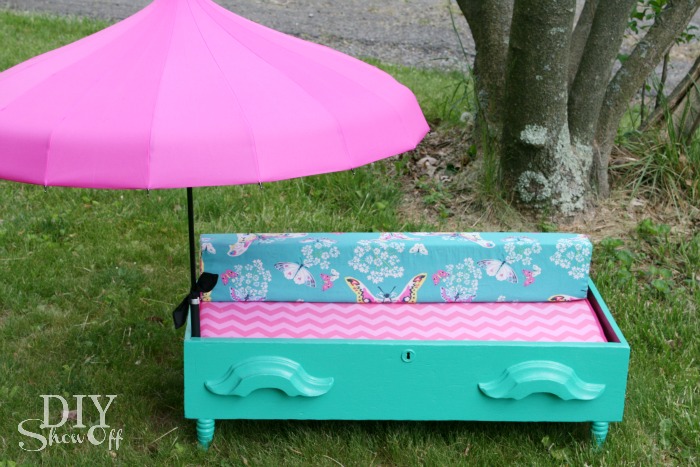
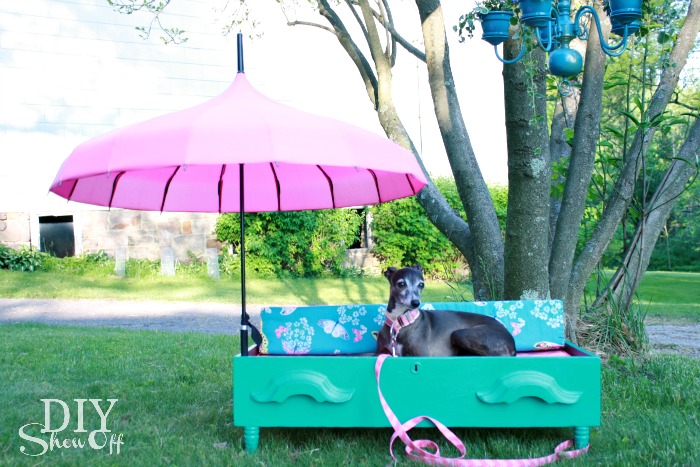
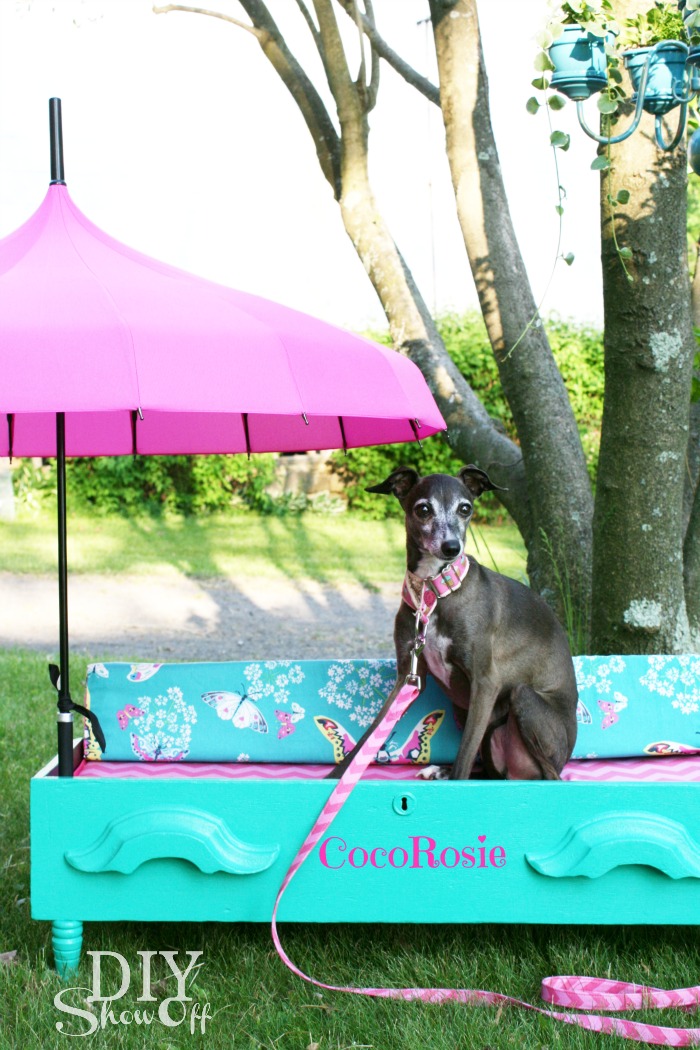
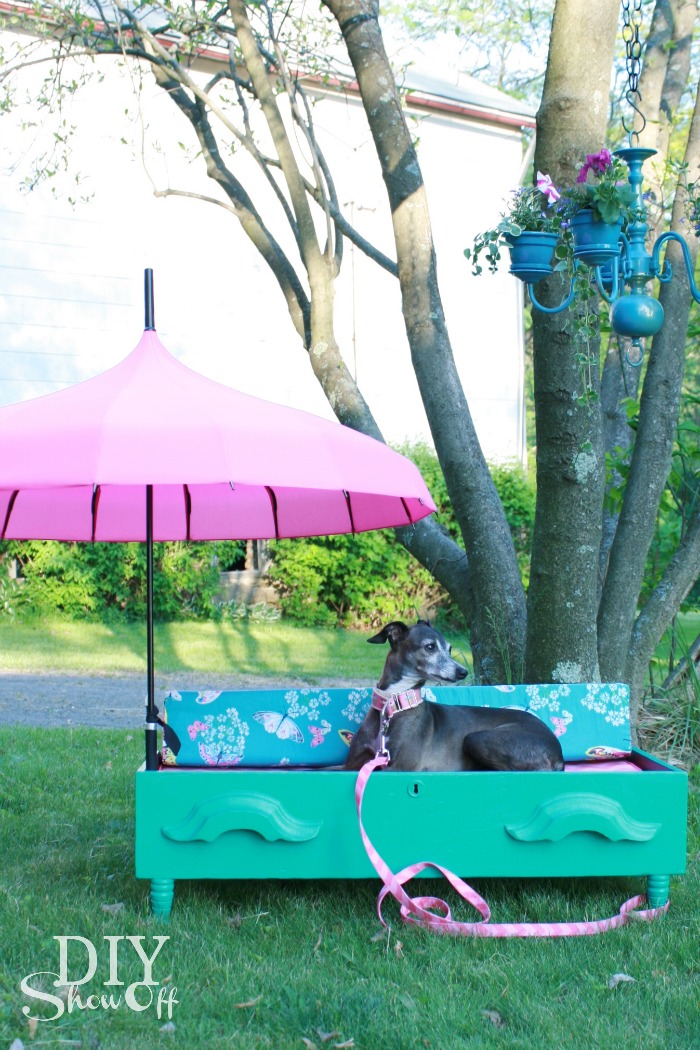
She loves to lounge around outside, especially since we utilize our patio a lot during nice weather. Sunbathing is one of her favorite past times although there are occasions when she seeks shade and Italian Greyhounds are prone to sunburn because of the short fur. The hot pink parasol provides a bit of shade and a ton of cute-ness paired with Emerald and coordinating fabrics.
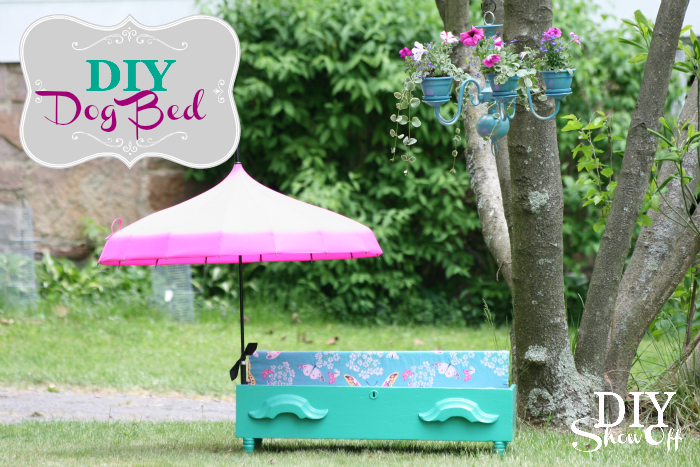
diy-dog-bed-tutorial

Materials I used:

What I did: 

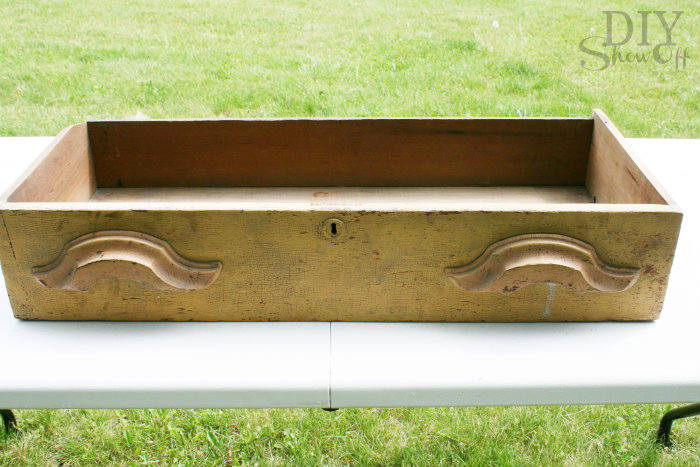
1. An old free/found dresser supplied the drawer. I gave it a good scrubbing. You may also want to sand your dresser drawer face board if needed or remove drawer handles for painting and replace when finished.

dresser drawer dog bed

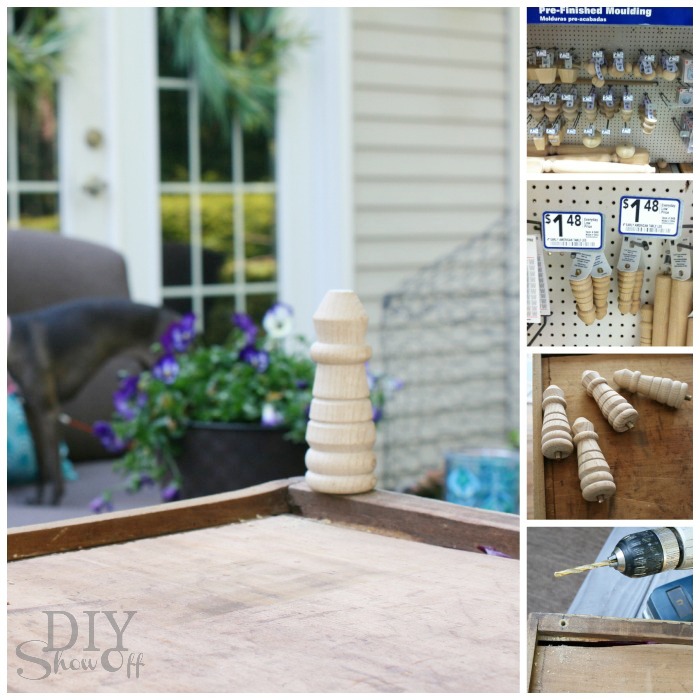
2. I simply drilled pilot holes in the wider dresser front and back bottom boards then screwed in the feet.

legs for a DIY dresser drawer dog bed

CocoRosie is only 10 lbs. and this worked for us. There is also hardware (table leg plates) for furniture legs sold in the same aisle at Lowe’s for a sturdier option  (located near the decorative wood moulding).

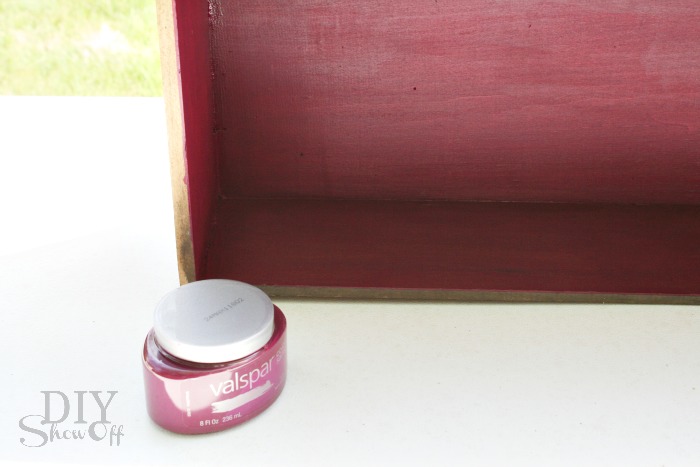
3. The inside got a coat of Valspar’s Berry Brown.

valspar berry brown

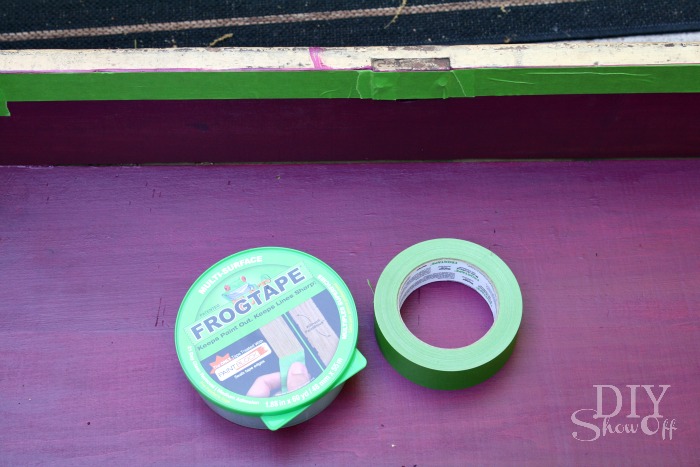
4. Once dry, I taped off the inside using FrogTape, making sure the edges were sealed to activate the PaintBlock technology.

FrogTape

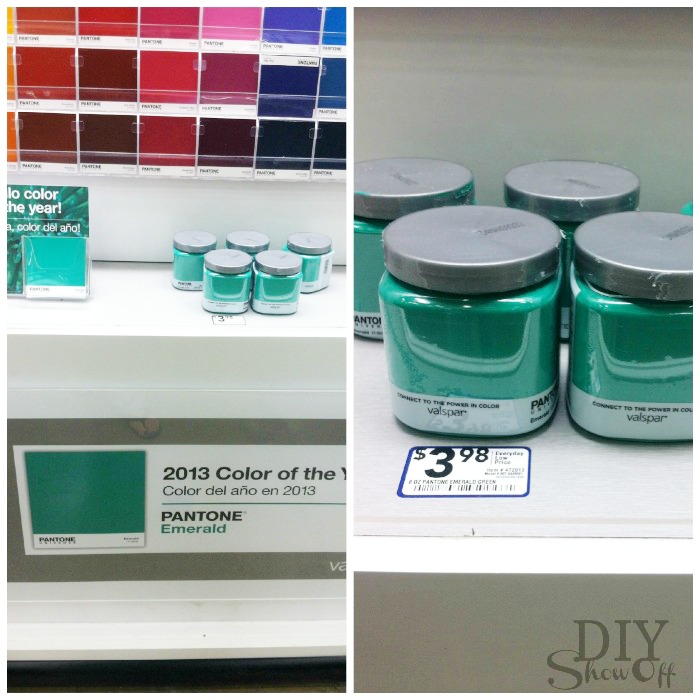
5. Next up, painting the outside two coats of the beautiful Pantone’s 2013 Emerald exclusively at Lowe’s.

Valspar Pantone Emerald

I love the consistency of Valspar’s Signature line.
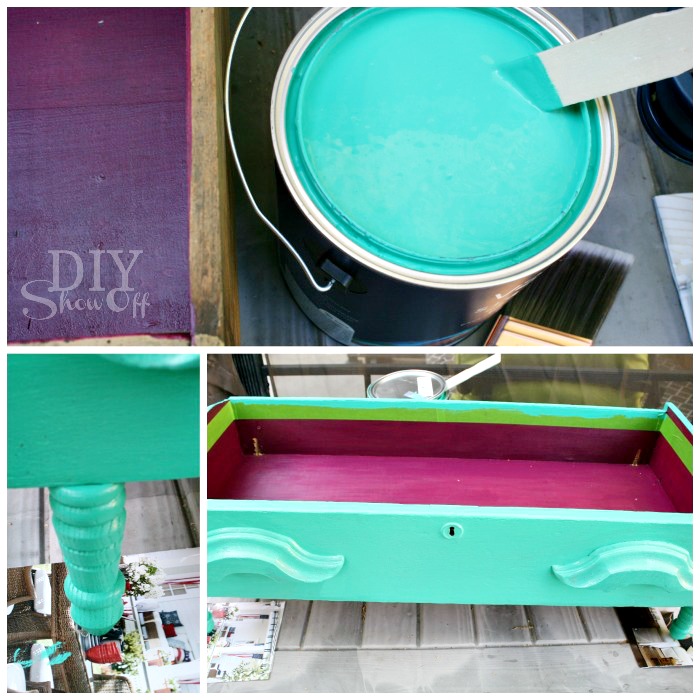
painting dog bed

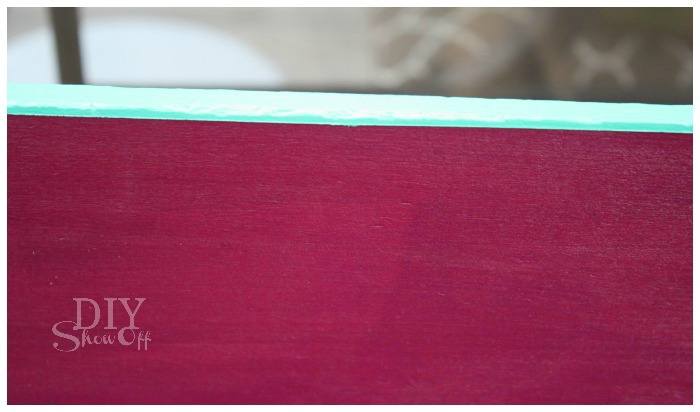
I removed the FrogTape immediately after the second coat…

FrogTape results

then let it dry overnight while I worked on a DIY box cushion…

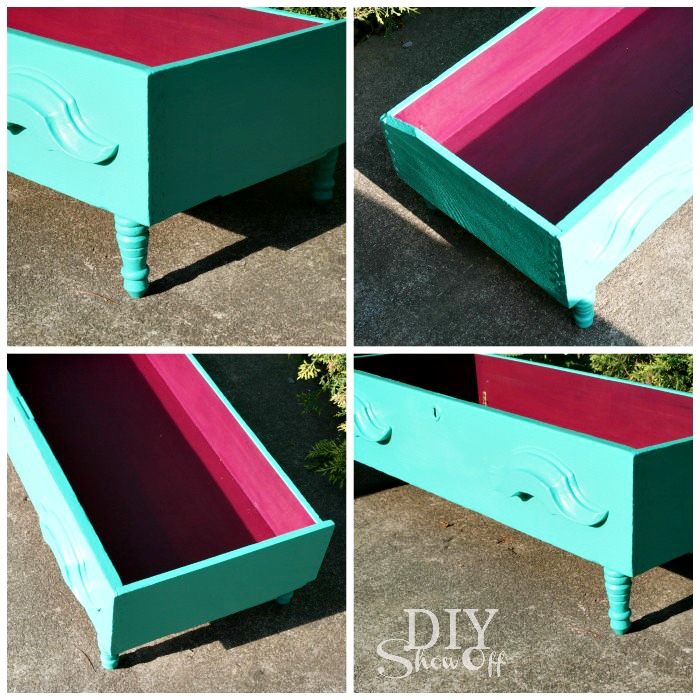
DIY dog bed

6. Secure the parasol handle to the inside of the drawer using a hose clamp or pipe strap (however the box cushion I made has a snug fit and holds the parasol handle in place). I found that having the parasol positioned in the front of the drawer helps to be able to push it almost-flush against walls on the back side.

7. Pop in a pillow or cushion.

dresser drawer dog bed

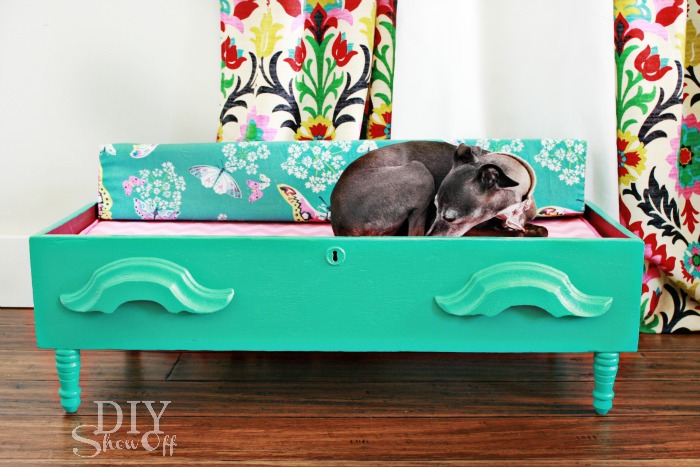
Seven or less steps. Easy as pie. A yummy  (Pantone) Emerald and Raspberry indoor/outdoor dog bed.

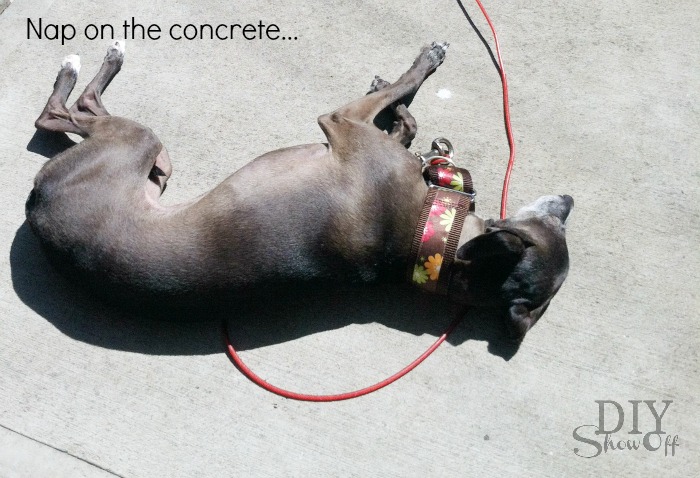
BeforeDon’t feel too bad, she does have access to patio furniture too. You’ve seen her on that patio daybed!

rosie-before

Now:

Up for providing shade…

dresser drawer dog bed how-to

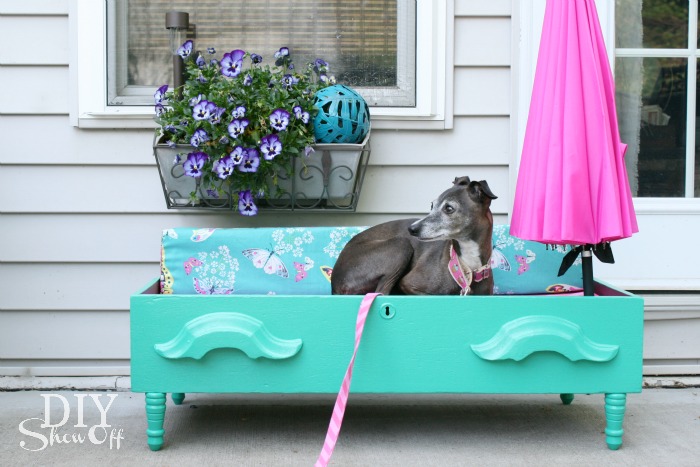
Down for getting sun/overcast days…

DIY dresser drawer pet bed

No parasol for indoors…

DIY pet bed

I’m even thinking of personalizing it for her…

CocoRosie dog bed

Result is a pampered pooch. Maybe now I’ll have the patio daybed to myself! How do you spoil your pets?

Pantone Emerald pet bed

Of note: 

*I do not leave the dog bed outside in the rain.

Notice the chandelier flower planter hanging in the tree? See the DIY Chandelier Planter Tutorial for more details. 

DIY Chandelier Planter

*See more fun DIY ideas at Lowe’s Creative Ideas, follow Lowe’s on InstagramPinterest and sign up for the Creative Ideas magazine and app!

Spring 13 Blogger Badge Subscribe Banner Version

*Disclaimer: As a member of the Lowe’s Creative Ideas Creators and Influencers network, I received a Lowe’s gift card to complete this project for using Pantone’s Emerald in Valspar’s Signature paint challenge, however the tutorial images, instructions and opinions are my own. Your dog’s behavior may vary. DIY results may vary.

FrogTape Earn Your Stripes Contest

FrogTape “Earn Your Stripes” contest….win $5000!

As you know, I’m always using FrogTape around here on one project or another and a brand ambassador on the FrogTape Blog Squad.

FrogTape Earn Your Stripes

Guess what?! I’m so excited to tell you! It’s that time of year – time for the FrogTape Earn Your Stripes Contest and I’d LOVE for a DIY Show Off reader to win the $5000 prize! As a member of the FrogTape Blog Squad, I’ll be participating in the judging process and looking forward to seeing your entry!

How to enter?

Visit the FrogTape Earn Your Stripes Contest page.

frogtape contest

FrogTape Contest

FrogTape ContestI KNOW I’ve seen some awesome projects from some of you using FrogTape! And it’s a great time of year to check off painting from your DIY to-do list, especially with this kind of incentive.

Need some inspiration? Here some of my painting projects using FrogTape…

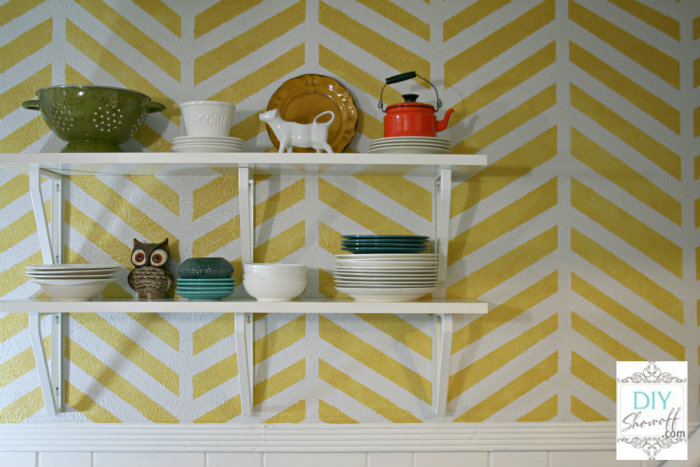
Apartment Kitchen Herringbone Accent Wall

herringbone accent wall

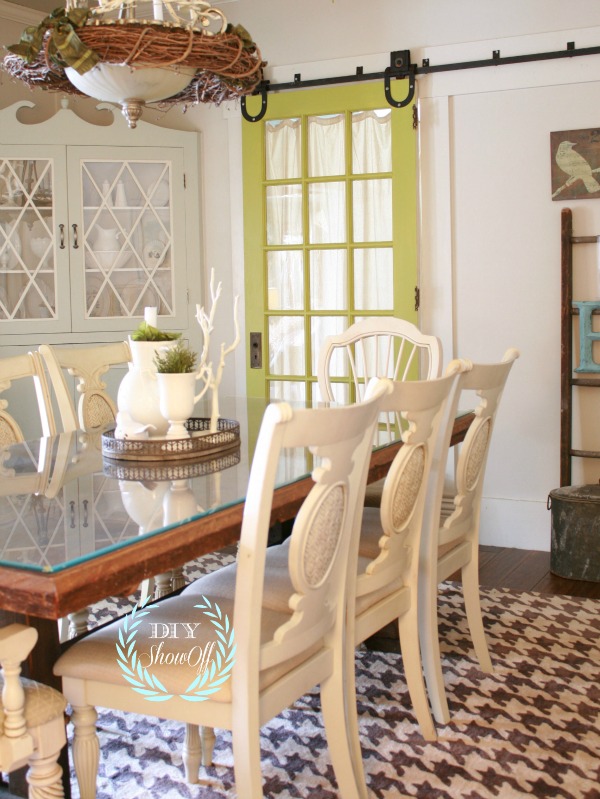
Chartreuse Door

painted door after

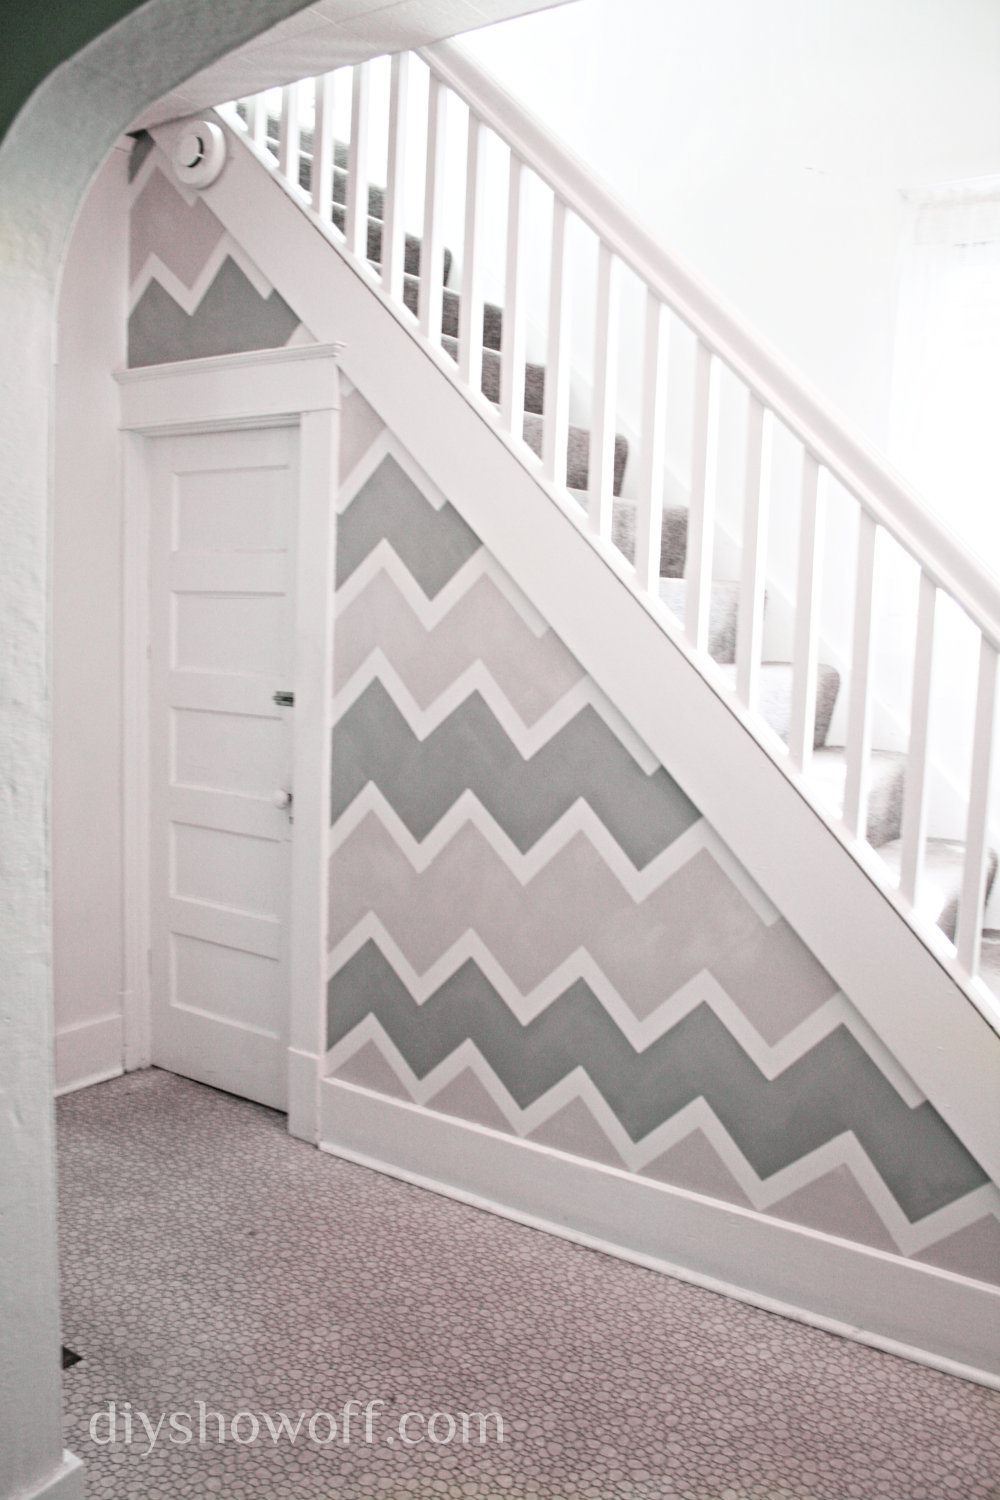
Entryway Chevron Accent Wall

accent-wall-after

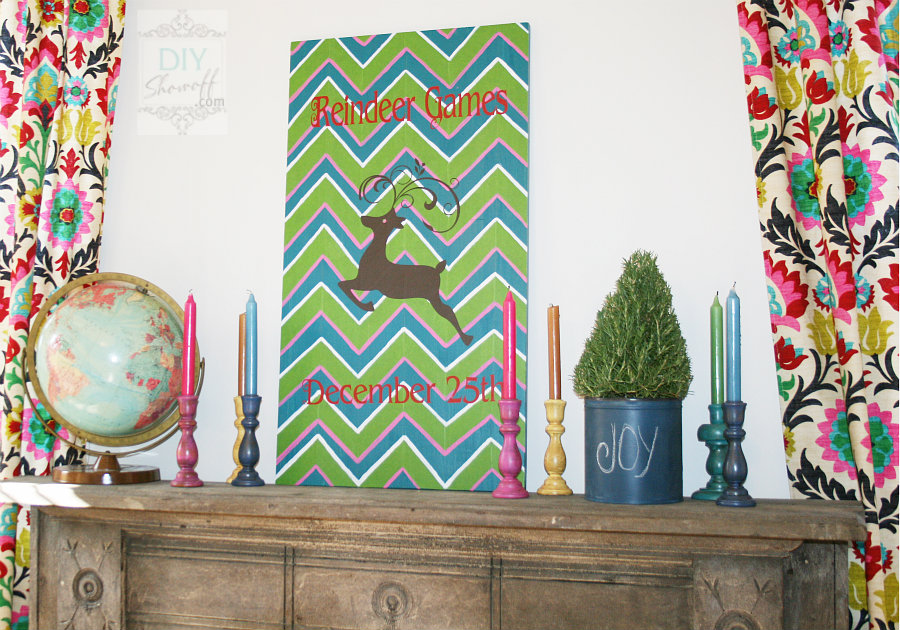
Family Room Christmas  Reindeer Wall Art

DIY colorful Christmas chevron reindeer games sign

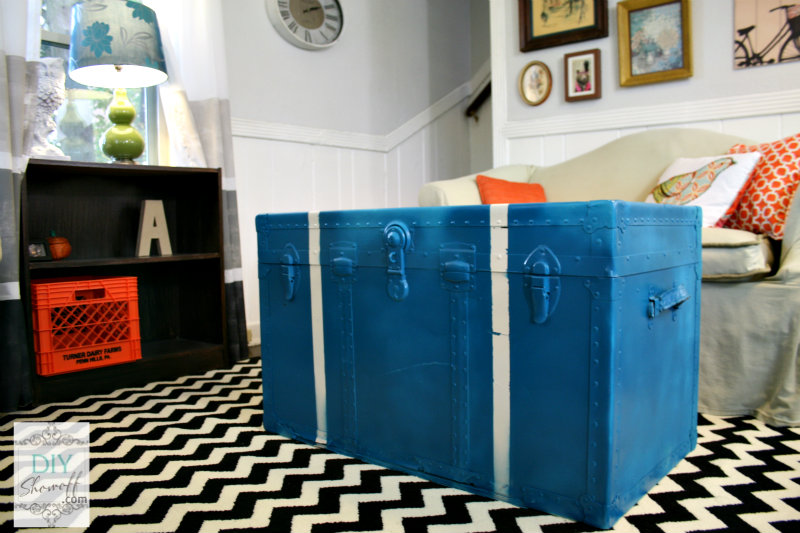
Painted Steamer Trunk for Apartment Living Room

steamer trunk coffee table

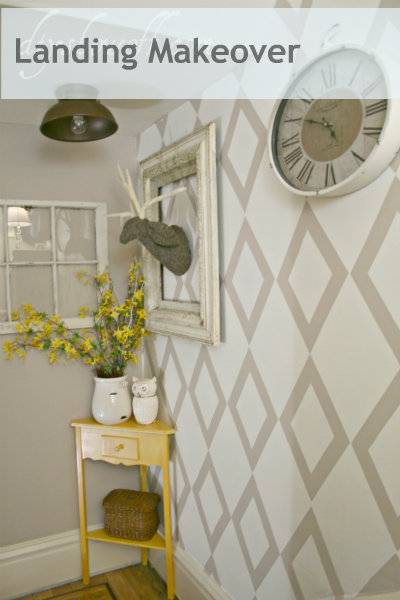
Stair Landing FrogTape Accent Wall

stairwell landing makeover, stenciled wall

What are you waiting for? !

FrogTape contest

Good luck, friends!

*This post is sponsored by FrogTape.

 FrogTape Blog Squad

Paper Mache Easter Egg craft

A day with freezing rain isn’t my ideal spring day, but it is still officially winter. Spring. In like a lion, right? ::groan::

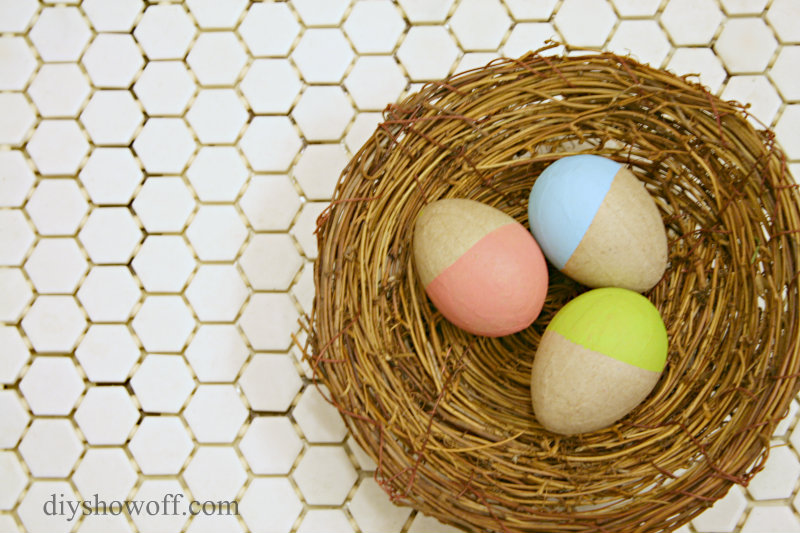
Fortunately, this dip-dyed {painted} paper mache Easter egg craft is a cheerful easy DIY project which aided in averting my eye from the cold, gloom and sleet outside.

painted-dip-dyed-eggs

I don’t think you really need a tutorial. But, since writing up a “how to” is what I love to do, I’m going to tell you what I did anyway. 😉

painted-dip-dyed-paper-mache-easter-egg-tutorial

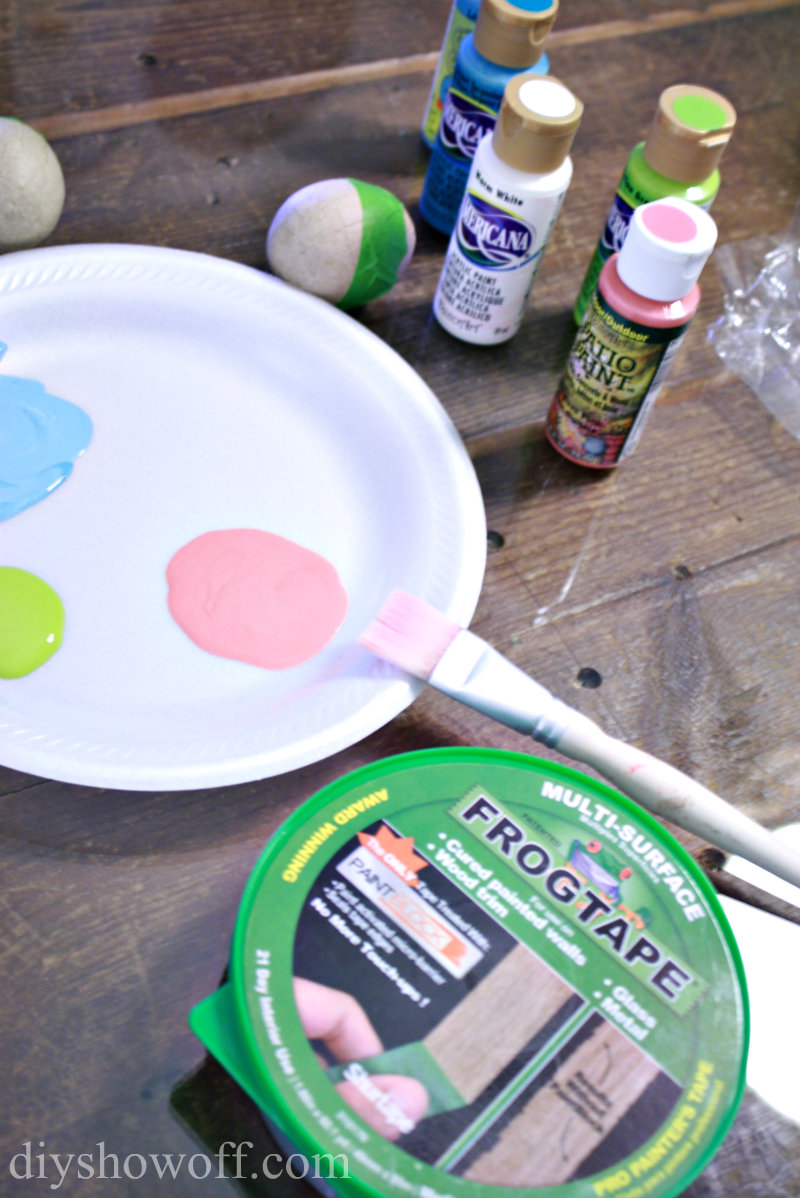
Materials:

  • Paper mache eggs
  • FrogTape
  • DecoArt Americana acrylic craft paints

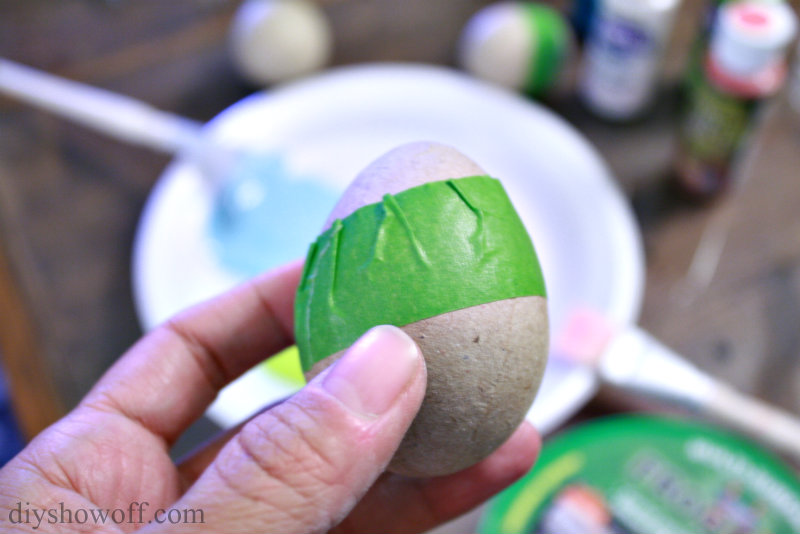
Wrap FrogTape around the paper mache egg to create a faux dipped line. Using my fingernail, I rubbed the edge of the tape to activate the Paint Block Technology to prevent paint from seeping underneath the tape, to create a crisp clean line.

FrogTape-on-paper-mache-easter-egg

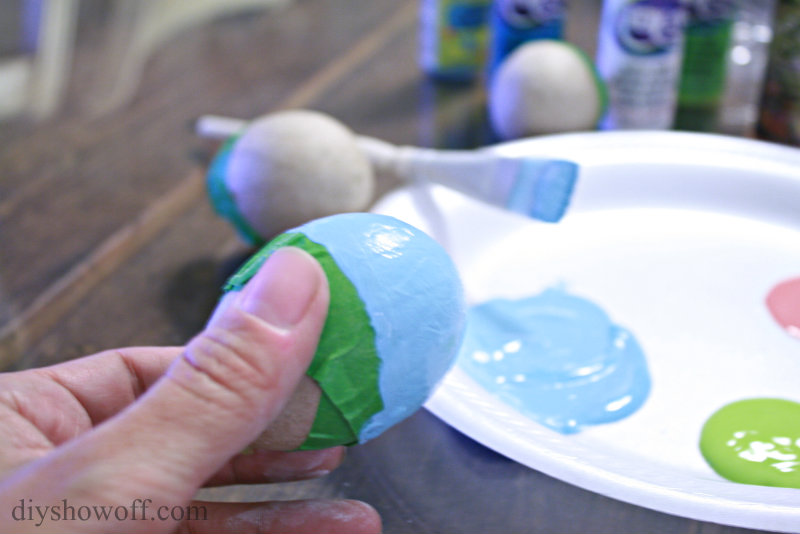
Then I simply painted the bottom of my paper mache eggs using different spring-inspired colors:

painted-paper-mache-egg

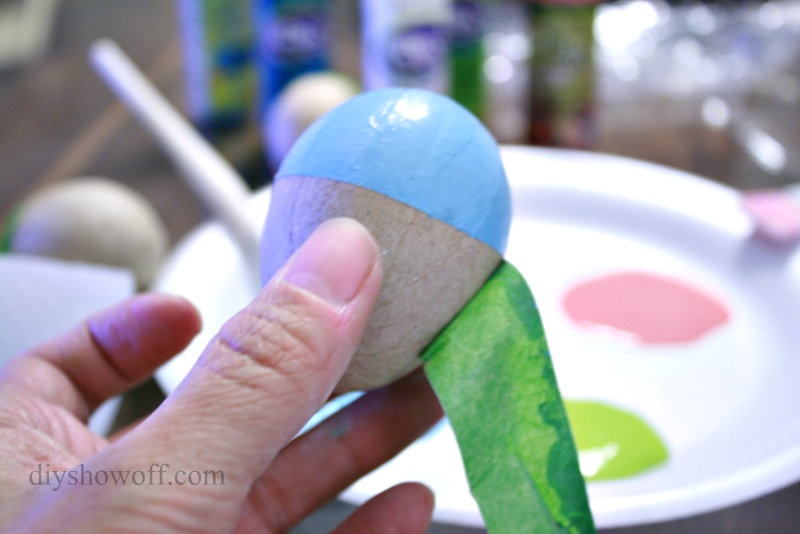
Pull away/remove FrogTape while paint is still wet. It’s a little tricky! After I was done, I thought: “I should have used a set of tongs or something to get a better grip on my egg.” #hindsight

removing-FrogTape

Allow paint to dry. (I just set mine on the cellophane paper mache egg packaging.)
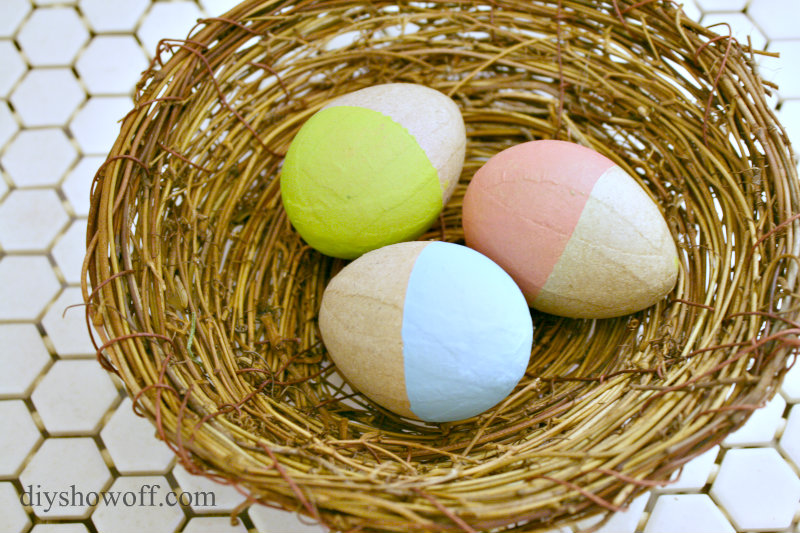
Decorate!

dip-dyed-painted-paper-mache-easter-eggs

Do you decorate with Easter eggs {faux or real} this time of year?

Spring-Thing-Party

Joining Lana over at Making a House a Home for “It’s a Spring Thing” linky party where she shares her sweet little DIY playhouse for her little guy.
diy-play-house by Making a House a Home

There’s another It’s a Spring Thing link party too! Fun! I’m joining the party by linking up with my best blog girlfriends too.
Spring-Thing-Linky-Party-Button

What are you working on? You’re invited to link up & share!
Joining the party with Amanda too!
Weekend Bloggy Reading

This is a sponsored post brought to you by FrogTape. The opinions are completely my own based on my own experience.

 FrogTape Blog Squad

Affiliate links for project materials: