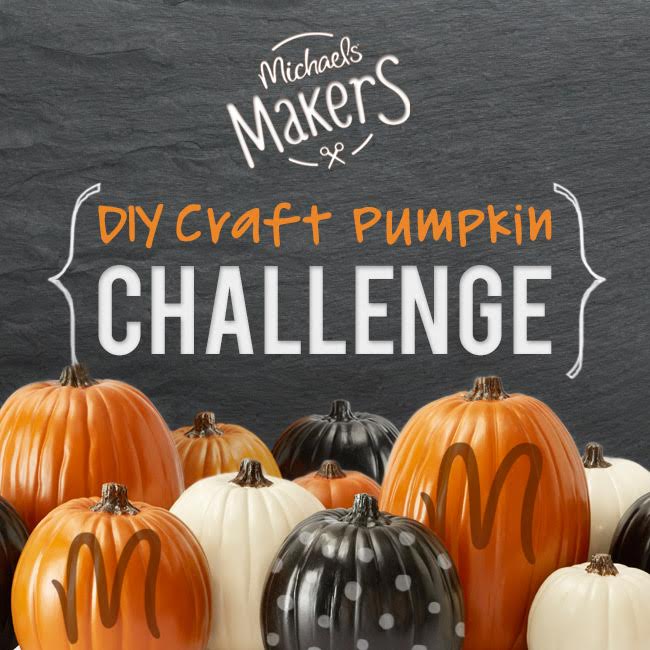
Helloooo, DIY lovers! I’m still hanging on to summer but there’s no mistaking that fall is in the air! My first official challenge for Michaels’ Makers is a DIY Pumpkin Challenge. Fun!
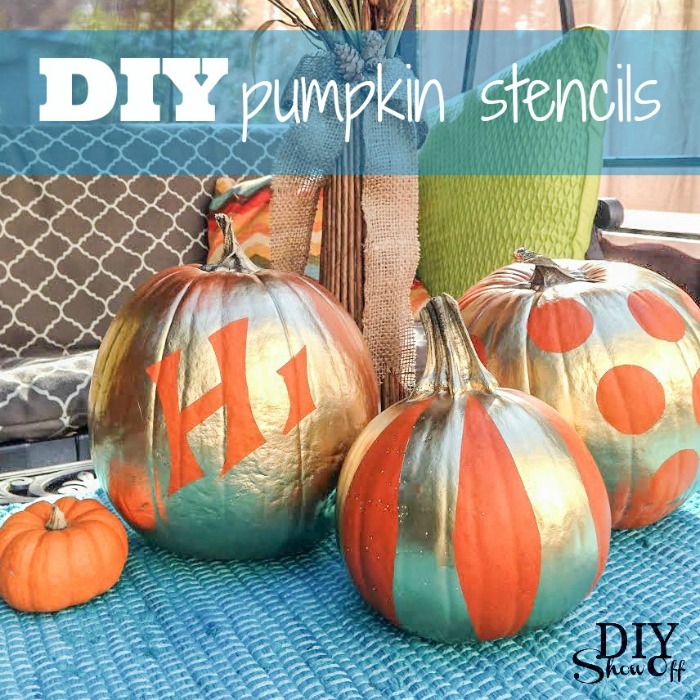
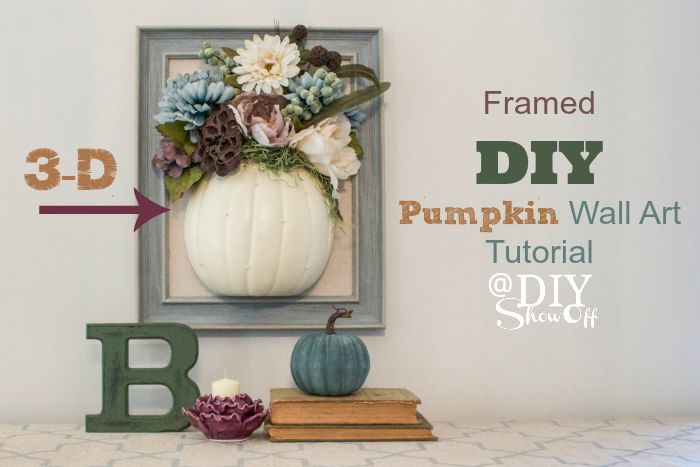
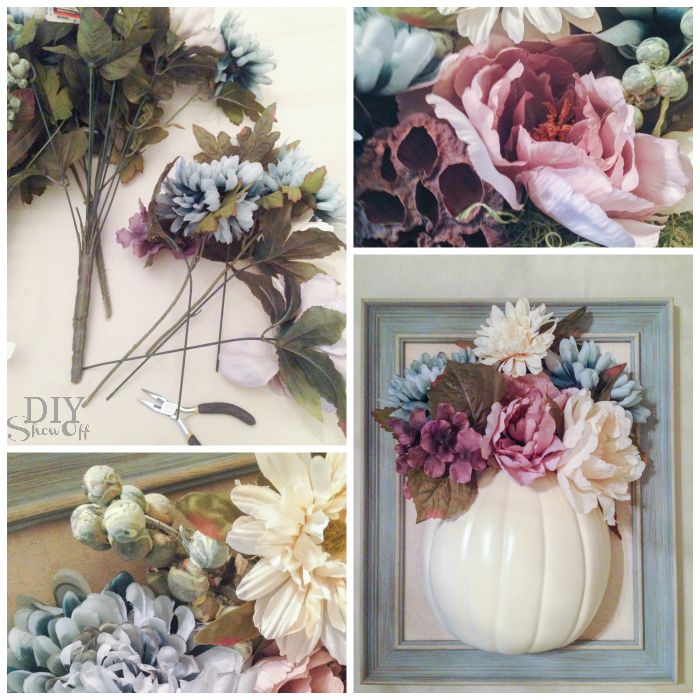
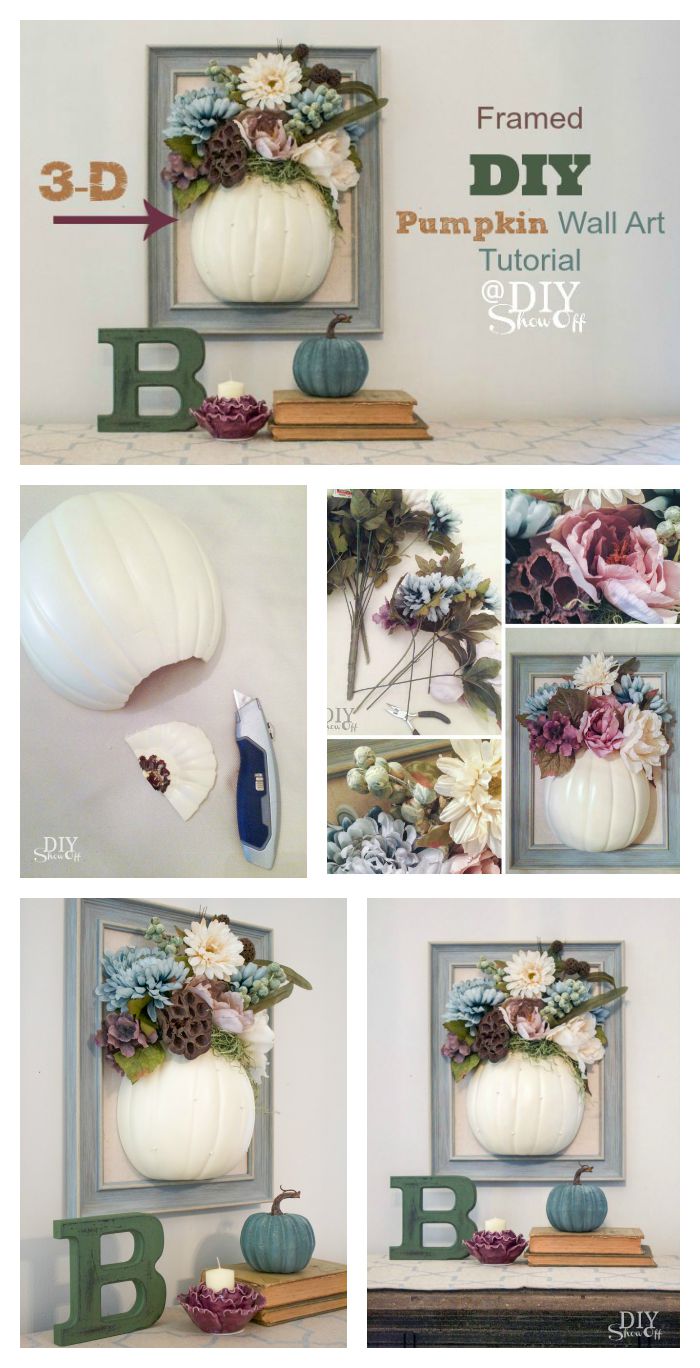
It’s nearly that time of year! Shorter days, chilly evenings. I love faux pumpkins or ‘funkins’ for fall DIY crafts and decor! This year Michaels has “half craft pumpkins”! The tutorial tag I saw in the store showed 3 vertically on ribbon with the letters “B – O – O”. How cute is that? But I decided some framed 3D wall art was in order! I always think floral arrangements in pumpkins are so pretty…works of art. So why not add a frame and make it 3D wall art?
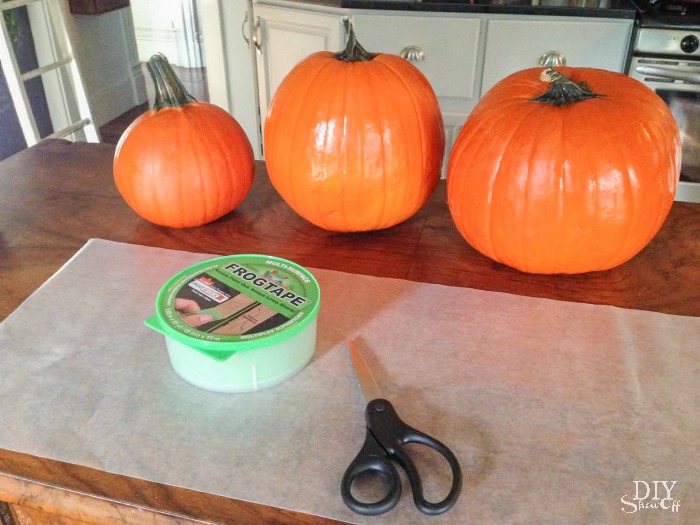
Materials I used: (some affiliate links included)
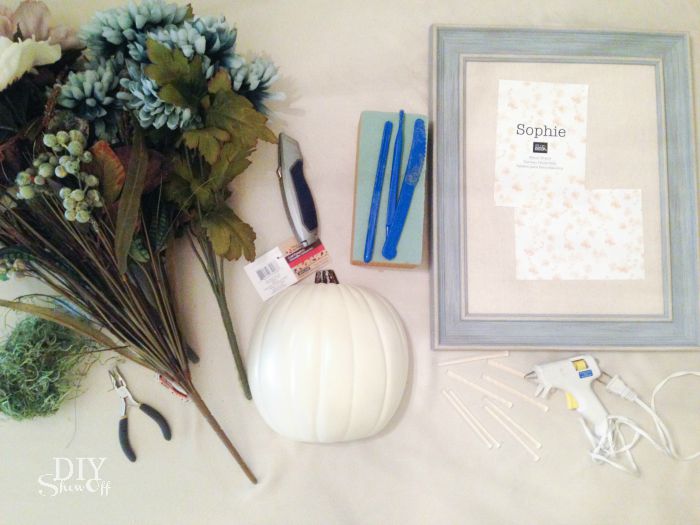
- half craft pumpkin
- message board (Or I think a picture frame would work too! You choose the background by inserting scrapbook paper!)
- fall florals
- floral foam brick
- hot glue
Tools: wire cutters, hot glue gun, knife or box cutter
Project Time: Less than 1 hour.
What I did:
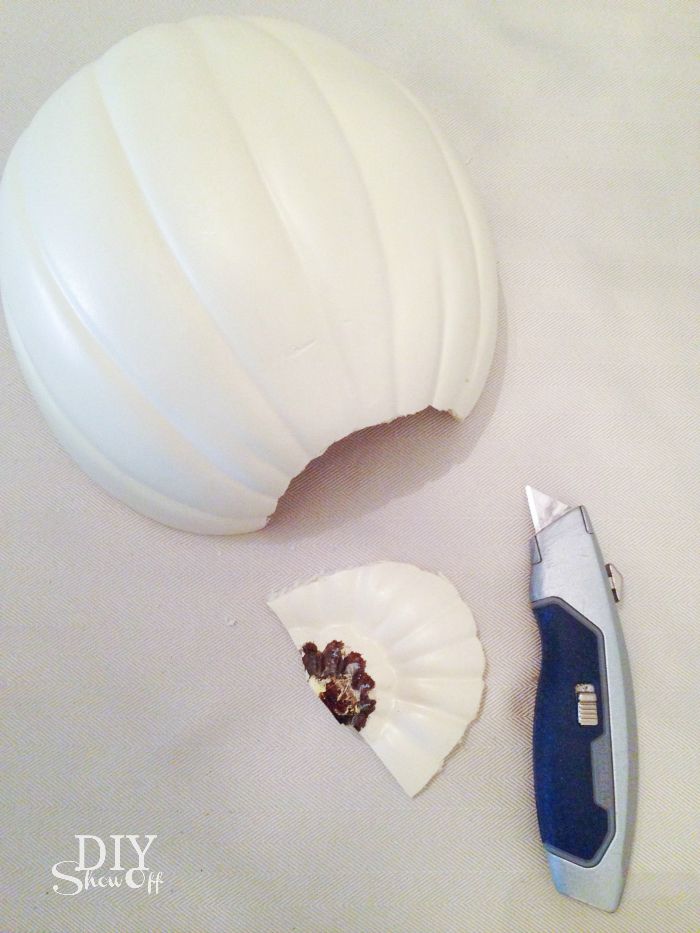
1. With the box cutter, I cut the top off of my half craft pumpkin similar to the way I would cut the top of a whole pumpkin.
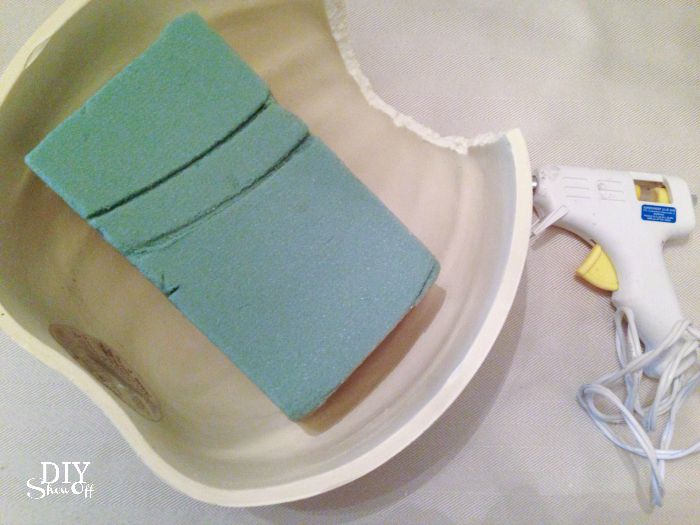
2. Cut down the foam brick to fit inside of the craft pumpkin and secure with hot glue . This step may not be necessary but I think it makes the flower arranging easier and keeps the arrangement in place. Flowers can be swapped out for a different look.
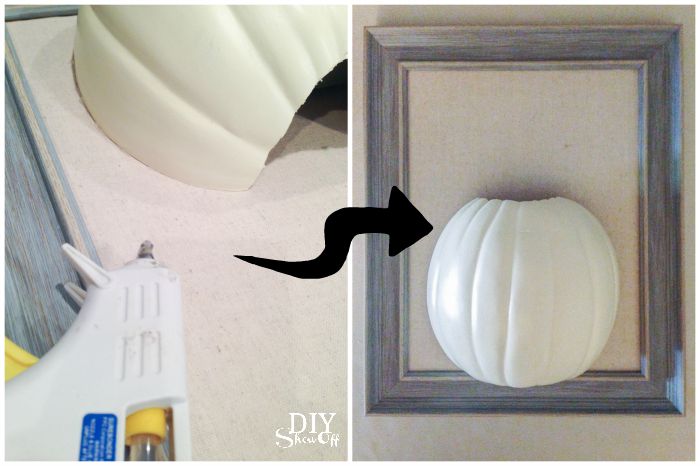
3. Secure the half craft pumpkin to the the message board, centered inside of the frame with hot glue. I really think it’d work to attach it to a picture frame with backing (with glass or without) using hot glue too! If you give that option a try, let me know. I’d love to see it! Well, if you try this project at all, do share your creativity! I want to see!
4. Using wire cutters, remove stems from floral bunches and arrange flowers inside of the half craft pumpkin, poking stems into the foam brick to secure.
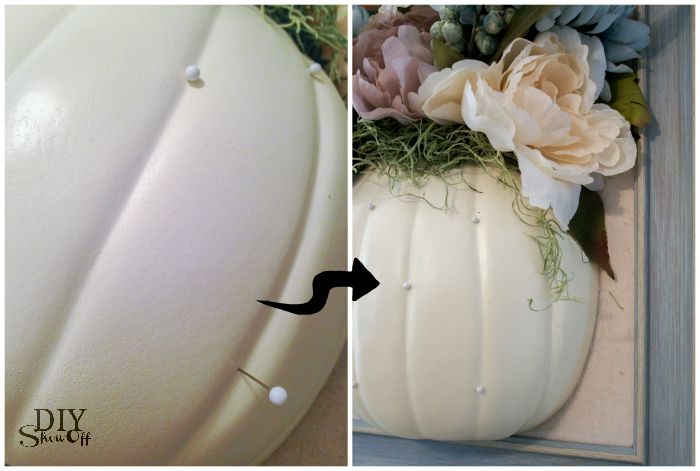
5. Embellish pumpkin if you wish. I just added the push pins that came with my message board. Stuff in some Spanish moss, if you’re inclined to do so. It adds some texture.
6. Hang to display!
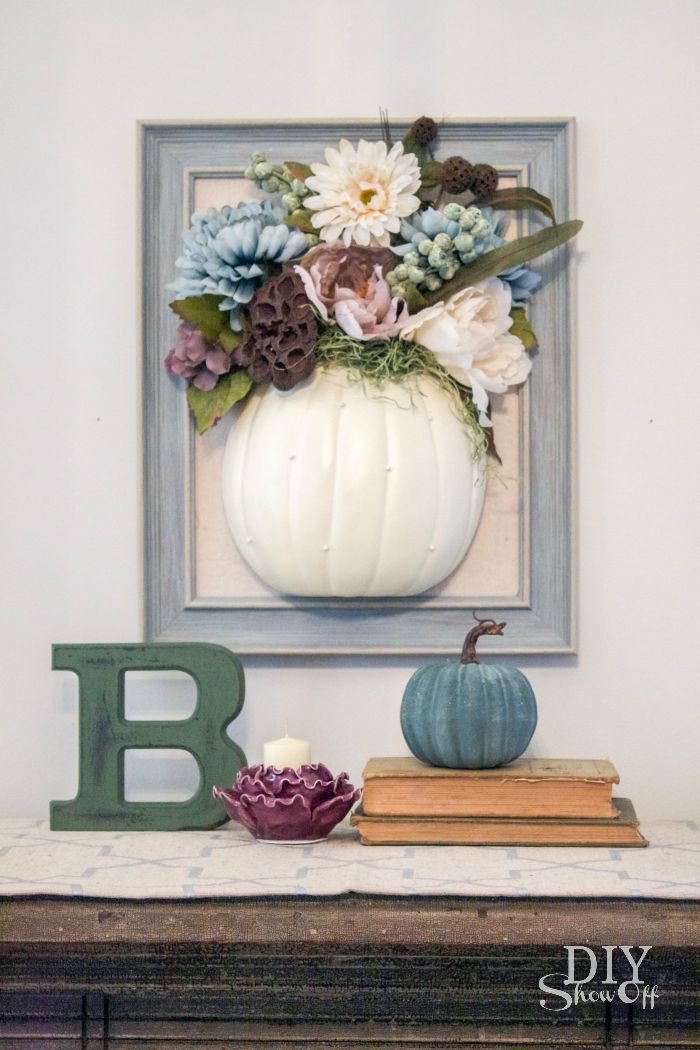
Isn’t it pretty?
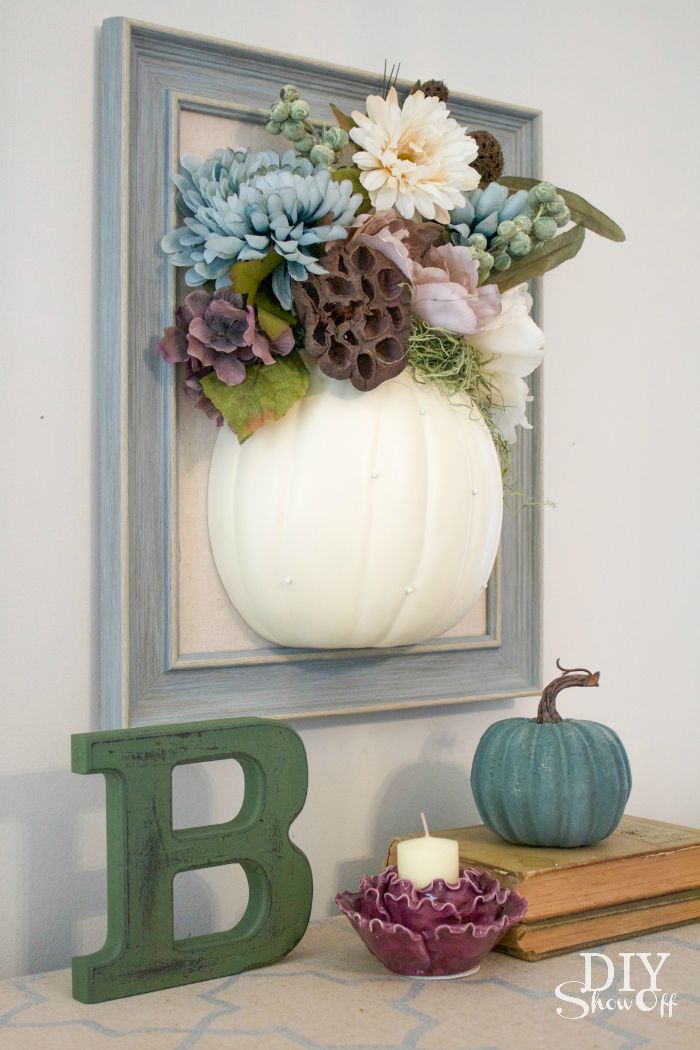
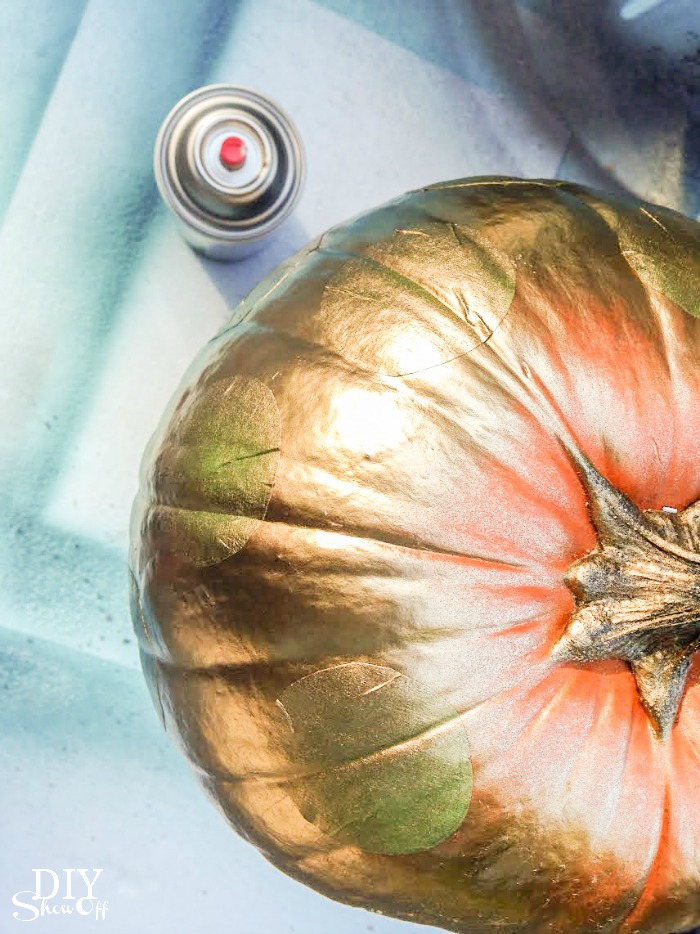
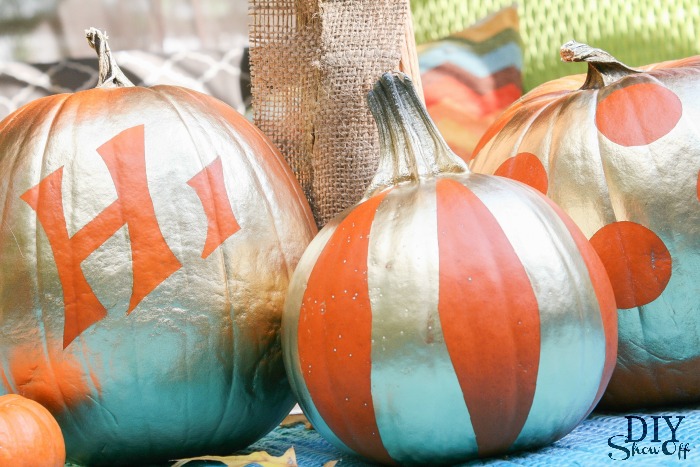
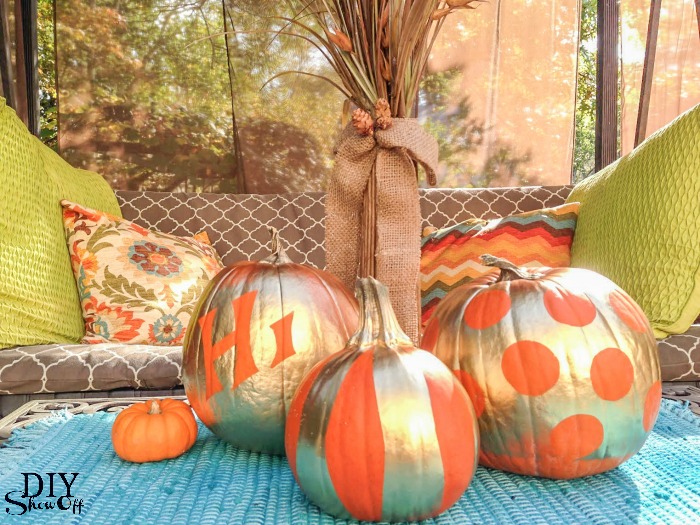
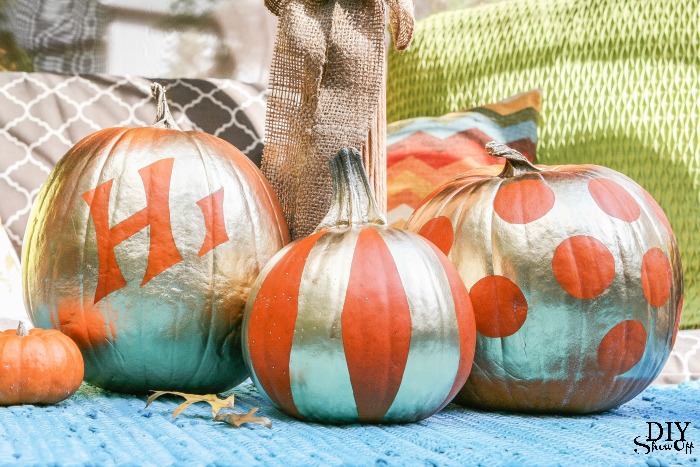
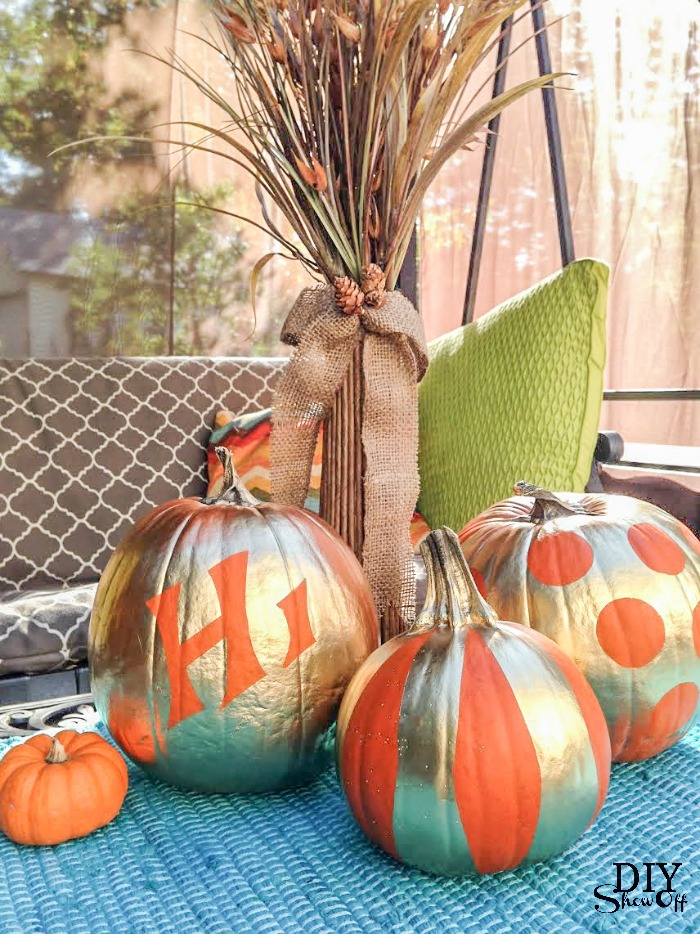
The other accessories are from Michaels too! I really love the combination of blues, plums, creams and green for a fresh fall vignette but I think traditional colors with touches of metallic gold would be gorgeous too!
See more Michaels Makers DIY Pumpkin Crafts from these talented blog friends (starting today at 10 a.m. CST):
· To kick off fall in your own home, visit Michaels.com and check out the variety of craft pumpkins available – there is every color, shape and size you could ever want!
· There are tons of ways to DIY your own craft pumpkin for your home, a party or even as a gift.
· If you’re looking for something a little bit different, Michaels recently started selling these fun half pumpkins, perfect for fall décor wall mounts and fun signs.
· If you’re in need of more fall décor inspiration be sure to look at the 49 other DIY pumpkin projects from the rest of the Michaels Makers – they are fabulous!
*I received a Michaels’ gift card to complete this challenge. All opinions are my own.