Happy New Year, DIY friends!
Do you have the habit of looking at all that needs done with little regard to all that has been accomplished? Me too! Always looking ahead to what’s up next on transforming this old house. Who does that? DIY crazed much? So, this time of year (here’s last year’s post), I love looking back to the year’s DIY and all that we finished up and tackled. Mr. DIY says we get tons done in odd years and that on even years, we’re allowed to sit around and be lazy. Um, he’d be wrong. This DIY girl isn’t going to let that happen! There’s so much to be done, I don’t know where to begin! Let’s start with reflecting on 2011 for some DIY motivation.
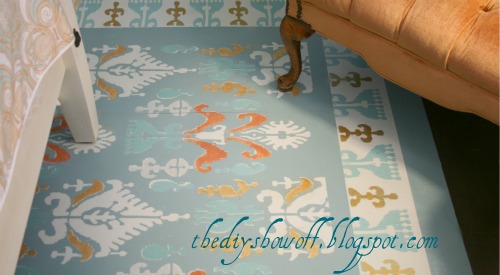
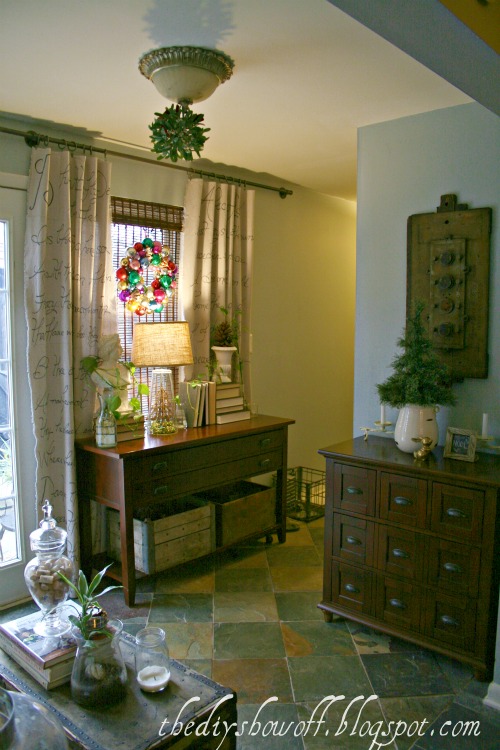
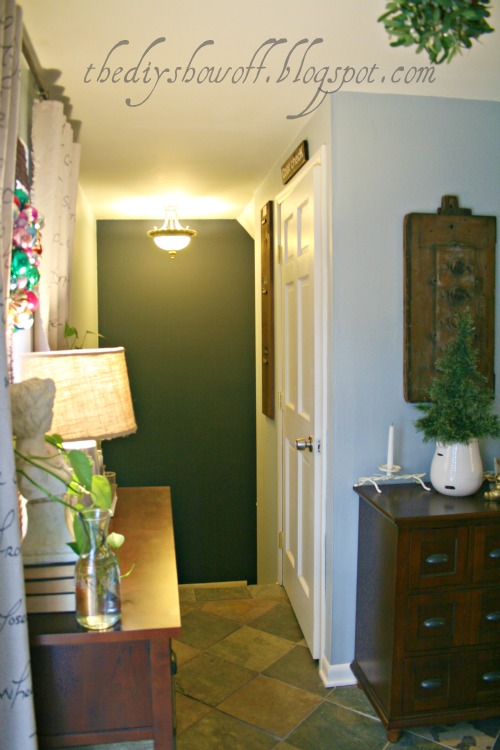
Here is a recap of what went on (DIY and otherwise) at the DIY Show Off home in 2011 according to my picture files:
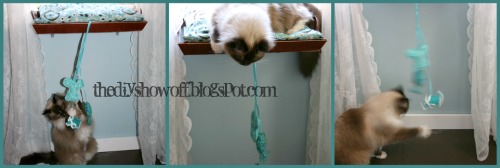
We adopted Lalka…
Before/In progress

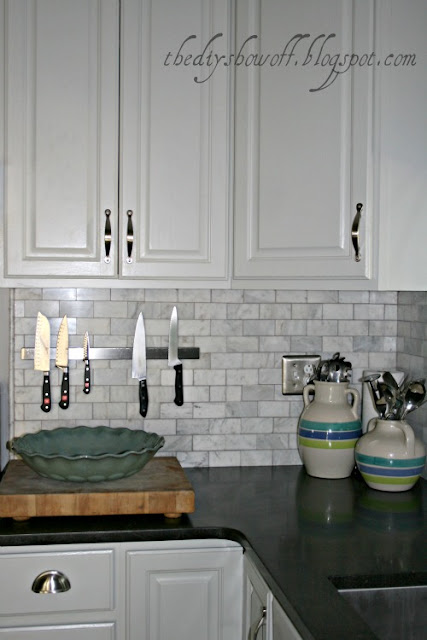
After:
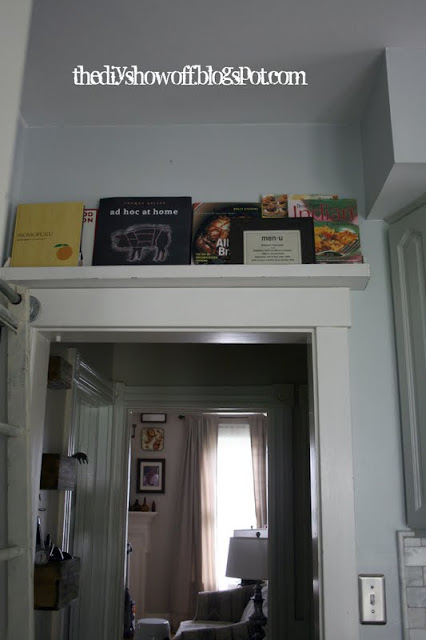
Pantry removed.
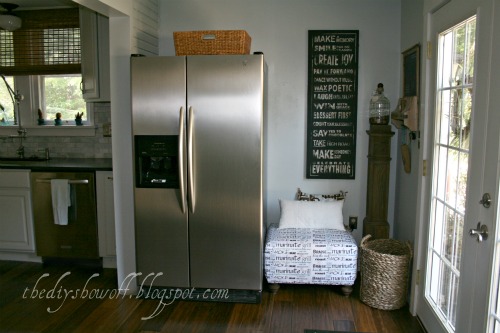
After, the fridge is closer to the work area instead of trying to run out the door…
Love this new-to-me piece of furniture:
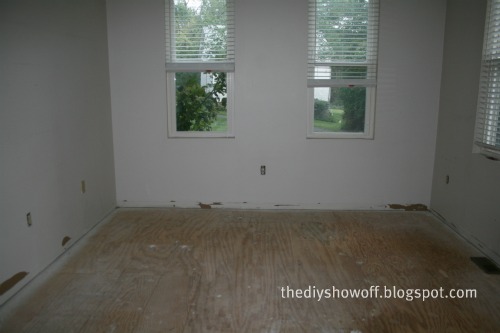
Before…
Guest Bedroom Now…
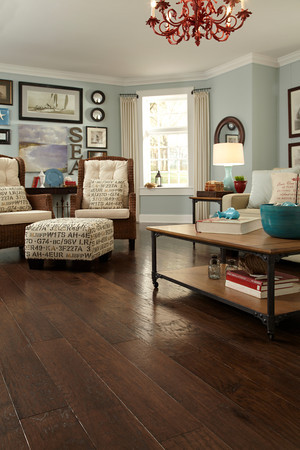
Sitting Room Makeover
Before
After
Before
After
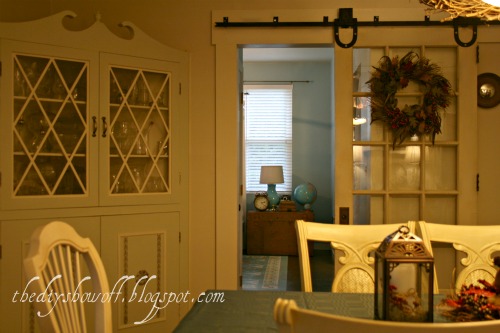
Dining Room Sliding Door
Before
After…
{opened}
{closed}
Dressing Room Closet Before…
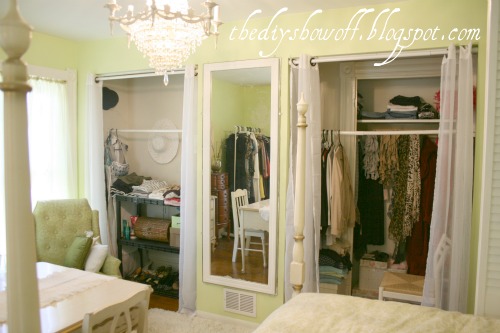
Bi-fold turned French Door tutorial…
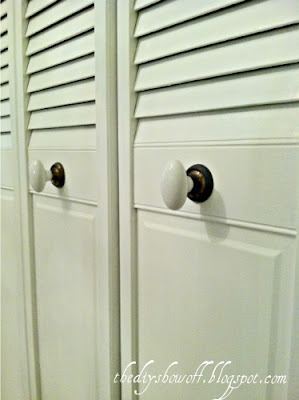

Craft Room Before
Craft Room After (still tweaking)
Some favorite projects:
Whew – what a great year!
Let’s see a recap of your DIY productivity in 2011! Link up, then visit the links for some motivation to get moving this year!
 (Sorry I don’t have the code – the previous didn’t work…making/pasting code into wordpress is a little different so I’m working on it. Please copy/paste picture above and linkt to this post or just link to this post in your 2011 DIY Recap. Thanks!)
- Write a post about your top 2011 DIY Projects.
- Add the Looking Back button by copying/pasting the code shown above into your blog post.
- Leave a comment and visit some of the other links.
- If you noticed your link has disappeared, please edit your post to include the link back to this post and try linking again (double checking that you’re linking up a 2011 recap. Here’s the link: https://diyshowoff.com/2012/01/diy-2011-recap-party.html
- Be sure to follow along on G+ or subscribe via email (right side bar) so you catch the latest at the DIY Show Off in 2012.
- Thanks so much for sharing your 2011 recap!
Linky Tools subscription expired. List not available.
Special thanks to YOU for making 2011 so much fun! Your support, encouragement and comments mean so much to me…for real. I look forward to us all having a productive 2012 and can’t wait to see what you have planned! I also want to thank these companies for their support and amazing and super fun opportunities this past year and look forward to an opportunity to work with them again this year…
Pin It


