Faux Beam: home makeover progress!

It’s been a while since I shared an update of the progress going on at mom’s house. It’s still a work in progress but wait until you see how far along things are coming, especially since their current home sold in less than 24 hours of being on the market. TIME TO HUSTLE! Disclosure: We received product in exchange for this review. Take a look! 

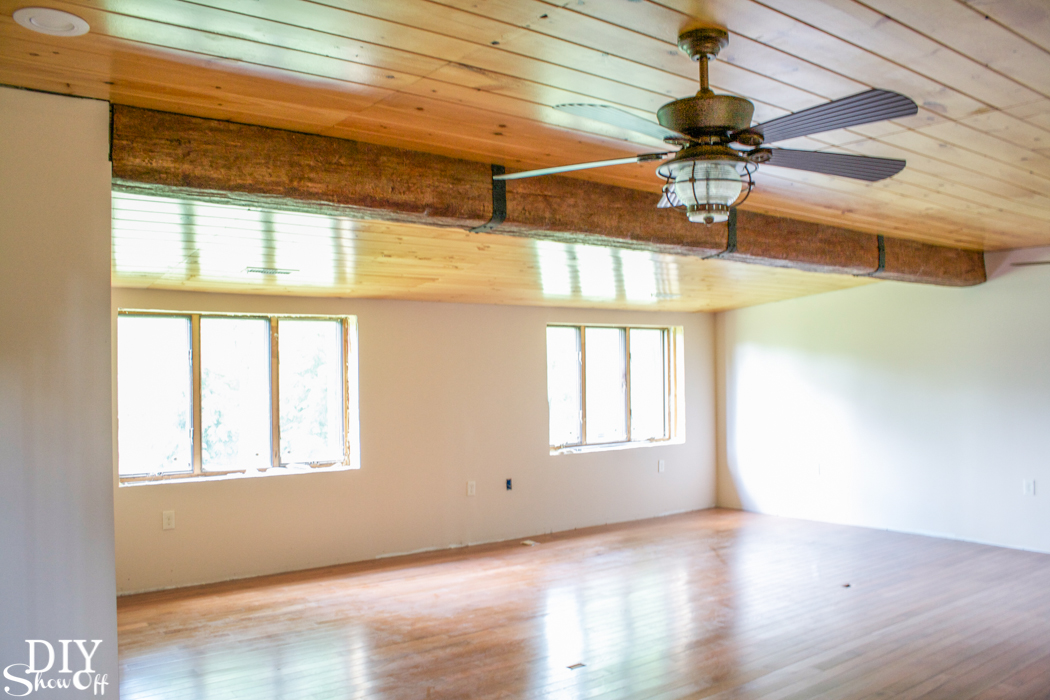
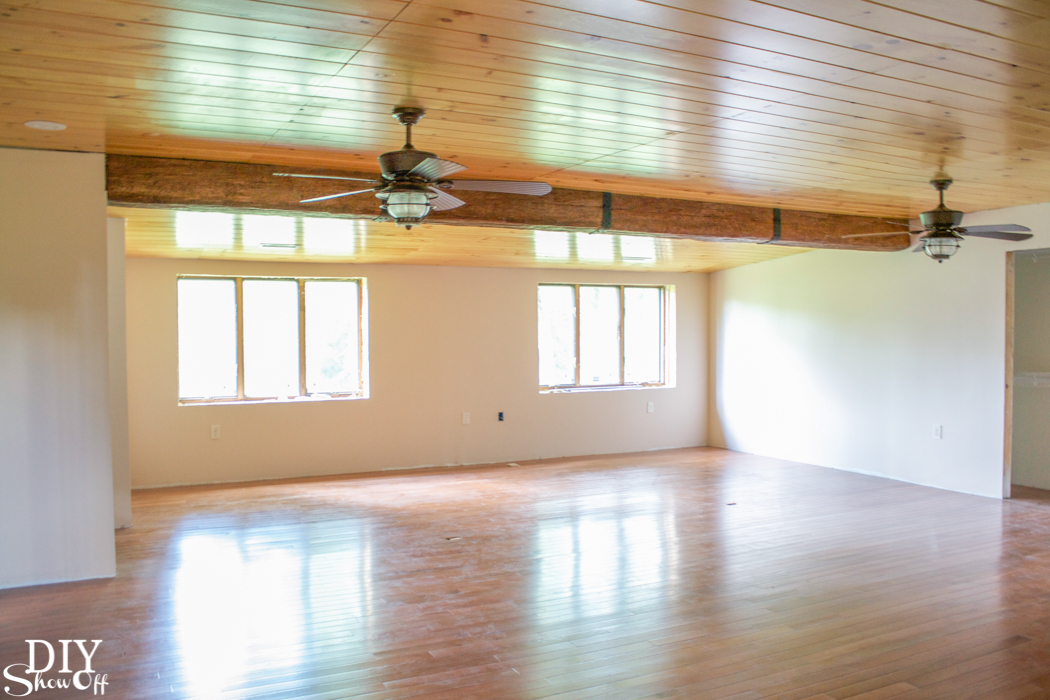
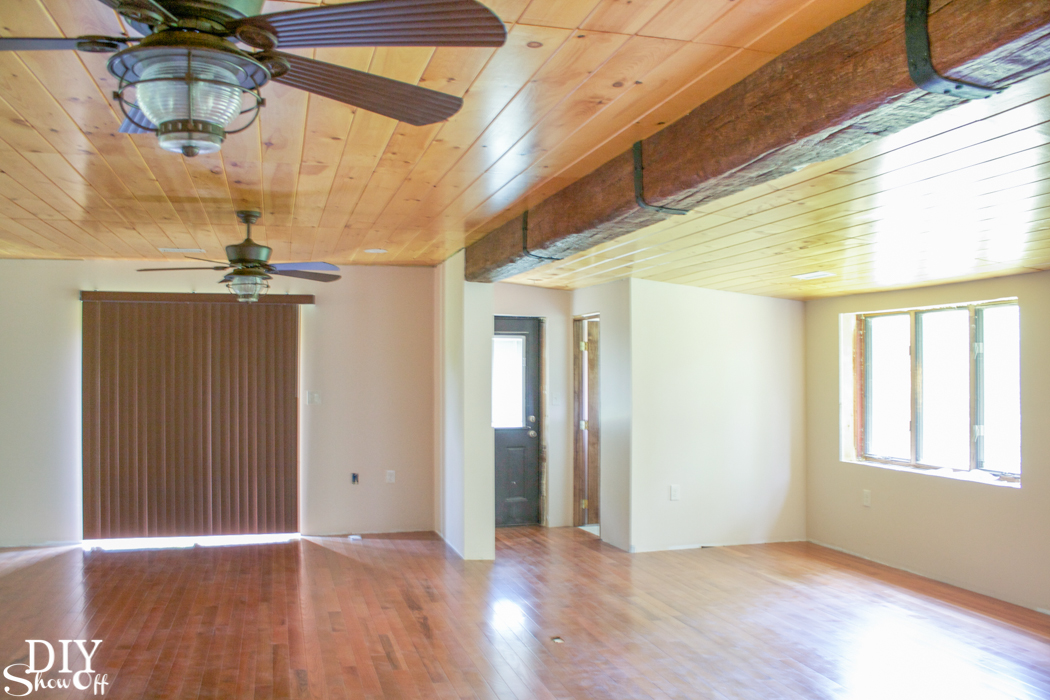
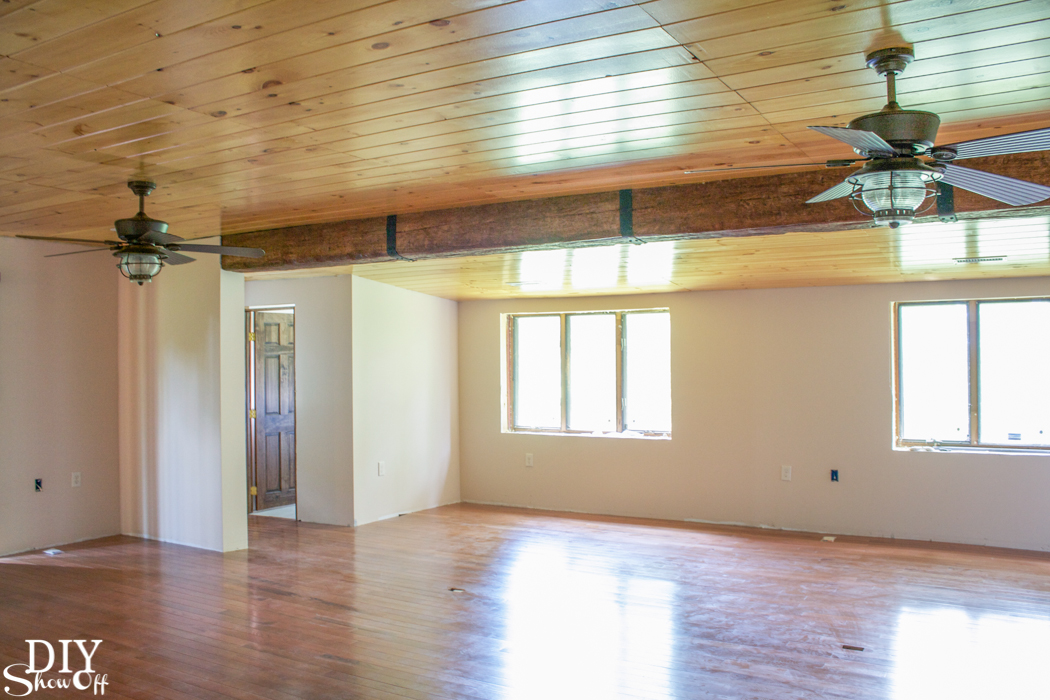
Before: Before and after home improvement project - ceiling with a gorgeous faux beam @diyshowoff Before and after home improvement project - ceiling with a gorgeous faux beam @diyshowoff Before and after home improvement project - ceiling with a gorgeous faux beam @diyshowoff Before and after home improvement project - ceiling with a gorgeous faux beam @diyshowoff Before and after home improvement project - ceiling with a gorgeous faux beam @diyshowoff
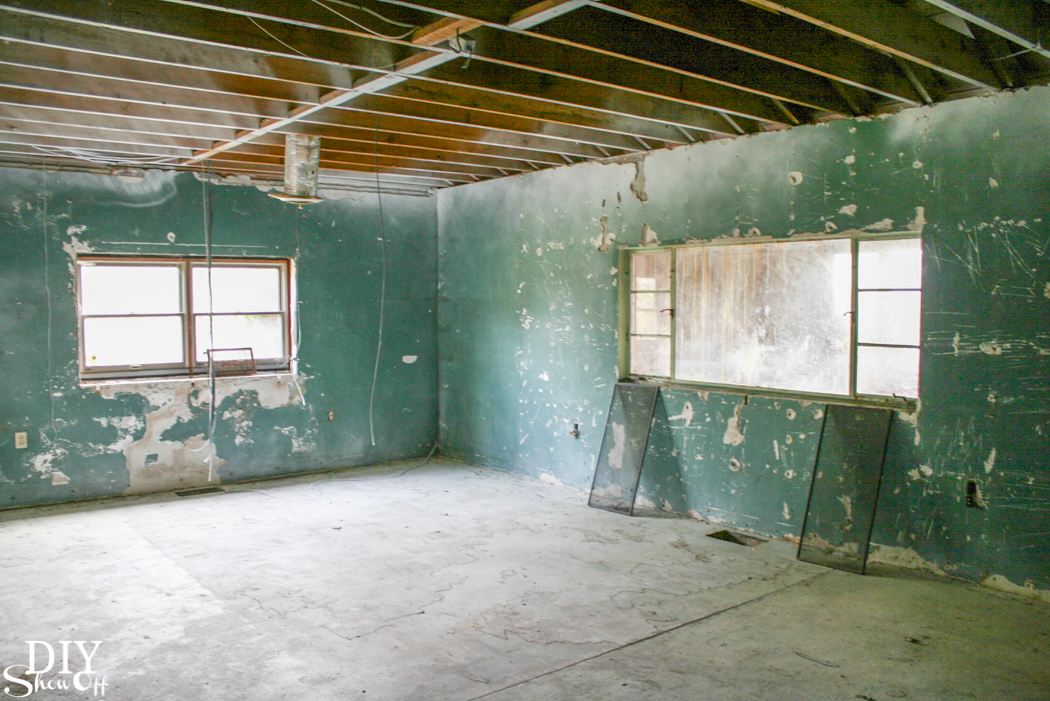
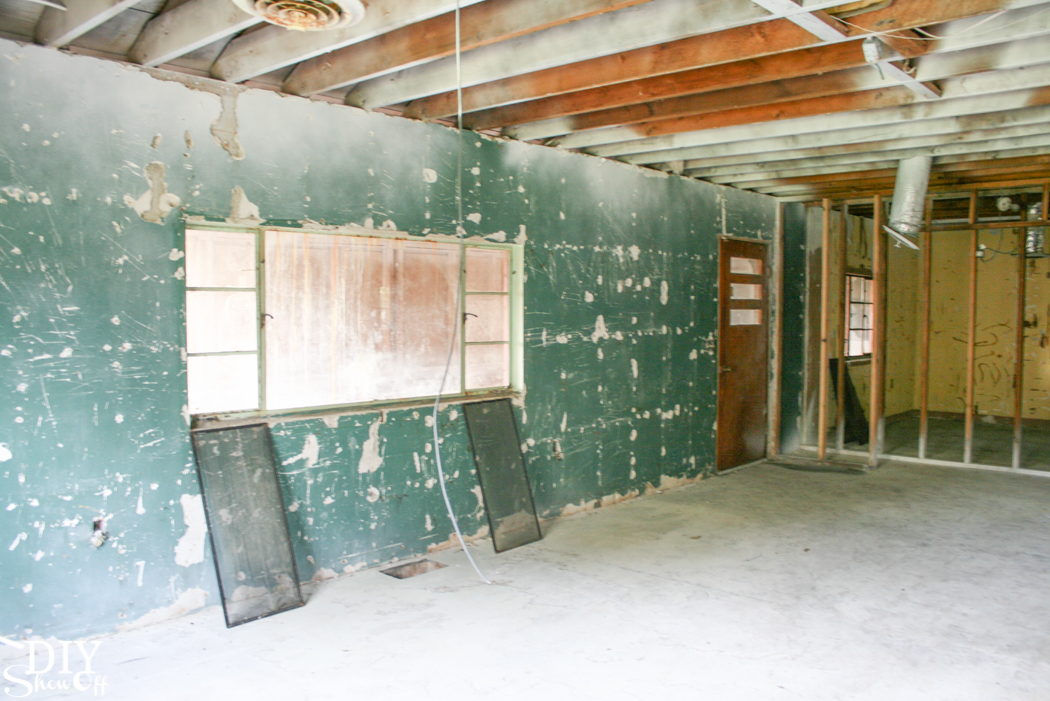
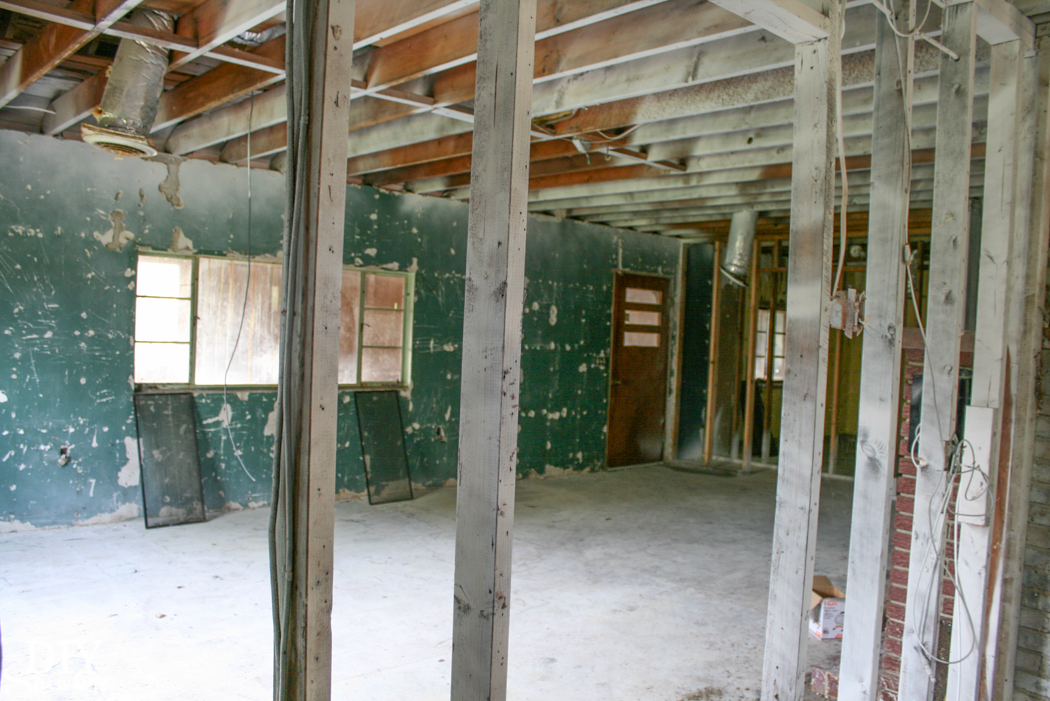
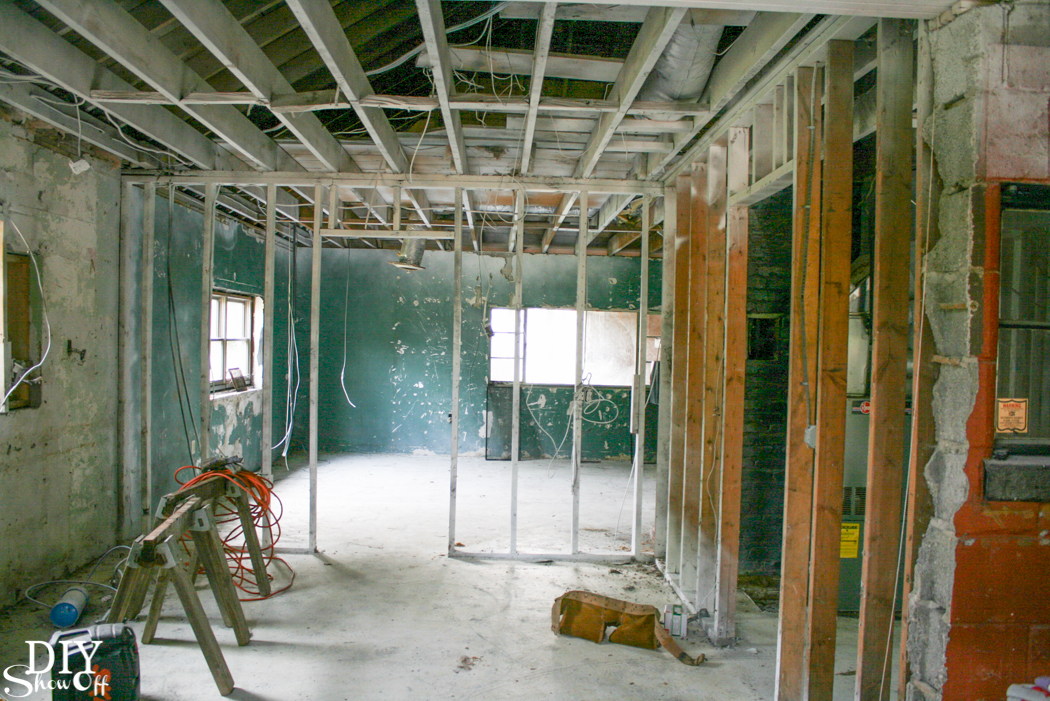
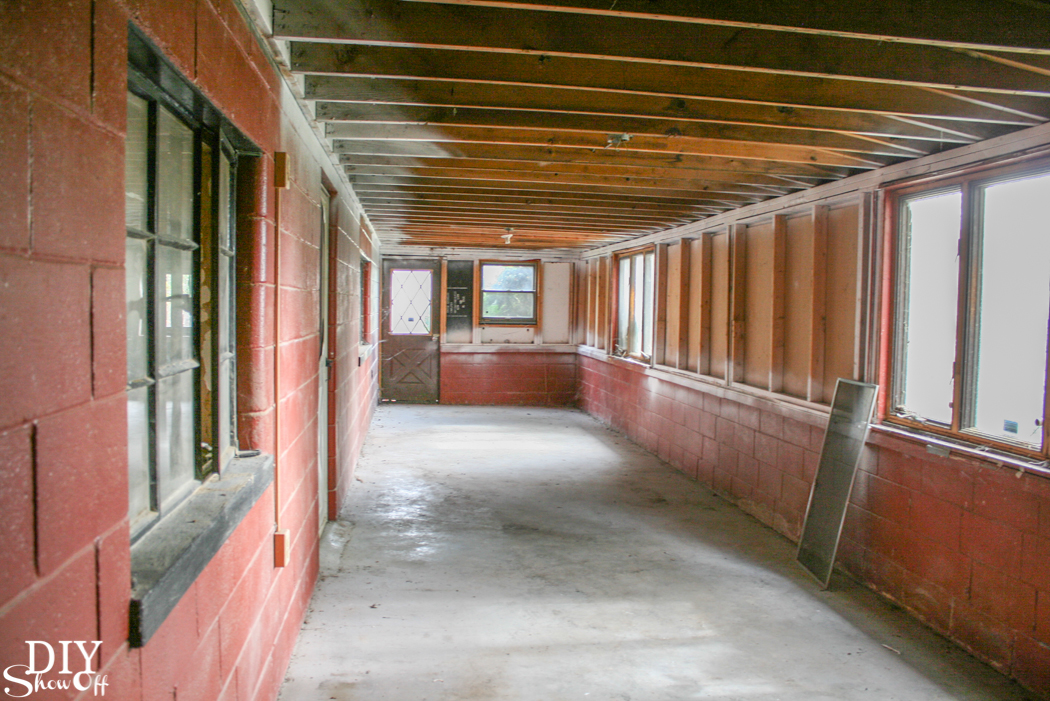
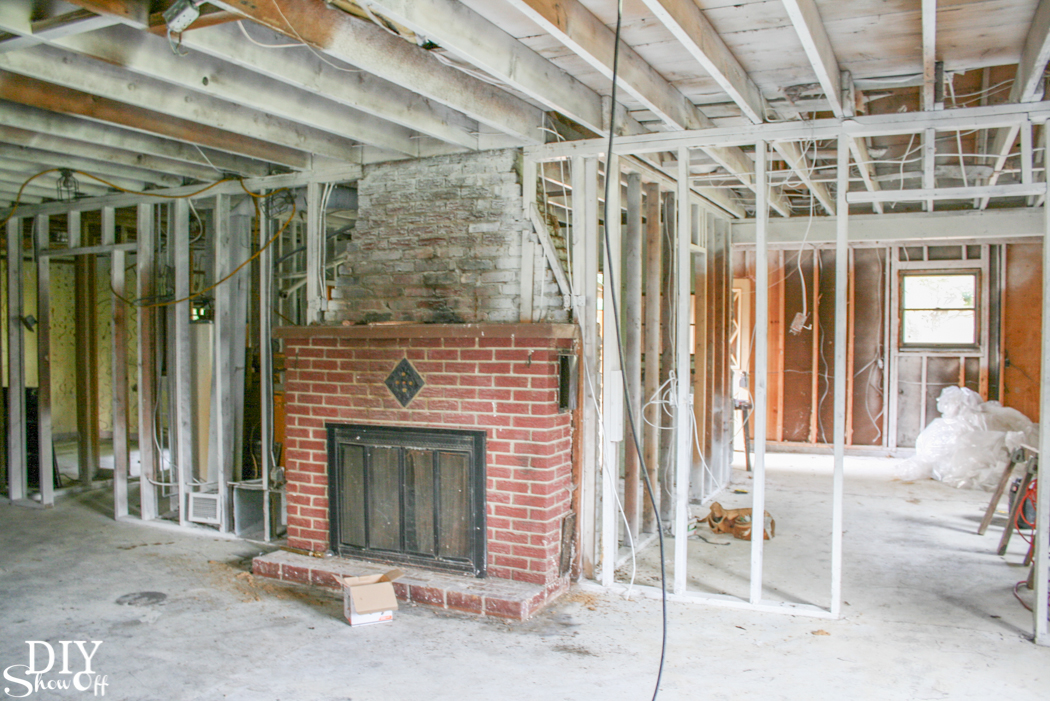
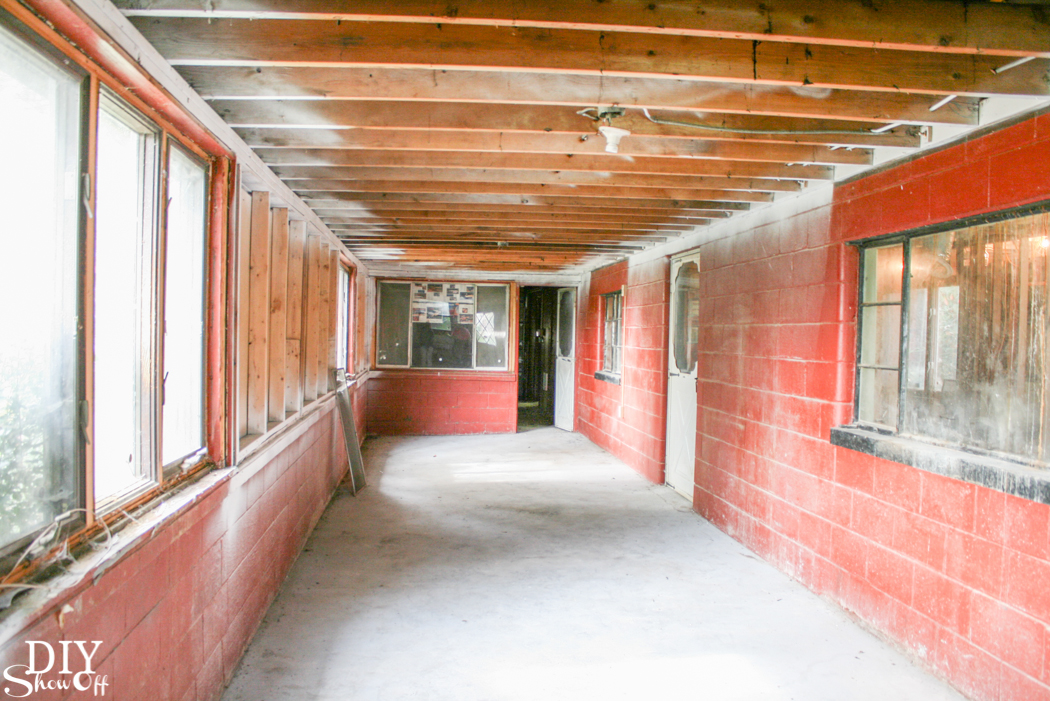
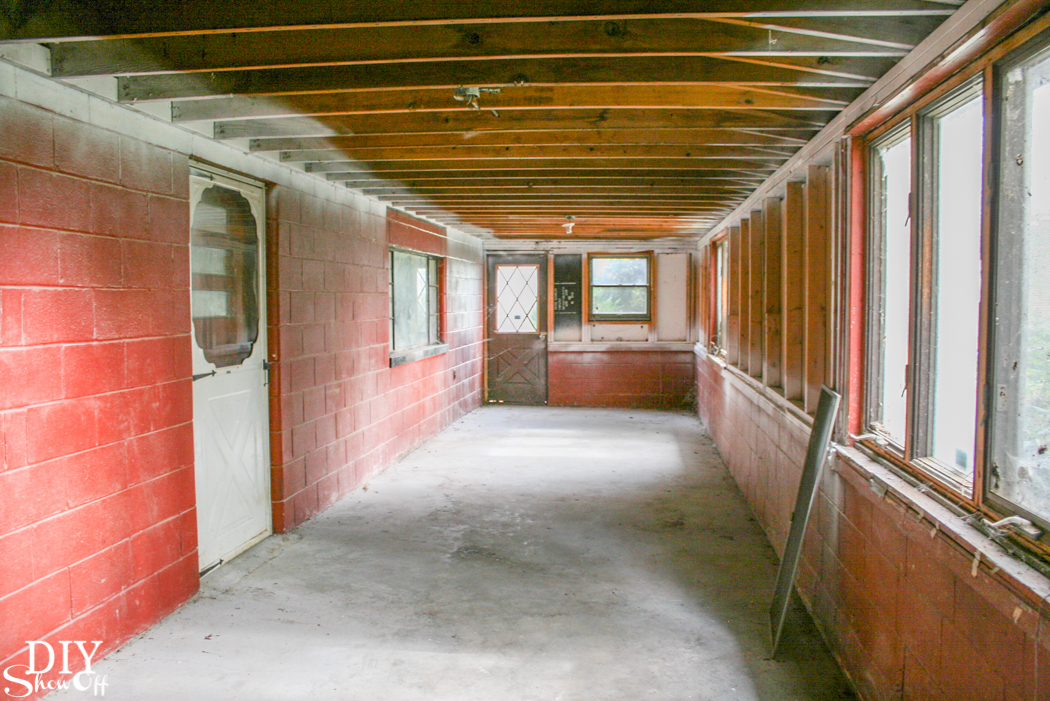
The living room before was narrow with a outside concrete wall separating what may have been a sun porch. See the green wall above? That’s the living room area and where it ends. See the red room below? That’s the sun porch(?) on the other side…
Before and after home improvement project - ceiling with a gorgeous faux beam @diyshowoff Before and after home improvement project - ceiling with a gorgeous faux beam @diyshowoff Before and after home improvement project - ceiling with a gorgeous faux beam @diyshowoff

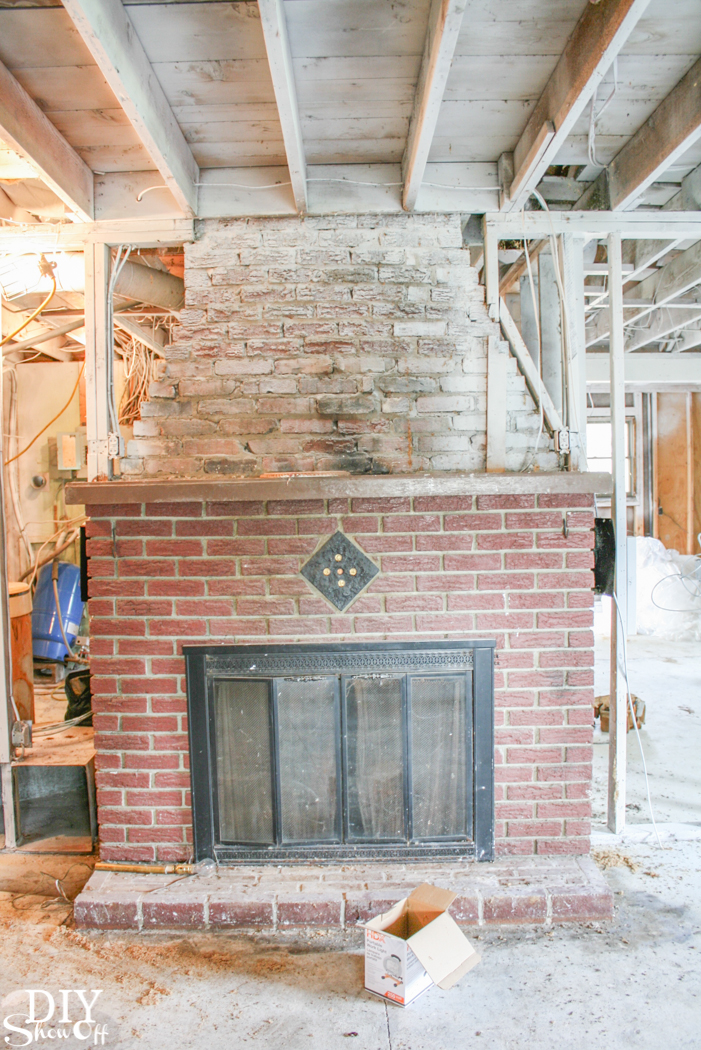
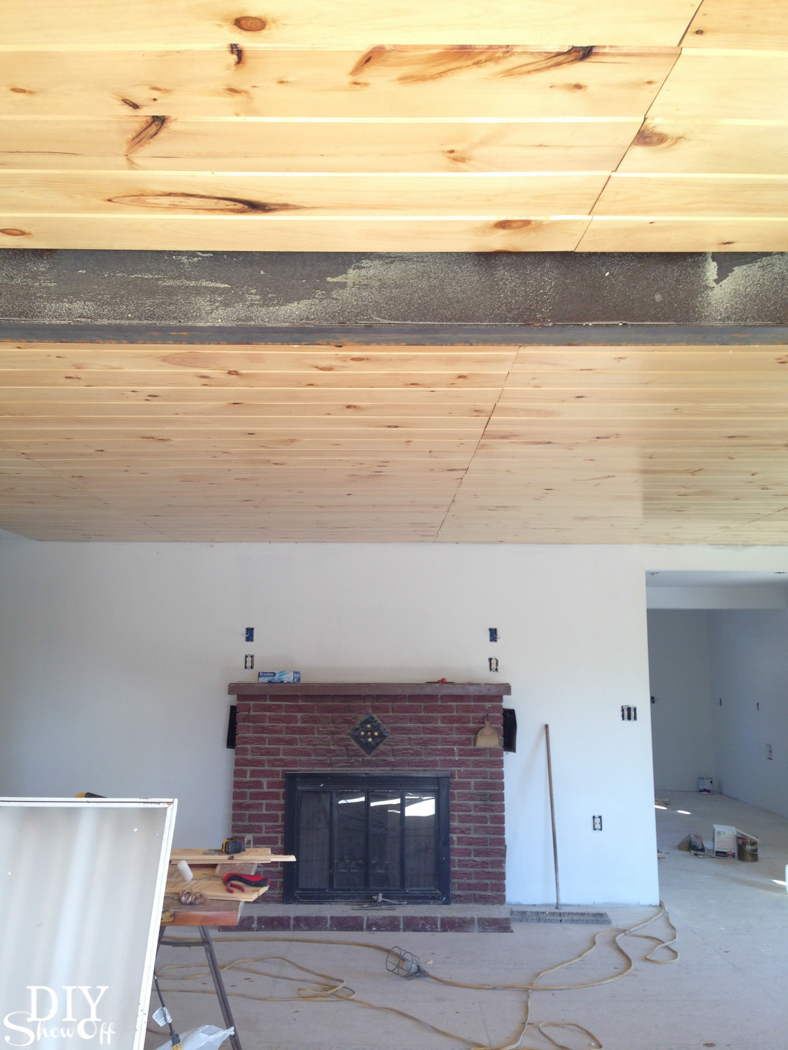
and the fireplace wall before…

Before and after home improvement project - ceiling with a gorgeous faux beam @diyshowoff Before and after home improvement project - ceiling with a gorgeous faux beam @diyshowoff

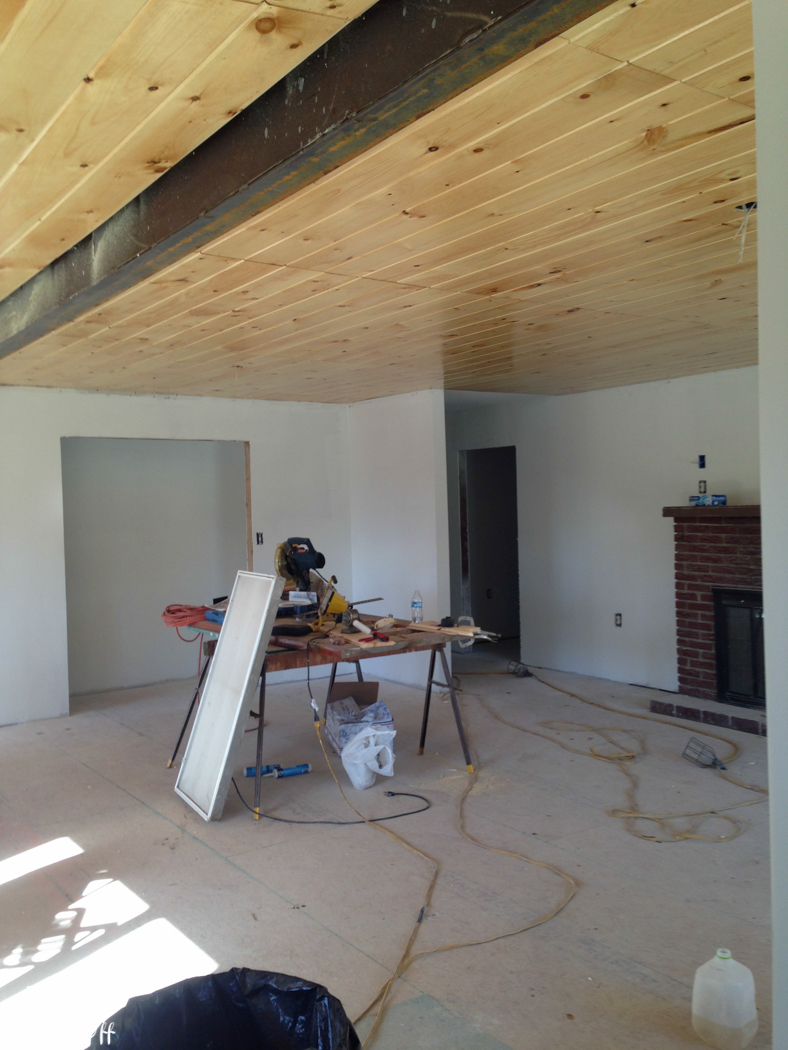
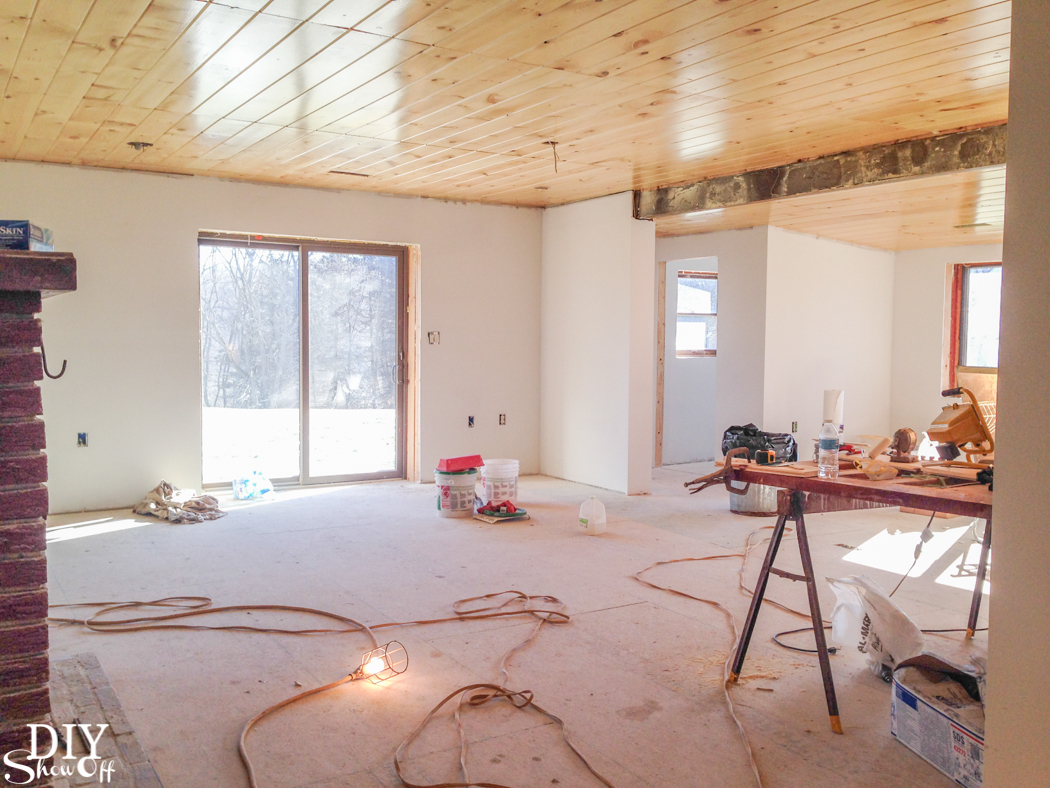
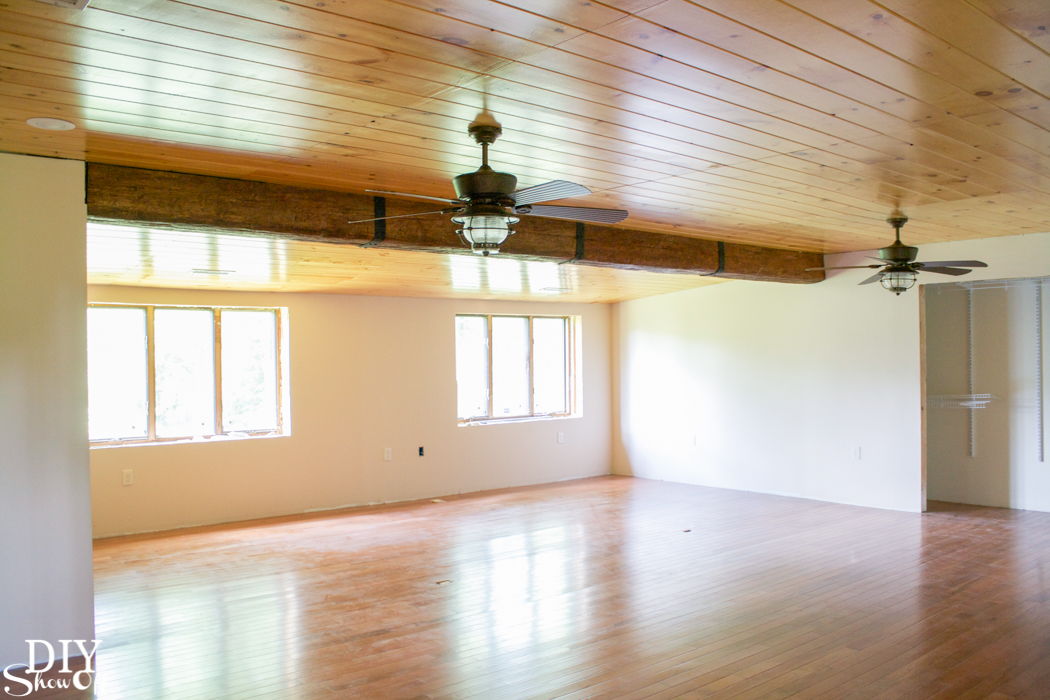
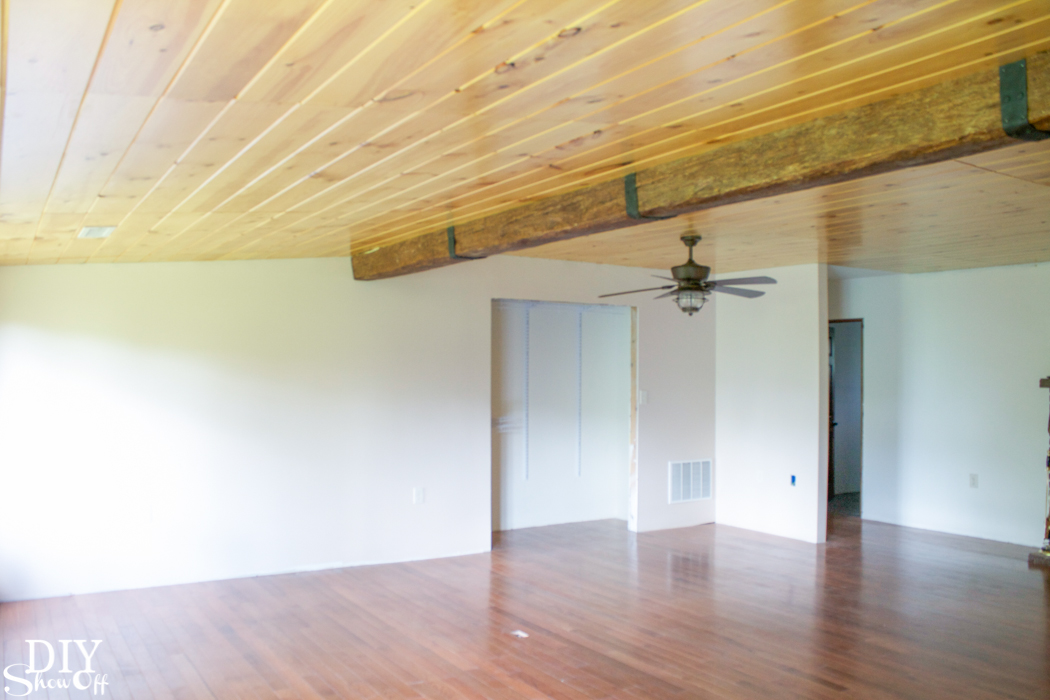
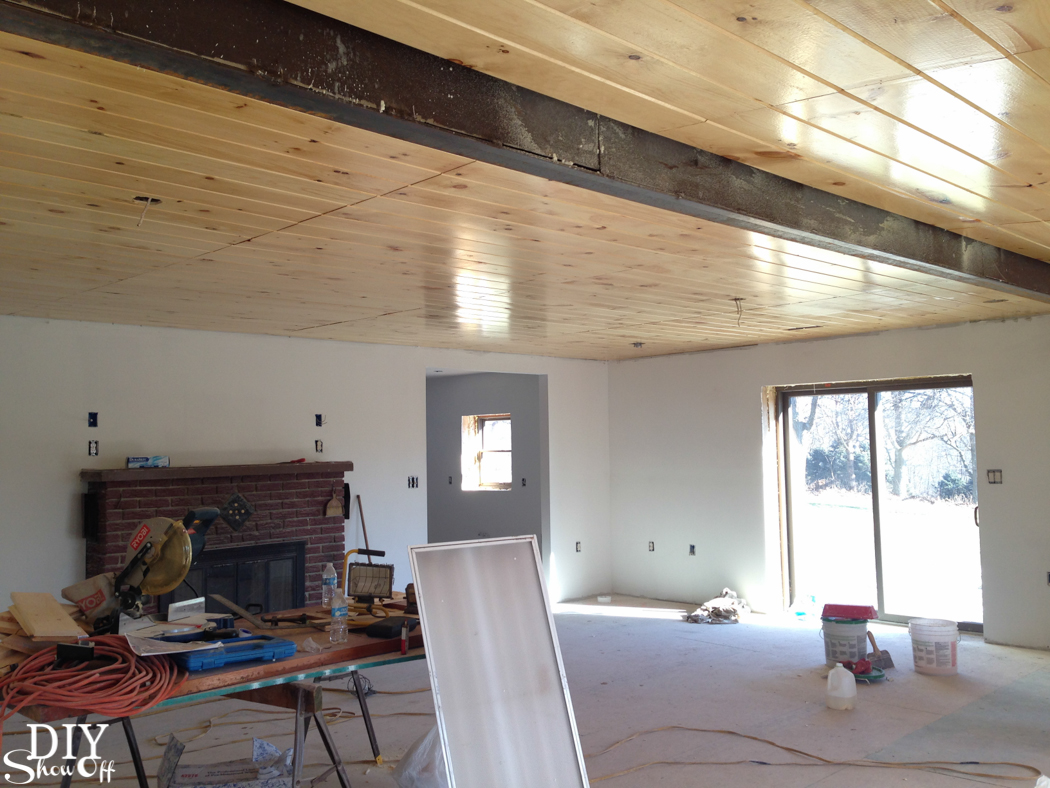
After…To make the living room space larger to accommodate our family gatherings, the concrete wall was removed. I love how the space is now flooded with light with the concrete wall gone, new drywall in place, a wood-planked ceiling in progress and the installation of sliding glass doors. 
Before and after home improvement project - ceiling with a gorgeous faux beam @diyshowoff Before and after home improvement project - ceiling with a gorgeous faux beam @diyshowoff Before and after home improvement project - ceiling with a gorgeous faux beam @diyshowoff Before and after home improvement project - ceiling with a gorgeous faux beam @diyshowoff

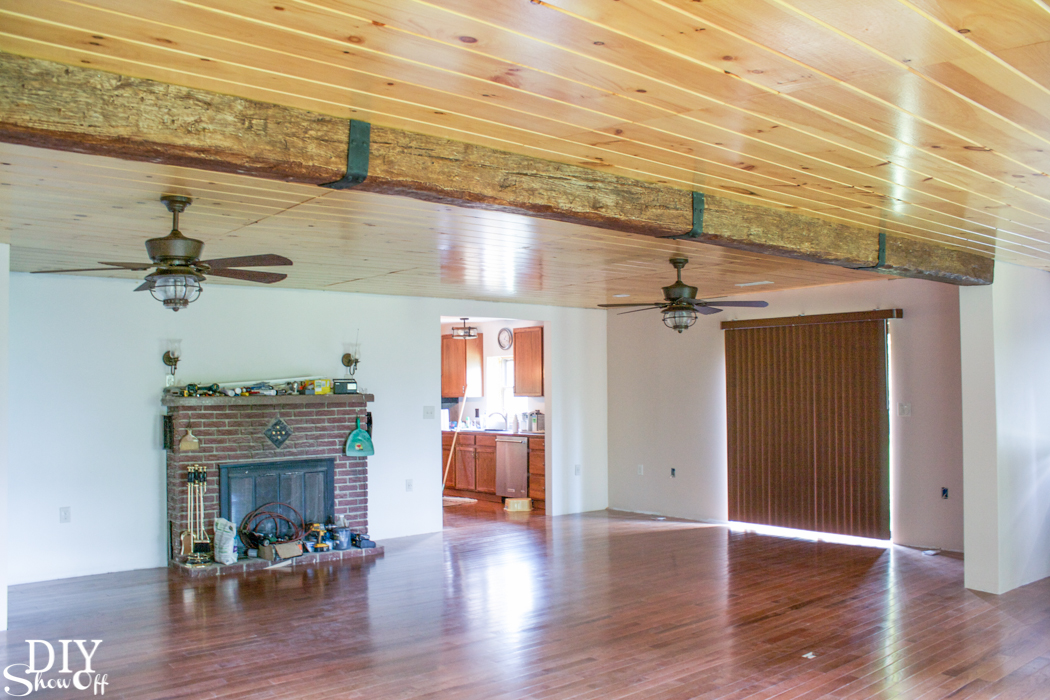
But now there’s an eye sore on the ceiling. There’s no missing that big steel beam in the photos above.

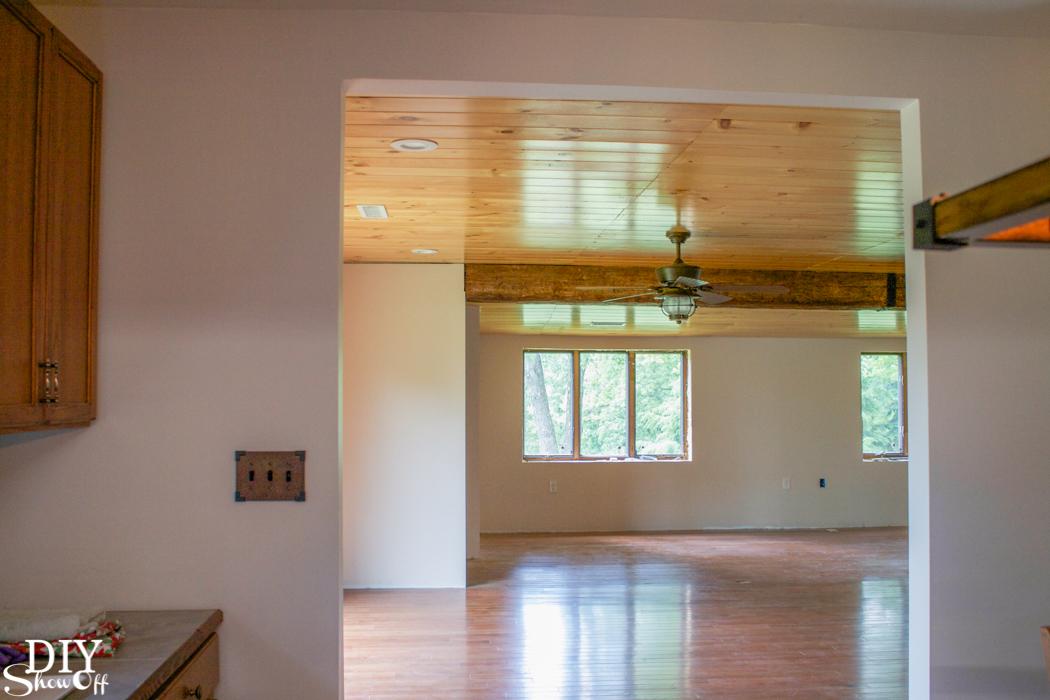
And now there’s not…WOW!
Before and after home improvement project - ceiling with a gorgeous faux beam @diyshowoff Before and after home improvement project - ceiling with a gorgeous faux beam @diyshowoff Before and after home improvement project - ceiling with a gorgeous faux beam @diyshowoff Before and after home improvement project - ceiling with a gorgeous faux beam @diyshowoff

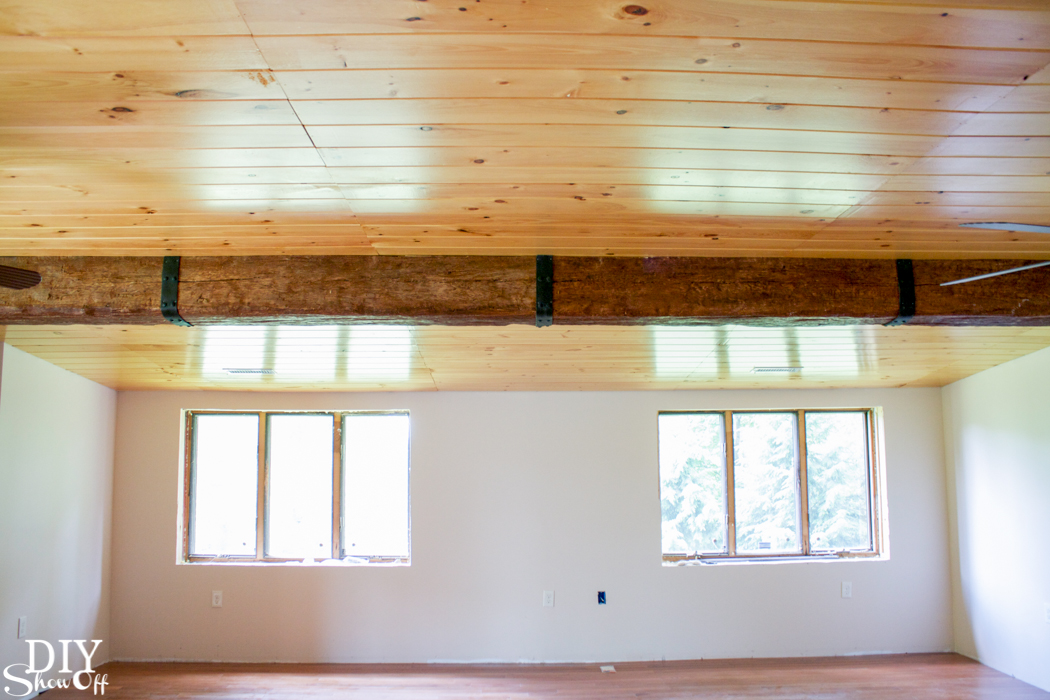
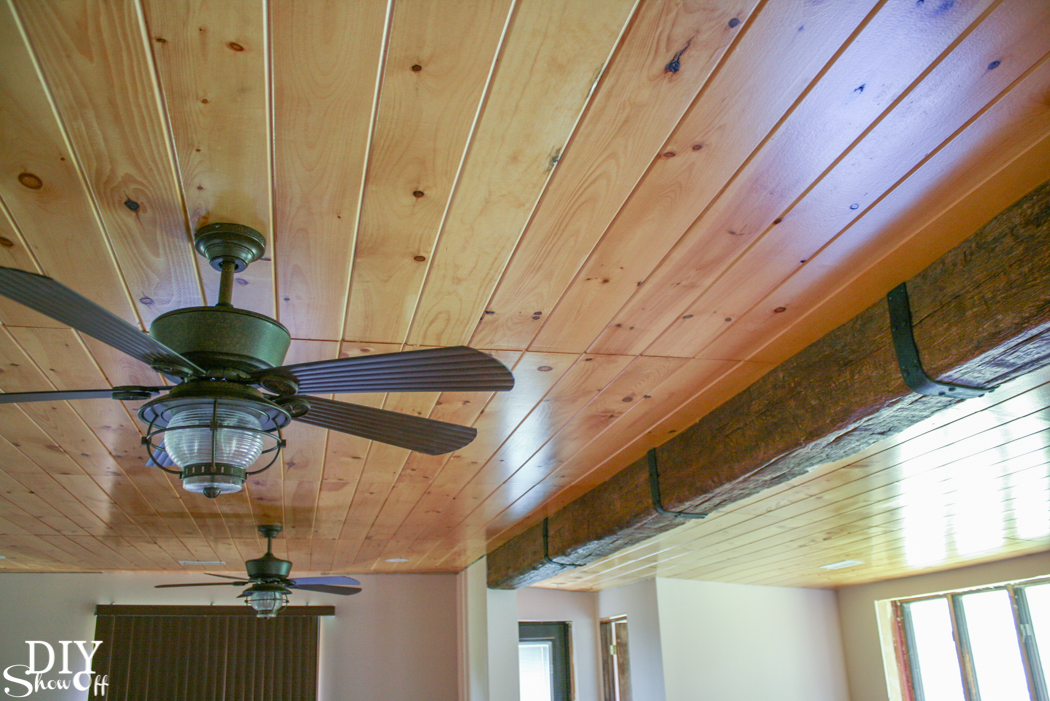
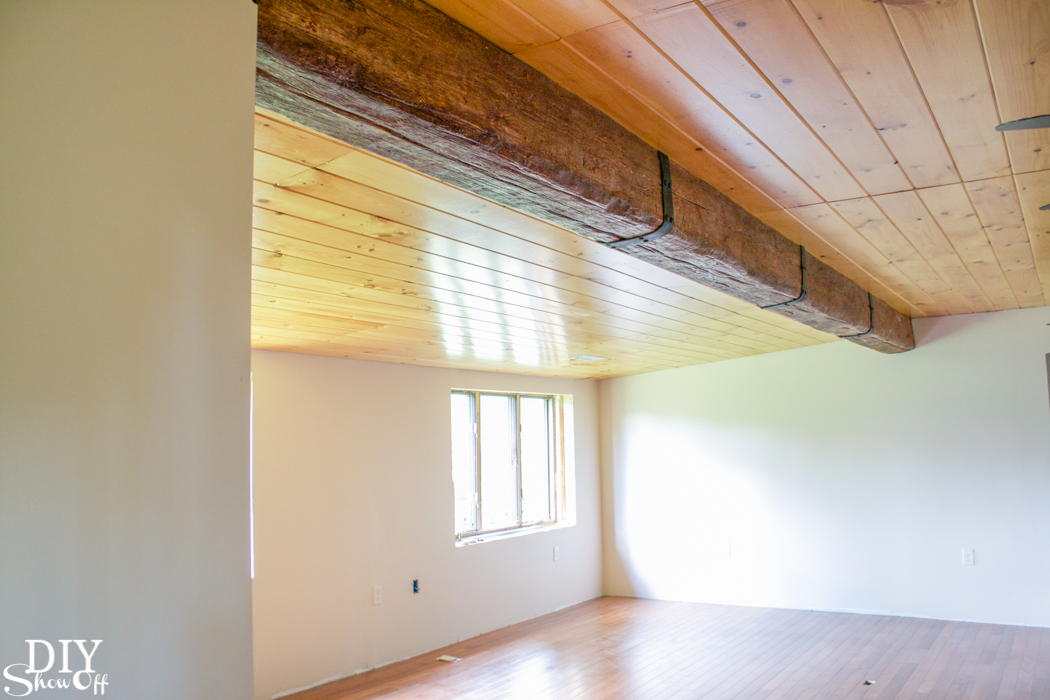
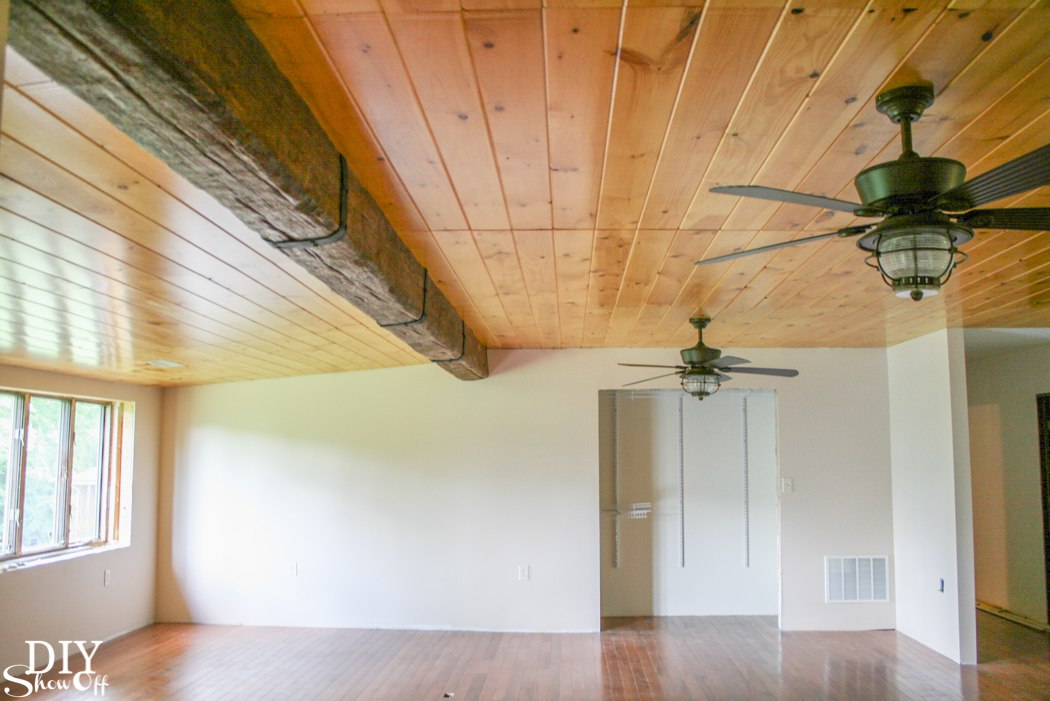
…it’s a gorgeous rustic wood beam with iron accents. Right? 
Before and after home improvement project - ceiling with a gorgeous faux beam @diyshowoff Before and after home improvement project - ceiling with a gorgeous faux beam @diyshowoff Before and after home improvement project - ceiling with a gorgeous faux beam @diyshowoff Before and after home improvement project - ceiling with a gorgeous faux beam @diyshowoff Before and after home improvement project - ceiling with a gorgeous faux beam @diyshowoff Before and after home improvement project - ceiling with a gorgeous faux beam @diyshowoff Before and after home improvement project - ceiling with a gorgeous faux beam @diyshowoff Before and after home improvement project - ceiling with a gorgeous faux beam @diyshowoff Before and after home improvement project - ceiling with a gorgeous faux beam @diyshowoff

That’d be quite labor intensive not to mention expensive. Want to know a secret?

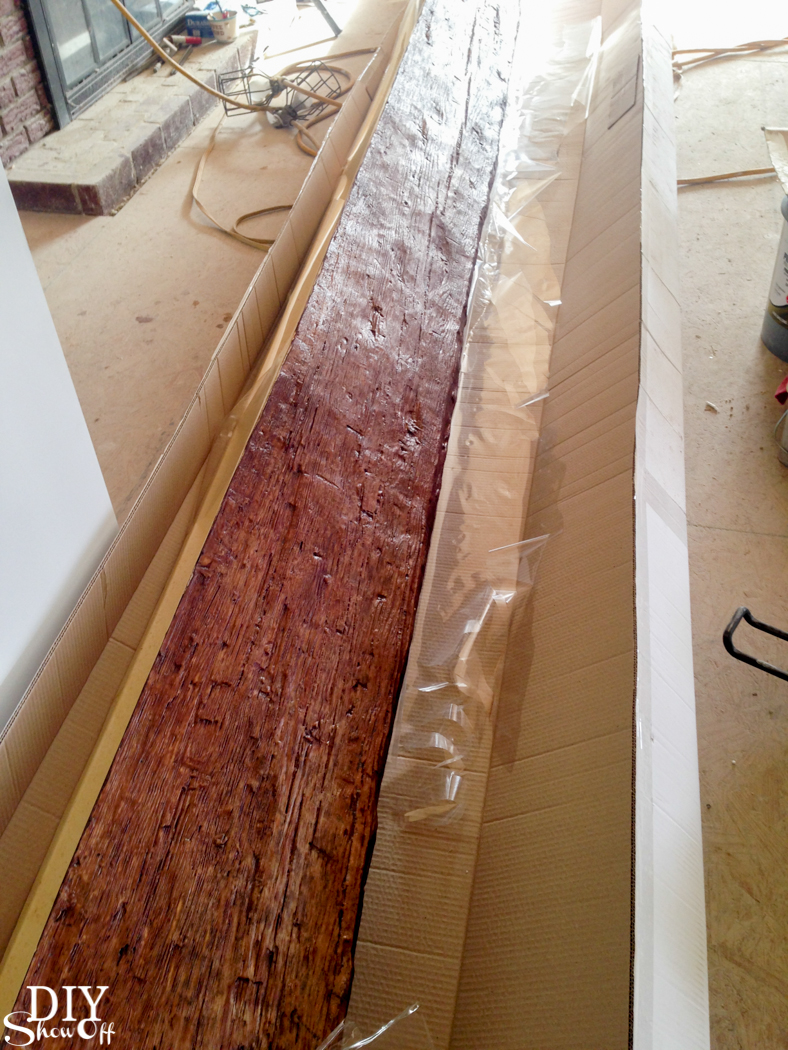
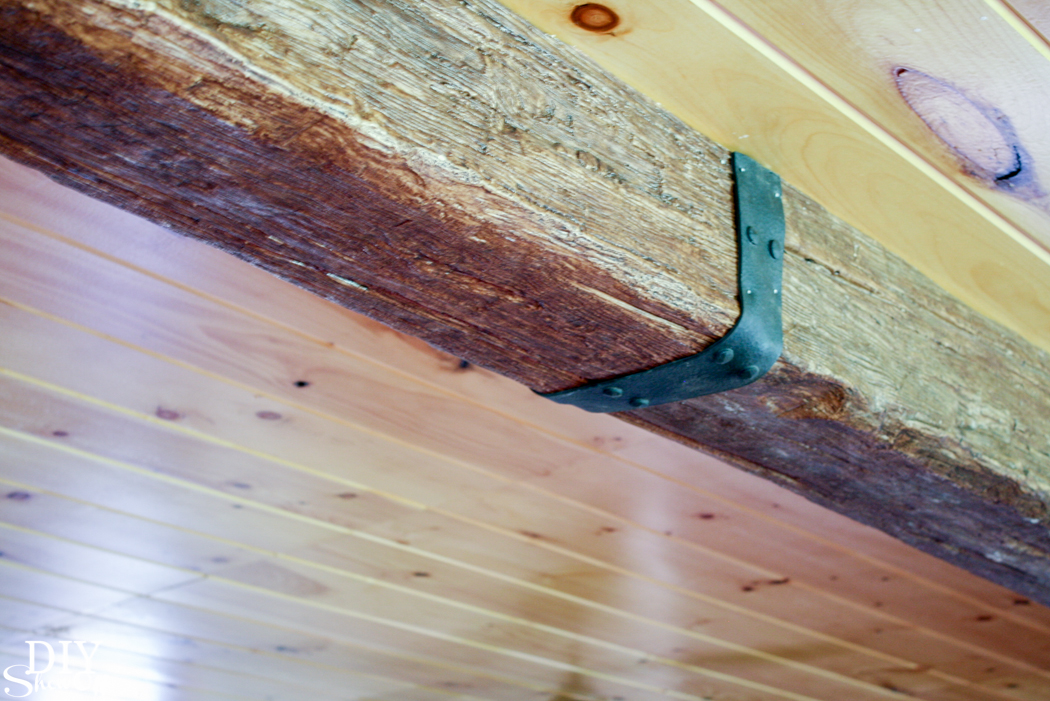
We received this amazing product from AZ Faux Beams. It’s a faux beam! “Old Timber” in ‘walnut’ to be exact. It’s lightweight and fake but looks SO real! And it’s stunning! 
Before and after home improvement project - ceiling with a gorgeous faux beam @diyshowoff

What it is: A hollow lightweight resin with a rustic wood look! What?! No way! Yes. It really is! 
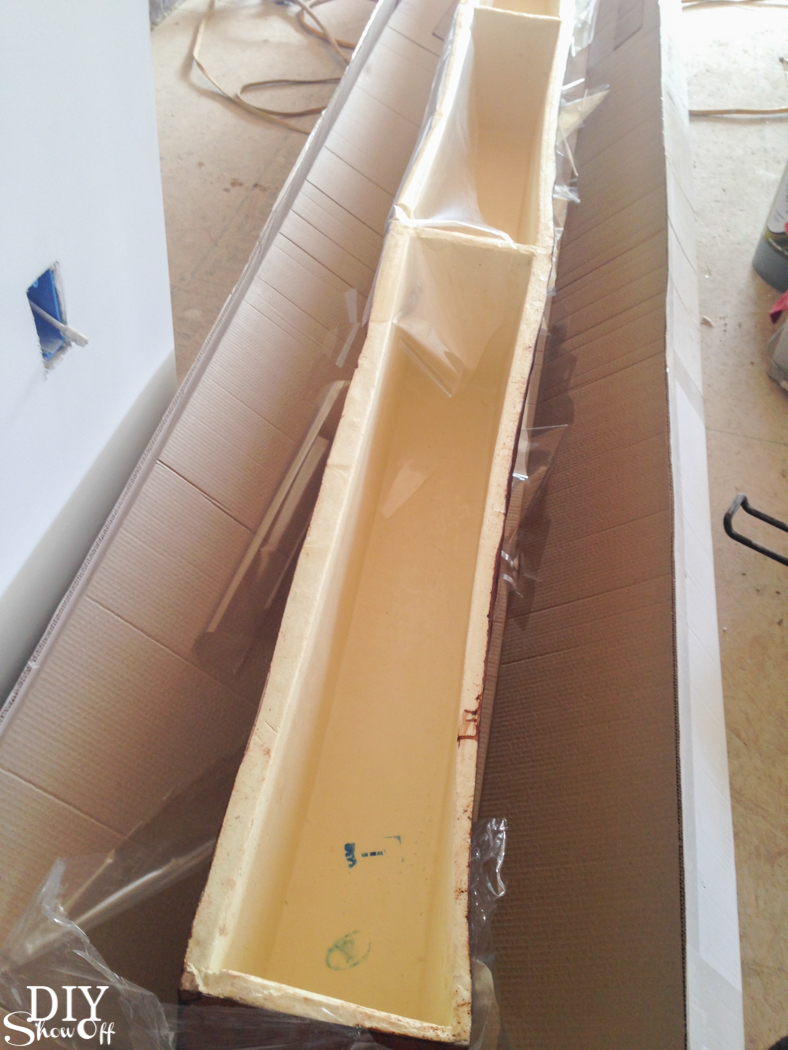
Before and after home improvement project - ceiling with a gorgeous faux beam @diyshowoff Before and after home improvement project - ceiling with a gorgeous faux beam @diyshowoff

What we did. And by we, I mean my mom and I did the measurements, design/color selection and ordering. Butch and my brother Christopher did the manual labor involved with installation. Oh, we supervised too. 

  1. Measurements. 
  2. Order.
  3. Cut to size, shave inside down if needed.
  4. Install.
  5. Secure.
  6. Caulk and add decorative trim. 

Isn’t it gorgeous? It draws your eye to their pretty planked ceiling and compliments the beautiful rustic ceiling fans. Check out AZ Faux Beams to see all of the options! Let’s take a look at repeat before and after shots: 

“Before” (two spaces separated by a concrete wall)
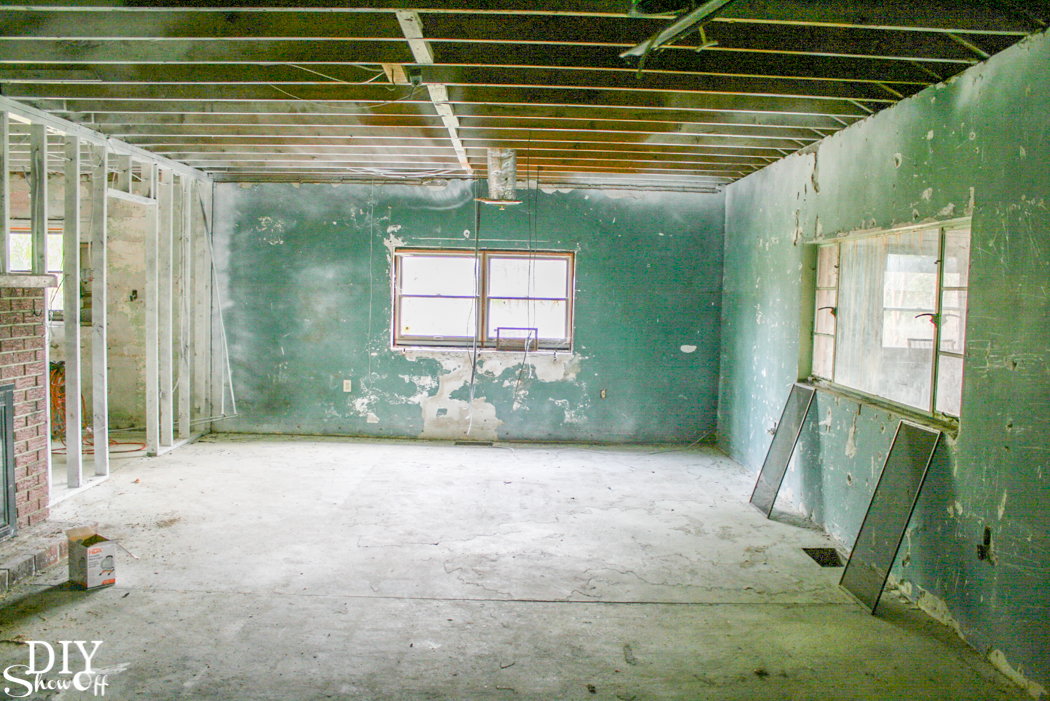
Before and after home improvement project - ceiling with a gorgeous faux beam @diyshowoff Before and after home improvement project - ceiling with a gorgeous faux beam @diyshowoff

Same angle “After” (wall is gone and there is an addition of a half bathroom on the right…for guests and quick access once the swimming pool is installed outside those sliding glass doors).
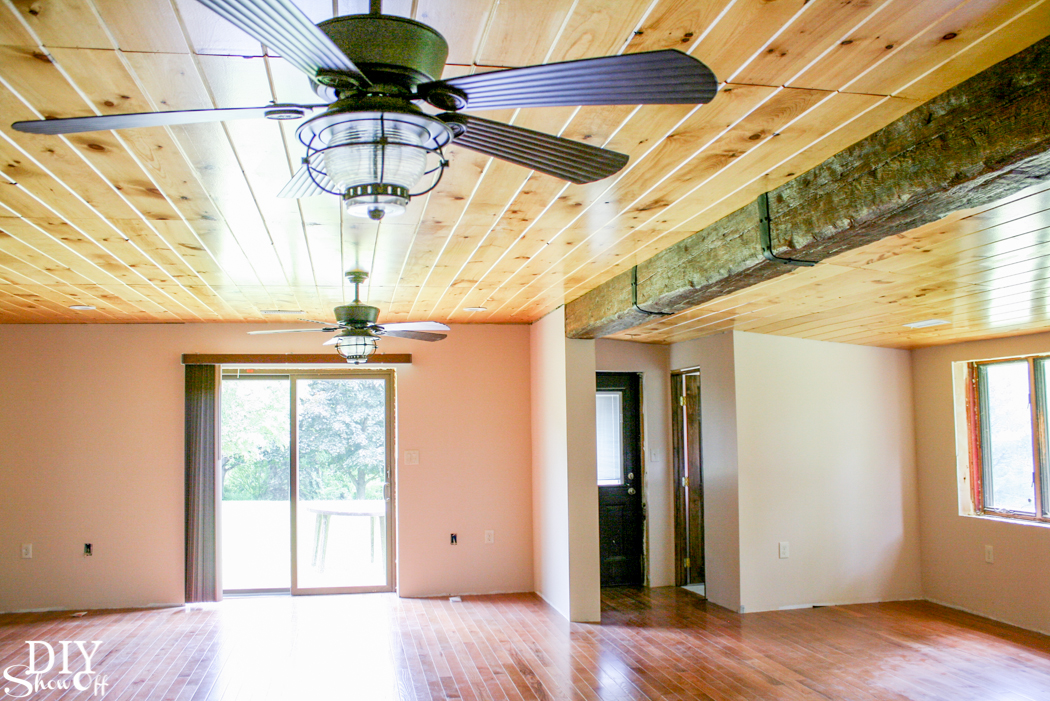
Before and after home improvement project - ceiling with a gorgeous faux beam @diyshowoff

before…

Before and after home improvement project - ceiling with a gorgeous faux beam @diyshowoff

after (wall removed)

Before and after home improvement project - ceiling with a gorgeous faux beam @diyshowoff

 before…looking from the kitchen

Before and after home improvement project - ceiling with a gorgeous faux beam @diyshowoff

after, standing in that  widened doorway

Before and after home improvement project - ceiling with a gorgeous faux beam @diyshowoff

Crazy transformation, right? I promise it’s the same space! The story continues! 

Next up: Moving in is right around the corner. I can’t wait to show you the complete before and afters of the entire house from gut to renovation to reveal. 


What do to with angled closet floor space?

This may be specific to our home and isn’t all that common. It’s the first house I’ve ever lived in with a closet with no floor. So in the event that you happen to have this annoying waste of space in your closet too, I’m sharing  easy this idea for creating an organized space for wrapping paper storage. Finally…a purpose! 

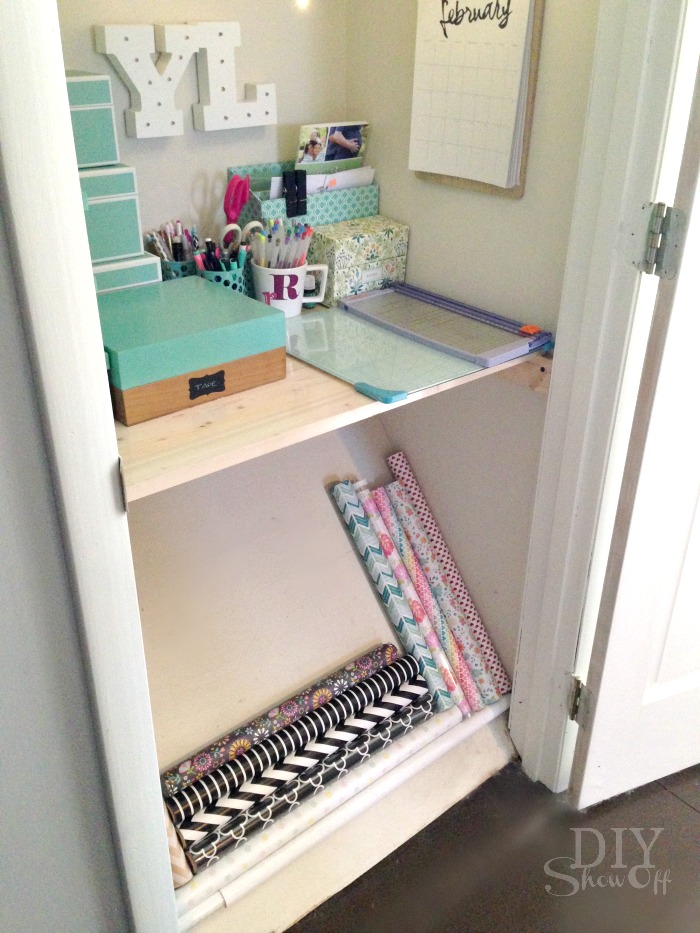
Organization Idea: wrapping paper storage utilizing angled closet floor space!

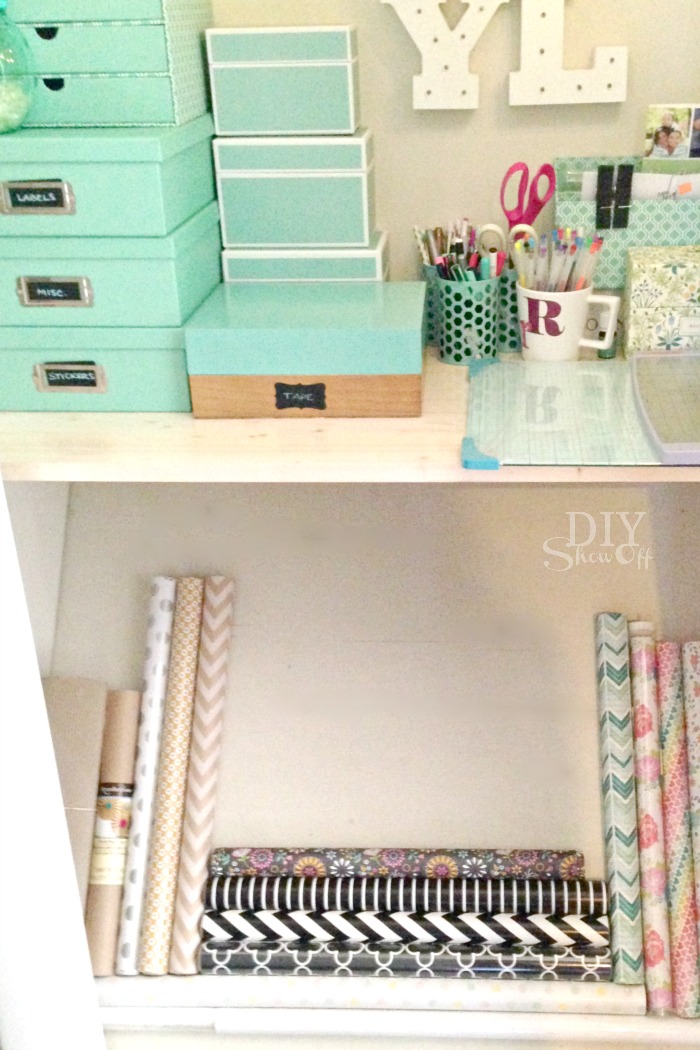
It’s in one of our guest rooms. See the closet turned craft space here. I love that it’s handy and organized. I love that my rolls of wrapping paper aren’t crinkled and torn or scattered around the house forgotten. 

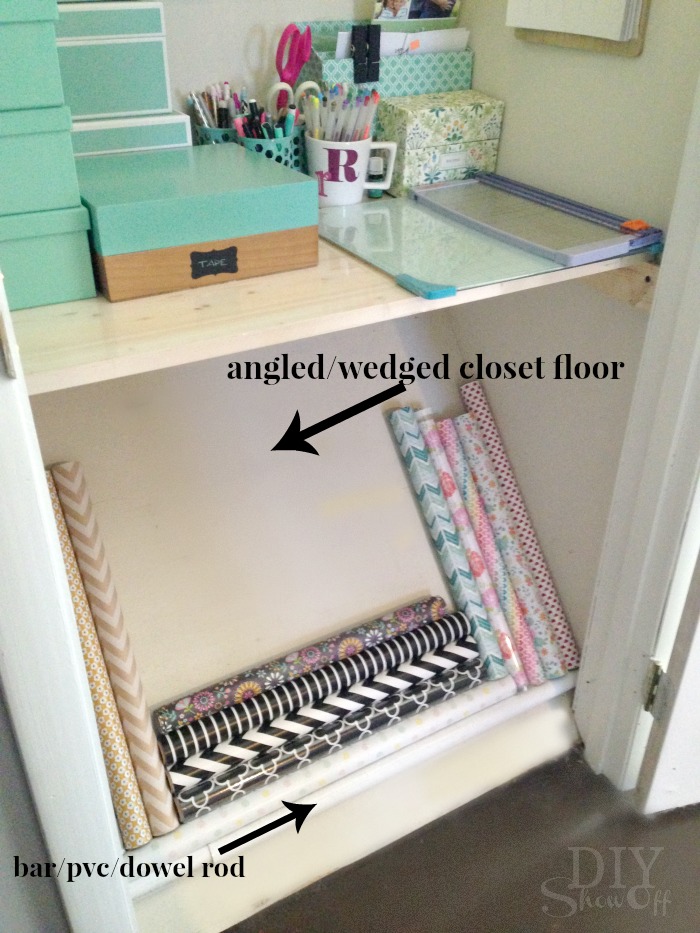
I removed the rod for hanging clothes and added shelves for storage earlier this year but the angled floor from the staircase to the basement below is annoying. Here’s what I did: 

Organization Idea: wrapping paper storage utilizing angled closet floor space!

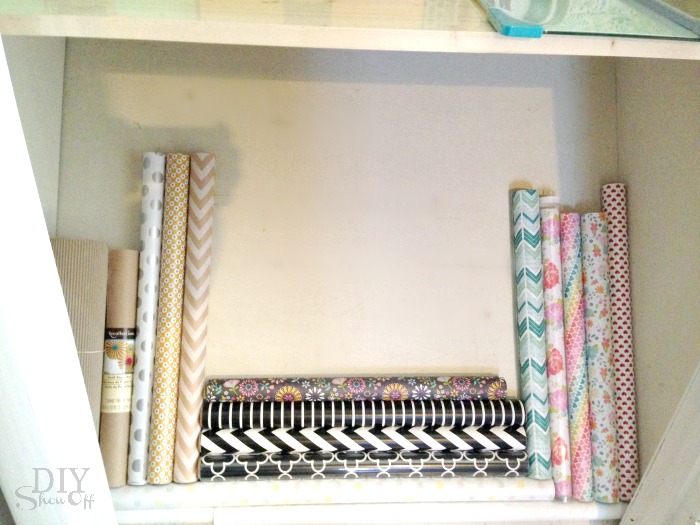
I placed the rod I removed below. It’s just sitting there to support my rolls of wrapping paper. Brilliant, right? No rod? How about a piece of scrap wood? PVC pipe? A broken broom handle? And actually, I don’t really even need a support since the door frame could hold in my rolls of wrapping paper. 

Organization Idea: wrapping paper storage utilizing angled closet floor space! Organization Idea: wrapping paper storage utilizing angled closet floor space! Organization Idea: wrapping paper storage utilizing angled closet floor space!

Okay, so not saving the world or anything but it is a happy little space-saving idea! Am I the only one with this sort of closet floor or does your home possess the same awkward space? 

Personalized Magnetic Artwork Display


The Michaels’ Makers’ February challenge has an “express yourself” theme with a campaign called Made by Me, A to Z and it’s all about personalization, showcasing projects that take raw materials and transform them into something that’s completely personalized. The new Make Market line includes materials  from galvanized metal to distressed wood, acrylic, fabric and chalkboard! Something for everyone … or even everything for someone. There’s so crafting goodness to choose from, it’s hard to decide!

personalization challenge #michaelsmakers 


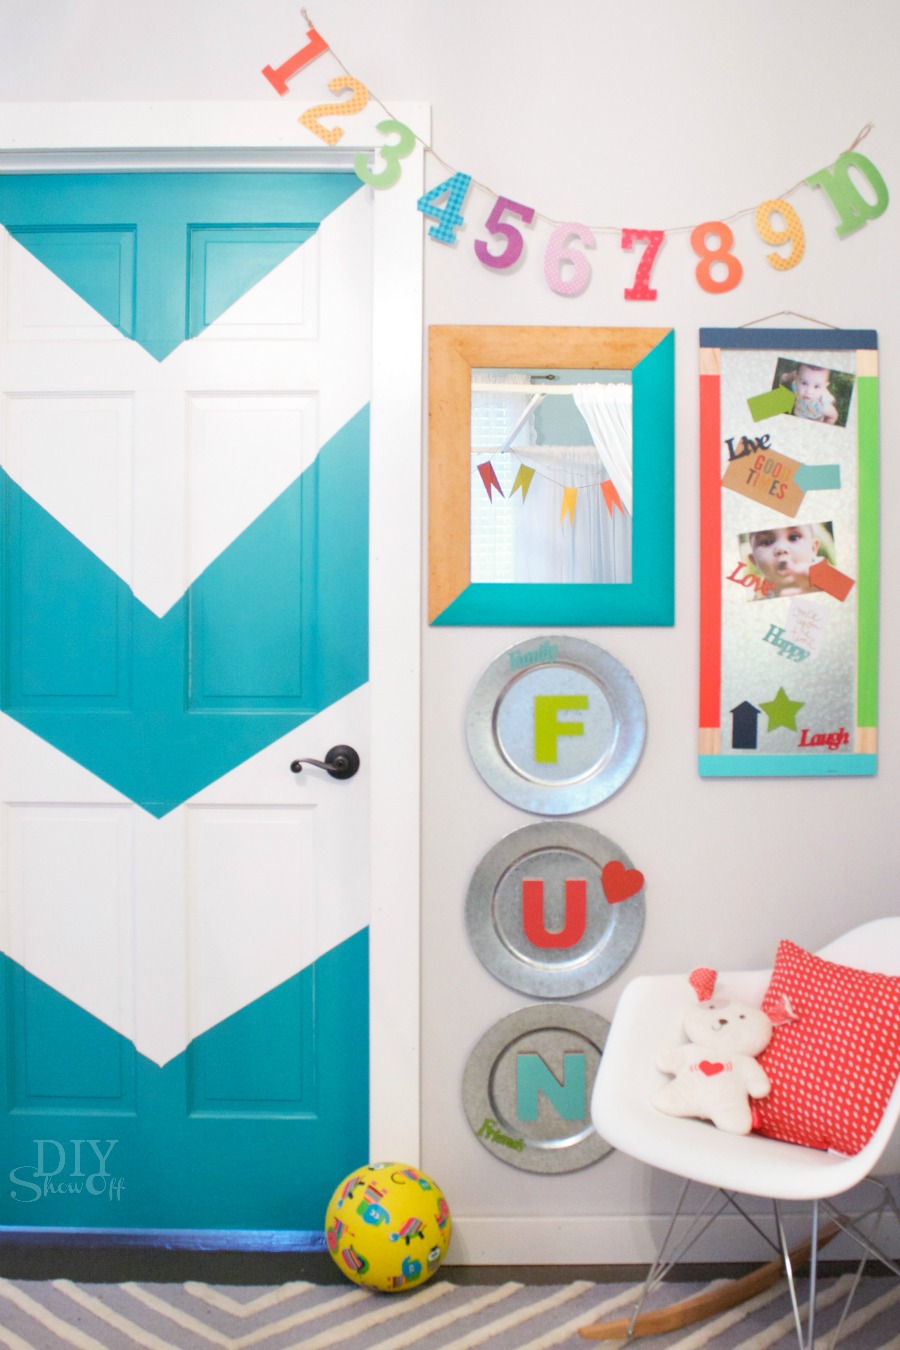
I treasure little one’s creations, artwork and photos so I decided to personalize a space in the nursery for displaying his art work and photos. 

magnetic art display #michaelsmakers @diyshowoff

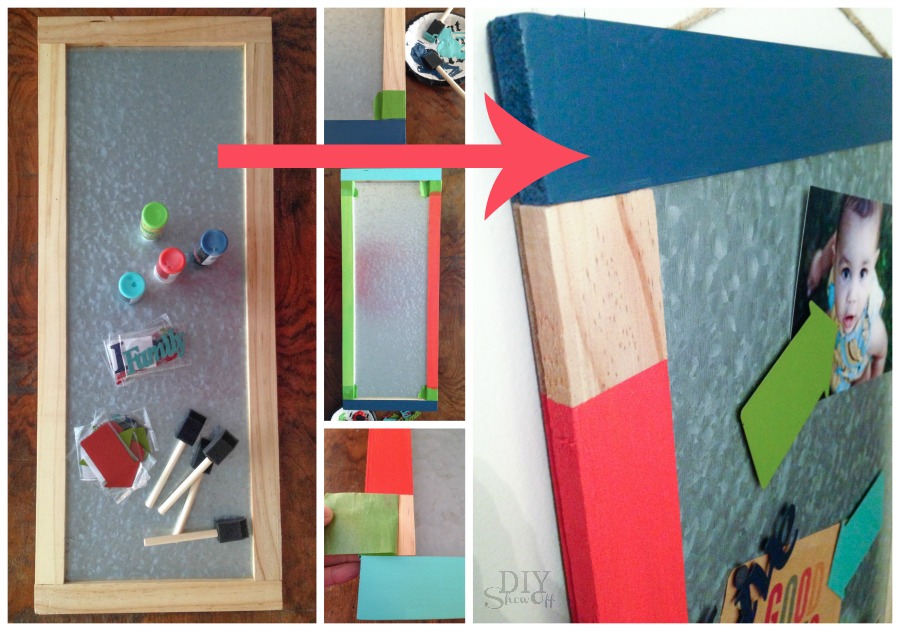
Here’s what I snagged from the Alphabet Soup collection in the Make Market aisle at Michaels:

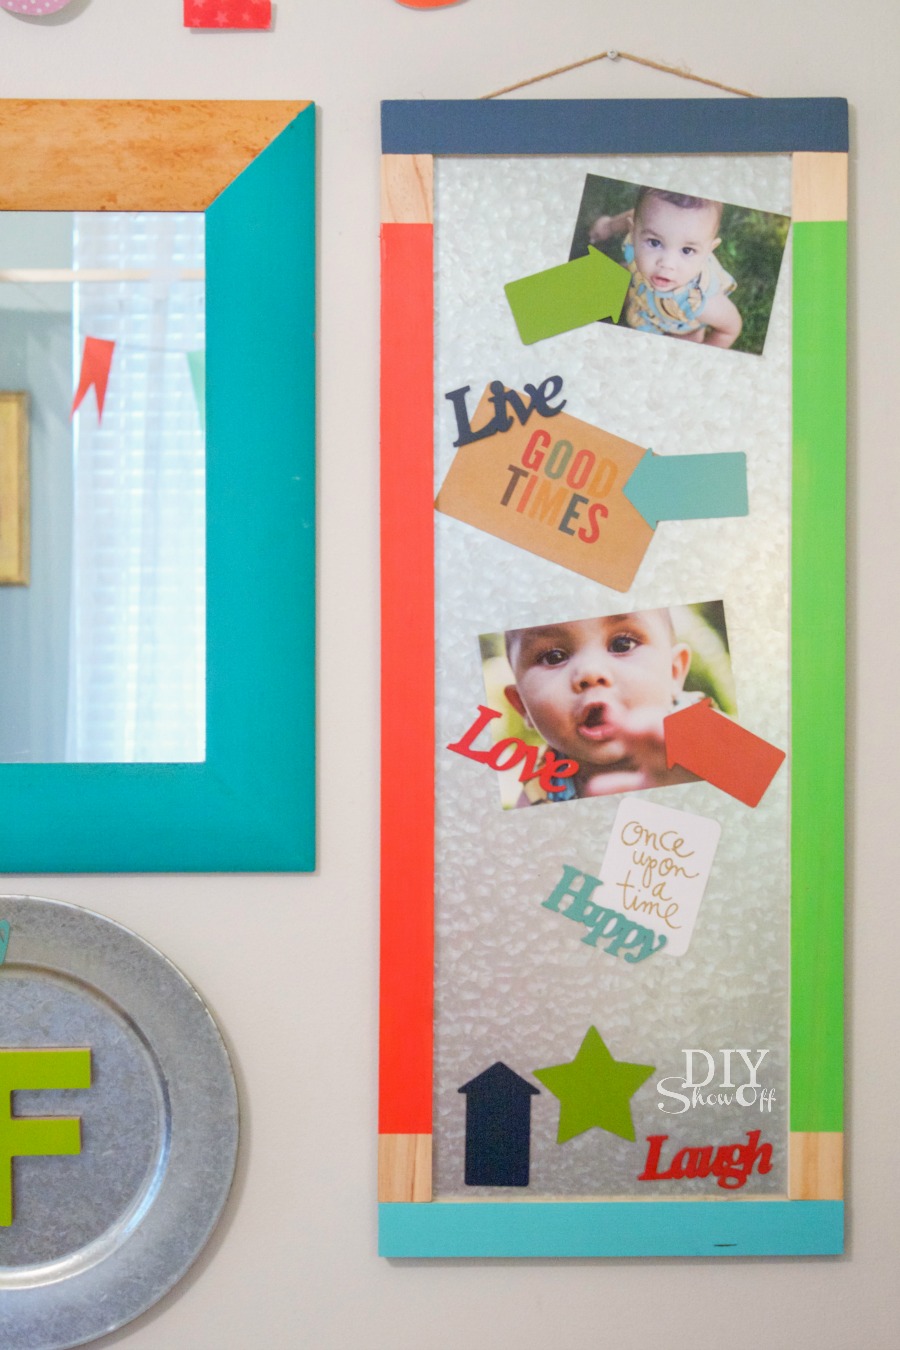
I personalized a galvanized magnetic memo board with vibrant paint colors to match the nursery decor…

magnetic art display #michaelsmakers @diyshowoff

the magnets are so cute!

magnetic art display #michaelsmakers @diyshowoff

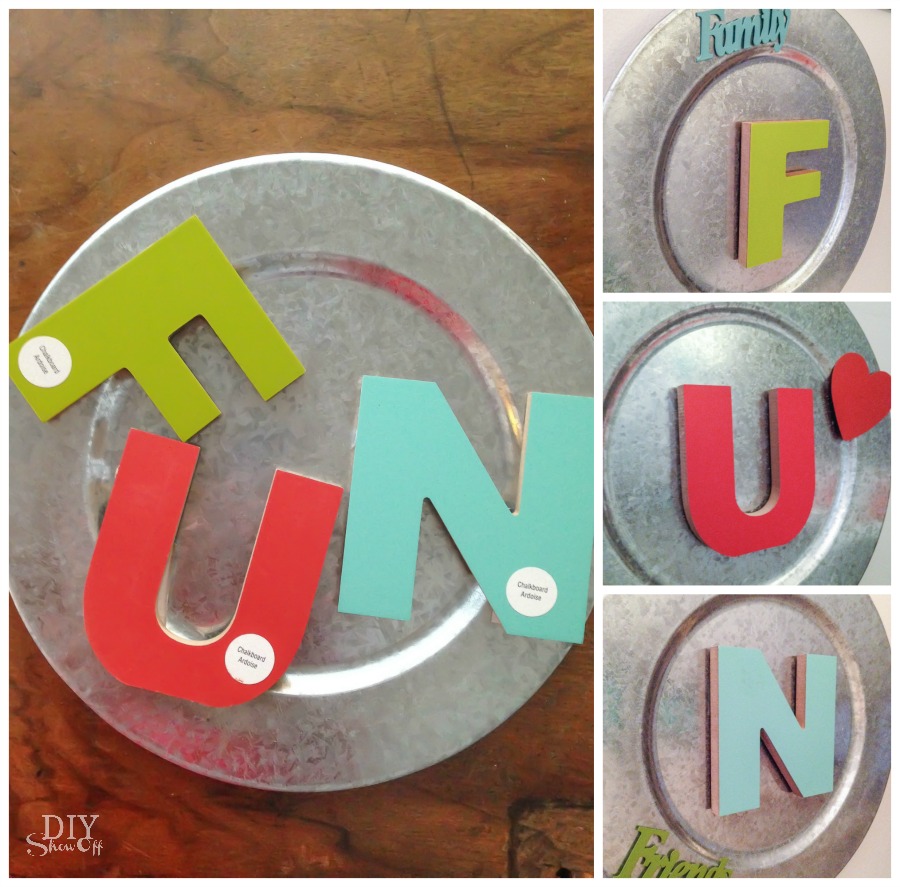
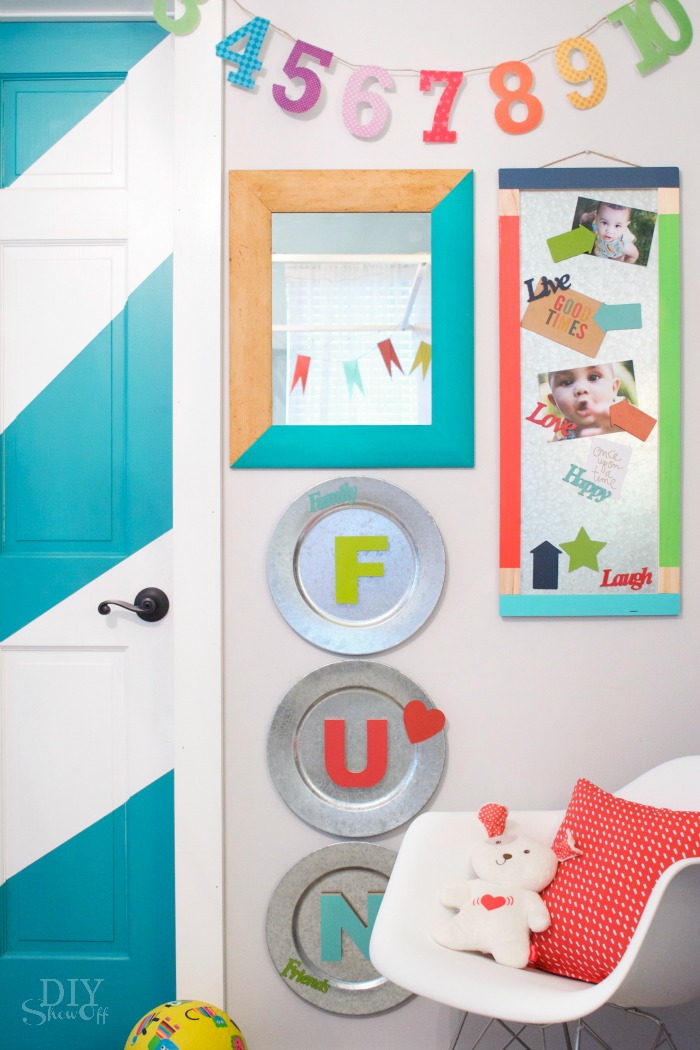
And added magnets to the back of F-U-N chalkboard letters for displaying on galvanized chargers/plates. These will work for magnetic play time in the future too. 

magnetic art display #michaelsmakers @diyshowoff

Cute, colorful, personal and custom to our nursery (future playroom)…

magnetic art display #michaelsmakers @diyshowoff

  • My favorite part about crafting is putting a personalized spin on a project. Whether it’s decorating with marquee lights or crafting an initial that represents your family name, Michaels has made it easy with their new Alphabet Soup by Make Market™ line of products. SO MANY DIFFERENT LETTERS! 
  • This collection of surfaces, letters, frames and more come in modern, eclectic or rustic styles. From natural and finished woods, to a variety of metals, resin and patterned styles, the possibilities are endless.
  • If you don’t know where to begin, you can always take a look at some of the fun projects on Michaels.com or the other 49 Makers’ ideas on The Glue String for to see how they personalized their crafts! Visit these fun projects for more inspiration (starting today at 11 a.m. EST): 
 Loading InLinkz ...