Decorating dilemma. Advice appreciated!

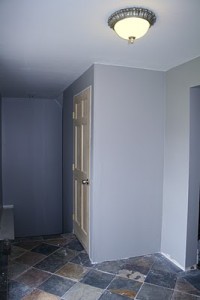
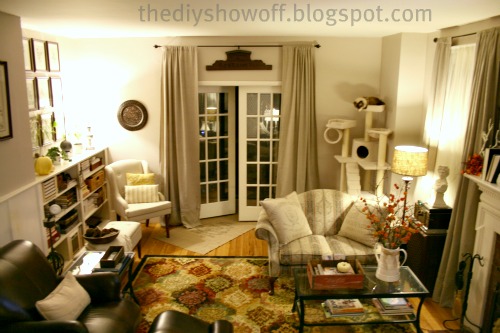
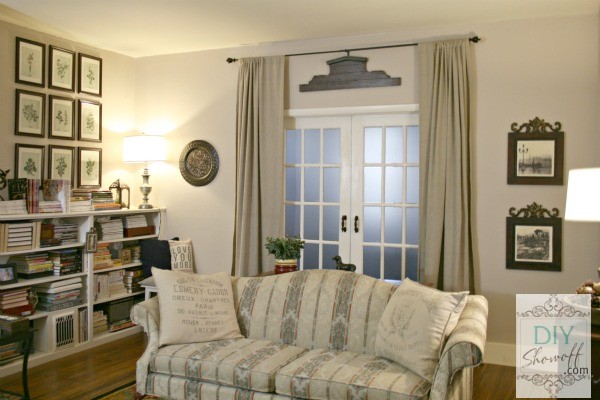
I’m having a bit of a DIY dilemma, a DIY moment if you will. I need your help and advice. History of this odd little room: I know I just shared a sitting room makeover with you. I painted the walls then decorated for Christmas. This room is right off of our dining room. The short hall to the right in the picture leads down the basement stairs.
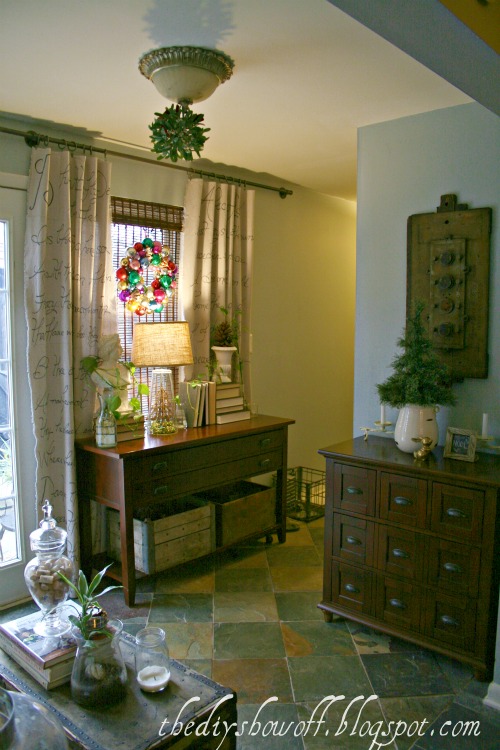
I’ve un-Christmas-ed it and de-cluttering feels so good!  But now I’m re-thinking things. I’m so indecisive.  DIY is a disease, I tell ya. 😉 But friends, it’s a room without a real purpose. It deserves a real name and meaning in our home. It’s actually one of my favorite spaces. Small, lots of light and easy to clean.

When we bought our house, it looked like this: (GASP!  Hey…what was it even back then? I have no clue…no one needs 3 back doors/back entryways, do they?) Maybe everyone inside really needed to escape to the outside because it was in poor condition?

We installed French doors to bring in some light.

Much better!

Looking from the dining room:

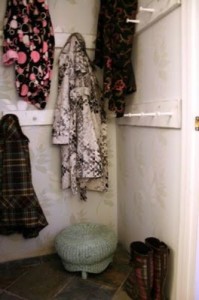
We added a closet to a corner that housed a cubby area running beside the basement stairs.


Mr. DIY installed the slate tile…

We call it the mudroom…but we don’t enter the house here. We don’t exit the house here either. Maybe sometimes in the summer if we’re entertaining on the patio. But it does have a twin sister on the back side of the house…(into the kitchen which is where we enter/exit):

(Oh…how I miss summer!)

So, anyway, it became the sitting room and it’s had a lot of different looks:

to this:
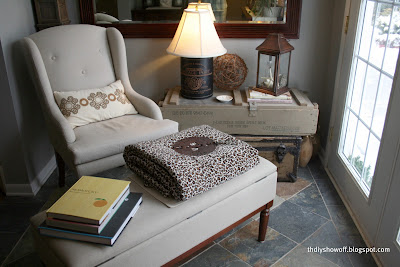
to this…
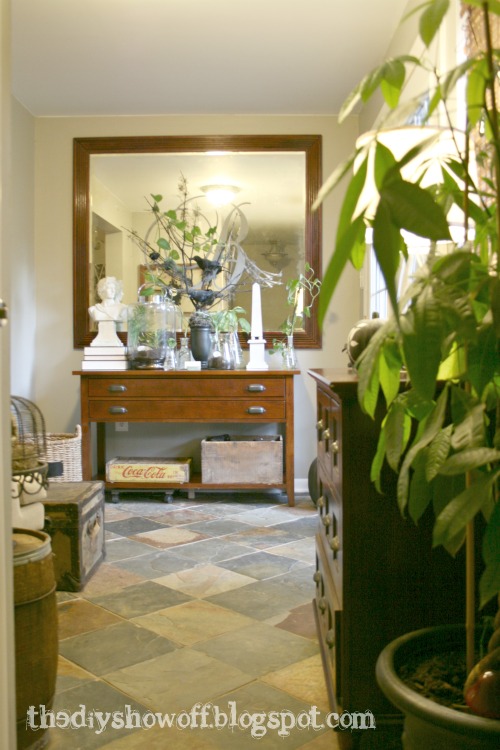
to this…

then this…

But, the only one who sits there is Lalka. DON’T sit in that seat! Your backside will be covered in fluff.

I just painted the walls last month and I love the drop cloth script curtains (tutorial here) so they’re staying. I also like the mirror (recycled). But other than that, I’m indecisive.

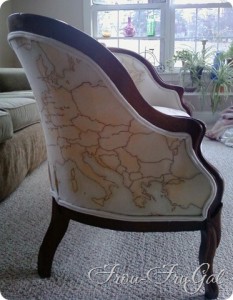
So I was thinking…maybe keep it a sitting room because I love rearranging and decorating in there. It gives me my monthly (maybe even bi-weekly decorating fix!) I’d love to add a settee. I’ve been searching Craig’s List for months to give an old piece a little DIY love but no luck so far. How cute is this one from Frou FruGal?

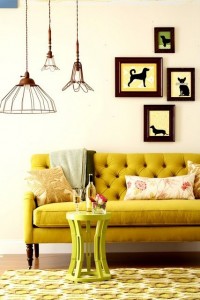
I’d love to DIY a thrifty treasure to look like this…

{via pinterest}

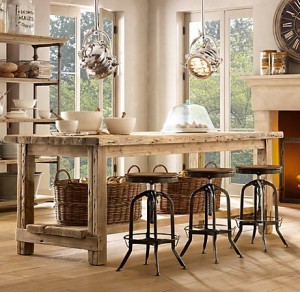
And then my mind wanders and I think maybe a little more dining area seating would be a nice option? We do entertain on occasion and although our dining room table can seat 8 (10 if we squeeze in), it might be nice to have a little extra dining/seating, especially with nieces and nephews. Something like this…

{via Restoration Hardware}

The views of the back yard under snow or the barn and grape arbor in summer would be pretty at dinner scene. It’d also be an option that works with something else, but that’s a secret. 😉

Or a photography studio? (I take pictures for my family/nieces/nephews.) It might be a challenge to keep it looking nice and a little odd off the dining area (although if I can talk my cook into starting a blog, it might be handy!).

{via pinterest}

Or an office area? Love this the changing ‘studio’ at WhisperWood Cottage (I’m not the only one who loves to rearrange a room!):
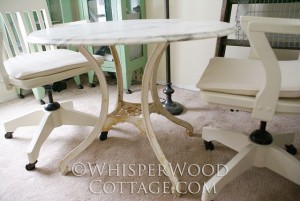
 But we do have two other “office”/desk areas in our home and I actually sit on the couch in the living room with my laptop. lol Go figure! I should sit in the “sitting room”, huh?

I did warn you that I’m indecisive, didn’t I? What do you think?  What would you do? I may have already decided but I’m curious about your input and advice. And with the right idea, I could change my mind…again.  Thanks!

Odds and Bookends ~ Hello Boudreau!

Meet: Kelly from 

Kelly has a sweet blog full of a wide variety of interests. I love her mantra:  “Life is not about finding yourself, it’s about creating yourself.”  Love that. A great reminder for 2012 – create your best life. Today, Kelly is sharing a fun and inexpensive DIY project:

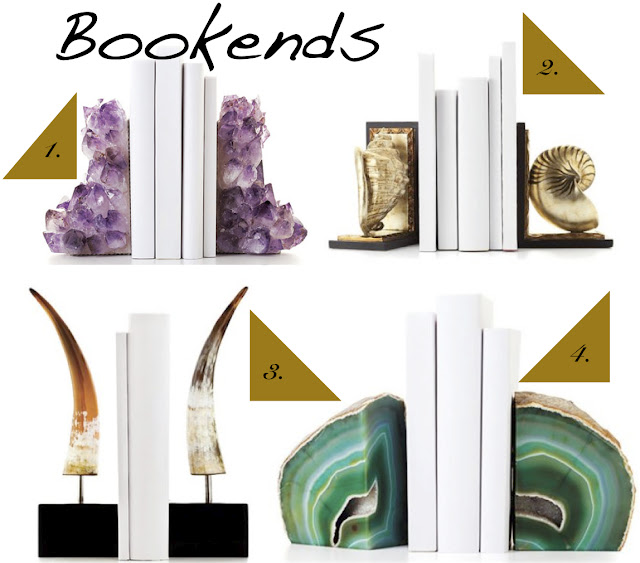
images via Elle Decor

1.Amethyst Bookends 2.Shell Bookends 3.Steer Horn Bookends 4. Agate Bookends

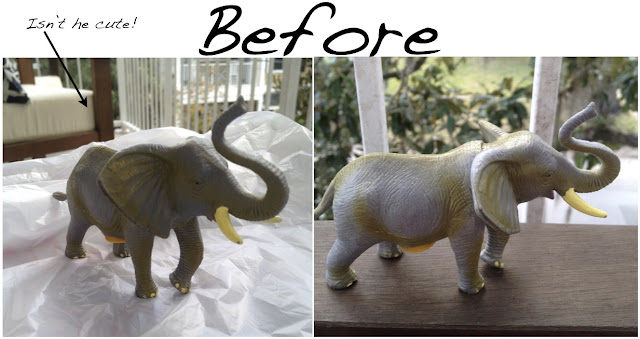
I especially love animal figurine bookends so I decided to make my own. Guess how much my bookends cost me! 4 bucks. I got my cute little elephants for $1 each…don’t you love them?

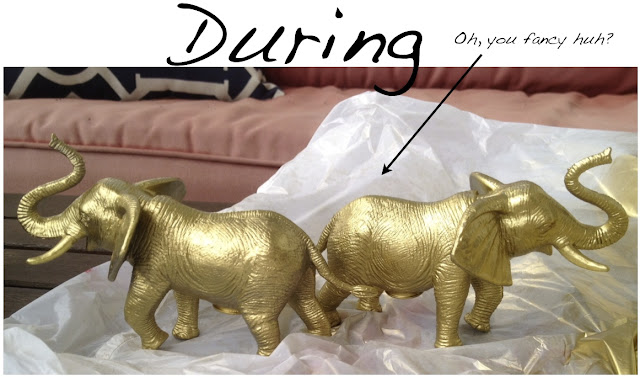
All I had to do was spray paint them with gold spray paint and I started to get the look I was going for. [which would be the “i’m really heavy, not hollow,” look]

After I painted them I’m in the process of glueing together two pieces of wood for the “L” shaped ends. Then I’m glueing the elephants on so they look like they are pushing and holding up the books with their tusks.

For all you know they could be 10 pounds each of solid brass! I think they are going to turn out pretty coolonce my elephants are on the wood “L”and get up a little higher. I’m really happy with the outcome!What do you think? What animal would you make your bookends? Target had a whole bin of different plastic animals to choose from!
CREATIVE and so cute!  What a great idea…perfect easy project to get you DIY’ing in 2012!  I know I’ll be keeping my eyes open for something fun to DIY my own bookends. See more from Kelly at


Ps. Kristin is featuring my script drop cloth curtains today in her Tuesday’s Treasures party!  Woo hoo!

 and a very special “Thank You” to Gwen from The Bold Abode who presented me with not just one amazing gift, but 3! Three super cute favicons for my new DIY Show Off site! See it up there in on the web tab? Adorable! On a day when my dad would have been 70 and I was missing him, Gwen gave me a big virtual hug and a smile and if you’re looking for some inspiration and encouragement, you need to stop by and visit her. I promise, she’ll make you laugh.

DIY Show Off – Living Room Before and After Reveal

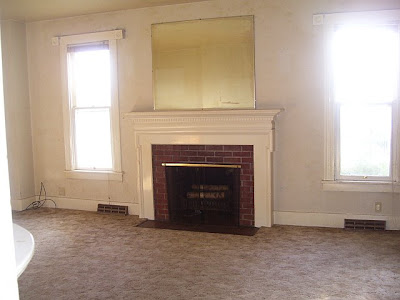
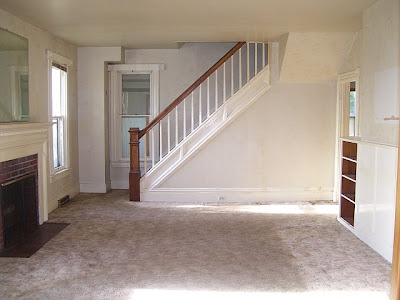
LivingRoom Transformation:  Here it is when we bought our home. Before, at time of closing:
Lots of strange angled corners to work with.
We repurposed this mirror by taking it down and framing it (more details here). It hangs in our back entry way.
The white walls were painted wallpaper. Fun!
We also tore out the nasty carpet and refinished the wood floors.
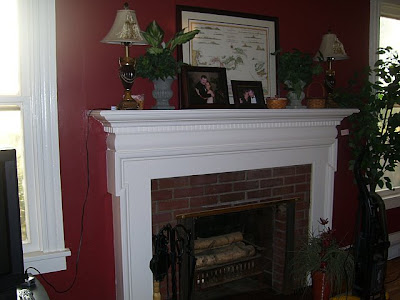
Then, I always wanted a red room. So – I painted the room red. It wasn’t quite what I pictured but I really loved it for a little bit. Excuse the mess. Some of these I snapped right before I began painting.
We installed French doors between the living room and family room.
We mounted the tv above the fireplace…I’m not sure if you can tell, but there aren’t a lot of options (wall 1=staircase, wall 2 = entry to hall and built-in shelving, wall 3 = French doors, wall 4 window/fireplace/window). It’s really not too high for viewing. We’ve adjusted to it being there. Our wood burning fireplace isn’t used at this time (another future project). Since behind the fireplace is a brick chimney and the walls are plaster, I currently hide the wires with garland (upcoming project to build up the fireplace surround will take care of that problem). Brick? Someday we’ll replace it with marble and I got a dirty look when I suggested we paint it. Mr. DIY does not like painted brick.
It didn’t take long before I didn’t grew tired of dark red. The room wasn’t getting any light. It just didn’t “feel” like the right color.
Here it is today:
Color is Benjamin Moore Smoky Taupe. It changes color in different lighting.
Mr. DIY’s leather chair has been replaced with another leather chaise. Compromise.
Updated pictures below.
My thrift store find – wine corks.
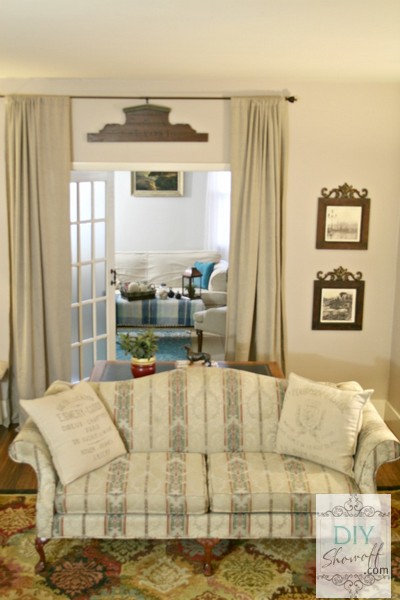
Vintage French linen pillows – Restoration Hardware
French pediment – Ballard (I plan on adding more trim to the French door to fill in the gap)
It’s weathered and says “Flanders Sweet Shop”
Drapery is from Target and Ebay. I ordered an extra panel to lengthen them. I love them framing the French doors.
I scored a bunch of vintage boxes and crates at an estate sale (3 are the same found at Pottery Barn for $24. I paid $8 ea!). This little box holds the remote controls.
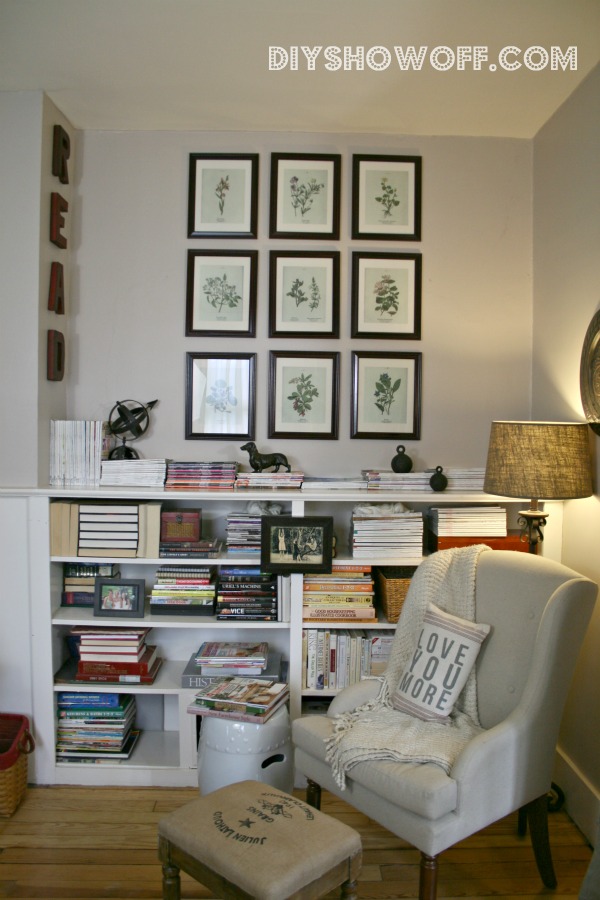
Wall art from vintageprintables.com. Tips for hanging a wall gallery.
My style? You’ll see that I have a bit of interior design ADD. French, vintage, traditional, farmhouse and so on but the thing I love about designing my own space is that I can decorate with things I love and I don’t have to follow any rules. And we’re obviously not minimalists. It’s for us, not for a decorating magazine, right? We love how much taller and bigger the room looks and our mix of decorating styles works for us. I’d love new furniture but it’s not in the budget and this set from the 90s is in excellent shape. It works for now.
A few updated photos/fall decorated…
before
after
before
after
French doors in living room
before
AFTER

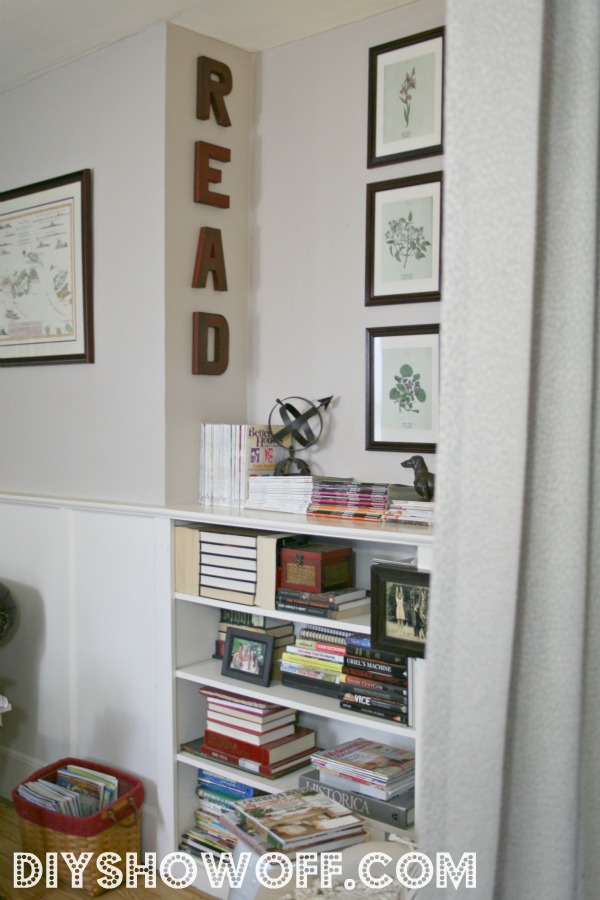
aged, vintage inspired wall letters
What do you think?
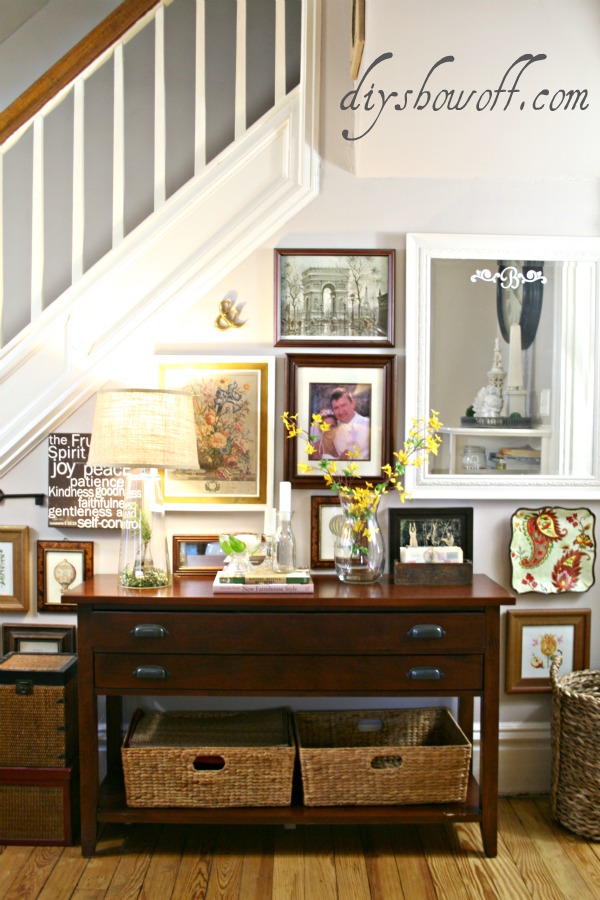
gallery wall, thrift store wall art, console table, stair wall, living room
eclectic traditional living room

DIY Show Off - FacebookDIY Show Off - TwitterDIY Show Off - PinterestDIY Show Off - Feed