Apartment: Before Pictures & Plans

Since I’m up to my eyeballs in apartment renovations, you’ll be seeing quite a few posts of our progress leading up to the reveal. Please bear with me until I get to the fun/creative/decorating stuff…I can’t wait for that part myself! It’s the reward for the dirty work, isn’t it? I shared the first project yesterday {sanding floors} and here is the apartment “before-before” and after cleaning/’in progress’ but before paint. Got that? lol It’s just the before pictures before and after cleaning, before and after sanding hardwood floors.

Everything got a bath. E.v.e.r.y.t.h.i.n.g! It went from disgusting to clean. As you can tell, someone was a heavy indoor cigarette smoker. Thankfully with washing/scrubbing everything, sanding floors and primer+paint, airing out and sitting empty for quite a while, the smell will diminish. I apologize in advance for these ‘before’ cleaning pictures. I did spare you worse ones, I promise!

Okay, ready?

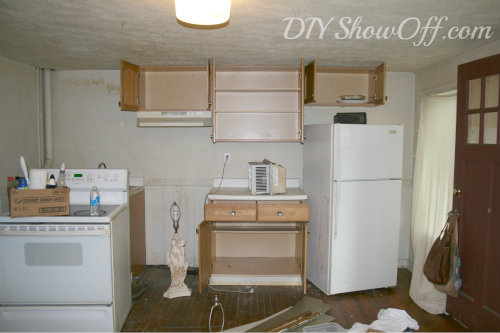
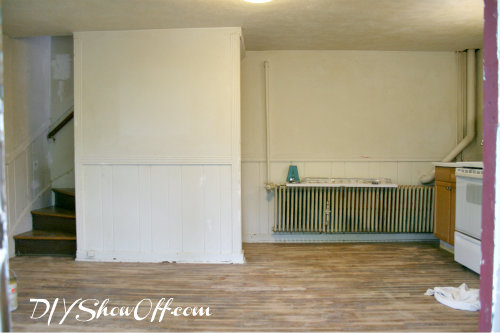
Dirty kitchen ‘before’ and before cleaning…{gag…what is the brown stuff all over the walls? Tobacco? Cooking grease? Coke explosion? Maybe we don’t want to know!}

rental kitchen before

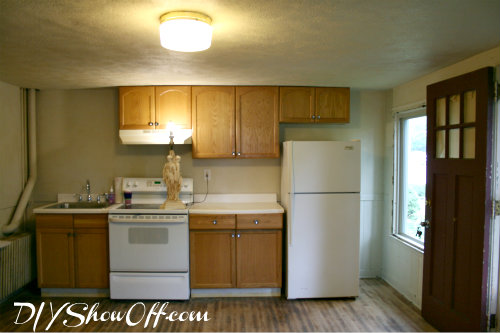
All cleaned up and in progress…ready to move forward

  • paint ceiling {done!}
  • paint walls
  • paint trim
  • paint cabinets
  • redo countertop
  • storage and organizing solutions
  • thrifty furnishings
  • decorate!

There’s a paint fest going on! Envious, aren’t ya?

clean kitchen before

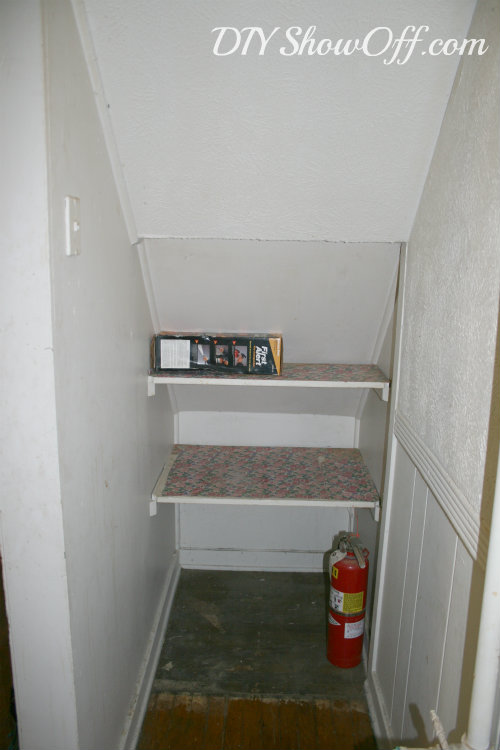
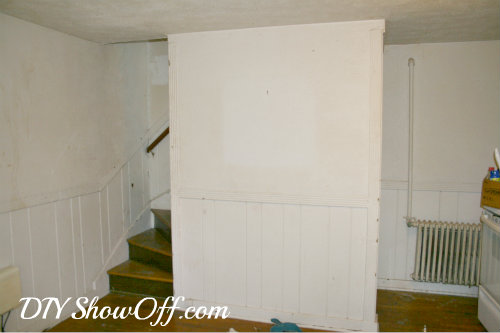
Pantry under the stairs – before

apartment pantry

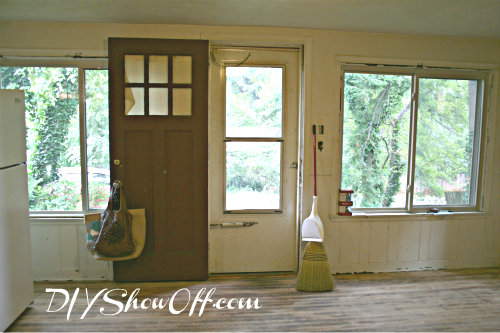
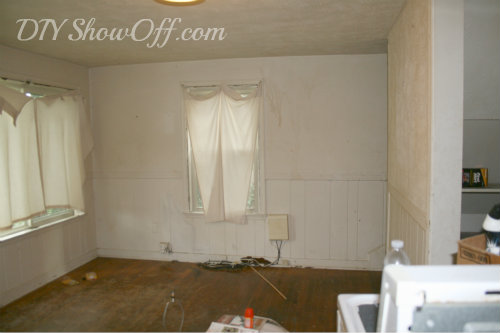
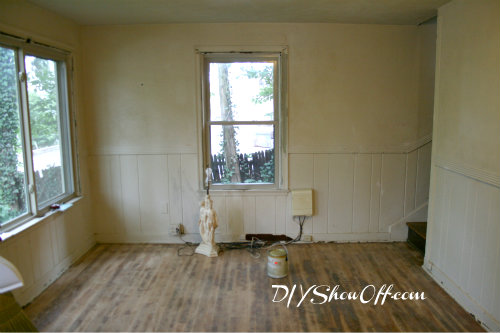
Apartment before then ‘after’ cleaned/sanded…

wall 1

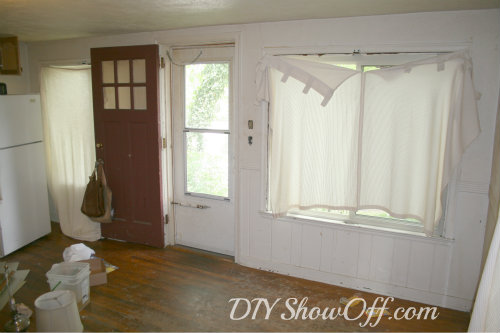
apartment living room entryway before

living room before

wall 2

living room before

apartment makeover - before

wall 3 – dirty before

apartment living room before

in progress…

apartment before

{You just turned 360 degrees and saw the entire first floor!}

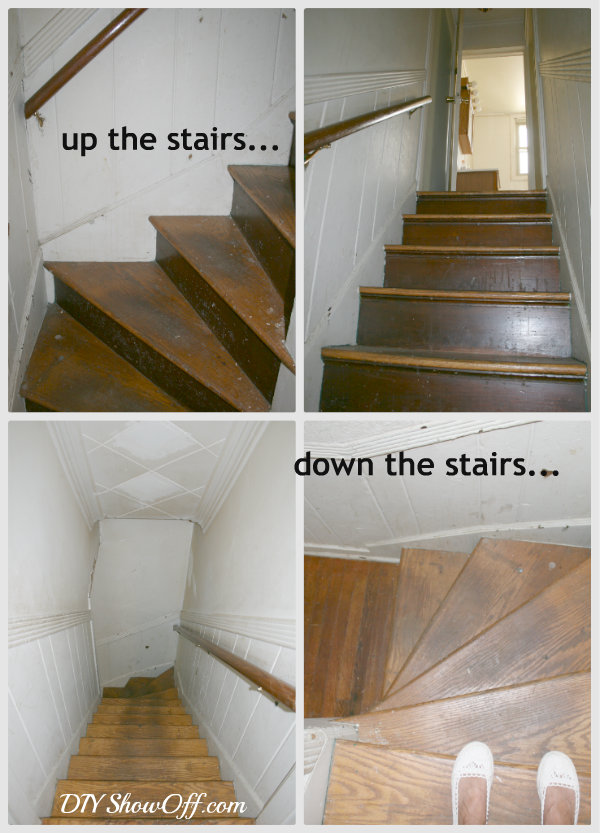
Stairs are so narrow with a bend…we’ll have to get creative with upstairs furniture/getting furniture up!

before:

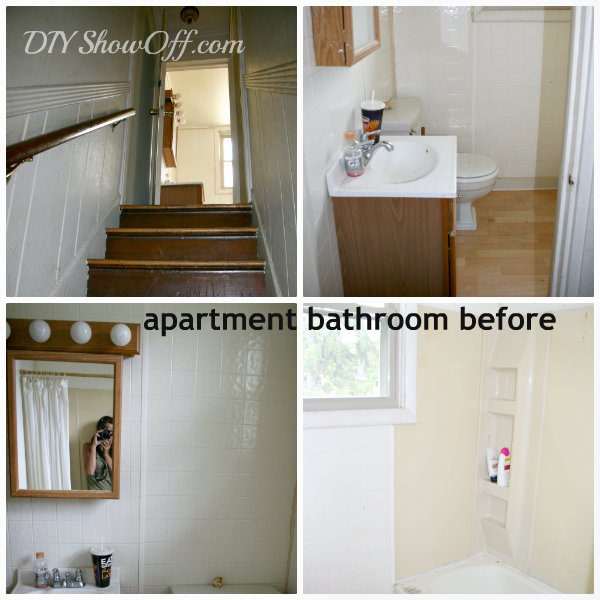
apartment stairs before

  • clean (done as of yesterday)
  • sanded (done as of yesterday)
  • stain stair treads
  • fun paint technique on the risers
  • paint trim and ceiling
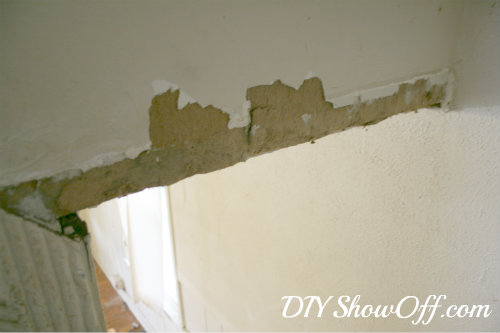
  • patch ceiling/trim

Someone obviously wasn’t too careful with moving furniture out {it’s a super tight squeeze and odd angle for furniture} and tore off the trim and part of the ceiling on the way down…uh oh!

trim before

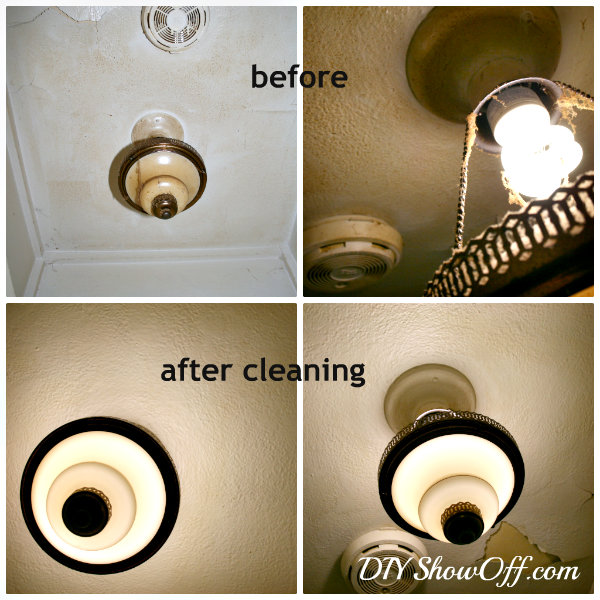
I love the vintage light fixture hanging in the hallway upstairs…

vintage light fixture

  • patch and paint ceiling
  • fun idea for the small wall space coming up!

Bathroom needs a complete overhaul, but we’ll see what’s in the budget. Hate.hate.hate the faux tile walls and yellowed tub surround. Actually, I hate it all! I may be able to get away with a new floor, vanity and lighting but that’s probably all we can manage financially for right now. Those walls and tub surround have to stay for now. Wahhhh!

  • new flooring
  • new baseboard trim
  • new vanity
  • new mirror/medicine cabinet
  • storage solutions
  • new lighting
  • paint
  • caulking
  • decorating!

This bathroom is so tiny, the sink/vanity only leaves a small entrance…

apartment bathroom before makeover

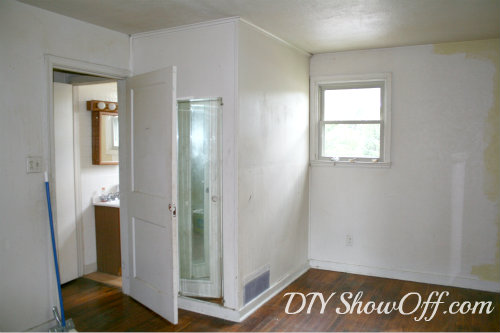
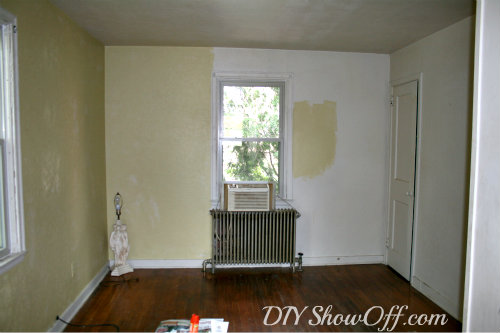
Bedroom before…

apartment bedroom before

who paints half a room and walks away?

apartment bedroom before

After will turn this small room into 3 areas:

  • office/study area
  • bedroom for one
  • dressing room

Improving with every little bit of TLC and elbow grease. Ah, progress. Still a ways to go, but getting started is always the tough part for me and we’ve passed that goal! 😉
DIY Show Off - FacebookDIY Show Off - TwitterDIY Show Off - PinterestDIY Show Off - Feed


Hating Martha, Loving Janel

Hello! Janel here from Hating Martha!
It is such an honor and privilege to be here.
Roeshel is the coolest. And her blog is pretty great too.
Oh wait…here is a picture of me. So you can picture me talking.

DSCN3404-1-300x225

Yep, picture that while I share.

Okay, recently I shared about my Living Room’s jazzy new makeover.
I wanted to be sure to share it with Roeshel’s readers.
See, Roeshel has great style. And sometimes, sometimes when I
am in a decorating pickle I sneak on to her blog and look at her
house. Then copy it. Ha!! Don’t tell her.

See if you can see some hints of Roeshel in these pictures (the after ones…doh!)
I Spy Roeshel …

befire_after_4

That coffee table I made from 2 wood pallets and a couple large tiles.
I “white washed” it with white spray paint for a beach look.

before_after_2

That area rug I made from 10 small rag rugs. It cost a grand total of $20.00. Crazy right!
The slipcovers I splurged on. I chose white for the sofa because my kids love to snuggle with the animals. I wanted to be able to bleach it if necessary.
All the pillow were made without sewing. Safety pins, beads, and fabric.

before_after_3

The corner gallery wall and nautical dresser were past projects.


before_after_4

Wooden pallet art, DIY octopus table, and painted IKEA chair are all past projects used for this makeover.

living_room_before_after

And my favorite…a buffet that was a lost cause, which I repainted.
I added vintage directions as wall art and some of my favorite pieces from my home.

Did you see Roeshel’s inspiration? Well, I hope so. Or I just paid her a terrible insult.
If you don’t like the new redo…Roeshel has no inspiration whatsoever!
I don’t know what you are talking about?

living_room_6

living_room_1

living_room_11

I used shades of cream, white, and grey whenever I was in doubt.
And, I used blue as the central accent color…in all shades.
Natural elements were used as much as possible for accessories.
I tried to copy Roeshel’s wonderful way of keeping history and style married together.
She does a great job of making a space feel “lived in” even if it was just, just decorated.

Well, if you liked what you saw stop by Hating Martha and say hi!
If you don’t like what you saw…hmmm…yeah, you can still stop by!
DIY Show Off - FacebookDIY Show Off - TwitterDIY Show Off - PinterestDIY Show Off - Feed


Living & Dining Room before and after

Hi Blog Friends! I’d like to introduce you to Maggie from

The Reformed Ranch

A couple of years ago Maggie and her husband purchased a 1951 ranch in Texas that needed a lot of work. They knew it would require a lot of commitment, but they both love do-it-yourself projects {who doesn’t?!} and knew that they could tackle it on their own.

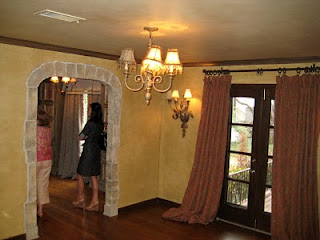
living room before

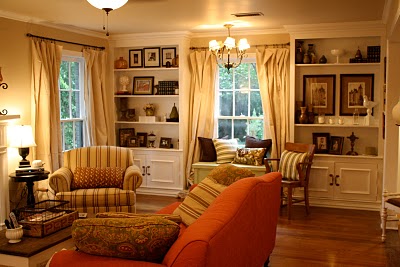
The room that needed the most help was their living room, which looked more like an Italian restaurant than a cozy country cottage. The amazing after…

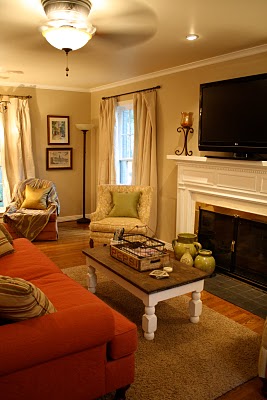
living room after

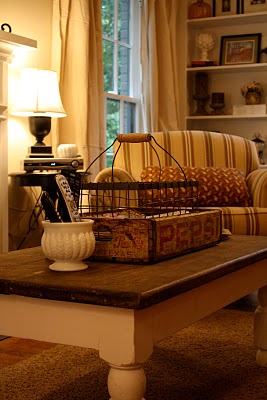
Their goal was for the space to feel organic, like it had been collected over time. Maggie found that by purchasing only the things that they love, the space, in turn, feels more cozy than if they were to go to one store and buy a lot of coordinating items.

DIY living room

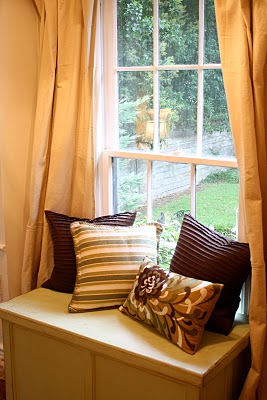
window seat

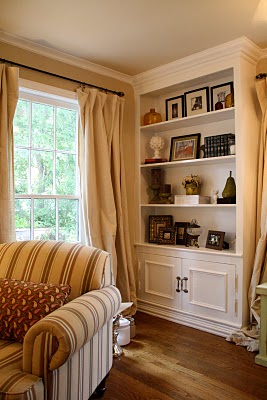
built in book case

Here are some more tidbits about the makeover:

  • The wall color is Olympic “Toasted Almond” in flat and the color on the trim, built-ins, and fireplace is Olympic “Ultra White” in semi-gloss
  • The decorations are from a variety of discounted home stores including TJ Max, HomeGoods, Tuesday Morning, Target, and even Walmart. They also found a lot of great things at resale and antique shops. {Sounds just like my own decorating plan of action!}
  • The curtains are actually painter’s drop-clothes from Lowe’s. Maggie wanted something light and airy, but also didn’t want to spend a ton of money since they needed 8 curtain panels. They fit perfect in the room, and the $9.99 price tag wasn’t too shabby either.
rustic charm
I love the rustic/vintage details.
~*~*~*~*~
The dining room was also in desperate need of some help. The walls were also faux finished and the room was just dark and dingy.
dining room before
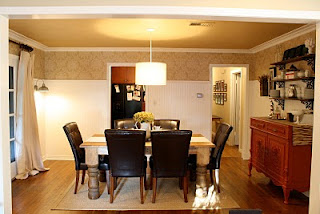
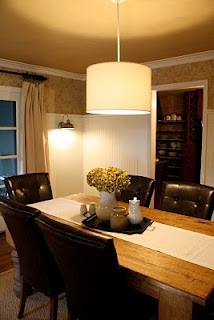
Maggie and her husband installed beadboard for some cottage charm. They installed wallpaper on the top portion of the wall which gave the room the elegance it deserved as a dining room.
dining room after
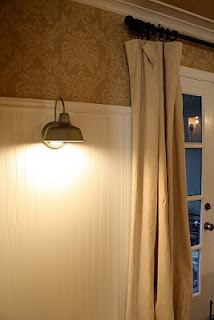
Because they’re fans of an industrial farmhouse look, they installed two industrial outdoor light fixtures on the wall.
farmhouse sconce lighting
The chandelier is a DIY West Elm inspired knock off.  $10 price tag by using an old lampshade and a lamp kit.
diy drum chandelier
They purchased the buffet from an antique store and painted it a coral shade of red to coordinate with the couch that is in the adjoining living room.
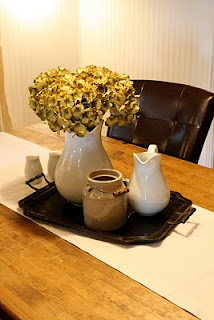
charming centerpiece
~*~*~*~*~
Beautiful transformations! See more DIY from Maggie at
The Reformed Ranch

DIY Show Off - FacebookDIY Show Off - TwitterDIY Show Off - PinterestDIY Show Off - Feed