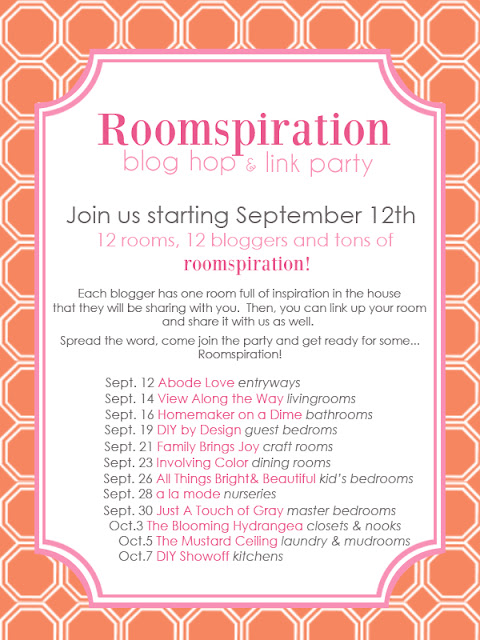
Hello, DIY’ers! How was your weekend? Productive? Relaxing? Fun? I hope all three! Show and tell time! I’ll go first. I’m still tweaking this catch all/entry area but having so much fun doing it. See the ottoman below? We built it! I’m linking up to

Head over to see some gorgeous inspiration!

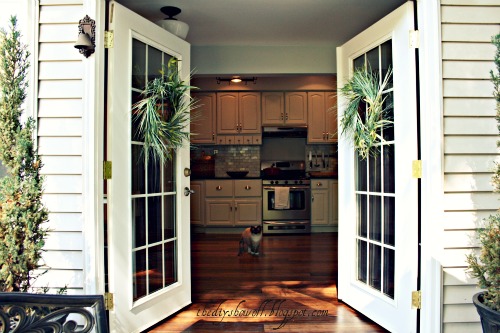
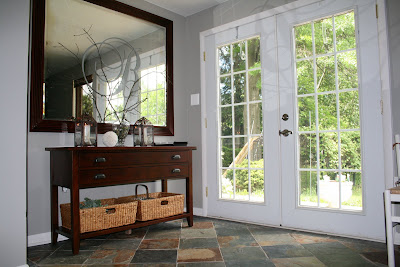
Remember when I mentioned we were building an ottoman and that I’d share the spot inside where we enter our home? Well, here it is! It’s just a little nook for right now until we have a real front door (next year?) or until we save enough for Mr. DIY’s dream stand alone refrigerator and freezer, then this little nook in the kitchen goes away. But for now I love that we have a little space to sit comfortably, put on or take off shoes and dump everything when walking in the door.

(Wow…construction in the kitchen creates dust. I thought I got it all! I’ll be taking care of that refrigerator vent asap!)
Lalka is my shadow so she’s usually right where I want to snap pictures – diva kitty!
The ottoman frame (everything except the feet and fabric actually) were provided by The Upholstery Studio. They have entire kits for DIY ottomans! That means, for this 24×26 ottoman, I only picked out the fabric and bun feet and the rest was all ready to be assembled with the assistance of detailed instructions and helpful video. Mr. DIY and I built this together with our own two hands. Here’s a little of what we did:
Pre-dill holes

Glue and screw together the frame


Attach webbing
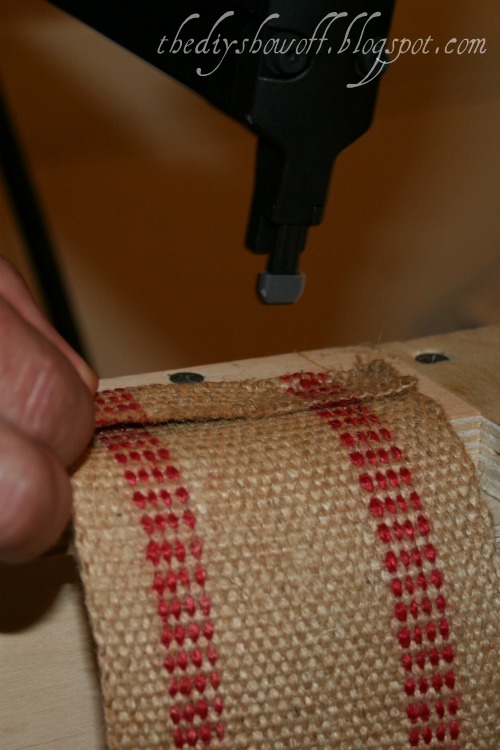

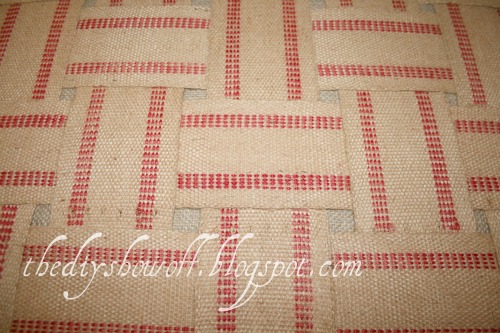
Add burlap

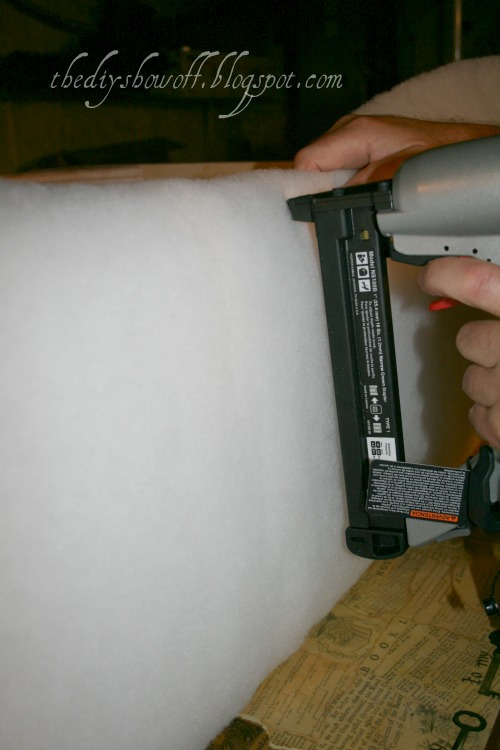
Glue down foam and cover wood with dacron.


Cover in batting
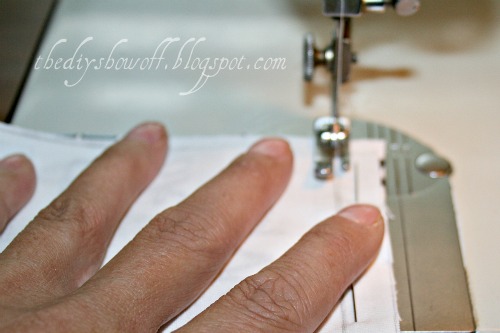
Cut fabric

and sew cover
Slip on cover and staple


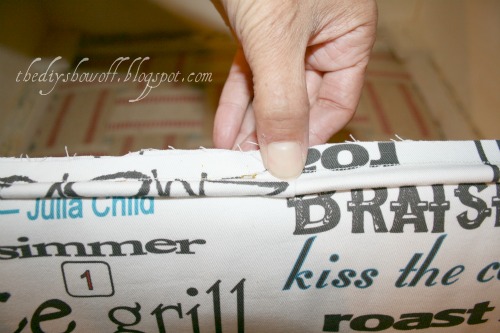
Create welting

Staple on welting
Cover up


Add feet

(and felt to protect floors)

It can be built in just a few hours although I recommend taking a few days…better to spread it out a little and take your time. I’m so proud that we built it ourselves and I also learned some cool things along the way. Interesting bits that definitely help with future projects. Super sturdy construction and bouncy comfy seating! It’s empowering – I feel like I could build an entire couch! Well, you really wouldn’t want to see that but the entire learning process was very helpful for when re-upholstery skills are needed on a future thrift store find. The kit looks a little overwhelming at first because of all of the goodies packed inside, but it’s not hard. It was actually fun and more like a complete course in re-upholstery with everything needed to build the perfect accent piece that matches your style.

I even had a blast designing the fabric myself at spoonflower. If it fits your style, you can purchase it too. Yep, add fabric designer to my list of DIY. Easy and exactly what I wanted…personal/cooking related and a little typography-looking but not girly or too kitchen-y.
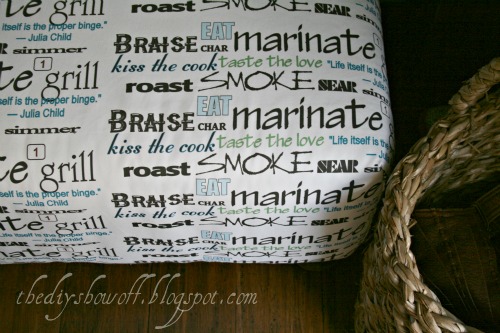


Since it sits in our kitchen, I wanted to personalize it for the cook my husband. I really love that it’s exactly what I wanted for this space. I have plenty left to make some throw pillows or covers for bar stools or even valances. I’m still undecided.

What do you think? Show of hands: How many of you have an ottoman in your kitchen? ::crickets
:: Anyone? 🙂
And guess what?! There’s a designer ottoman kit giveaway going on at the DIY Club right now! Head over to enter to win a designer ottoman kit for yourself and also see how Cheri, Holly and Amy took their designer ottoman kit and created something that fits the style of their home too.

Let’s see what’s been keeping you busy!

1. You must use the button above (ADD BUTTON HTML CODE FROM SIDE BAR TO YOUR POST) and link to this post to share the linky love.
2.Include your name or blog name and project title. Add your permalink (not your blog url, but your DIY project post url). Feel free to link a Past Post, just invite your readers in a current post with a quick note.
3.Or email your link to thediyshowoff@gmail.com and I will add it for you.
4.If you notice your link has disappeared -please add the link back to The DIY Show Off to your post today, a button or a quick note to your readers about the party and try again! I love when everyone participates and readers check out everyone’s links, but I think the return favor of linking back is the nice thing to do so everyone plays fair and enjoys all of the projects and links. Also – this blog party is for DIY projects only. Links not related to DIY will be deleted.
5. NOW you can “like” the links! What a fun idea! Most liked links may be included in a post of DIY Project Parade highlights later in the week!

I received the designer ottoman kit as a part of my participation in the DIY Club. I did not receive compensation for building the ottoman and opinion and results are my own.
Linking up to
Entryways and Abode Love

Pin It