Bathroom Makeover

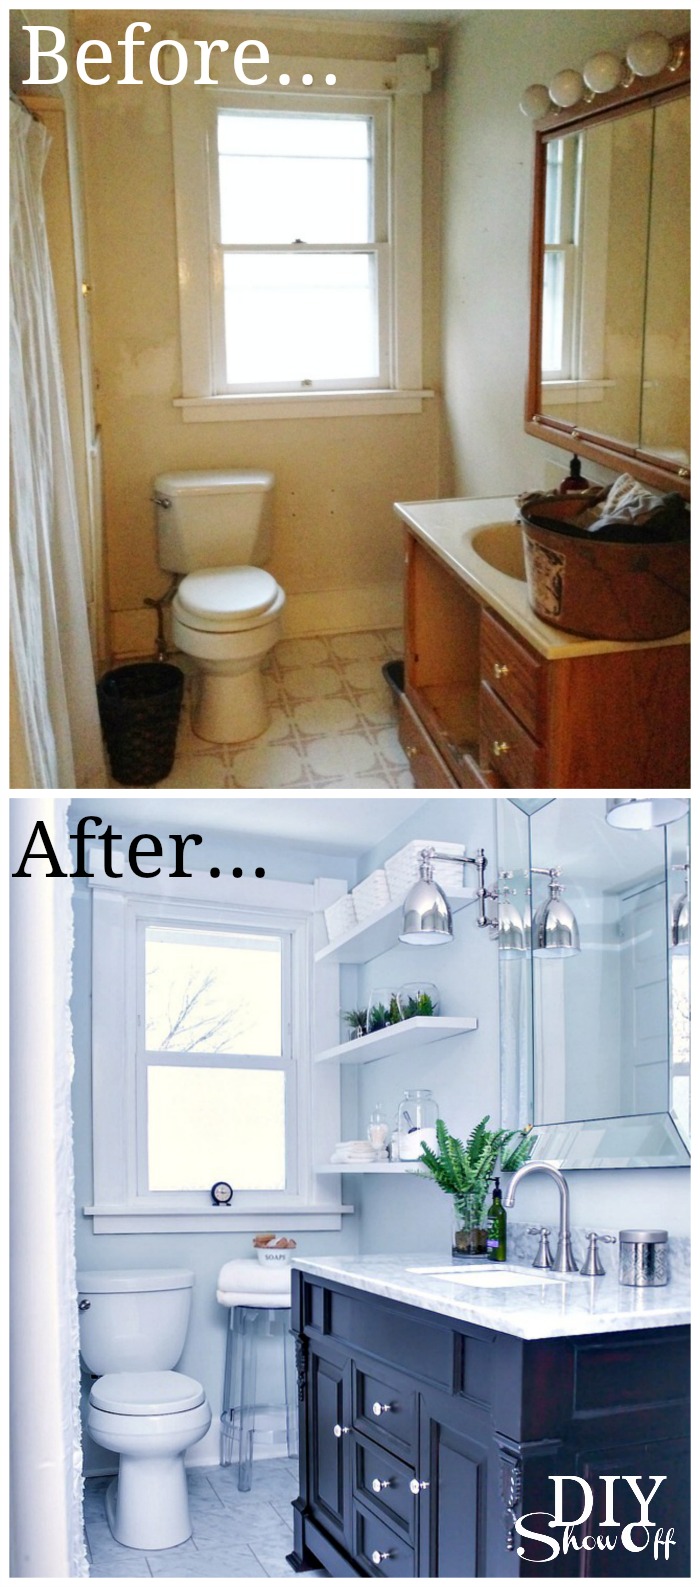
The other day I shared the before and after bathroom transformation. I’ve gone from sitting and staring all day long at our recently finished open pantry (makeover here) to wanting to sleep in my new peaceful bathroom. Since the bathroom had was a nightmare before, ANYTHING would look good after. This is what we got with this old farmhouse…

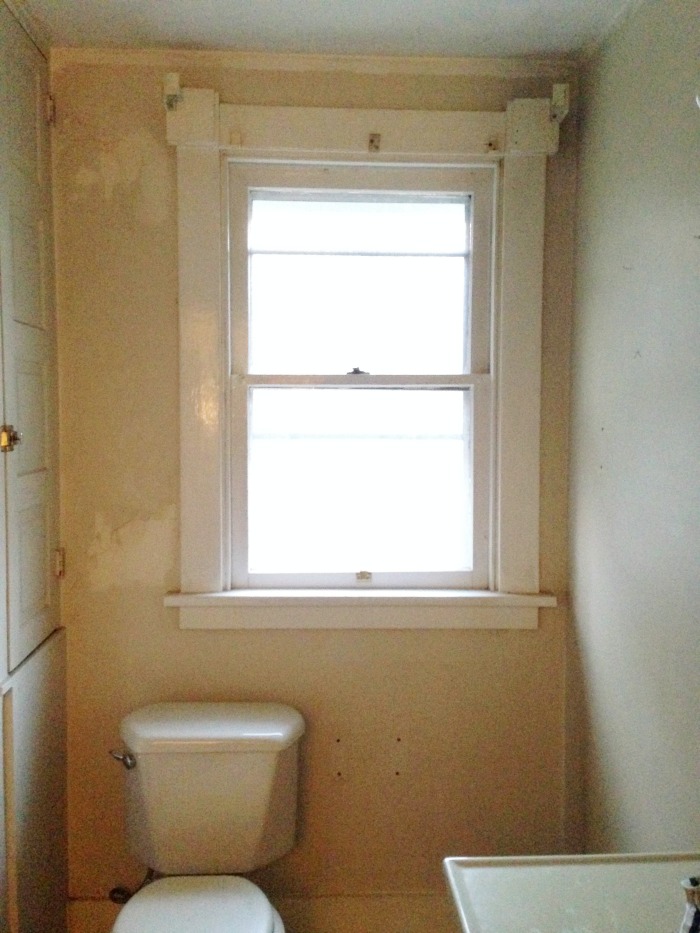
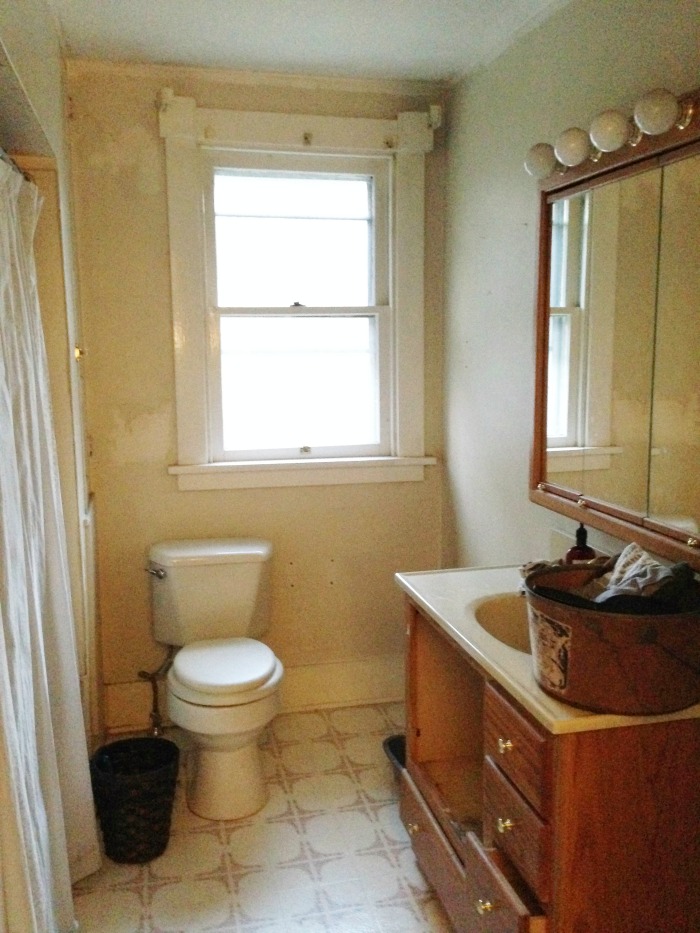
Before – yikes!bathroom makeover before

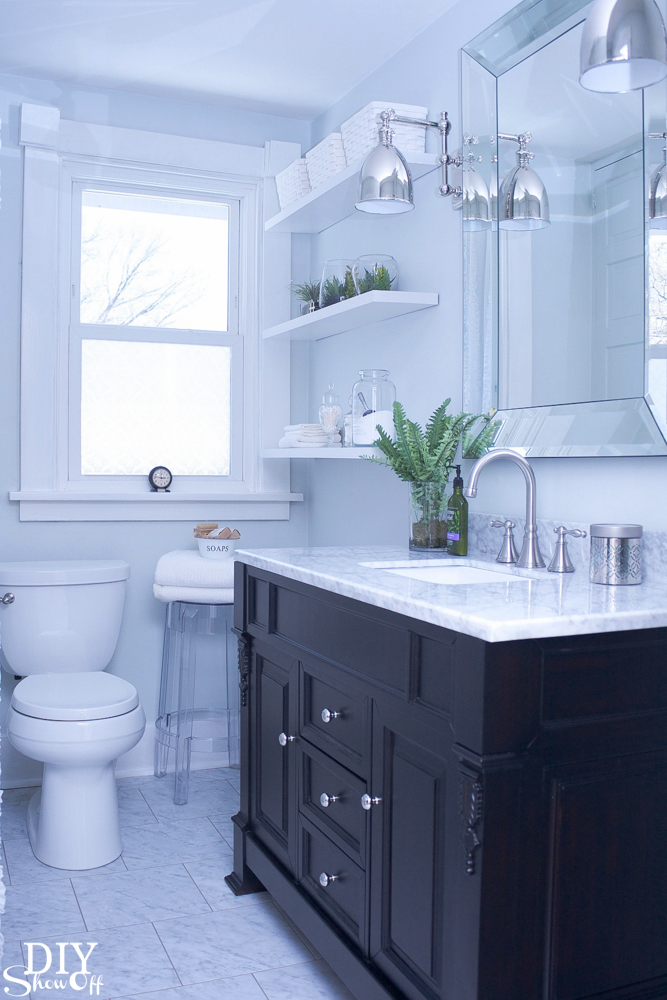
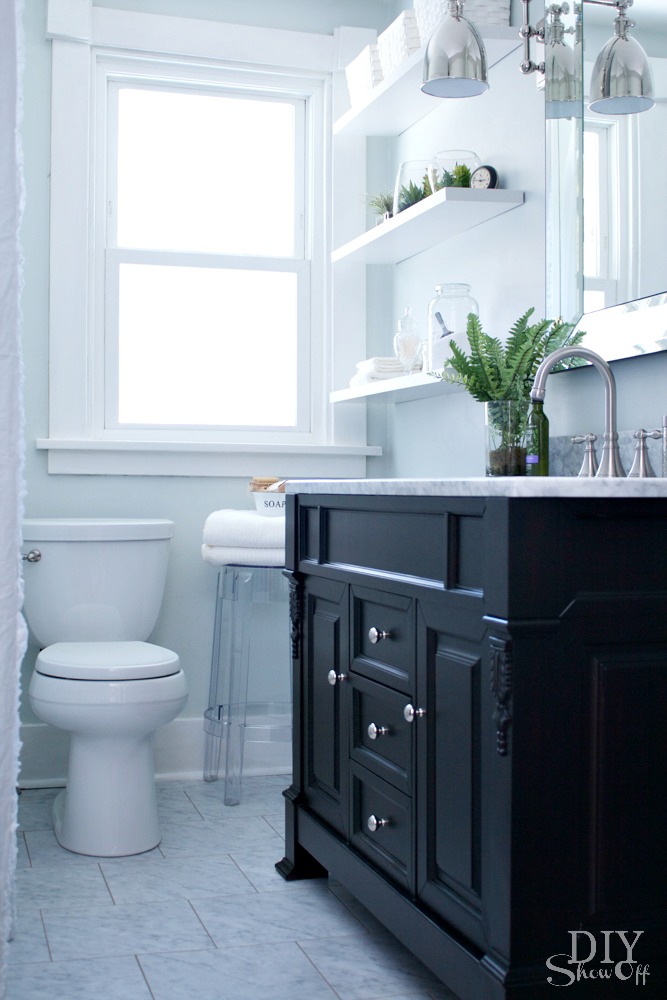
And this is the potential I saw. I’m in love with the soft peaceful ‘after’ results! Bathroom Makeover
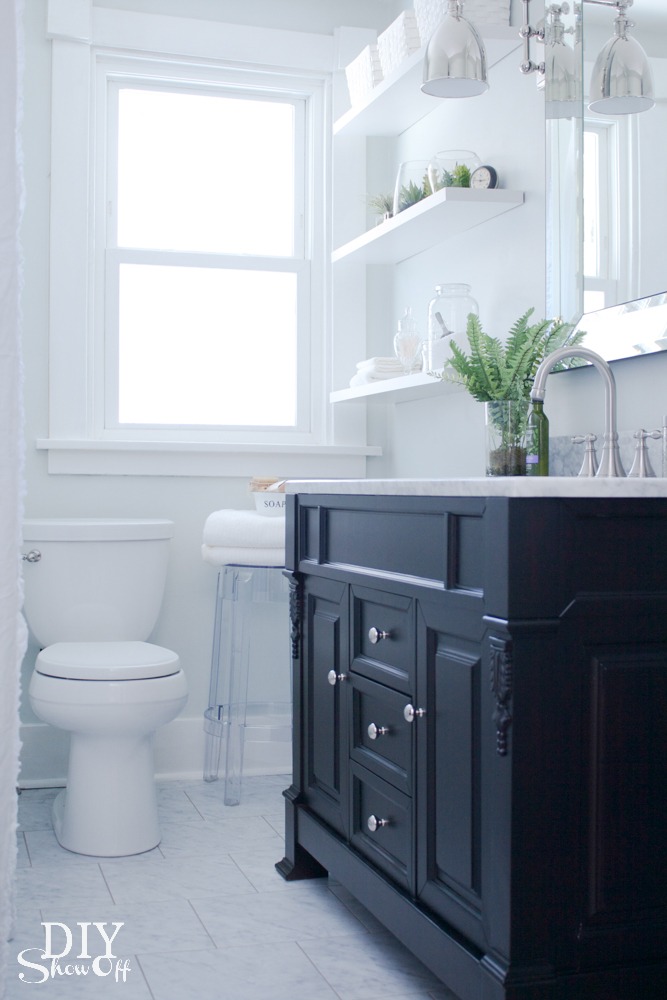
Bathroom Makeover Details at DIYShowOff

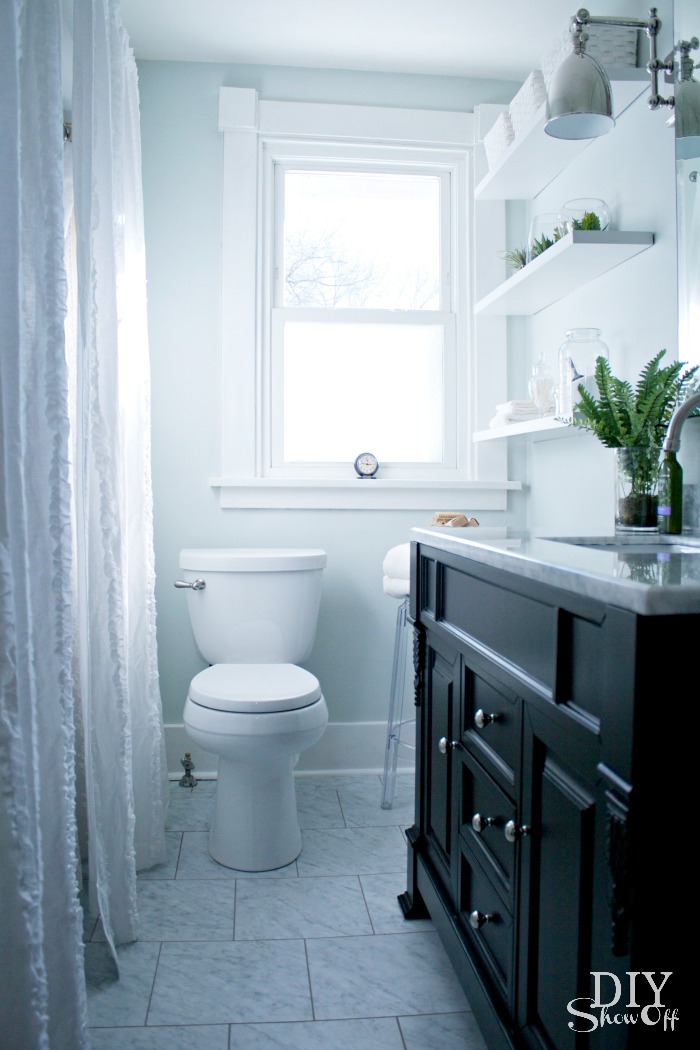
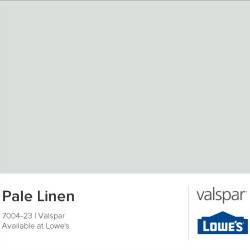
Paint: Those walls! Believe me, I did a good scrubbing but is there any better way to really clean up walls than applying a fresh coat of paint? Love this color! Valspar Pale Linen: Depending on light, sometimes it has a soothing blue tint, sometimes more of a gray/white tone but definitely a tranquil light blue color.

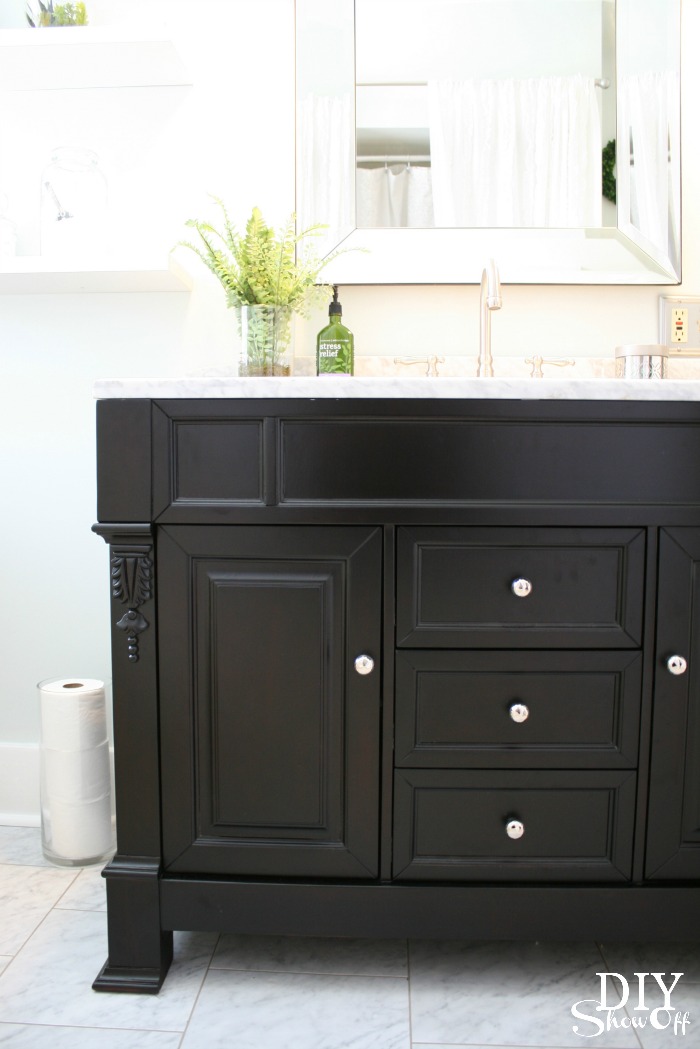
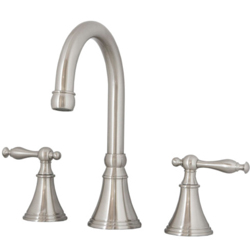
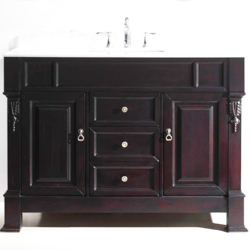
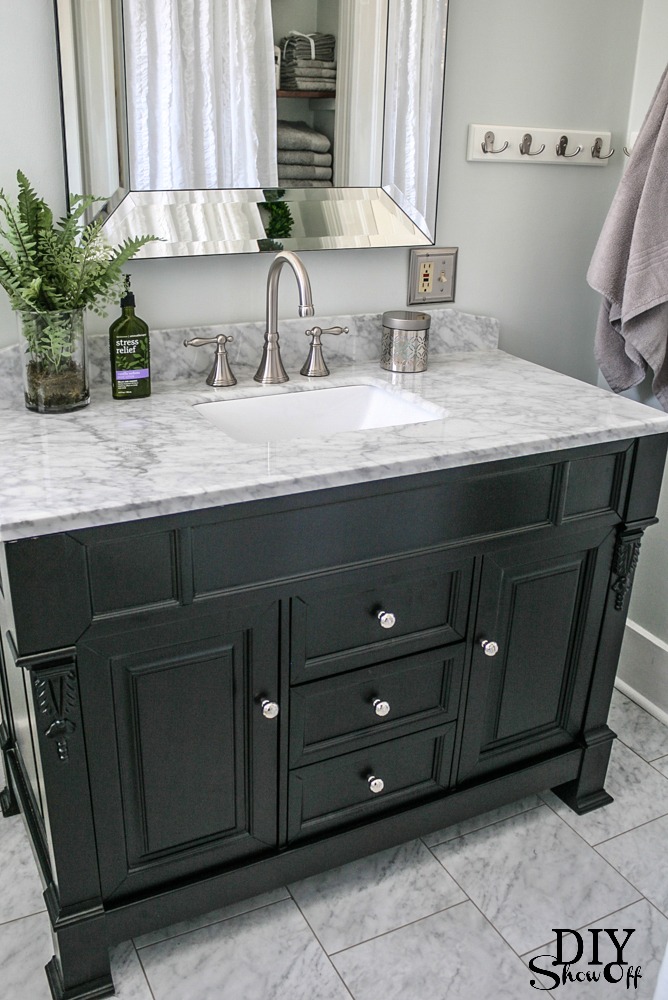
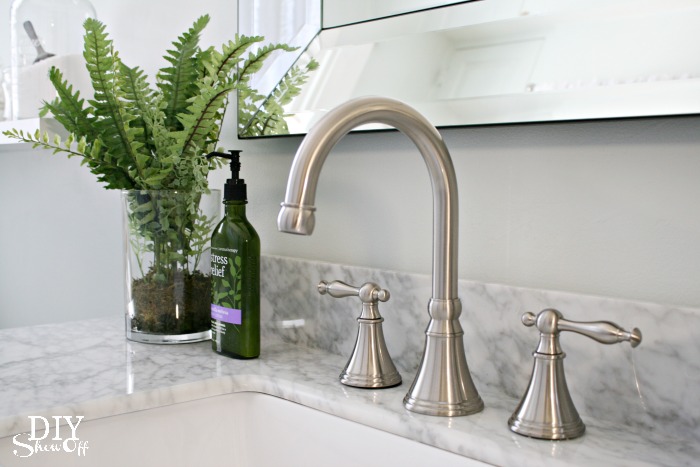
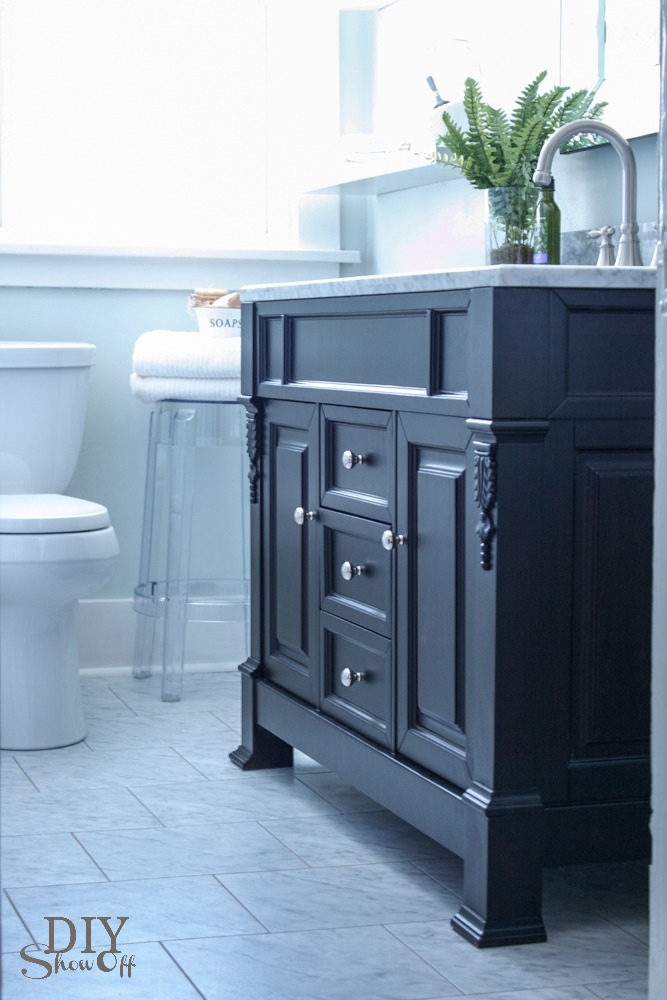
Vanity: The gorgeous Huntshire vanity with marble countertop and Talia faucet set from Virtu USA is the luxurious center of attention! Check out the beautiful detail and gorgeous espresso color.

Virtu USA Huntshire vanity

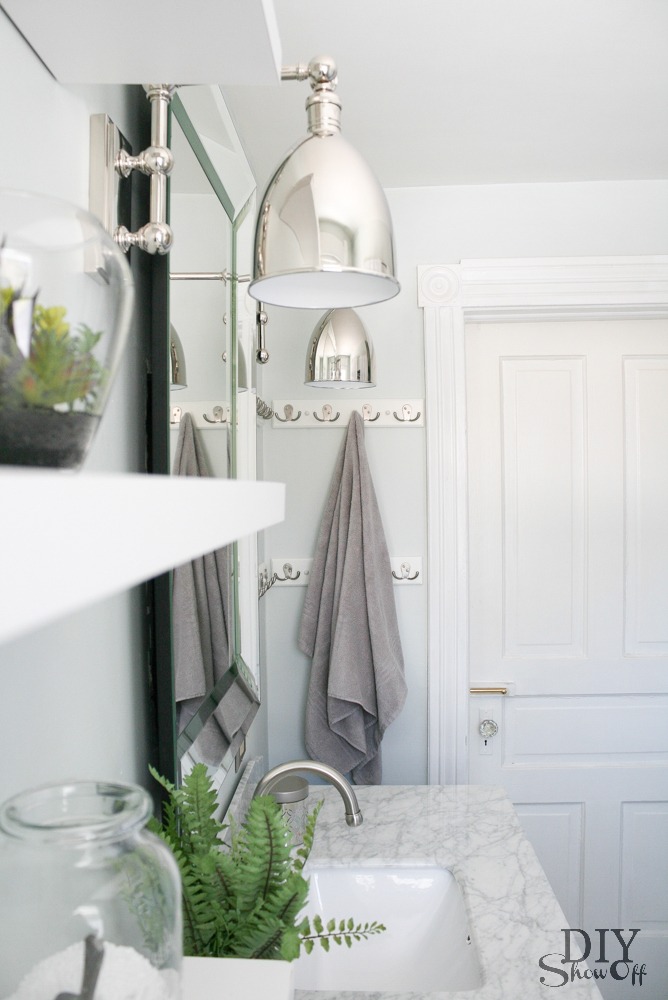
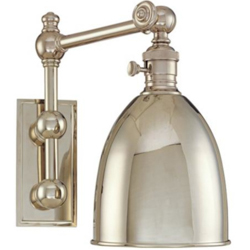
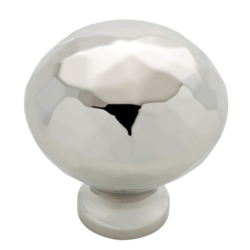
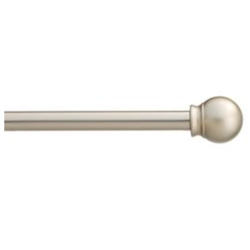
Metallics: Mixing the silver finishes like the brushed nickel faucets, polished nickel sconces, polished nickel vanity knobs, satin nickel curtain rod add just the right amount of bling!
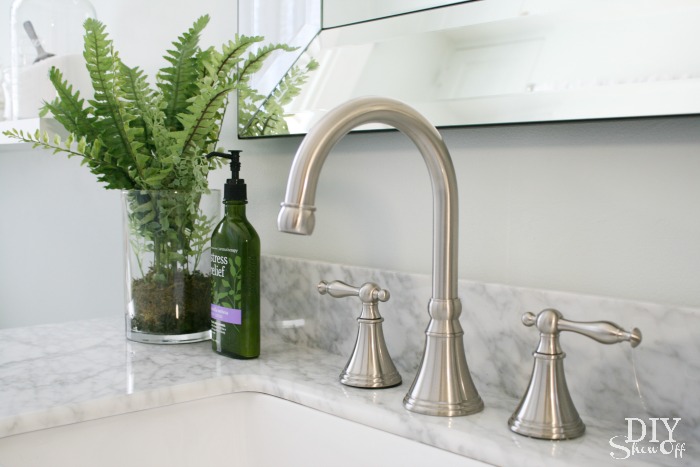
Virtu USA Talia faucet - DIYShowOff bathroom makeover

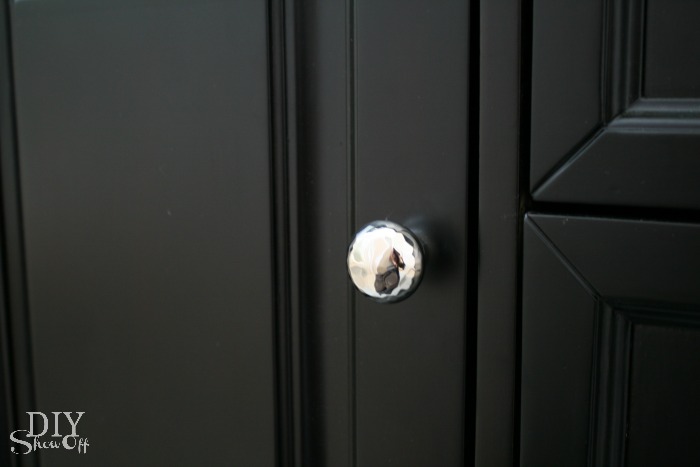
The vanity comes with beautiful antique gold hardware which I’ll re-use on another piece of furniture since I swapped them out for these beautiful polished nickel knobs.

polished nickel knobs

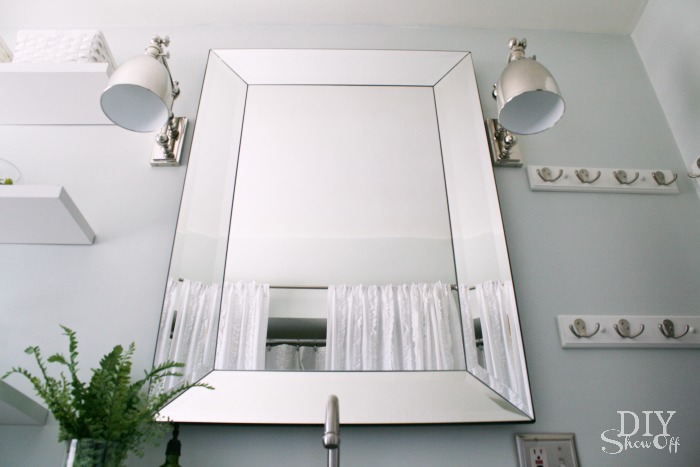
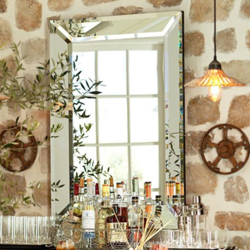
Pottery Barn Bevel Mirror: Go big or go home! {Heavy! Molly bolts included.} The mirror’s beveled mirror frame is the perfect glamorous accessory reflecting light and the illusion of more space into this small bathroom. 

bevel mirror

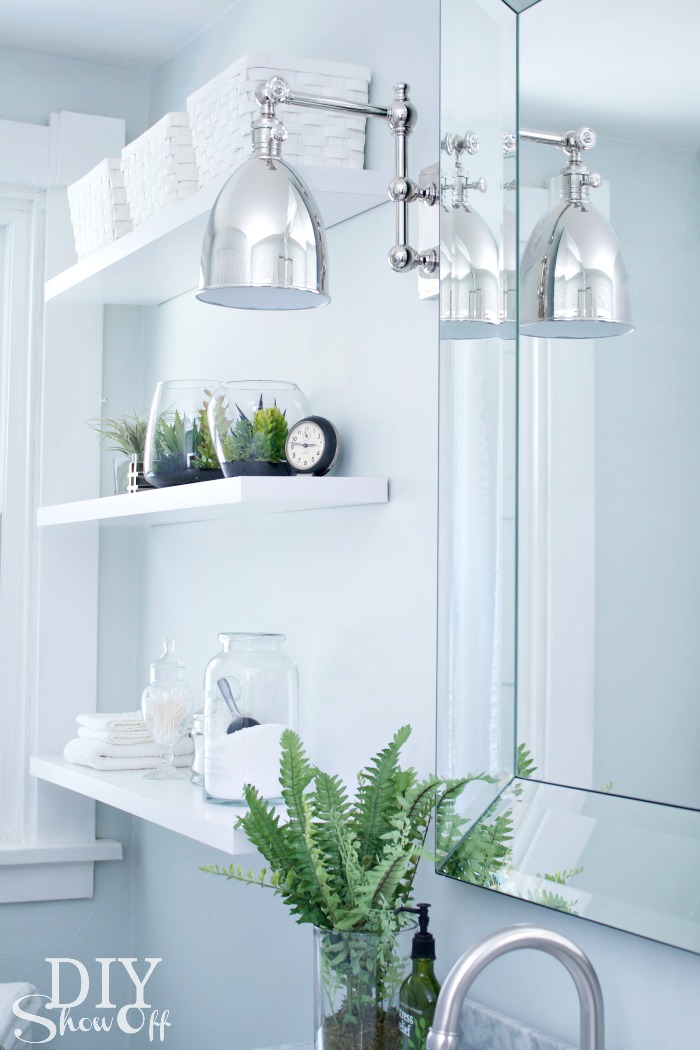
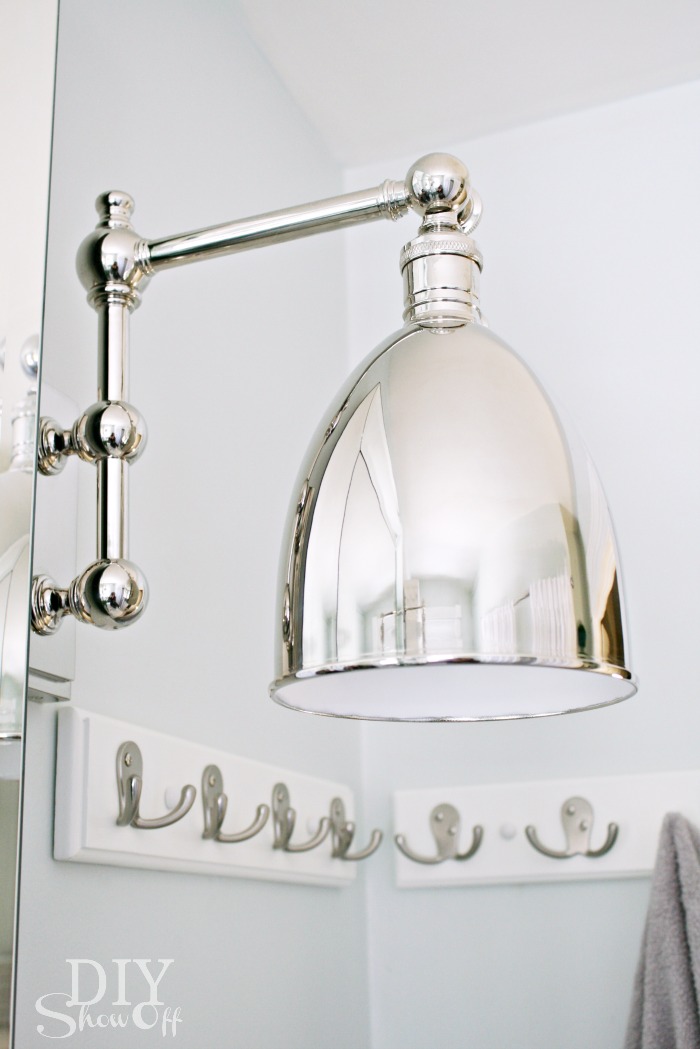
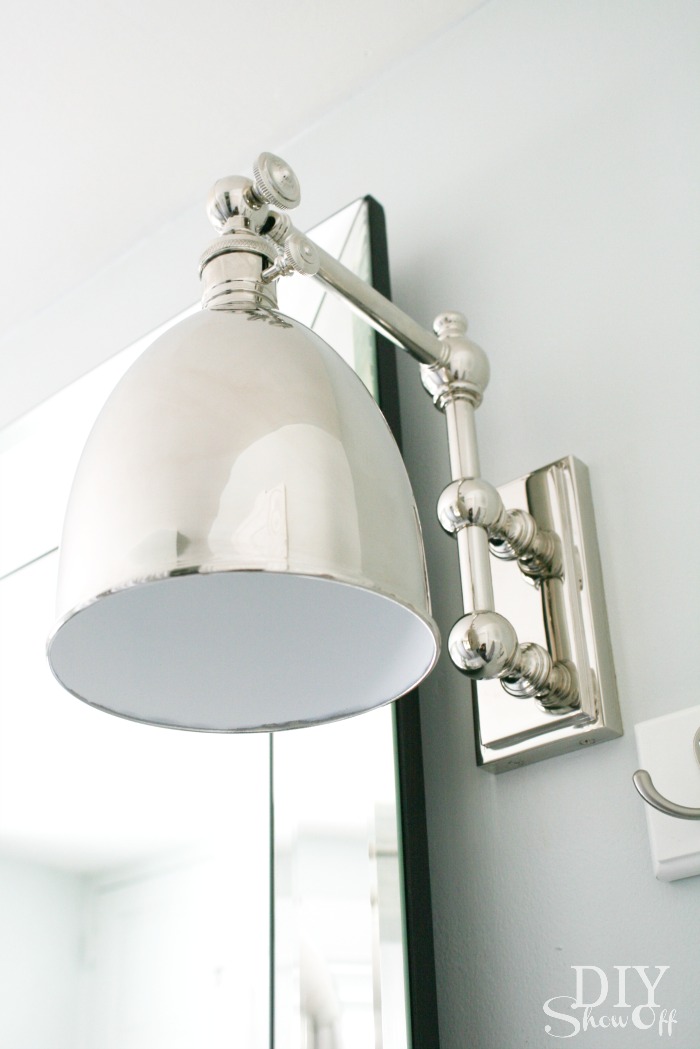
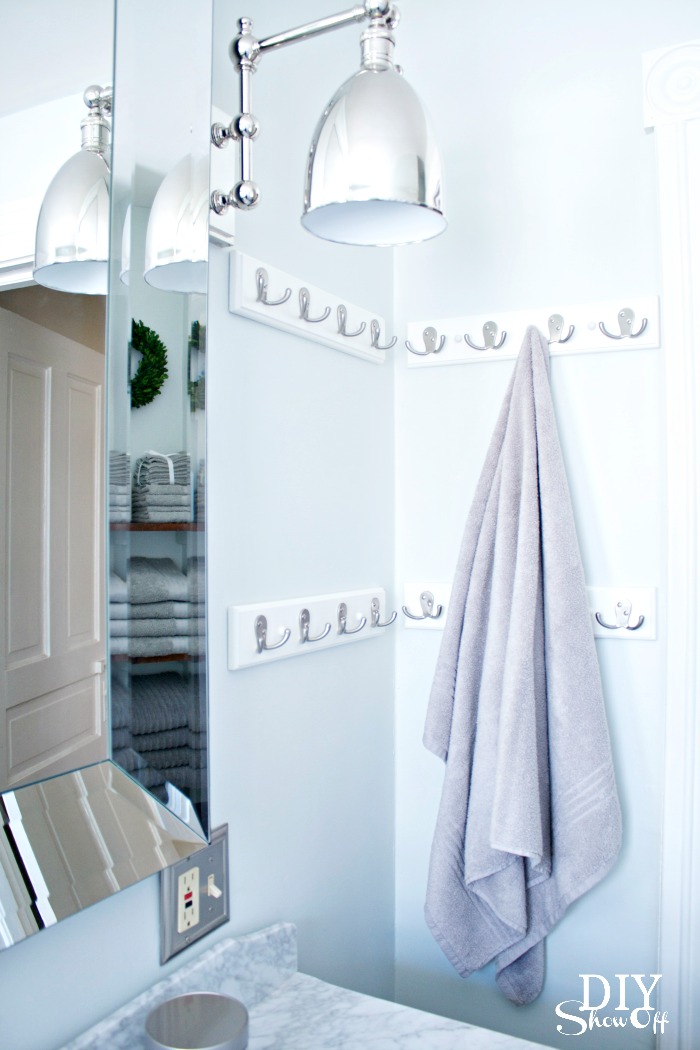
Lighting: Drool-worthy. ::sigh:: Thanks to LampsPlus for the stunning lighting! {Hudson Valley Monroe polished nickel adjustable wall lights} These are just the icing on the cake, aren’t they? Definitely my most favorite fixture in my home!

Lamps Plus Monroe Adjustable Arm Sconce

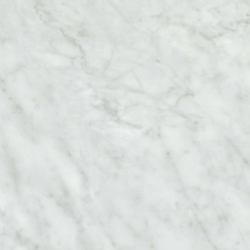
Floor: I did this all by myself! Would you believe they’re vinyl tiles? Easy to install and grout (use grout for vinyl) gives it a look so similar to real marble but without the maintenance or cost and installed in just a few hours! Check back for the tutorial.

grouted vinyl floor tiles - diyshowoff bathroom makeover

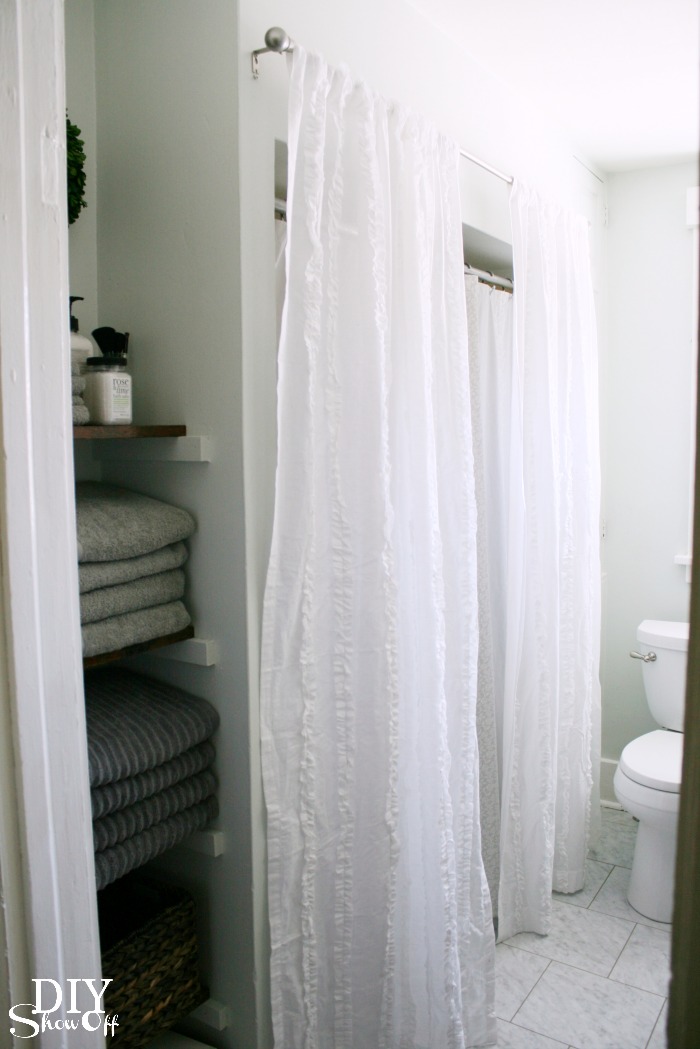
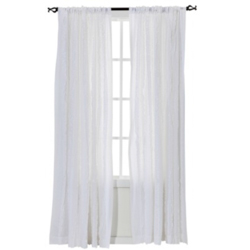
 The tub and shower will get a makeover later this year. In the meantime, I “framed” the bathtub nook/shower curtain with curtains (difficult to photograph that side of the room!)…

bathroom curtains

bathroom makeover diyshowoff

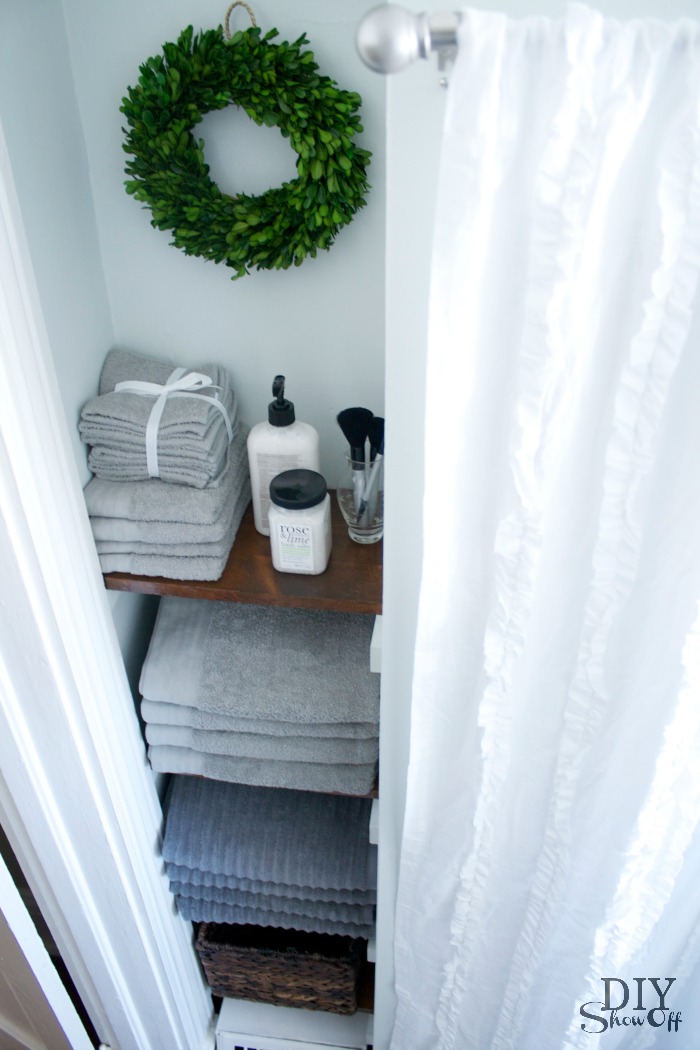
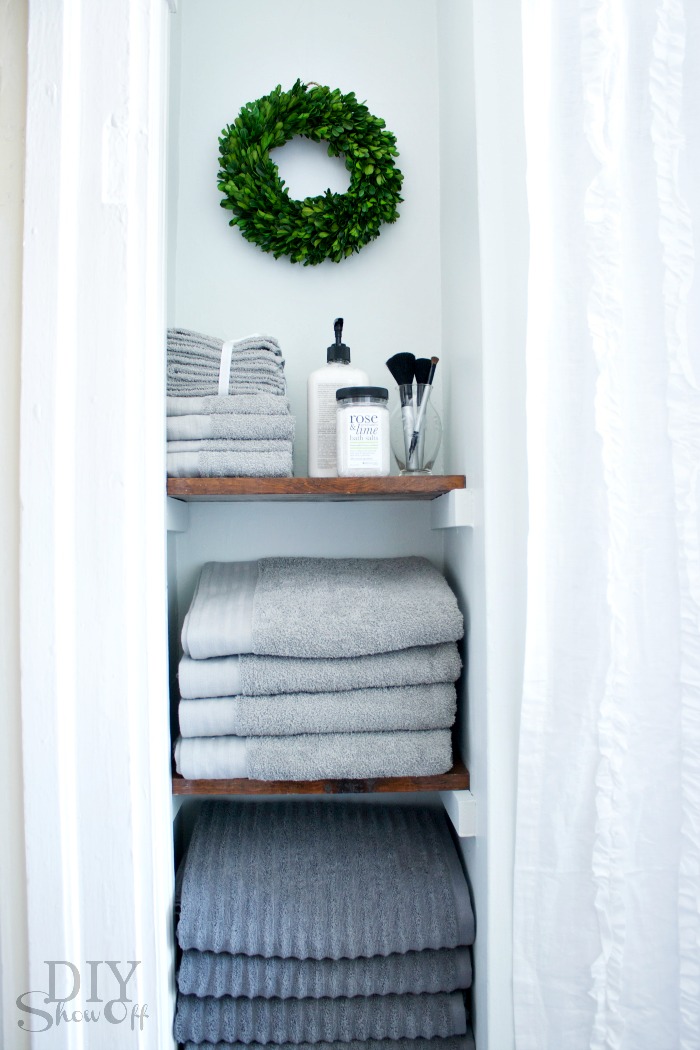
Storage to the left of the bathtub/shower:

bathroom storage

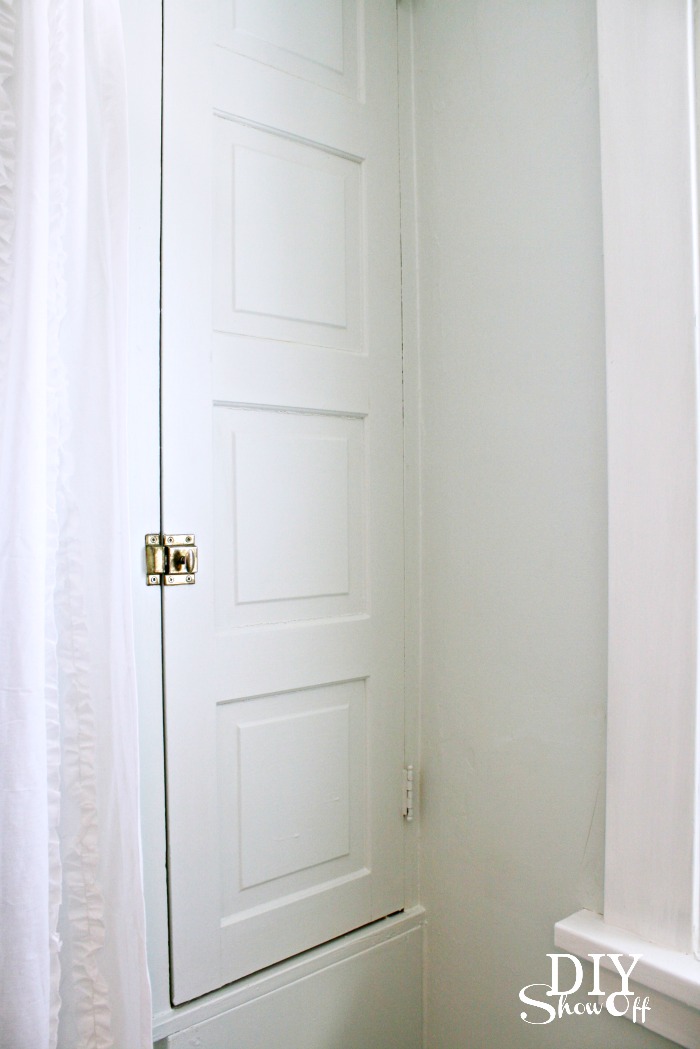
Built in storage cabinet to the right…

bathroom storage cupboard

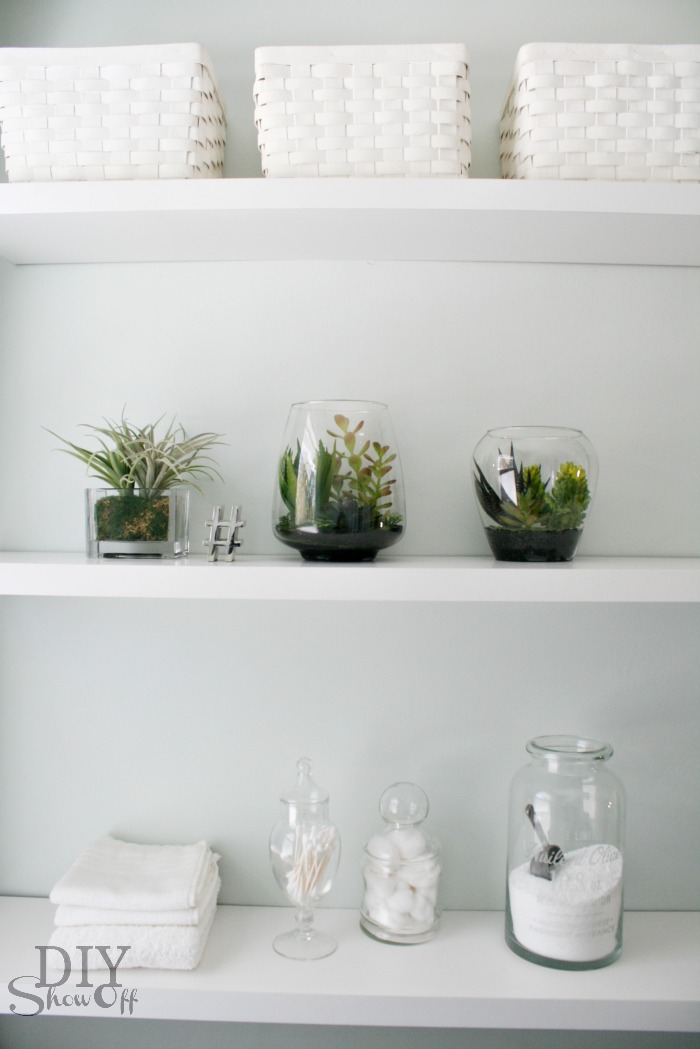
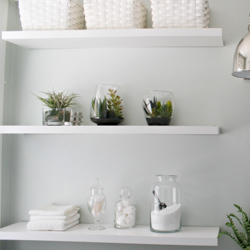
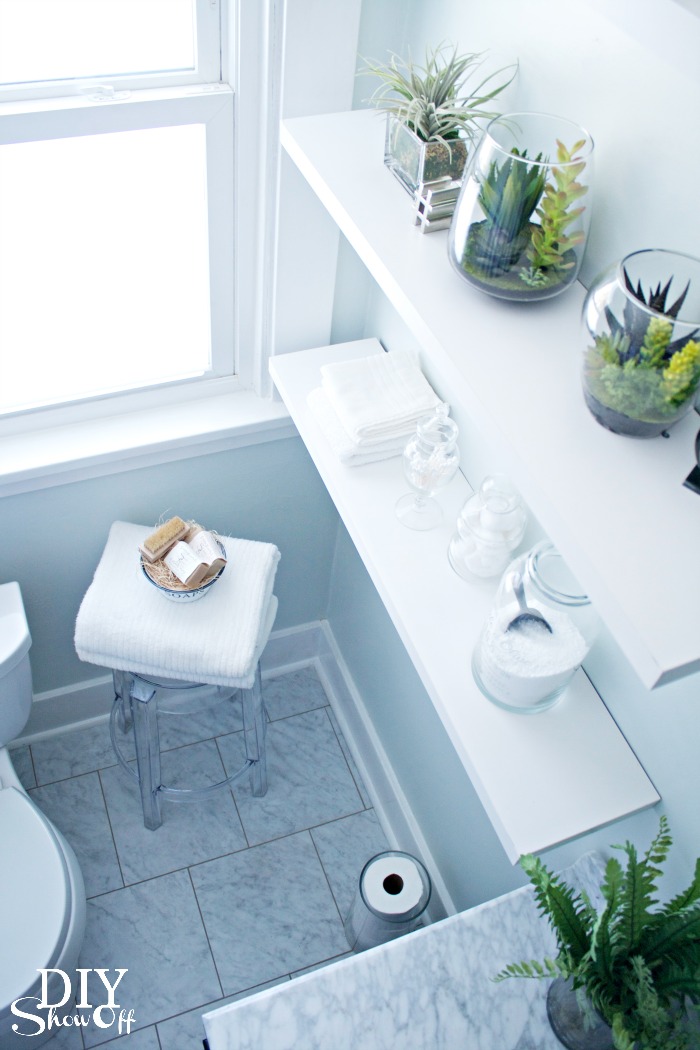
 Floating shelves and baskets provide more storage options. 

DIYShowOff bathroom shelves

Because there is no such thing as too many photos:DIYShowOff Bathroom MakeoverLampsPlus Monroe Adjustable Wall Sconce
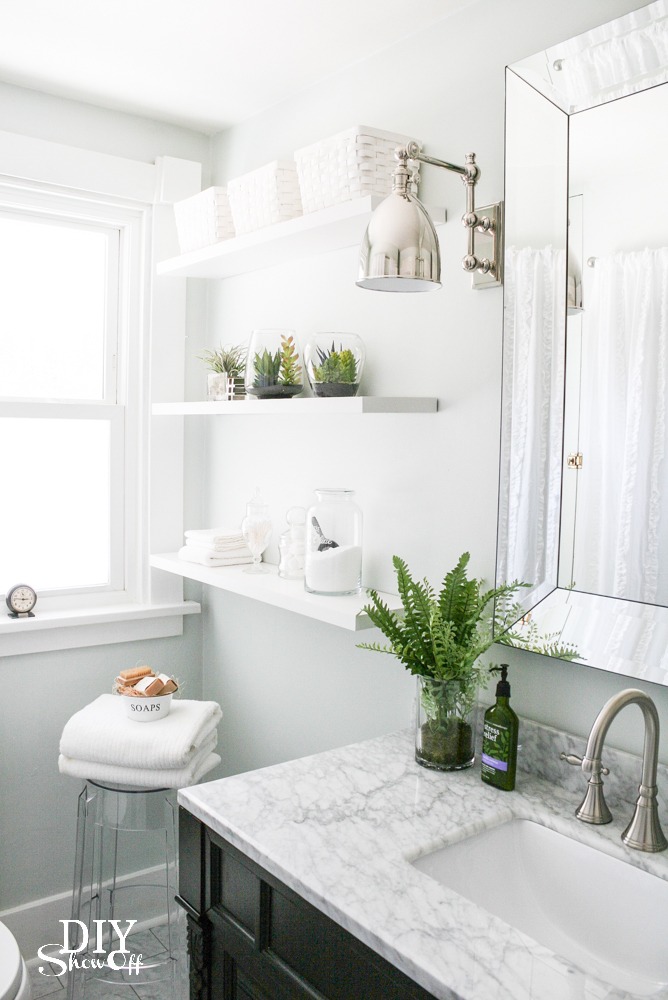
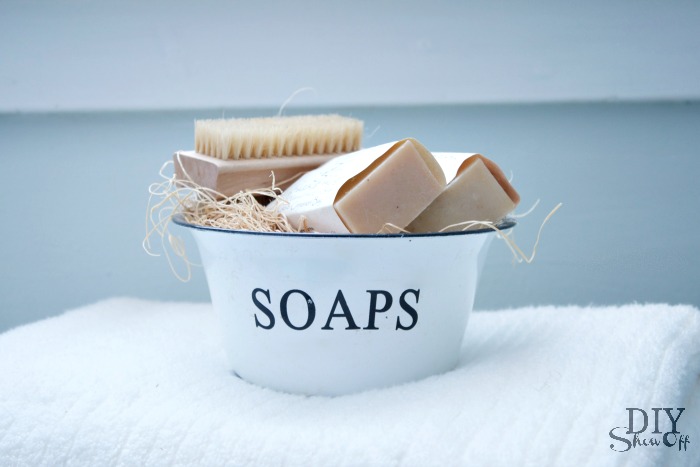
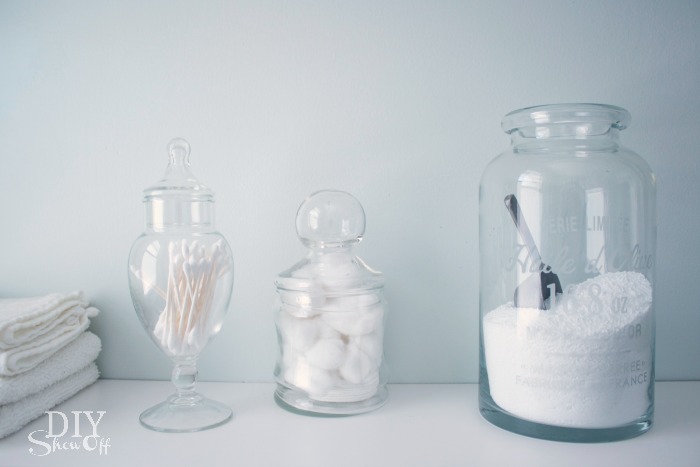
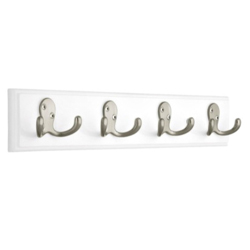
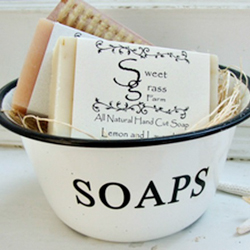
Bathroom makeover - towel nookFarmhouse Wares soap gift set - diyshowoff bathroom makeoverDIYShowOff bathroom accessoriesDIYShowOff bathroom lighting from LampsPlusBathroom storageDIY bathroom makeovertowel hooks - diyshowoff bathroom makeover

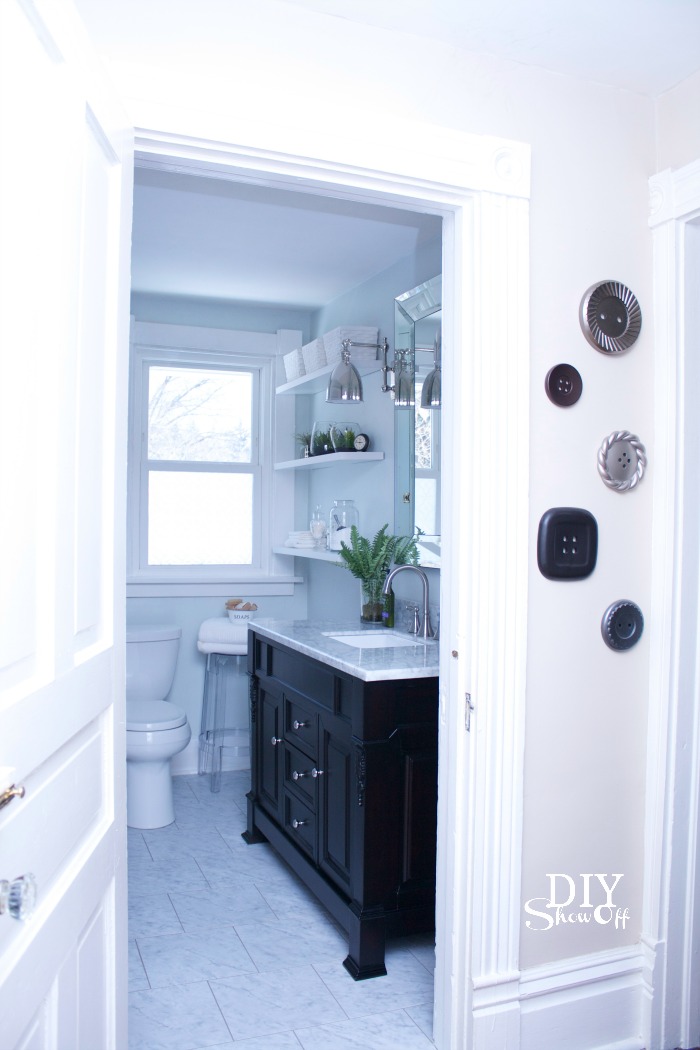
For those of you asking about the button wall art, they’re about 10 years old and I can’t remember where I got them so I’m pretty sure they’re out of stock (it was probably somewhere like JoAnn’s) but here’s button wall art I spied on Amazon, if you love buttons: 

bathroom makeover - diyshowoff

I’ve received a lot of questions about some of the accessories and fixtures shown above. Here’s a source list. Click the images for to be redirected. 

DIYShowOff bathroom makeoverDIYShowOff bathroom makeoverDIYShowOff bathroom makeoverDIYShowOff bathroom makeoverDIYShowOff bathroom makeoverDIYShowOff bathroom makeoverDIYShowOff bathroom makeoverDIYShowOff bathroom makeoverDIYShowOff bathroom makeoverDIYShowOff bathroom makeoverDIYShowOff bathroom makeoverbathroom makeover at diyshowoff.comDIYShowOff bathroom makeoverDIYShowOff bathroom makeover - Valspar Pale LinenDIYShowOff bathroom makeoverDIYShowOff bathroom makeoverDIYShowOff bathroom makeoverDIYShowOff bathroom makeoverDIYShowOff bathroom makeoverDIYShowOff bathroom makeoverDIYShowOff bathroom makeoverDIYShowOff bathroom makeoverDIYShowOff bathroom makeoverDIYShowOff bathroom makeover

Still have a question? Let me know in the comment section and I’ll get right back to you. Thanks so much for stopping by! 

Don’t forget to swing by to enter to win the Virtu USA Dream Bathroom giveaway to get started on creating your dream bathroom makeover. Easy to enter, lots of prizes! 

Ready for some more bathroom makeover inspiration? Check out these awesome blog friends for more:

Linking up to: 
Bathroom Before and After

Hello DIY friends! Let’s talk bathroom makeovers! Do you have an embarrassment of a bathroom? Outdated? Blah? Boring? Frightening? I know the feeling. Read on, my friend. You just may find yourself in a position to give your bathroom a serious facelift thanks to Virtu USA!bathroom makeover before and after

There are two bathrooms upstairs in our home. The master bathroom is the smaller of the two (remember, old farmhouse = bathrooms were not a part of the original house plans) and the bathroom I’m about to show you. One for my hubby (the master) and one for me (this one). I know you’re going to be envious that I have had this gem all to myself for a couple of years. Labeled the “girls’ bathroom”, welcome to my own little private oasis… bathroom makeover beforeGag! Because no one sees the upstairs main bath except those who live here, it hasn’t been at the top of the DIY priority list in the 7 years since we moved in. It was functional and clean even if it was super ugly and outdated. Sort of a hurry up, shower, brush your teeth, throw on some makeup and get the heck out of this room! But a less desirable (to put it nicely) “before” makes for a magical “after”. This girl has a happy ending for sure!DIYShowOff Bathroom Makeover Vurtu USAWhen the opportunity to work with Virtu USA came up, it was just the motivation I needed to finally FINALLY rip out the old cheap doorless vanity (will have a new life as storage in the barn). The old medicine cabinet with Hollywood dressing room lights (that’s what those lined up round bulbs remind me of) became a roadside treasure for someone who must have needed it. My heart didn’t break as we tossed the old peeling up vinyl and I think the bathroom cried tears of happiness when I painted those poor sad walls.bathroom beforeTiling the tub and shower surround will have to wait until later this year but that didn’t keep me from putting some blood, sweat, tears and lots of DIY and love into turning my bathroom into a beautiful new peaceful place just for me. bathroom makeover afterThere are a couple of things that really make this an OMGosh! reveal. You probably couldn’t help but notice that gorgeous 48 inch Huntshire vanity topped with beautiful Italian Carrara marble…Huntshire bathroom vanityand the Talia faucettalia faucetI was immediately drawn to what the Huntshire description calls “straight lines and strong features”. I love the square basin with the traditional beauty, not to mention the size and storage (drawers and doors have soft closing hinges and slides!)…a place for everything and a big bold statement that this bathroom is finally not only truly functional but stunning as well!espresso bathroom vanity

More photos:DIY bathroom makeoverI know you’re drooling over that lighting too, right? They’re the Monroe Polished Nickel Adjustable Wall Lights from LampsPlusDIYShowOff Bathroom Makeover

See something you like? Check out the source list with more details and pictures here

DIYShowOff Bathroom Makeover before and after

Does your blah bathroom have you wanting to borrow your neighbors? Do you have a vision for creating a spa-like oasis? How would YOU like a chance to win a DREAM BATHROOM MAKEOVER? Head over to the Virtu USA Dream Bathroom Contest page for more details on how you can enter to win! Good luck!dream bathroom giveawayReady for some more bathroom makeover inspiration? Check out these awesome blog friends for more:
*This post is sponsored by Virtu USA. As always, opinion, photos, and words are my own.

How do Painted Faucets Hold Up?

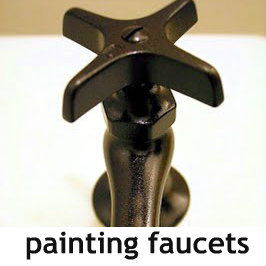
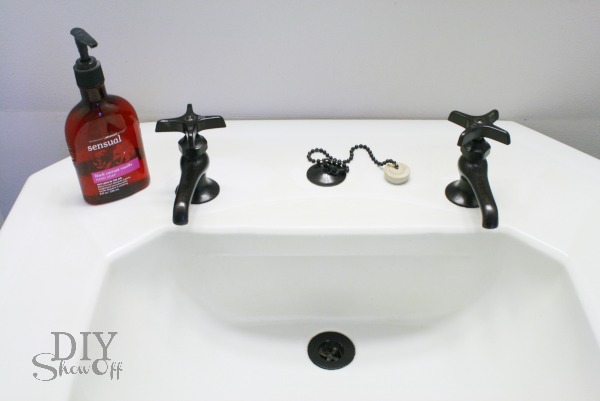
Nearly four years ago, I painted the faucets in our budget friendly guest bathroom makeover. You can see how I painted them here

painting-bathroom-faucets

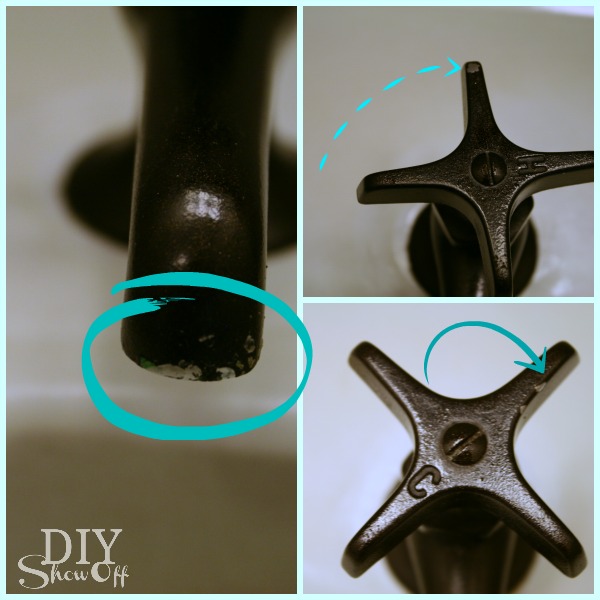
Do I regret it? Not one bit. Has it held up? For the most part. Here is how they look four years later…

painted faucet durability

These faucets are in a guest bathroom that gets used every day however it’s not heavy use. And I learned after taking this picture that the spout was even less chipped than shown. That’s mostly dried toothpaste. Oops. 

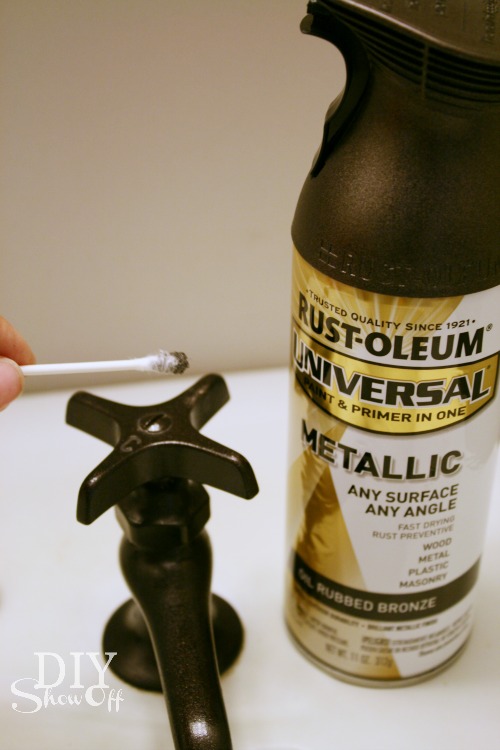
The fix: Since my paint is not flaking, I sprayed Rustoleum’s Metallic Oil Rubbed Bronze onto a styrofoam plate (until I got a “puddle” of paint). Then I used a Q-Tip to touch up the paint.

painted faucet touch up

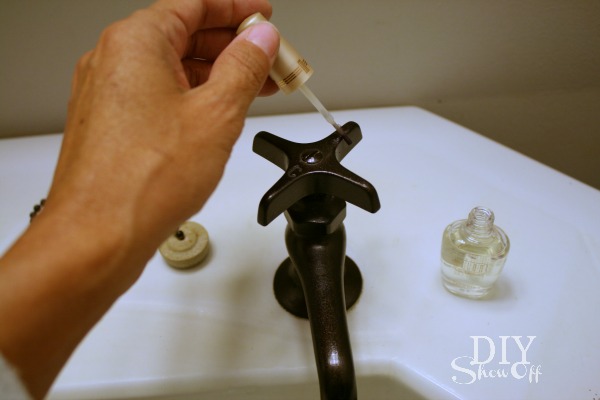
Once that was dry (a few hours), I sealed the touch ups with clear nail polish.

touching up painted faucets

Good as new!

DIY painted faucets 

Guest ready once again…

painted faucets

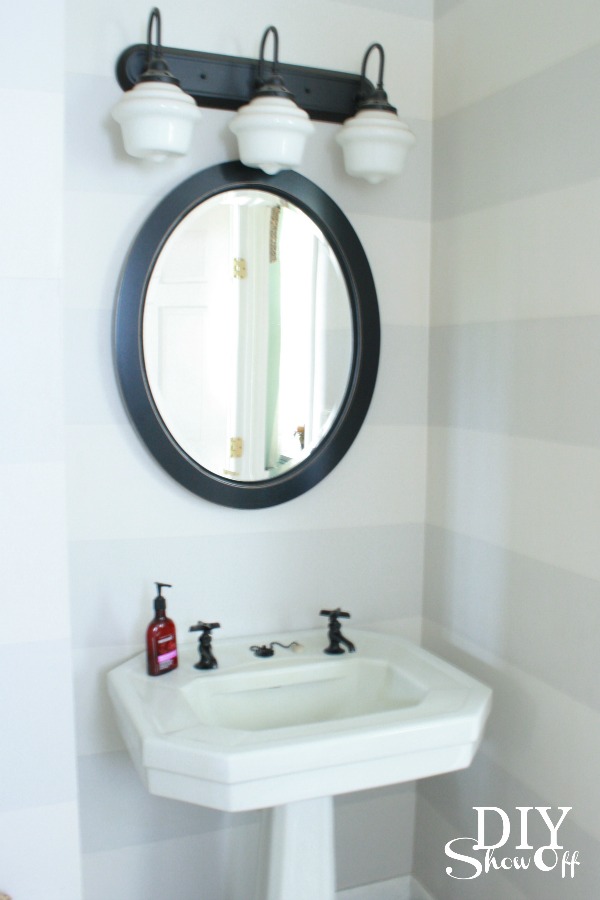
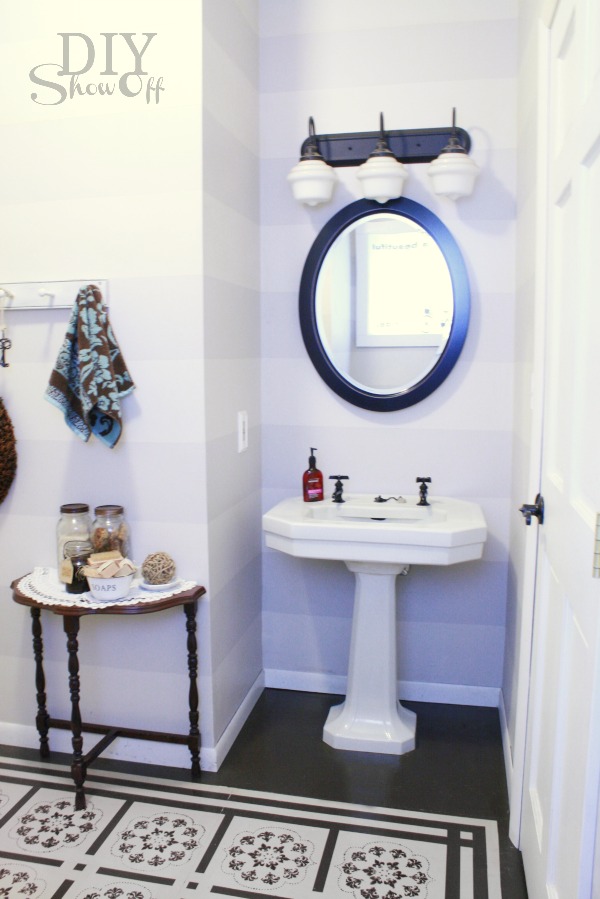
For us, painting the faucets updated the old vintage pedestal sink and kept the cost of our bathroom makeover down. Finding separate hot and cold faucets with their own spout was a challenge so painting the faucets worked for us. I do have to say…it’s rather odd having one spout for cold and one spout for hot. There’s no dilly-dallying washing hands under the hot spigot…ouch! Filling the sink is the only option for “warm” water. Strange, isn’t it?

And in case you’re wondering, the painted floor has held up well too!guest bathroom

See the entire before and after: Bathroom Reveal.

Full painting faucets tutorial: painting-bathroom-faucets