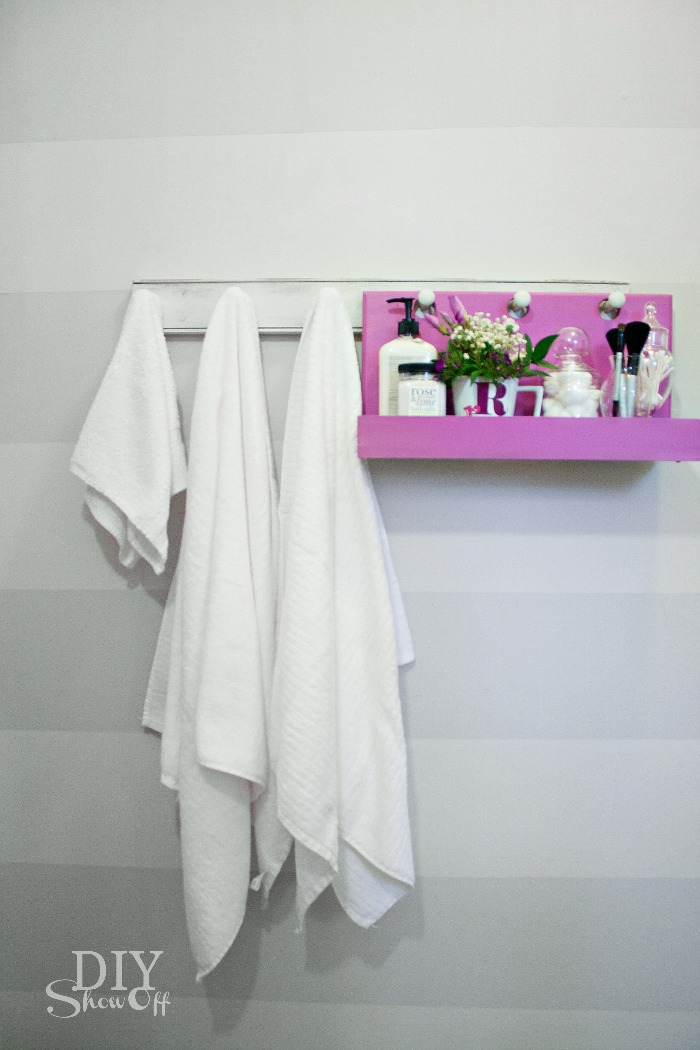
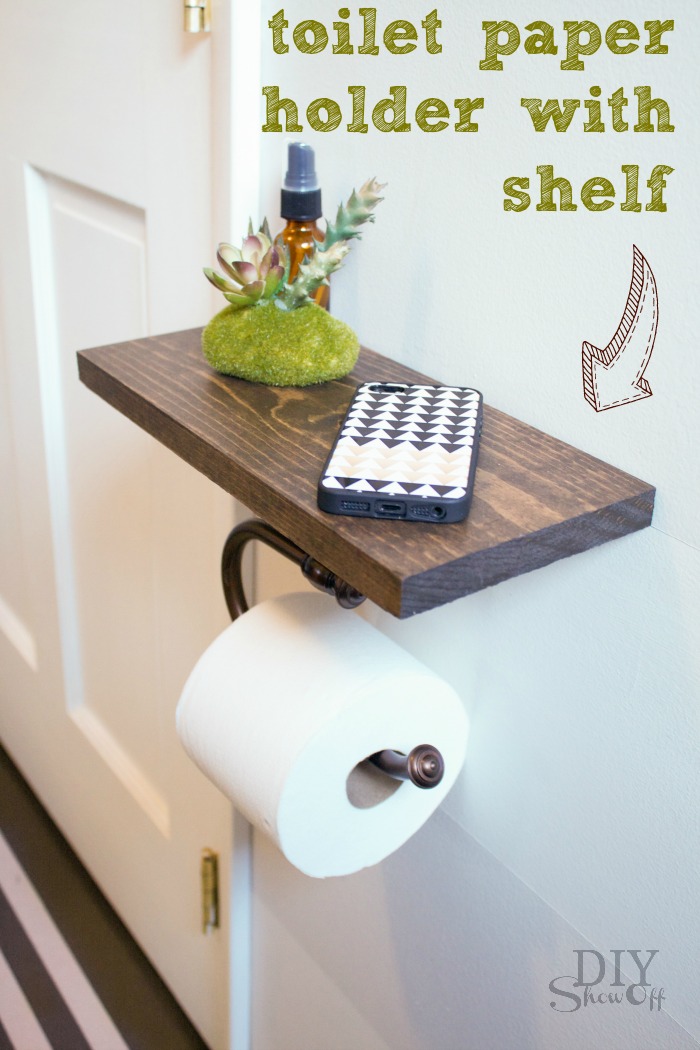
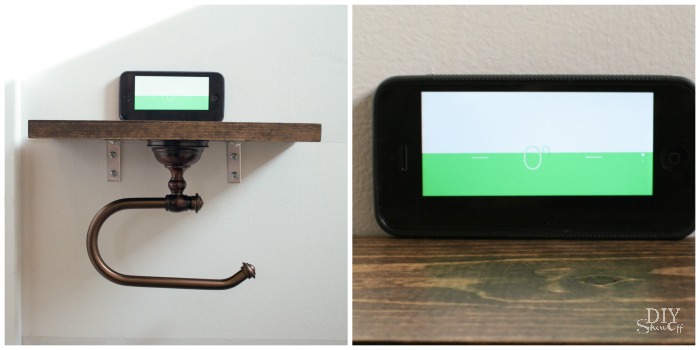
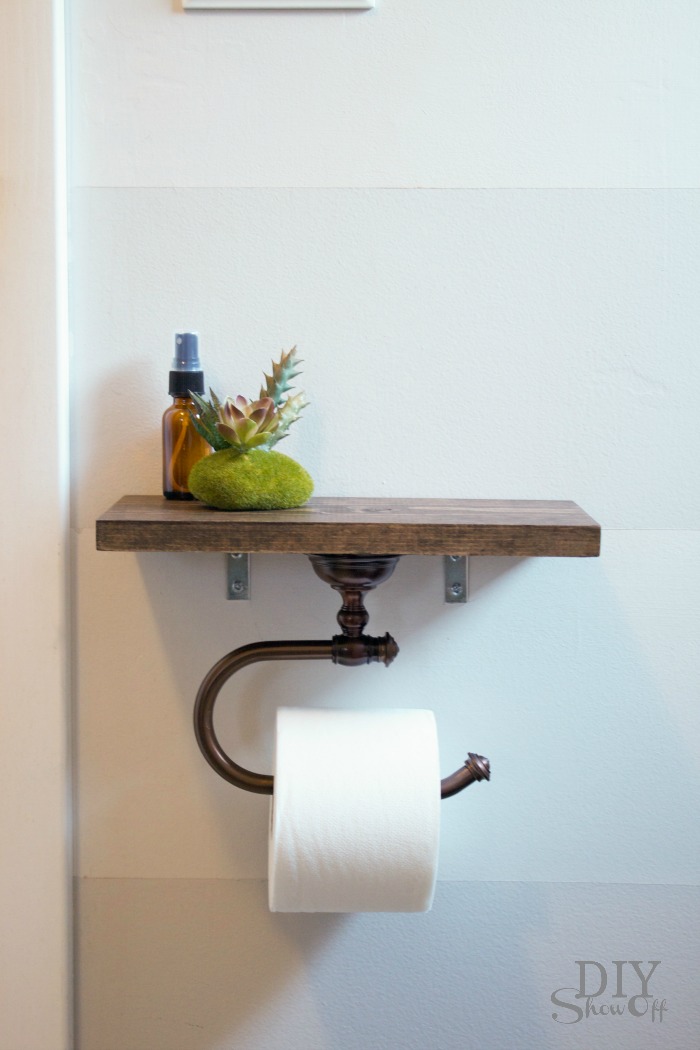
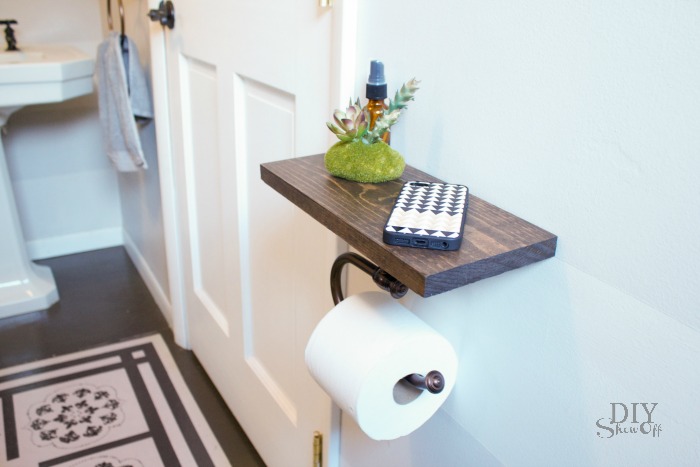
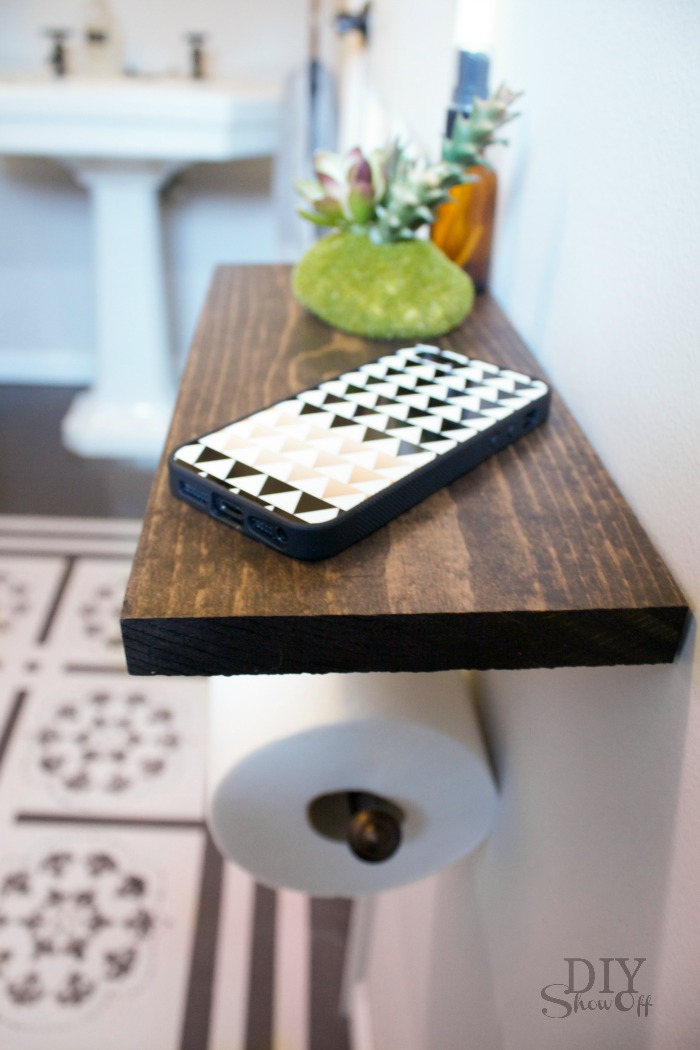
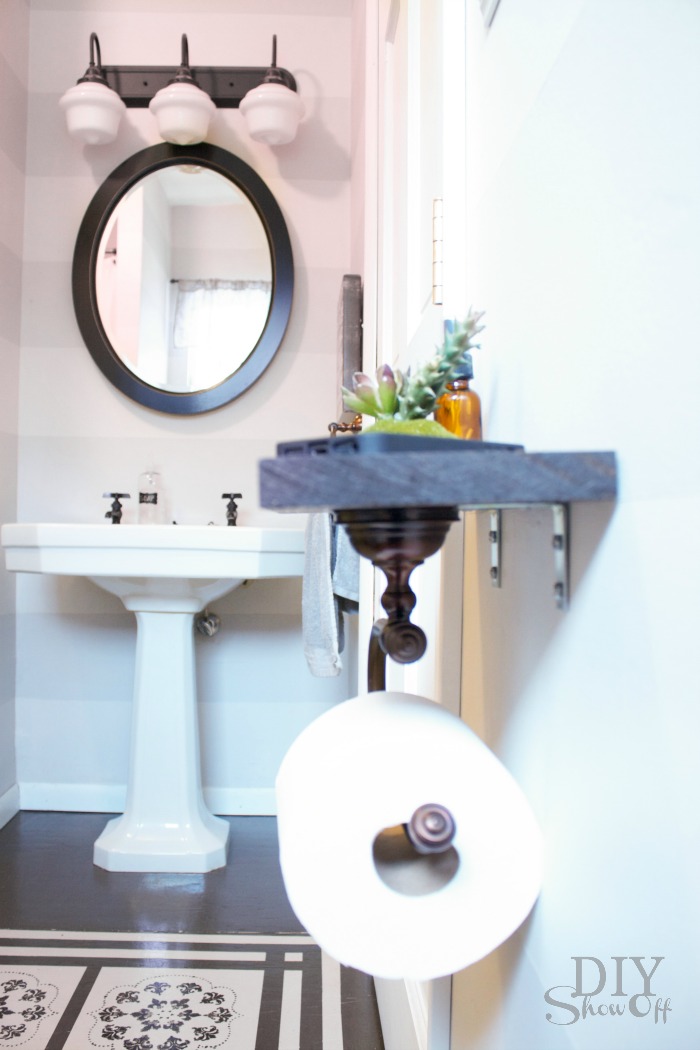
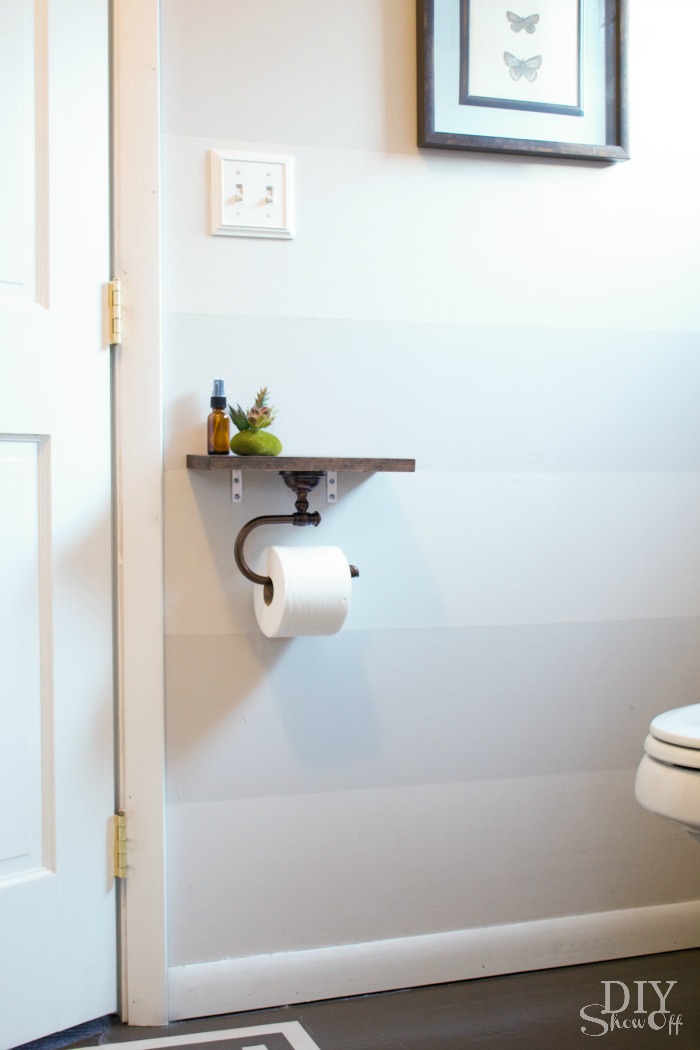
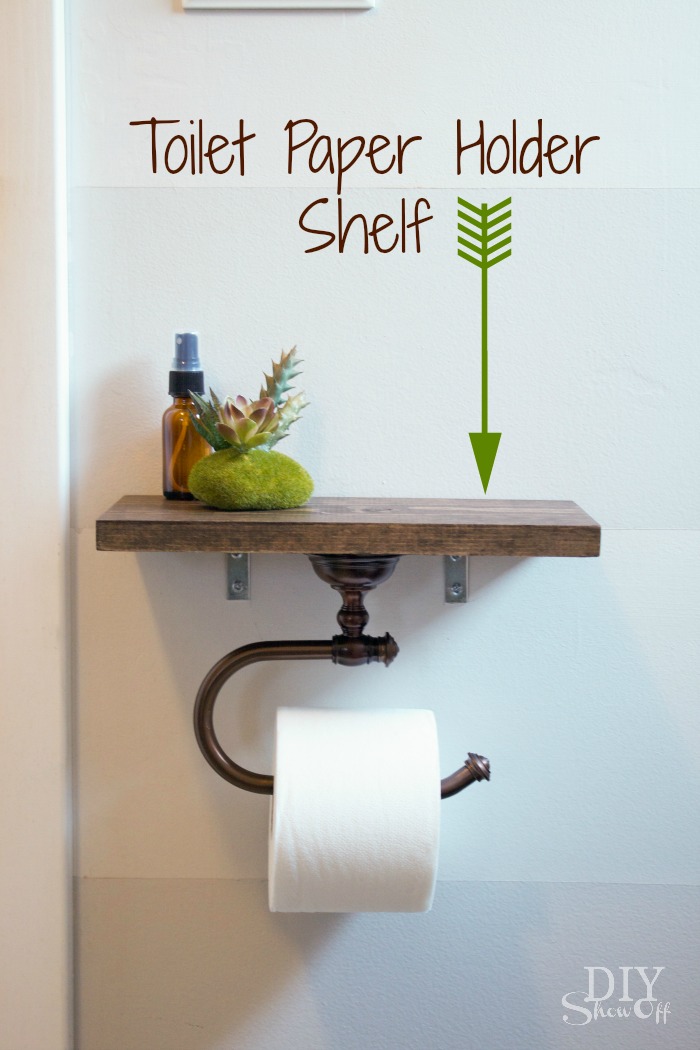
Lowe’s Creative Ideas Monthly Challenge: For as long as we’ve lived here (going on 8 years), the guest bathroom’s toilet paper rested in a basket on the floor. Not ideal. So, rather than just secure a pretty oil rubbed bronze holder to the wall, I attached it to a piece of stained scrap wood to create a shelf for decorative accessories like a small plant, air freshener, vase of flowers, extra t.p. or even just cell phone accident prevention, if you know what I mean.
What I used:
- oil rubbed bronze toilet paper holder
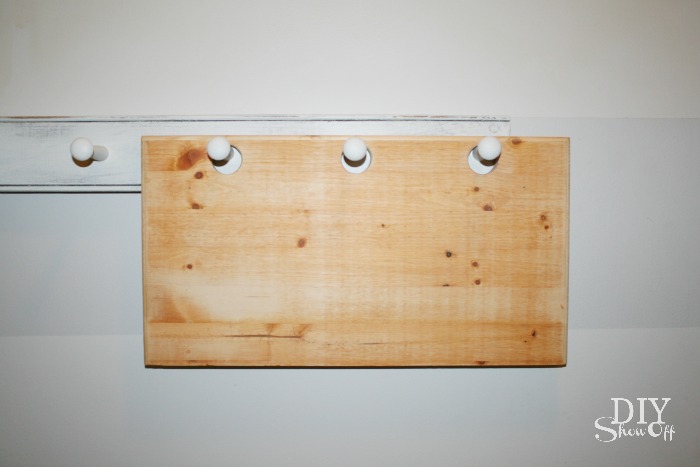
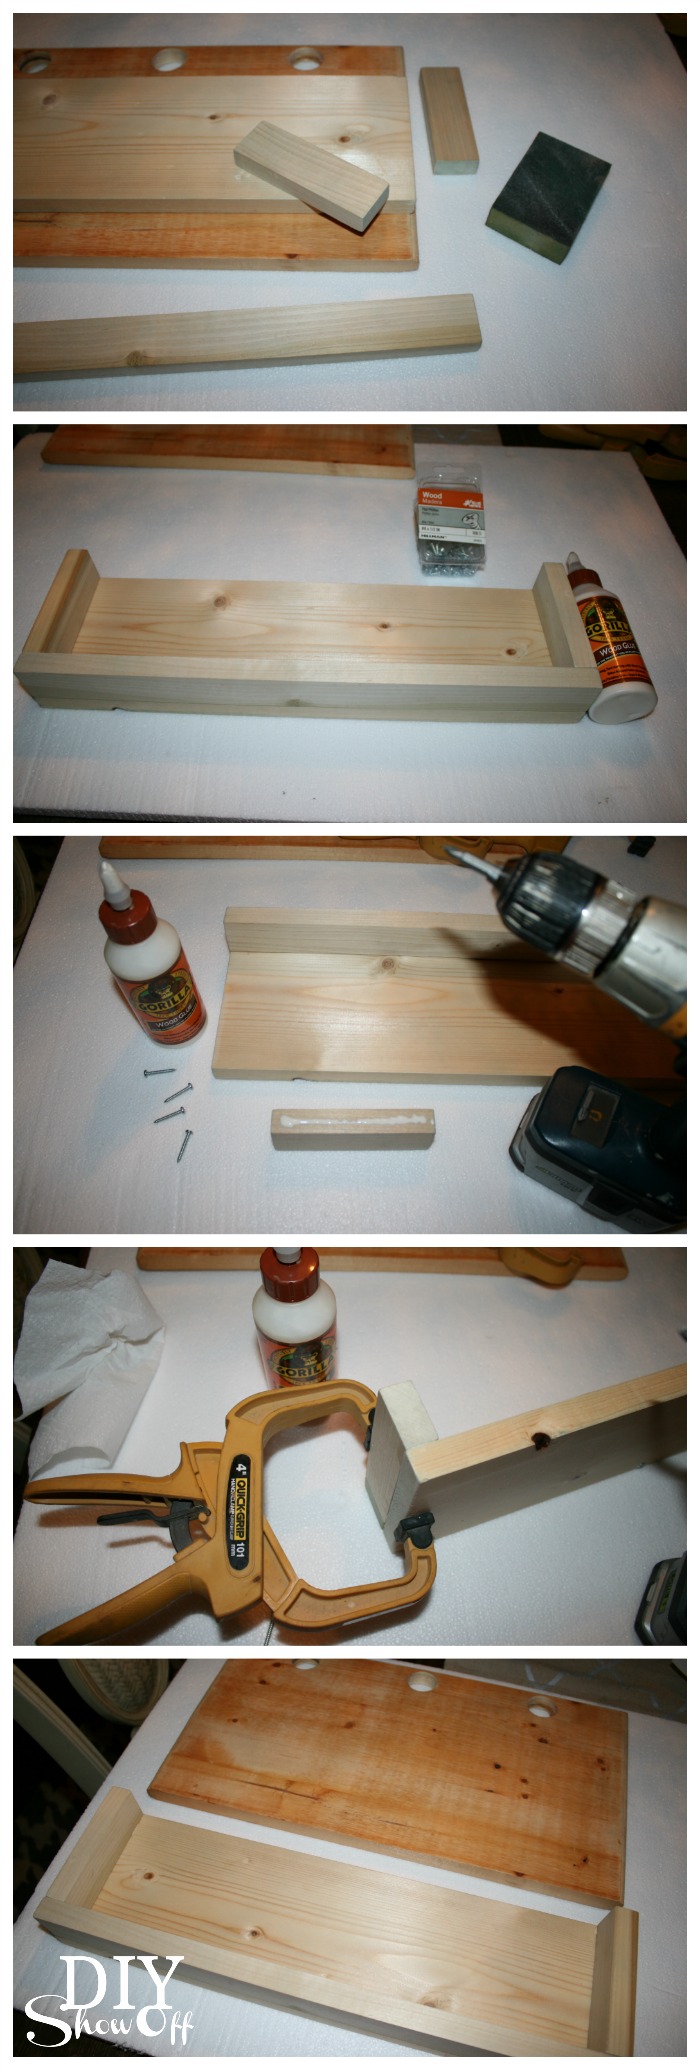
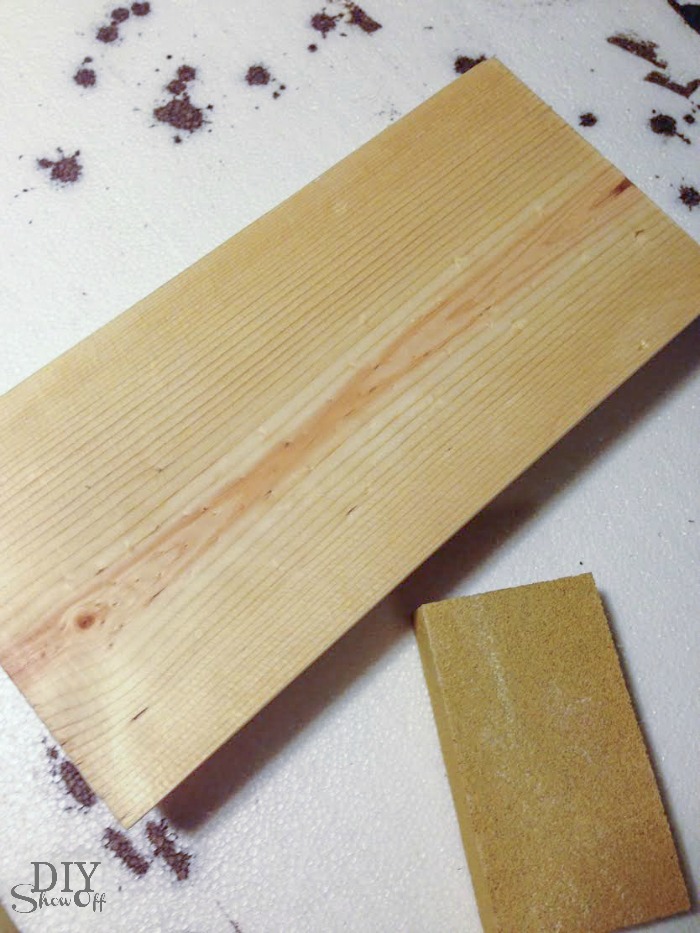
- scrap wood (mine is a 1×6 measuring about 10″ in length)
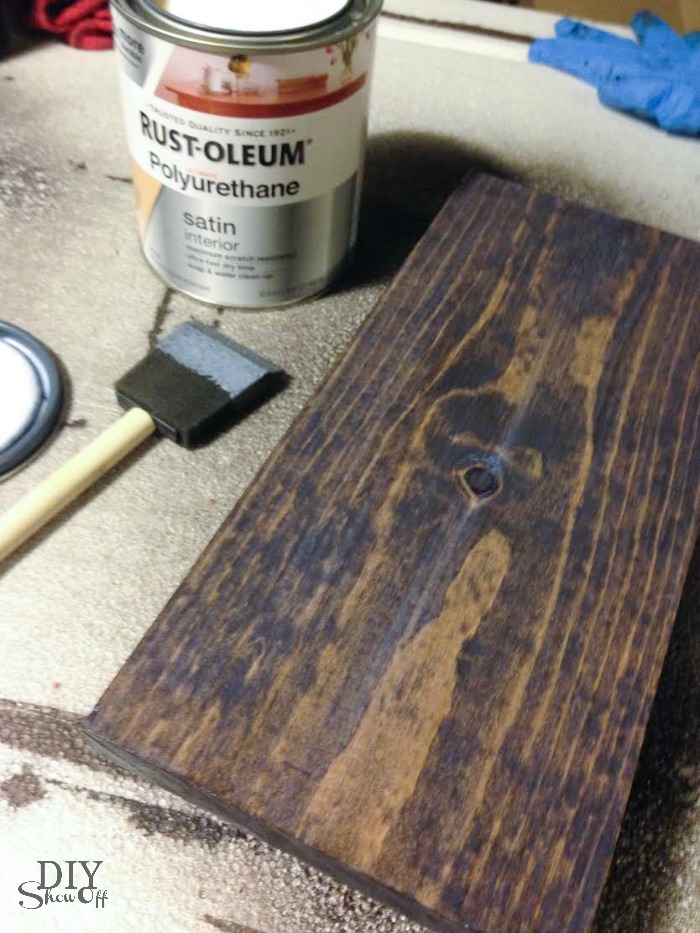
- Rustoleum Ultimate Wood Care stain & polyurethane
- 2 corner brackets and screws (you could try decorative brackets if they work with your holder/wood measurements)
What I did:
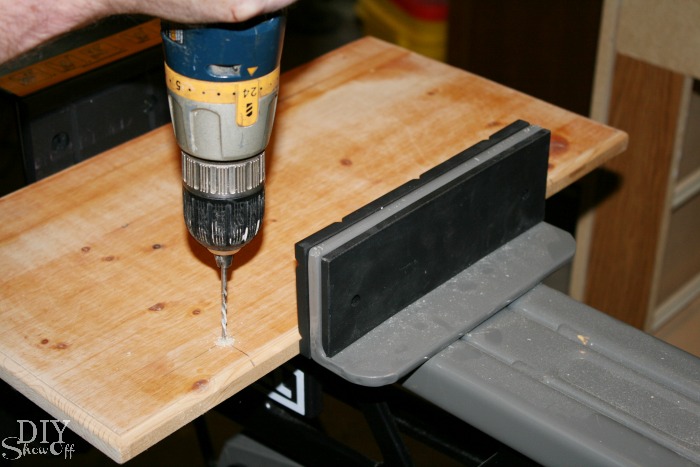
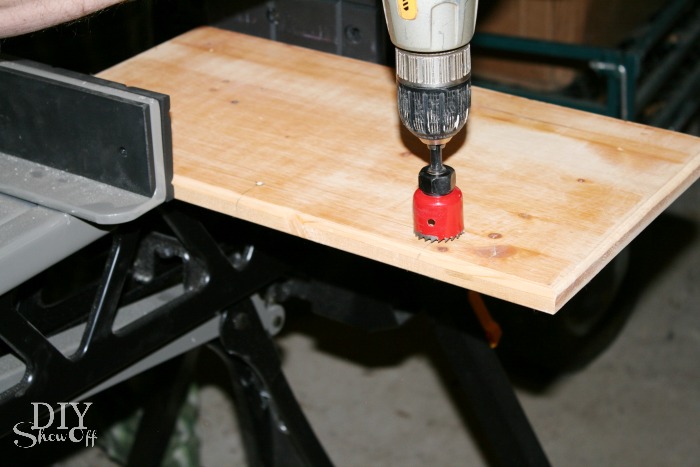
1. Cut, sand and clean a piece of scrap wood.
2. Stain wood shelf by applying stain. Then wipe away with a clean rag. I use RustOleum Ultimate Wood Stain since it dries in about an hour.

3. Seal wood. I did two coats.
4. Attach the toilet paper holder to the under side of the shelf. Allowing room for toilet paper to roll (not be tight agains the wall when installed).

Optional: Have inspector approve your work.
5. Attach corner brackets on one side where shelf will rest against the wall.
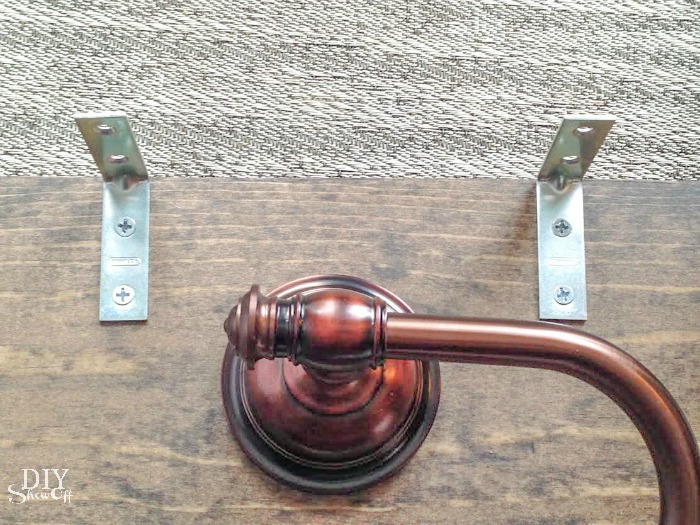
6. Decide placement (keeping everyone’s size in mind – not too far of a reach but not so close that it’s in the way of someone’s knees or thighs) and using a level (there’s one in my iPhone’s compass), secure shelf to the wall with screws (use wall anchors if needed).
7. Add a roll of toilet paper.
Other bathroom updates:
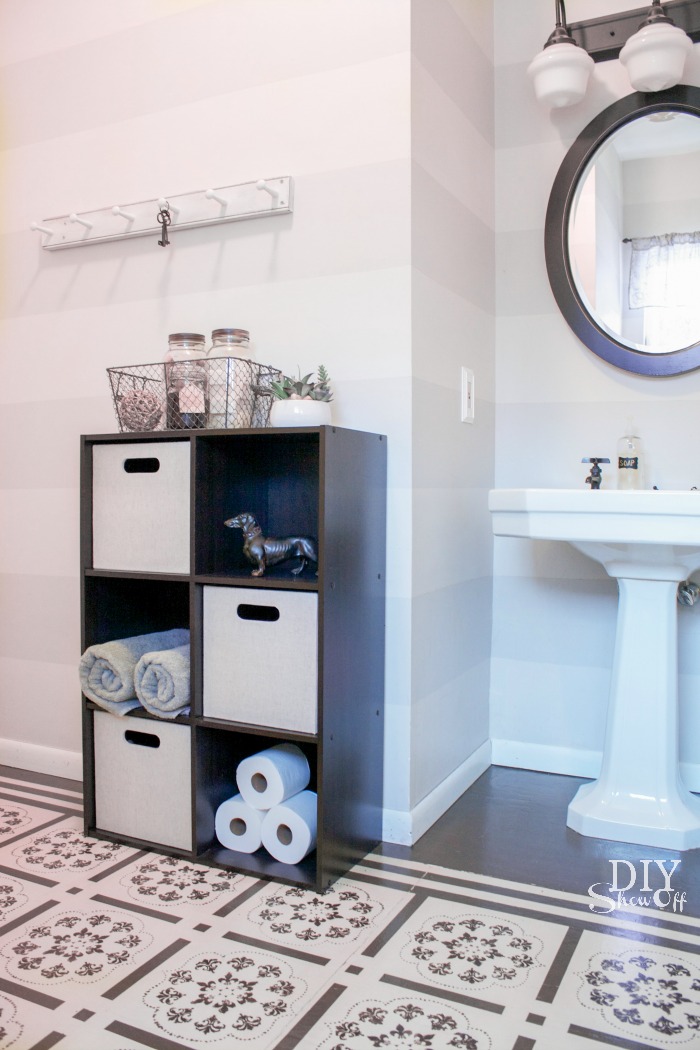
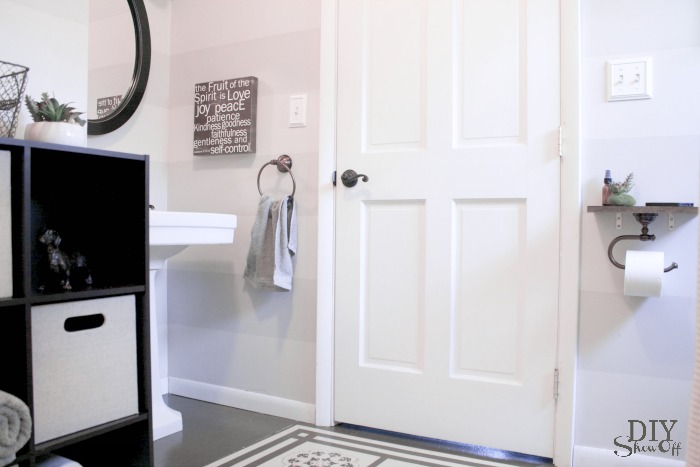
Pedestal sink means no storage. Storage cubes with linen milk crates/bins for organizing towels and bath products…
 {It’s been nearly SIX years and the painted floor is still in good shape!}
A towel ring for hand towels…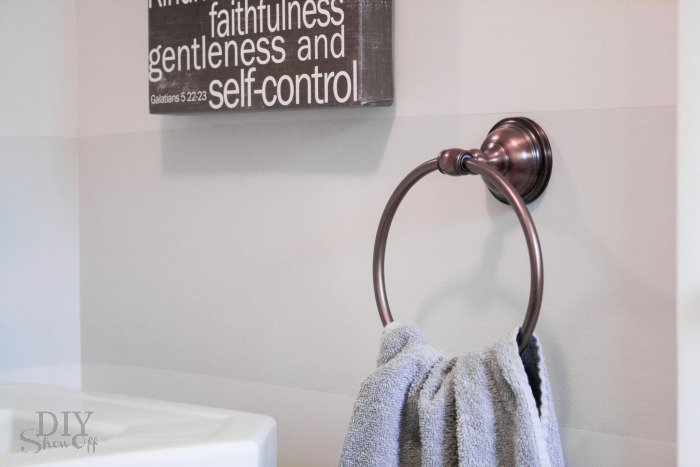
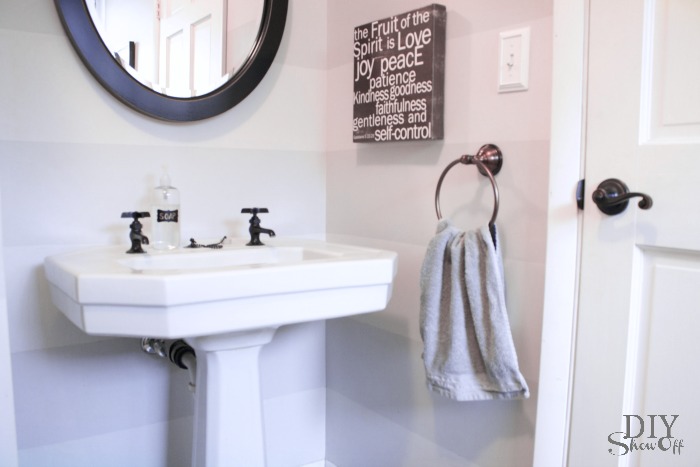
Just a few finishing but helpful/functional accessories make a big difference!

I received a Lowe’s gift card to put towards this challenge. Opinion and above idea is 100% my own. More DIY ideas at Lowe’s Creative Ideas or follow Lowe’s on Instagram, Pinterest and sign up for the Creative Ideas magazine and app.