Ombre Stenciled Flower Pots

This is definitely the summer of DIY flower planters at DIYShowOff, isn’t it? We’ve always been so busy with projects INside the house, that decorating outside hasn’t been a priority but this year, I’ve been especially happy to celebrate summer. I wanted to spruce up the yard a little with some colorful flowers and flower pots and that’s exactly what I’ve accomplished. I do promise (I think) that this is the last DIY flower pot project of 2013.  

Stacked Stenciled Ombre Flower Pots Tutorial

Materials:

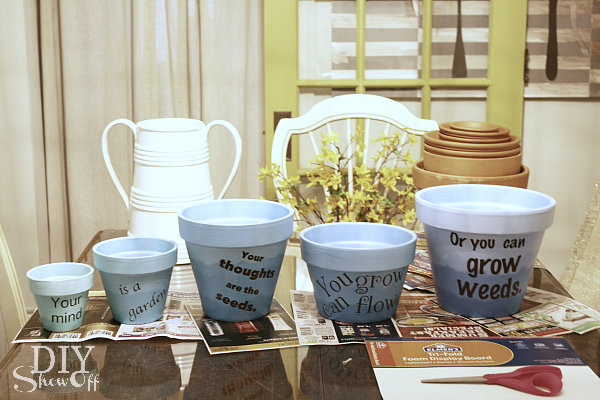
  • Terra cotta flower pots (5 different sizes from smaller to bigger)
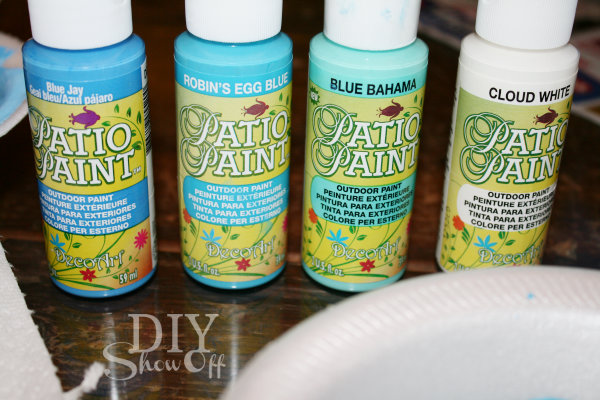
  • DecoArt Patio Paint (1 Blue Jay Blue, 1 Robin’s Egg Blue, 1 Blue Bahama, 2 Cloud White, 1 Woodland brown)
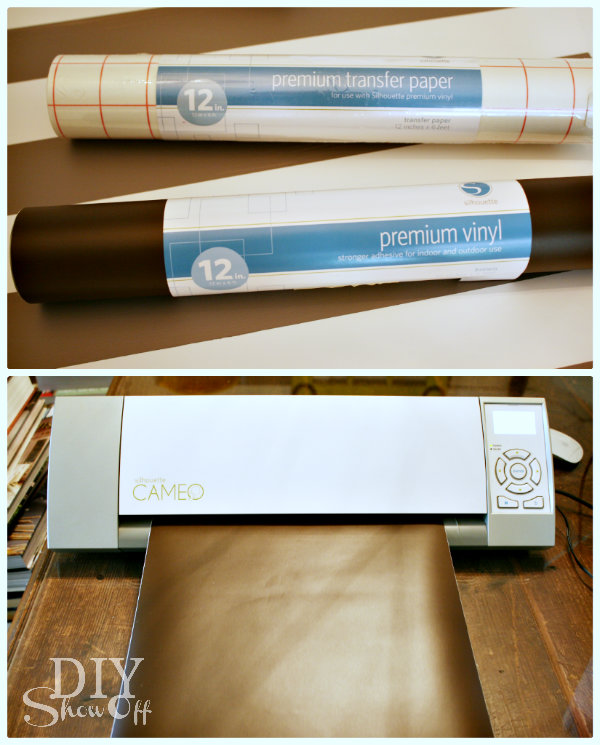
  • Vinyl stencils (I created mine with my Silhouette Cameo and vinyl from my sponsor, Happy Crafters). 
  • Krylon Clear Coat
  • Rebar (mine is 42″)
  • Potting soil and flowers
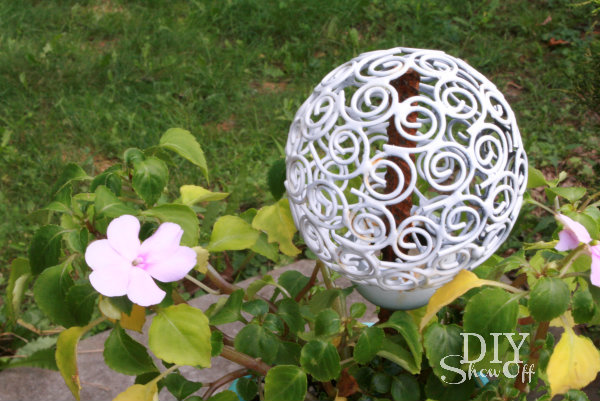
  • Optional: Curtain rod finial (I found mine at a thrift store and spray painted it white)

Ombre flower pots Tutorial:

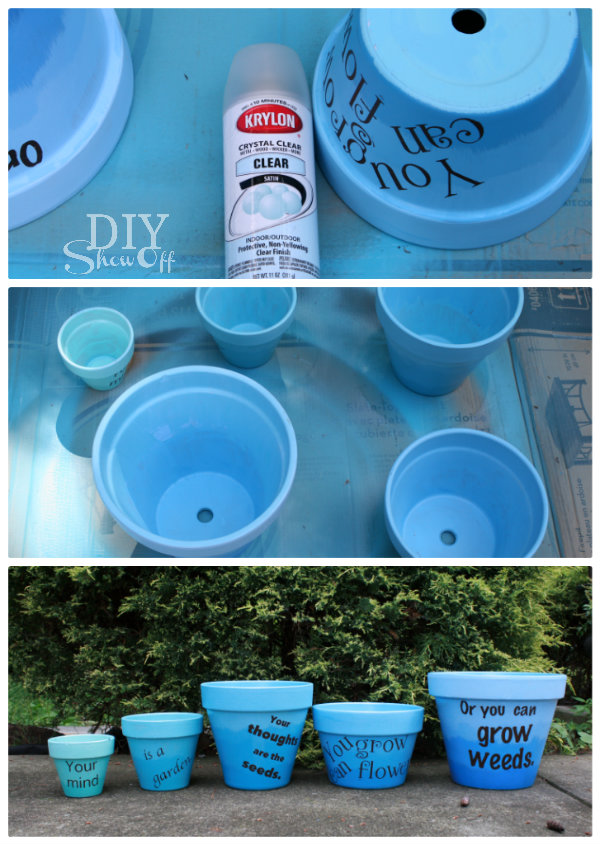
I purchased three colors blue and two bottles of white patio paint to create 5 colors in styrofoam bowls:

  • Blue Jay Blue
  • 50/50 Blue Jay Blue and Robin’s Egg Blue
  • Robin’s Egg Blue
  • 50/50 Robin’s Egg Blue and Blue Bahama
  • Blue Bahama

deco art patio paint

For each pot, I started with one of the base colors above. Using a foam brush, I started on the bottom, “feathering” the paint. I then elevated my pots to make painting/drying easier. 

painting terra cotta flower pots

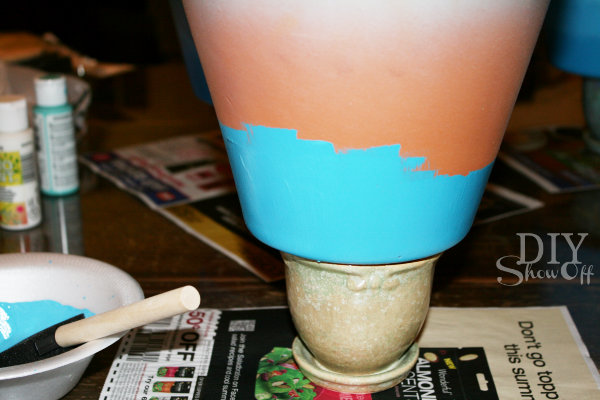
Then added white to the paint and feathered another row on the same pot, working my way around the pot.

And added more white and repeated.

ombre flower pot tutorial

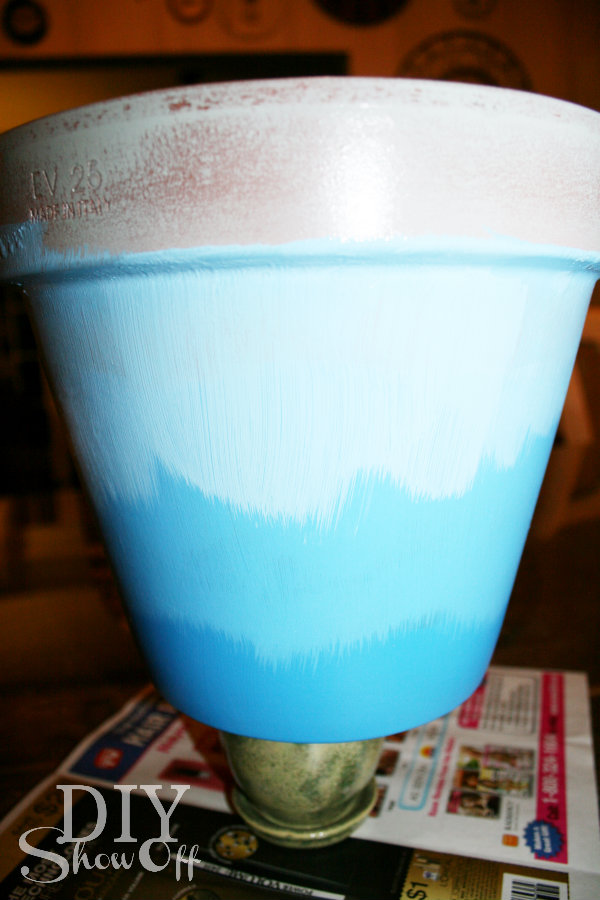
When the bottom was dry, I flipped the terra cotta pot. Then added more white to my paint and finished all the way to the top and a little down into the inside. 

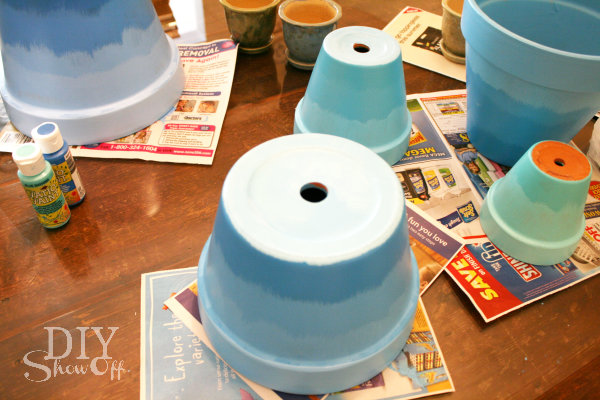
I did the above steps for each paint color for each terra cotta pot.

Then I mixed all of my left over paint together and painted the insides of my flower pots…

painting flower pots

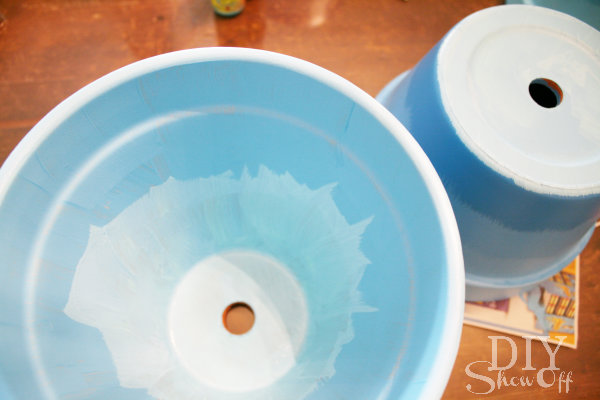
then flipped and painted the bottoms and let them dry overnight. 

painting terracotta flower pots

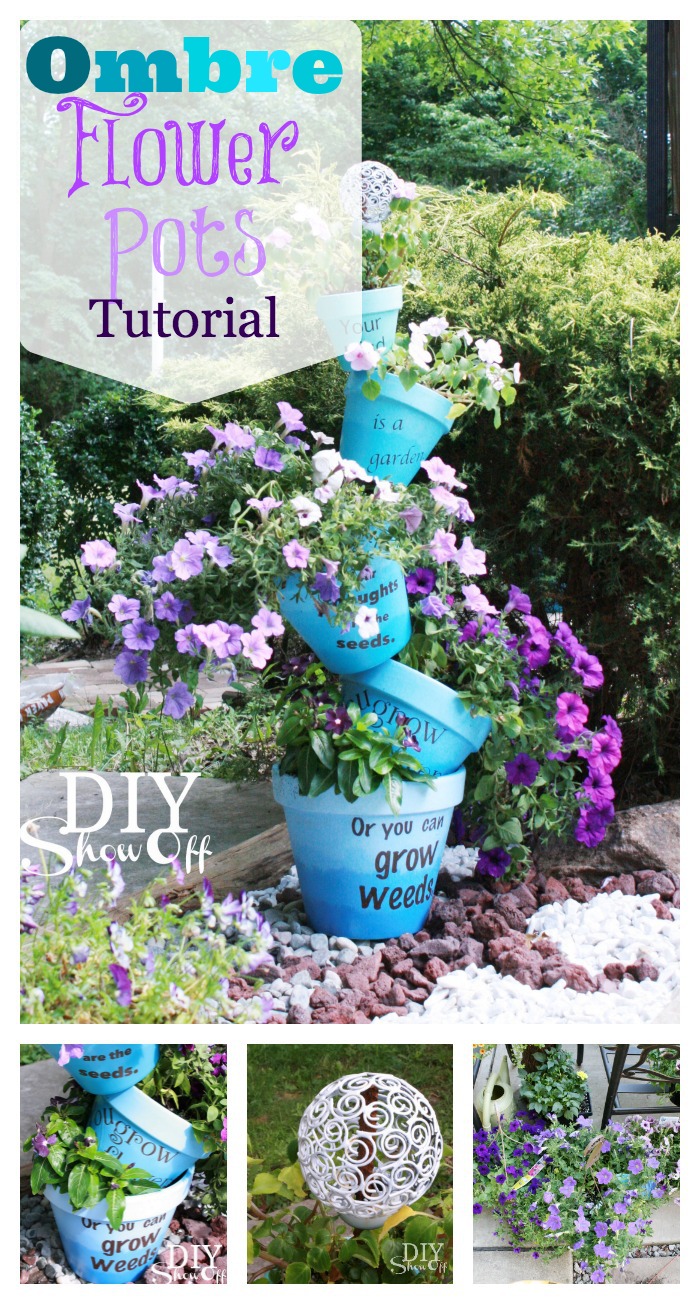
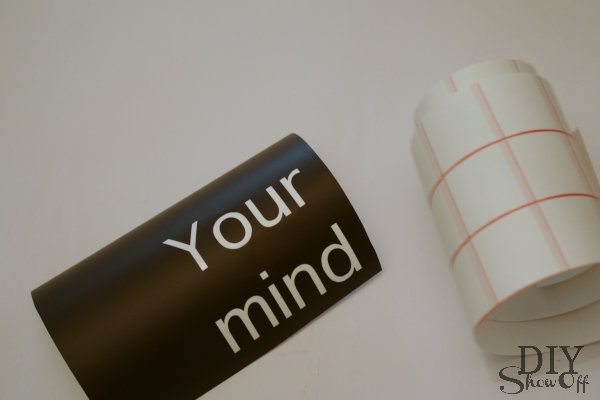
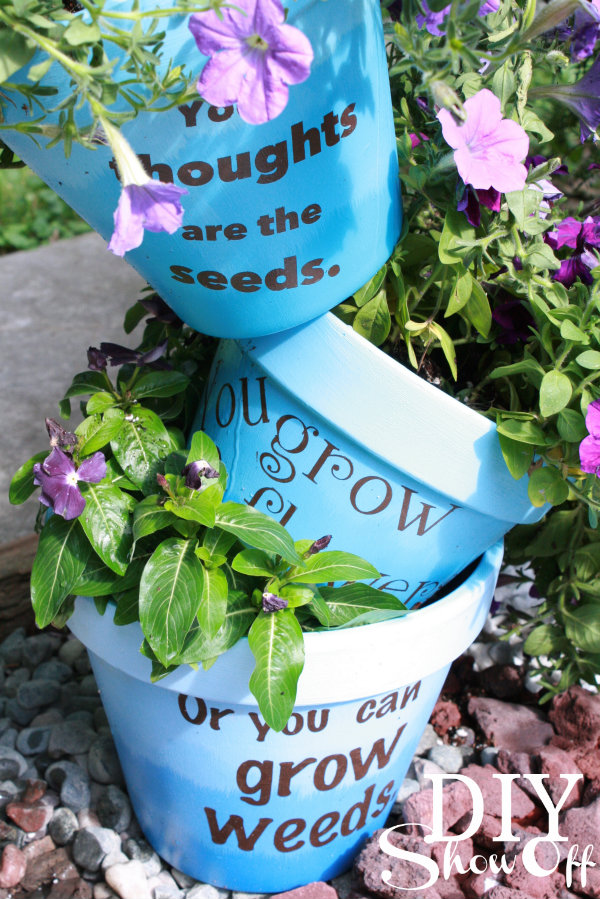
Next, using my Silhouette Cameo and vinyl from Happy Crafters, I created vinyl stencils with this little quote:

Your mind is a garden.

Your thoughts are the seeds.

You can grow flowers.

Or you can grow weeds.

making sure that the sizing was correct for each pot. I used my Silhouette Cameo to cut vinyl stencils.

Happy Crafters

Since I’m using the vinyl as a stencil, I peeled away the lettering.

creating a vinyl stencil

Applied the transfer paper and peeled away the wax paper like backing…

vinyl stencil

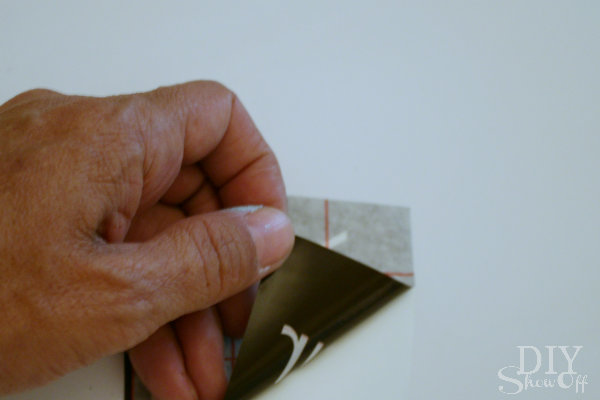
and applied the stencils to my terra cotta pots. Since the pots are curved, I found it easiest to apply each line of stencil text individually. Rub with a credit card then peel away transfer paper.

applying vinyl stencil to terra cotta

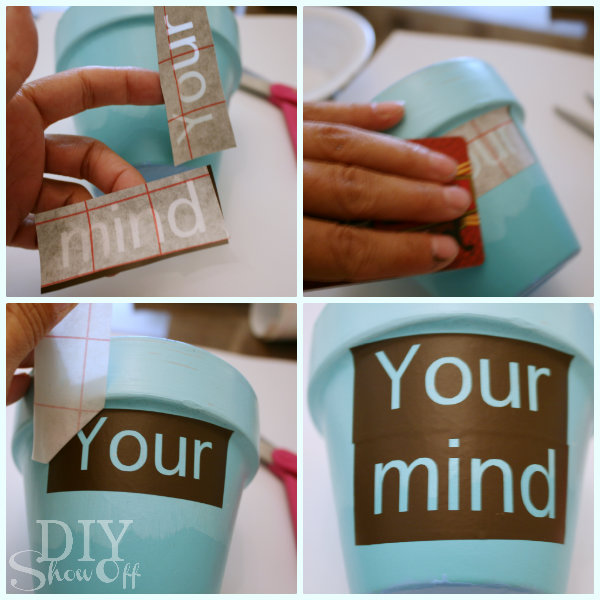
Next I filled in the lettering with brown patio paint.

stenciled terra cotta pots

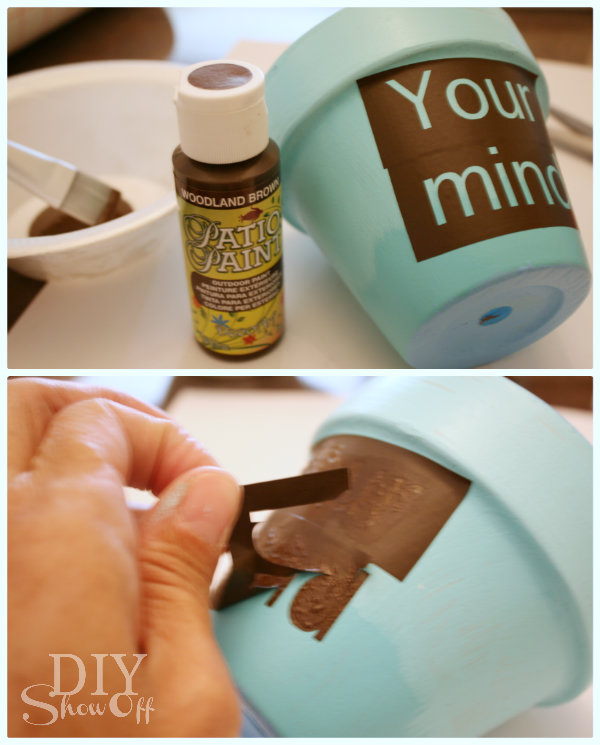
I removed the vinyl stencils as soon as I was done painting and let everything dry for 72 hours according to the patio paint’s instructions.

painting and stenciling terra cotta pots

Then gave the insides and outsides a spray of protective clear coat. 

sealing painted terra cotta pots

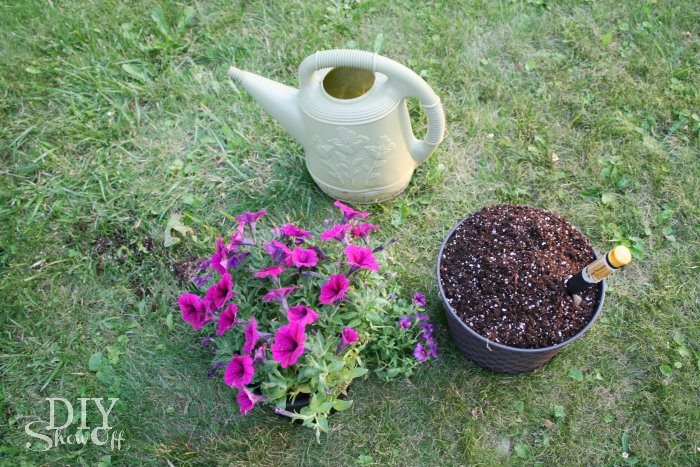
Once that was dry, it was time to plant! I even tried to find flowers in purples ranging from dark to light for more ombre effect… purple ombre flowers

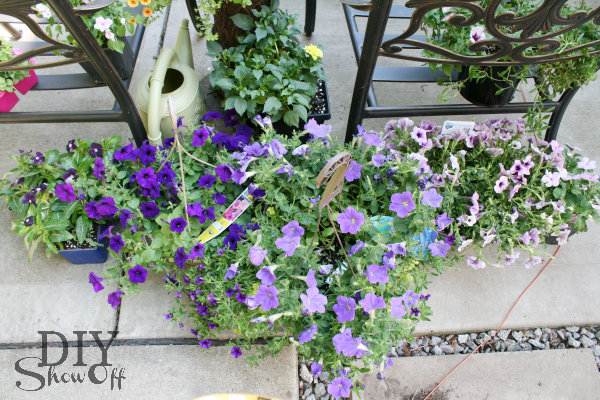
And followed Beth’s instructions for stacking my flower pots at Home Stories A to Z utilizing rebar.
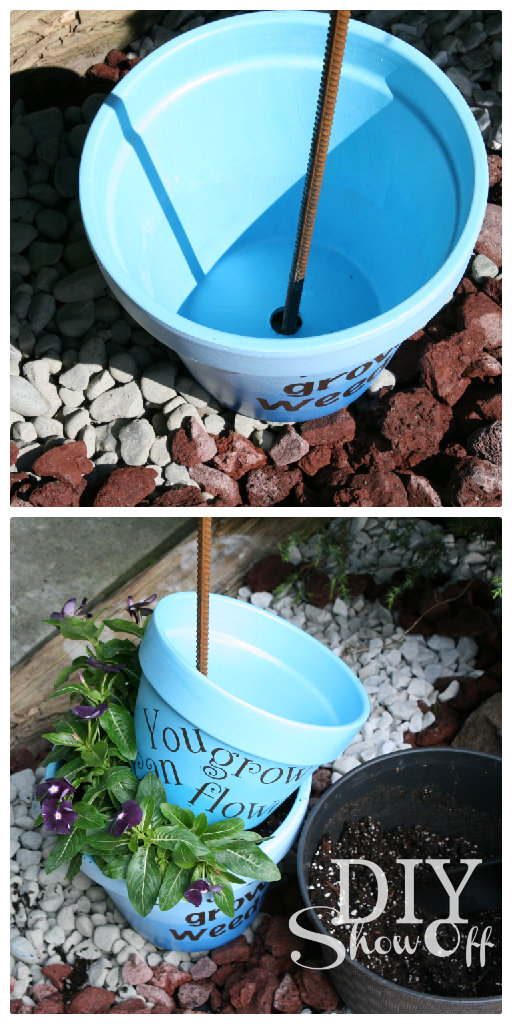
stacking terra cotta pots


Watered them too. 

stacked ombre flower pots

Then topped off the rebar with my finial…

finial

stacked ombre flower pots tutorial

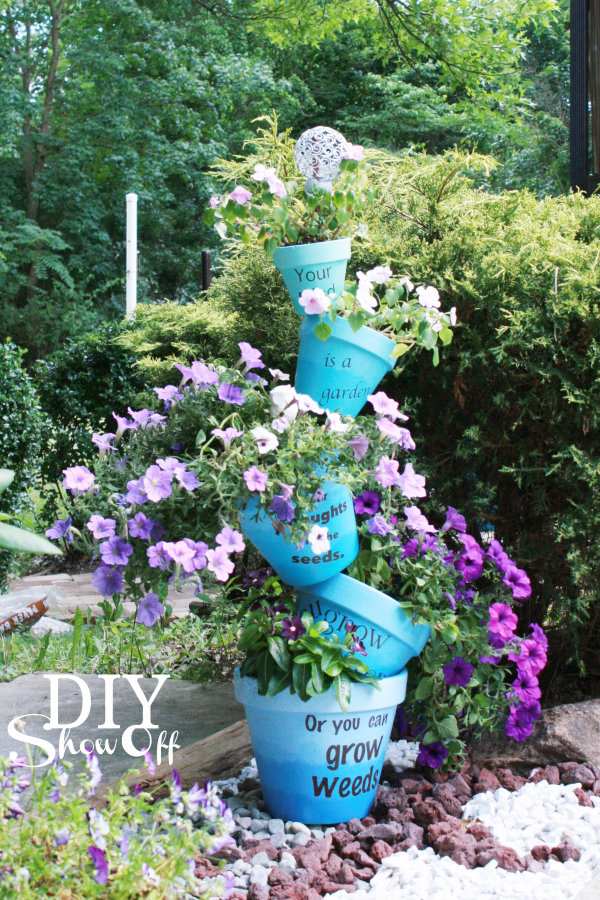
Colorful and happy! More DIY planter tutorials:

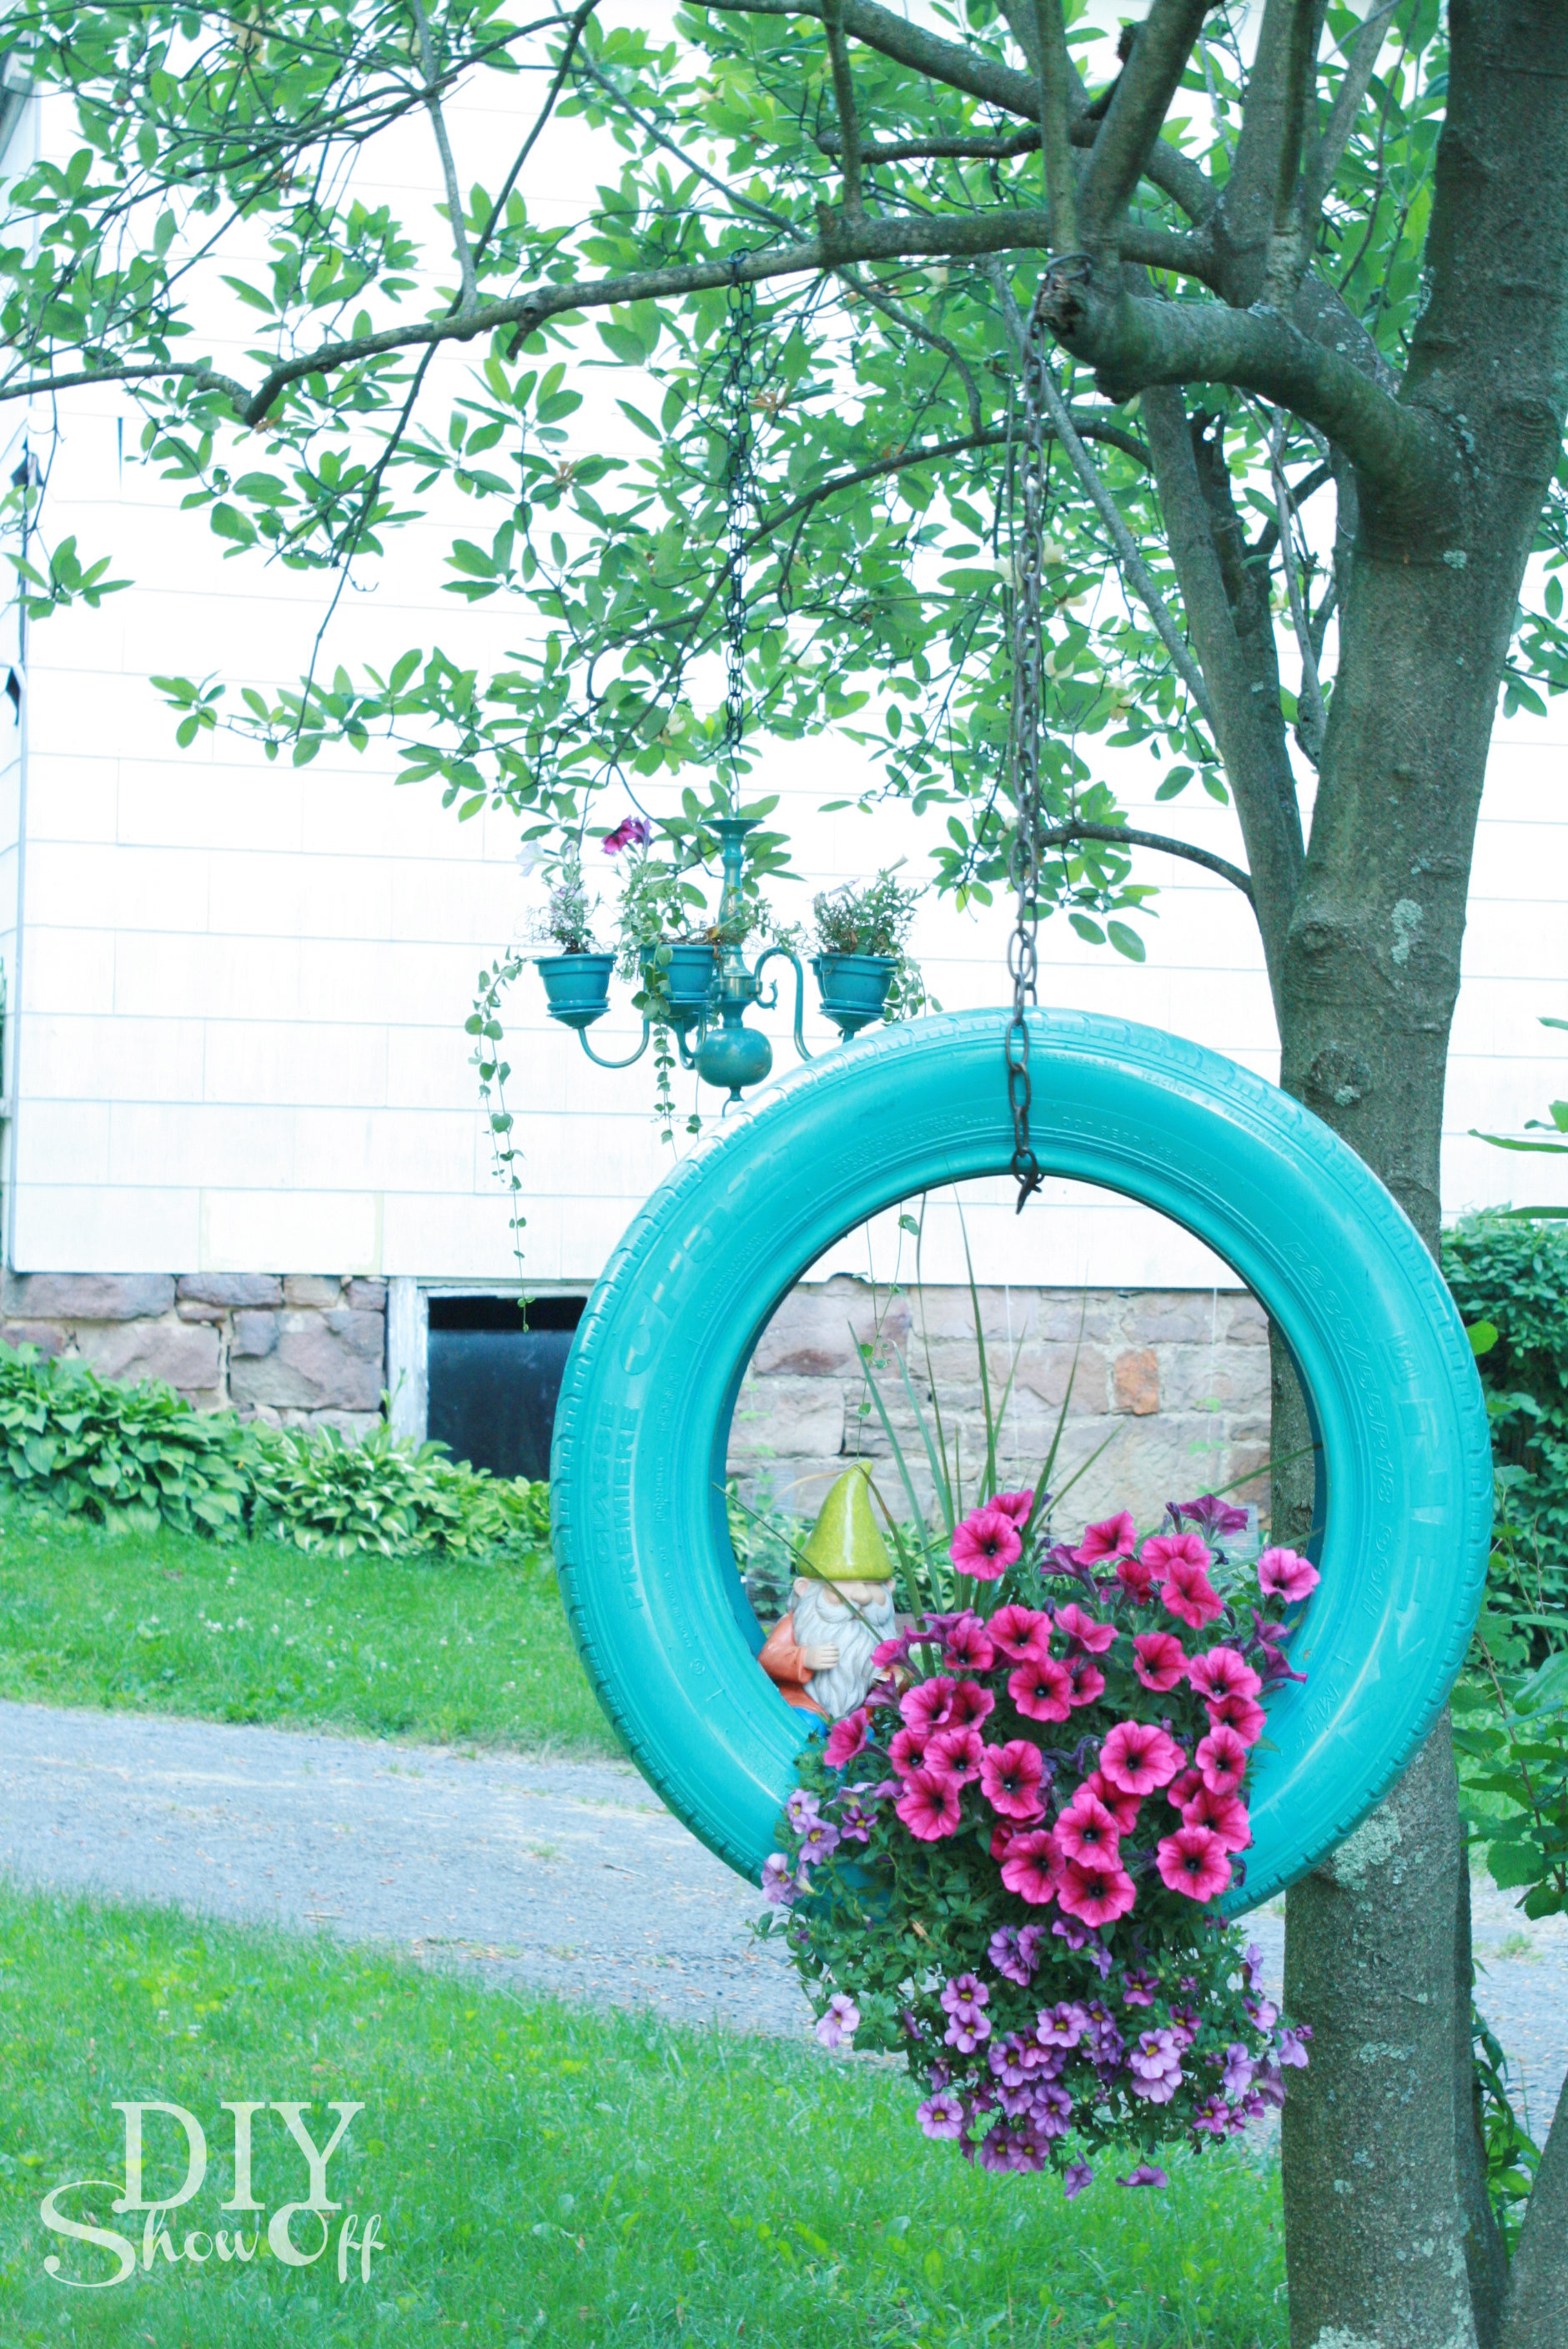
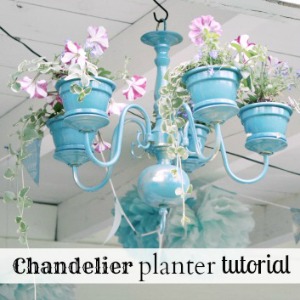
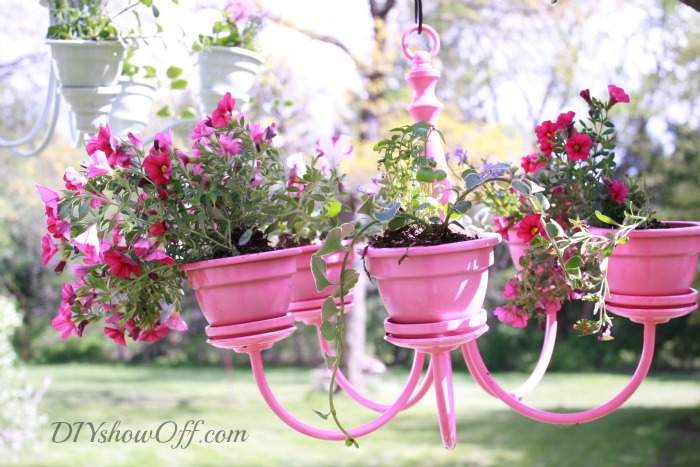
How to Make a Chandelier Flower Planter

pink-chandelier-planter


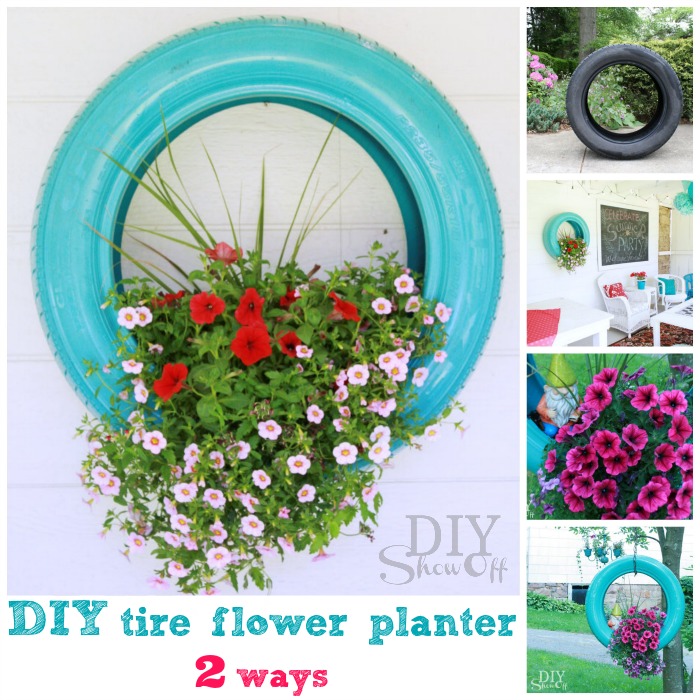
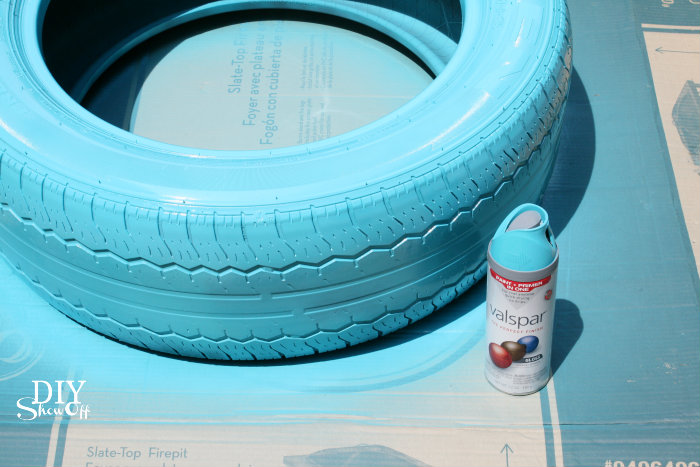
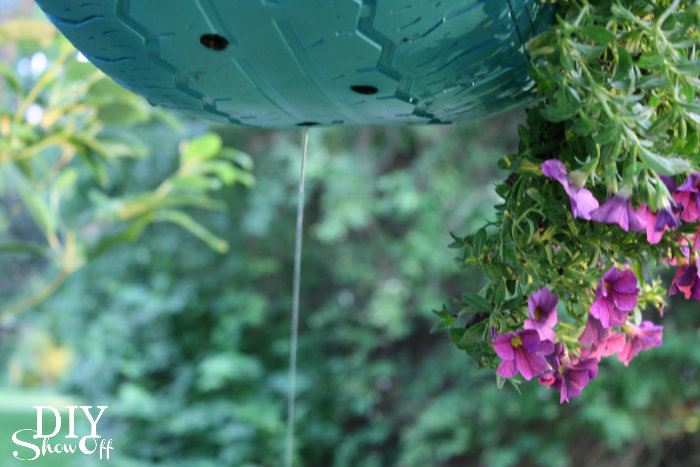
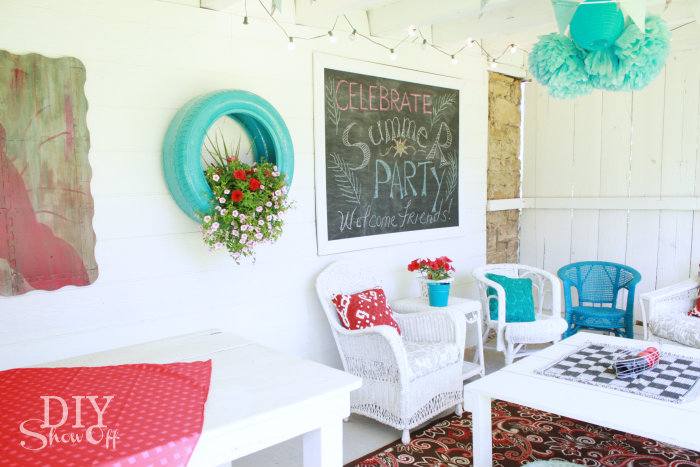
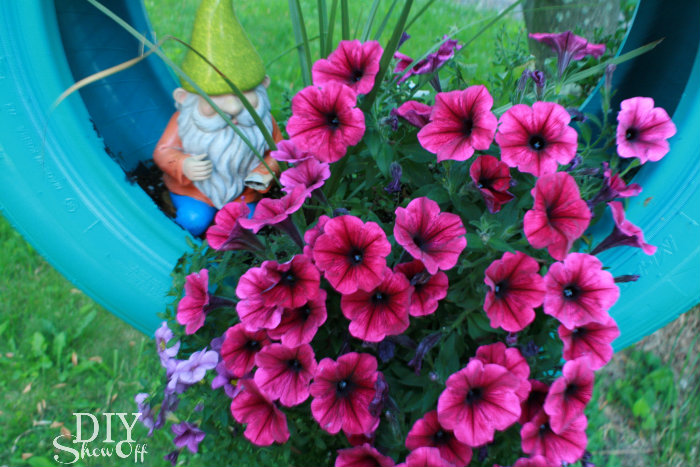
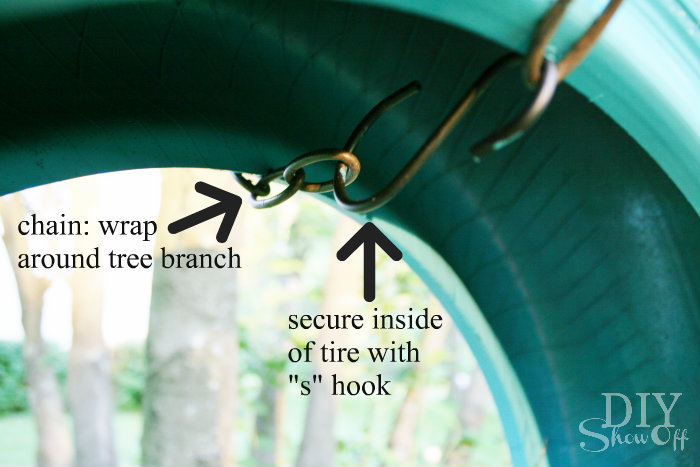
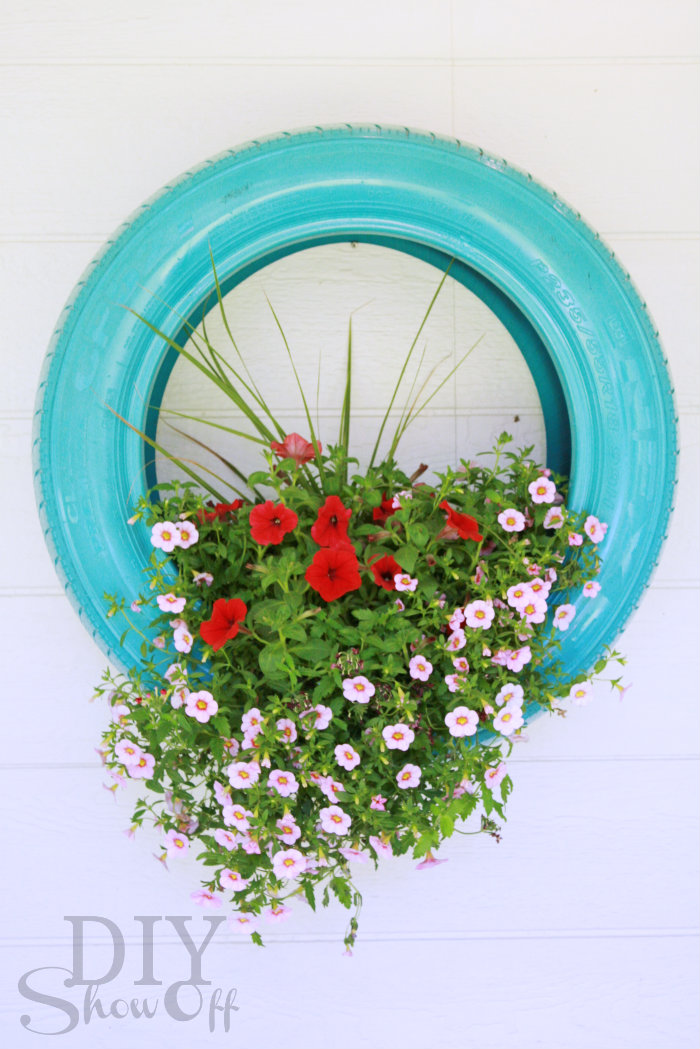
How to Make a Tire into a Planter

tire flower planter decor


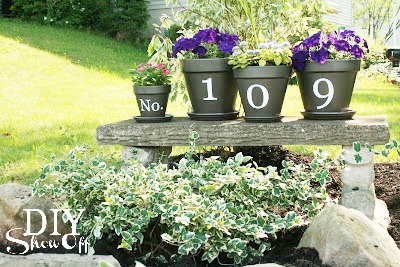
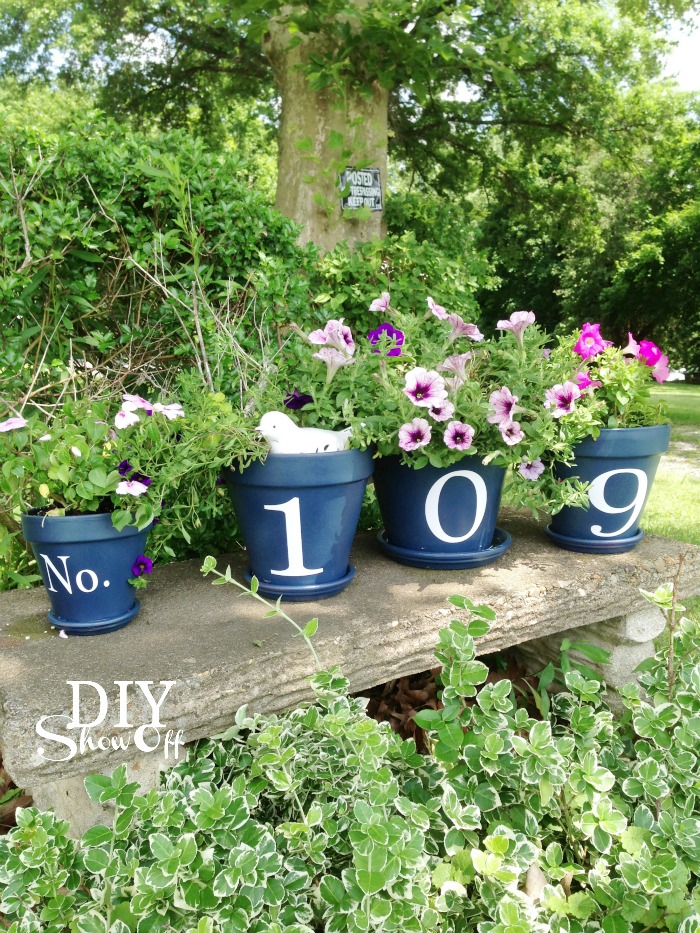
How to Make House Number Flower Pots

house number flower pots


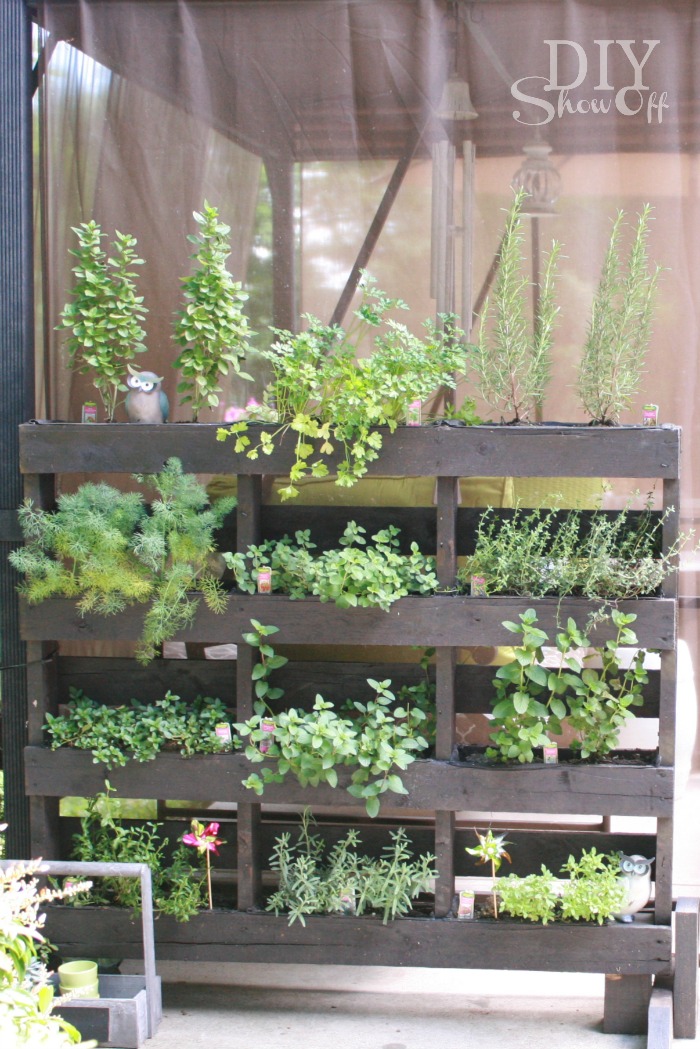
How to Make a Vertical Pallet Herb Garden

free standing pallet herb garden

This post is sponsored. Vinyl and transfer paper supped by Happy CraftersHClogopngsmall

2 DIY Tire Flower Planter Projects

I recently needed new tires (don’t even look at the tread…it was bad)! This is a great idea for upcycling! The July Challenge for Lowe’s Creative Ideas is Outdoor Art so I headed to Lowe’s for some supplies. 

DIY Tire Flower Planter Tutorial

tire flower planter tutorial at DIYShowOff

My summer home tour revealed a sneak peek of a super easy DIY outdoor decorating/planter. DIY tire planter…

barn party patio

See it?

party patio

There on the wall? Isn’t it happy?

tire flower planter tutorial

Materials:

  • Old tire
  • Valspar spray paint (color is Exotic Sea)
  • potting soil
  • flowers.
  • I already had some leftover fabric weed barrier from the pallet herb garden and some packing peanuts on hand.
  • Optional: chain and s-hook.

I gave the tire a good scrubbing with soap and water and let it dry. 

upcycled tire planter

Then gave it a couple of coats of spray paint (paint + primer). Let dry. 

tire flower planter tutorial

Next we used a  (correction) 1/2 inch drill bit to drill 6 holes into the ‘bottom’ of the tire for drainage. This takes a sharp bit and a lot of pressure (as in I tried but had to have my husband take over). It also produces a little smoke. 

How to make a tire flower planter @DIYShowOff

Then lined the bottom with a piece of fabric weed barrier and a few styrofoam packing peanuts.

How to make a tire flower planter @DIYShowOff

Time to plant! 

I used this arrangement for the wall mounted tire planter…

How to make a tire flower planter @DIYShowOff 

and these for the hanging tire swing flower planter:

How to make a tire flower planter @DIYShowOff

The drainage holes work! Specifically one of the six really works…

How to make a tire flower planter @DIYShowOff

When we’re entertaining, I move the wall mounted tire flower planter to the interior wall of our covered patio. It’s simply hanging on a big humungous sturdy nail. When the party ends, the tire planter is moved to an exterior wall for sunshine and rain/watering. It’s awkward but not too heavy or difficult for moving around to maintain.

How to make a tire flower planter @DIYShowOff

I loved it so much, I needed one to hang in our magnolia tree:

How to make a tire flower planter @DIYShowOff

Doesn’t it look beautiful hanging with my DIY chandelier flower planter in the background? 

How to make a tire flower planter @DIYShowOff

To hang from a tree: Use chain (double hanging length, add about 10″ for in the tire and more for the size of your tree limb). Wrap chain around tree branch and secure end pieces inside of the tire with an “s” hook. 

How to make a tire flower planter @DIYShowOff

Pretty!

How to make a tire flower planter @DIYShowOff

*After I stood back and admired my completed project, I decided to see if it had been done before and of course! You can see this idea at Recaptured Charm too. Sharing at So You Think You’re Crafty.

More planter ideas:

chandelier-planter-feature

House Number Flower Pots

house number flower pots

See more fun DIY ideas at Lowe’s Creative Ideas, follow Lowe’s on InstagramPinterest and sign up for the Creative Ideas magazine and app!

Spring 13 Blogger Badge Subscribe Banner Version

*Disclaimer: As a member of the Lowe’s Creative Ideas Creators and Influencers network, I received a Lowe’s gift card to complete this project. The tutorial images, instructions and opinions are my own. DIY results may vary.

DIY Outdoor Giant Dice Game (LCR)

As a member of the Lowe’s Creative Ideas team, I have the option to participate in monthly challenges. One of the themes to choose from for June is DIY Outdoor Games. Our family spends a lot of time together in the summer months at mom’s pool and at our home for cook-outs and bon-fires. Having a few games on hand makes get-togethers fun. 

DIY giant outdoor LCR dice game tutorial

I decided to make a giant version of a new-to-me dice game called LCR. Lowe’s supplied a gift card to complete this project. I think this would be a great summer DIY hostess gift too! 

DIY giant LCR dice game

Materials I used (can be altered using some leftover supplies too):  

  • Scrap 4″ x 4″ 
  • Sandpaper/sanding block
  • Stencils (3 “L”s, 3 “C”s, 3 “R”s and 9 circles). I created my own but Lowe’s also sells vinyl letters or you could draw/paint them free-hand. 
  • Rust-Oleum’s High Performance Enamel (gloss black)
  • Rust-Oleum’s Ultimate Polyurethane spray
  • 2 boxes of large canning jar lids (total 24 lids)
  • Rustoleum’s Self Etching Primer
  • Rustoleum’s Spray Gloss Protective Enamel (red)

TUTORIAL

Dice: 

1. Measure and cut cubes from the 4″ x 4″. Note: A 4 x 4 will more likely measure 3.5 inches, not 4 inches. My cubes are 3.5″ x 3.5″. I used scrap wood since 4″ x 4″ beams come in 10 foot pieces…although that’s great option for making these as hostess gifts this summer! 

cutting 4x4 DIY dice game

2. Sand edges and surfaces of each cube. 

sand wood cubes DIY giant dice game

Note: You can paint dice any way you choose: All one color with a different color lettering, color the lettering and leave the dice wood-toned, staining the wood and painting the lettering, etc. I will probably try something different with my next set so they’re each unique. 

3. Apply vinyl lettering/circles: one L, one R, one C to each die (the real game set shows them all beside each other on 3 face sides), then apply 3 circles to each die. Make sure to press them down securely. 

DIY LCR dice game tutorial

4. I elevated my dice and used a roller to apply my paint. Once dry, I flipped each die and painted the bottom side. 

giant LCR dice

5. Peel away vinyl stencils.

outdoor dice game tutorial

6. Once dry, I sanded each die for a distressed look then wiped them clean with a damp cloth. 

giant LCR dice game

7. Spray each die with a lacquer/clear coat sealant and let dry. 

sealing DIY dice

Chips:

Spray each side of each canning jar lid with self etching primer (allowing to fully dry on one side before flipping and spraying other side). Repeat with spray gloss protective enamel. Each coat takes a long time to dry, especially around the rubber seal of the canning jar lid. I found working outside helped speed up the drying process. 

DIY giant game chips tutorial

Time to Play!

DIY Outdoor LCR Dice Game Tutorial

Game Rules:

  1. Each player starts with 3 chips. 
  2. First player rolls the dice. 
  3. L = give a chip to the player to on your left. C = give a chip to the center pot. Roll an R = give a chip to the player to on your right.  Roll a dot = keep chip.
  4. Pass the dice to the player on the left for their turn. 
  5. You roll as many dice as chips you have (if 4 or more, roll all 3 dice).
  6. Losing all of your chips doesn’t mean you are out of the game…the game changes quickly! There is a chance another player will roll an L or an R and pass more chips to you. 
  7. Last person possessing one chip wins the center pot. 

DIY giant outdoor LCR dice game tutorial

Sharing at 

See more fun DIY ideas at Lowe’s Creative Ideas, follow Lowe’s on InstagramPinterest and sign up for the Creative Ideas magazine and app!

Spring 13 Blogger Badge Subscribe Banner Version

*Disclaimer: As a member of the Lowe’s Creative Ideas Creators and Influencers network, I received a Lowe’s gift card to complete this project. The tutorial images, instructions and opinions are my own. DIY results may vary.