Mailbox DIY Vinyl Decals

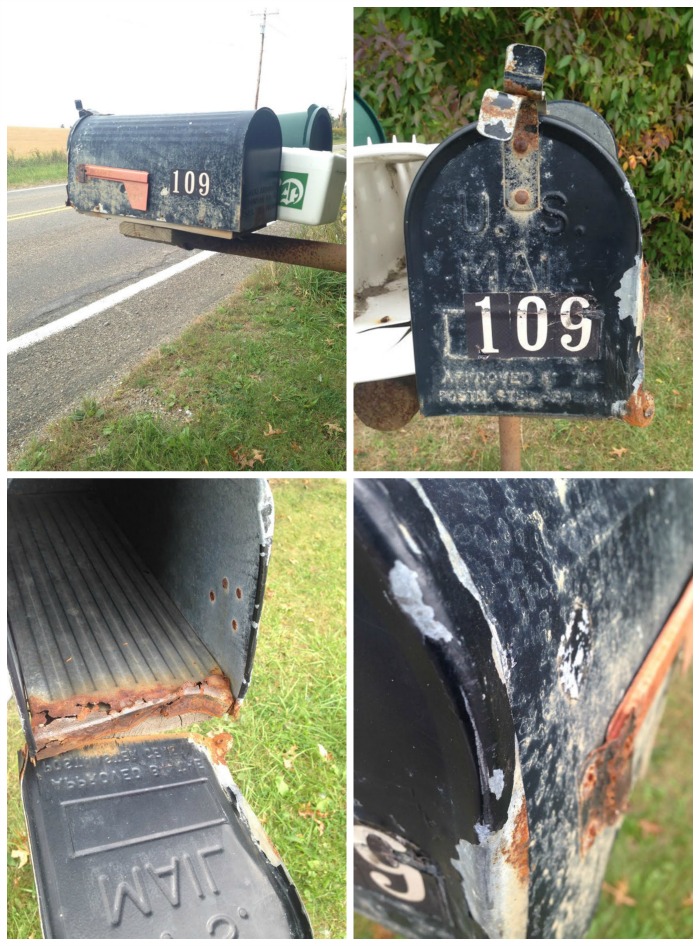
This poor mailbox had seen better days…don’t you think? 

DIY mailbox vinyl decals tutorial at diyshowoff

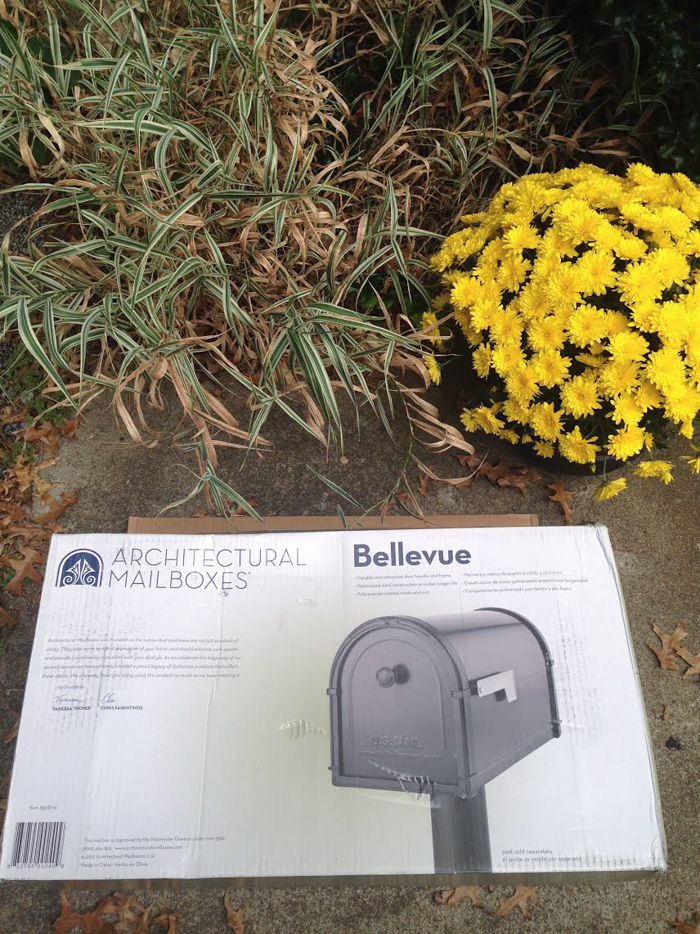
Time for a new one…

DIY mailbox vinyl decals tutorial at diyshowoff

One of the perks of owning a vinyl cutter (I have a Silhouette Cameo) is the convenience of making my own vinyl labels/stickers/decals. 

Mailbox Upgrade

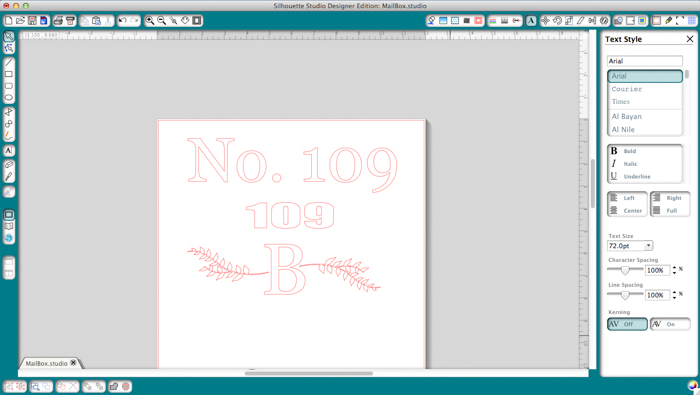
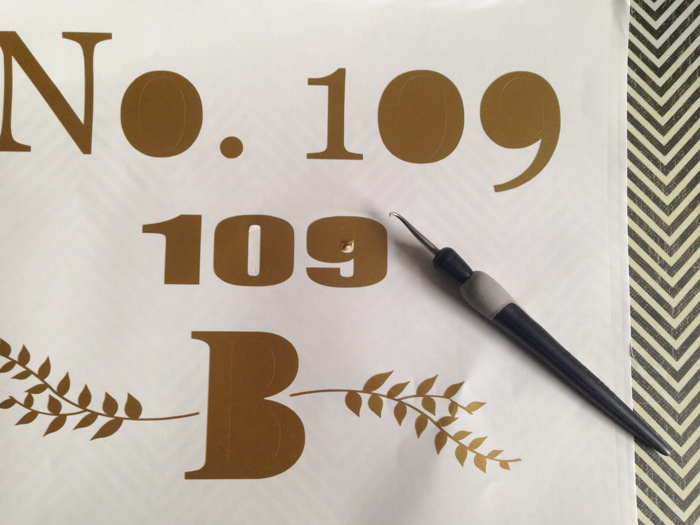
Open up the Silhouette Studio Designer Edition software. Click the text button on the left, choose font and type house numbers and a monogram design. Size to fit flat mailbox surface.

DIY mailbox vinyl decals tutorial at diyshowoff

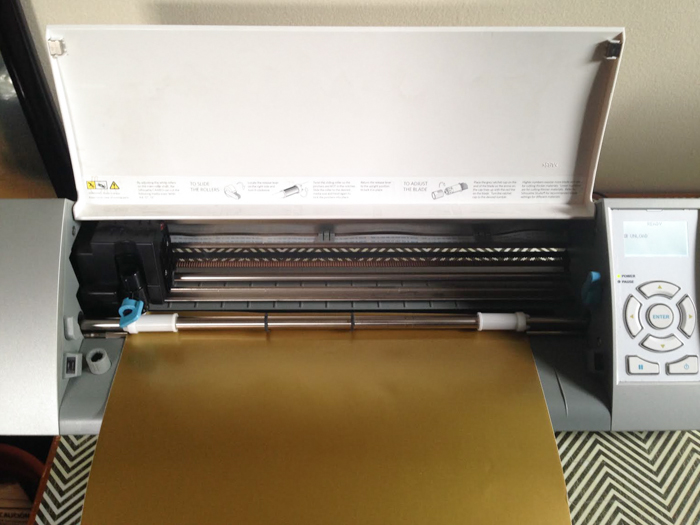
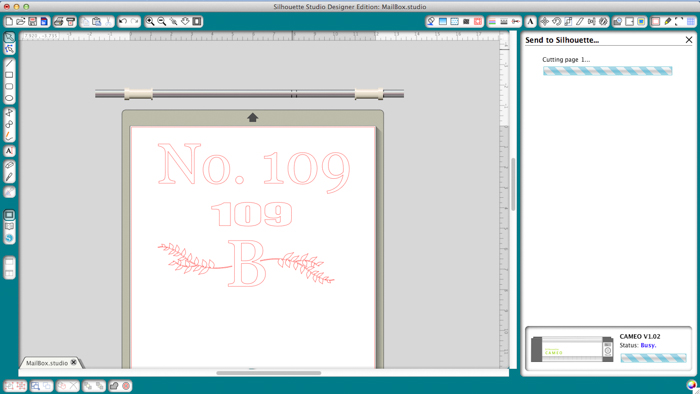
Click the “cut” button on the navigation bar. Choose “vinyl” and adjust blade settings. Insert vinyl color side up into the machine and click “cut”. 

DIY mailbox vinyl decals tutorial at diyshowoffDIY mailbox vinyl decals tutorial at diyshowoff

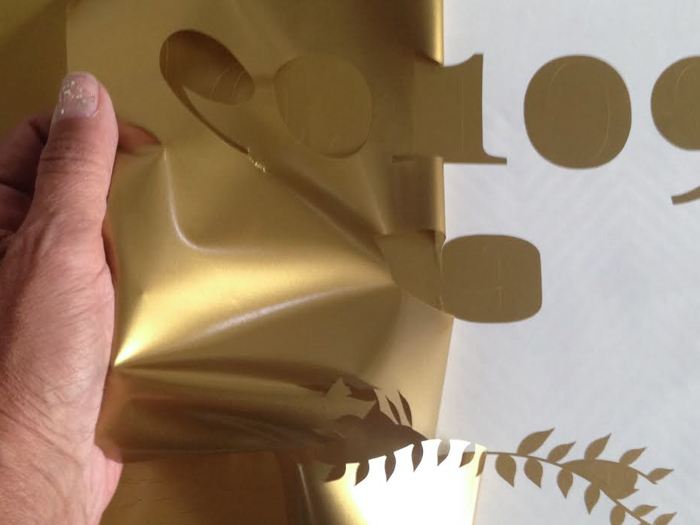
Remove vinyl from machine and weed away excess vinyl. 

DIY mailbox vinyl decals tutorial at diyshowoffDIY mailbox vinyl decals tutorial at diyshowoff

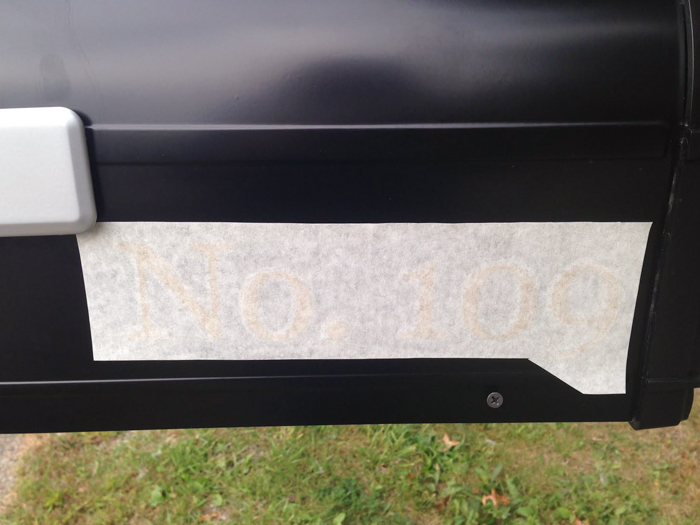
Apply a piece of transfer paper and cut apart individual designs. I have three. Numbers for the front of the mailbox, a monogram design and numbers for the side. 

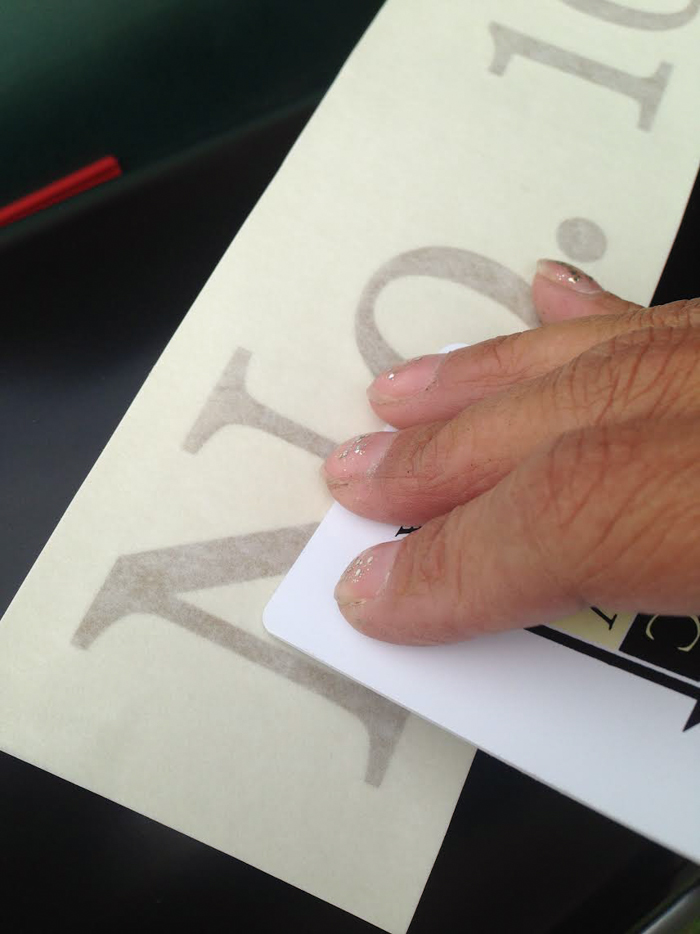
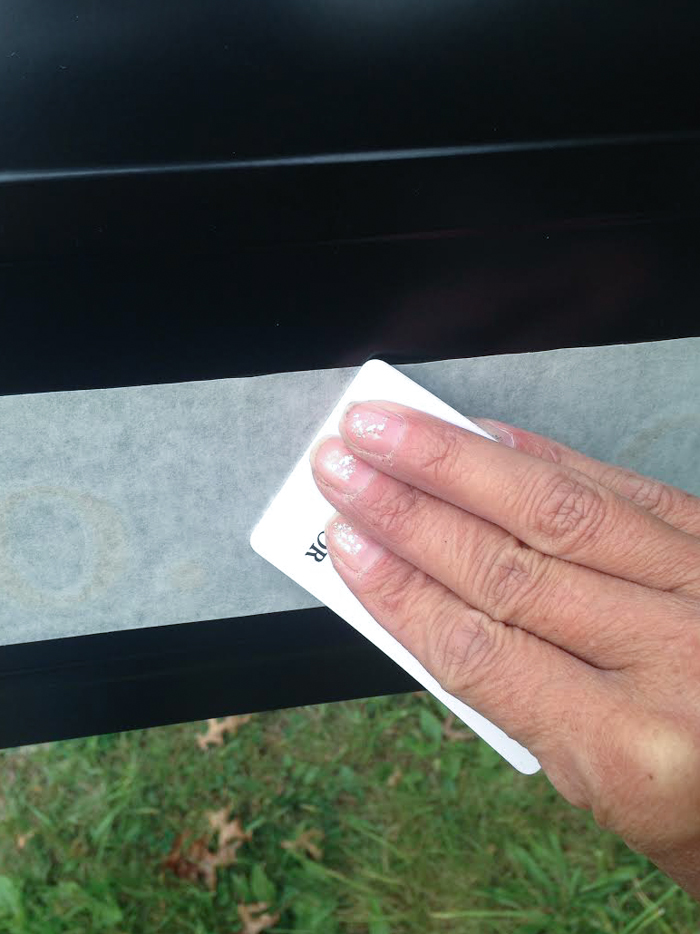
Rub with a credit/gift card to ‘transfer’ the vinyl decals from wax paper to transfer paper. 

DIY mailbox vinyl decals tutorial at diyshowoff

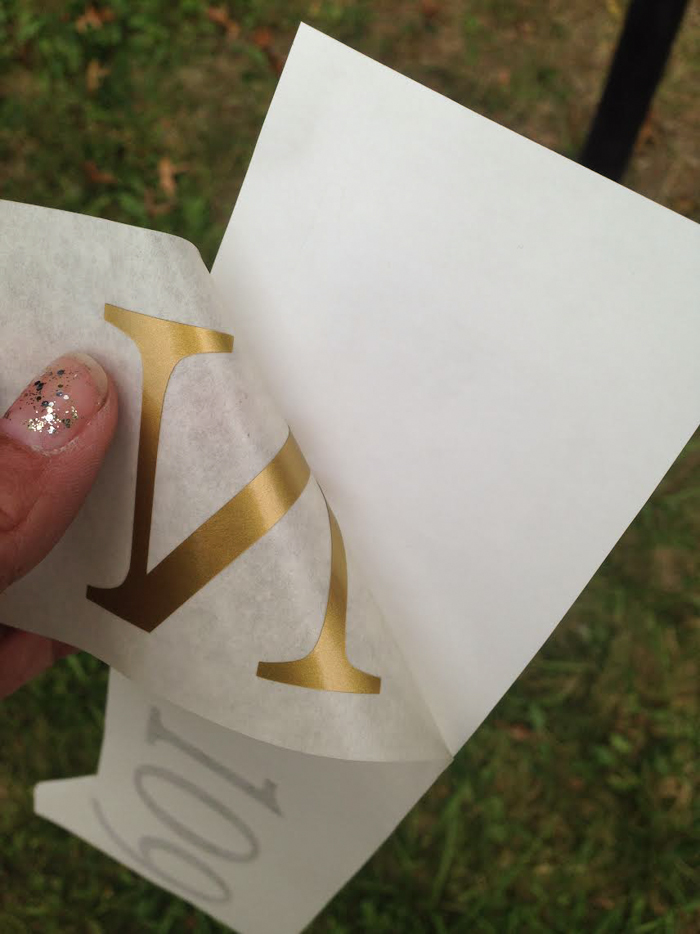
Peel away transfer paper (vinyl decals should be stuck to tacky transfer paper). 

DIY mailbox vinyl decals tutorial at diyshowoff

Place onto clean, dry, flat surface of mailbox. 

DIY mailbox vinyl decals tutorial at diyshowoff

Rub with credit/gift card to transfer design. 

DIY mailbox vinyl decals tutorial at diyshowoff

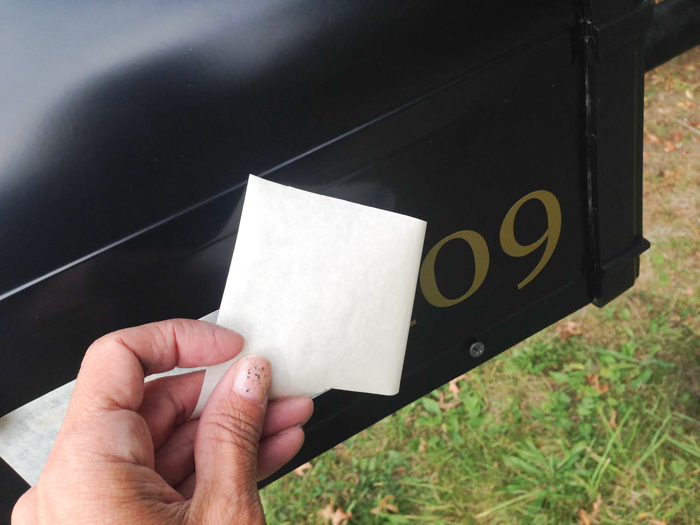
Peel away transfer paper. 

DIY mailbox vinyl decals tutorial at diyshowoff

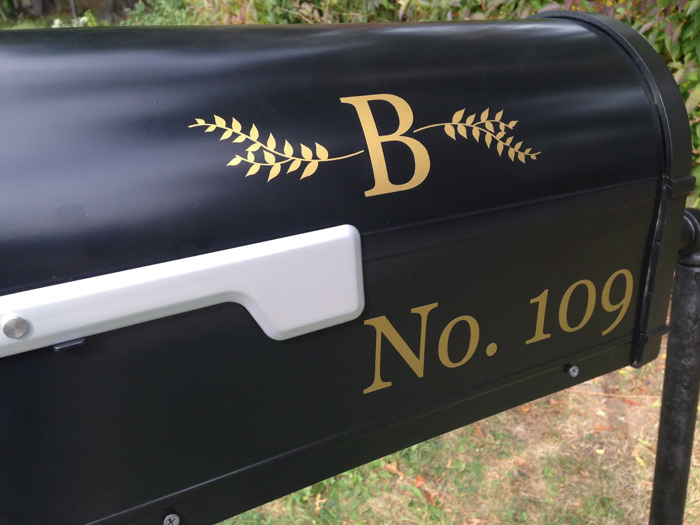
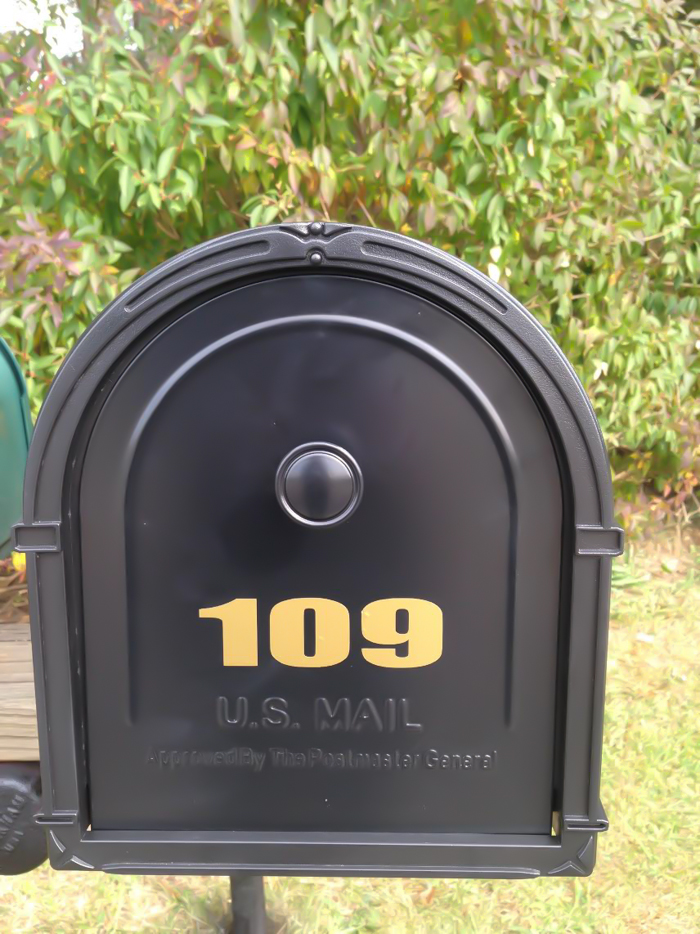
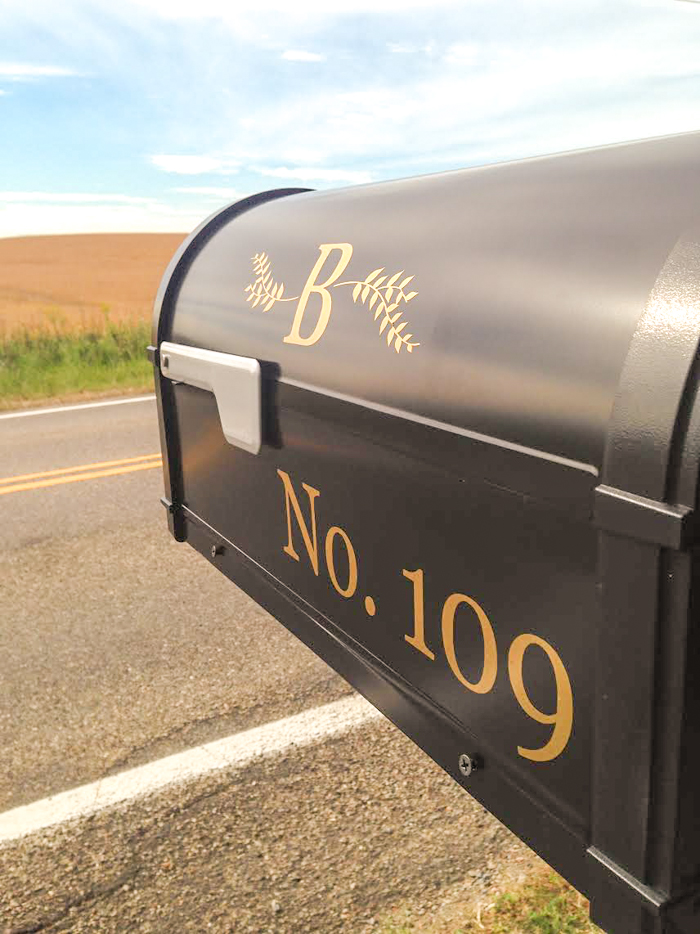
Ta-da! Pretty new address decals for the new mailbox.

DIY mailbox vinyl decals tutorial at diyshowoff DIY mailbox vinyl decals tutorial at diyshowoff DIY mailbox vinyl decals tutorial at diyshowoff

*This post is sponsored by Happy Crafters. Tutorial, experience and opinion is my own.  Check out all the supplies at Happy Crafters for inspiration for your next project. 

HClogopngsmall

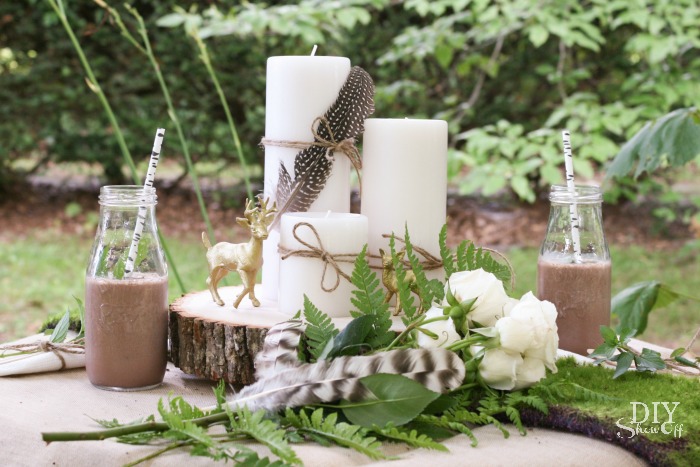
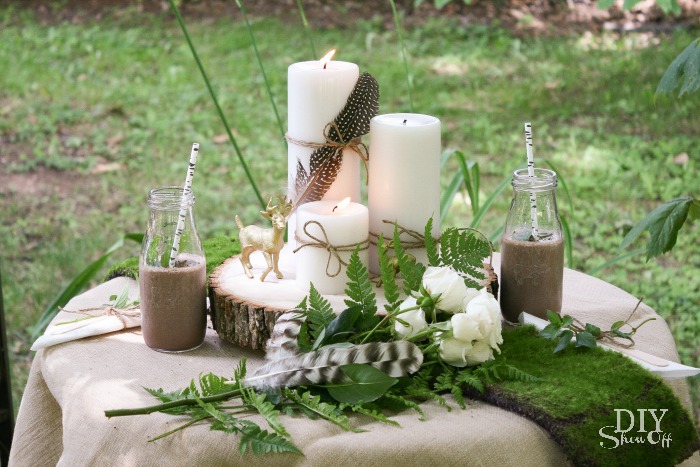
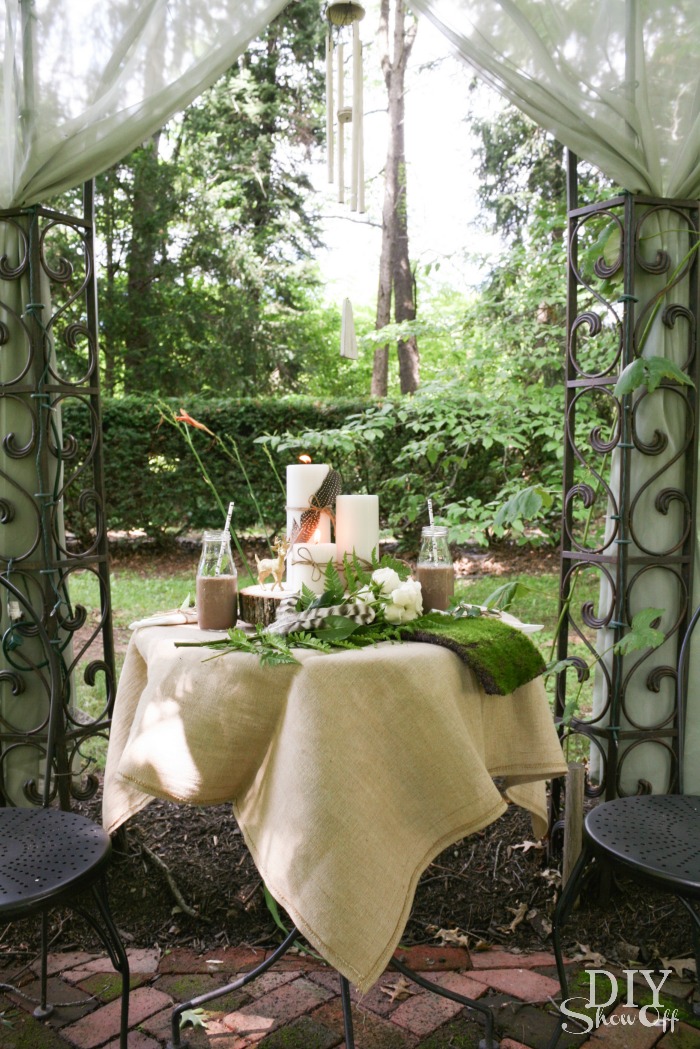
Rustic Glam Woodland Centerpiece and a Mint Mocha Smoothie

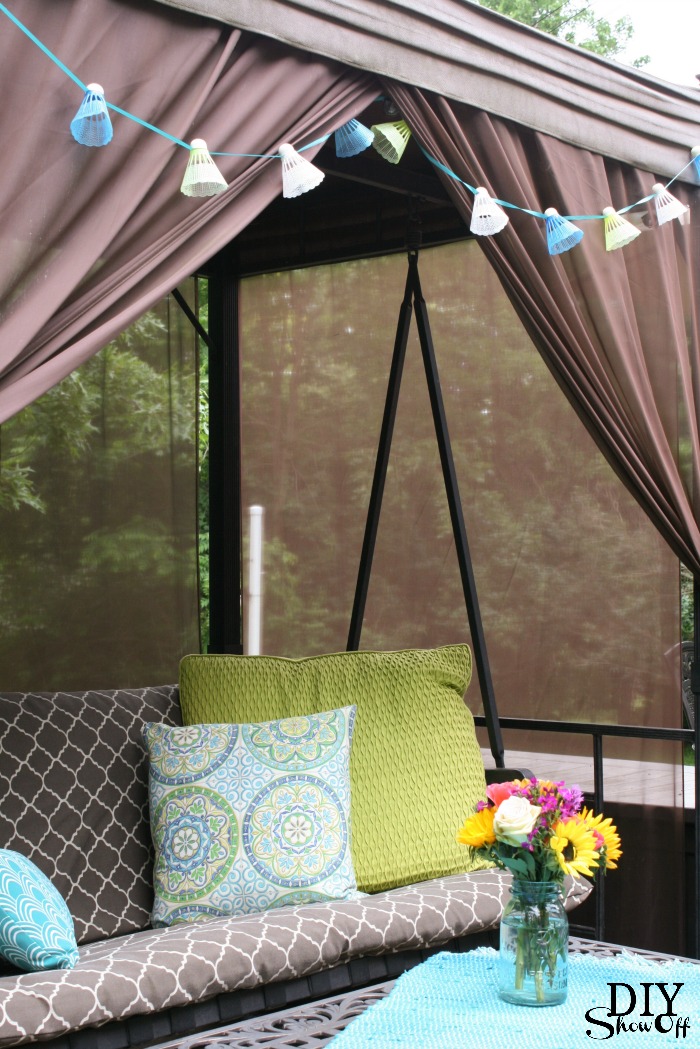
My favorite time of the year is summer and I love spending my days outdoors when I don’t have to bundle up, the sun shining warm on my face, taking a few moments from the chaos on the patio swing to close my eyes while I ponder the day’s plans.

My woodland centerpiece is inspired by summer, talking walks in the woods. A good hike, re-connecting. Mood boosting!

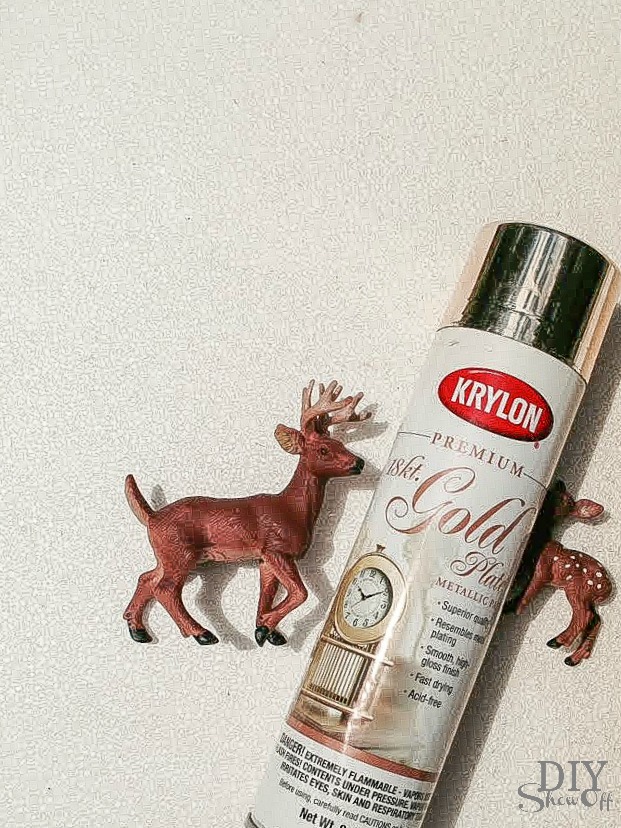
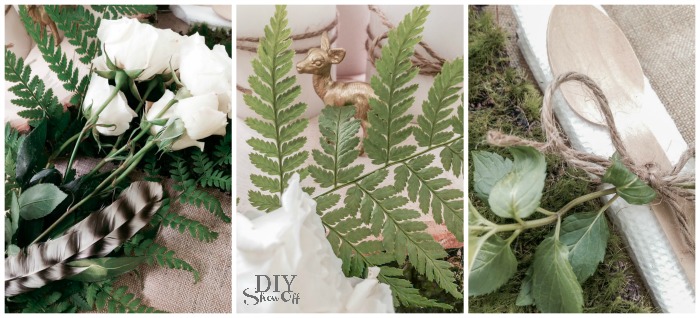
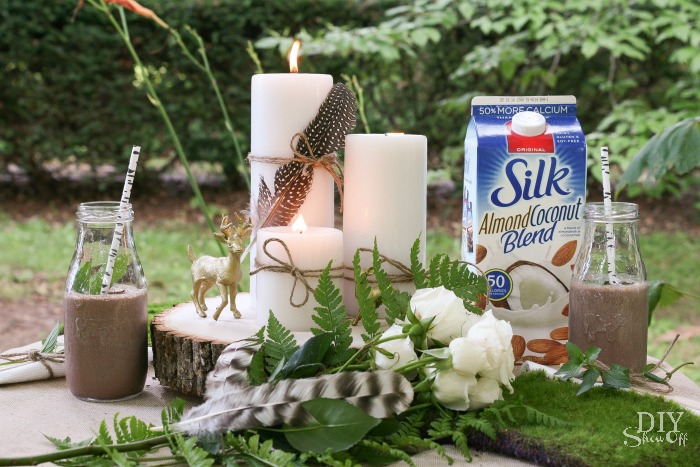
Materials: moss runner, large wood slice, fresh flowers, feathers, white candles, twine, wooden spoons and gold spray painted toy animals.

a blend of natural elements with a little glam

Create a woodland themed vignette. Nature inspired. Peaceful and serene.

It’s a sweet centerpiece for the bistro table under our grape arbor gazebo, all set for some quiet time, counting blessings, healthy meditation and brainstorming up my next big DIY project. Remember to take a few quiet minutes for the sake of your health, to breathe, to think (or not think) and to just rest before tackling the rest of the day.
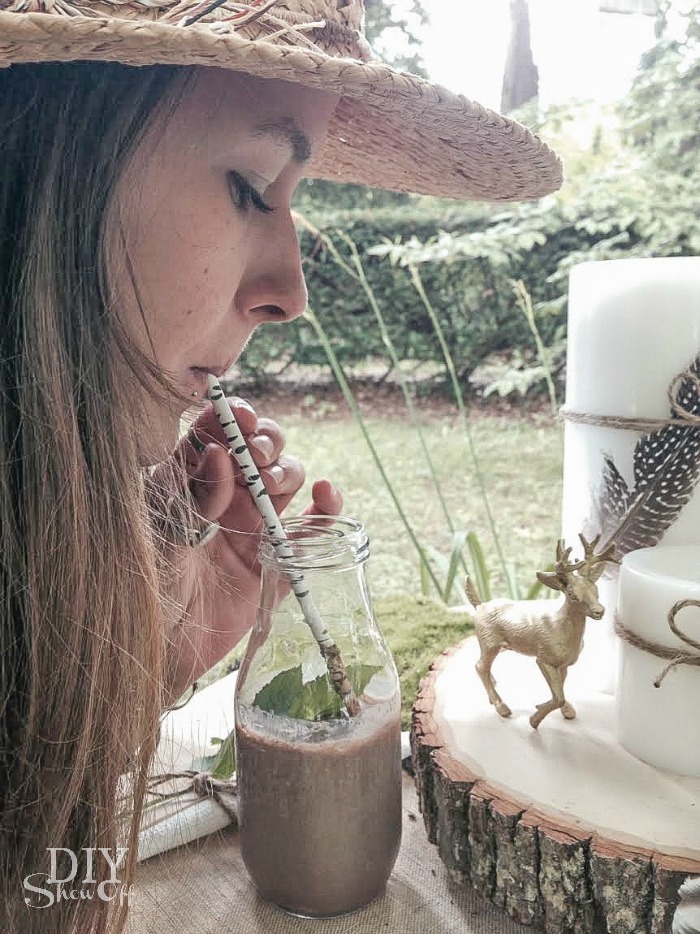
A shaded haven for catching up with my daughter. We sat there the other day, sipping mocha mint smoothies, talking and dreaming big.

Do you take the time to sit and soak up the good things? What inspires you to live a healthier lifestyle?

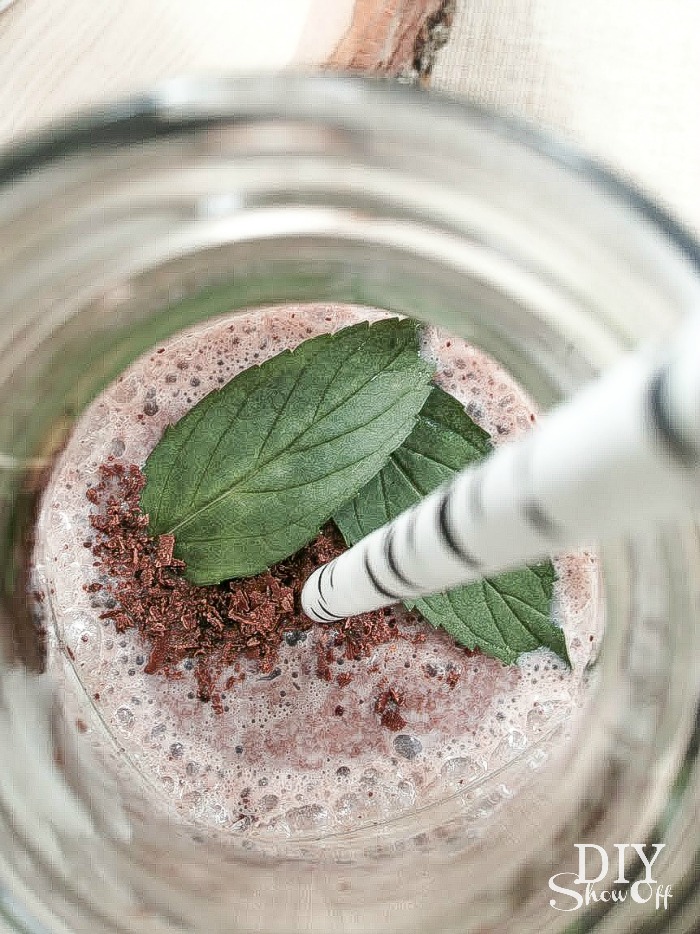
Mocha Mint Smoothie Recipe

Ingredients for 1 large serving or 2 small:

mocha mint smoothie

Check out the Silk products for yourself on the Silk Facebook page. Cool, refreshing and so good! I hope you get a few happy moments away from summer’s crazy schedule today. xo

This is a sponsored conversation written by me on behalf of Silk. The opinions and text are all mine.


DIY Birdie Garland and Fun in the Sun Blog Hop

It’s here! Summer! Perhaps not officially just yet but these warm months and longer days cheer my soul. I love summer! Let’s celebrate with a summer blog hop! Visiting from the beautiful summer bedroom at Town and Country Living? Welcome, friends! I’m so happy your here!

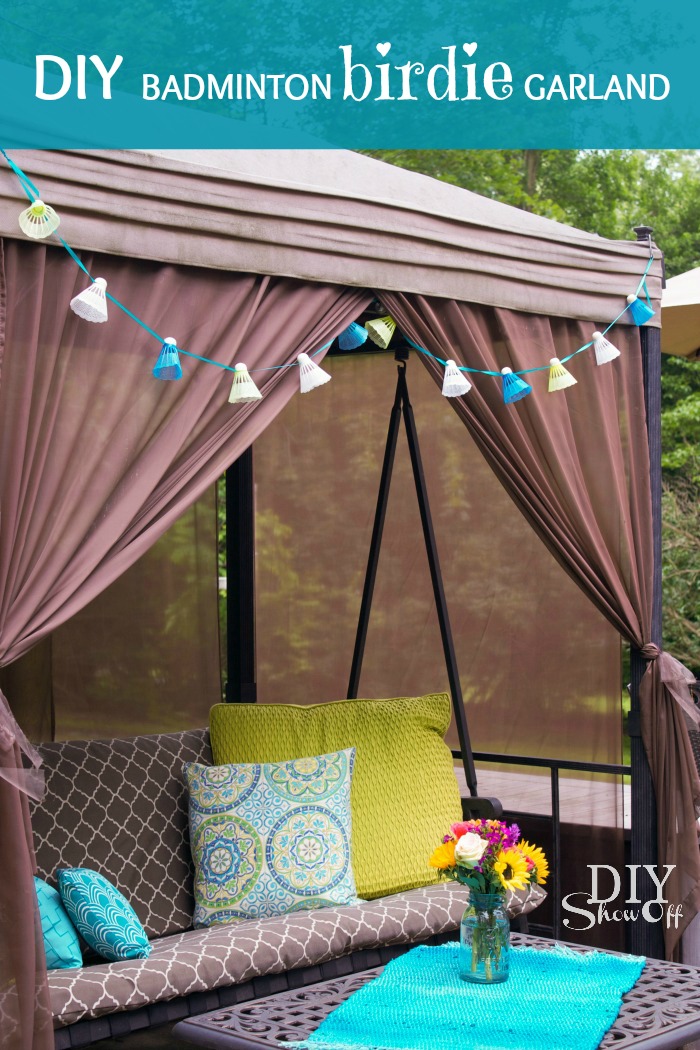
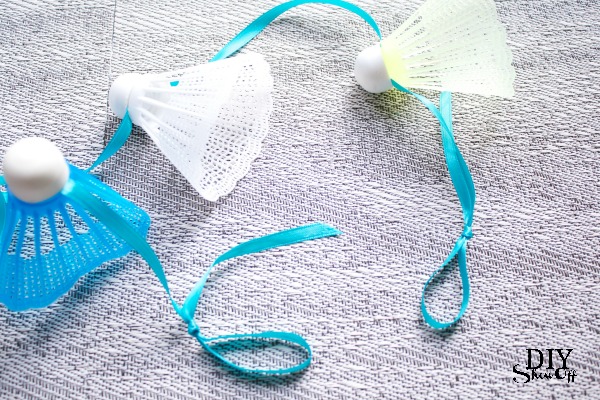
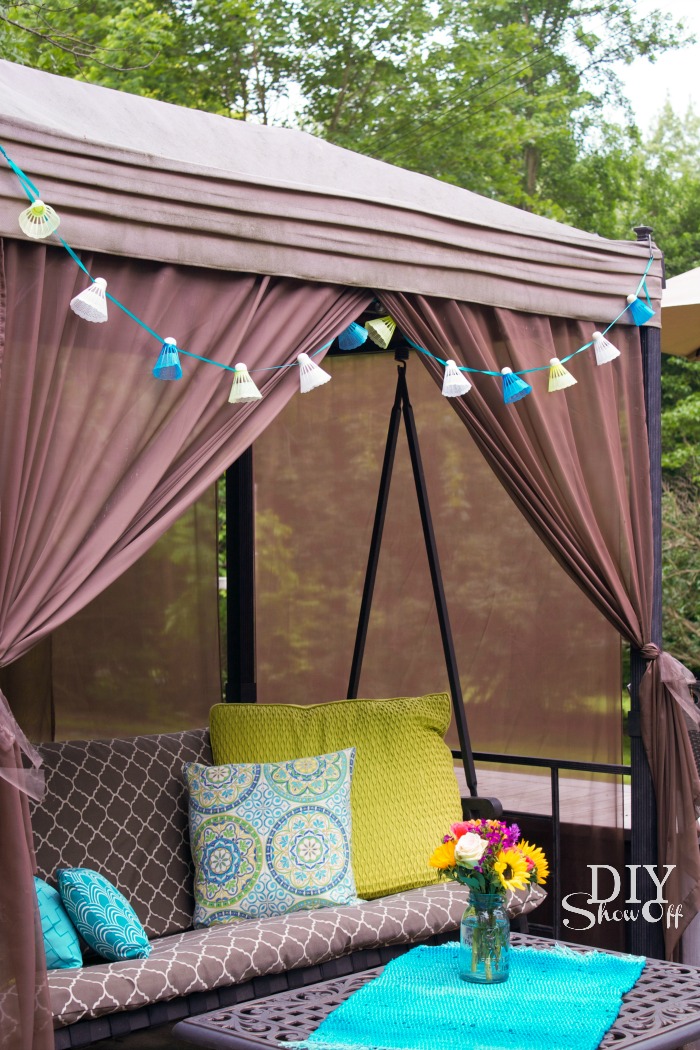
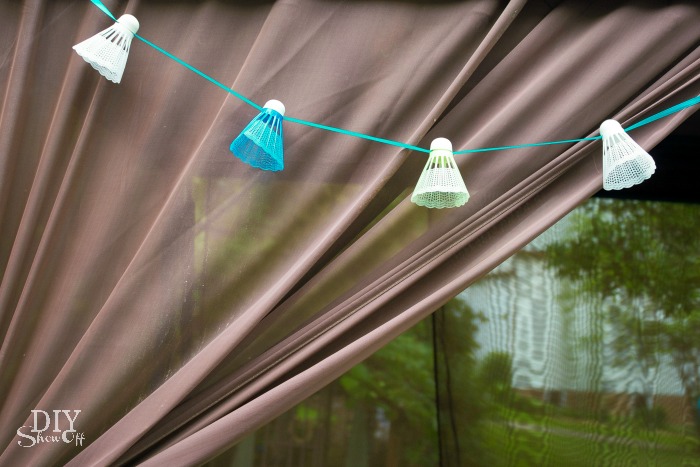
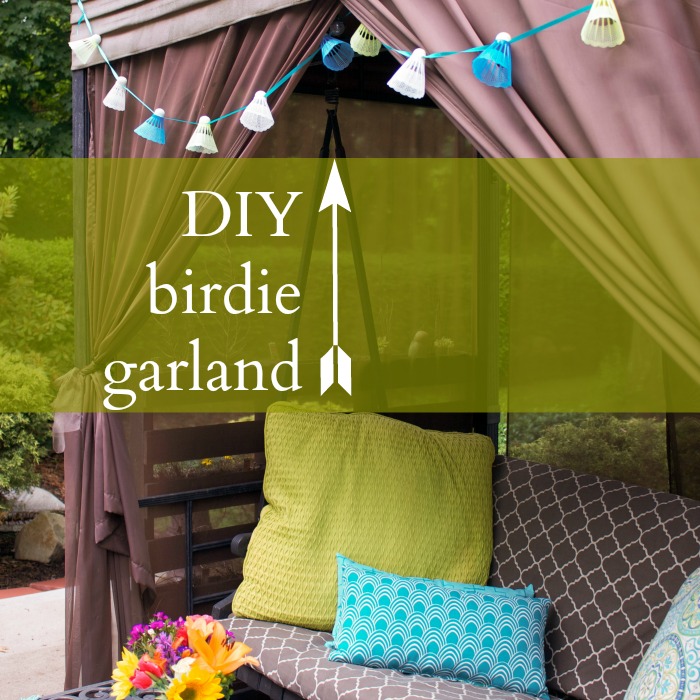
I’m participating with an easy summer DIY:  badminton birdie garland. 

DIYShowOff birdie garland tutorial

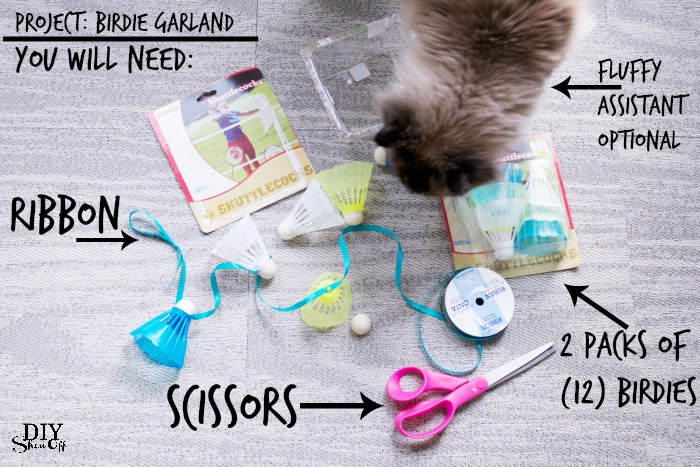
Materials:

  • ribbon
  • plastic badminton birdies (check the dollar store!)

DIY birdie garland tutorial at diyshowoff.com

Tutorial:

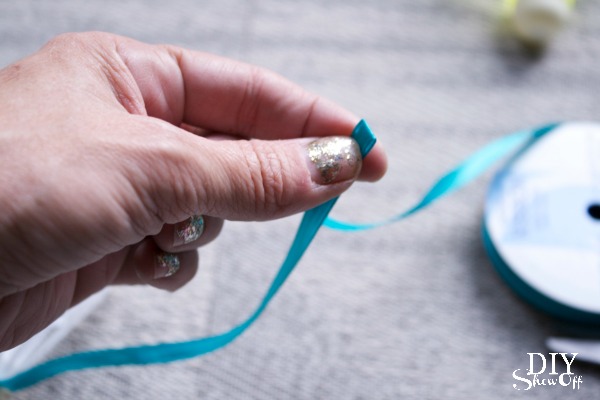
1. While length of ribbon is still attached to spool, create a loop (for hanging) and knot. DIY birdie garland tutorial at diyshowoff.com
2. Remove caps off of all birdies (mine simply popped off).
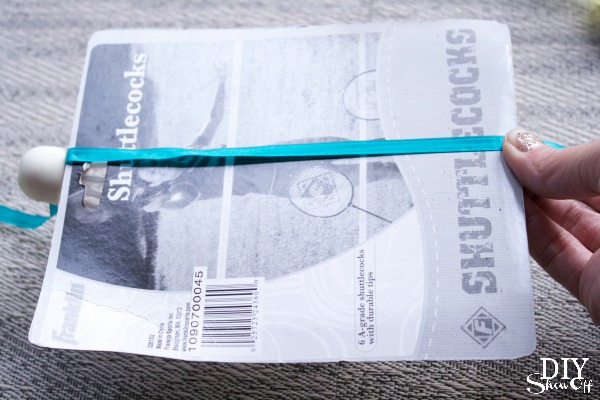
3. Using the package (or ruler) determine distance between each birdie (starting from the knotted loop).

DIY birdie garland tutorial at diyshowoff.com

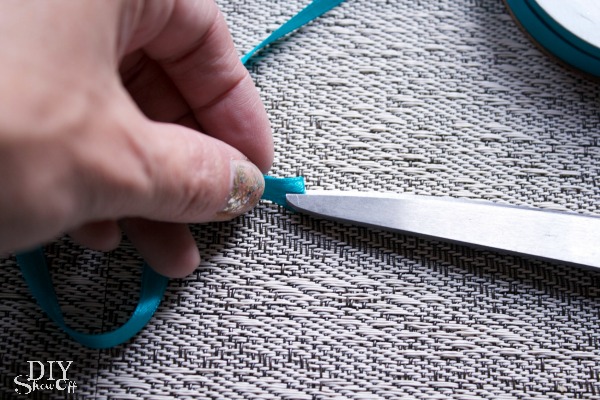
4. Fold ribbon and ‘snip’ with scissors your measured mark. Just a small snip will do.

DIY birdie garland tutorial at diyshowoff.comDIY birdie garland tutorial at diyshowoff.com

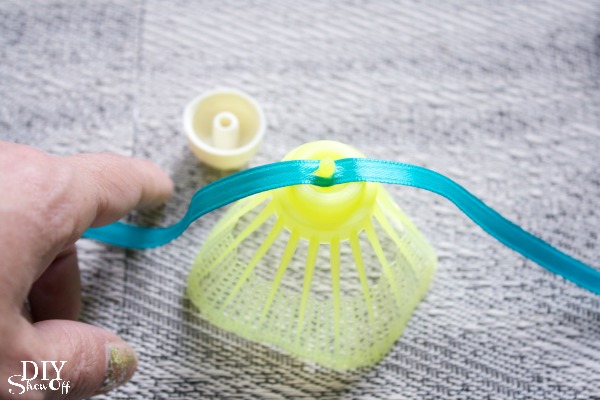
5. Place snipped area of ribbon over ‘peg’ on birdie top. 

DIY birdie garland tutorial at diyshowoff.com

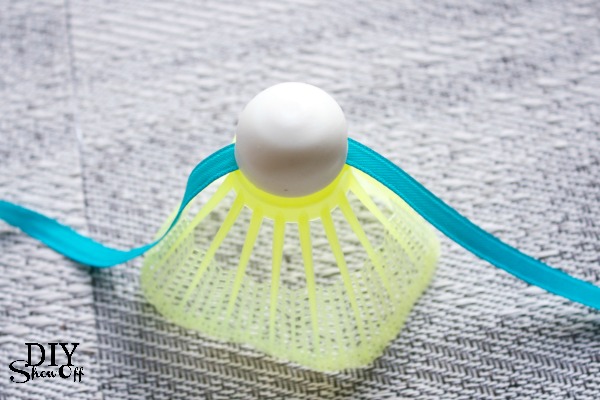
6. Replace birdie cap. 

DIY birdie garland tutorial at diyshowoff.com

7. Repeat steps 3-6 using all of your birdies. 

8. Then simply measure same short ribbon distance one last time, add a few more inches. Cut ribbon, create a loop and knot for the end. 

DIY birdie garland tutorial at diyshowoff.com

Hang! Summer outdoor family game themed. Super cute (easy and cheap too)! 

DIY birdie garland tutorial at diyshowoff.comDIY Birdie Garland / Summer Blog HopDIY birdie garland tutorial at diyshowoffHow to make a birdie garland at diyshowoff.com

Follow along the entire Fun in the Sun series by heading over to At the Picket Fence for some outdoor inspiration and by visiting the links below for summer recipes, crafts, projects, decor and more!

Fun in the Sun Blog Hop

Domestically Speaking

Debbie Doo’s

My Uncommon Slice of Suburbia

Setting for Four

Clean and Scentsible

Town and Country Living

DIY Show Off

At The Picket Fence

Cupcakes and Crinoline

Sand and Sisal

Fox Hollow Cottage

Don’t forget to come back tomorrow for a link up party and awesome cash giveaway! 

Fun in the Sun graphic