Painted Staggered Striped Accent Wall

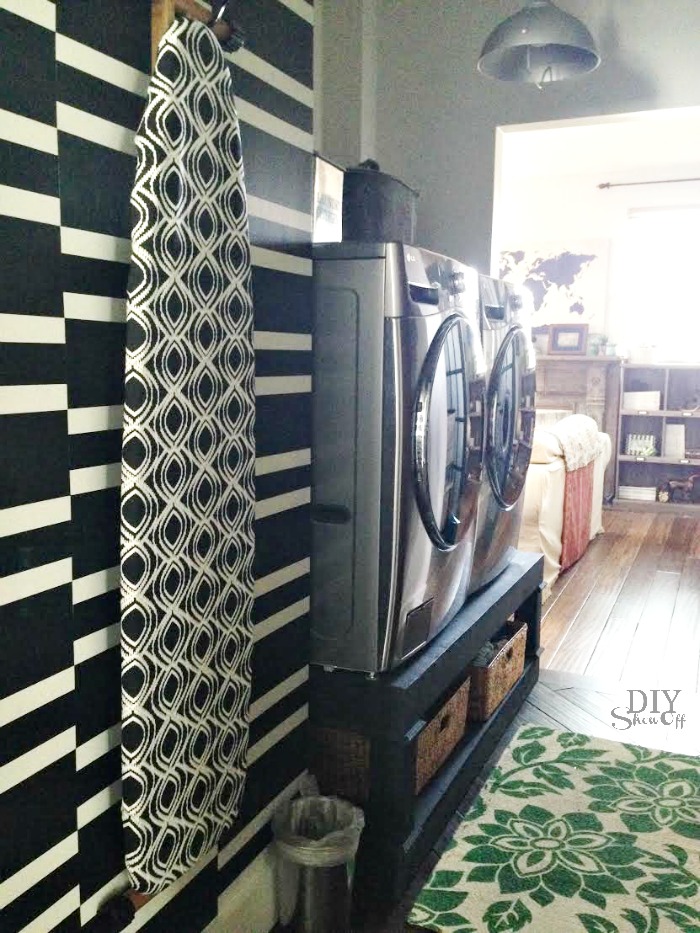
I’ve shared bits and pieces and sneak peeks of the accent wall in the laundry room and I have to say, photographing that small space is a big challenge but here’s the gist of what we did and how it’s looking. A small wall in a laundry room is a great way to play with a bold design.

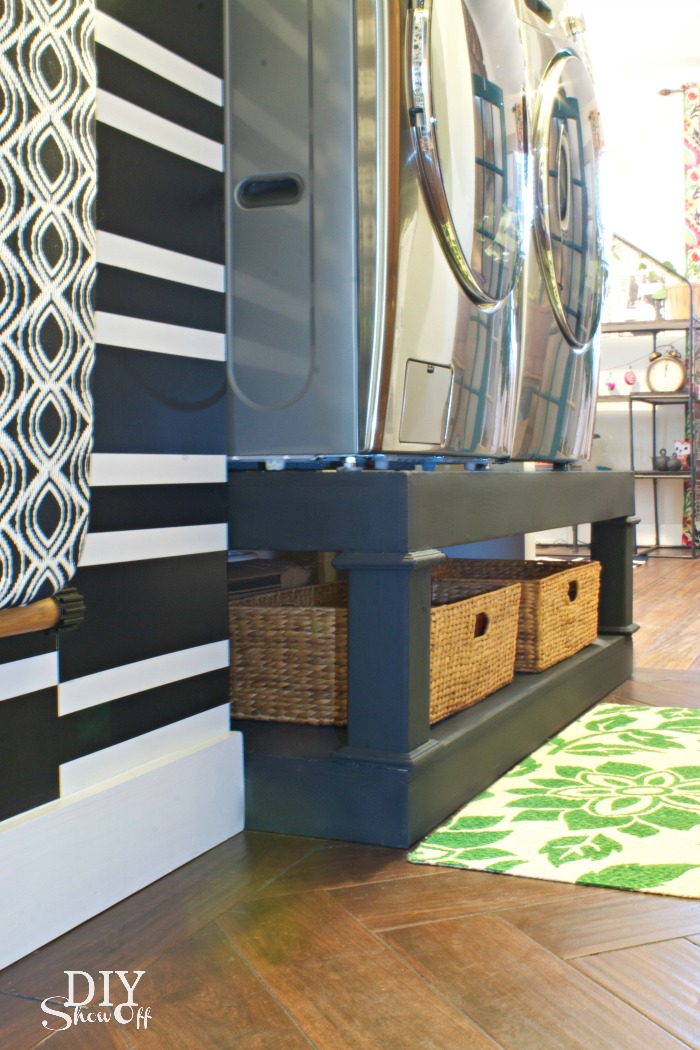
DIY laundry pedestal

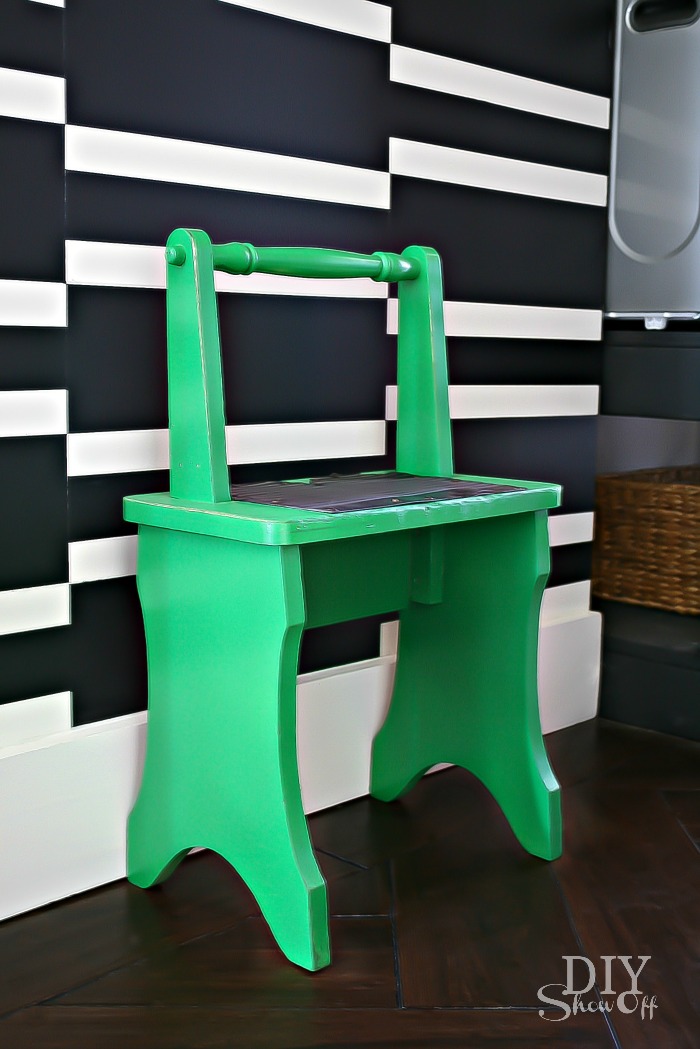
DIY Show Off step stool makeover

The base color on my walls is white. Clean, plain, simple. 

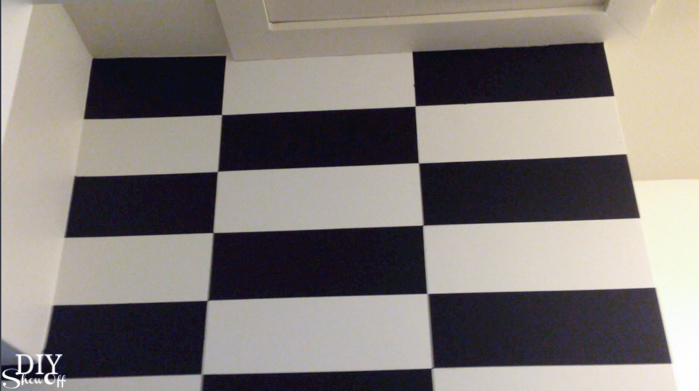
But adding black staggered stripes is a fun way to add a punch of wow!

laundry room at diyshowoff.com

Supplies:

  • Paint – I use latex in an eggshell finish. One color as the base, a bolder color for the accent.
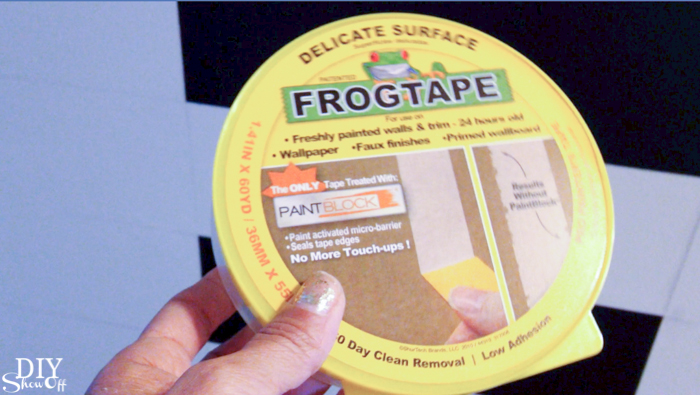
  • FrogTape® Delicate Surface (I also used FrogTape® Multi-Surface to start)

What I did:

Planning/measurements: I started by measuring the wall width and height. For me it’s 45.5 inches wide by 107 inches or so tall. My baseboard is 6 inches tall, leaving me with 101 inches of height. I decided on 5 inch high stripes. With a 45.5 inch width, I decided on roughly three 15 inch columns.

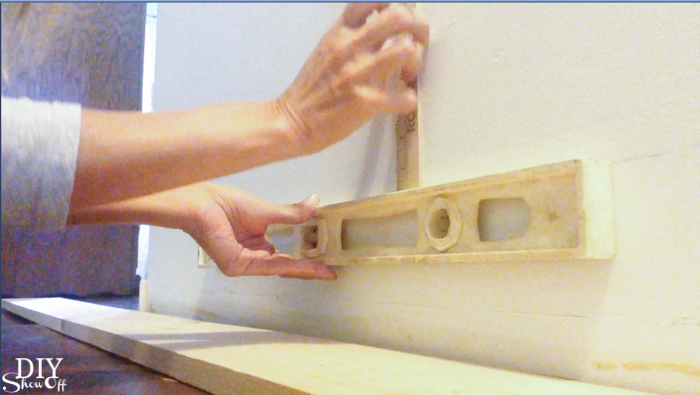
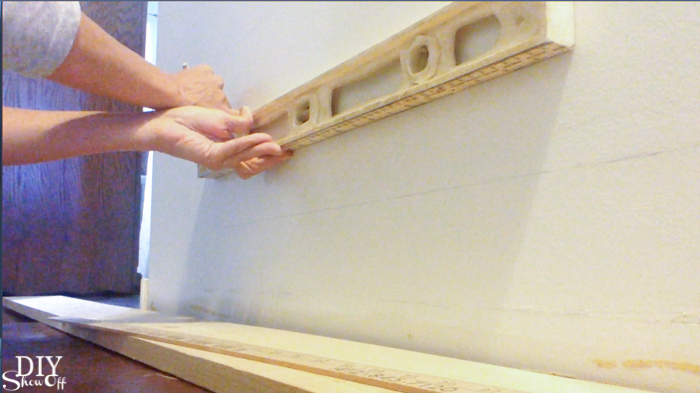
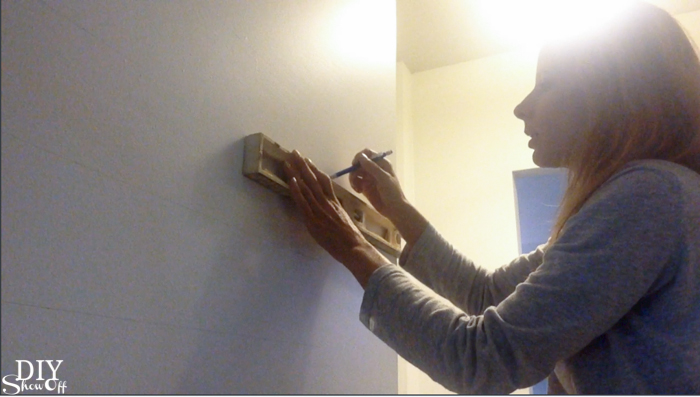
I’m going to start with how I did the design since painting the base color is basic…just paint the wall! For the stripes, using a yard stick, I made pencil marks every 5 inches above the baseboard and along the wall. 

staggered stripes accent wall @diyshowoff.comstaggered stripes accent wall @diyshowoff.com

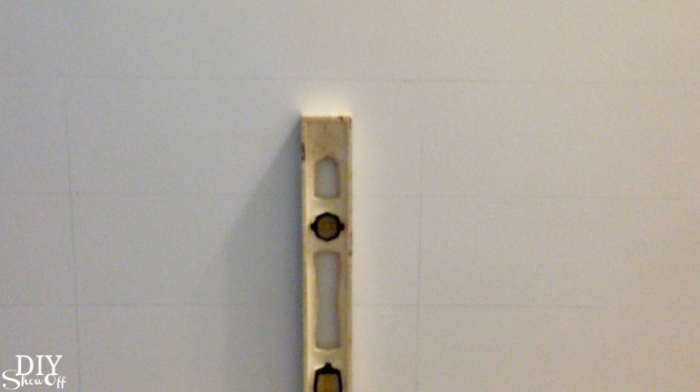
I then connected the dots using a light pencil line and my level to create evenly spaced horizontal lines up the wall from baseboard to ceiling.

staggered stripes accent wall @diyshowoff.com

Because dividing 45.5 into 3 equal sections gets an odd long number, I made a mark in the center of each horizontal line on the wall (for me that was 27.75). From the center, I made a pencil mark at 7.5 inches left and right. My center column on the wall will measure exactly 15 inches. The left and right columns will be slightly larger than the center 15 inch column (but unnoticeable). 

I then used my level to connect the dots to mark my vertical lines and to create three columns on the wall. 

staggered stripes accent wall @diyshowoff.com

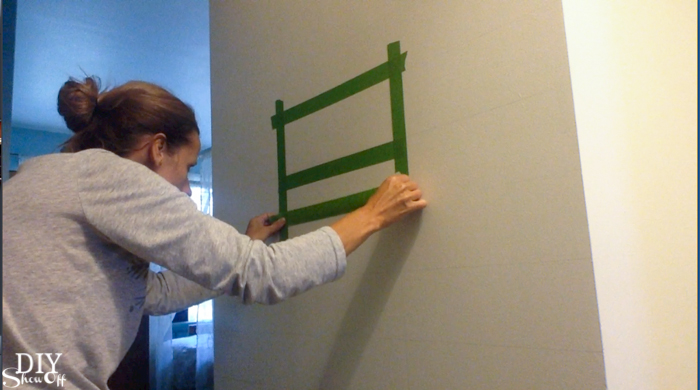
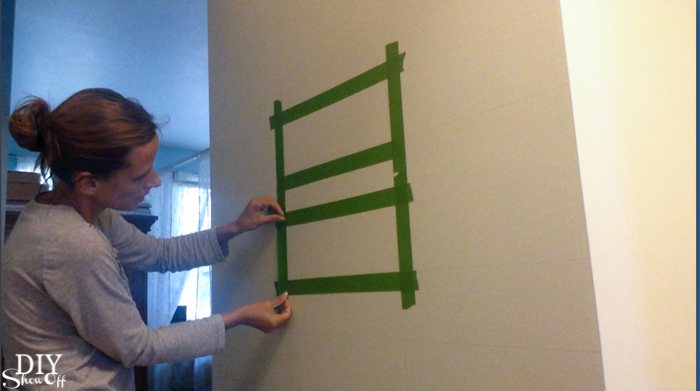
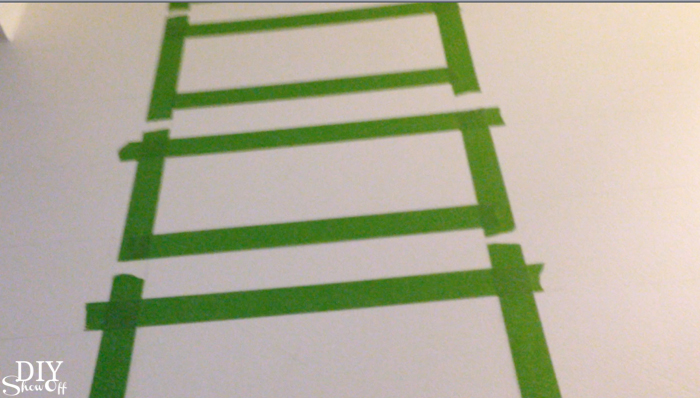
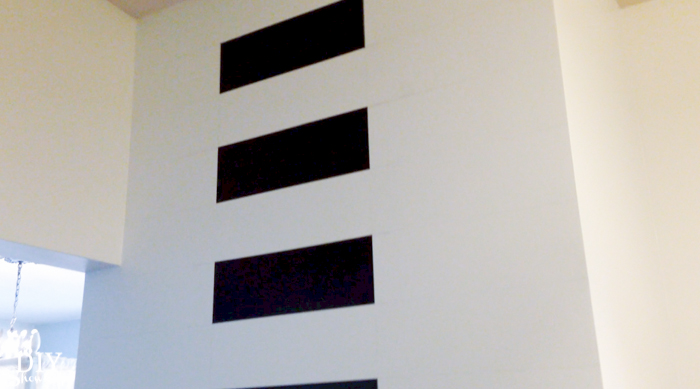
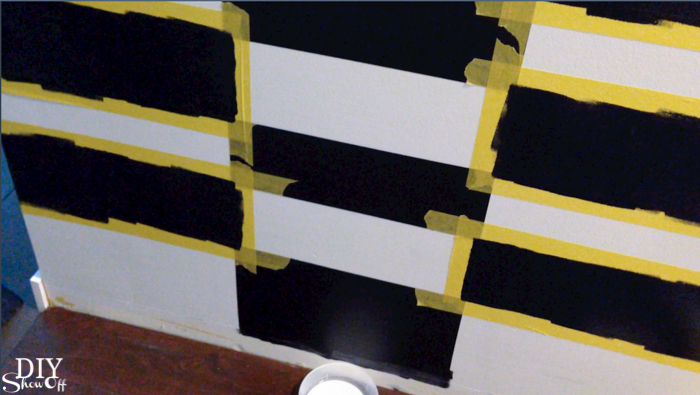
Time for FrogTape®! Starting with the center column, I taped off the “outside” of every other rectangle. 

staggered stripes accent wall @diyshowoff.com staggered stripes accent wall @diyshowoff.com staggered stripes accent wall @diyshowoff.com

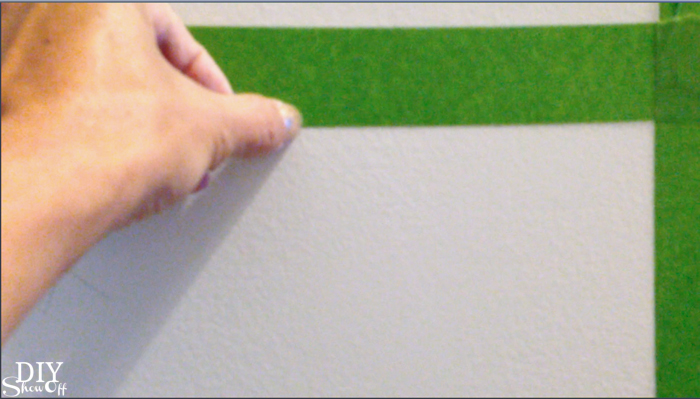
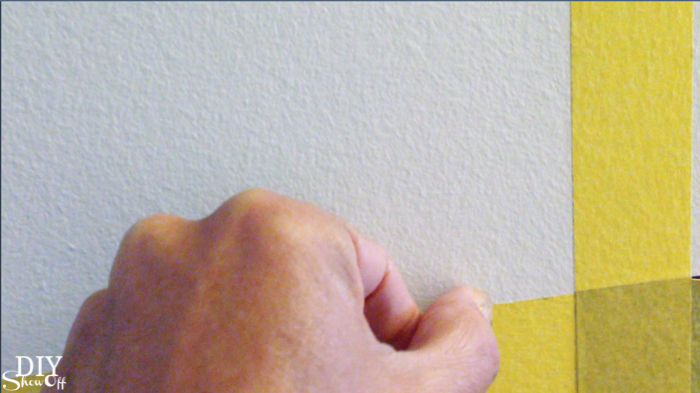
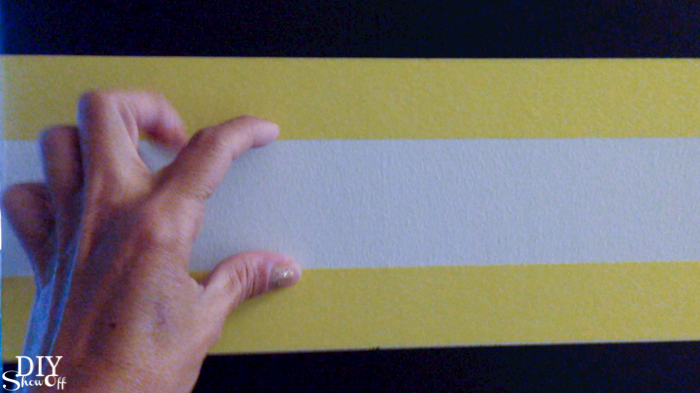
Burnish the edges of the FrogTape with a thumbnail.

staggered stripes accent wall @diyshowoff.com

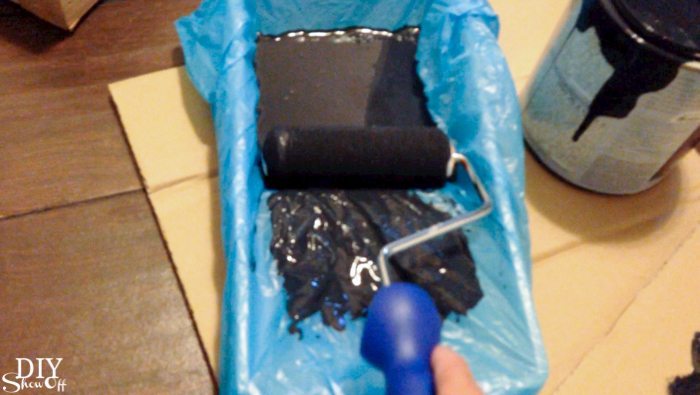
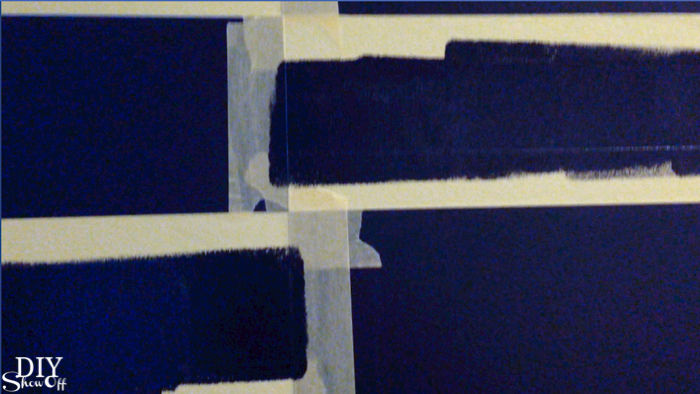
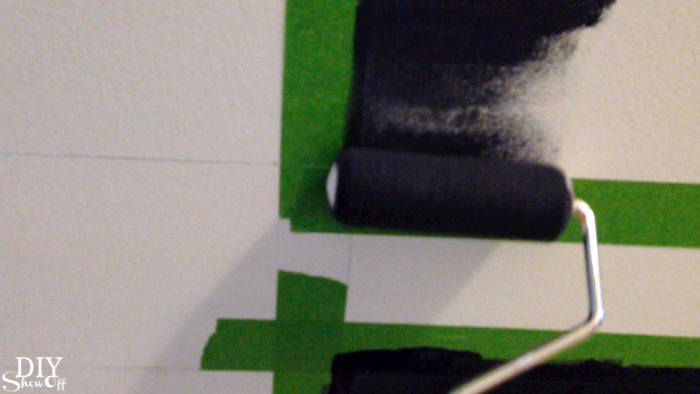
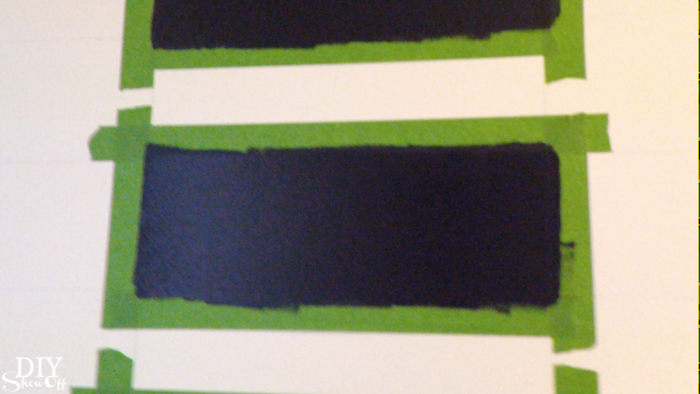
Using a dense foam roller, I painted each rectangle. I did three coats since I painted black on white. 

staggered stripes accent wall @diyshowoff.com staggered stripes accent wall @diyshowoff.com staggered stripes accent wall @diyshowoff.com staggered stripes accent wall @diyshowoff.com

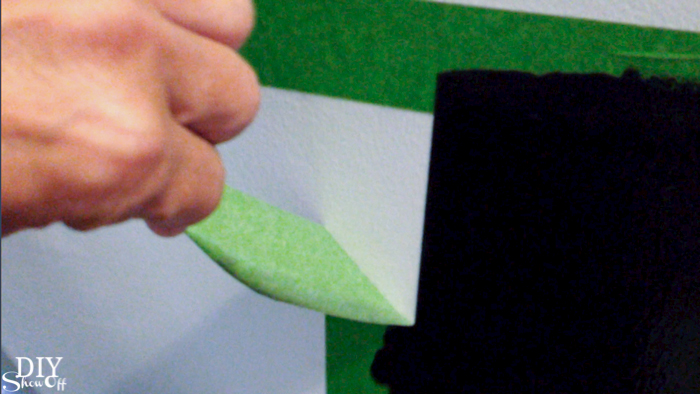
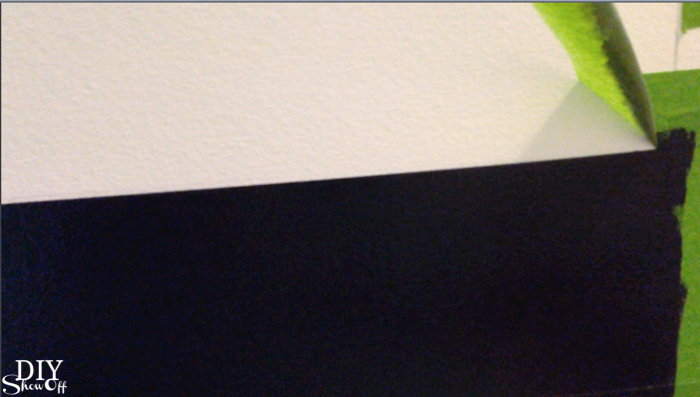
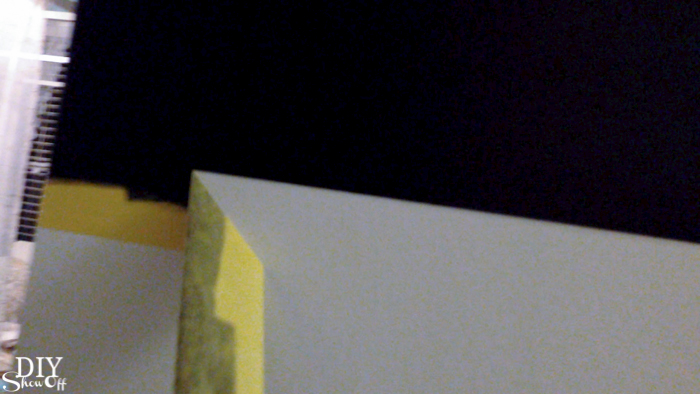
While the last coat of paint was still wet, I removed the FrogTape by pulling away from the paint. Let dry 24 hours. 

staggered stripes accent wall @diyshowoff.com staggered stripes accent wall @diyshowoff.com staggered stripes accent wall @diyshowoff.com

Time to paint the left and right columns! Using FrogTape Delicate Surface (since the black paint is still fairly fresh), I taped off each rectangle (staggered from the center column). 

staggered stripes accent wall @diyshowoff.com

Again, burnish the edges of the FrogTape with a thumbnail then paint. I did three coats throughout the day. 

staggered stripes accent wall @diyshowoff.comstaggered stripes accent wall @diyshowoff.com

While the last coat of paint is still wet, remove the FrogTape by pulling away from the paint. Let dry 24 hours. 

staggered stripes accent wall @diyshowoff.com

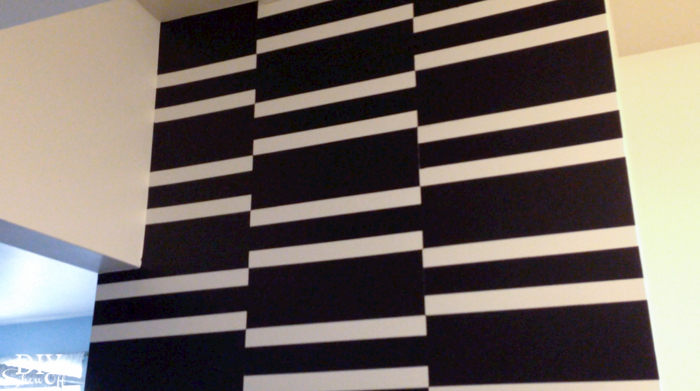
As is the way with DIY, I was not liking my initial design. It was more of a check board/racing flag look. Not what I was going for at all! Yikes! OH NO NO NO!

staggered stripes accent wall @diyshowoff.com

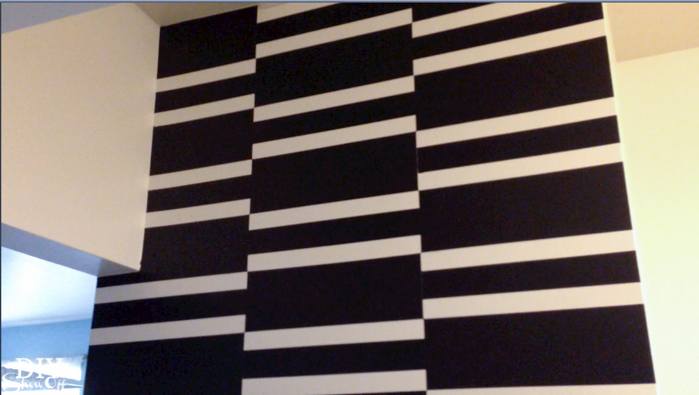
The fix: So, on the right and left columns I applied a strip of FrogTape Delicate to the white rectangle boxes/stripes…one on the top edge, one on the bottom edge. 

staggered stripes accent wall @diyshowoff.com

Then painted the white middle section of each rectangle black. Again, 3 coats!

staggered stripes accent wall @diyshowoff.com

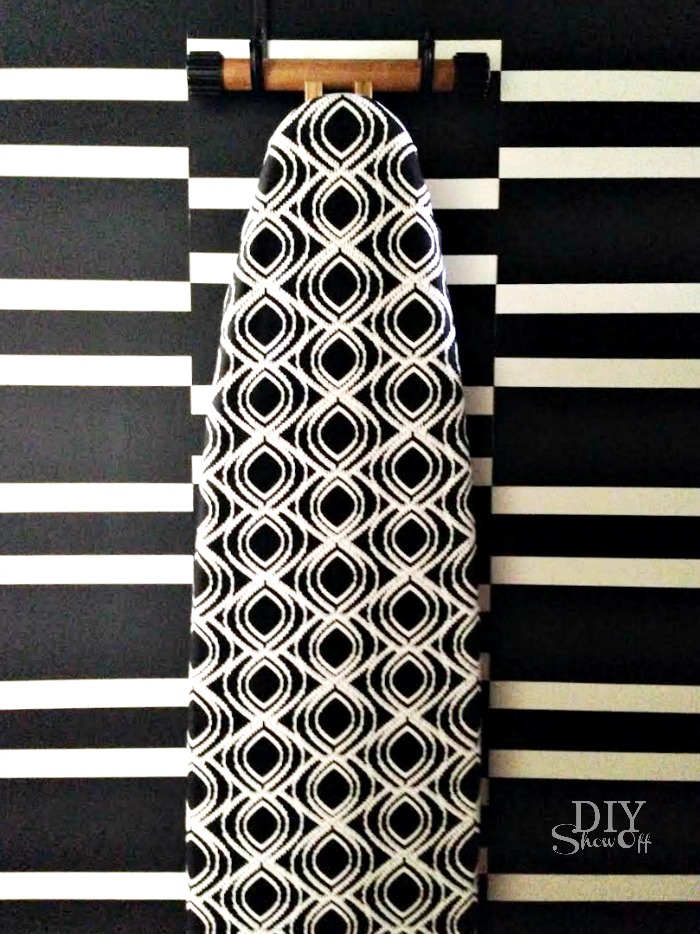
While the last coat was still wet, I removed the FrogTape….and the result was MUCH BETTER! It has a sort of 3D look to it. I was going to do that last paint step on the middle column’s black rectangle with white paint in the center but ended up liking it as is. 

staggered stripes accent wall @diyshowoff.com

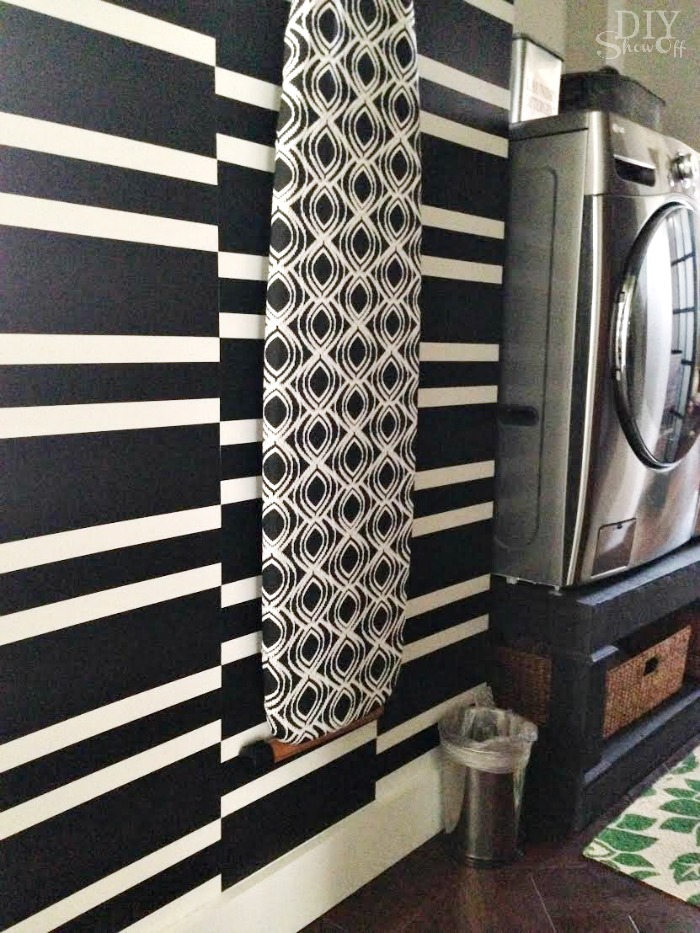
It really pops agains the otherwise neutral white laundry room with silver appliances, black walnut porcelain tile floor, bright green decorative accents and adds some fun dimension. 

staggered stripes accent wall @diyshowoff.com

Well worth the math. Well worth the few hours of work a day for a couple of days. Now I get to enjoy the result for years! *I had to lighten the pictures (causing graininess) because there is NO natural light in this room.

laundry room wall at diyshowoff.comlaundry room at diyshowoff.com

It’s the perfect back drop for my ironing board with DIY cover too! Don’t you think?

laundry room at diyshowoff.com

More FrogTape Wall Ideas:

easy painted accent wallFrogTape-accent-wall

herringbone accent wall at diyshowoff.comDIY Show Off Home Tour - stairwell landing makeover

The annual Earn Your Stripes™ painting contest is taking place right now!!! Grand prize is $5,000.00!! I’d LOVE for a DIYShowOff reader to win! Imagine what you can do with $5000! Since I can’t enter, I hope you will! I’ll be participating in the judging! Enter here —> https://promotions.frogtape.com/earn-your-stripes/

FrogTape Earn Your Stripes

Deadline to enter is now through July 1st – so, plenty of time to get creative hats on and execute a project.  You’ll need before, during and after photos.  Here are the official rules: https://promotions.frogtape.com/earn-your-stripes/rules. Here are the FAQ’s for the contest:  https://promotions.frogtape.com/earn-your-stripes/faqs

Best part, all entries (see official rules) will receive a free roll of Shape Tape! Good luck! 

FrogTape Blog Squad

Disclaimer: I received compensation to complete this project for using FrogTape® products. All opinions, projects and ideas are based on my own experience.

Baseboard Trim

Yesterday I shared how I installed grouted vinyl floor tiles in the bathroom and today I just wanted to share a little baseboard trim tip. I re-used existing baseboard trim because it’s the old wide original trim in good shape. See how to easily swap out your baseboards here and a little tip for easy decorative trim detail here.  

grouted vinyl floor tile tutorial @diyshowoff

I gave it a good scrubbing and a little scuffing with sandpaper.

Then reattached the baseboard trim using my nail gun and brads. Countersink the nails, fill with wood filler and sand. 

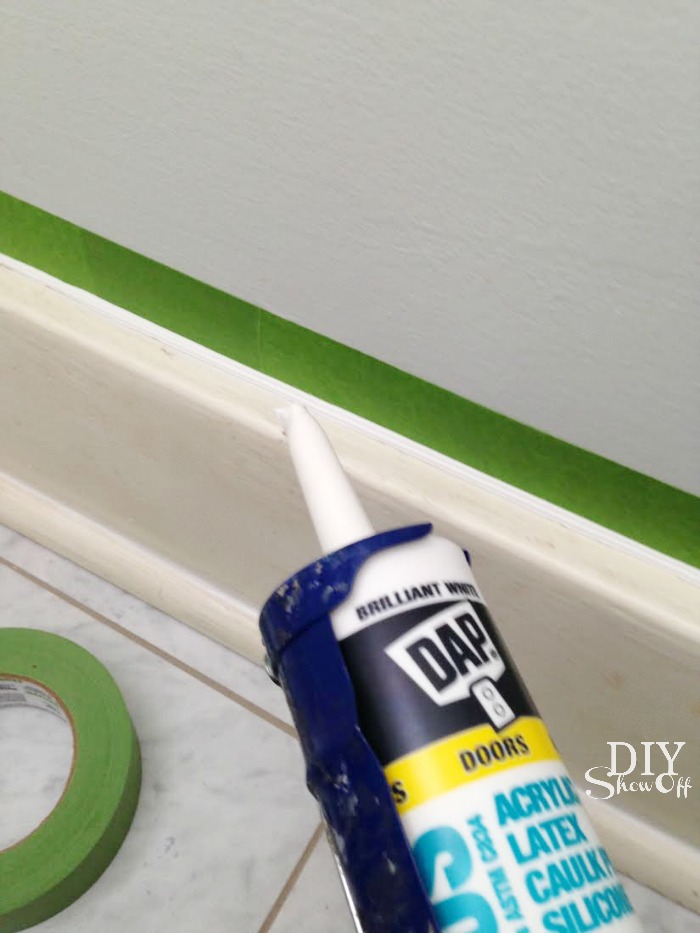
Next I sealed all of the seams with caulk – where the trim meets the wall and where the shoe moulding rests against the baseboard. I use DAP paintable caulk for windows/doors/trim.

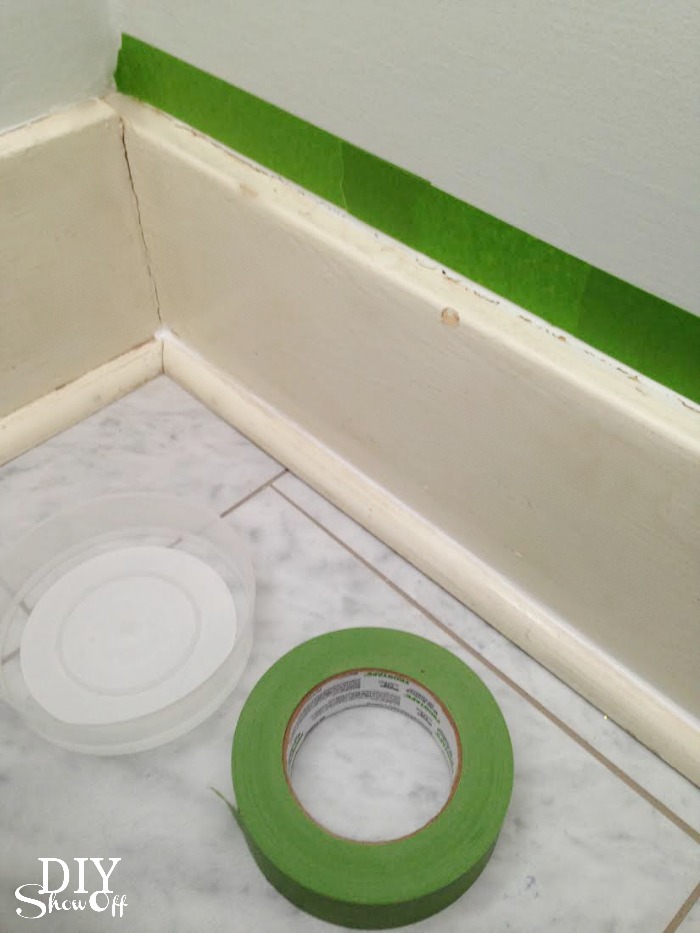
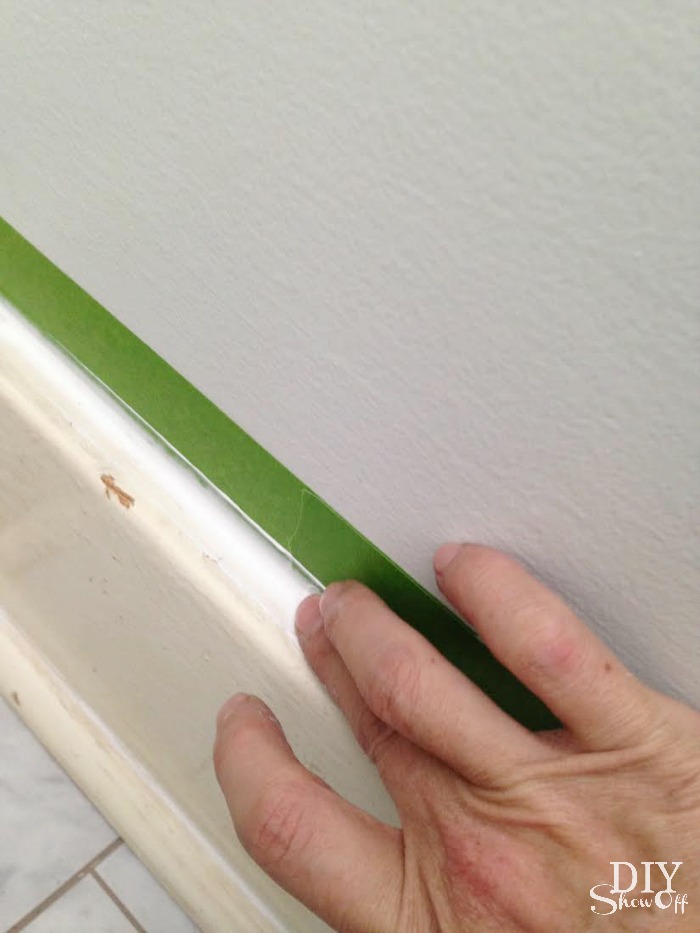
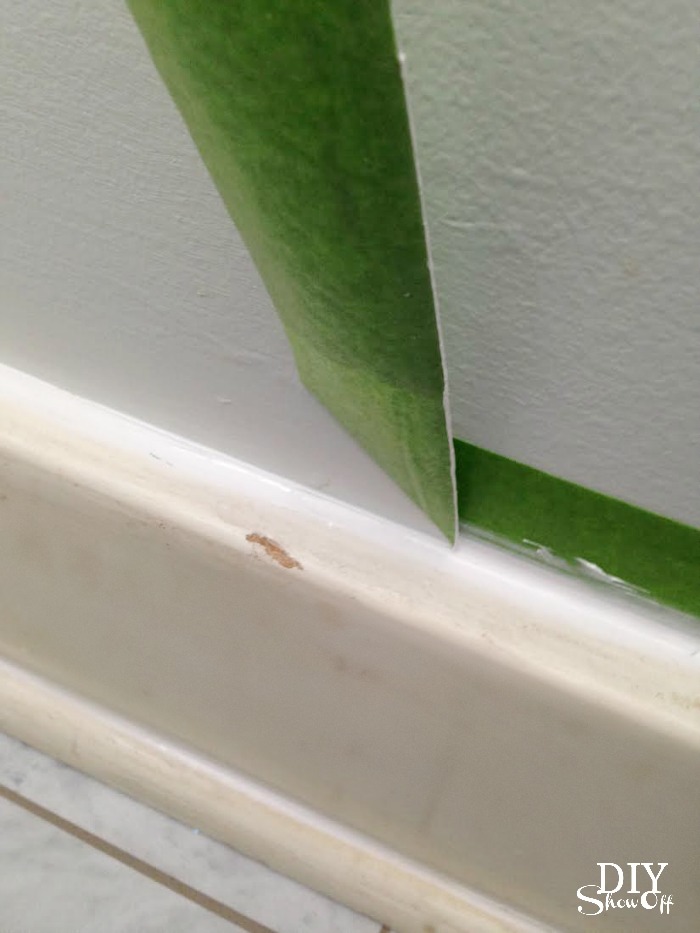
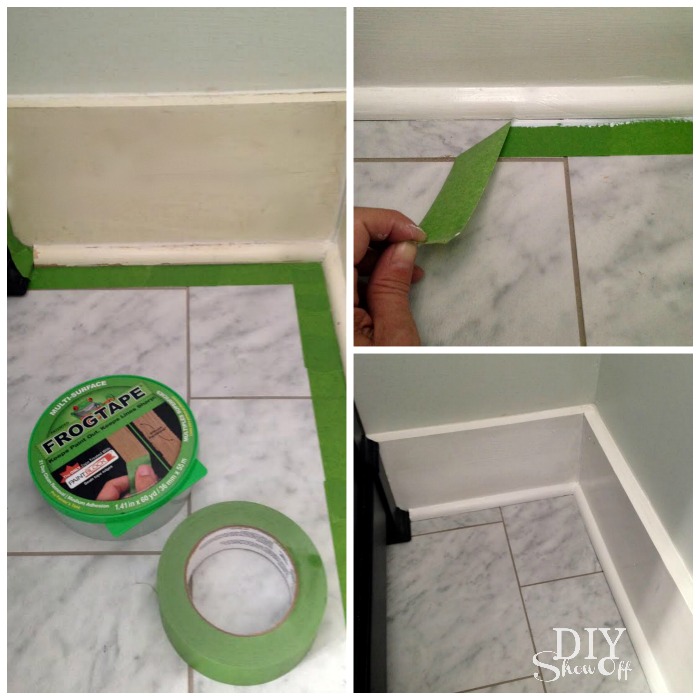
FrogTape® Mult-Surface tape applied to the wall ensures a nice straight line without caulk smears. Apply the tape horizontally above the baseboard onto the wall. Use your thumbnail or a credit card to activate the PaintBlock® Technology.

DIY caulking baseboard trim

Cut the tip of the caulk tube at an angle (the larger the hole, the bigger amount of caulk-age, so I prefer to keep the cut on the small side. Holding the caulk gun at an angle so that the flat end of the cut hole faces the seam where the baseboard meets the wall, run a bead of caulk. 

caulking baseboard trim tutorial

I fill my FrogTape container with a little bit of water. With a wet finger, smooth the caulk. I work from left to right and since this is a small space, I worked in an entire section (about 4-5 ft. at most). You’ll have a lot of excess (remember to have those paper towels handy). 

caulking baseboard trim tutorial

Then peel away the FrogTape starting at a bottom edge and pulling up and away from the caulk. 

caulking baseboard trim tutorial

Nice clean line! Repeat until all top baseboard seams are sealed. 

Now repeat the caulking steps (without the painter’s tape) where the shoe moulding rests agains the baseboards. Once dry (about 30 minutes), it’s time to paint!

Paint is Dutch Boy’s Cabinet and Trim paint. I used FrogTape where the shoe moulding meets the floor to prevent getting paint on my nice new grouted vinyl tiles. Using my thumbnail, I again activated the Paintblock Technology, then painted my trim. After the second coat of paint, I removed the FrogTape while the paint was still wet. 

painting baseboard trim

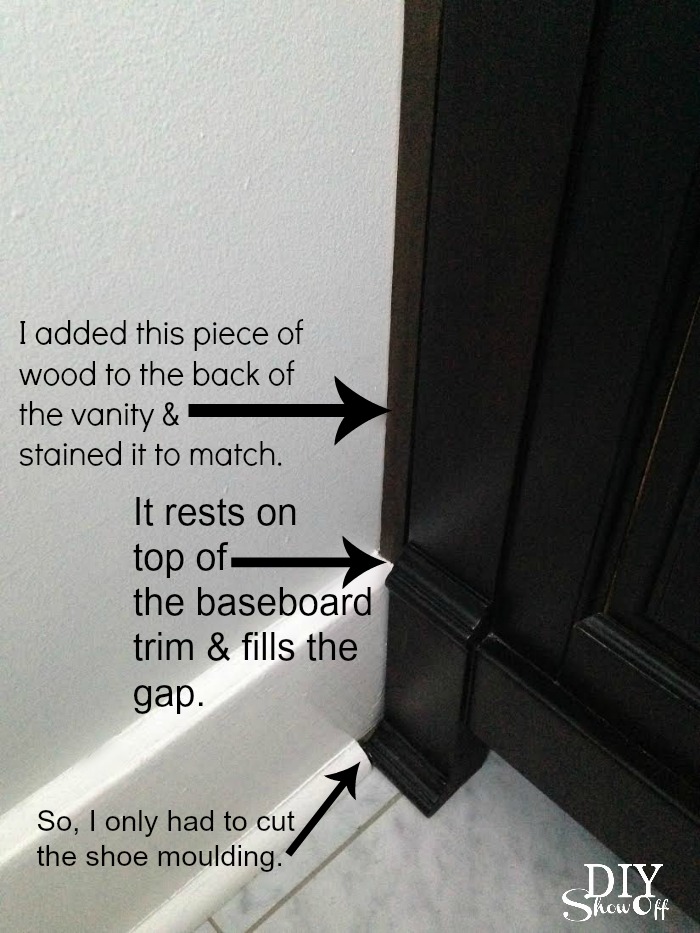
The vanity: I could have cut the baseboard trim so that the vanity sat flush against the wall but since the countertop had a little play (it sat out from the vanity about an inch), I attached scrap (stained) 1x4s cut to size to the back of the vanity, so that it would hide the gap and rest above my baseboard. (Also…one of my baseboards was good and glued as well as nailed to the plaster wall…I feared created a bigger more involved mess with pulling it off.) Now my countertop rests against the wall and is flush with the front of the vanity with no overhang but I don’t believe there’s a law or rule that says the countertop must protrude from the vanity. Is there? It also gave me a little more wiggle room for the tight fit plumbing. 

bathroom vanity and trim fix

Good as new! I love fresh, clean, white baseboards.

DIYShowOff bathroom accessories


I used my FrogTape along the door frame and window trim too. 

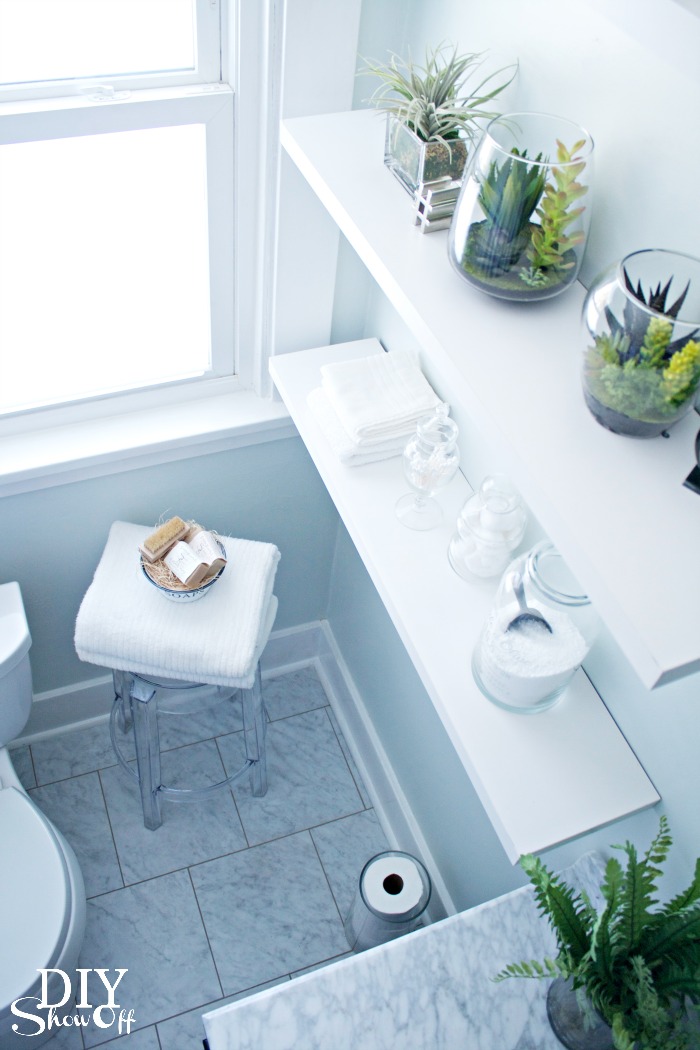
bathroom makeover after


If you missed it, you can see the complete before and after bathroom makeover here

FrogTape Blog Squad

Disclaimer: I received compensation to complete this project for using FrogTape® products. All opinions, projects and ideas are based on my own experience.

DIY Grouted Vinyl Floor Tiles

I recently shared the transformation of our upstairs main bathroom. I’m so in love with the complete change, especially the floor.

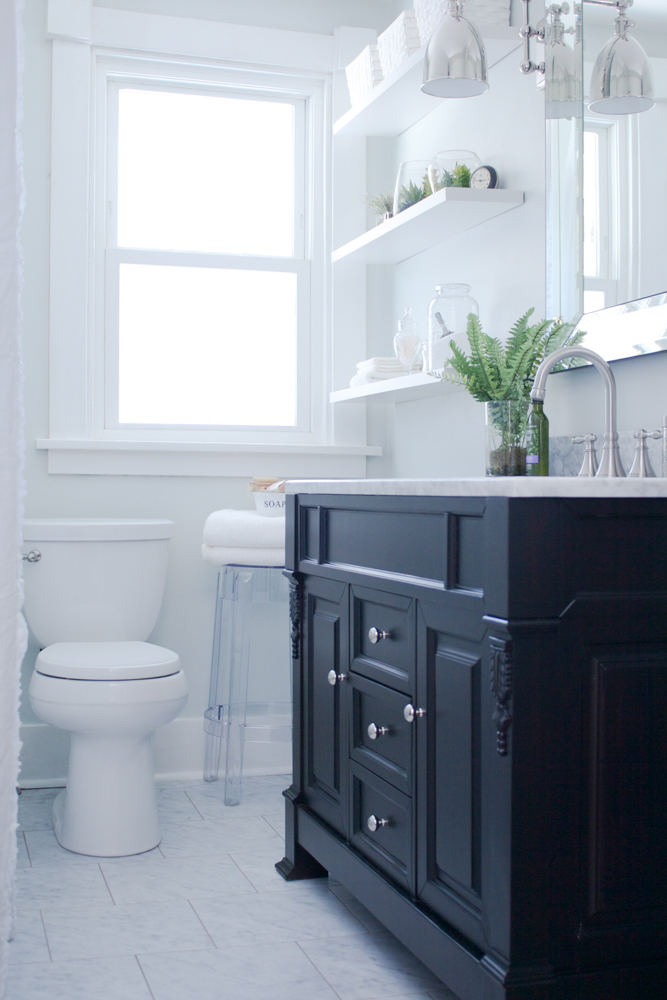
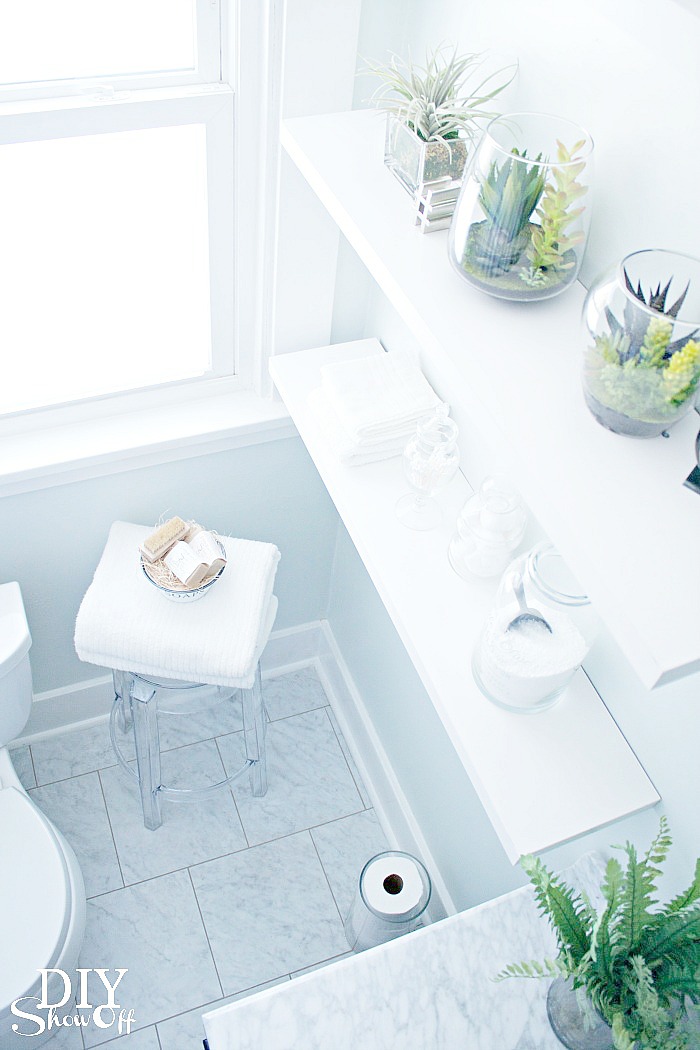
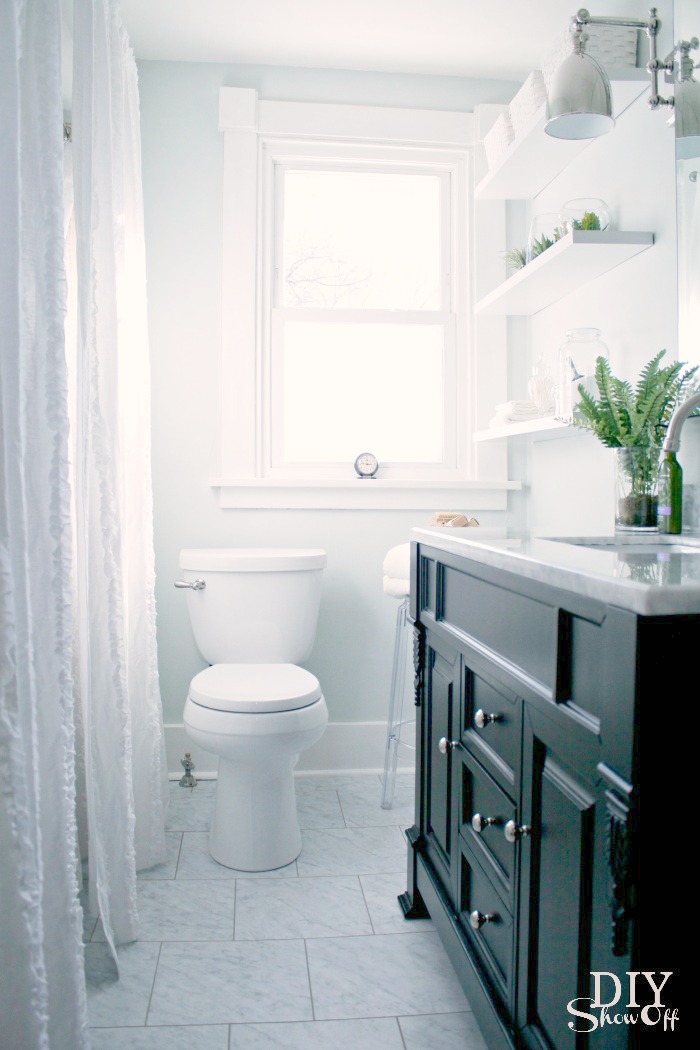
It looks so much like marble tiles, doesn’t it? But those are vinyl floor tiles with vinyl tile grout. The look without the cost or maintenance and shorter installation time. 

grouted vinyl floor tiles - diyshowoff bathroom makeover

Why I chose to go with grouted vinyl floor tiles? Because it’s a temporary solution for us (temporary as in 4-5 years or maybe even a little longer). It’s not for everyone but down the road I have plans on replacing the old tub and shower surround with a slipper tub/shower and at that time, I do plan on using real tile on the floor, under the tub and on the shower walls so in the interim, grouted vinyl tiles were a budget friendly and easy DIY solution that I plan on enjoying every day. The best part? I was able to truly do-it-myself and installation only took one day. It looks professionally done and real! You’ll see mixed reviews and negative comments when researching but I couldn’t be happier and love it!

Materials:

Supplies:

  • box cutter/utility knife
  • rolling pin
  • bucket with water
  • sponge
  • rag
  • float
  • putty knife

What I did:

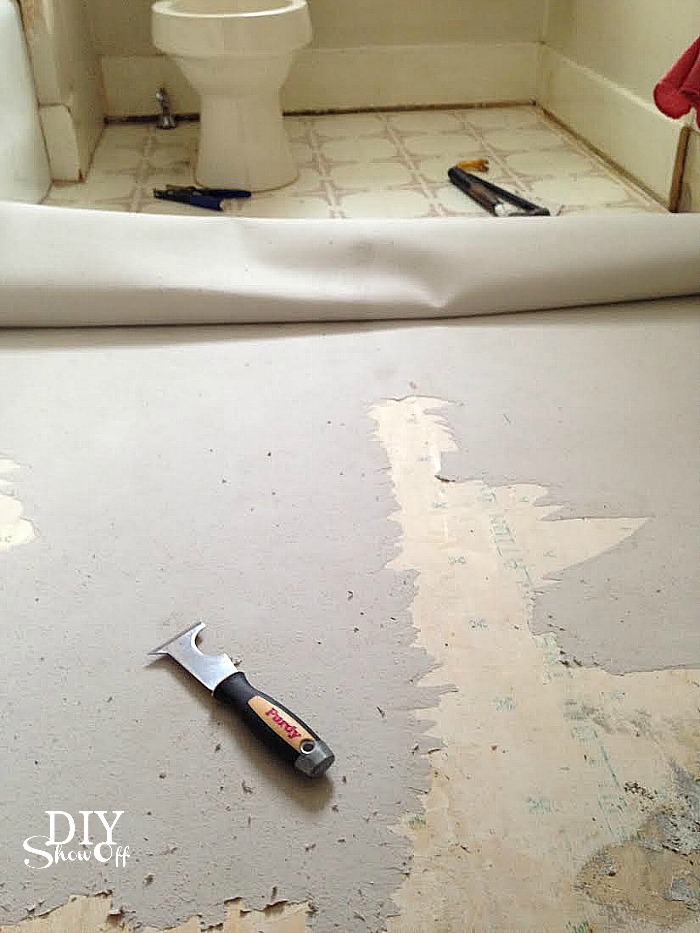
The old vanity and toilet were removed. For us it’s because we were replacing those anyway. I recommend at least removing the toilet to get underneath. We also removed the shoe moulding/quarter round trim from around the room. I then removed the old vinyl flooring. I did cheat a little on this part. I hired my nephew to help me scrape off the old vinyl floor paper backing that was glued to the subfloor. That was the most labor intensive part. (Note: I removed the old vinyl flooring because it was peeling up around the perimeter of the room. If it had been secure, level and in good shape, I would have placed my vinyl tiles over it.)

removing vinyl flooring

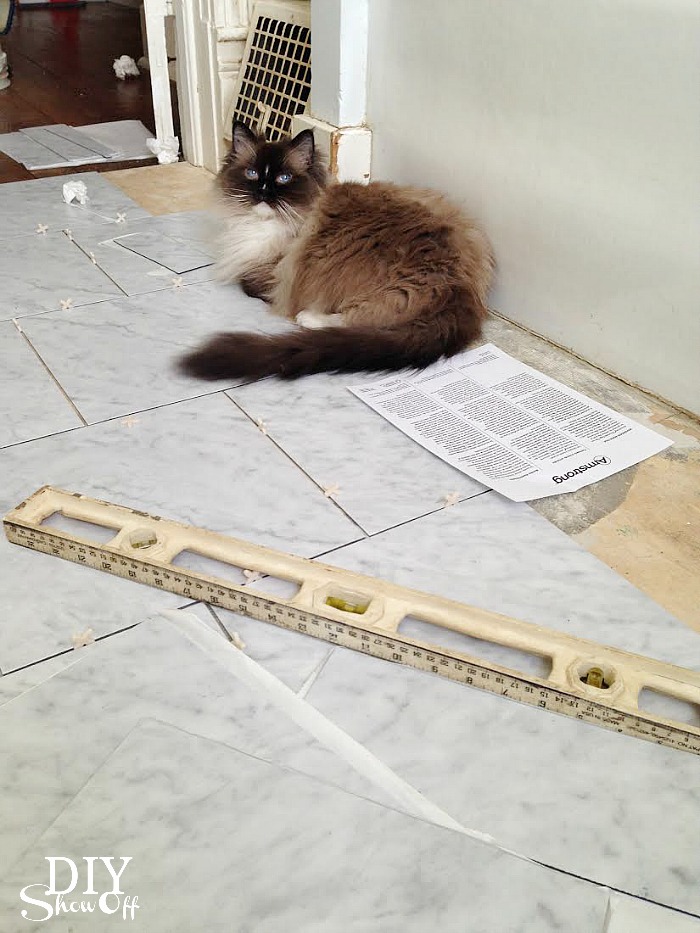
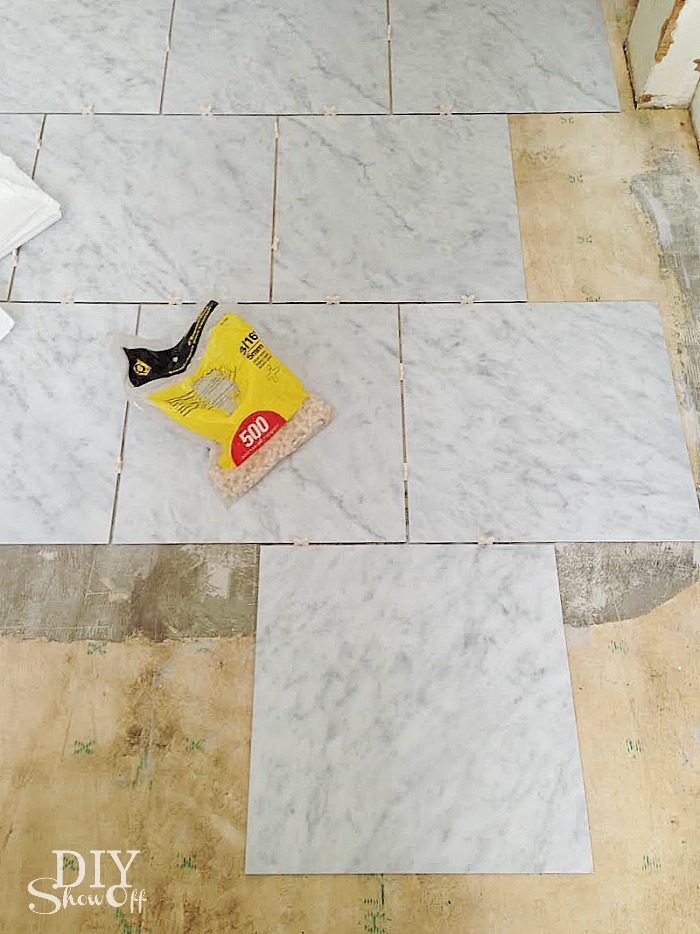
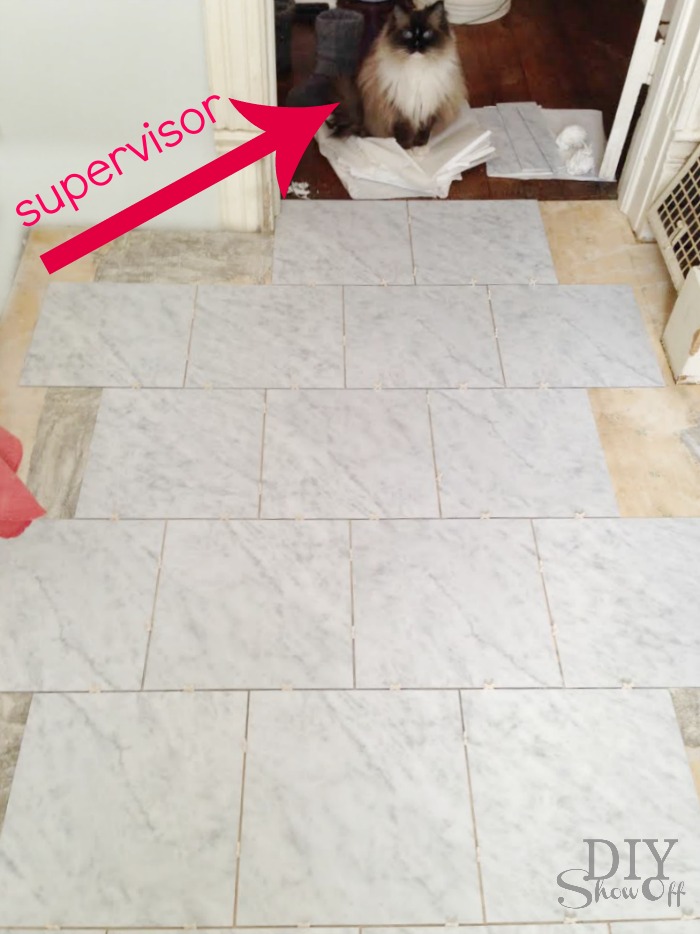
Start with a smooth, clean, level, dry surface. Since this space was prepped for vinyl previously, the subfloor seams were sealed and it was level. Once all of the glued paper was removed and the floor cleaned, I simply started placing my vinyl tiles. I started with laying the full (un-cut tiles), using a staggered pattern. Since such a small amount of the tile is actually visible in this small space after placement of the vanity and toilet, I started with the first full tile placement at the doorway and worked my way back into the room. I made sure to pay attention to “marble veining” so that the pattern all ran the same direction. 
installing a vinyl tile floor tutorial

Simply peel away the paper backing (these things were super tacky!) and place the tile onto the subfloor. I used 3/16 inch spacers between the tiles. I marked my tiles 6 inches in on the edge of each tile with a pencil to assist in laying a straight design.

vinyl floor tiles

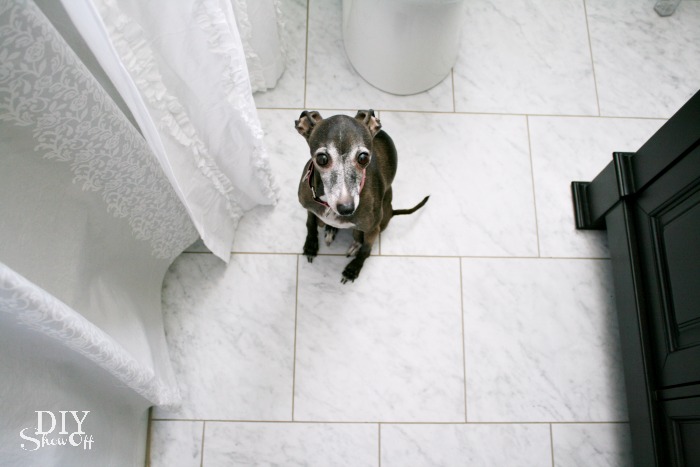
Having a supervisor on hand keeps you focused as well as replacing the spacers repeatedly.

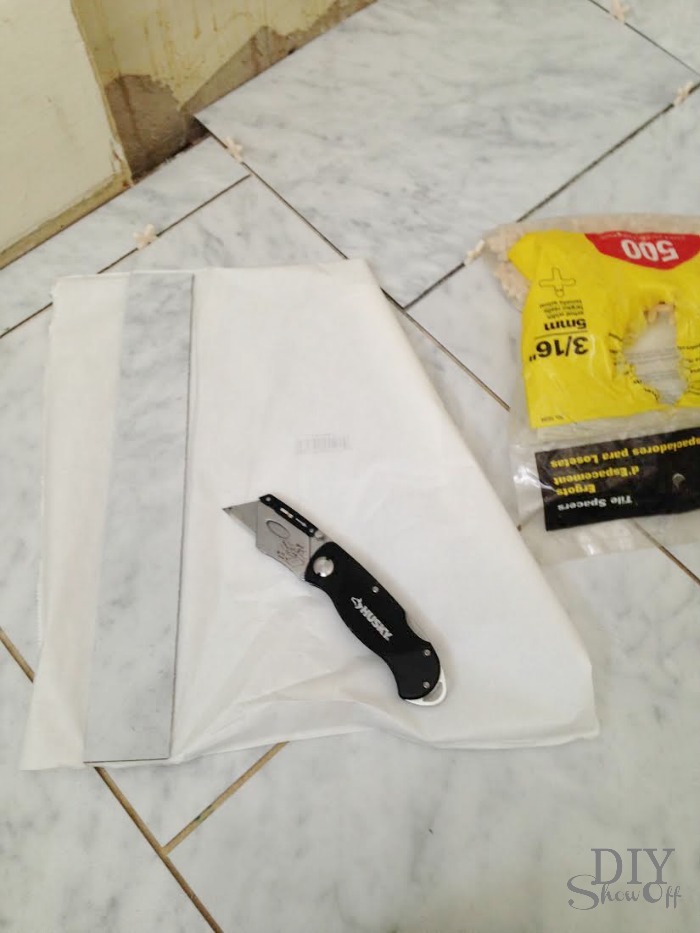
Once all of the full un-cut vinyl tiles were in place, I moved onto what I thought was going to be the difficult part. Cutting the tile was way WAY easier than I anticipated. I simply used a utility knife blade to ‘score’ the cut line then snapped the tile. That simple. I didn’t have to apply a lot of pressure or go over it repeatedly with the utility knife.
grouted vinyl floor tile tutorial @diyshowoff

There were a couple of tricky cuts around the door frame, heat register and toilet so having a little more tile than needed came in handy. 

grouted vinyl floor tile tutorial @diyshowoff

Finish. Stand up and admire your tile. No cuts with a wet saw but you’ll be so proud of how good it’s looking! 

Looking good! Ready for vinyl tile grout!

grouted vinyl floor tile tutorial @diyshowoff

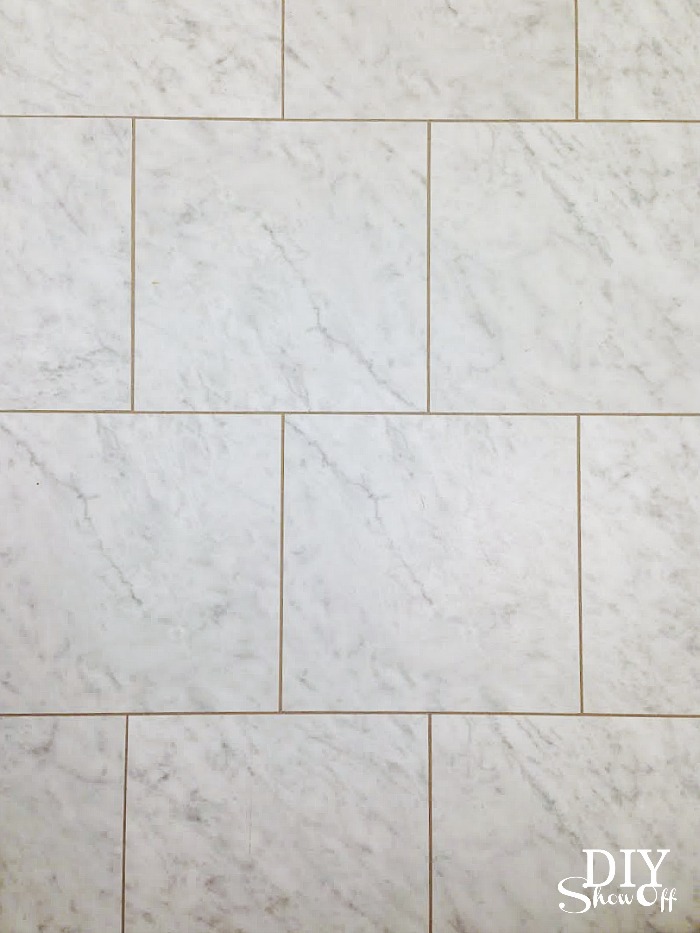
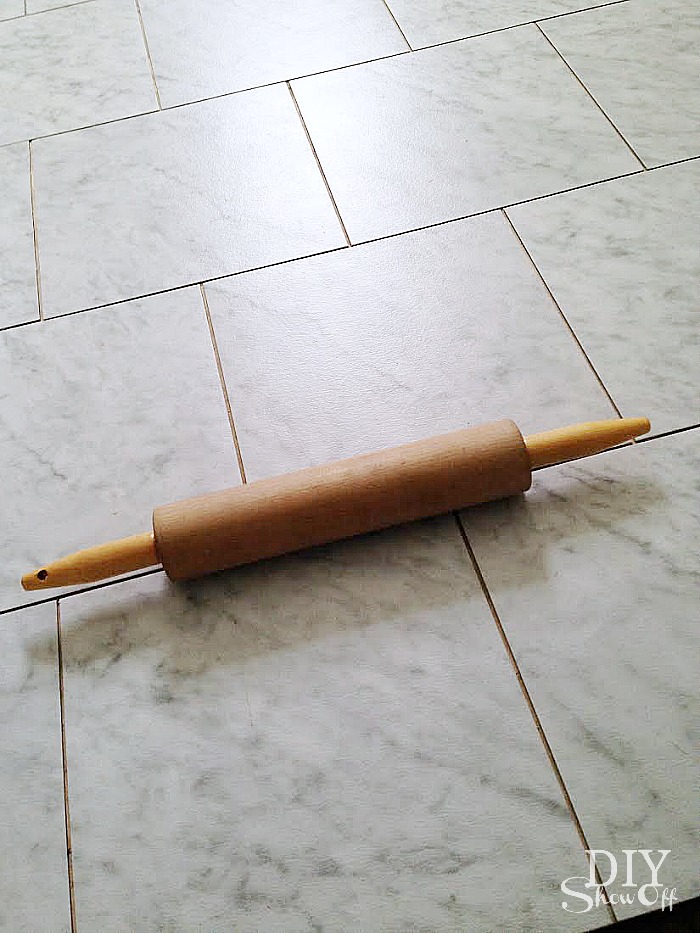
I removed the spacers and rolled over the vinyl tiles with a rolling pin to make sure each tile was secure and in place. Then?! The best part – no waiting for mortar to set…move straight to grouting!

grouted vinyl floor tile tutorial @diyshowoff

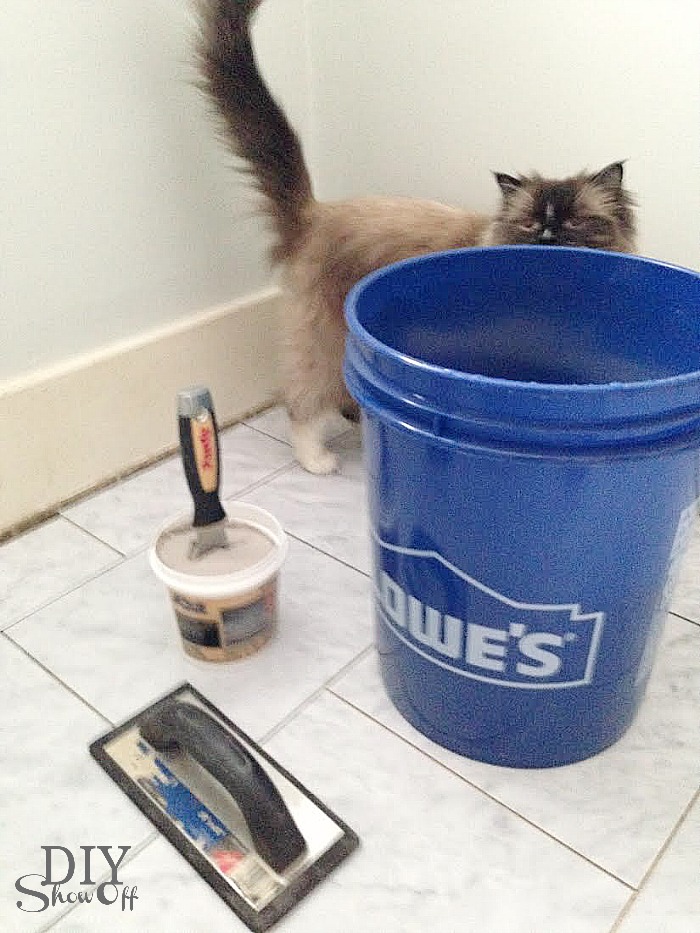
Have a bucket with water on hand (replace dirty water frequently with clean water) and work in small sections from the back wall working backwards towards the door. I worked in 2ft. sections because the grout dried fast. I used a putty knife to apply the grout to the float. Then used the float to “smoosh” the grout into the joints between the tiles. Sometimes I found just using the putty knife or my finger worked in some areas. I wiped away the excess grout with a wet sponge (squeeze out all of the water) then followed cleaning up the water/grout with a wrung-out wet rag where needed before moving onto the next section. I cleaned away all of the extra grout and wiped up water as I went along. 

grouted vinyl floor tile tutorial @diyshowoff

Let dry 24 hours before light use. I also went over the floor with a wet rag after 24 hours. We replaced the toilet and vanity and re-attached the baseboard/trim after about 48 hours.

grouted vinyl floor tile tutorial @diyshowoff

That’s it! I am thrilled with the result! 

grouted vinyl floor tile tutorial @diyshowoff

I’ve had questions about how this has held up. In the one month that it’s been done, it’s holding up just as well as it looked the first day but I can’t say about long term yet. There is plenty of leftover grout. I made sure my container has a good seal and will keep it on hand just in case repairs are needed. This bathroom is being used daily and so far so good! I’ll check back in with a review in a few months to let you know if anything has changed. 

See the complete before and after bathroom makeover here

Disclaimer: This post describes my first time experience, what I did and what worked for me. Results may vary.