How to Flatten an Area Rug

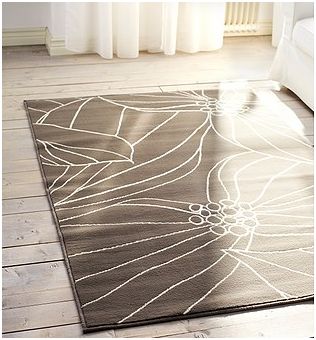
Every time I make the trip to Ikea, I have to resist the temptation to fill my cart with all of their luscious textiles. But on my most recent trip, I couldn’t resist the $19.99 Gislev rug

Ikea Gislev area rug

…great price, pretty rug in a generous 4 x 6 size? Yes, please. I knew right away it’d help anchor the seating area in our little sitting room.

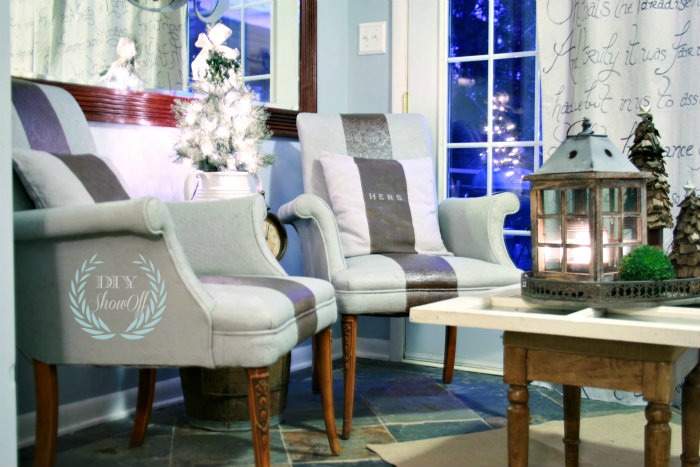
sitting room at ChristmasChristmas sitting room with painted striped chairs

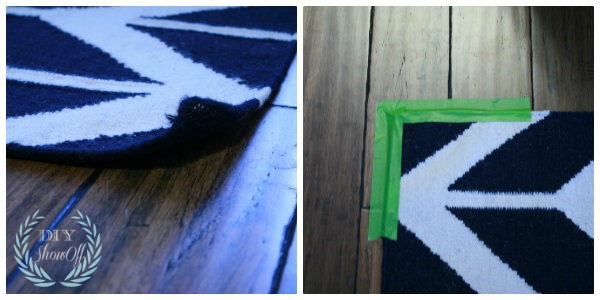
New rugs come packaged in a roll, which leaves both ends curled. Ugh! Don’t you hate that? Huge tripping hazard for sure. Normally, I add weight with boxes, furniture, books, even paint cans. But this small room is a high traffic area to our basement and that would create an obstacle course for sure. {and with a woodburner helping to heat this old house, trips to the basement are frequent in the winter months.}FrogTape on rug border
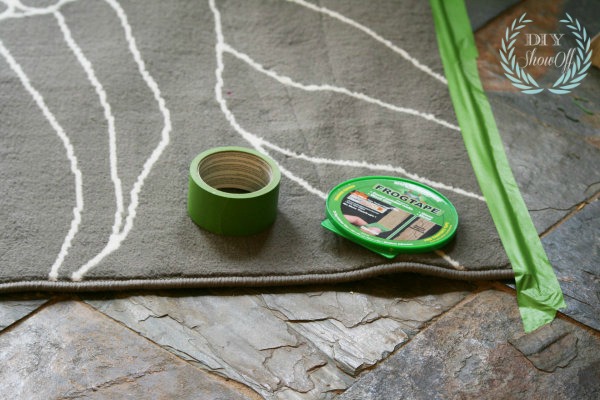
Solution: I grabbed a roll of FrogTape and taped down those edges.flattening a rug
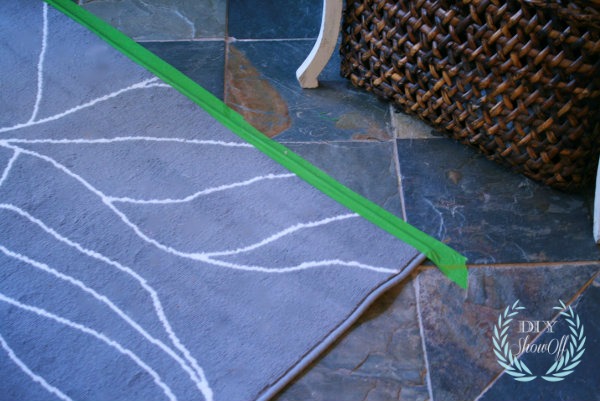
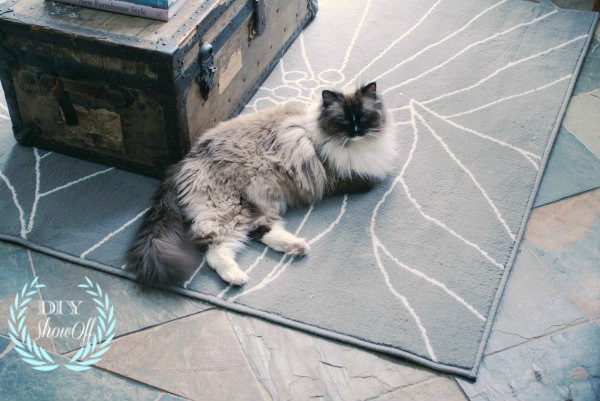
I let it sit for a day or two until we were expecting guests then removed it.rug border with FrogTapeIt worked! FrogTape was gentle enough on our slate floor. There was no sticky residue when I removed the tape. Hallelujah! And the ends of the rug are now flattened…Gislev area rug
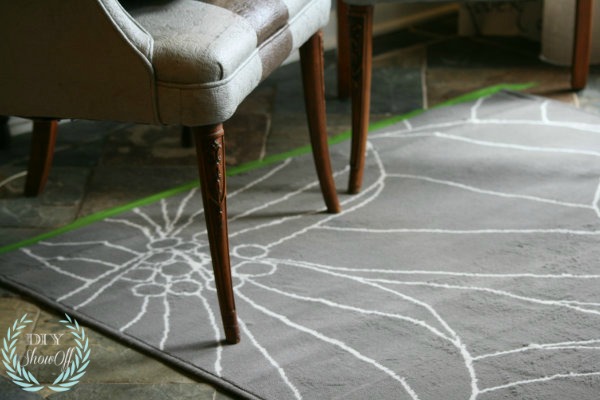
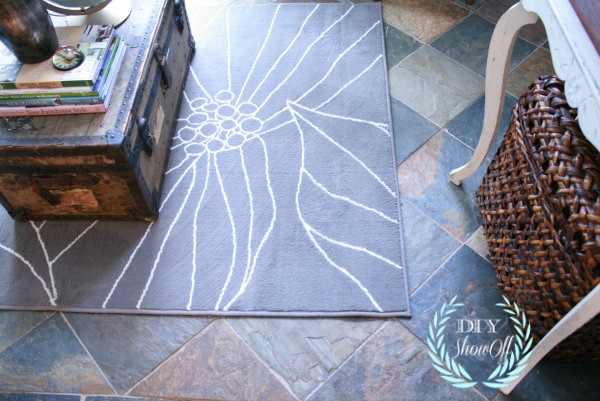
Lalka is happy with her new comfy area rug in a room that gets flooded with sunshine…{I use FrogTape to pick up cat hair that won’t sweep up on this low pile area rug too.}ragdoll
I’m trying this technique in the family room where the area rug curls up. FrogTape won’t hurt the finish on our bamboo floors either.  I’ll keep you posted on the progress. flattening the border of an area rug
Does this happened to you? What do you use?

I’ll share the sitting room re-decorated later this week!

Sharing here: Home Stories A to Z: Tutorials & Tips

*This is a sponsored post brought to you by FrogTape. The opinions are completely my own based on my experience. Results may vary. 

FrogTape Blog Squad

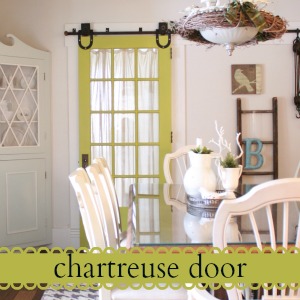
A Chartreuse Door

Mini-makeover…

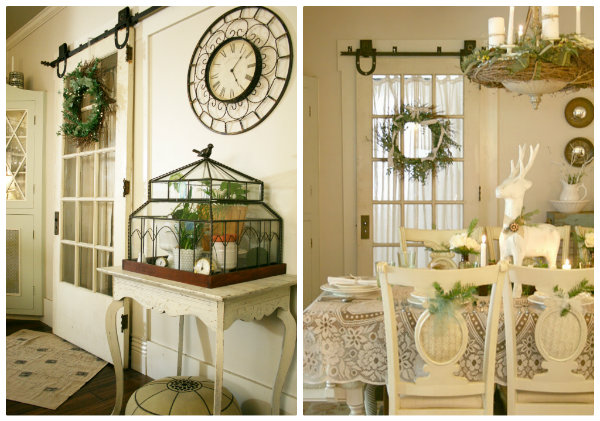
When we first installed the sliding door, I embraced it’s original old paint.

interior sliding door

But over the past year, it did feel more “dirty” even after a good scrubbing than “charming”. It just reminded me of the cold weather and dirty snow…blah. You can’t tell from the pictures. But it did have that dirty old worn finish.

Remember how my brain sometimes works with DIY? It’s usually a spur of the moment decision that wasn’t in my plan for the day or ever. That happened with painting the sliding door in our dining room.

And remember when I painted the door in the apartment renovation

apartment door

I fell in looooove with that color. A beautiful happy shade of green.

The beginning of the new year consisted of cleaning and organizing the basement somewhat. I stumbled across packed boxes of supplies and tools from the apartment renovation…still not unpacked since November. While putting things away, looky what I found:

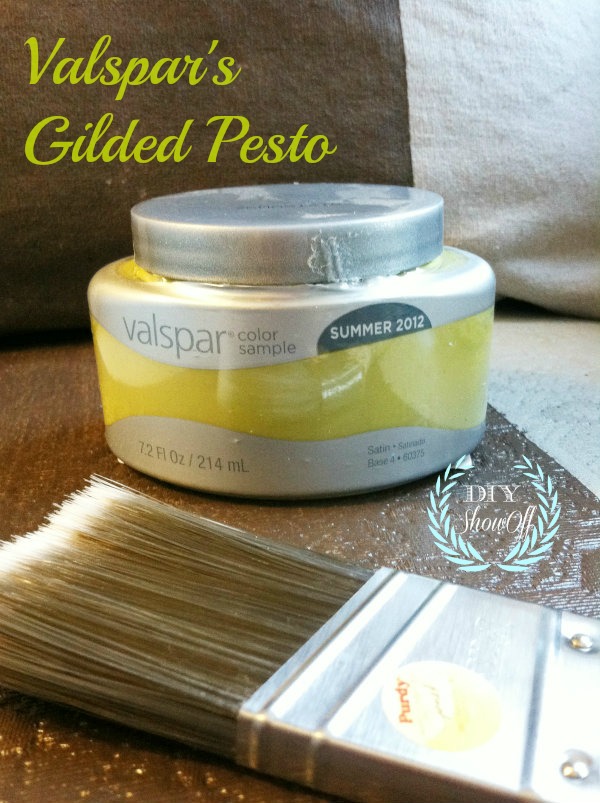
Valspar Gilded Pesto

chartreuse green

And just like that, in that five minute time span, I decided to paint the sliding door in the dining room, to add some “spring” color to the dingy, dirty, neutral white. No wonder it takes me FOREVER to clean. Distractions get me every time.

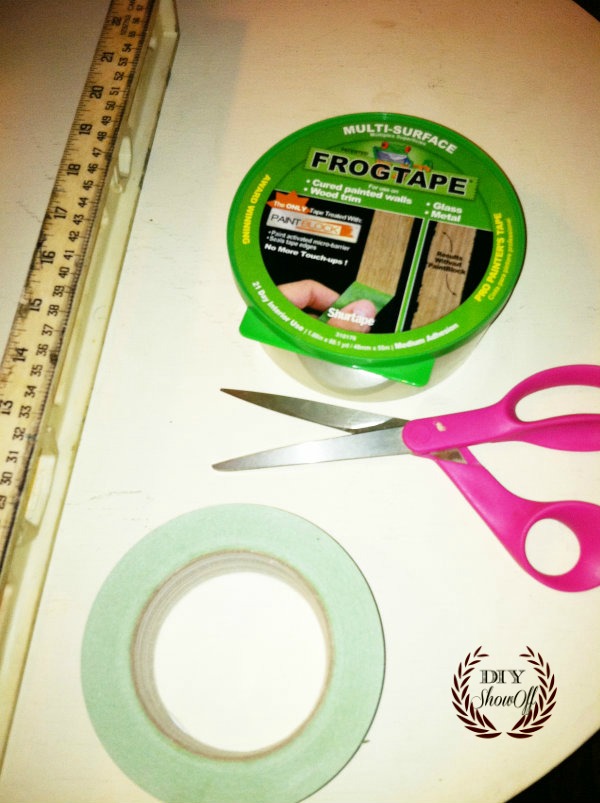
FrogTape

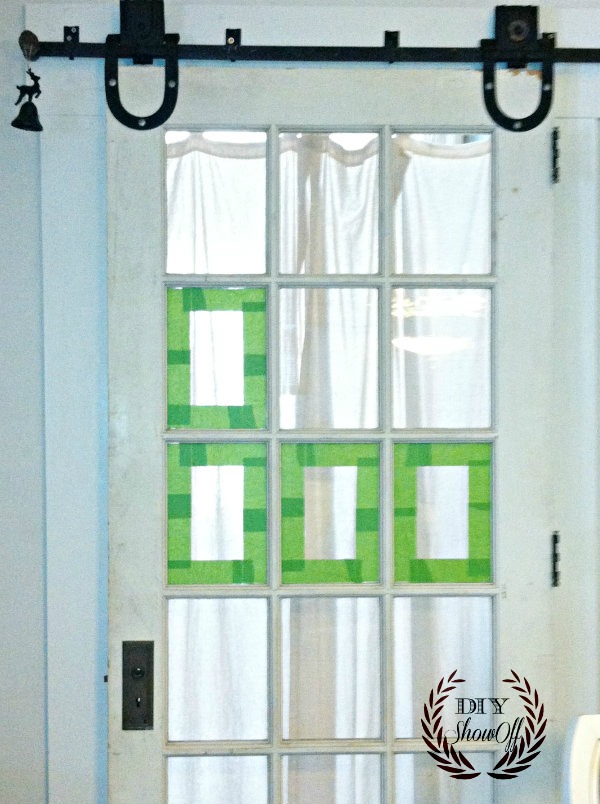
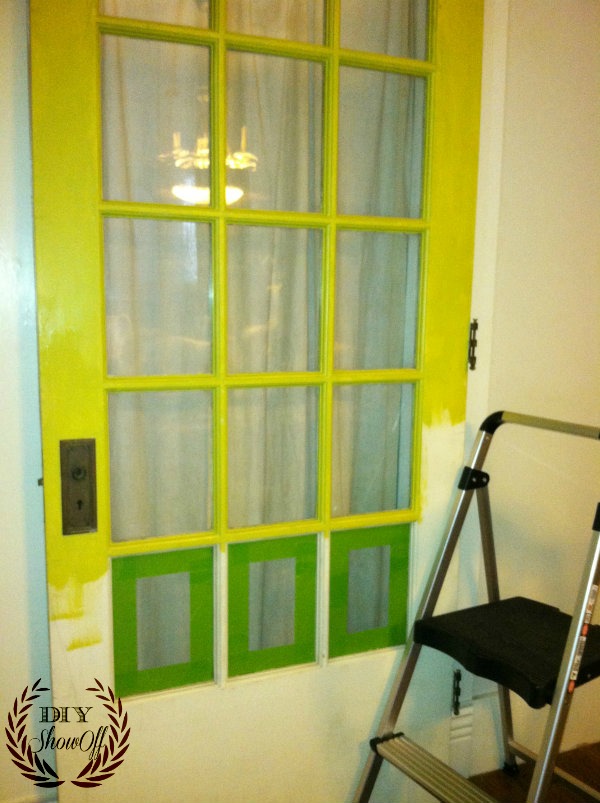
I started by taping off the glass around the mullions with my favorite stash of FrogTape, making sure the edge of the tape was flush against the corner where wood met glass. It doesn’t leave a sticky residue when removed…and I’m all for making a last minute DIY easier.

{you can see the dirty original paint job better in this picture}

FrogTape on glass

{curtain is for privacy in the guest room or maybe hiding junk in what’s become a storage room…ummm, I’m not telling}

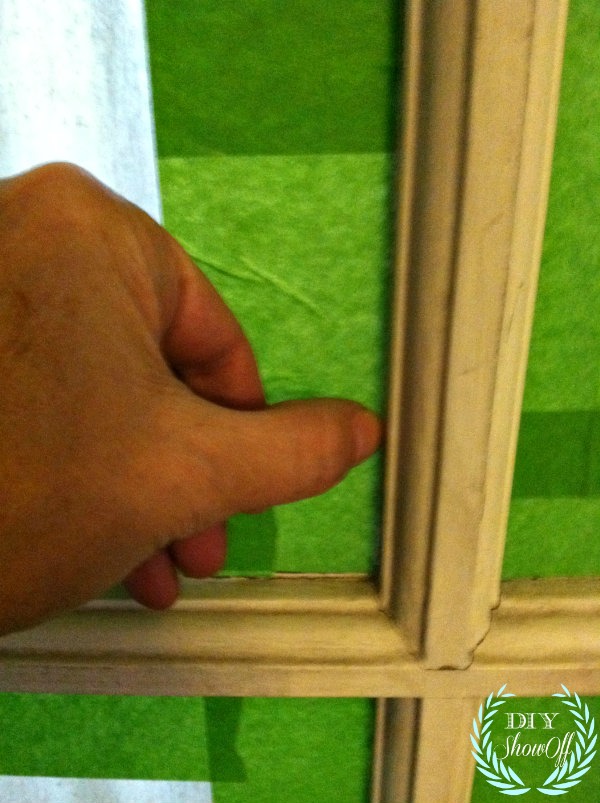
I used my thumb to burnish the edges of the Frogtape to prevent paint from seeping underneath.

burnishing the tape

Then applied two coats of my sample container of paint.

painting door


{oops…One coat looked great while wet so I removed tape. I did a second coat on the flat parts after coat 1 was dry}

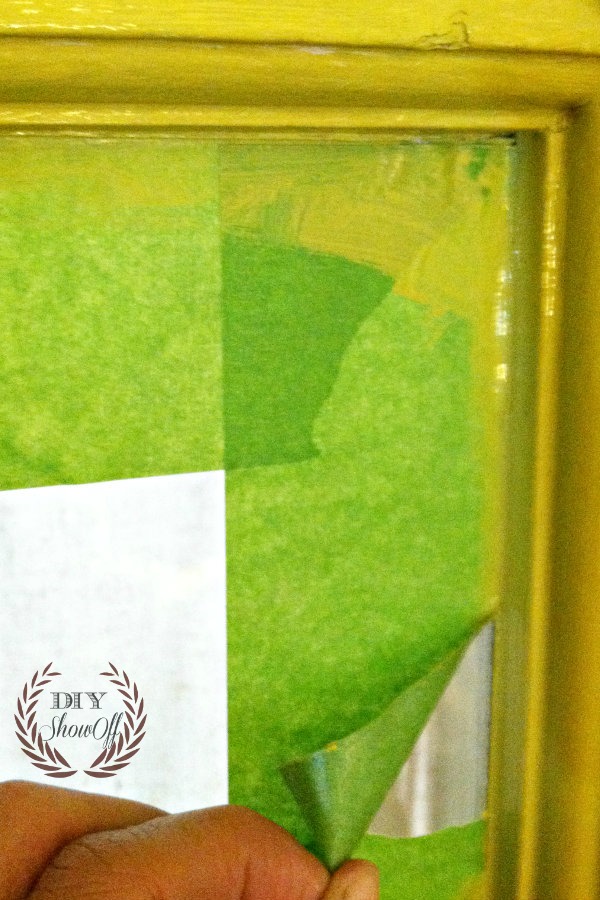
I removed the tape immediately after the second coat, pulling away from the wood.

removing tape

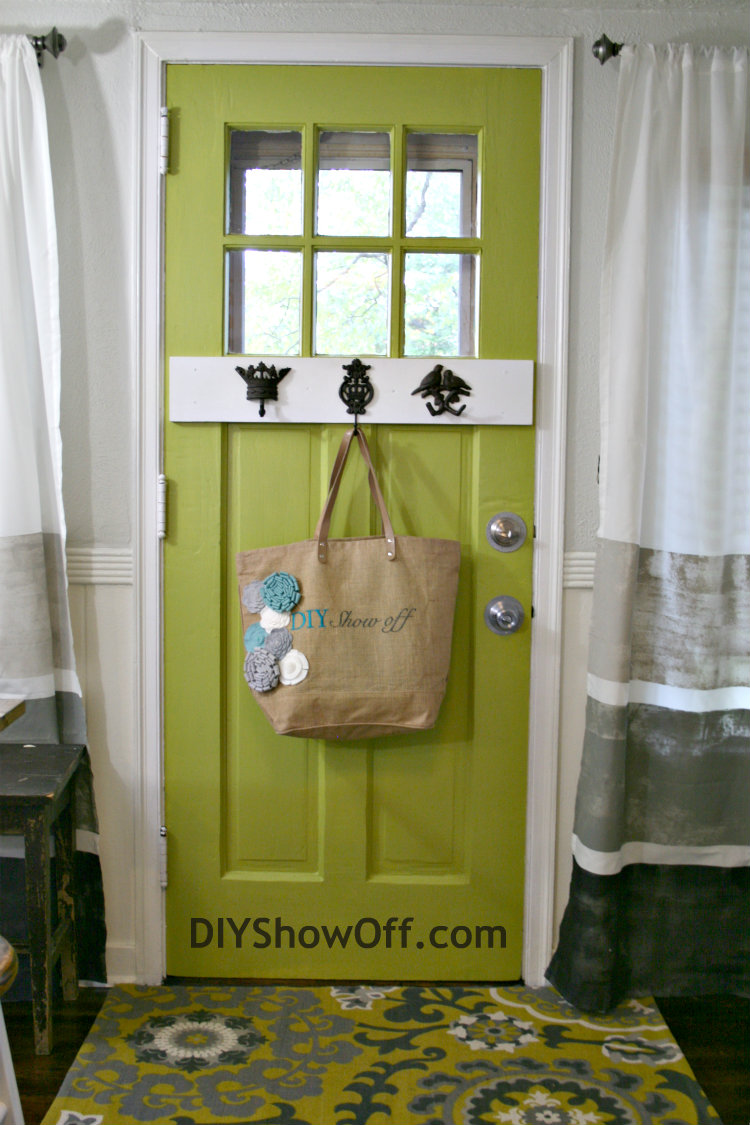
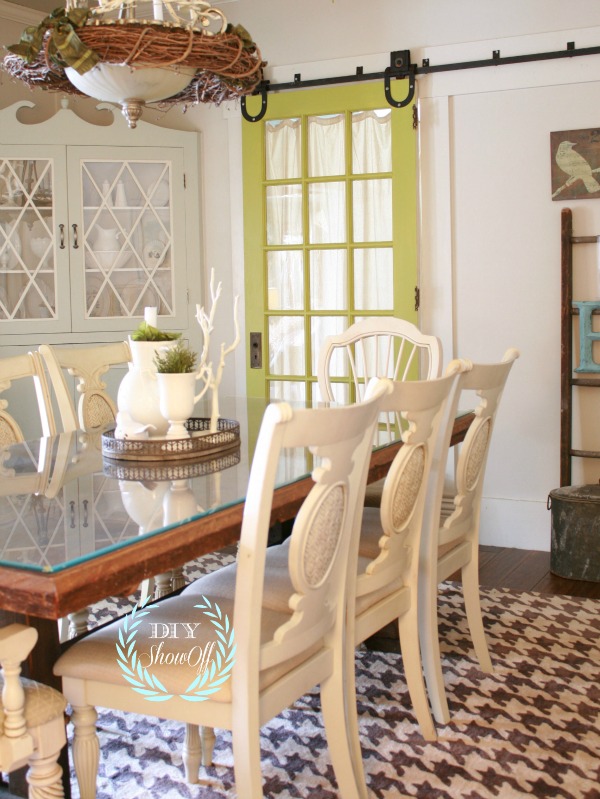
Ta-da…the after:

painted door after


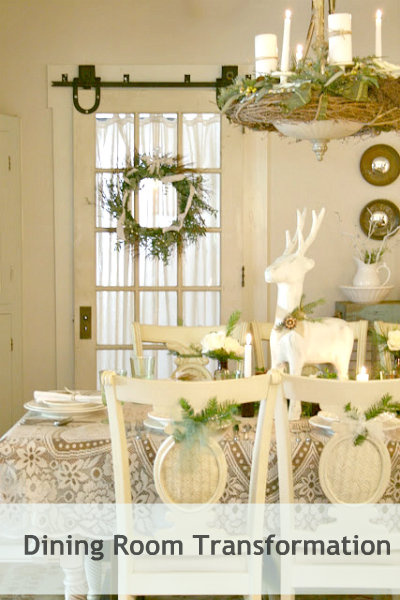
again…here’s the before:

shabby chic dining room

What do you think? Do the seasons aid in changing your decor? How finding inspiration and materials that you forgot you had when cleaning and organizing? Either way…I’m loving the new pop of color!

chartreuse paint

  • paint the built ins and add hardware to the bottom doors
  • swap out the light fixture (wait ’til you see the new one!!!)

*This is a sponsored post brought to you by FrogTape. The opinions are completely my own based on my experience. Results may vary. 

FrogTape Blog Squad

Sharing at:

Beneath My Heart’s Best DIY Projects of January

FJI’s Saturday Night Special

Thrifty Decor Chick Before and After party

Tufted Upholstered Twin Headboard Makeover

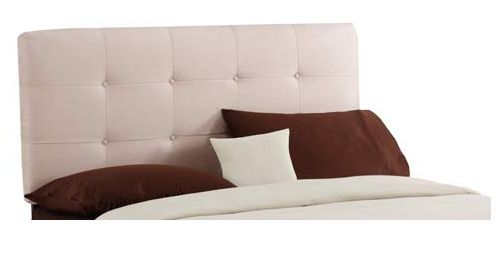
Ali needed a twin bed for her apartment. She wanted a neutral upholstered headboard with tufting.These were perfect for what she had in mind, except the $250+ price tag was not in her budget.
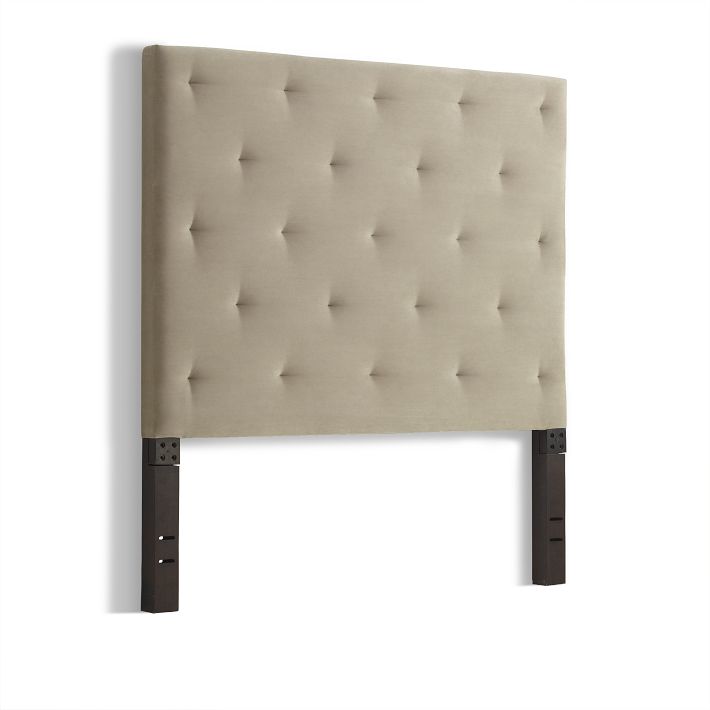
inspirationwest elm diamond tufted headboard

West Elm Diamond Tufted Headboard in sand

bellacor tufted headboard

Bellacor tufted twin headboard in premier oatmeal

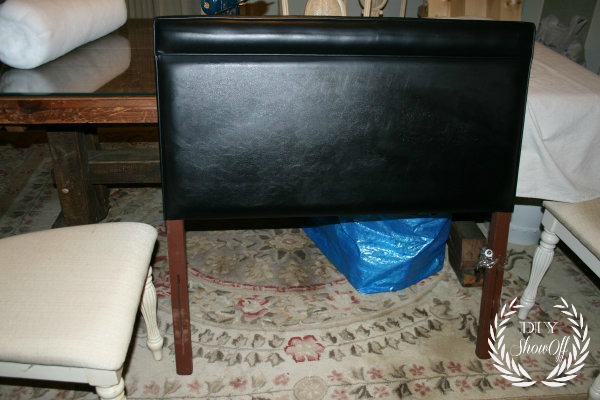
We were up for the DIY “get this look for less” challenge. We found this vinyl covered gem at a second hand store… {$20 including the bed frame!}

beforeupholstered headboard before

What we used:

  • old headboard
  • batting
  • fabric covered button kit
  • drop cloth
  • fishing line
  • FrogTape
  • staples & staple gun

Once I got the headboard home, I discovered that the headboard itself was not solid. There’s only a wood frame covered with vinyl. It’s hollow. Darn. But we moved forward, fingers crossed.

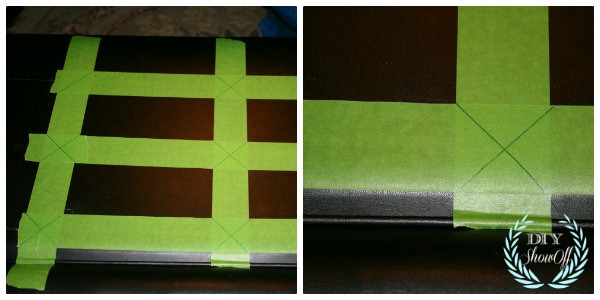
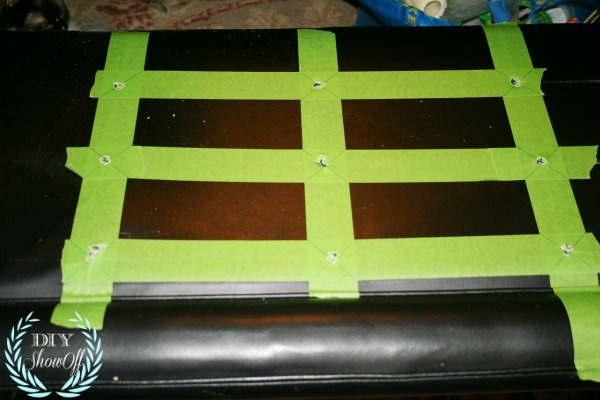
First step was to determine where the buttons for tufting would be placed. I created a grid on the back of the headboard using FrogTape.DIY headboard marking for tufts

Since marking black vinyl is a little tricky, the Frogtape helped to mark the areas I wanted to drill a hole…drilling headboard

I removed the FrogTape but it won’t hurt to keep it in place.

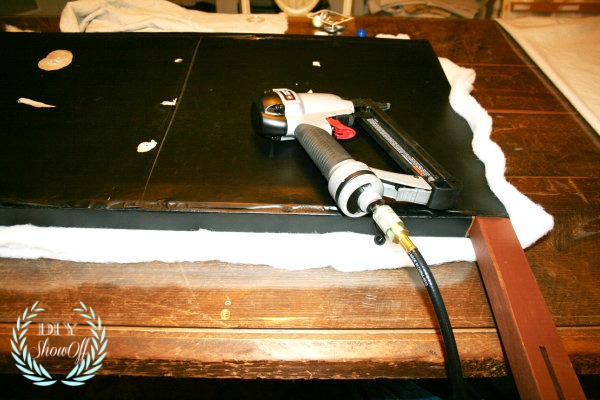
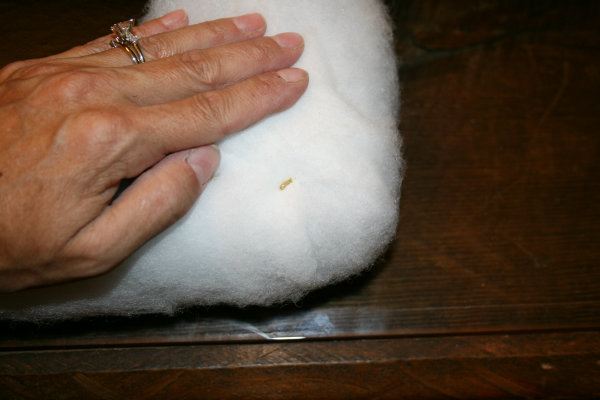
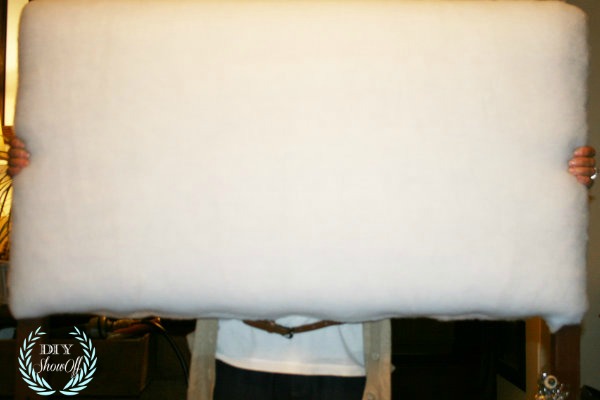
Next, I rested the headboard on top of a piece of batting and cut batting big enough to wrap around the edges onto the back side. You can use spray adhesive to help hold it into place.

Staple batting onto the back side of the headboard. stapling batting onto headboard

This is how I wrapped and secured the corners: by pulling the corner of the batting over the corner of the headboard, stapling, then folding and stapling the long edges of the batting. It was a little tricky around the leg of the headboard, just make sure batting lays smoothly.upholstered headboard corners

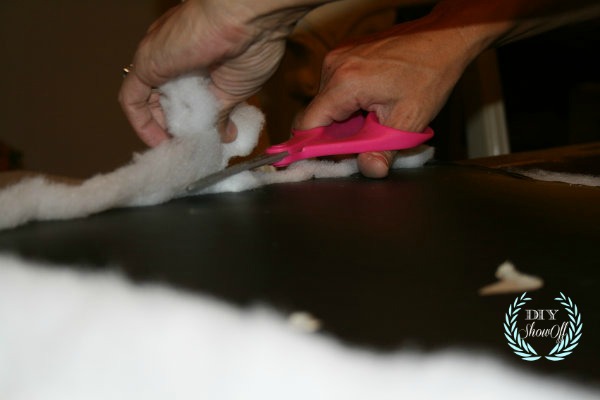
Carefully trim away the excess batting…trimming batting

Here’s how it looks from the front: upholstering a headboard

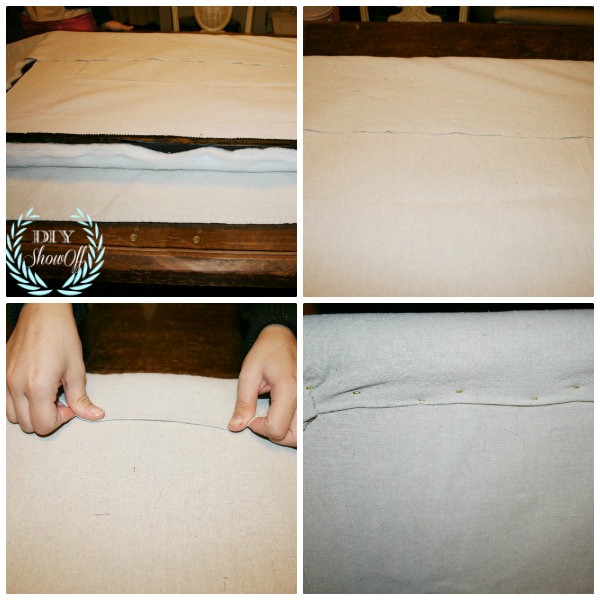
While I covered the back of the headboard with sheet of drop cloth measured and cut to fit the back side using spray adhesive to hold into place then followed the same steps above with the drop cloth fabric…DIY upholstered headboard

Ali covered buttons using dropcloth scraps {she’s less than thrilled about the photo op. lol}…covering tufting buttons

To create tufting with, use a finishing nail to hold the fishing line in place. To keep it from going through the drilled hole, place the nail through the loop in the thread. Lay the finishing nail across the back of the hole and loop the thread over the nail and back up through the hole. Repeat a few times and then tie off the thread to the finishing nail. Twist the nail to draw the button down into the fabric to the desired depth. Use a staple gun and staple diagonally across the nail to secure it and keep it from unwinding {more tufted button instructions at wikihow}.tufting an upholstered headboard

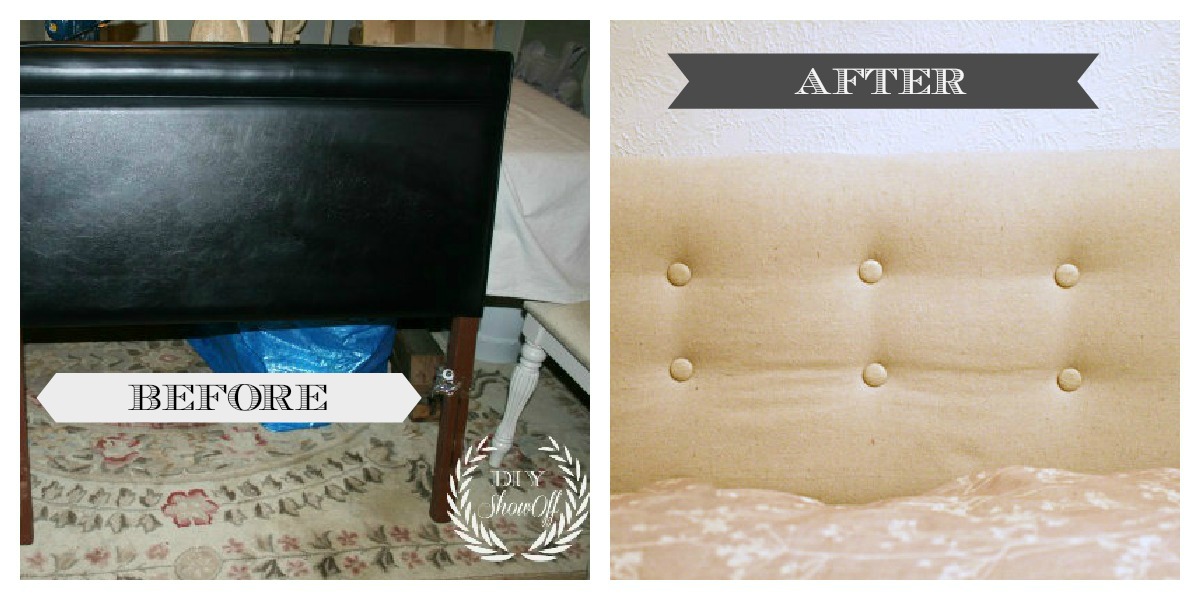
Before and After…

before and after headboard

Total cost of DIY: less than $50!

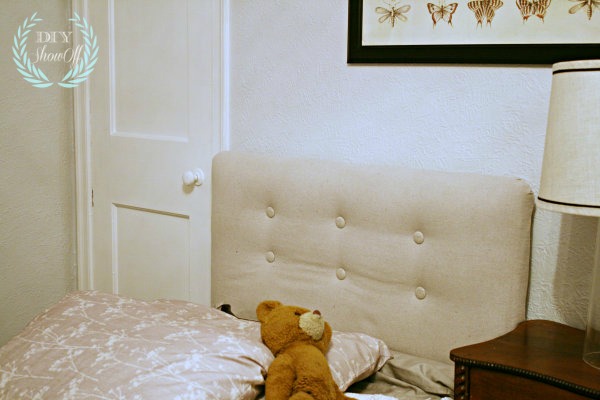
DIY tufted upholstered headboard makeover

You might also like:

Stay tuned for more on the apartment decorating and reveal!

Facebook
DIY Show Off - FacebookDIY Show Off - TwitterDIY Show Off - PinterestDIY Show Off - FeedDIY Show Off - HomeTalkDIY Show Off - G+

This is a sponsored post brought to you by FrogTape. The opinions are completely my own based on my own experience. 

FrogTape Blog Squad
Sharing here: Transformation Thursday at The Shabby Creek CottageHome Stories A2ZDIY Show Off