Project Diary Entry #2 – Efficiency Apartment

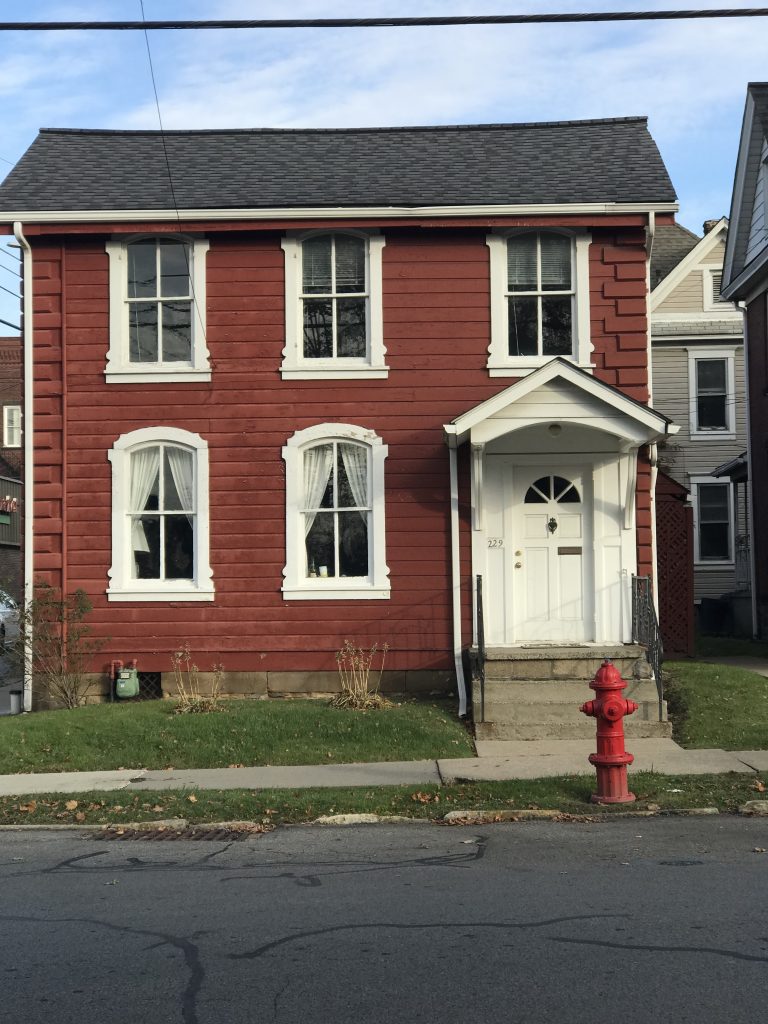
Hello DIY friends! Happy hump day! Half way through the week! Remember last week when I shared the main floor of the #helloredreno series? Today, I’m sharing the rest of the building. It’s the staircase and upstairs area which now consists of a landing, two bedrooms and a full bathroom. 
DIY craft studio // workshop - before room makeover @diyshowoffI’m not really interested in having a full time tenant and landlord responsibilities so my plan is to turn the two bedrooms upstairs into a one bedroom airbnb type rental or efficiency apartment space with a living space and kitchenette.

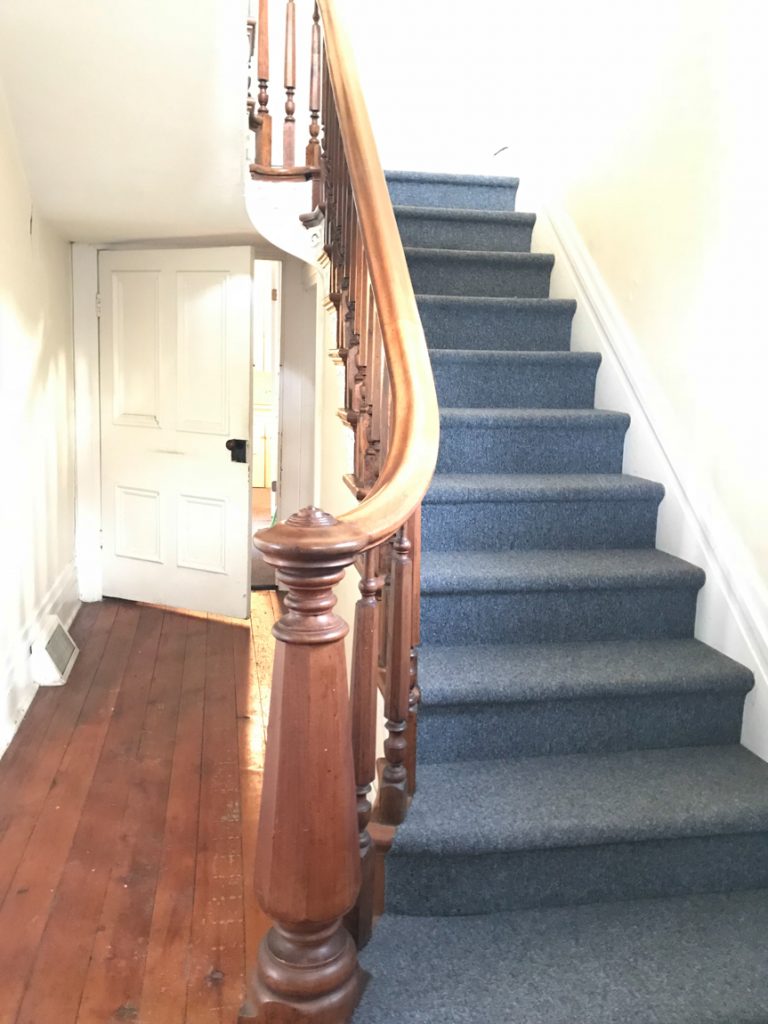
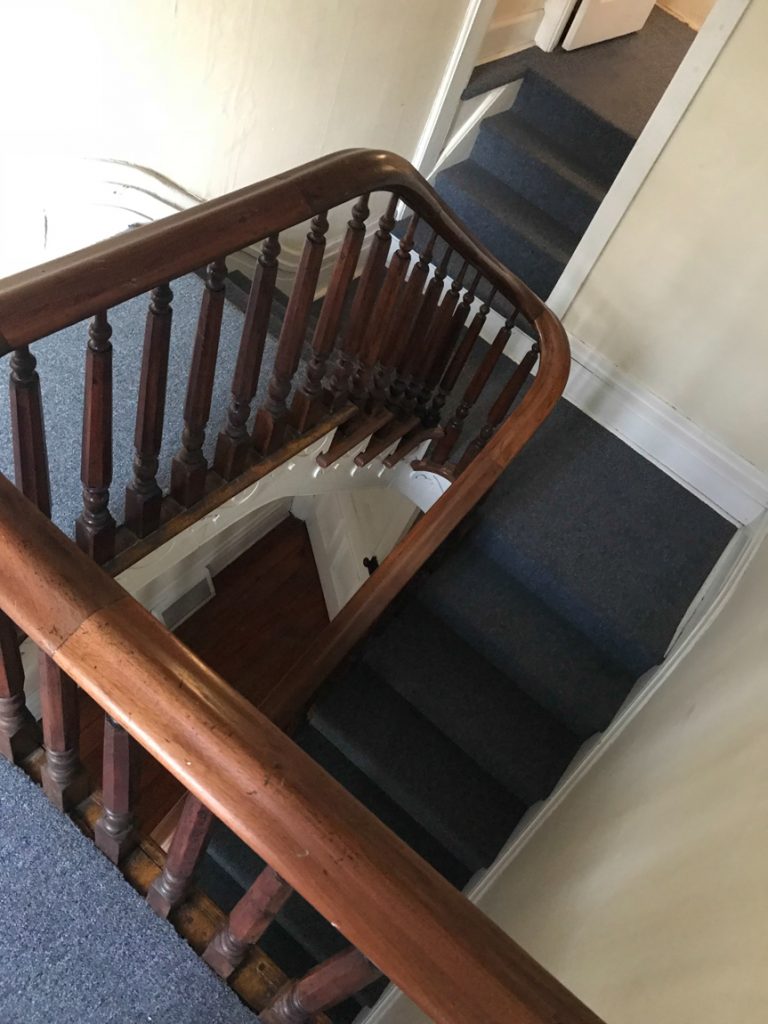
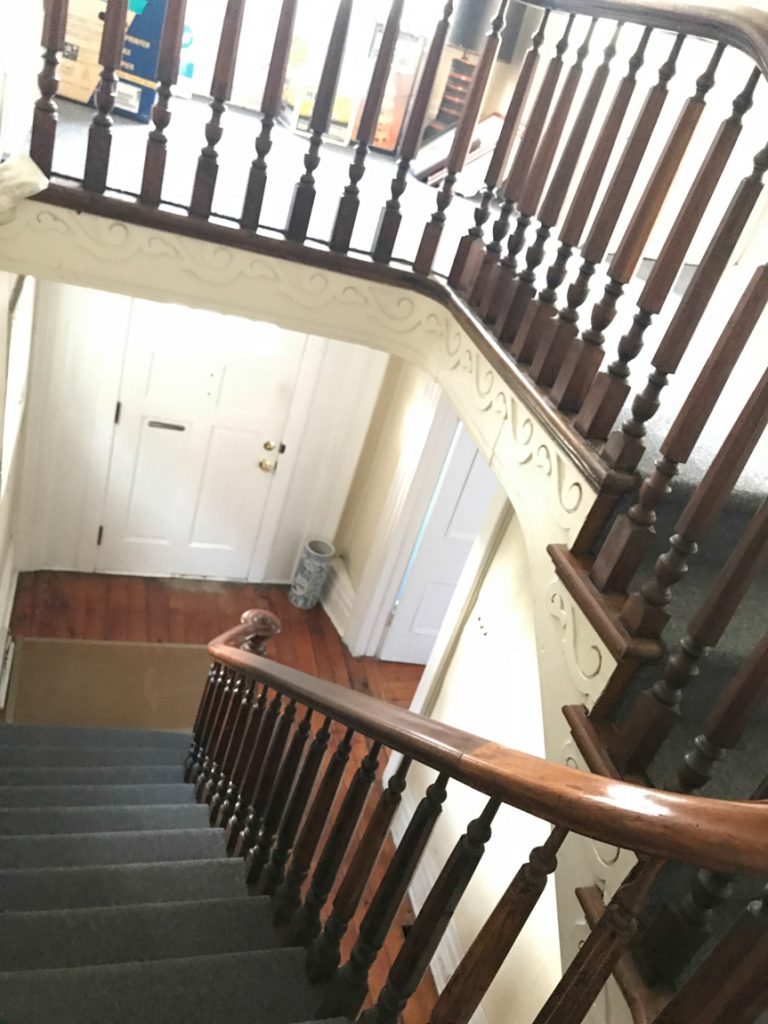
The stair case…go ahead, drool over it’s beautiful walnut railing, spindles and banister. I do! I love the split staircase, the curves and original charm, don’t you?

DIY craft studio // workshop - before room makeover @diyshowoff DIY craft studio // workshop - before room makeover @diyshowoff DIY craft studio // workshop - before room makeover @diyshowoff DIY craft studio // workshop - before room makeover @diyshowoff

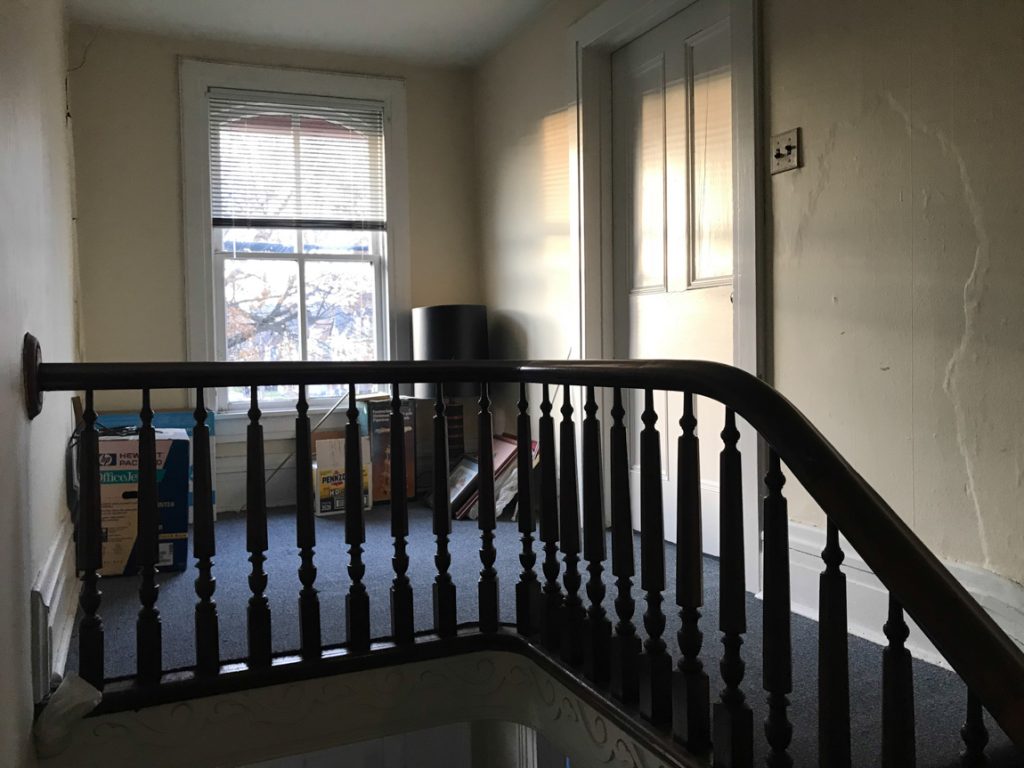
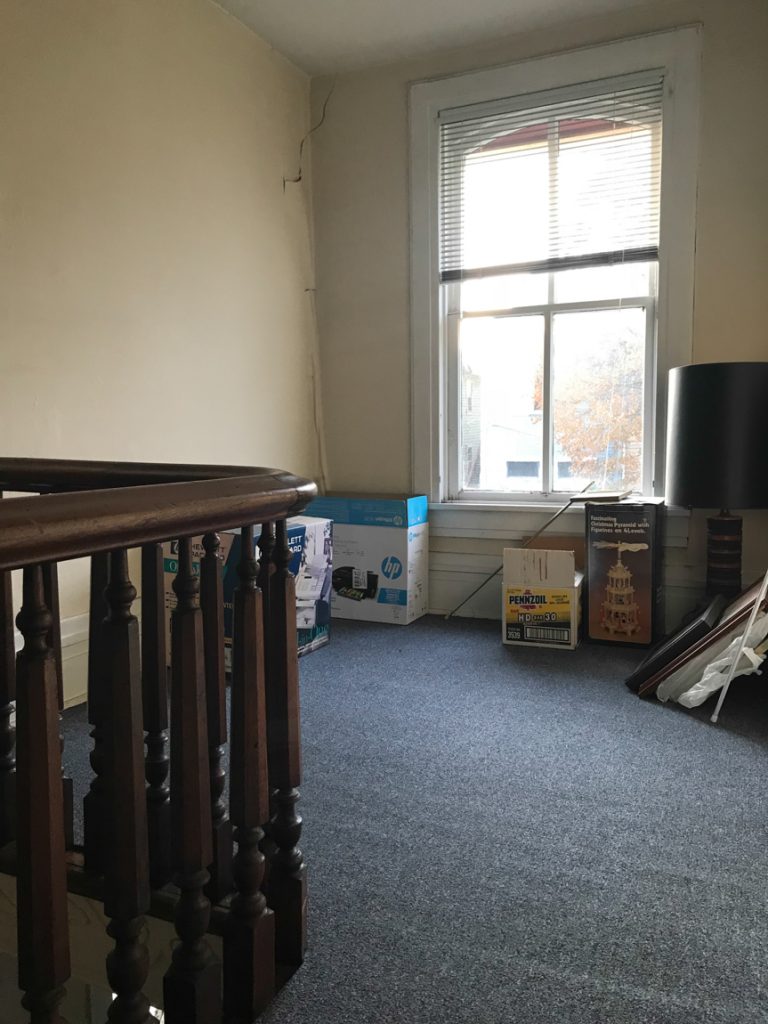
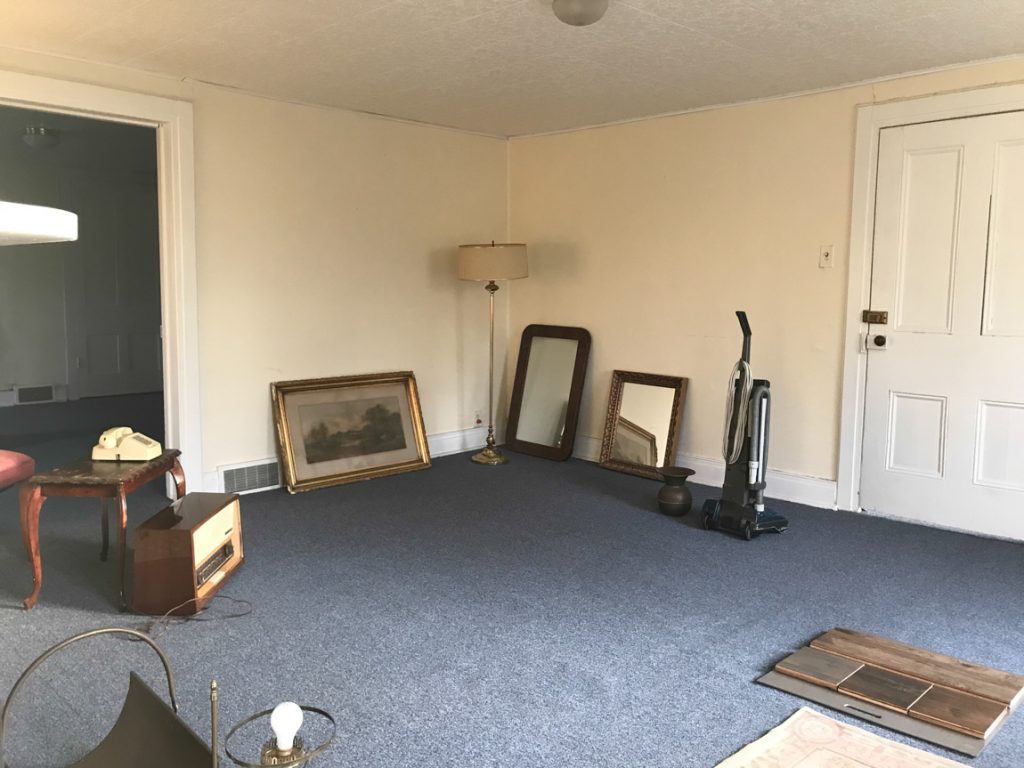
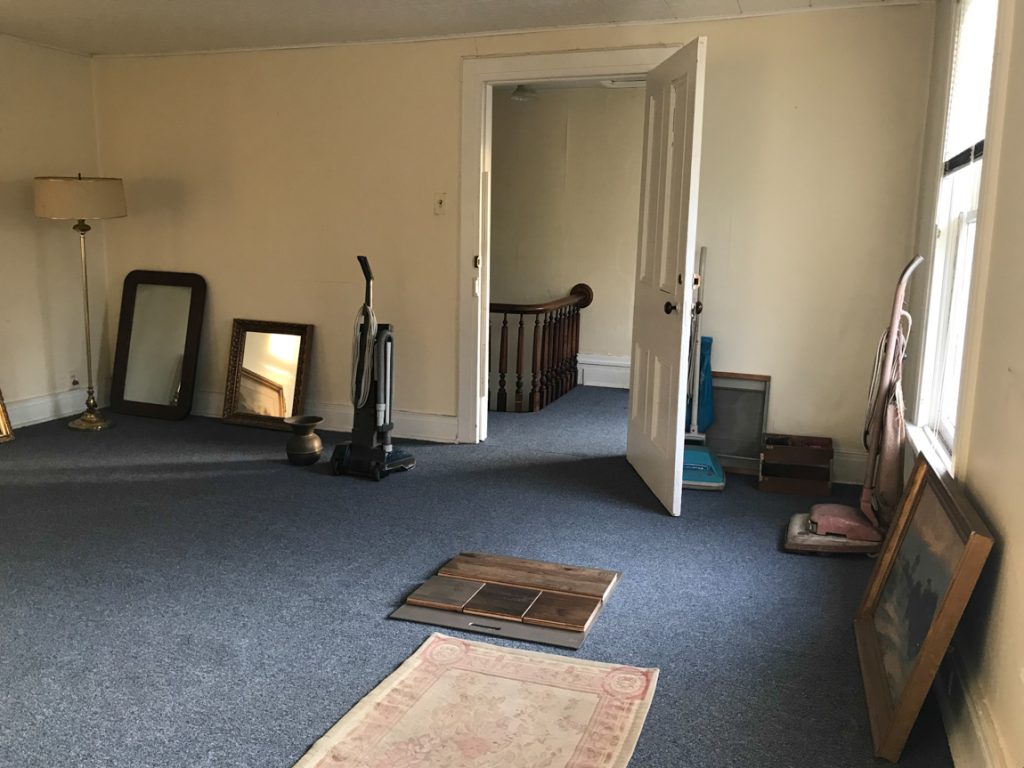
The landing…this will be the entry way into what will be an efficiency apartment. All of the stuff was left by previous owner. One man’s trash is another man’s treasure. Sometimes. I’m the proud new owner of like four vacuum cleaners. lol 

DIY craft studio // workshop - before room makeover @diyshowoff

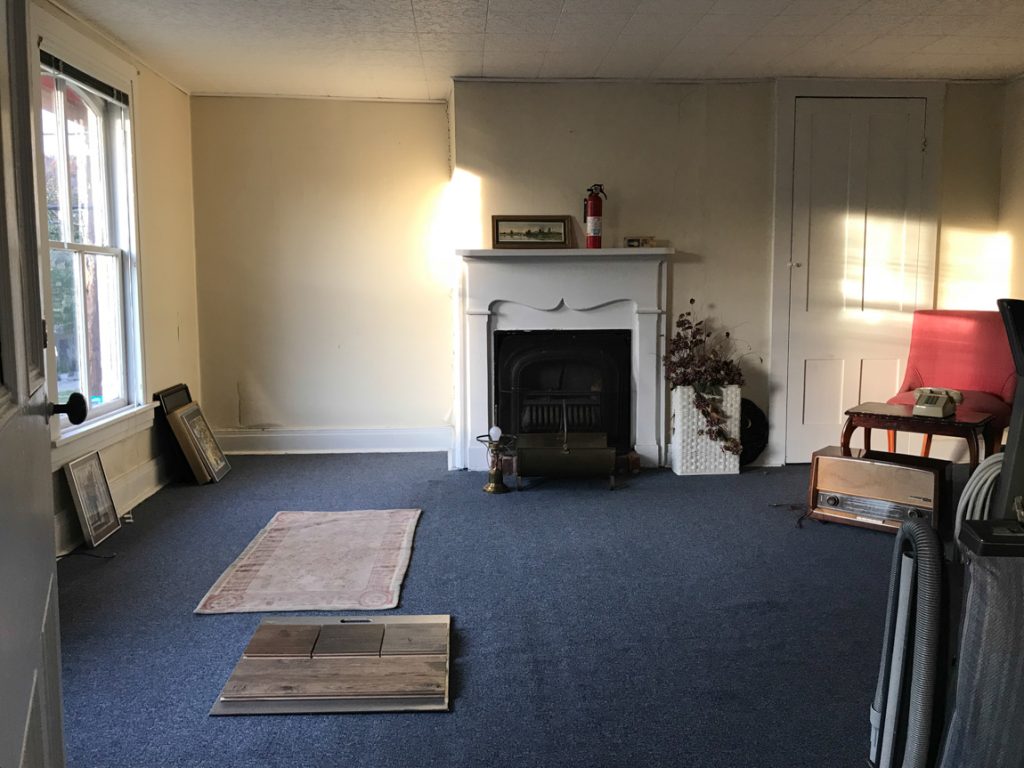
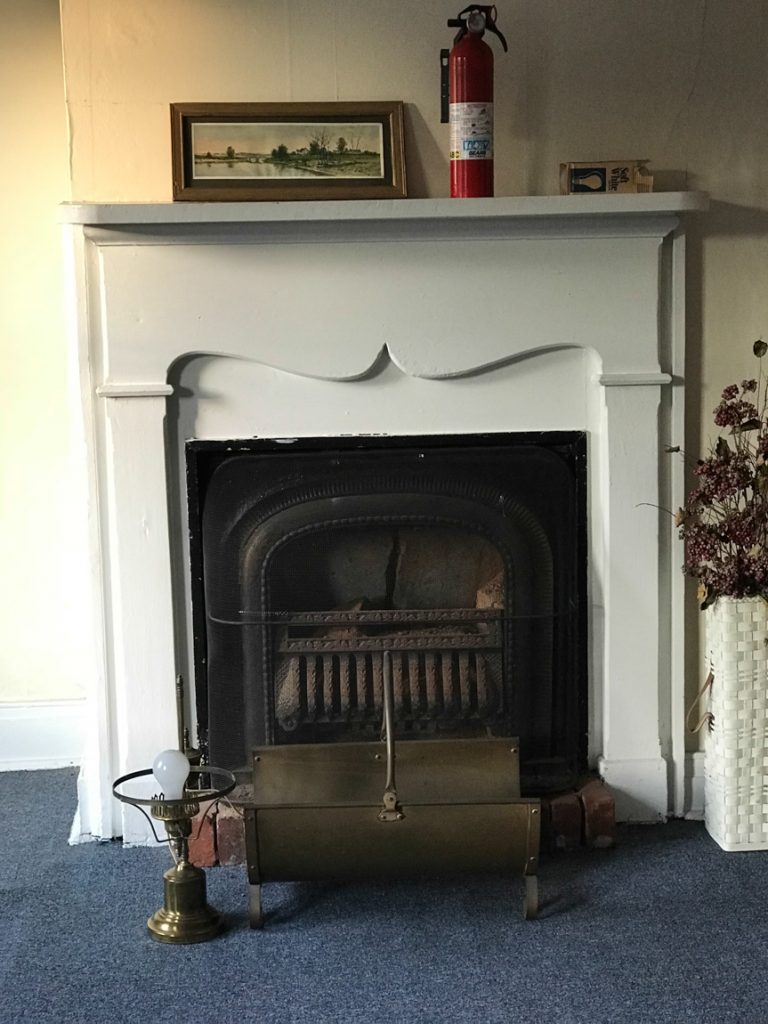
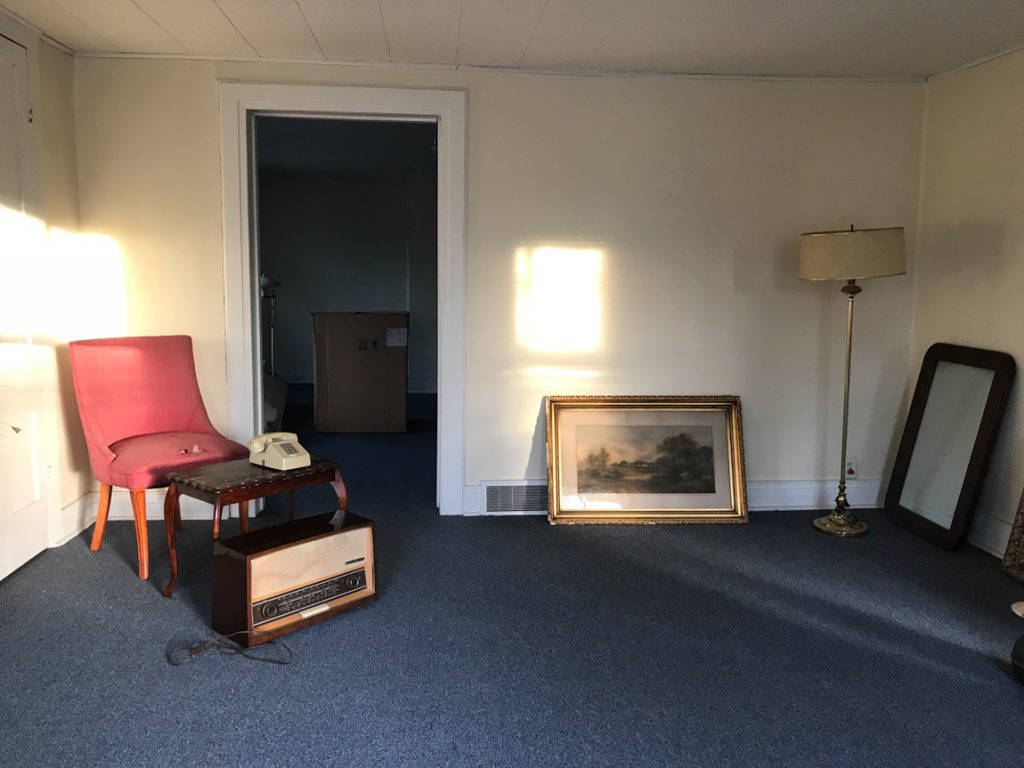
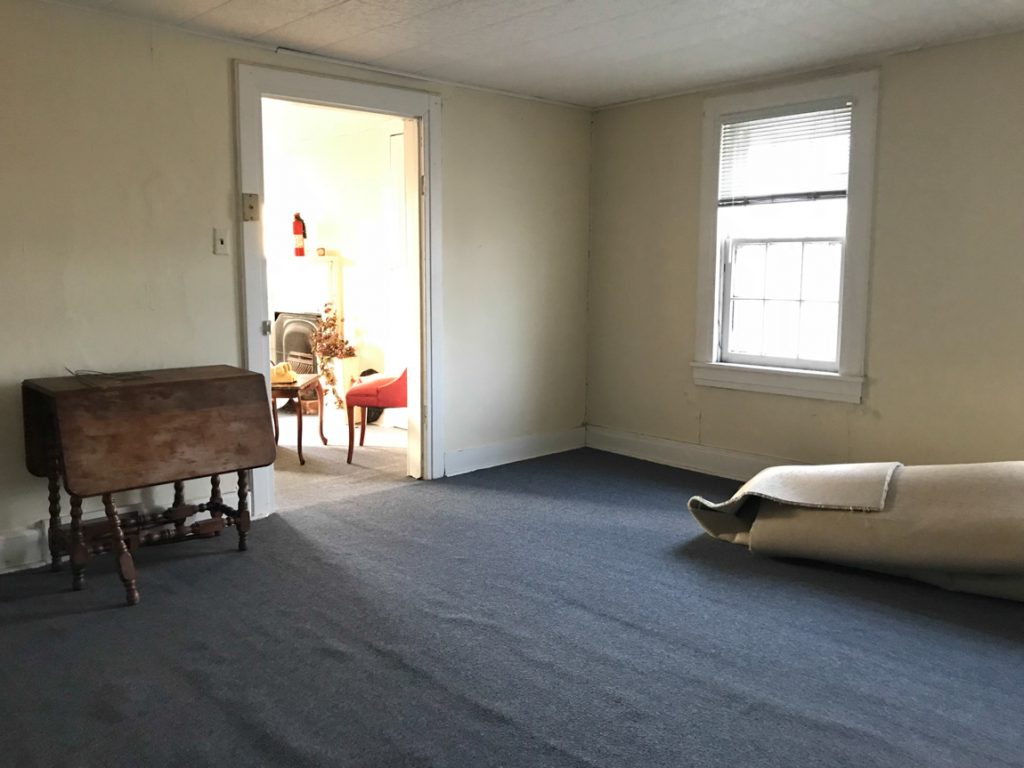
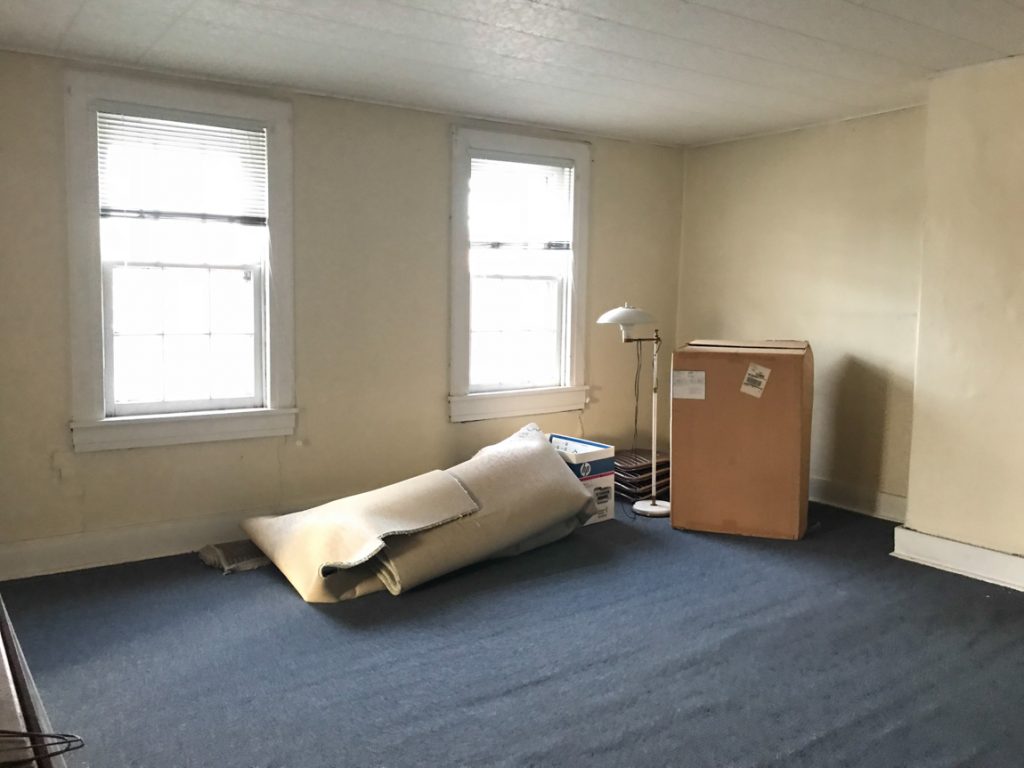
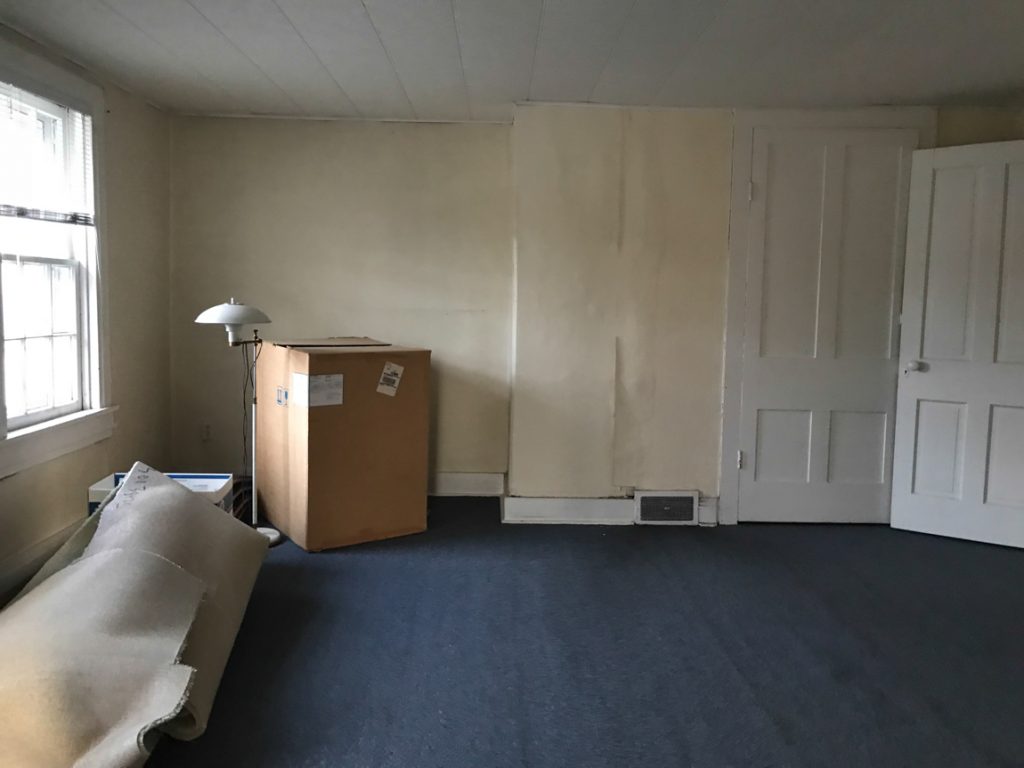
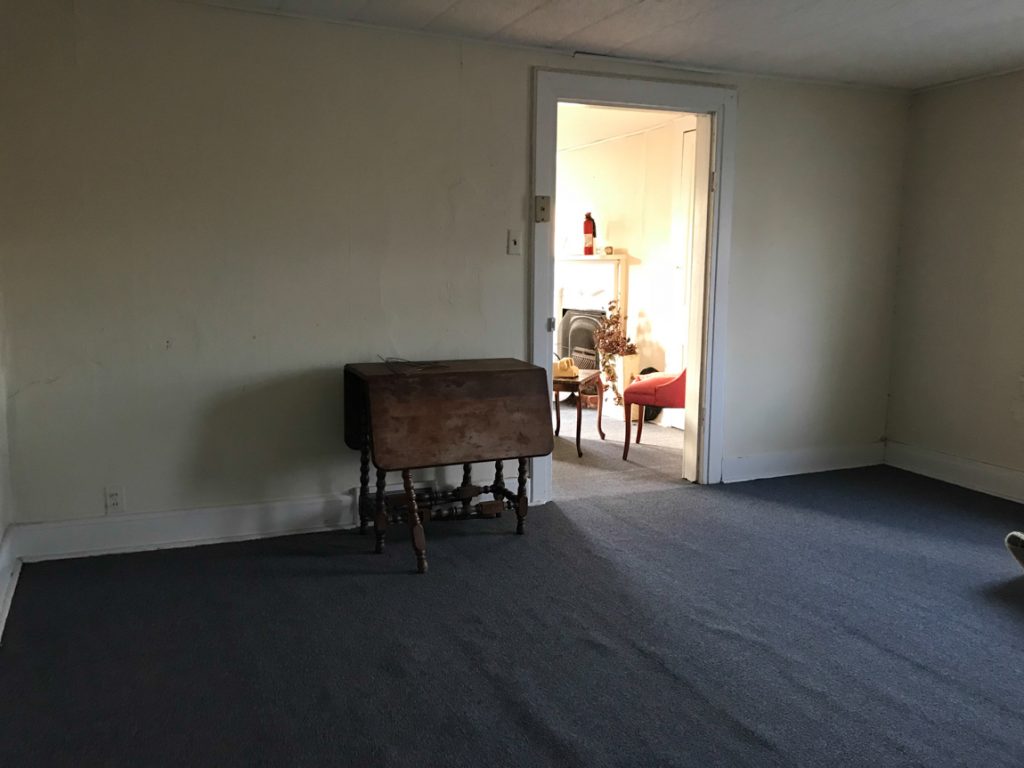
Bedroom 1 will become the living room area / kitchenette…

DIY craft studio // workshop - before room makeover @diyshowoff DIY craft studio // workshop - before room makeover @diyshowoffDIY craft studio // workshop - before room makeover @diyshowoff DIY craft studio // workshop - before room makeover @diyshowoff DIY craft studio // workshop - before room makeover @diyshowoff

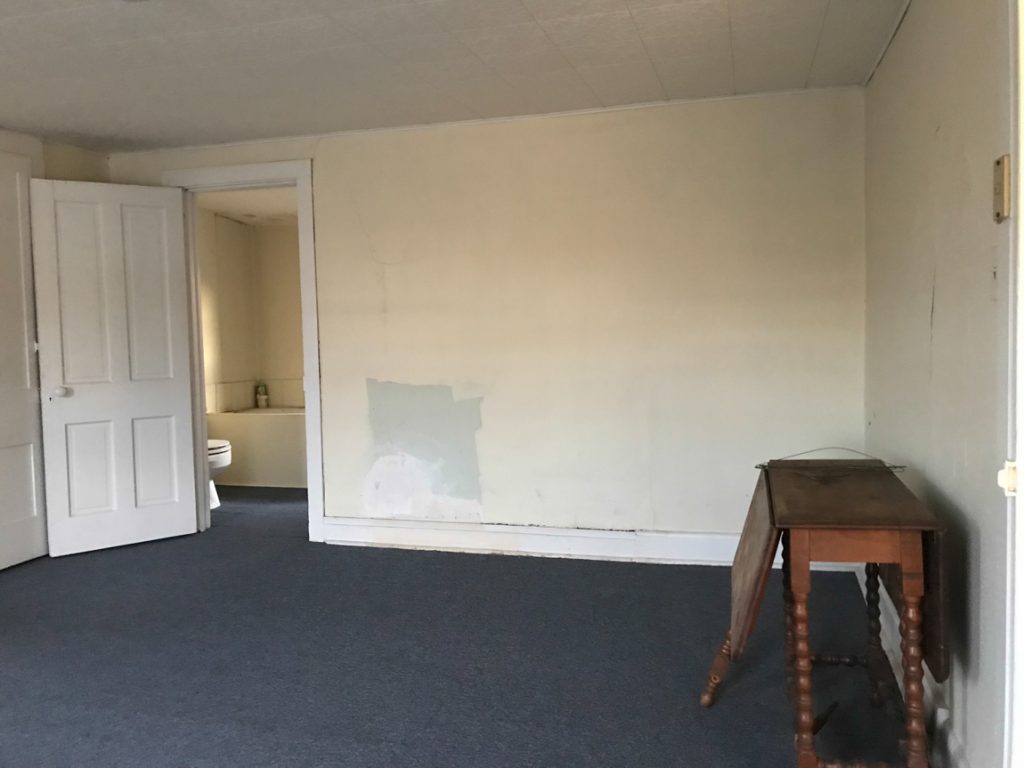
Bedroom 2 will remain a bedroom…

DIY craft studio // workshop - before room makeover @diyshowoff DIY craft studio // workshop - before room makeover @diyshowoff DIY craft studio // workshop - before room makeover @diyshowoff DIY craft studio // workshop - before room makeover @diyshowoff DIY craft studio // workshop - before room makeover @diyshowoff

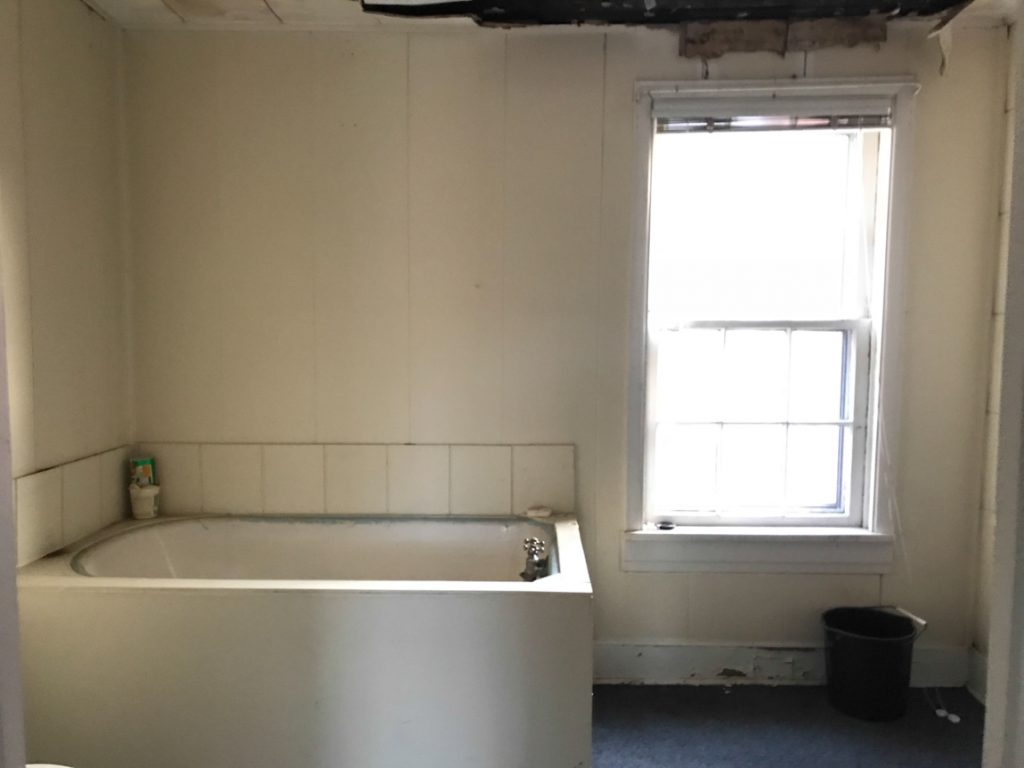
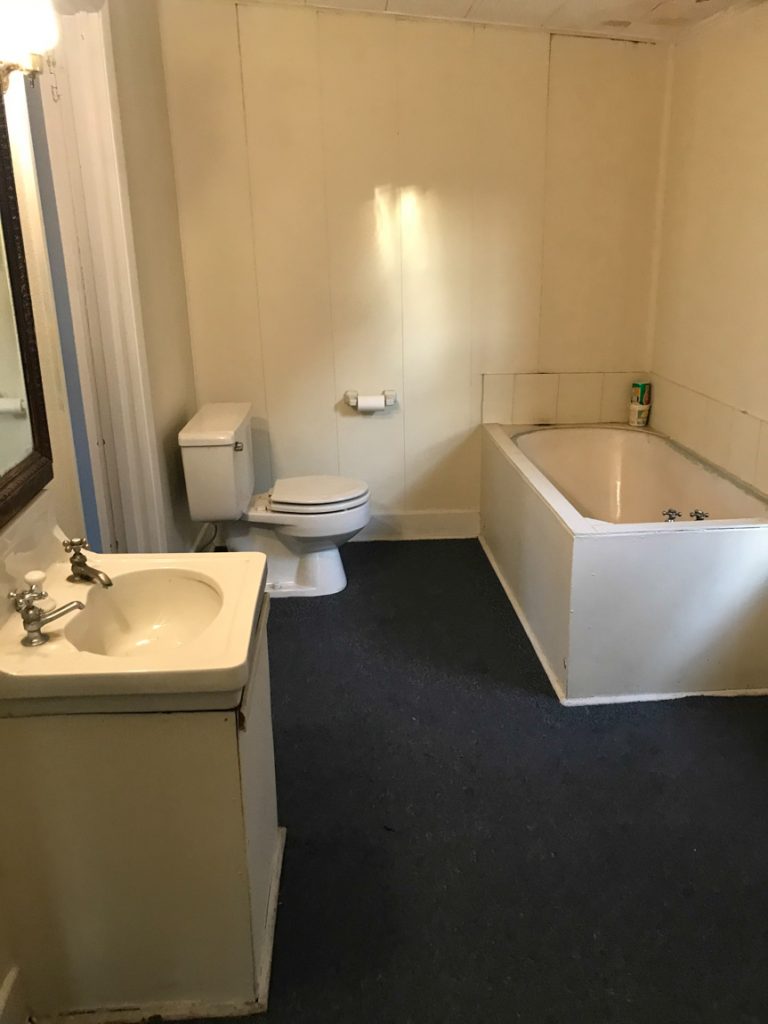
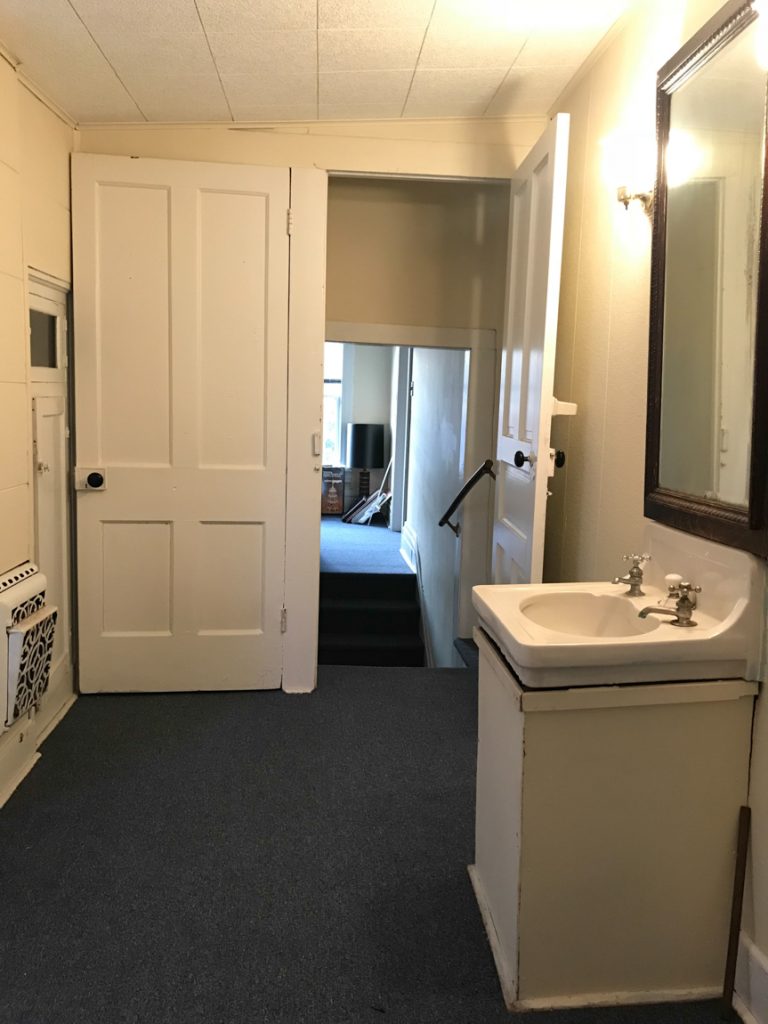
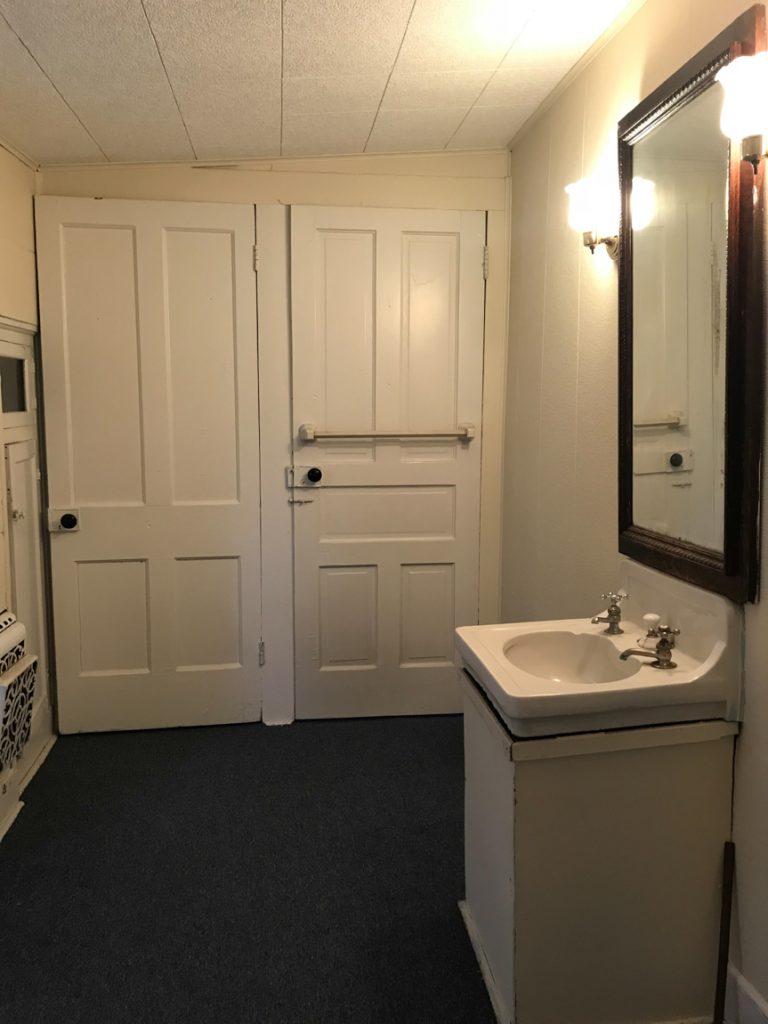
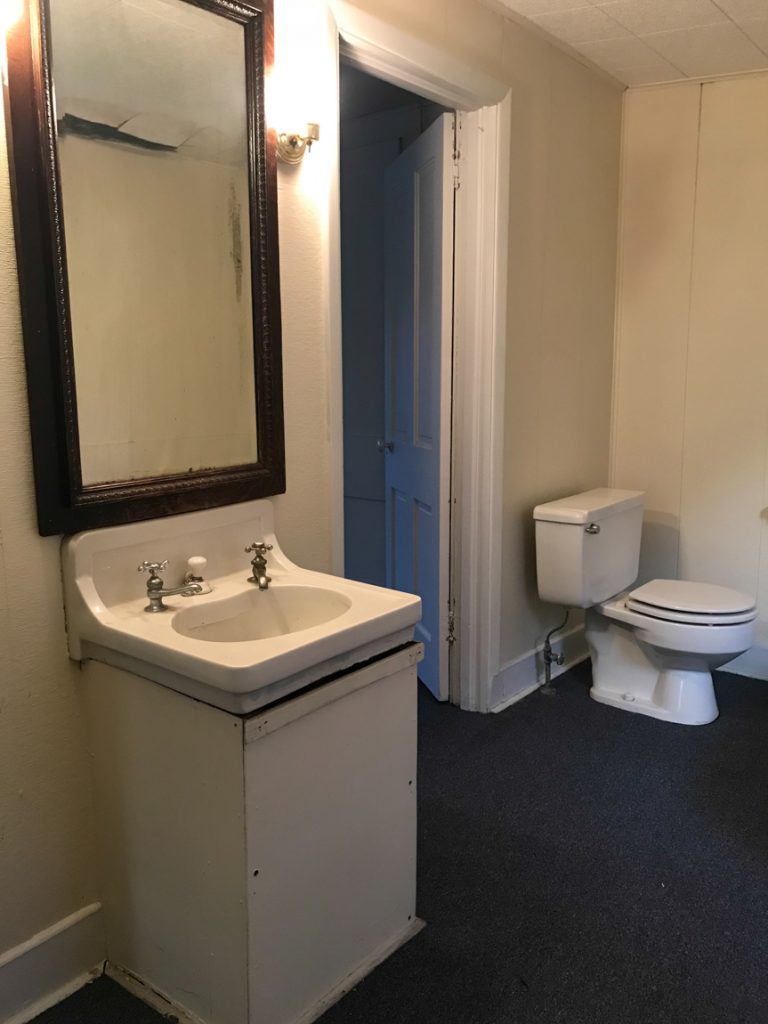
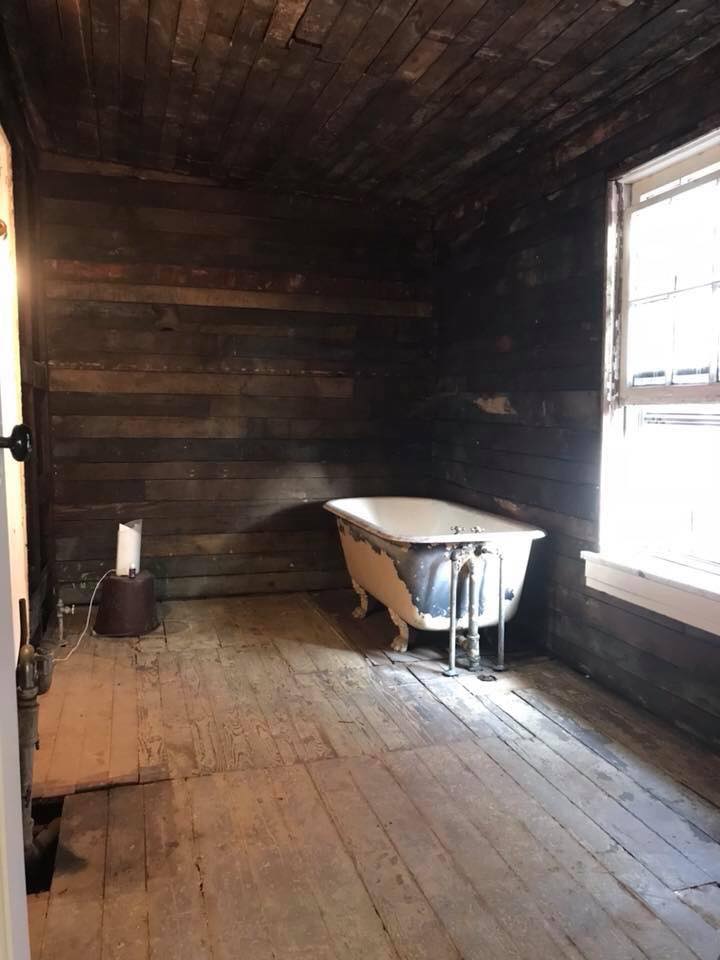
And the bathroom before was quite odd. They framed in the pedestal sink and claw foot tub. What the……? And as you can see, first up is some roof repair. 

DIY craft studio // workshop - before room makeover @diyshowoff DIY craft studio // workshop - before room makeover @diyshowoff DIY craft studio // workshop - before room makeover @diyshowoff DIY craft studio // workshop - before room makeover @diyshowoff DIY craft studio // workshop - before room makeover @diyshowoff

Peek after some bathroom demo…more on that next week. 

rustic bathroom makeover

…so lots of renovation to be completed upstairs to turn the 2 bedrooms and bathroom into a 1 bedroom efficiency. 

As I mentioned, the building has so much historical charm! It’s just so adorable. AND It’s about one block from our town’s Main Street. The bus stop is literally steps away. There are breweries, the YMCA, shops, restaurants, salons, florists, candy/coffee shop, holiday parades and festivals within walking distance. So fun!

If renovation from blah to ahhhhh is your thing, subscribe and be reminded of updates as the renovations progress! I’ll share before and after photos, projects underway and updates, plans and design boards, sources and links as they relate as well as fun events going on in and around the downtown area. I’ll be using a specific hashtag on social media to keep things all neat and tidy and organized. 

I welcome your thoughts and ideas! And as always, thanks for your encouragement and support and for sharing in my joy and vision! 

Follow the #helloredreno series:

Project Diary Entry #1 

Project Diary Entry #2 


Junked trunk to coffee table {apartment storage}

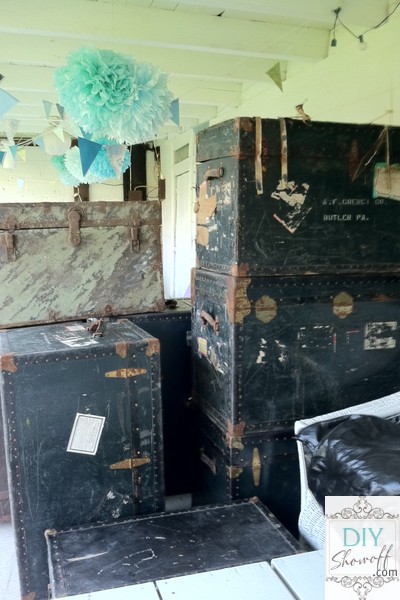
Remember this past summer when I scored a lot of a LOT of steamer trunks?

painted trunk

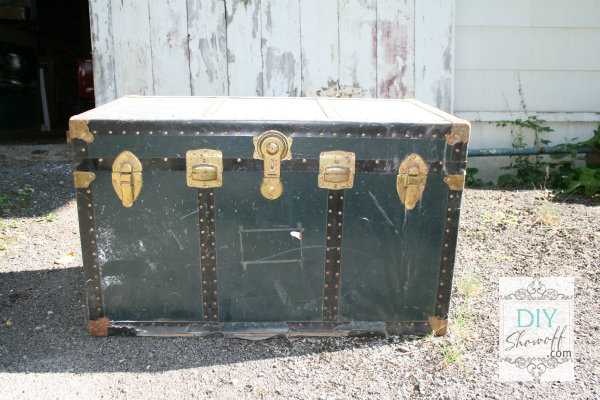
Before…

steamer trunk before

With furnishing the small apartment on a SUPER tight budget, we decided that one of these trunks would make a great coffee table since it would also provide a storage solution for the tiny apartment space.

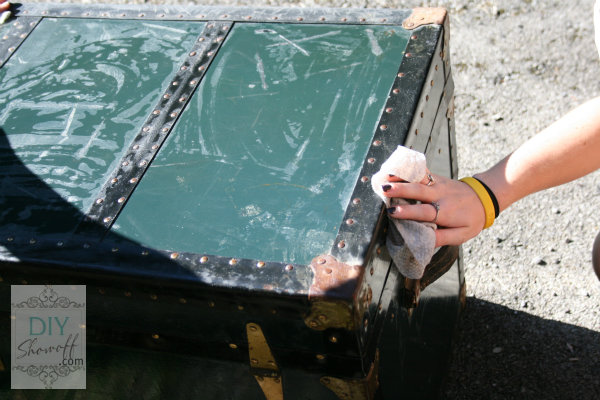
We started out by cleaning up the trunk. It’s not in mint condition, but my daughter appreciates imperfection and character too or well, the fact that it was a “free” solution helped.

cleaning trunk

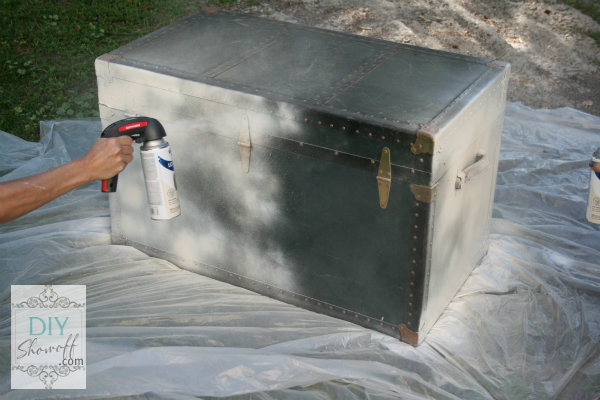
We gave it a basecoat of white spray paint and let it dry…

white basecoat on old trunk

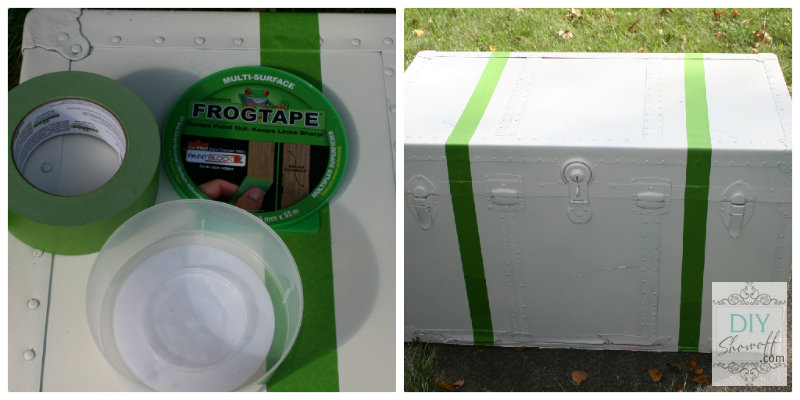
We used two strips of FrogTape to preserve stripes of the white spray paint underneath two coats of aqua spray paint. Be sure to press down the edges of FrogTape before spraying!

FrogTape steamer trunk

More spray paint…

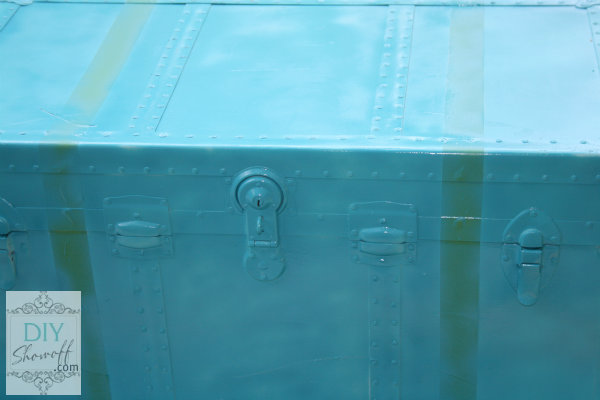
spray painted steamer trunk

Then peel off the FrogTape while it is still wet {yes, you will get paint on your hands}. I don’t remember the first aqua-color we tried, but it was too swimming pool blue. DIY is sometimes a trial and error. So, we used the yellow FrogTape Delicate surface for the second try and Rustoleum Painter’s Touch Ultra x2 in Satin Lagoon. Much better…

spray painted steamer trunk

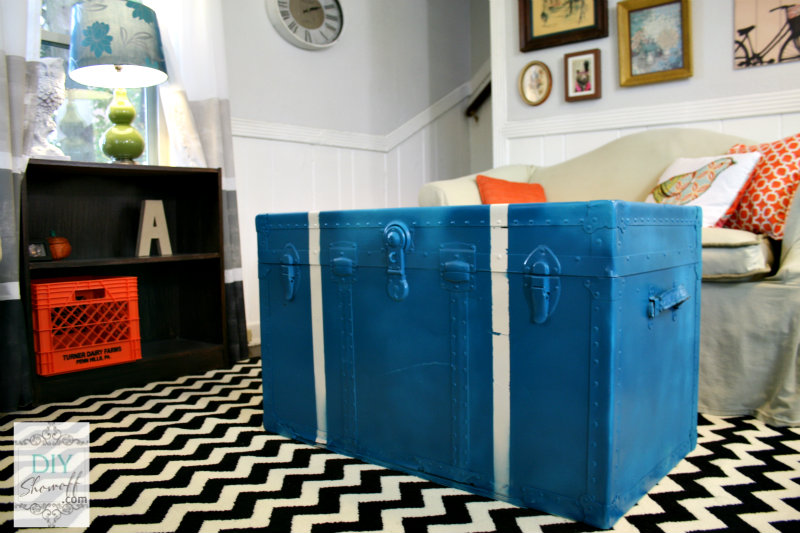
And I always get so excited and want to keep embellishing and stenciling when it’s so easy and fun to do, but Ali liked the simple “Tiffany & Co.” look of white stripes on lagoon blue and who am I to argue with that because I have to agree…it’s pretty darn cute.

Tiffany & Co. spray painted steamer trunk

Painted steamer trunk cost:Great price for dual purpose, first apartment furniture. And the pop of color? Love it!

See all things related to the apartment renovation here!

This is a sponsored post brought to you by FrogTape. The opinions are completely my own based on my own experience. 

 FrogTape Blog Squad

Partying here:
shabby creek cottageDIY Show Off

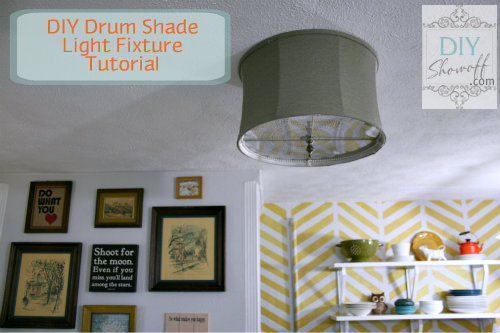
DIY Ceiling Mount Drum Shade Light Fixture Cover

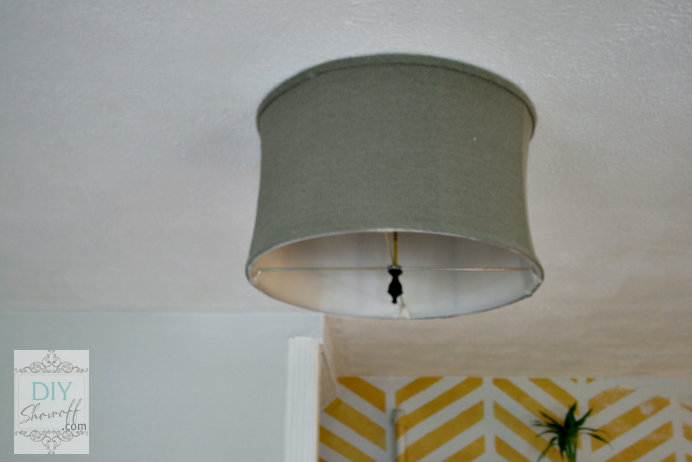
In the apartment: Staying within a very tight budget inspires creativity. The main floor of the rental had a boring light fixture and we wanted to do something a little more fun. A thrift store drum shade was a great solution and worked with existing ceiling mounted light fixture base. {peek of the thrifty gallery wall}

DIY Drum Shade Ceiling Mount Light Fixture Tutorial

I originally purchased a steel nipple {are you giggling?! who decided that was a good name for hardware?} for a lamp kit, but it was too big in diameter to fit through the hole in the existing light fixture base. Lucky for us, True Value Hardware is within walking distance of the rental. So convenient. Great for finding last minute things and a huge selection of everything plumbing (and lamp kits too). I found that a ‘toilet’ plumbing piece {a rod threaded on both ends} was a perfect fit. We simply unscrewed the existing base, added a nut near the hole in the center of the existing base and screwed in the threaded rod and re-attached the base of the light fixture.

Next, Just center of the drum shade over the threaded rod and the finial holds it all into place.

threaded rod in DIY drum shade light

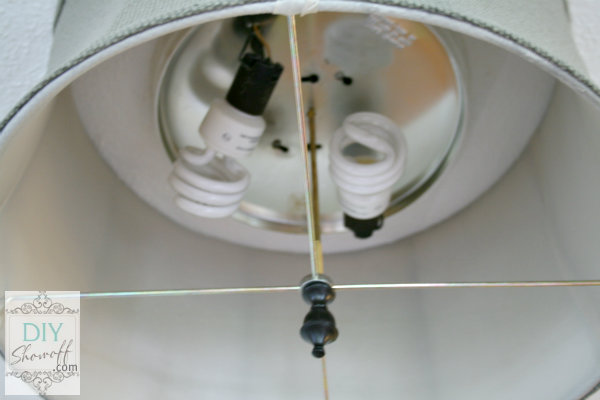
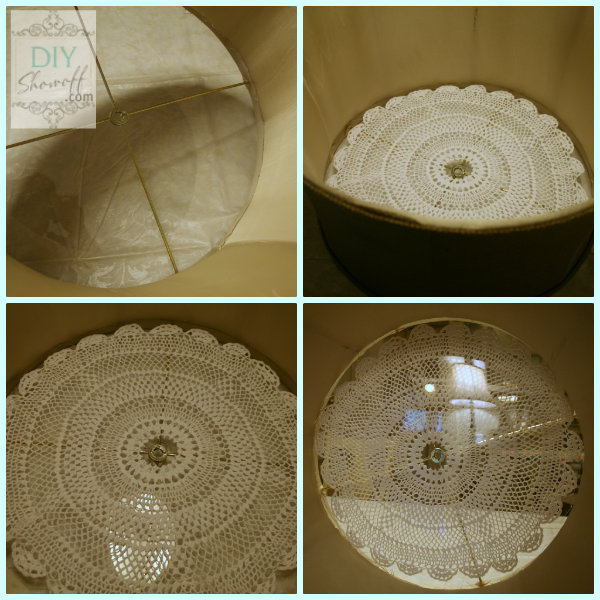
 But the ugliness is visible from underneath…

DIY drum shade light fixture

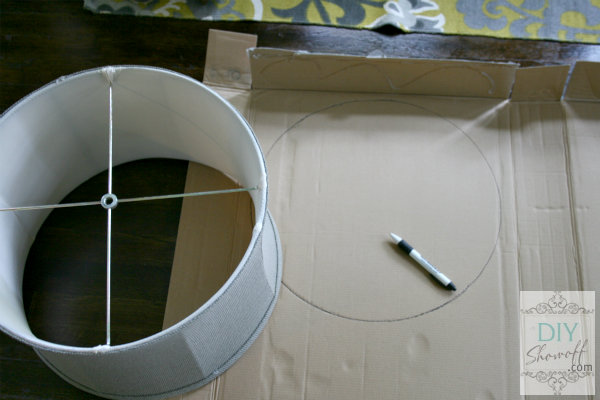
Solution: Measuring the diameter of the interior of the drum shade, I made a pattern/stencil from cardboard (tracing the interior of the shade).

cardboard template

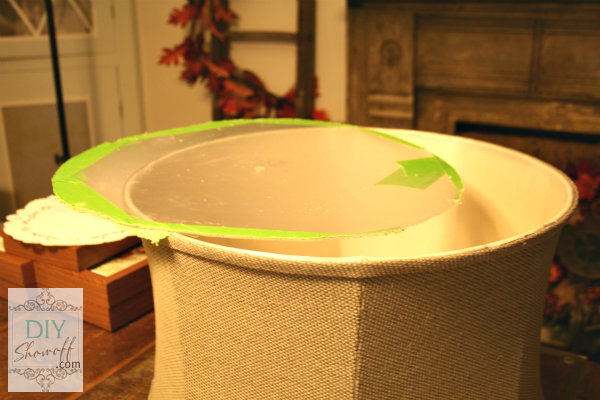
We used the cardboard circle as a template for cutting plexiglass (2 circles). We found cutting plexiglass to be a challenge and cut a larger circle, wrapped the edges in FrogTape to help minimize cracking and chipping then used our Dremel Trio to cut the circle border on the FrogTape. Note: this project is NOT for perfectionists. Amateurs (like us) achieved a jagged circle but we’re okay with that. 

plexiglass with FrogTape

Remove FrogTape and transparent protective cover from plexiglass. We didn’t get a smooth cut, but it’s not extra noticeable when placed into the drum shade and hot glue and ribbon or beads can cover the jagged edge.

We also drilled a hole in the center of each piece of plexiglass for the threaded rod.

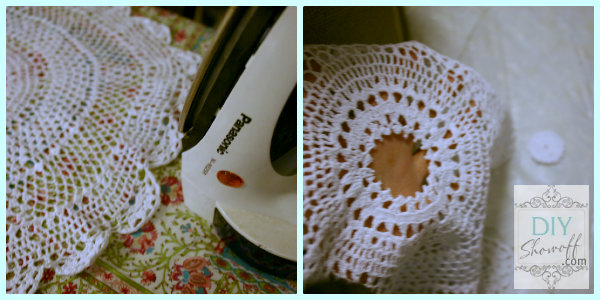
I ironed my doily and cut out the center circle…

ironing doily

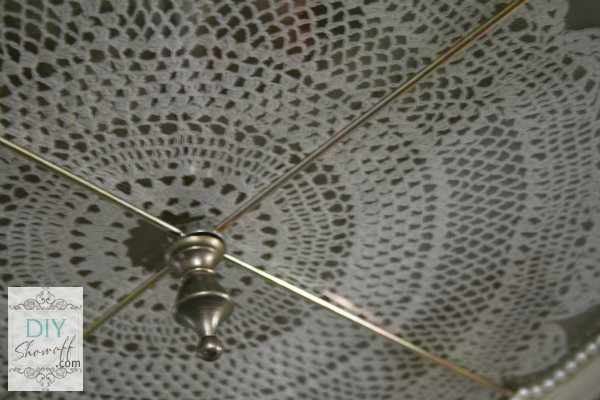
and put the plexiglass into the drum shade {plexiglass, doily, plexiglass}, resting it on the lamp shade supports (drum shade will be installed ‘upside down’). Note: You may want to use a spray adhesive on one side of the doily to keep it from sliding as you’re layering plexiglass, doily, plexiglass. I also used hot glue to attach a string of beads to hide our jagged cuts.

plexiglass doily drum shade

So pretty DIY ceiling mount light {a little off center, hence the suggestion for spray adhesive as noted above}:

doily drum shade light

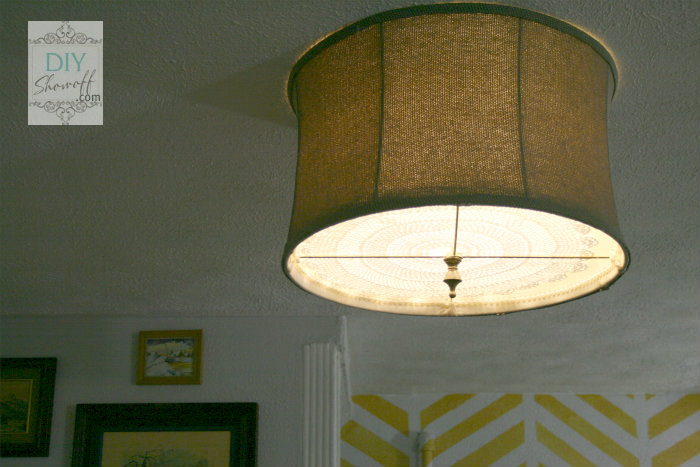
Then just put the drum shade into place, secured by the finial…

DIY drum shade light lit

We love how it turned out – but note: plexiglass is more expensive than we anticipated. So while it still worked out to be a less expensive option than a pretty drum shade ceiling fixture and prettier than a boob light, it wasn’t super cheap like I had planned. Approximate cost breakdown: plexiglass $25, drum shade $5, doily $10 + finial and threaded rod.

Facebook
DIY Show Off - FacebookDIY Show Off - TwitterDIY Show Off - PinterestDIY Show Off - FeedDIY Show Off - HomeTalkDIY Show Off - G+

We were chosen by True Value to be one of the members of the 2012 DIY Squad. I have been compensated for the materials needed for my DIY projects. However, the thoughts and opinions expressed are completely honest and my own. I have not been paid to publish positive comments and no one has twisted my arm to participate.  

This is a sponsored post brought to you by FrogTape. The opinions are completely my own based on my own experience and project results may vary.

 FrogTape Blog Squad