Bathroom Makeover

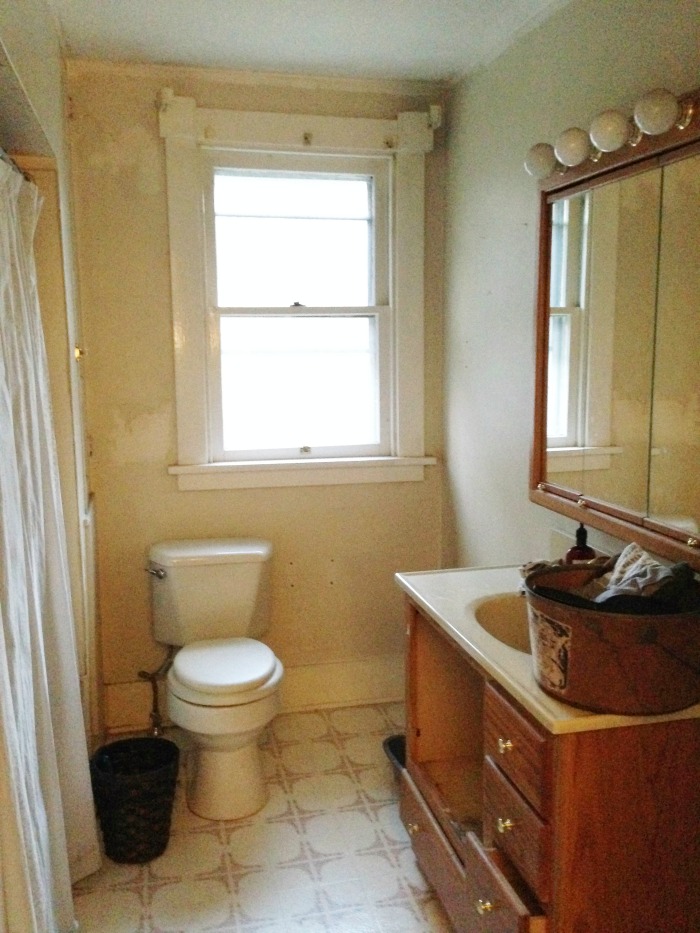
The other day I shared the before and after bathroom transformation. I’ve gone from sitting and staring all day long at our recently finished open pantry (makeover here) to wanting to sleep in my new peaceful bathroom. Since the bathroom had was a nightmare before, ANYTHING would look good after. This is what we got with this old farmhouse…

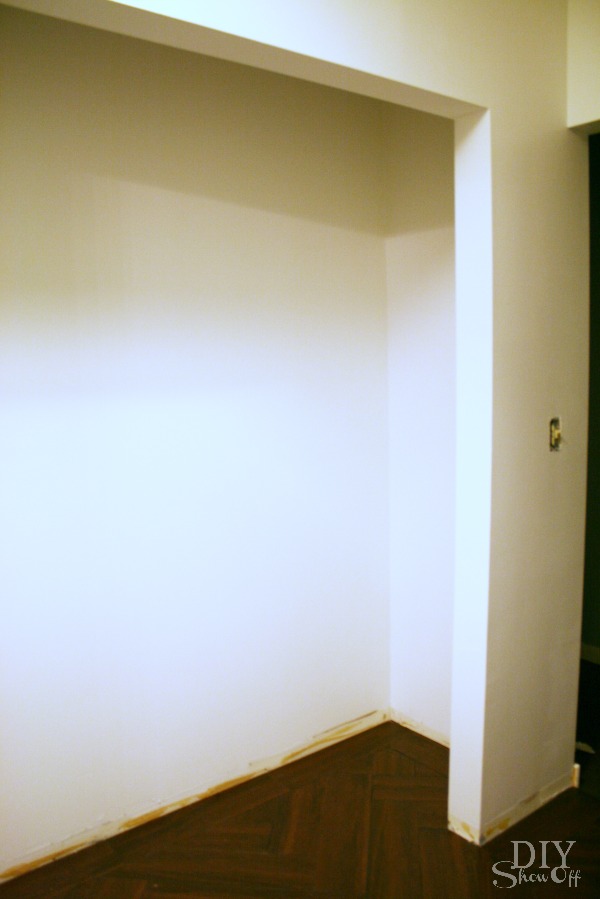
Before – yikes!bathroom makeover before

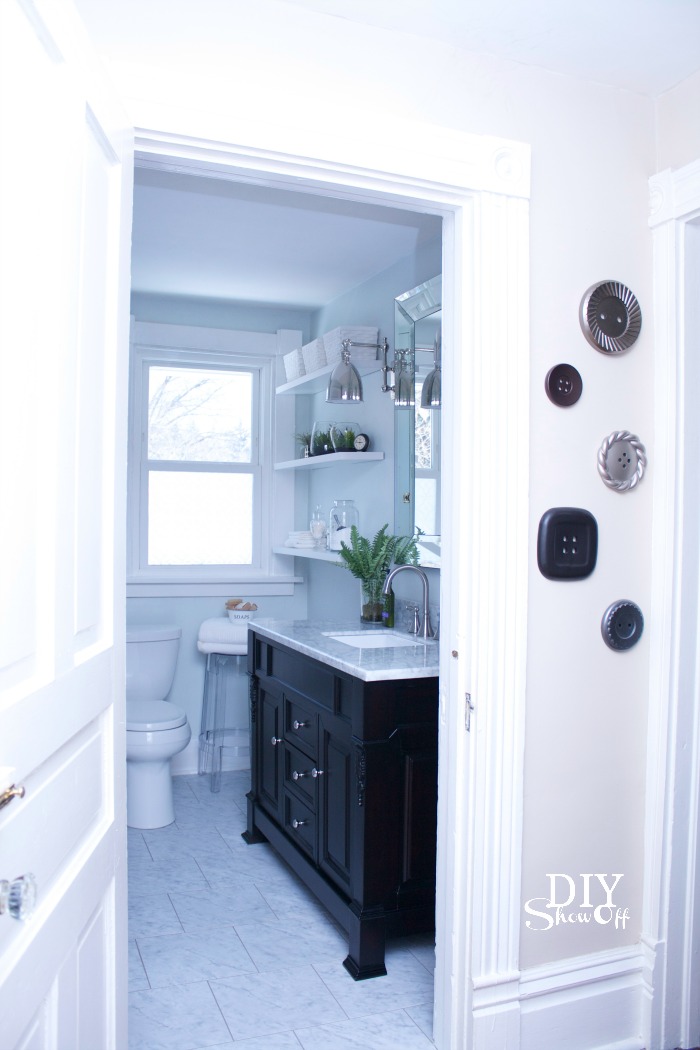
And this is the potential I saw. I’m in love with the soft peaceful ‘after’ results! Bathroom Makeover
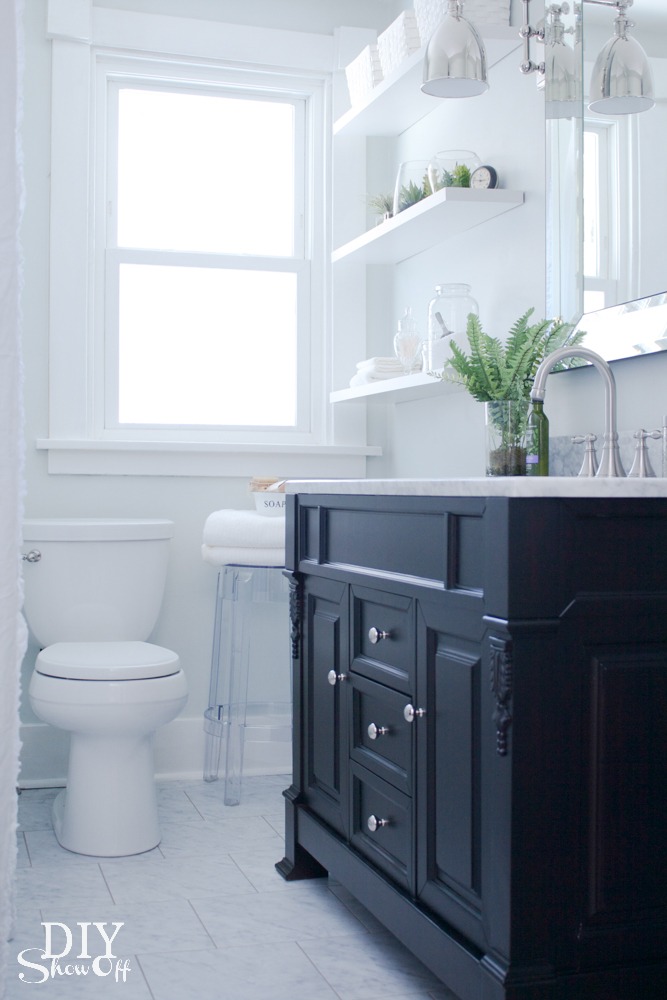
Bathroom Makeover Details at DIYShowOff

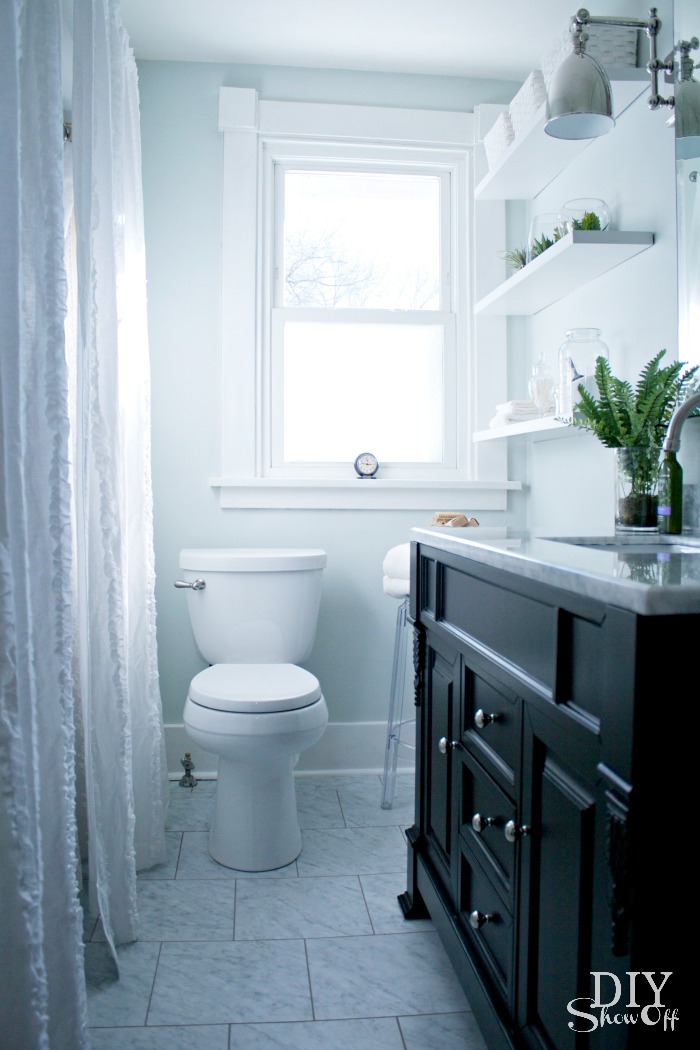
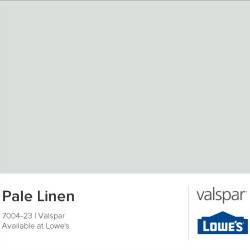
Paint: Those walls! Believe me, I did a good scrubbing but is there any better way to really clean up walls than applying a fresh coat of paint? Love this color! Valspar Pale Linen: Depending on light, sometimes it has a soothing blue tint, sometimes more of a gray/white tone but definitely a tranquil light blue color.

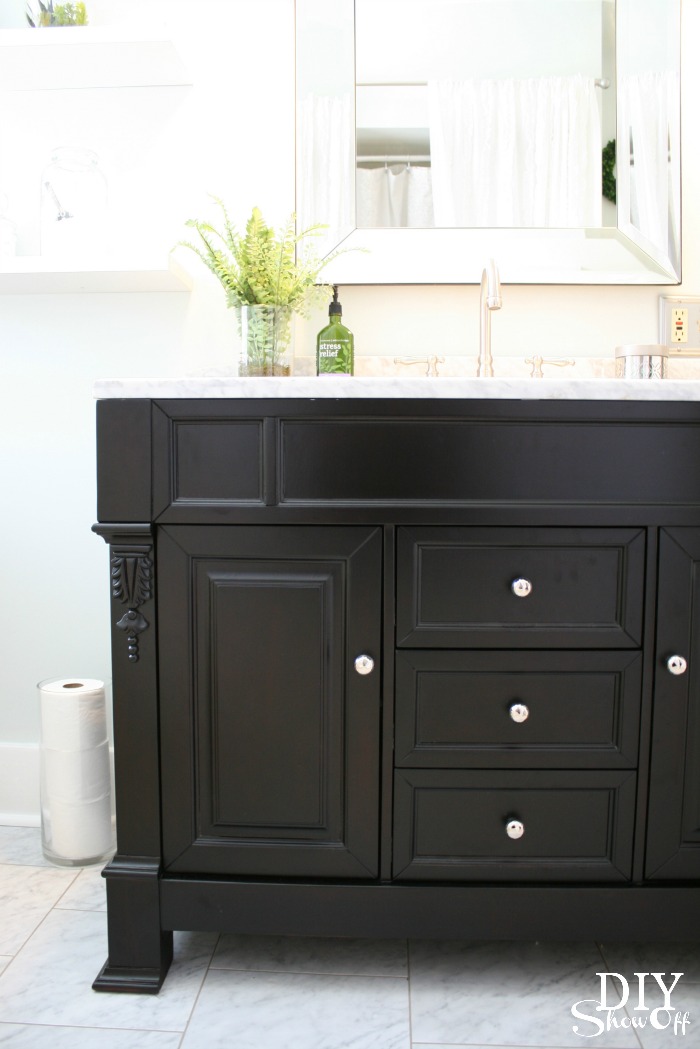
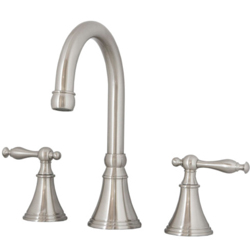
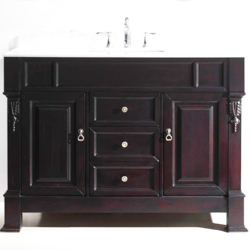
Vanity: The gorgeous Huntshire vanity with marble countertop and Talia faucet set from Virtu USA is the luxurious center of attention! Check out the beautiful detail and gorgeous espresso color.

Virtu USA Huntshire vanity

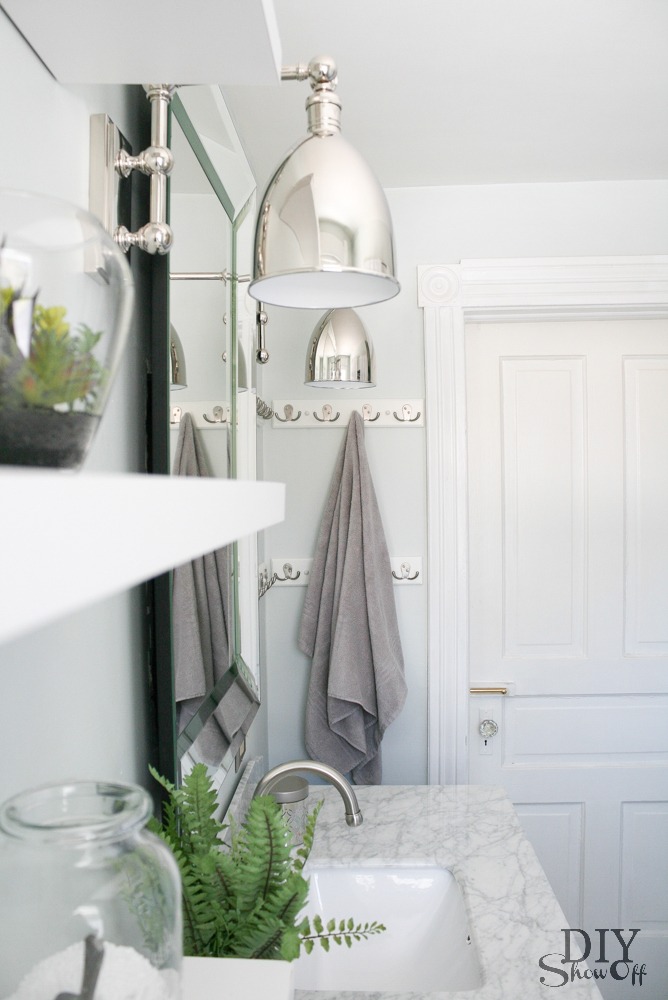
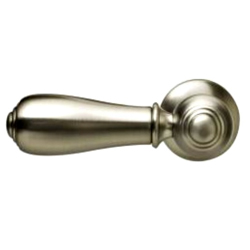
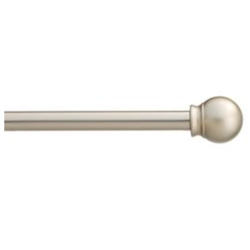
Metallics: Mixing the silver finishes like the brushed nickel faucets, polished nickel sconces, polished nickel vanity knobs, satin nickel curtain rod add just the right amount of bling!
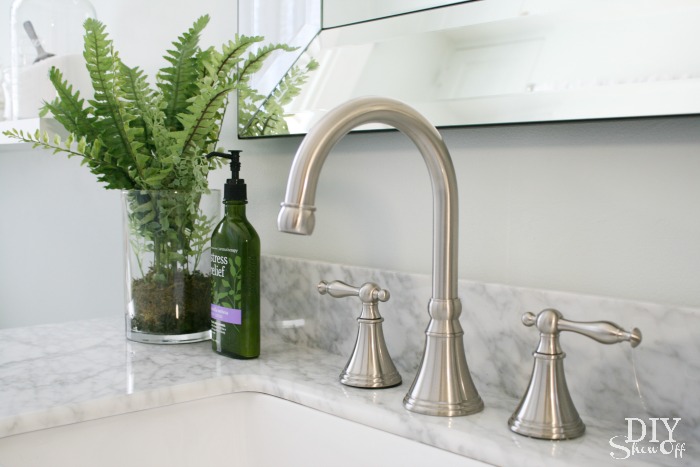
Virtu USA Talia faucet - DIYShowOff bathroom makeover

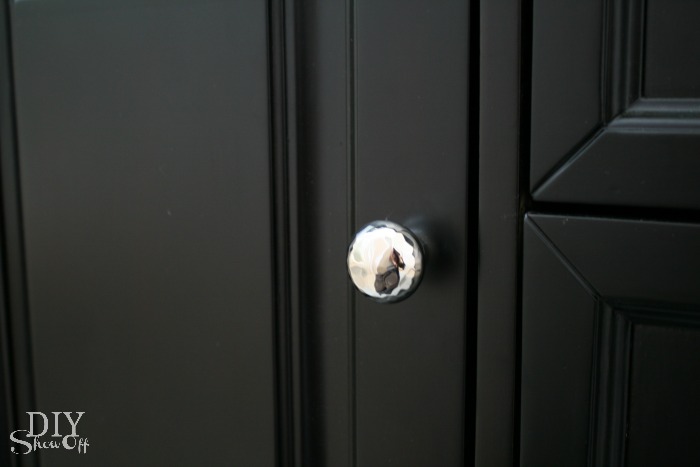
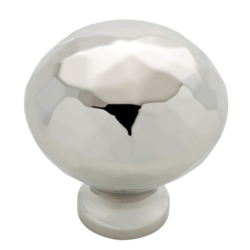
The vanity comes with beautiful antique gold hardware which I’ll re-use on another piece of furniture since I swapped them out for these beautiful polished nickel knobs.

polished nickel knobs

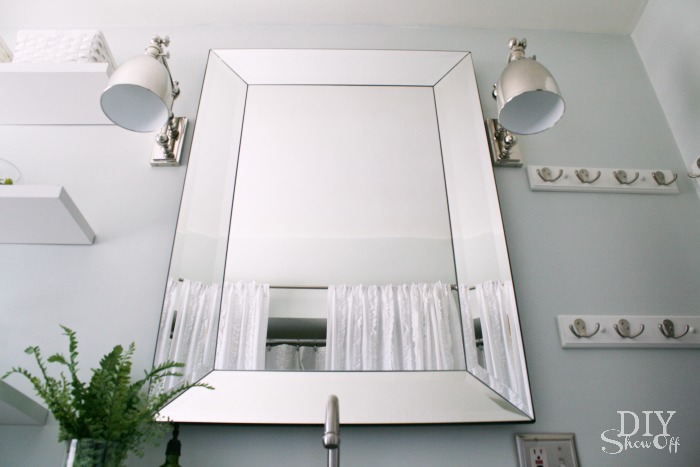
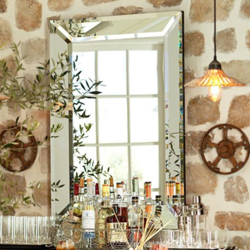
Pottery Barn Bevel Mirror: Go big or go home! {Heavy! Molly bolts included.} The mirror’s beveled mirror frame is the perfect glamorous accessory reflecting light and the illusion of more space into this small bathroom. 

bevel mirror

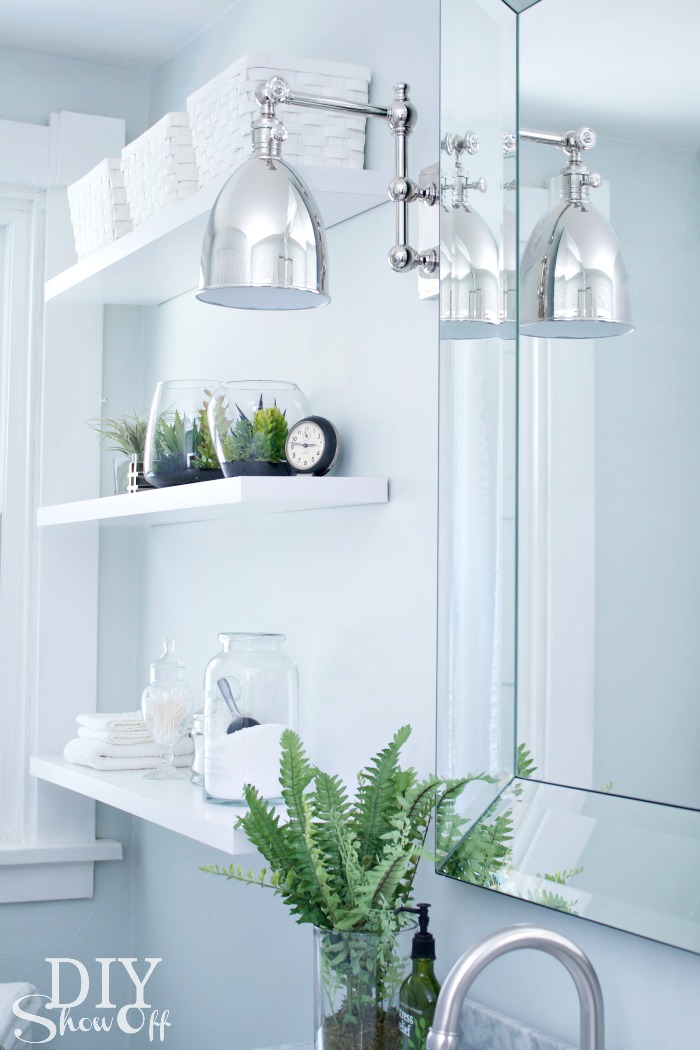
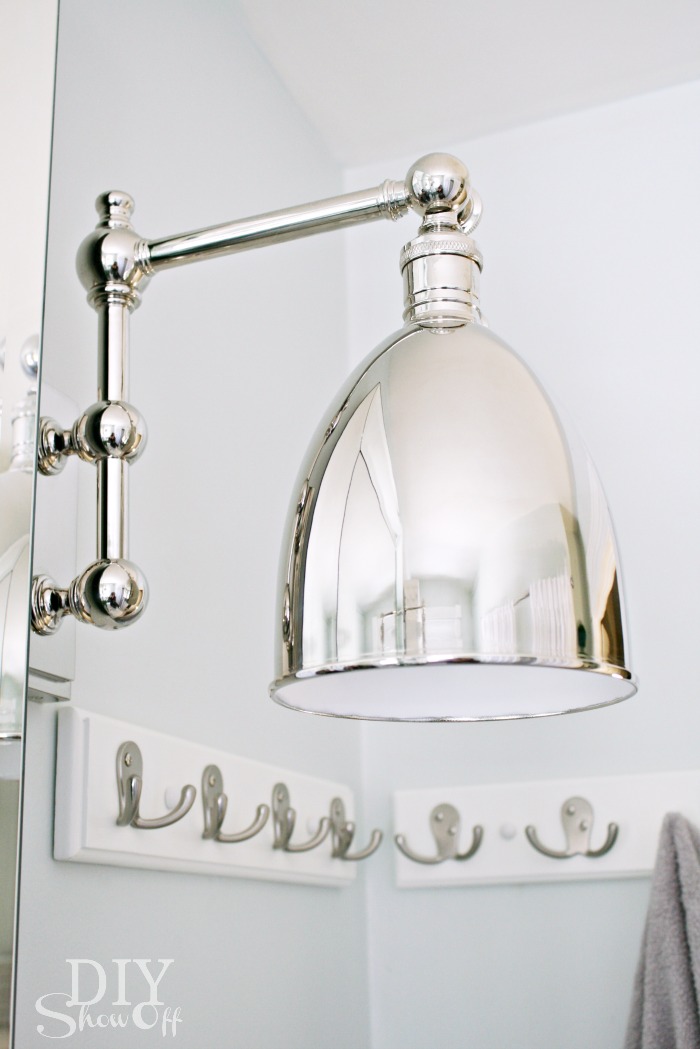
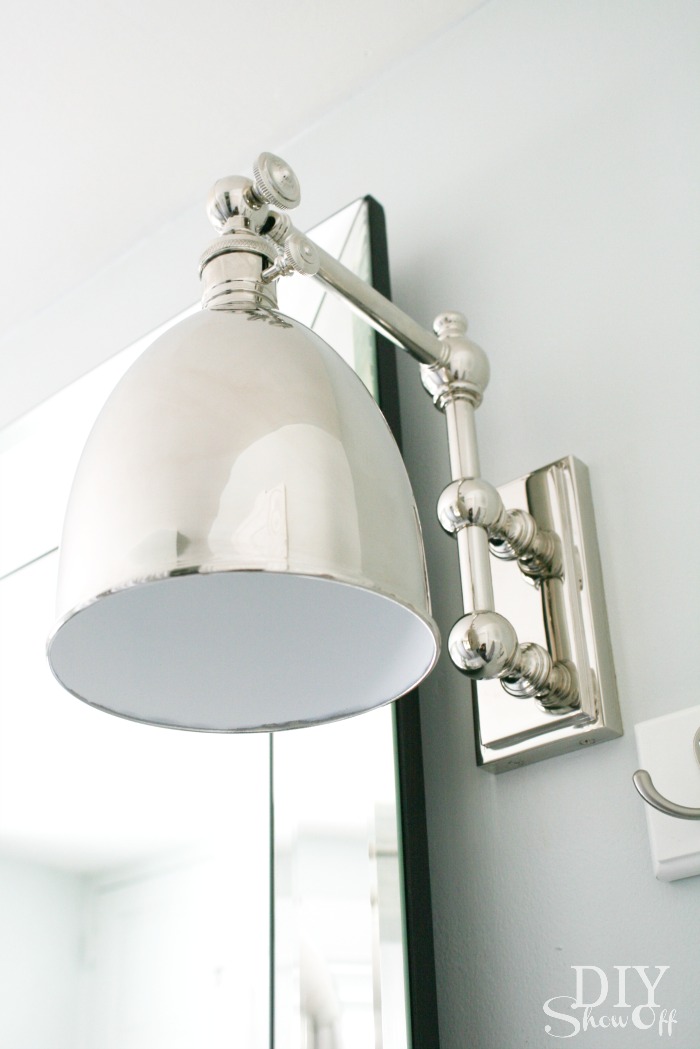
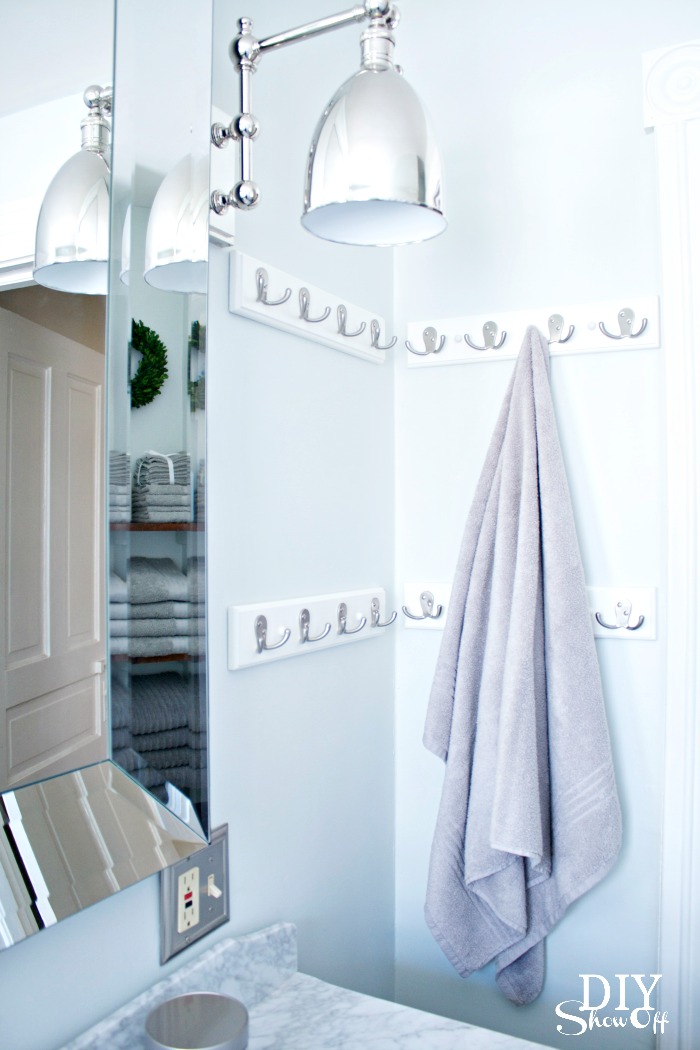
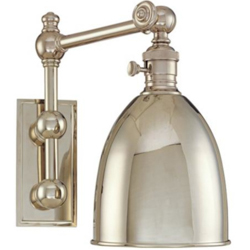
Lighting: Drool-worthy. ::sigh:: Thanks to LampsPlus for the stunning lighting! {Hudson Valley Monroe polished nickel adjustable wall lights} These are just the icing on the cake, aren’t they? Definitely my most favorite fixture in my home!

Lamps Plus Monroe Adjustable Arm Sconce

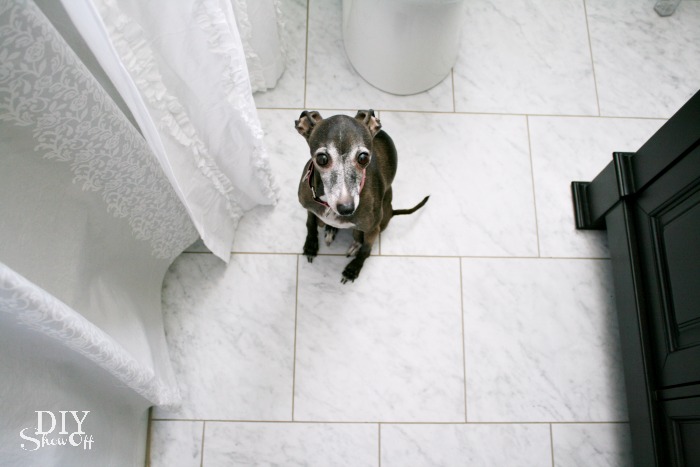
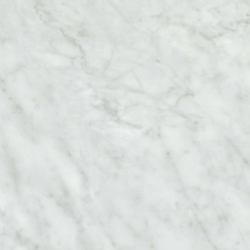
Floor: I did this all by myself! Would you believe they’re vinyl tiles? Easy to install and grout (use grout for vinyl) gives it a look so similar to real marble but without the maintenance or cost and installed in just a few hours! Check back for the tutorial.

grouted vinyl floor tiles - diyshowoff bathroom makeover

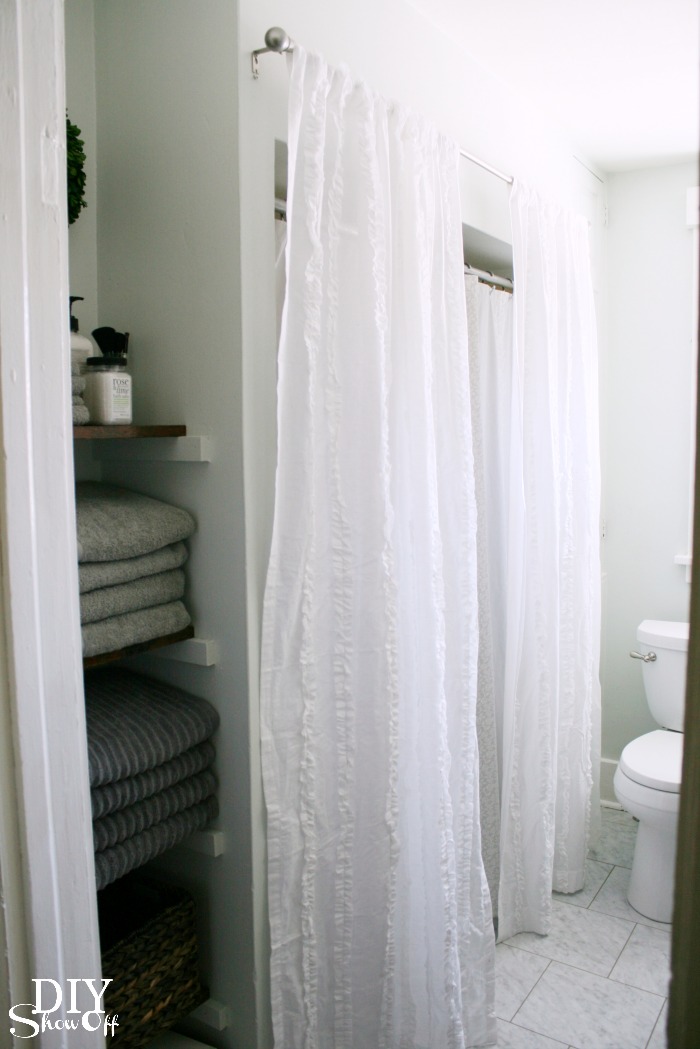
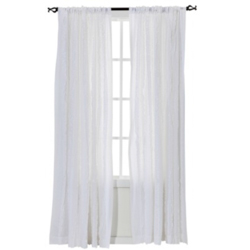
 The tub and shower will get a makeover later this year. In the meantime, I “framed” the bathtub nook/shower curtain with curtains (difficult to photograph that side of the room!)…

bathroom curtains

bathroom makeover diyshowoff

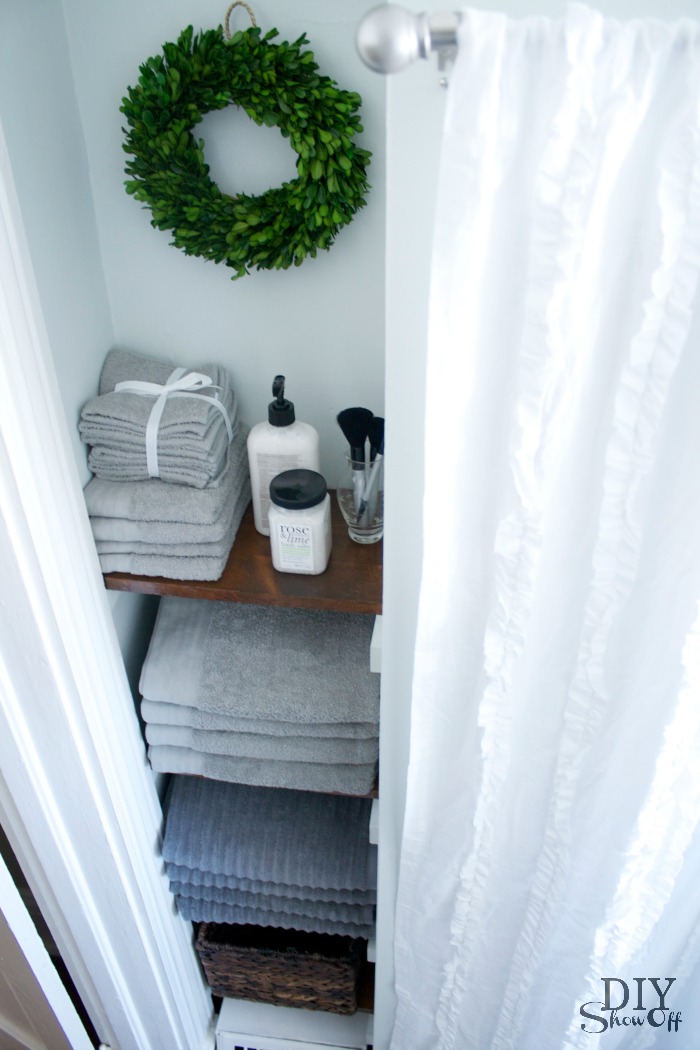
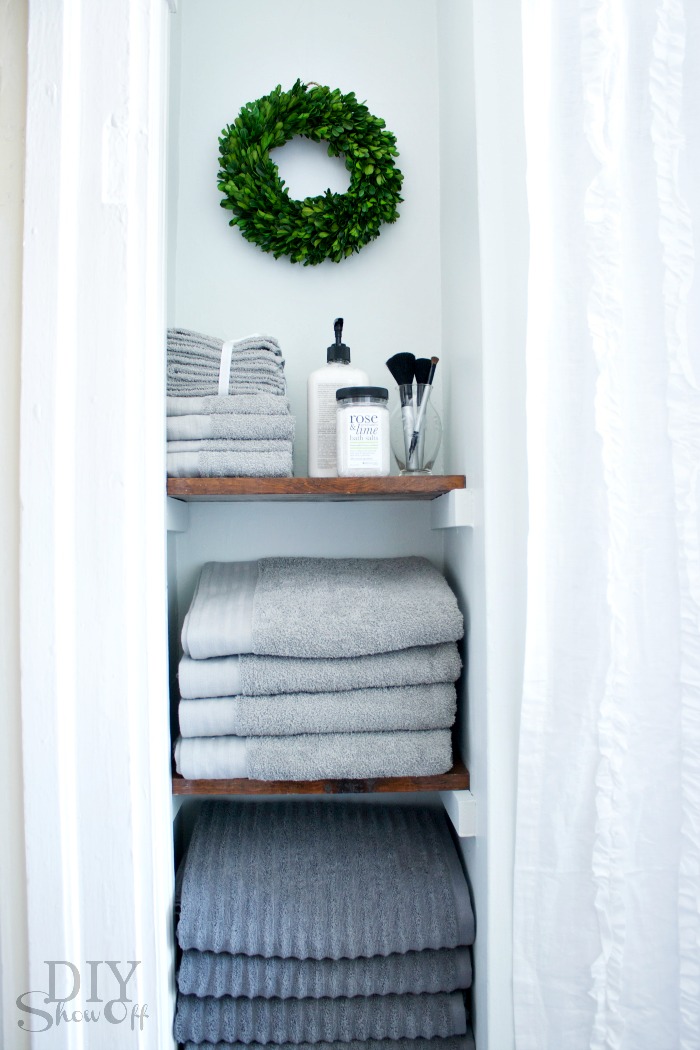
Storage to the left of the bathtub/shower:

bathroom storage

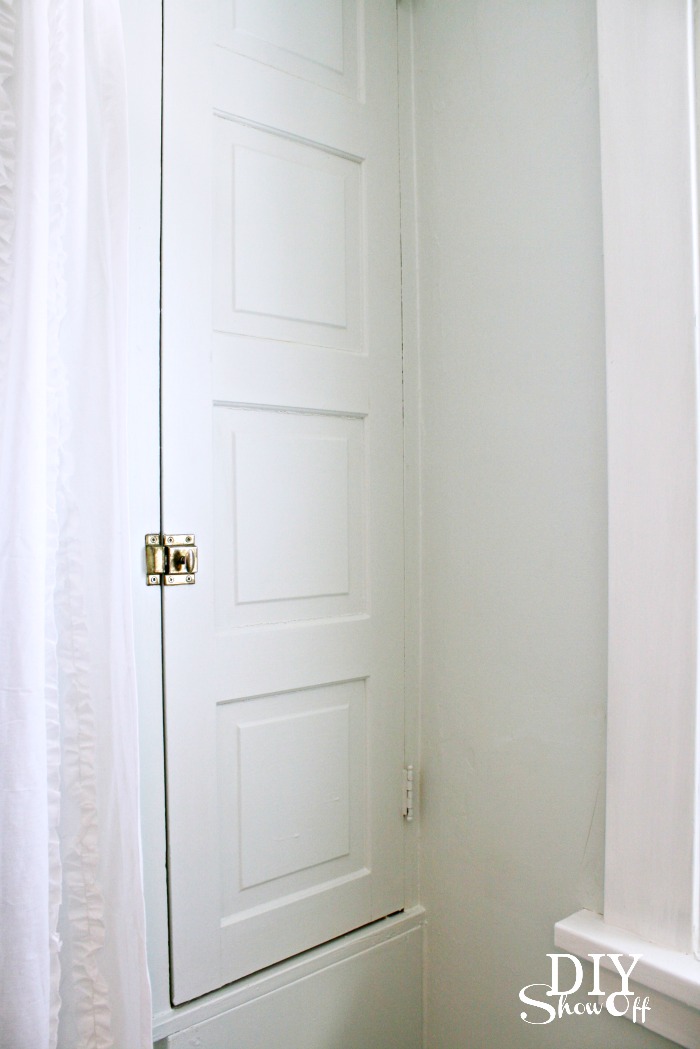
Built in storage cabinet to the right…

bathroom storage cupboard

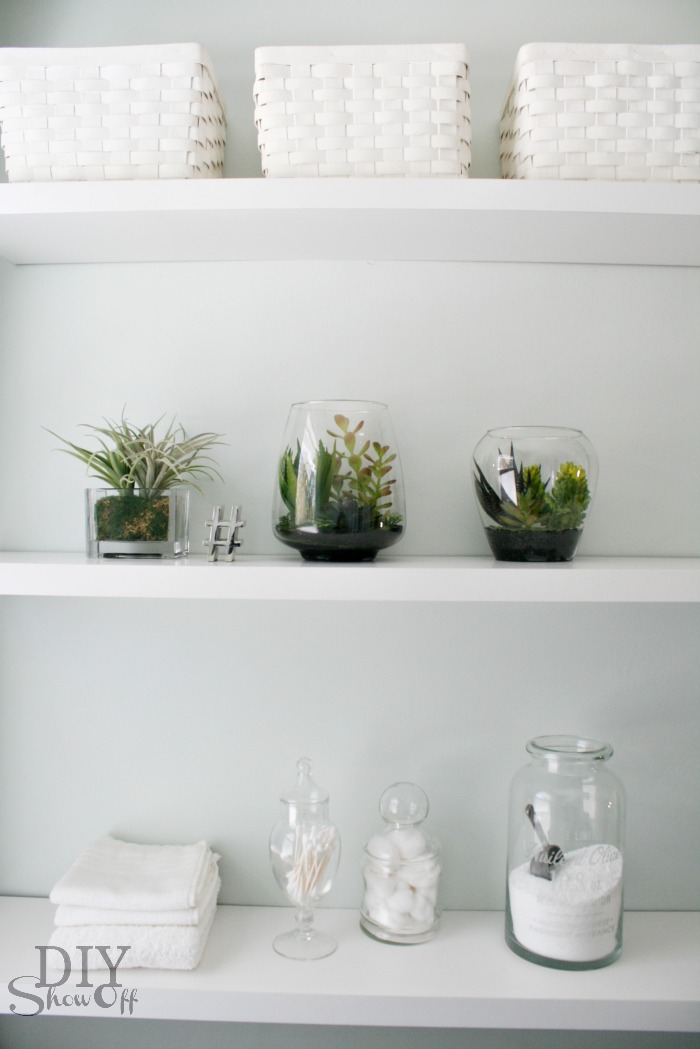
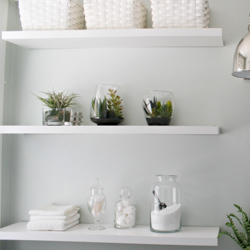
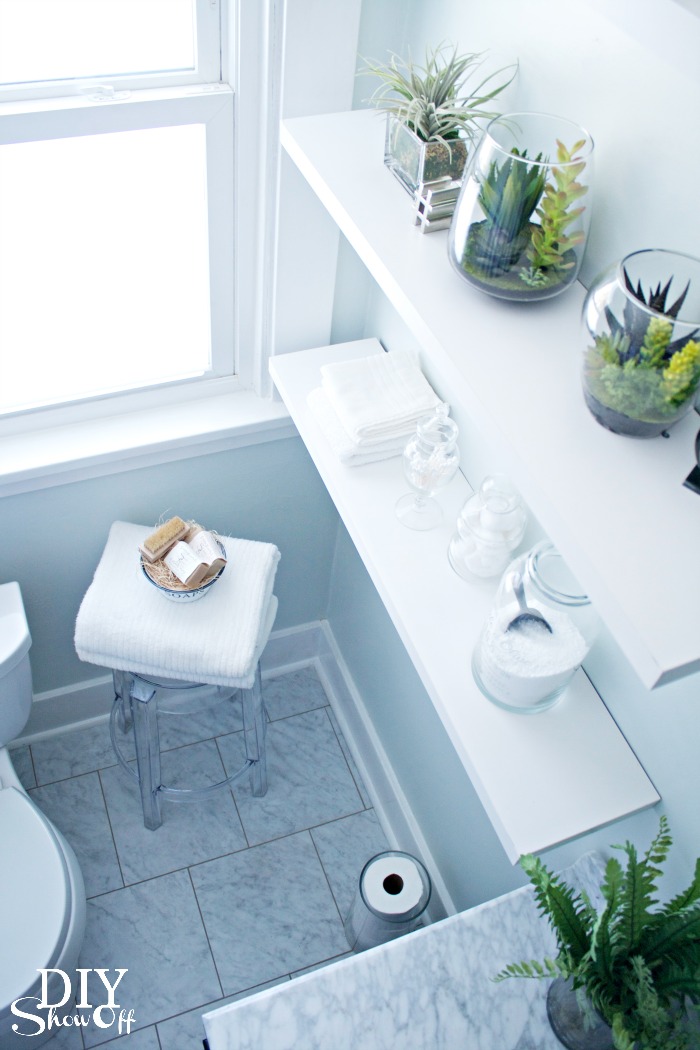
 Floating shelves and baskets provide more storage options. 

DIYShowOff bathroom shelves

Because there is no such thing as too many photos:DIYShowOff Bathroom MakeoverLampsPlus Monroe Adjustable Wall Sconce
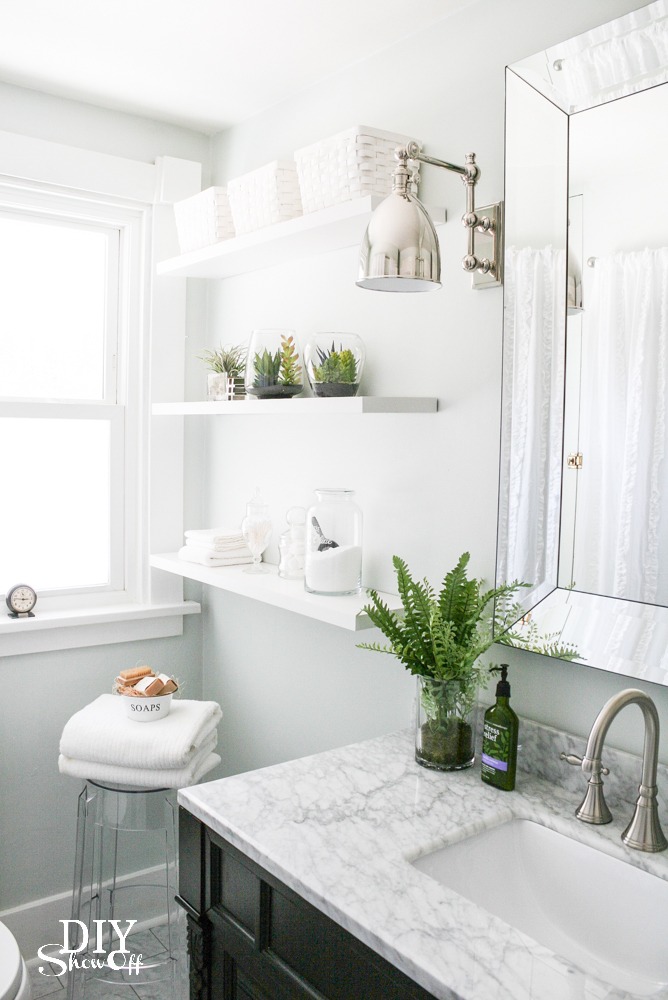
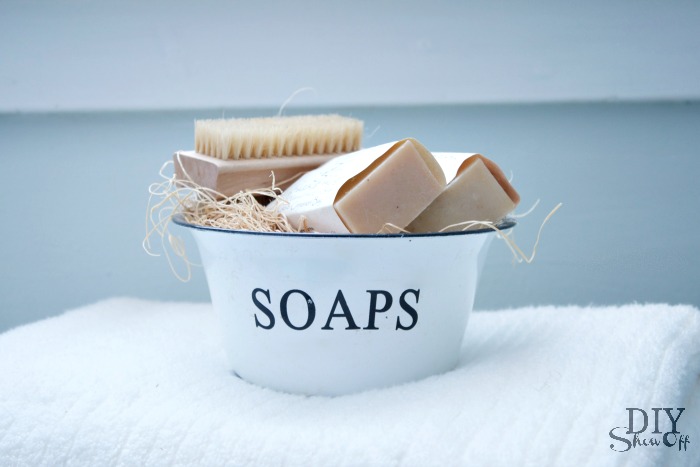
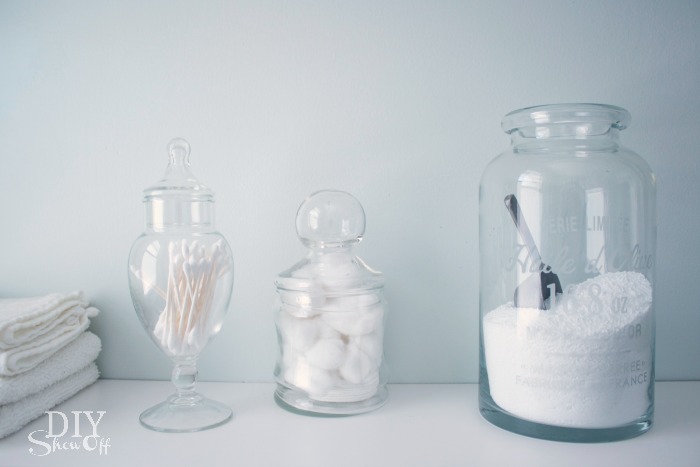
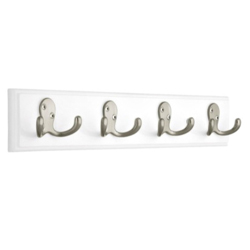
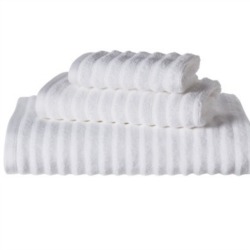
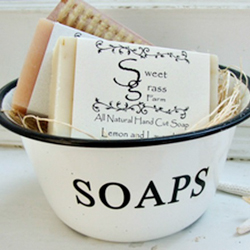
Bathroom makeover - towel nookFarmhouse Wares soap gift set - diyshowoff bathroom makeoverDIYShowOff bathroom accessoriesDIYShowOff bathroom lighting from LampsPlusBathroom storageDIY bathroom makeovertowel hooks - diyshowoff bathroom makeover

For those of you asking about the button wall art, they’re about 10 years old and I can’t remember where I got them so I’m pretty sure they’re out of stock (it was probably somewhere like JoAnn’s) but here’s button wall art I spied on Amazon, if you love buttons: 

bathroom makeover - diyshowoff

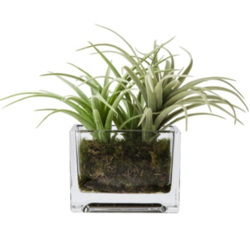
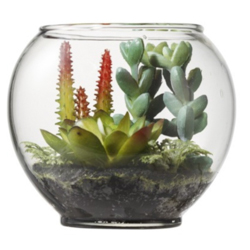
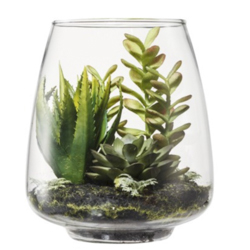
I’ve received a lot of questions about some of the accessories and fixtures shown above. Here’s a source list. Click the images for to be redirected. 

DIYShowOff bathroom makeoverDIYShowOff bathroom makeoverDIYShowOff bathroom makeoverDIYShowOff bathroom makeoverDIYShowOff bathroom makeoverDIYShowOff bathroom makeoverDIYShowOff bathroom makeoverDIYShowOff bathroom makeoverDIYShowOff bathroom makeoverDIYShowOff bathroom makeoverDIYShowOff bathroom makeoverbathroom makeover at diyshowoff.comDIYShowOff bathroom makeoverDIYShowOff bathroom makeover - Valspar Pale LinenDIYShowOff bathroom makeoverDIYShowOff bathroom makeoverDIYShowOff bathroom makeoverDIYShowOff bathroom makeoverDIYShowOff bathroom makeoverDIYShowOff bathroom makeoverDIYShowOff bathroom makeoverDIYShowOff bathroom makeoverDIYShowOff bathroom makeoverDIYShowOff bathroom makeover

Still have a question? Let me know in the comment section and I’ll get right back to you. Thanks so much for stopping by! 

Don’t forget to swing by to enter to win the Virtu USA Dream Bathroom giveaway to get started on creating your dream bathroom makeover. Easy to enter, lots of prizes! 

Ready for some more bathroom makeover inspiration? Check out these awesome blog friends for more:

Linking up to: 
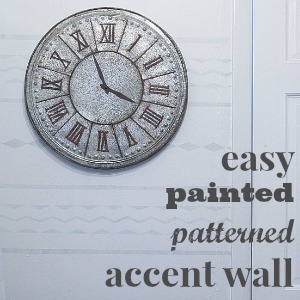
Easy Painted Patterned Accent Wall DIY

Earlier, I shared the pantry reveal and I’ve had a few questions related to one of the walls as to whether or not I used wallpaper.

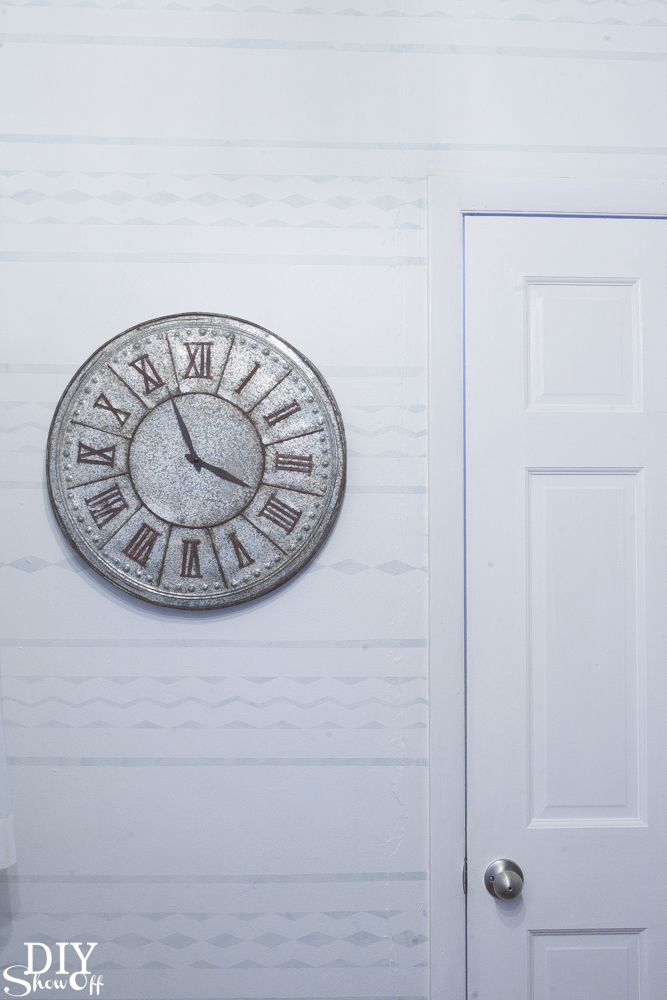
easy painted accent wall

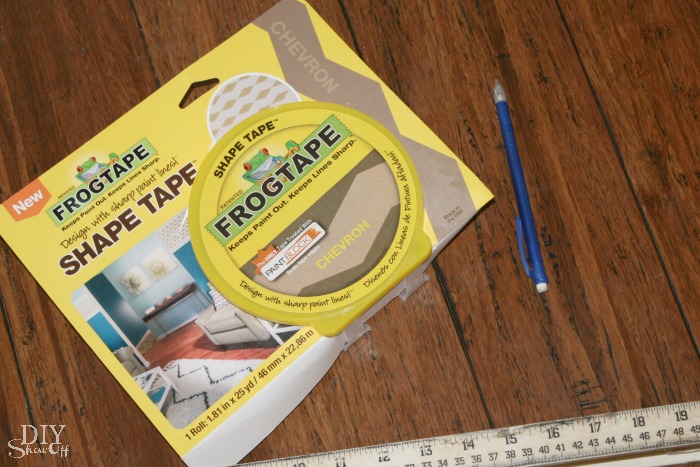
While I do love the look of wallpaper, I’ve had enough wallpaper removal to last me a lifetime so the answer is ‘no’. It’s paint! If you’re a long time DIY Show Off fan, you know that I am a big fan of using FrogTape® to create fun accent walls (see here, here, here, here) and with the addition of the Shape Tape, there are even more options for a creating a fun accent wall. I’d prefer to lightly sand and repaint than strip wallpaper in the future, wouldn’t you? painted Shape Tape accent wall

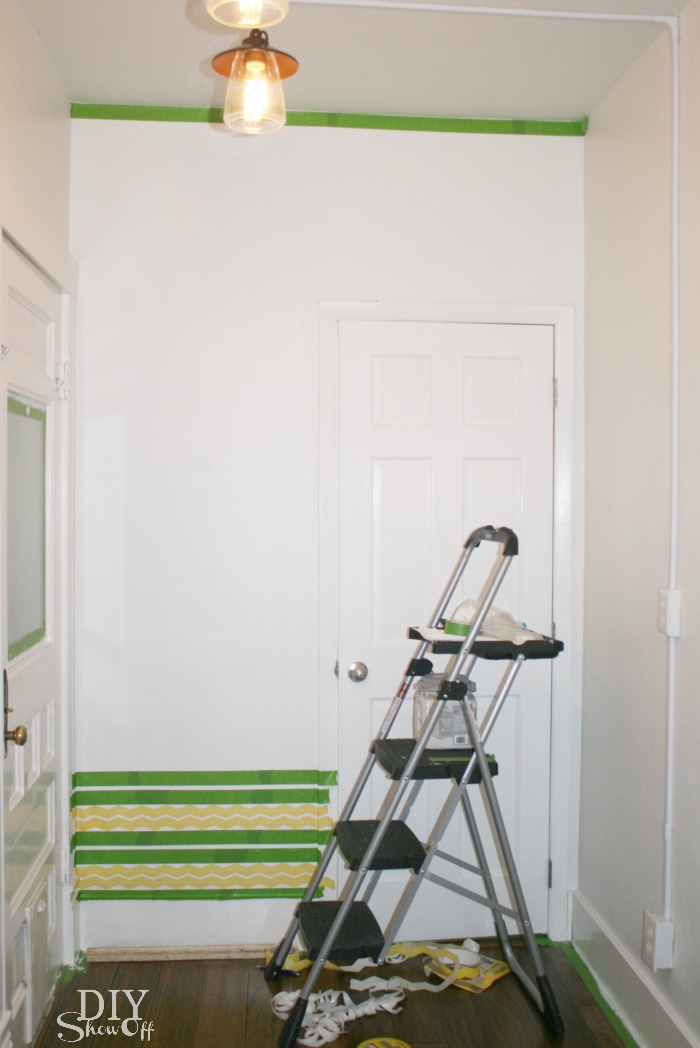
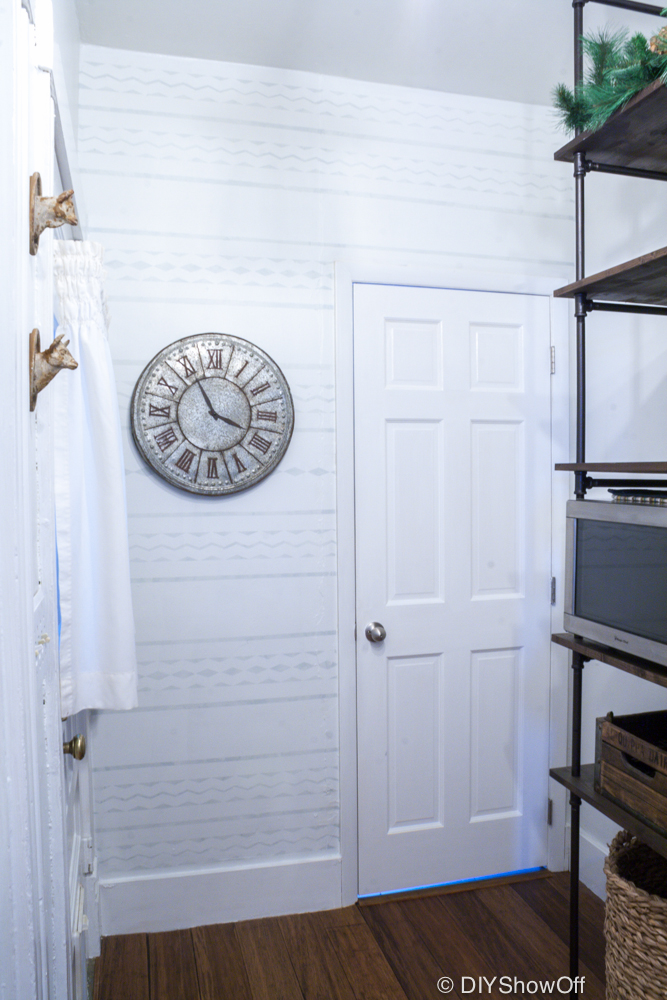
My wall is small. I used FrogTape and chevron Shape Tape to create a fun accent pattern with a tribal/Aztec feel. My lines were mostly “eyeballed”… but use a level and pencil if you’re more of a perfectionist. FrogTape Shape Tape

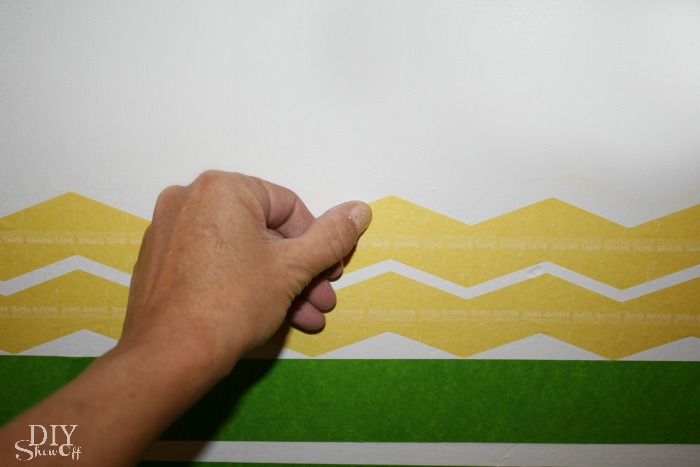
I started at the bottom of my wall space and created straight lines with the Multi-Surface FrogTape and lined it up with the chevron Shape Tape to create stripes, zig zags and diamonds…no real planning out a pattern…I just got creative working my way about 1/3 of the wall (again, no measuring).FrogTape Shape Tape accent wallShape Tape Accent Wall

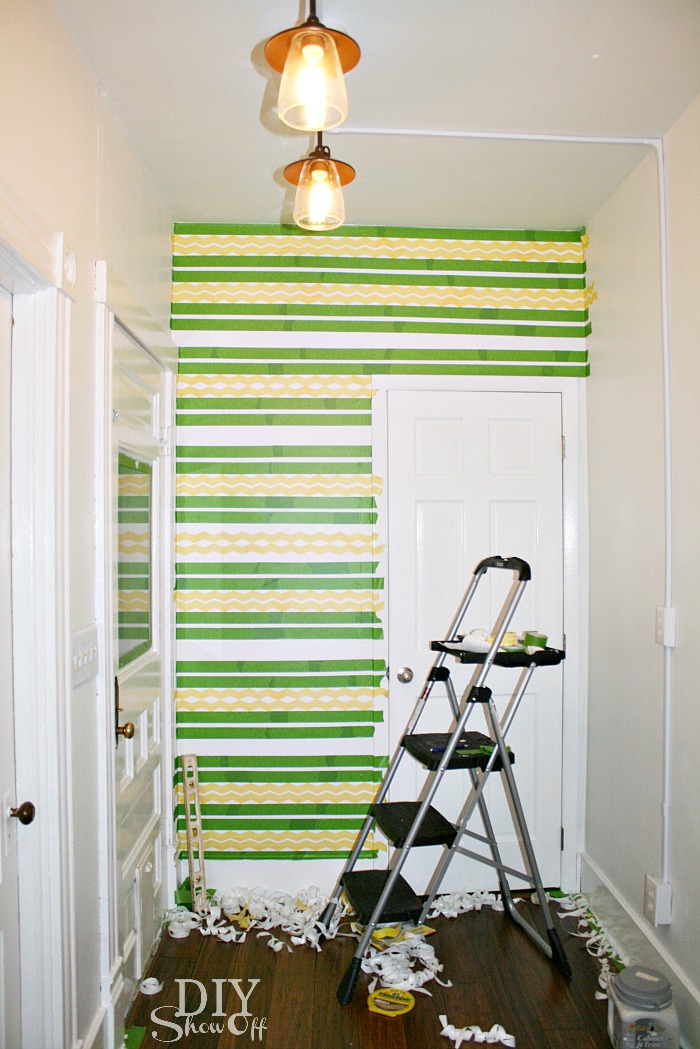
Then worked my way down from the ceiling to about 1/3 of the wall space copying the same pattern I used at the bottom of the wall.

FrogTape Shape Tape application

Next I found the center of the wall and spaced out a similar pattern there to meet the bottom and top design. Since it’s the center, I didn’t feel it had to be a perfect match with the top and bottom pattern. I was right! It only adds to the uniqueness of the design. Here’s how it looked with the taping complete:FrogTape chevron Shape Tape accent wall

I actually painted the walls with my base color last April. It’s Valspar (Cool Grey). I didn’t want a loud bold design, so I used some leftover True Value Platinum (Old Fashioneda light blue/gray) from our kitchen walls as the accent color. 

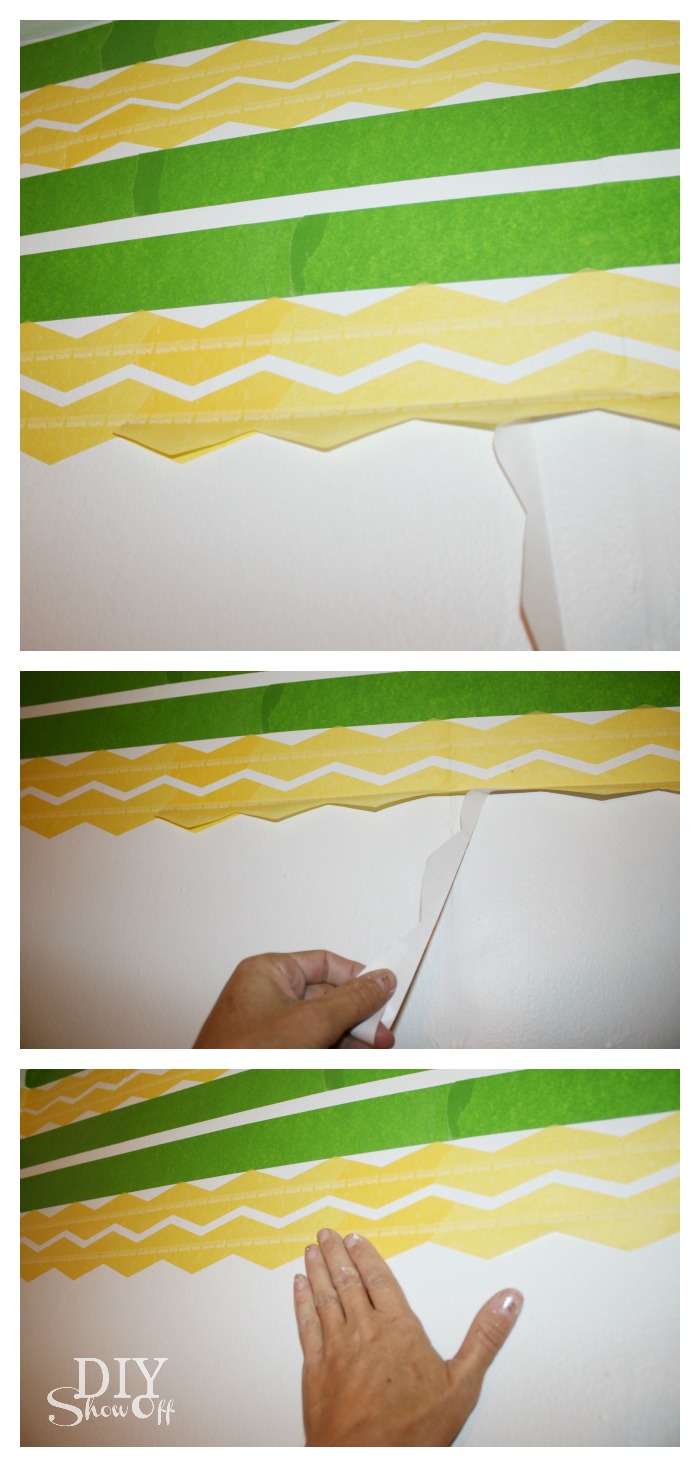
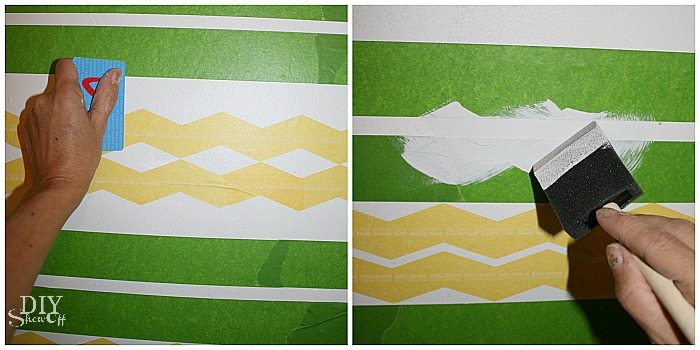
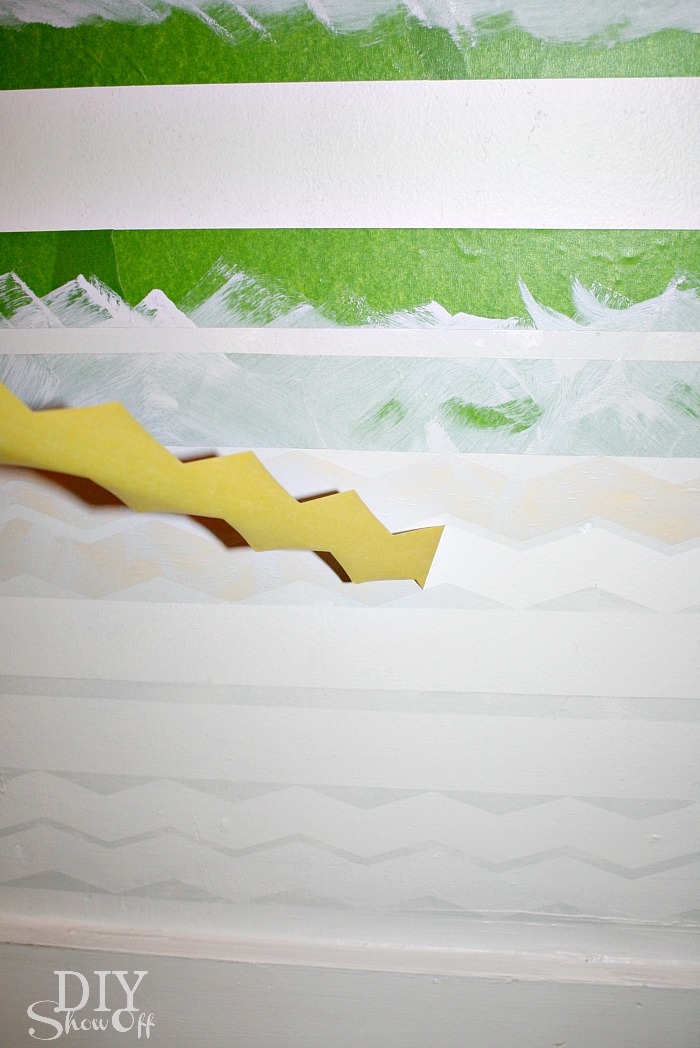
Once my tape design was complete, I used a credit card to burnish the edges of the tape as I worked by rubbing the tape edge then painting the section. I only did one coat (again, I wasn’t looking for bold results and wanted the irregularity of one coat). This wall is bumpy in places so just doing a light colored pattern helps to take focus off of the wall’s imperfections.  FrogTape tutorial

As soon as I was finished painting, while the paint was still wet, I removed the tape.removing FrogTape

So within a 1-2 hour time frame, my wall had an awesome new ‘wallpapered’ look with a subtle design!Painted Pantry Accent Wall 

painted Shape Tape accent wall

I was going for a tribal or Scandinavian vibe. From a distance, it reminds me of writing paper. Remember it from grade school?

farmhouse pantry 

What I love about this: Cost for 1 roll of FrogTape and 1 roll of chevron Shape Tape is less than a roll of wallpaper! Use leftover paint!  It’s also less time consuming and less work – all for the same look as wallpaper without the headache to install or remove plus the option to personalize colors and design. 
FrogTape Blog Squad

Disclaimer: I received compensation to complete this project for using FrogTape® products. All opinions, projects and ideas are based on my own experience.

Sharing at Home Stories A to Z – Tips & Tutorials Party

Like what you see? Get reminders and updates delivered right to your inbox:

Enter your email address: 

Delivered by FeedBurner

Quick Resource for Easing the Painting Process

There’s progress in the laundry room! The walls have been painted!

It’s always helpful to take a little refresher course before starting a project and of course our DIY blog friend, Lindsay from Makely Home, does a great job with the Glidden “Show Me How” videos (she’s such a natural). 

Since I do a lot of painting, I always have paint supplies on hand but when I ventured down to the basement this time, I noticed that my angled brush had seen better days. And I have to tell you, when I’m ready to paint…I want to do it right then. No shower, no make up and no desire to run to the store. So these tips for cutting in and getting clean lines were super helpful! 

Then I followed up by rolling the “w”…

It doesn’t matter that I’ve painted dozens of rooms. Taking 1 minute to review those two videos ensured my DIY process went off without a hitch. See all of the Glidden Show Me How videos here

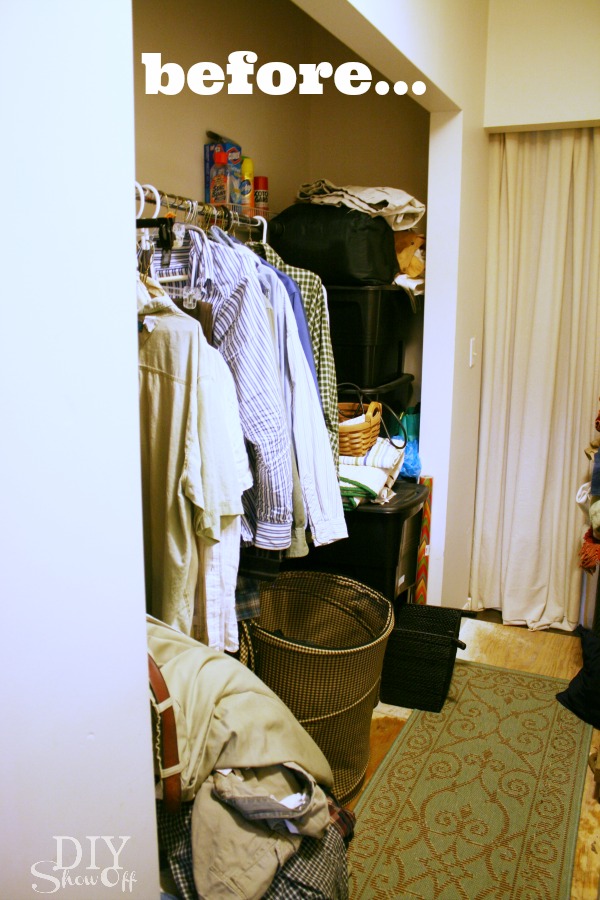
Embarrassing half of the laundry room before…I couldn’t take that chaotic mess or naked flooring any more!laundry room before

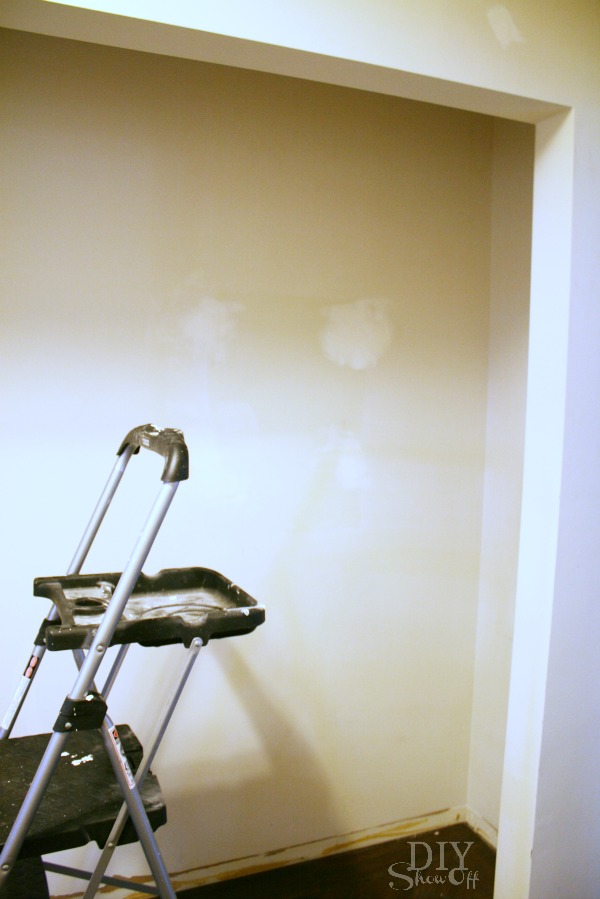
In progress (patched walls)…laundry room progress

Now…I chose a white base since this room is in the middle of the house with no window and no natural light. laundry room walls

Nothing too exciting to show but it sure feels exciting! My walls look beautiful. So fresh and clean and one step closer to being done. And yes…there’s a fun bold painted wall design coming up then onto the baseboards. I’ll share the floor this week too. Stay tuned!

Because there’s so much “life” going on outside of DIY Show Off, the laundry room progress has been slow but hoping to get things going a little faster to get ‘er done! 

This post is sponsored by Glidden. As always, thoughts and opinions expressed are my own.