DIY Grouted Vinyl Floor Tiles

I recently shared the transformation of our upstairs main bathroom. I’m so in love with the complete change, especially the floor.

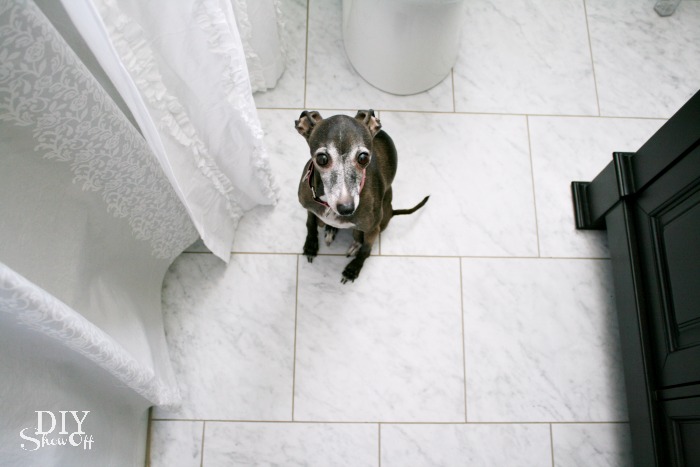
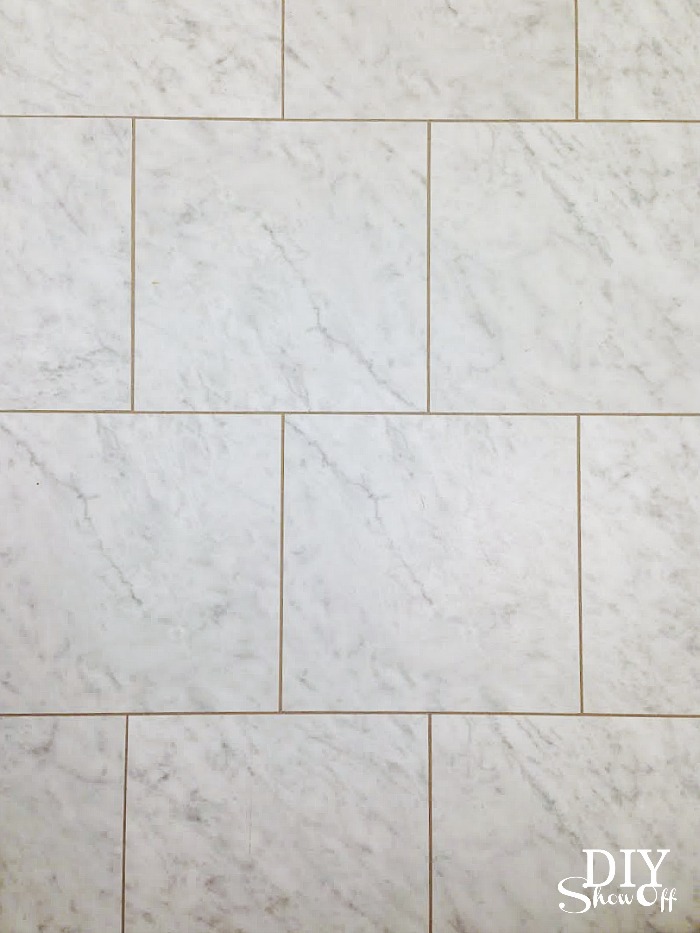
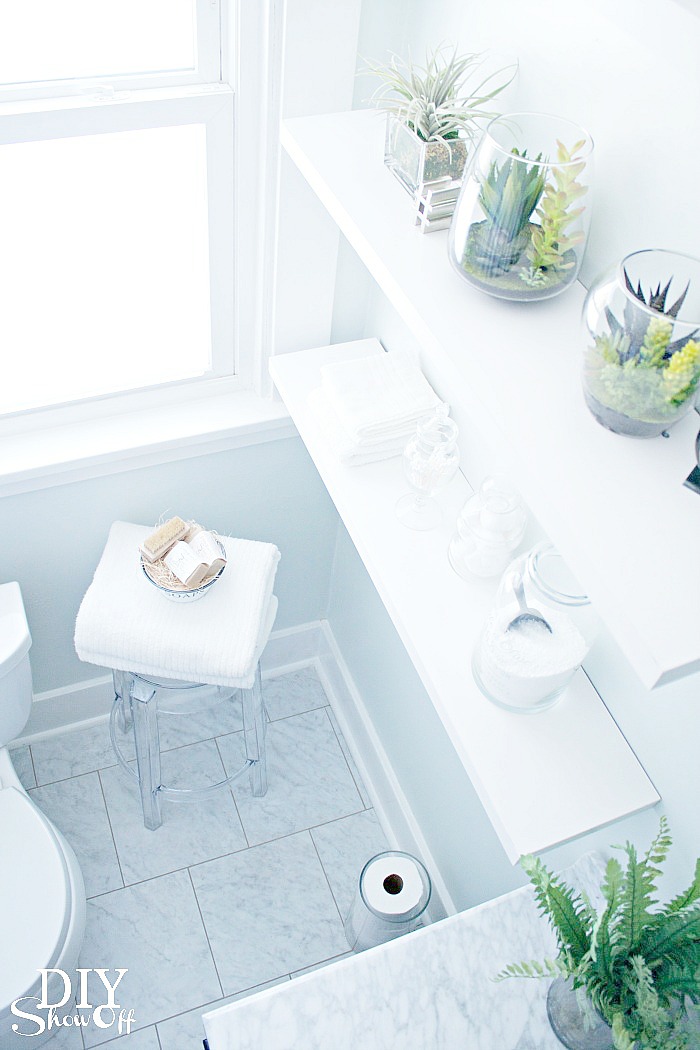
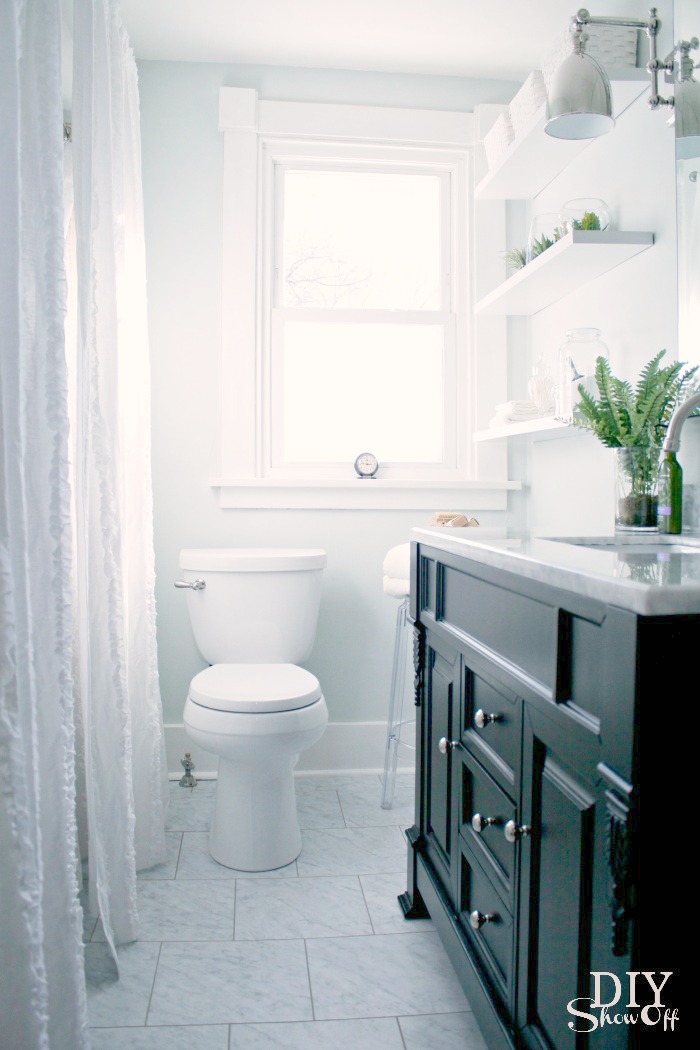
It looks so much like marble tiles, doesn’t it? But those are vinyl floor tiles with vinyl tile grout. The look without the cost or maintenance and shorter installation time. 

grouted vinyl floor tiles - diyshowoff bathroom makeover

Why I chose to go with grouted vinyl floor tiles? Because it’s a temporary solution for us (temporary as in 4-5 years or maybe even a little longer). It’s not for everyone but down the road I have plans on replacing the old tub and shower surround with a slipper tub/shower and at that time, I do plan on using real tile on the floor, under the tub and on the shower walls so in the interim, grouted vinyl tiles were a budget friendly and easy DIY solution that I plan on enjoying every day. The best part? I was able to truly do-it-myself and installation only took one day. It looks professionally done and real! You’ll see mixed reviews and negative comments when researching but I couldn’t be happier and love it!

Materials:

Supplies:

  • box cutter/utility knife
  • rolling pin
  • bucket with water
  • sponge
  • rag
  • float
  • putty knife

What I did:

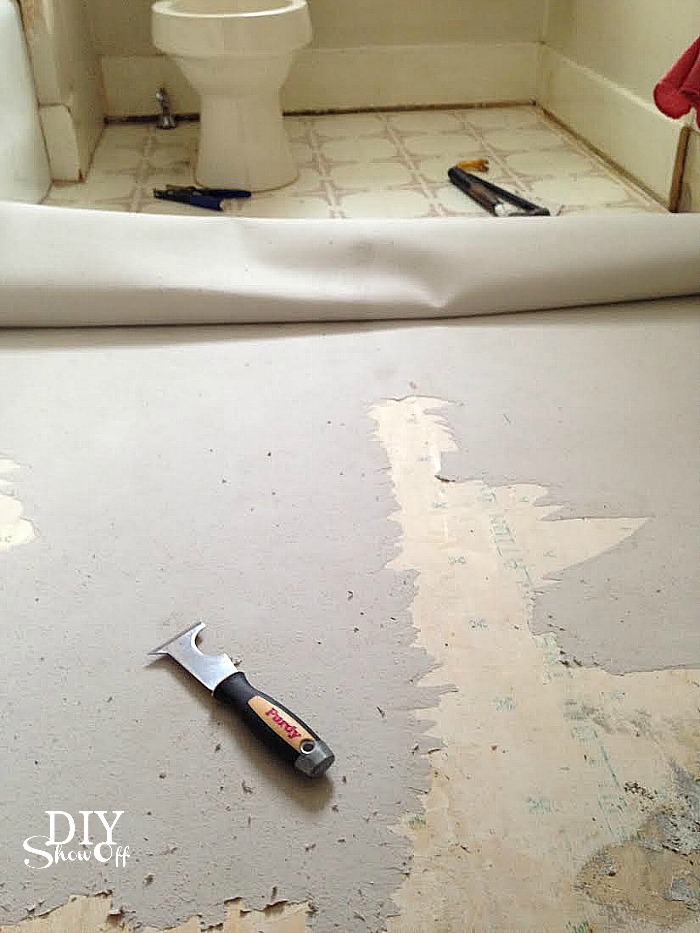
The old vanity and toilet were removed. For us it’s because we were replacing those anyway. I recommend at least removing the toilet to get underneath. We also removed the shoe moulding/quarter round trim from around the room. I then removed the old vinyl flooring. I did cheat a little on this part. I hired my nephew to help me scrape off the old vinyl floor paper backing that was glued to the subfloor. That was the most labor intensive part. (Note: I removed the old vinyl flooring because it was peeling up around the perimeter of the room. If it had been secure, level and in good shape, I would have placed my vinyl tiles over it.)

removing vinyl flooring

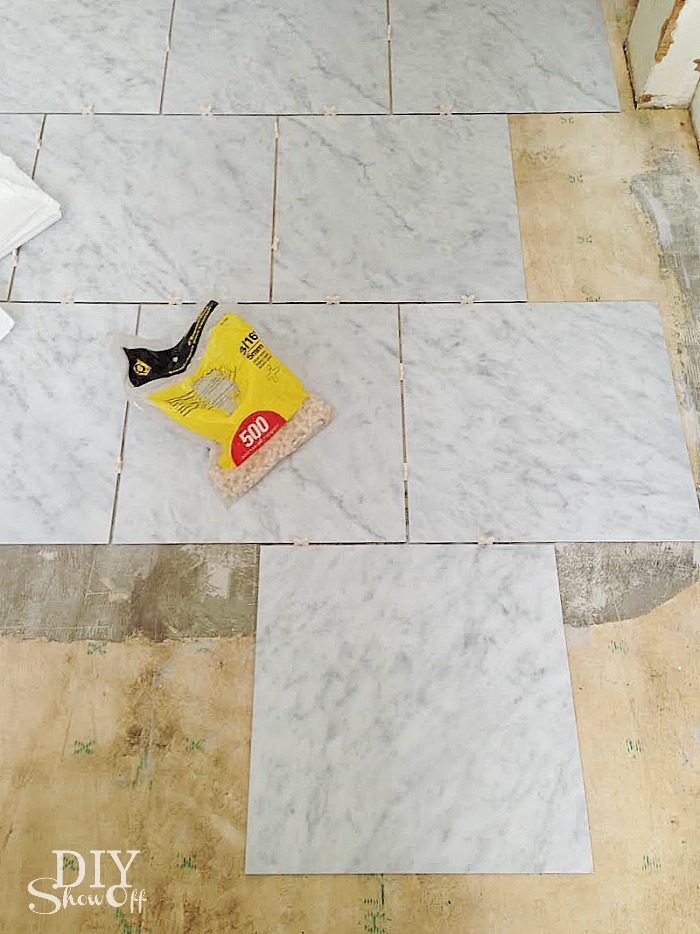
Start with a smooth, clean, level, dry surface. Since this space was prepped for vinyl previously, the subfloor seams were sealed and it was level. Once all of the glued paper was removed and the floor cleaned, I simply started placing my vinyl tiles. I started with laying the full (un-cut tiles), using a staggered pattern. Since such a small amount of the tile is actually visible in this small space after placement of the vanity and toilet, I started with the first full tile placement at the doorway and worked my way back into the room. I made sure to pay attention to “marble veining” so that the pattern all ran the same direction. 

installing a vinyl tile floor tutorial

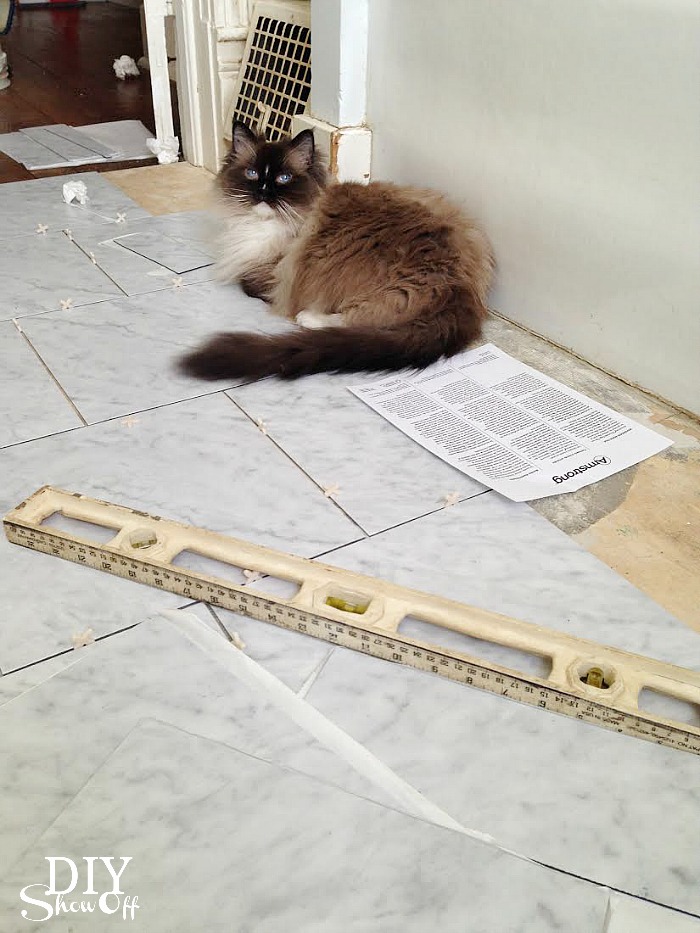
Simply peel away the paper backing (these things were super tacky!) and place the tile onto the subfloor. I used 3/16 inch spacers between the tiles. I marked my tiles 6 inches in on the edge of each tile with a pencil to assist in laying a straight design.

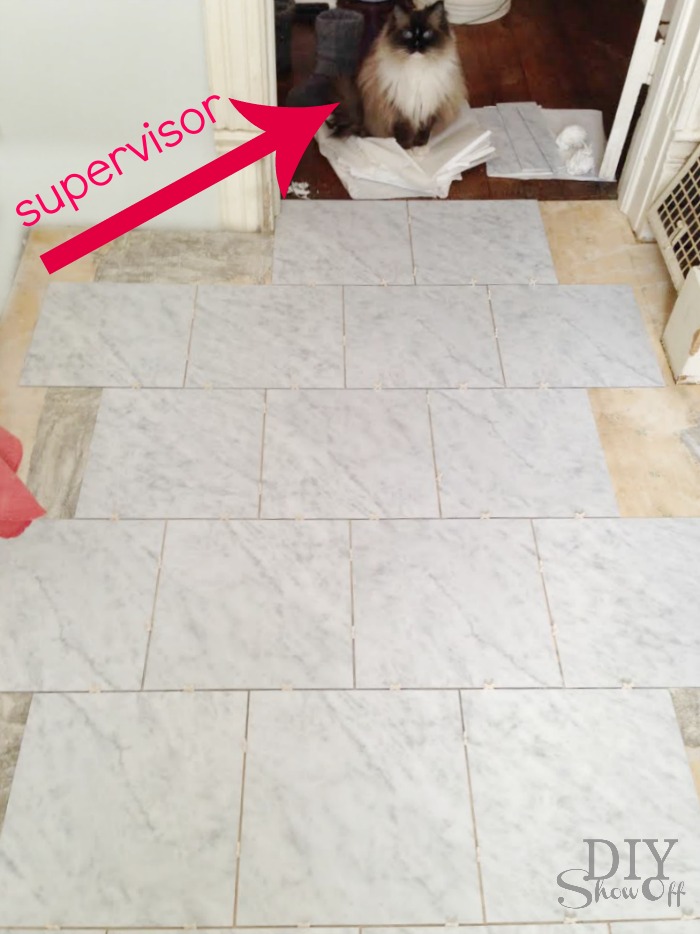
vinyl floor tiles

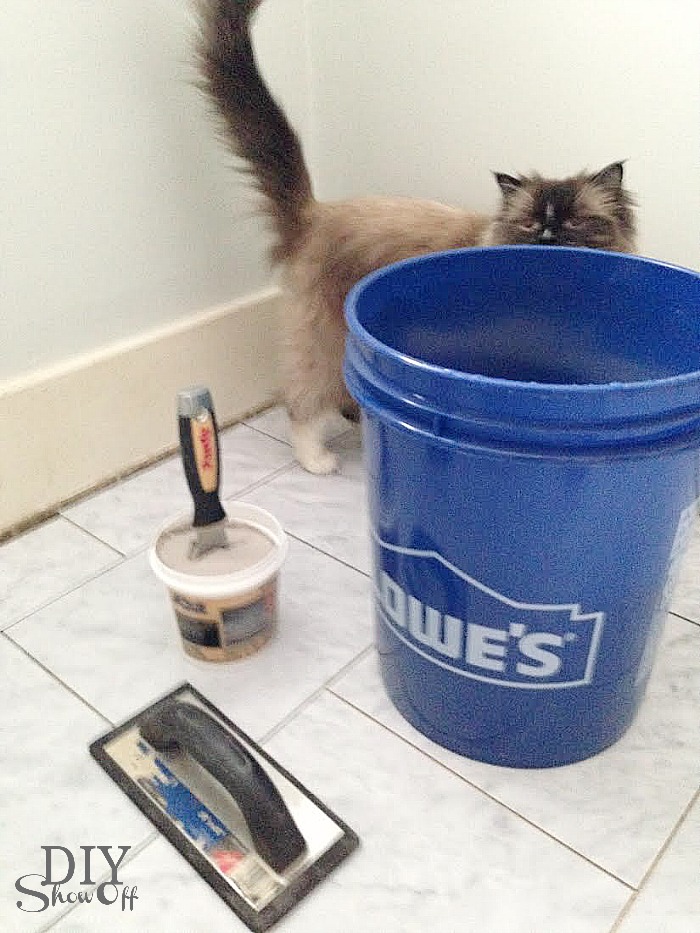
Having a supervisor on hand keeps you focused as well as replacing the spacers repeatedly.

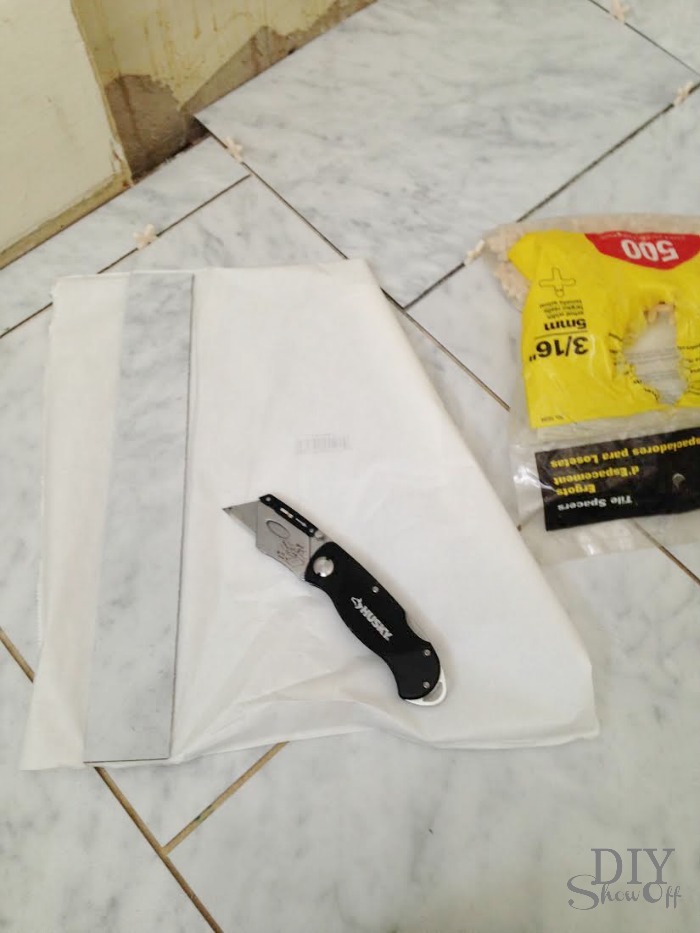
Once all of the full un-cut vinyl tiles were in place, I moved onto what I thought was going to be the difficult part. Cutting the tile was way WAY easier than I anticipated. I simply used a utility knife blade to ‘score’ the cut line then snapped the tile. That simple. I didn’t have to apply a lot of pressure or go over it repeatedly with the utility knife.

grouted vinyl floor tile tutorial @diyshowoff

There were a couple of tricky cuts around the door frame, heat register and toilet so having a little more tile than needed came in handy. 

grouted vinyl floor tile tutorial @diyshowoff

Finish. Stand up and admire your tile. No cuts with a wet saw but you’ll be so proud of how good it’s looking! 

Looking good! Ready for vinyl tile grout!

grouted vinyl floor tile tutorial @diyshowoff

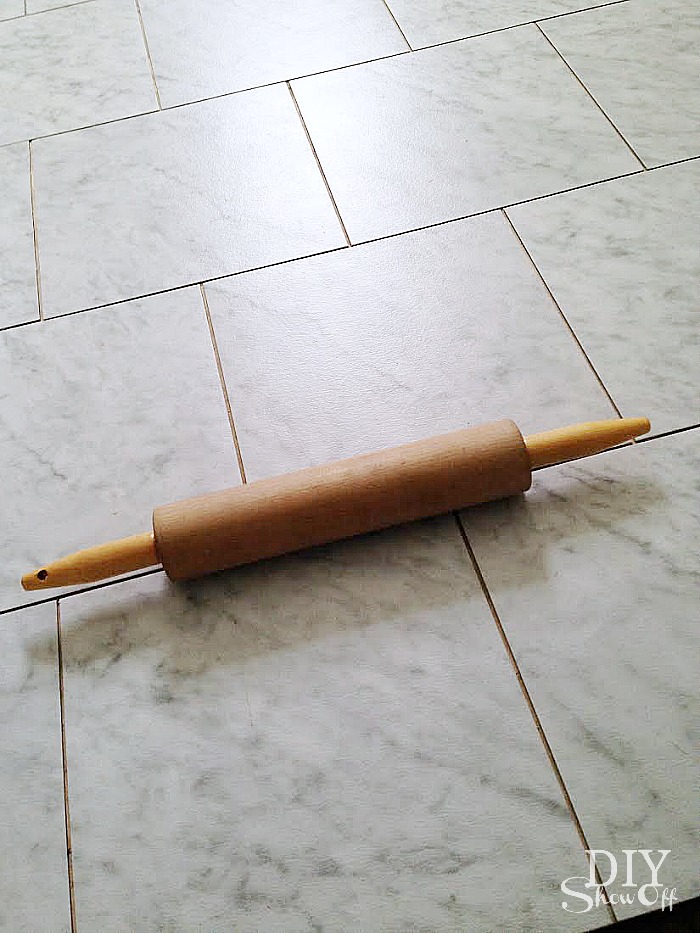
I removed the spacers and rolled over the vinyl tiles with a rolling pin to make sure each tile was secure and in place. Then?! The best part – no waiting for mortar to set…move straight to grouting!

grouted vinyl floor tile tutorial @diyshowoff

Have a bucket with water on hand (replace dirty water frequently with clean water) and work in small sections from the back wall working backwards towards the door. I worked in 2ft. sections because the grout dried fast. I used a putty knife to apply the grout to the float. Then used the float to “smoosh” the grout into the joints between the tiles. Sometimes I found just using the putty knife or my finger worked in some areas. I wiped away the excess grout with a wet sponge (squeeze out all of the water) then followed cleaning up the water/grout with a wrung-out wet rag where needed before moving onto the next section. I cleaned away all of the extra grout and wiped up water as I went along. 

grouted vinyl floor tile tutorial @diyshowoff

Let dry 24 hours before light use. I also went over the floor with a wet rag after 24 hours. We replaced the toilet and vanity and re-attached the baseboard/trim after about 48 hours.

grouted vinyl floor tile tutorial @diyshowoff

That’s it! I am thrilled with the result! 

grouted vinyl floor tile tutorial @diyshowoff

I’ve had questions about how this has held up. In the one month that it’s been done, it’s holding up just as well as it looked the first day but I can’t say about long term yet. There is plenty of leftover grout. I made sure my container has a good seal and will keep it on hand just in case repairs are needed. This bathroom is being used daily and so far so good! I’ll check back in with a review in a few months to let you know if anything has changed. 

See the complete before and after bathroom makeover here

Disclaimer: This post describes my first time experience, what I did and what worked for me. Results may vary. 

How to Flatten an Area Rug

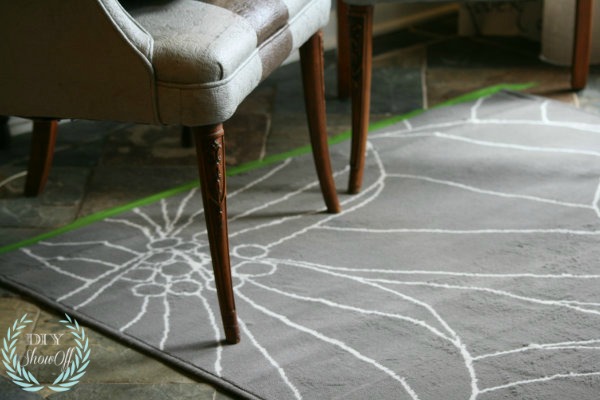
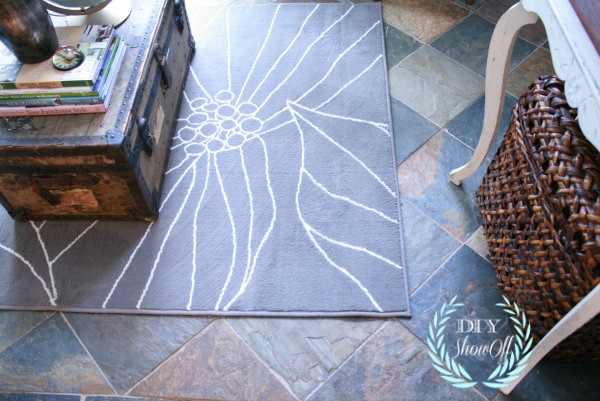
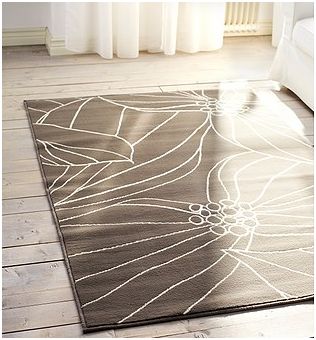
Every time I make the trip to Ikea, I have to resist the temptation to fill my cart with all of their luscious textiles. But on my most recent trip, I couldn’t resist the $19.99 Gislev rug

Ikea Gislev area rug

…great price, pretty rug in a generous 4 x 6 size? Yes, please. I knew right away it’d help anchor the seating area in our little sitting room.

sitting room at ChristmasChristmas sitting room with painted striped chairs

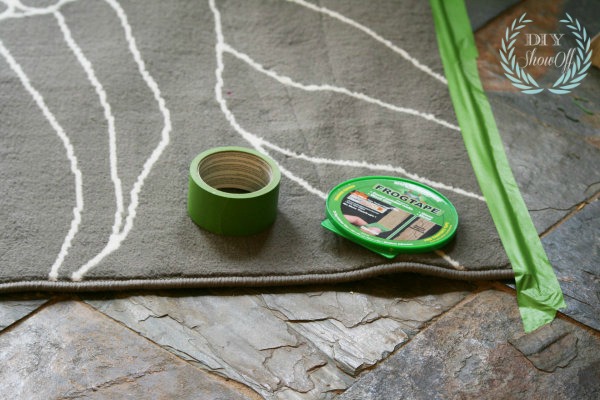
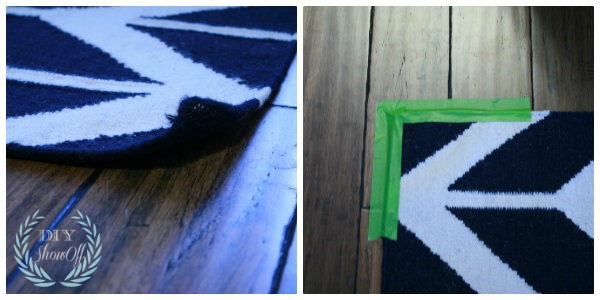
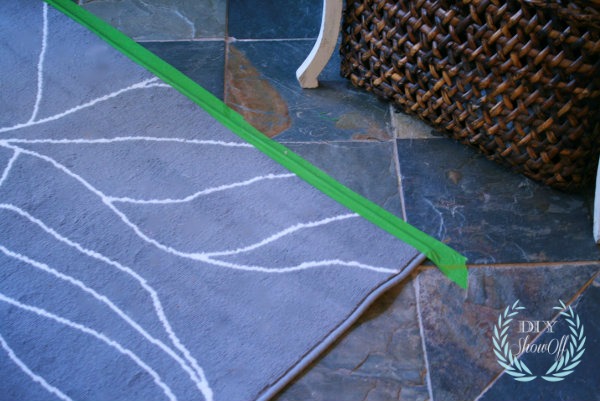
New rugs come packaged in a roll, which leaves both ends curled. Ugh! Don’t you hate that? Huge tripping hazard for sure. Normally, I add weight with boxes, furniture, books, even paint cans. But this small room is a high traffic area to our basement and that would create an obstacle course for sure. {and with a woodburner helping to heat this old house, trips to the basement are frequent in the winter months.}FrogTape on rug border

Solution: I grabbed a roll of FrogTape and taped down those edges.flattening a rug

I let it sit for a day or two until we were expecting guests then removed it.rug border with FrogTapeIt worked! FrogTape was gentle enough on our slate floor. There was no sticky residue when I removed the tape. Hallelujah! And the ends of the rug are now flattened…Gislev area rug

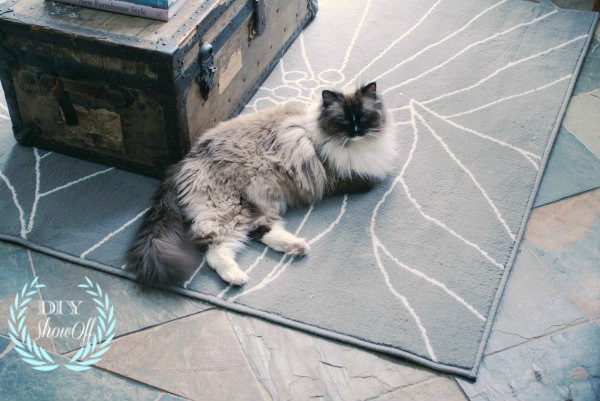
Lalka is happy with her new comfy area rug in a room that gets flooded with sunshine…{I use FrogTape to pick up cat hair that won’t sweep up on this low pile area rug too.}ragdoll

I’m trying this technique in the family room where the area rug curls up. FrogTape won’t hurt the finish on our bamboo floors either.  I’ll keep you posted on the progress. flattening the border of an area rug

Does this happened to you? What do you use?

I’ll share the sitting room re-decorated later this week!

Sharing here: Home Stories A to Z: Tutorials & Tips

*This is a sponsored post brought to you by FrogTape. The opinions are completely my own based on my experience. Results may vary. 

FrogTape Blog Squad

Refinishing Hardwood Floors {apartment progress}

How I refinished the apartment hardwood floors…

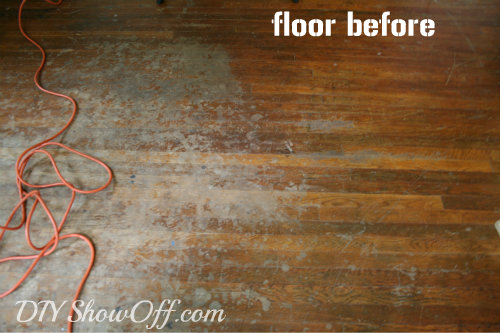
When we started the apartment renovation, I knew the hardwood floors would need to be refinished. Previous tenants had some sort of mishap and the finish was ruined…{I try not to think long and hard about the details of the mishap. ::shudder::}

condition of hardwood floors before:

hardwood floors before

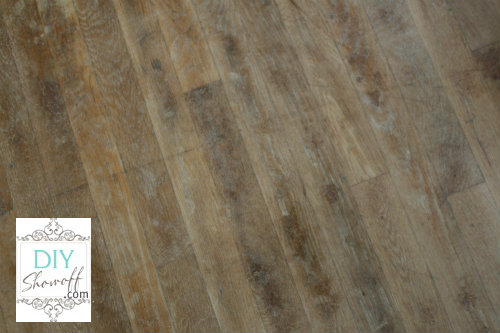
We started by sanding the floors (well, by “we” I really mean, I supervised while my nephew controlled the beast known as the orbital sander). Once the steps to strip the old finish was completed and floors and sawdust were cleaned up, we were ready to refinish the original hardwood for a new look.

All sanded!

sanding hardwood floor

I headed to True Value for the materials I needed {and a few other things too but more coming on that soon}:

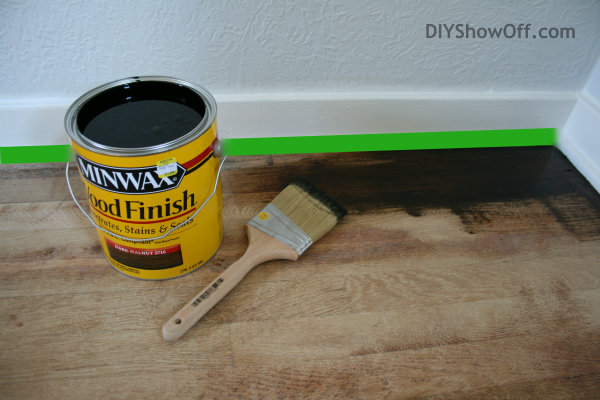
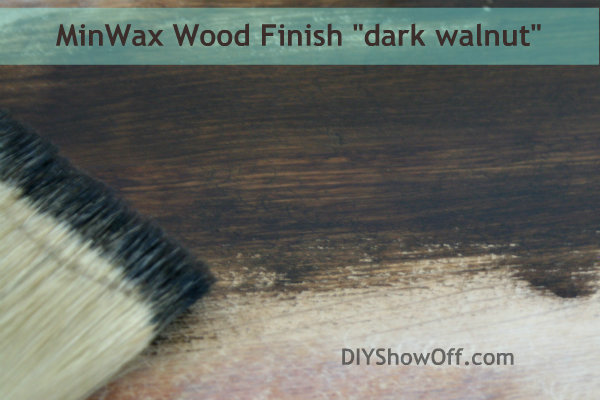
  • Minwax Wood Finish, stirred not shaken {Color is “Dark Walnut”}. Minwax has great informational guide too.
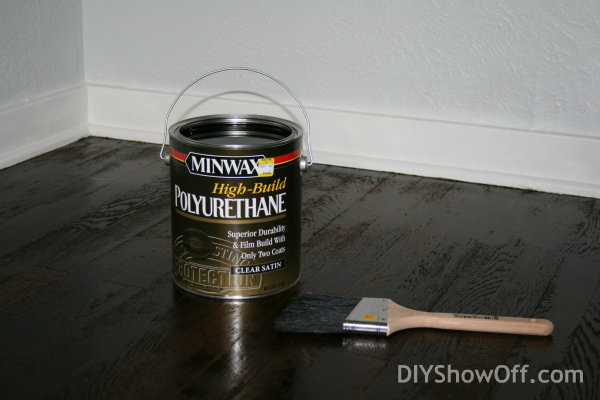
  • Minwax High Build Polyurethane (clear satin), stirred not shaken (martini is optional)
  • FrogTape
  • angled 3.5″ Purdy paintbrushes – “White Bristle” {recommended for stain}
  • angled 3 ” Purdy brush – “Black China Bristle” for polyurethane
  • old clean rags {I actually had these on hand but you CAN buy them at True Value too!}
  • Optional: latex gloves {I lived with brown stained nails for a day or two…oops.}
  • Suggestion: pillow for knees and definitely old clothes {not sold at True Value}
  • 220 grit sandpaper
  • Mineral spirits and clean rags

Staining Hardwood Floors

The process is a fairly simple DIY. The task is just time consuming (and a little labor intensive because of my position on ‘old knees’). Since I was working with two small rooms, I opted to use a brush and work on my hands and knees vs. a roller.

I started in a far corner of the room, working with the wood grain, with the direction of the wood planks, working my way out of the room – don’t work yourself into a corner – no fun being trapped!

For extra protection, tape off baseboards/shoe molding using FrogTape.

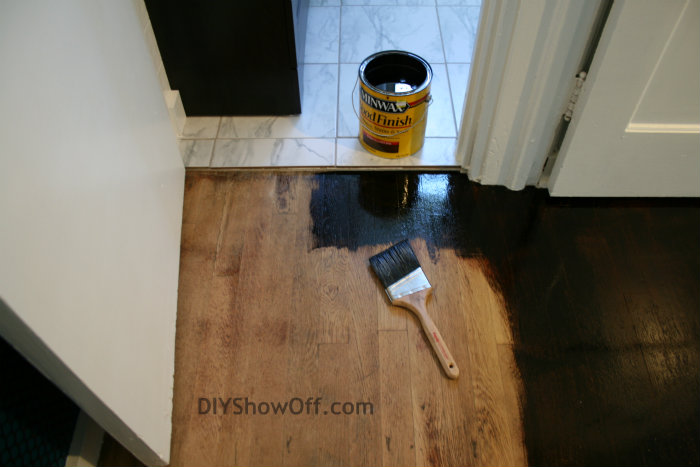
I dipped my Purdy brush into the can of Minwax stain, tapped off the extra and applied the stain in a corner, working along the baseboard along the length of the wood plank. When I noticed that some of the stain wasn’t absorbing, I let it sit for a few minutes then wiped away the excess with an old rag.

staining hardwood floors

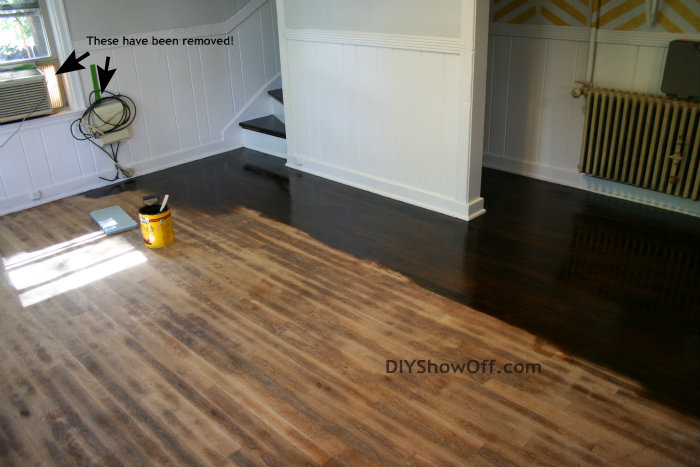
I worked in 2-4 foot sections in length as I went along right to left in my room, working my way towards the door. Sometimes I did a larger number of planks as well, just find a rhythm that works for you.

refinishing hardwood floors

Bedroom done. I worked my way out into the hallway…

staining hardwood floors

down the stairs and around the bend…

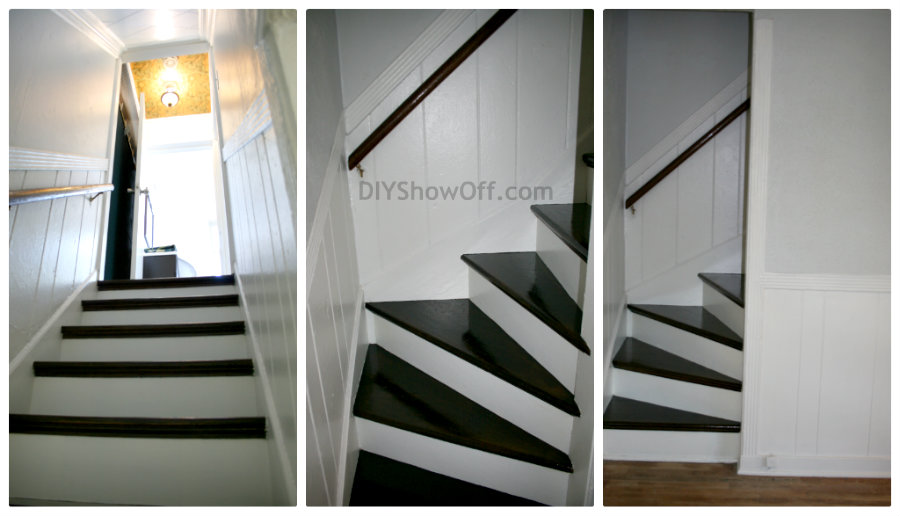
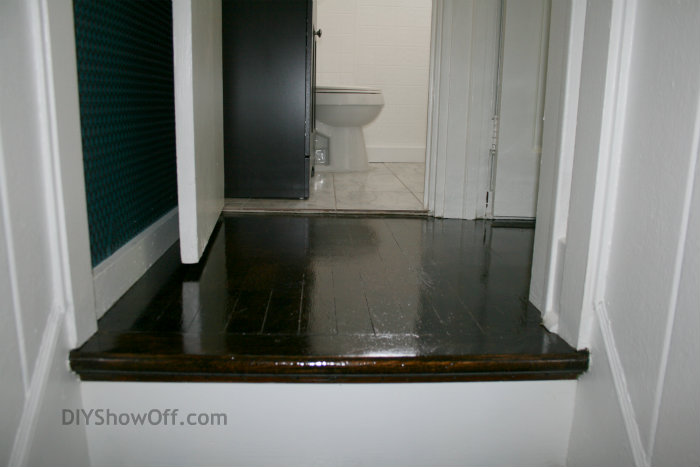
staining stair treads

and started the main floor in a corner, working my way out the door.

staining hardwood floors

Sounds like I ended up at Grandmother’s place (over the river and through the woods) and a lot quicker than it actually took. ! 

TIPS: Since I’m working my way actually out of the apartment, I had to make sure to grab things I needed like purse, keys, cell phone, etc. Turn off things that you don’t want to leave on during the drying period. The radio blasted during our drying time. Oops!

Note: Two coats can be applied (see Minwax for further instructions). I loved the color one coat achieved so I skipped this step. Sealing the floor will also darken the color a bit. One coat of stain:

dark walnut hardwood floors

I let my floors dry a few days but we were working in an unoccupied space. I applied the stain on a Friday and returned the following week to resume refinishing by sealing the floors. Sealing the floors is NOT optional, it’s required. It’s necessary. Stain does not protect the wood, only colors/enhances the beauty.
Sealing the floors…

sealing hardwood floors

I used the same process as above to seal the floors. Starting in the far corner of the room, I repeated the same steps of dipping my paint brush into the polyurethane, tapping, applying in the corner, brushing right to left (the direction I was personally working), along the baseboards and working my way out the door.

It really enhances the rich beautiful color:

minwax high build polyurethane

I let the first coat of polyurethane dry 48 hours.

My most UN-favorite part: once the first coat is dry, lightly sand the entire floor with a 220 grit sandpaper. Clean floors of dust with mineral spirits and let dry. Then apply a second coat of polyurethane using the same steps. Repetitive. Time consuming. But so rewarding!

Allow to dry for 12 hours to resume “light use” (however – test the floor first!). Remove FrogTape.

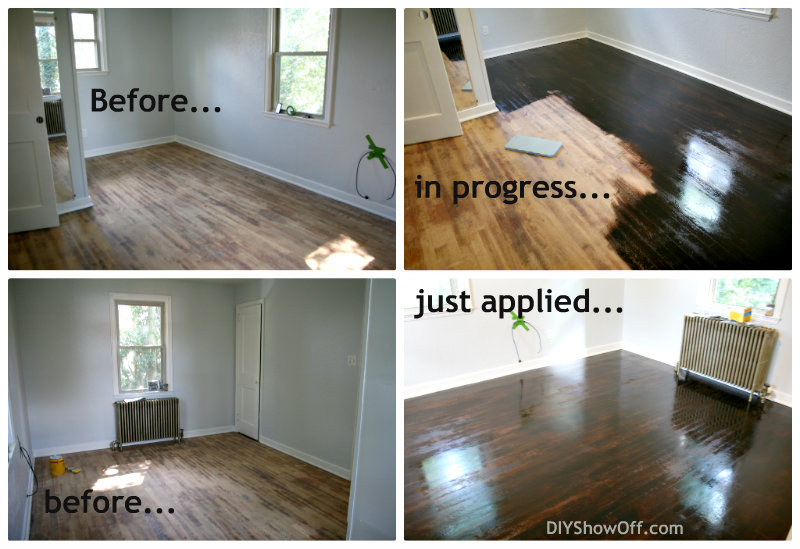
Stand back, remember the before (try not to gag):

hardwood floors before

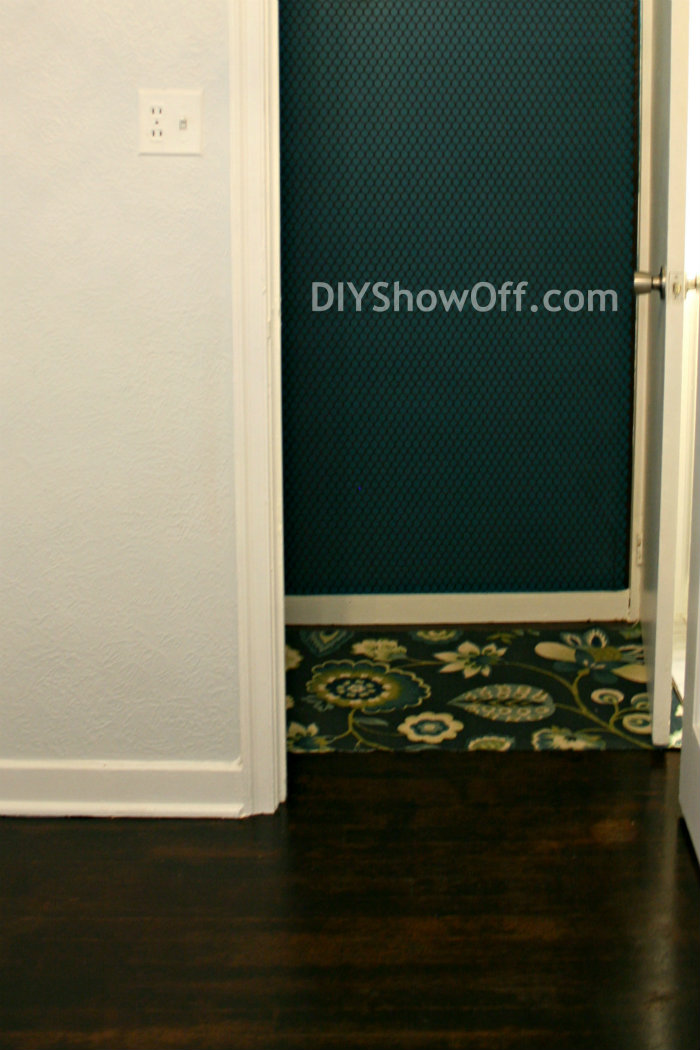
Admire the gorgeous after: 

apartment sneak peek alert!

dark walnut stained hardwood floors

Pinterest tip: Did you know that if you rub a wood scratch (floors and furniture) with a walnut (circular motions, filling in the scratch), the walnut oils will fill in the scratch and heal the wood wound? Great snack, too!

Estimated total cost of DIY refinishing 2 small rooms of hardwood (approx. 250 sq. feet) = $250.00 and a few days of recovery…but nothing that would keep you out of your True Value hardware store to prepare for your next DIY. 😉

Joining Sarah’s party today:

TDC Before and After

We were chosen by True Value to be one of the members of the 2012 DIY Squad. I have been compensated for the materials needed for my DIY projects. However, the thoughts and opinions expressed are completely honest and my own. I have not been paid to publish positive comments and no one has twisted my arm to participate. 

This is a sponsored post brought to you by FrogTape. The opinions are completely my own based on my own experience. 

FrogTape Blog Squad

Facebook
DIY Show Off - FacebookDIY Show Off - TwitterDIY Show Off - PinterestDIY Show Off - FeedDIY Show Off - HomeTalkDIY Show Off - G+DIY Show Off - Instagram