Serendipity DIY

Meet: Kimberly from

Serendipity blog

She’s a talented crafter and DIY’er with some pretty amazing project lately. Take a peek {click the link to see the original post/tutorial}:

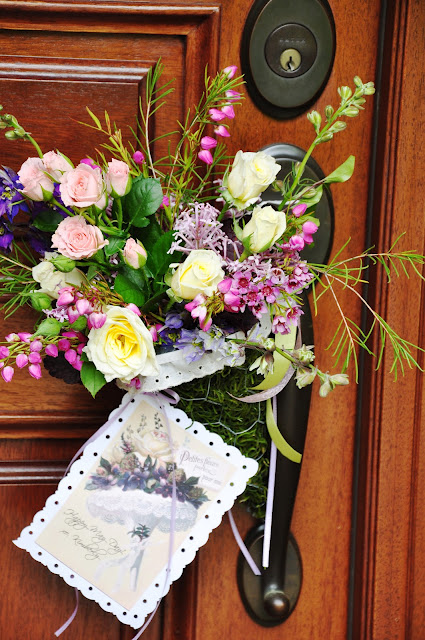
This cute May Day basket can be decorated for any time of the year…

DIY May Day basket

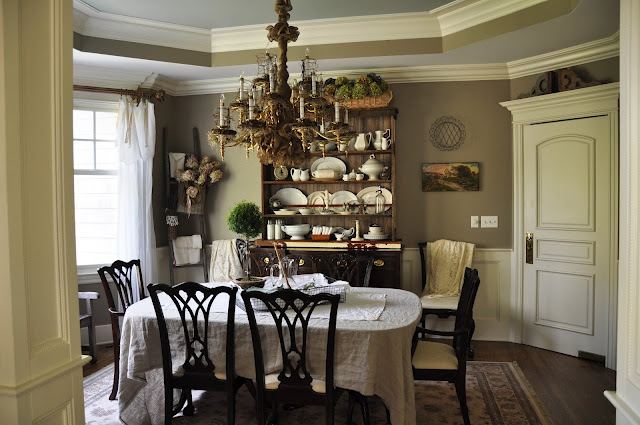
I love dressing up our dining room chandelier. Take a look at Kimberly’s pretty burlap wrapped chandelier

dining room

Furniture Makeover

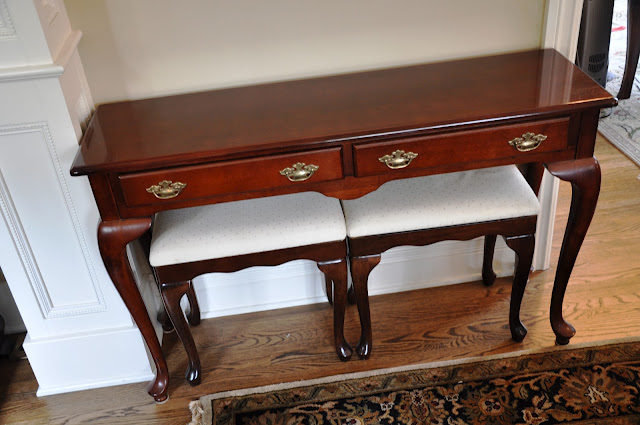
Sofa table before:

sofa table makeover

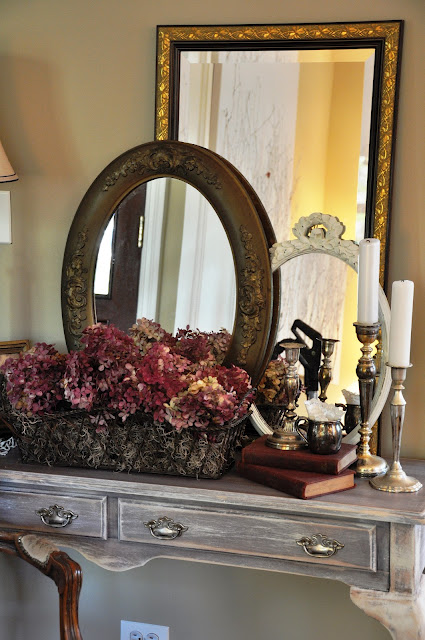
is now French Farmhouse Chic…

sofa table makeover

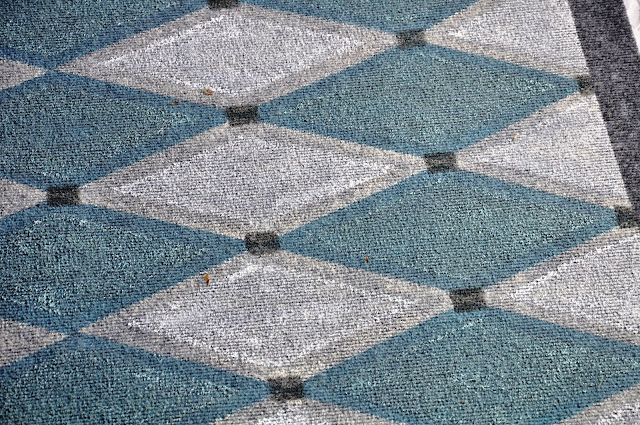
And this is on our DIY to-do list with an old indoor/outdoor rug in our barn patio area. I love the harlequin painted area rug that Kimberly designed…

DIY painted rug

Great ideas, right? Thanks to Kimberly for sharing her creativity and you can see more budget friendly DIY at Serendipity!

DIY Show Off - FacebookDIY Show Off - TwitterDIY Show Off - PinterestDIY Show Off - Feed


Rustic DIY and Enamel Tag Tutorial

  • Beautiful reclaimed barnwood
  • Lovely painted distressed furniture
  • Numbers!

I love each of those things, don’t you? Meet: Kimberly from

serendipity blog

Kimberly is a professional home stager and decorator and a nature at decorating and do-it-yourself projects. Here are some of my favorites:

100 year old reclaimed barnwood before:
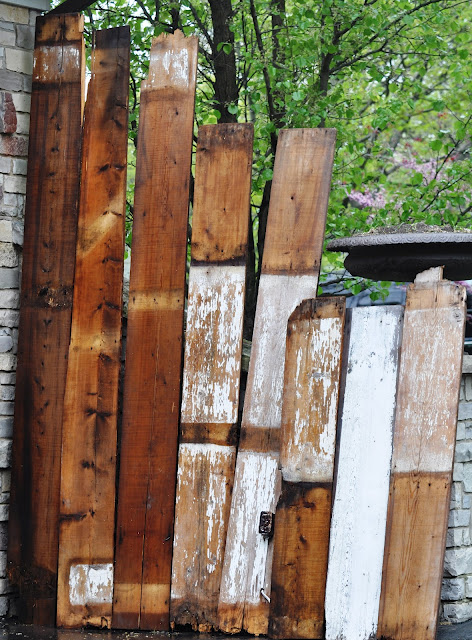
reclaimed barnwood

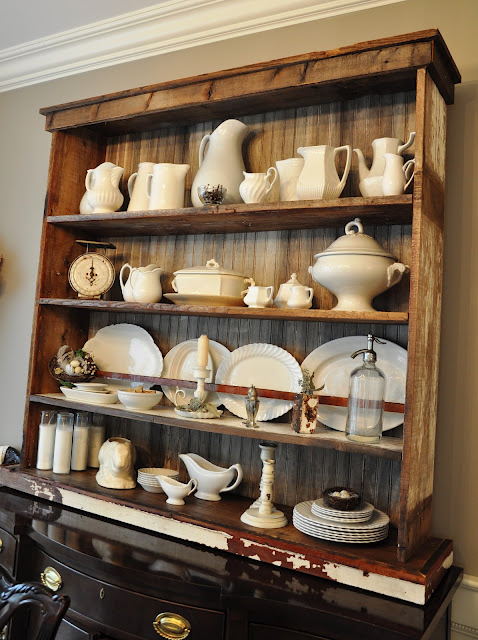
Now: Reclaimed Barnwood Hutch

DIY barnwood hutch

Love!

Dresser Before and After

And a tired old dresser before…
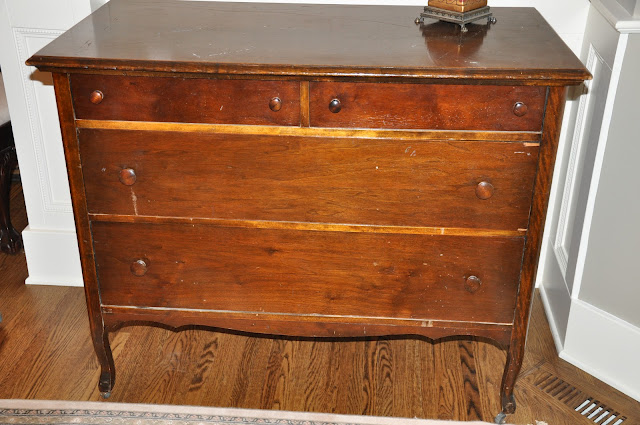
wood dresser before

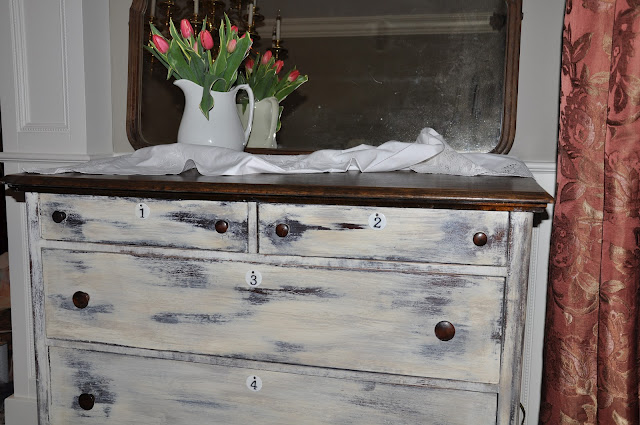
gets a new distressed paint technique and a new purpose in the dining room… oh-la-la!
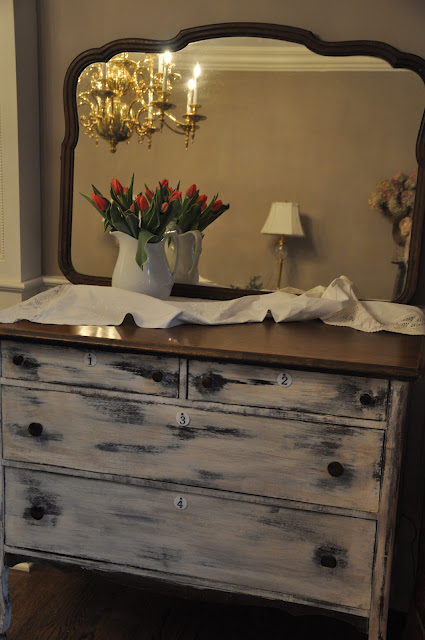
painted distressed dresser

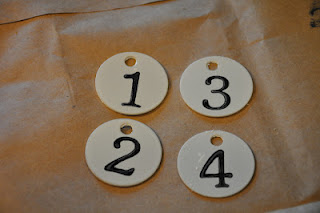
See those pretty number tags too? I don’t know what it is about numbers but I love the charm it adds to decor, don’t you? Kimberly shares how to make these sweet little charms…

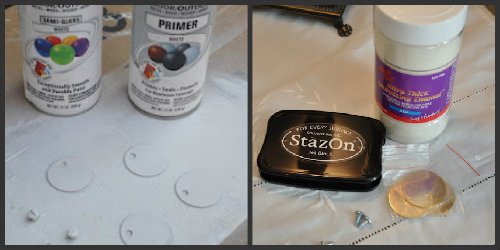
Here’s what you need:

  • Key tag blanks. (I got mine from Ace Hardware, they are steel with a brass finish and are about 1 and 1/2″ across)
  • Paint and primer (white..but I’m considering doing some blue  or dark green ones with white numbers)
  • StazOn Stamp Ink (and number stamps)
  • Embossing Enamel (clear)
DIY enamel tag supplies
Prime and paint the tags. Once dry, stamp the numbers using StazOn.
number tag tutorial
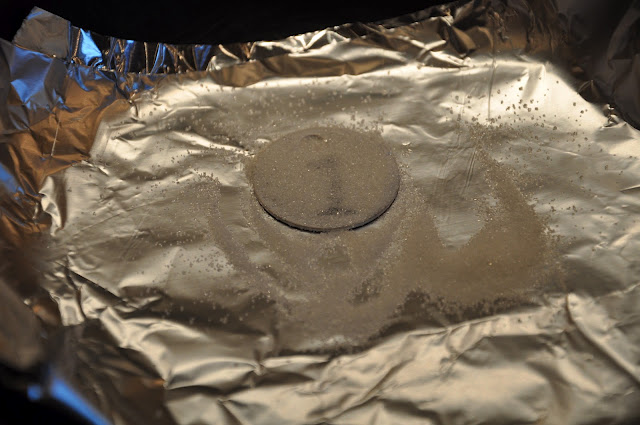
Line a skillet (frying pan) with foil. (or use an electric skillet). Place the tag on the foil and sprinkle with the embossing powder.
DIY enamel tags
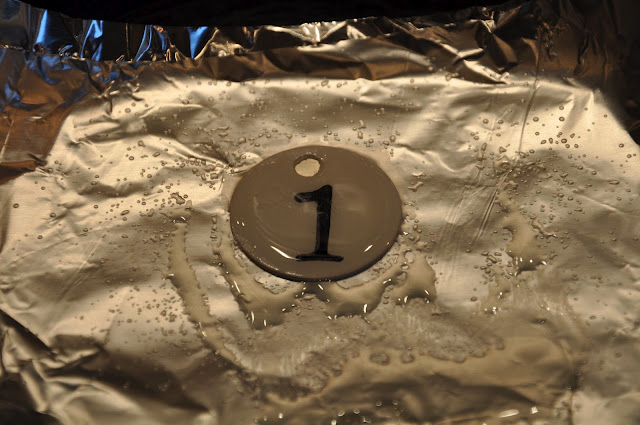
Turn the heat to medium and watch as the embossing powder turns to liquid.
enamel tag tutorial
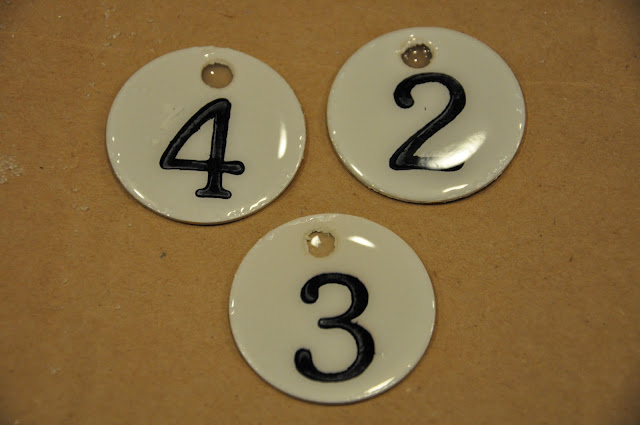
When the embossing powder is completely smooth and transparent, gently remove the foil (with the tag on it) from the pan and place it on a rack to cool.
enamel number tag tutorial
When the tag is partly cool, but before it is completely cool, gently peel the foil from the tag. and return the tag to the rack until it is completely cool. I also used a nail to remove the powder which had filled the hole while the tag was still warm.
So cool!
dresser after
To pin from original sources and to see more creative DIY and decorating from Kimberly, visit Serendipity.

For more information on enamel tags, see the original inspiration at Can’t Stop Making Things.

Easy Ottoman Makeover

Wow! Martha from

Leone Design

makes her ottoman makeover so easy, I want to tear mine apart right now and give it a makeover! Take a look at this for inspiration:

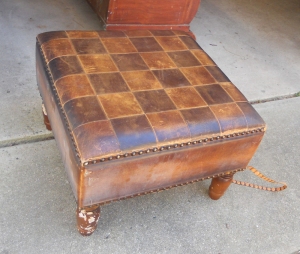
Thrift store ottoman – before shot:

1. First, remove upholstery nails and save for use on the finished piece.
2. She covered the top and sides with the same fabric (so that it would show through the burlap).
3. Next she covered the sides with strips of coffee sacks.

4. She painted the legs to bring the light cream.
5. Martha used tacky glue and duct tape (to hold in place) to tack down the sides/seams.

After an hour or so of drying, She simply removed the duct tape.

Isn’t this so fun? I love the mix of striped fabric with grain sack burlap! Great job, Martha!


What do you think? Love it, right?!

To pin from the original source and see more amazing DIY from Martha (so many furniture makeovers with lots of helpful tips) at

leonedesign.wordpress.com.