Fall Decorating with Chippmunk

Let the fall decorating commence!

[Not a valid template]

I know that blog post title sounds like I’m decorating with chipmunks for Fall, doesn’t it? That’d be kinda cute if not bizarre but anyway, that’s not the case. It’s something even better. It’s about saving money with online shopping at Chippmunk.com. Who doesn’t love that? 

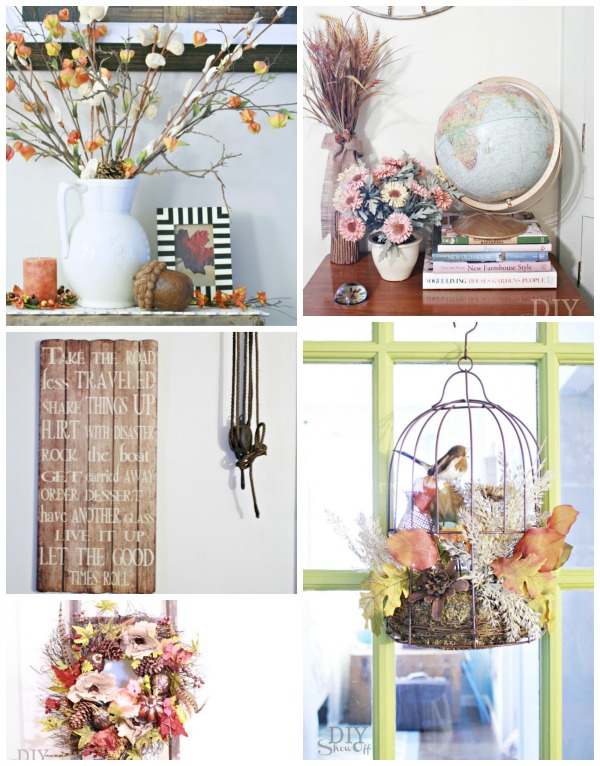
Fall decorating collage

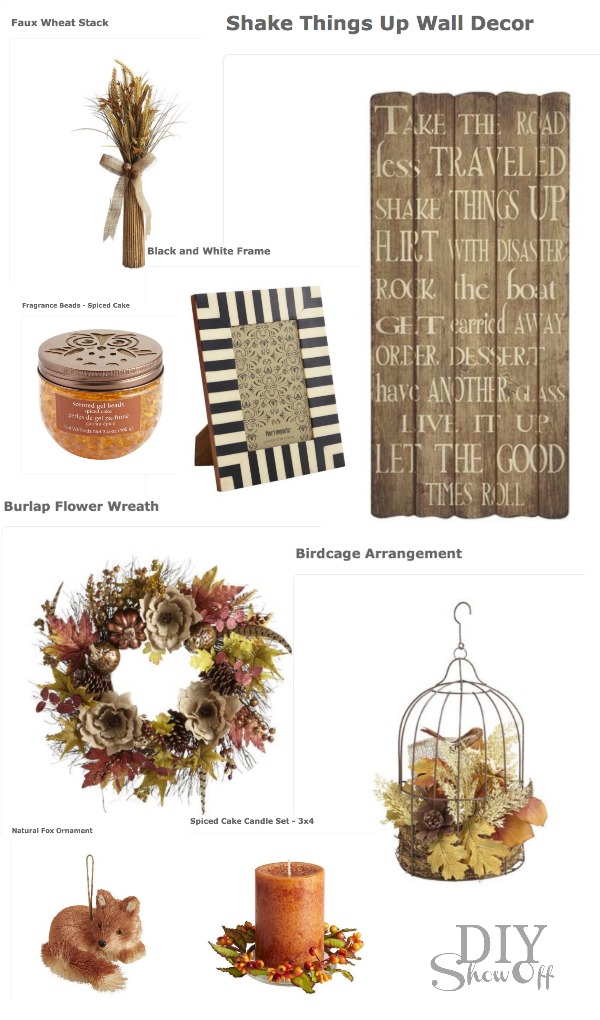
Did you see these fall accents via Pier 1 Imports in my fall decorating? 

Pier 1 Fall Decor via Chippmunk

The spice cake scents…oh my, “hello, fall!“. So cozy!

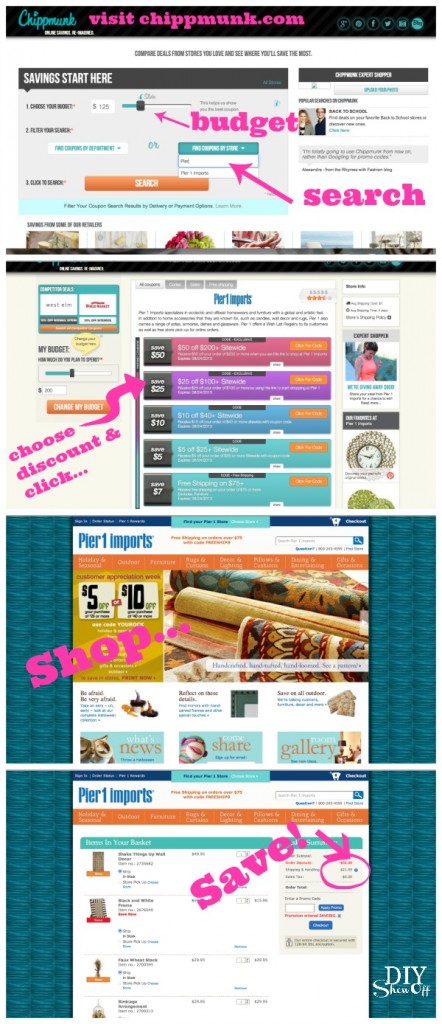
Chippmunk is a site where you can compare stores you love to find the best deals. Coupons that work from the stores you love based on your budget.  I found that not only did I score great savings but I found the site extremely user friendly. Free. Easy. Instant savings. 

Online shopping with Chippmunk

The nearest Pier 1 is a bit of a drive for me now that my local store closed a few years ago. But by utilizing Chippmunk, not only did I not have to get dressed and fill up my gas tank, but I saved $50 on my order at Pier 1 Imports! 

Here’s a chance for YOU to score!

Labor Day/Fall Outfits & Home Décor launch:

  • Contest runs September 4th-18th, 2013.
  • 5 winners of $100 gift cards to the Chippmunk store of choice.
  • Submit photos showcasing a Labor Day or Fall outfit or autumn home décor design you created with your great deal utilizing Chippmunk.comContest at Chippmunk.com
  • OR enter by sharing your Chippmunk deal on Instagram or Twitter with the hashtags #ChippmunkExpertShopper and #FallDecor.
  • 3 winners will be determined by community votes, 1 editorially by me and fellow featured bloggers and 1 chosen at random.

Good luck!

For more fall decorating ideas, check out these blog friends’ Chippmunk deals:

*This is a sponsored post. Chippmunk provided me with the budget to create a deal utilizing their site. As always, opinions are 100% my own. I wouldn’t share it if I didn’t think you’d like it too.  I’m usually searching for a deal and spend a lot of wasted time clicking on expired coupons. I’ve added Chippmunk to my bookmarks.

What do you think? Pinning? Thanks! Leave a comment and I’ll visit you back!

Sharing at the Fall Nesting Party and Centsational Girl

DIY: Removable Decorative Window Frame

DIY MAGIC WINDOW ART TUTORIAL

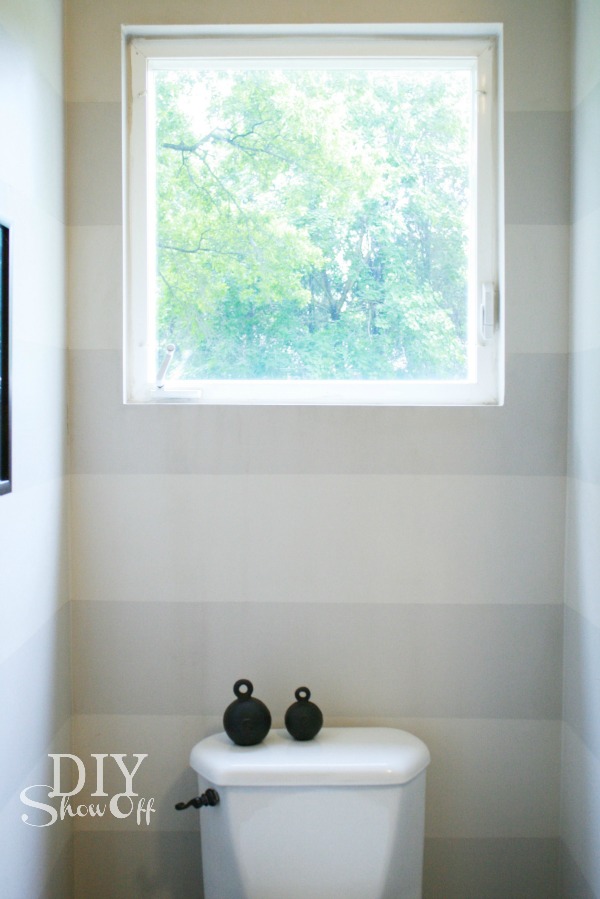
As a member of the Lowe’s Creative Ideas network, I’m participating in the September “window treatment” challenge. I was provided with a Lowe’s gift card to complete my project…addressing this bathroom window:

DIY Removable Decorative Window Frame Tutorial

Our main floor bathroom has a window that sits high up (no one can see in and the view out is of the treetops). The window is not framed. I’ve tried a curtain on this window, but with it sitting so high above the toilet tank, it just doesn’t look right.

bathroom window

This project would be great for window privacy too!

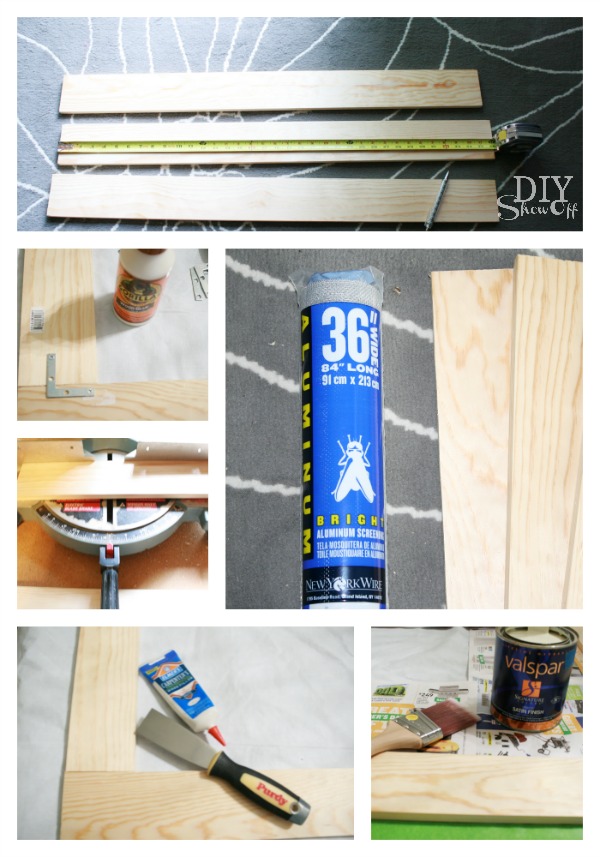
Materials I used:

  • 1×3 pine boards to create a frame
  • Flat corner brackets
  • Gorilla Wood Glue
  • Wood filler
  • White paint (leftover Valspar Signature in satin finish)
  • Picture frame hanging hardware
  • Screen (36″ wide)
  • FrogTape
  • Staples
  • Stencil
  • Craft paint
  • White vinyl table cloth
  • Vinyl decals

Removable decorative window frame: 

I started with creating a frame for my window using the 1×3 boards, corner brackets, Gorilla Glue, wood filler and paint. It’s best to miter the joints, add glue to the joints and brackets (be sure that screws are not longer than depth of frame). Fill joint lines with wood filler and lightly sand once dry. Prime/paint frame.

DIY removable wood window frame

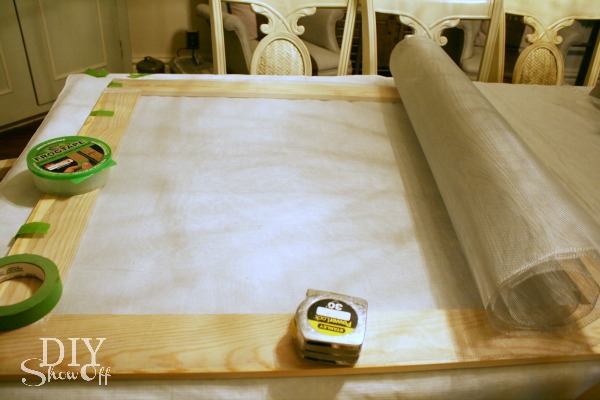
Cut screen to fit inside the wooden frame with enough room to fold under borders and to staple to the back side of the frame.

 Removable window frame DIY

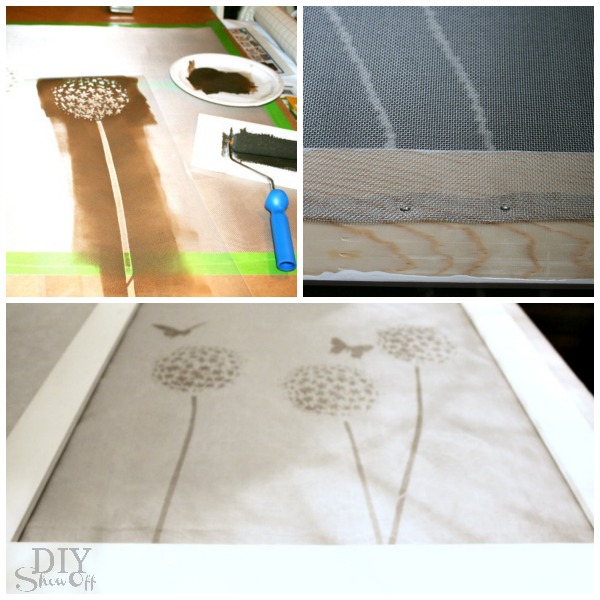
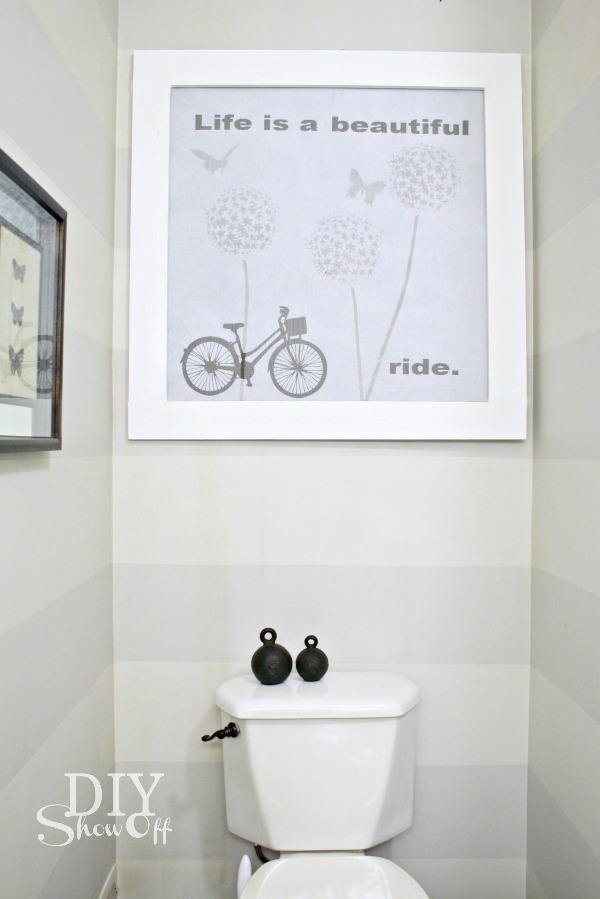
Stencil a design on the screen and let dry. I used Cutting Edge Stencil’s Allium Gladiator Flower Stencil (it sort of looks like dandelions and butterflies). FrogTape was essential in working with the screen by holding it flat and in place. Once paint is dry, staple screen to back of frame. 

removable decorative DIY window frame tutorial

You may think to stop here but when I hung the frame (in the daylight), the stenciled design wasn’t visible. It simply looked as if I only framed the window.

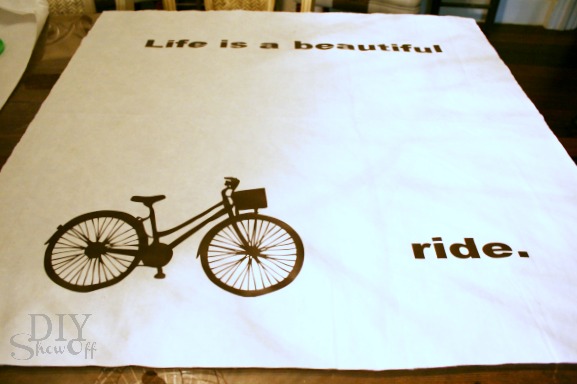
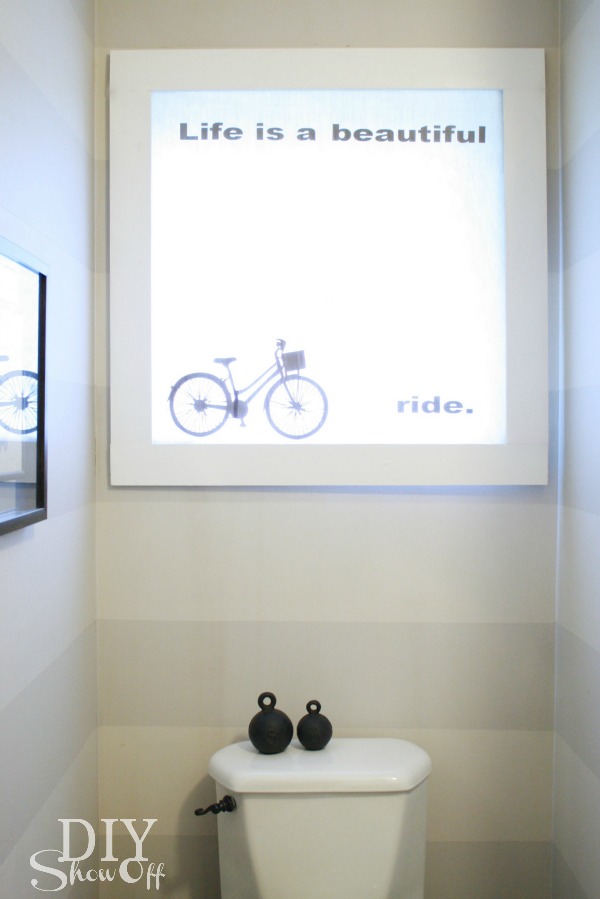
So I cut a piece of white vinyl table cloth to size (a bit bigger than the inner space of my frame with an extra inch around the borders to staple it into place) then I added vinyl decals to the white tablecloth. (I used my Silhouette Cameo to cut out a bike and quote.) You could also try a light colored/patterned fabric or paint your own design on canvas…just remember that your stenciled screen will show when it’s dark outside.

removable decorative DIY window frame tutorial

I stapled the white tablecloth into place. 

Simply hang on nails using the sawtooth picture hangers. Easily removable – as simple as taking a picture off the wall.
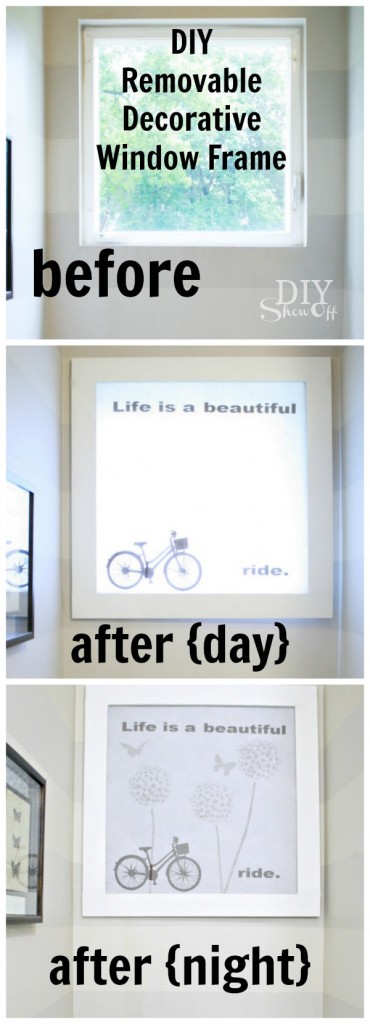
Before…

bathroom window

During the day, the bike and quote show up…

bathroom window covering

and at night, the stenciled screen shows up as well…

DIY window frame

It’s easily removable for when I want to open/access the window and lets in a lot of light during the day. Yay! Love the result…window dressing, window frame and art. What do you think?
See more fun DIY ideas at Lowe’s Creative Ideas, follow Lowe’s on InstagramPinterest and sign up for the Creative Ideas magazine and app!

Spring 13 Blogger Badge Subscribe Banner Version

*Disclaimer: As a member of the Lowe’s Creative Ideas Creators and Influencers network, I received a Lowe’s gift card to complete this project for a mini outdoor makeover challenge, however the tutorial images, instructions and opinions are my own. 

Easy Fall Decor: Decoupaged Glass Jars and BottlesTutorial

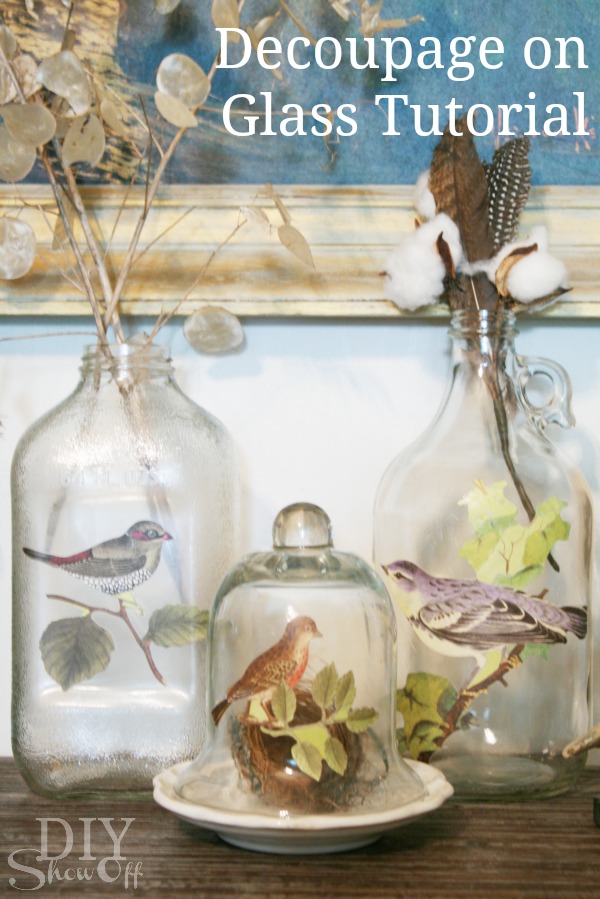
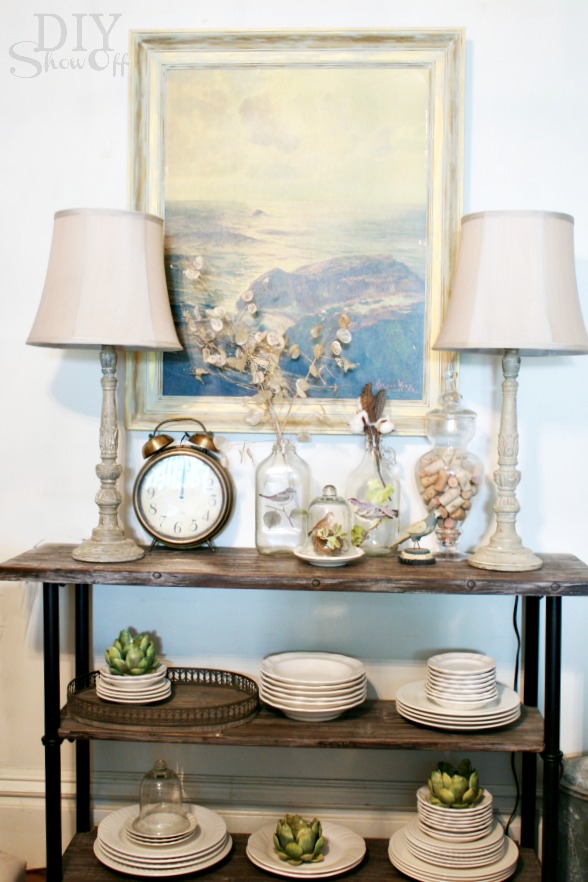
Fall DIY: The mornings have been chilly so there’s no denying that fall is right around the corner and that has me thinking of fall decorating despite the fact that I’m hanging on to every last bit of summer. This year, I have a beautiful fall vignette consisting of vintage inspired bottles filled with feathers, dried cotton stalks, autumn leaves and dried silver dollar plants. The plain bottles could use a little embellishment and Martha Stewart pizzazz. 

Easy fall decor at https://diyshowoff.com

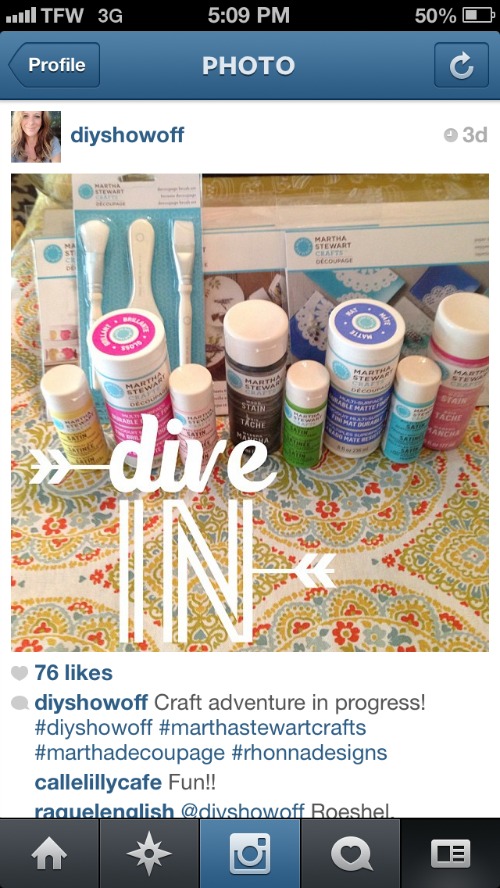
This post is sponsored by Martha Stewart Crafts/Plaid and BluePrint Social. If you follow DIYShowOff on Instagram, you know I recently received this fun supply in the mail:

martha stewart crafts

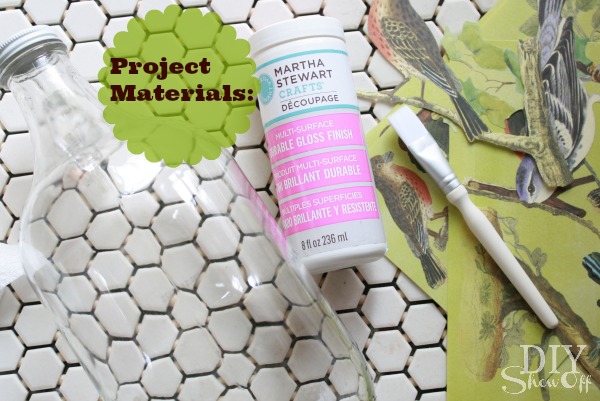
I chose to utilize Martha Stewart Decoupage and the cutest botanical birds cutouts for this project.  

Materials (available at Michael’s Craft Store):

Martha Stewart Decoupage

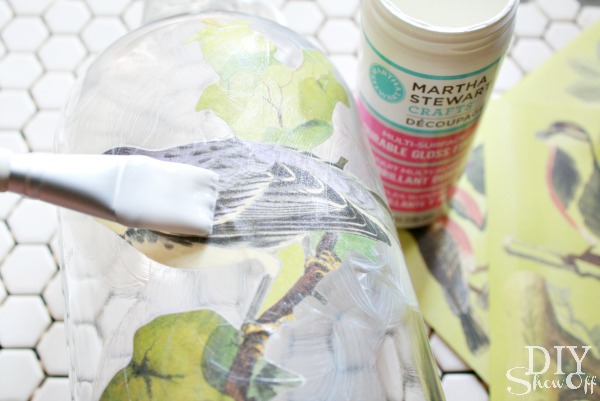
  • Martha Stewart Decoupage – I used the Durable Gloss Finish which perfect for this project since the formula is durable, top-rack dishwasher safe and for use on multiple surfaces! Imagine the possibilities!
  • Martha Stewart Crafts Botanical Birds Decoupage Paper Cutouts – so cute! Be sure to check out the other designs too!
  • Glass bottles, vases or jars – I recycled some from around the house.
  • Soft bristle paint brush.

Tutorial:

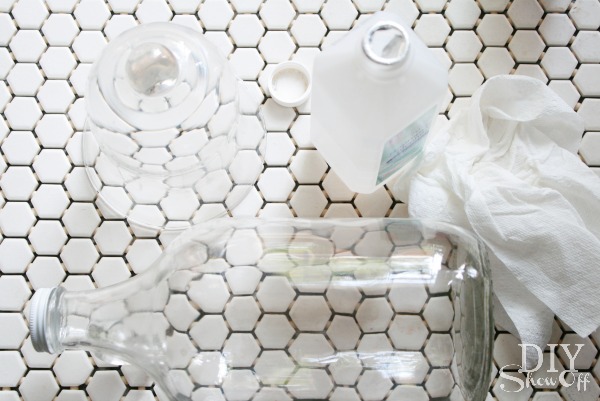
1. Clean glass with rubbing alcohol. 

Fall Birds Decoupage Glass Tutorial

2. Roll bottle of decoupage on table to mix.

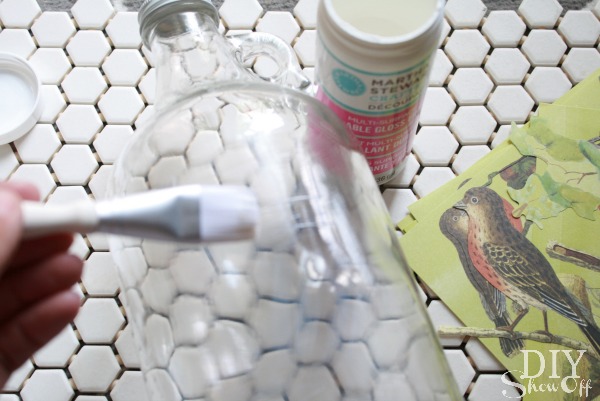
3. Working quickly, brush on Martha Stewart Decoupage onto glass surface with a small craft brush.

Fall Birds Decoupage Glass Tutorial

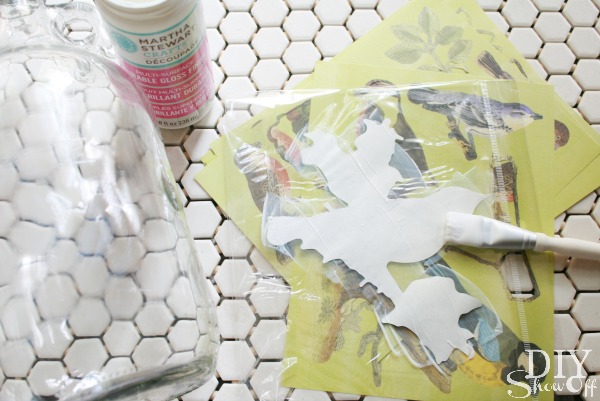
4.  Brush decoupage onto back of paper cutout.

Fall Birds Decoupage Glass Tutorial

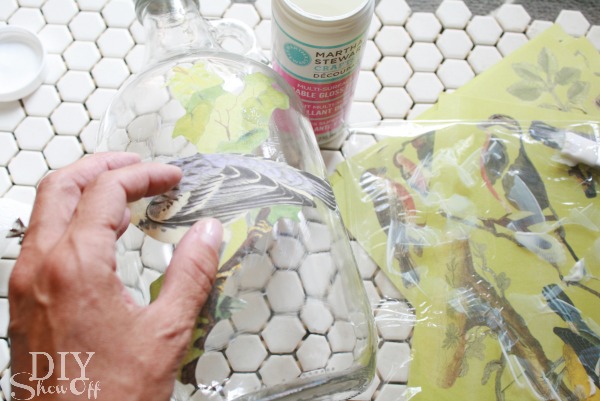
5. Place paper cutout onto glass.

Fall Birds Decoupage Glass Tutorial

6. Apply another layer of decoupage to the paper cutout and surrounding glass. Let dry 1-2 hours.

Fall Birds Decoupage Glass Tutorial

7. Repeat above steps 3-6 again after 1-2 hours. Now it’s ready to display but allow 28 days cure time for washing or heavy use. 

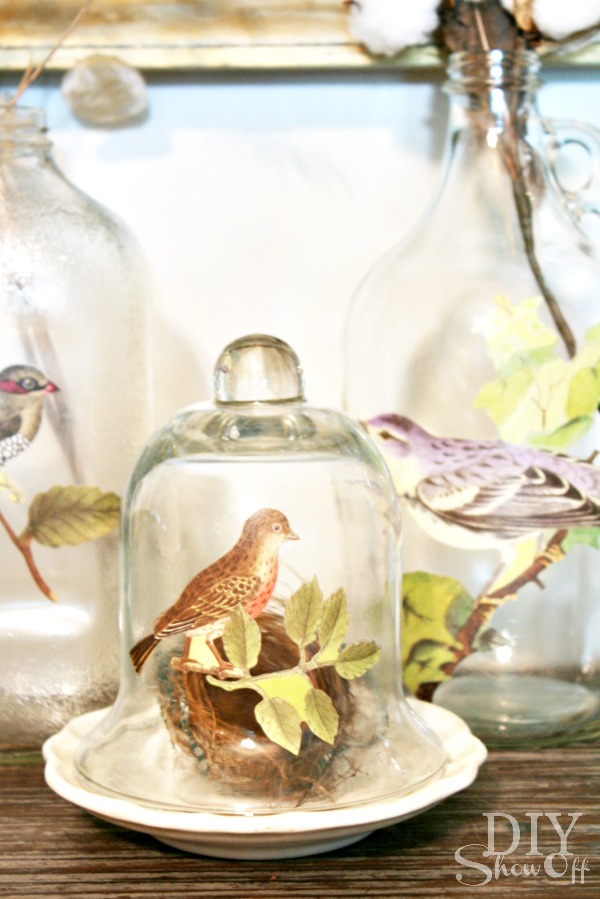
Aren’t these awesome?

natural fall decor

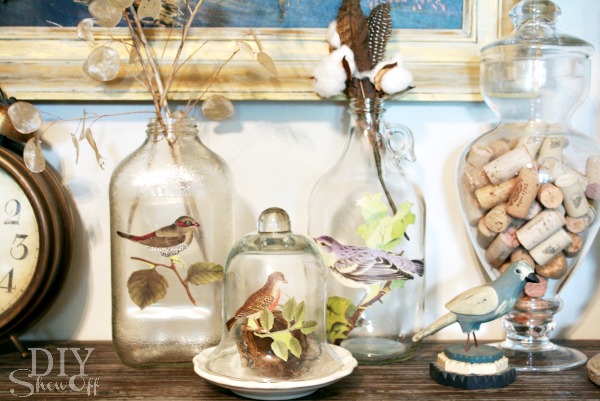
It dries transparent! The botanical birds are the perfect decorative accent to my fall display. 

Easy fall decor at https://diyshowoff.com

Much more fall-festive than plain bottles and so easy to do! 

easy fall decor craft 

See how I used Martha Stewart Decoupage and paper doily cutouts on my lampshade makeover

Sharing at the Fall Nesting Party.

Find more info at:

See more from these talented blog friends:


*This post is sponsored by Martha Stewart Decoupage as a part of a Blueprint Social Campaign. I received product and compensation for sharing my experience with my own craft project and tutorial in my own words.