DIY & Show Off: That DIY Party Decorating & Home Accents Highlights

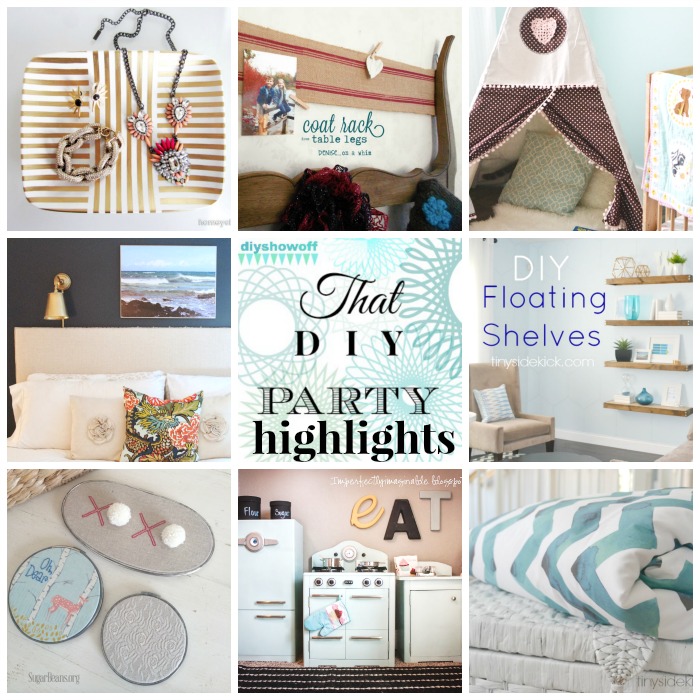
Looking for some DIY decorating and home accent inspiration? I’ve gathered some favorites from January’s That DIY Party: 

That DIY Party highlights - January 2014

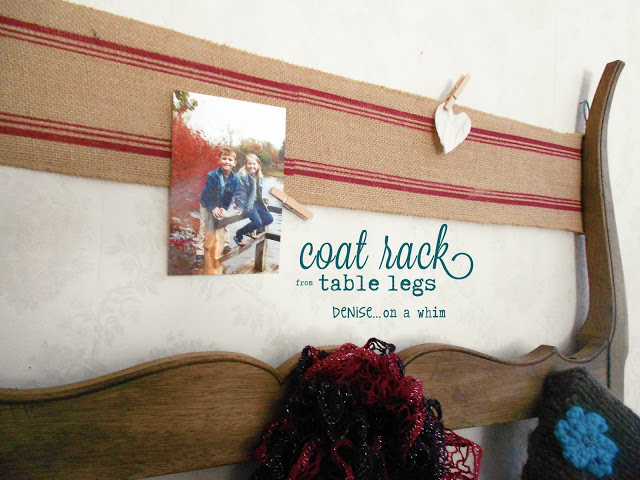
Cute curvy coat rack {repurposed table legs} from Denise on a Whim repurposed table legs coat rack - Denise on a Whim
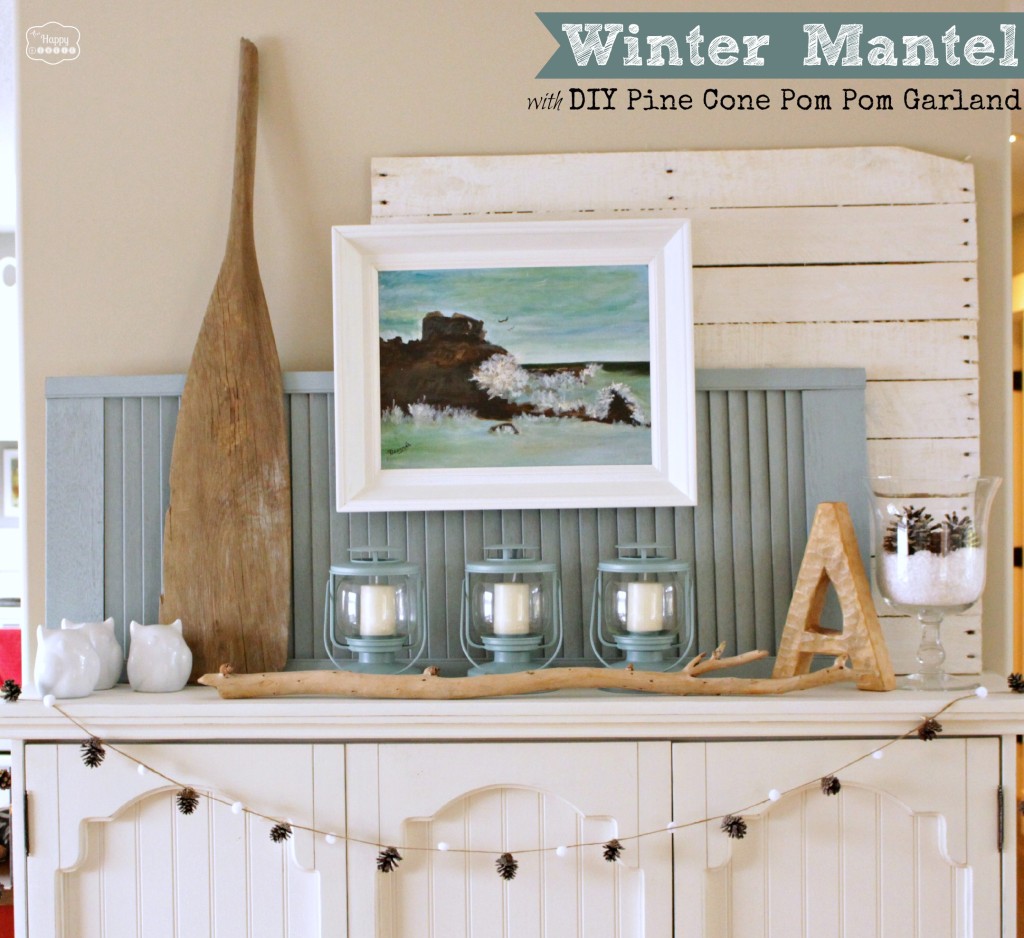
Brrr! Baby it’s cold outside! Embracing it with a winter mantel at the Happy Housie…love the pine cone pom pom garland!

winter mantel @theHappyHousie

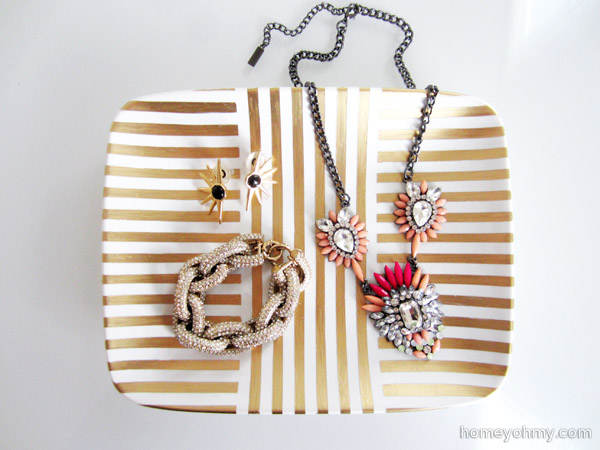
Loving gold? Me too! The gold leaf tray at Homey Oh My is a great way to display jewelry. 

gold leaf jewelry tray @HomeyOhMy

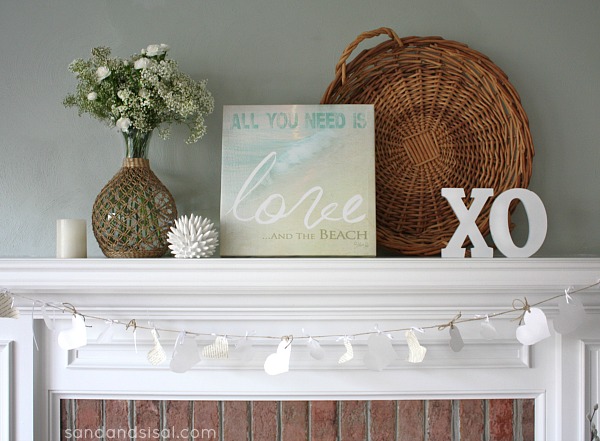
Kim’s beachy neutral Valentine’s mantel at Sand & Sisal is sweet for all year long. 

neutral beachy Valentine mantel @SandandSisal

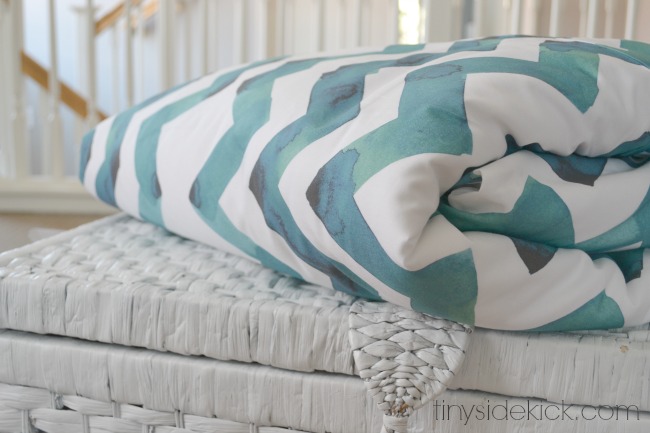
When your bedroom makeover is on a tight budget, check out Corey’s great tutorial for making your own duvet cover at Tiny Side Kick

how to make a duvet cover @TinySideKick


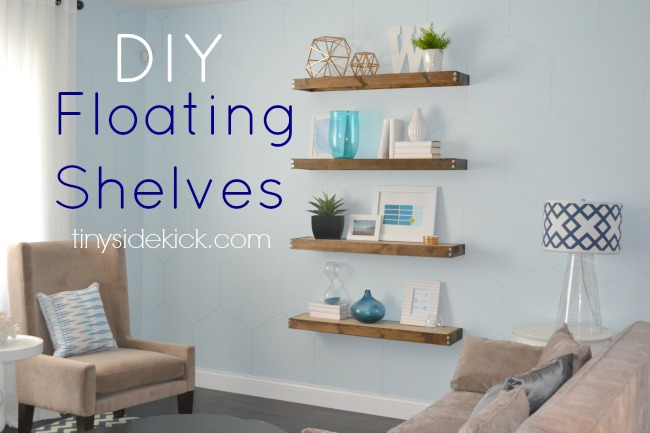
Who wants these? Yep, me too! See the great DIY rustic floating shelves tutorial at Tiny Side Kick. 

floating shelves tutorial @TinySideKick

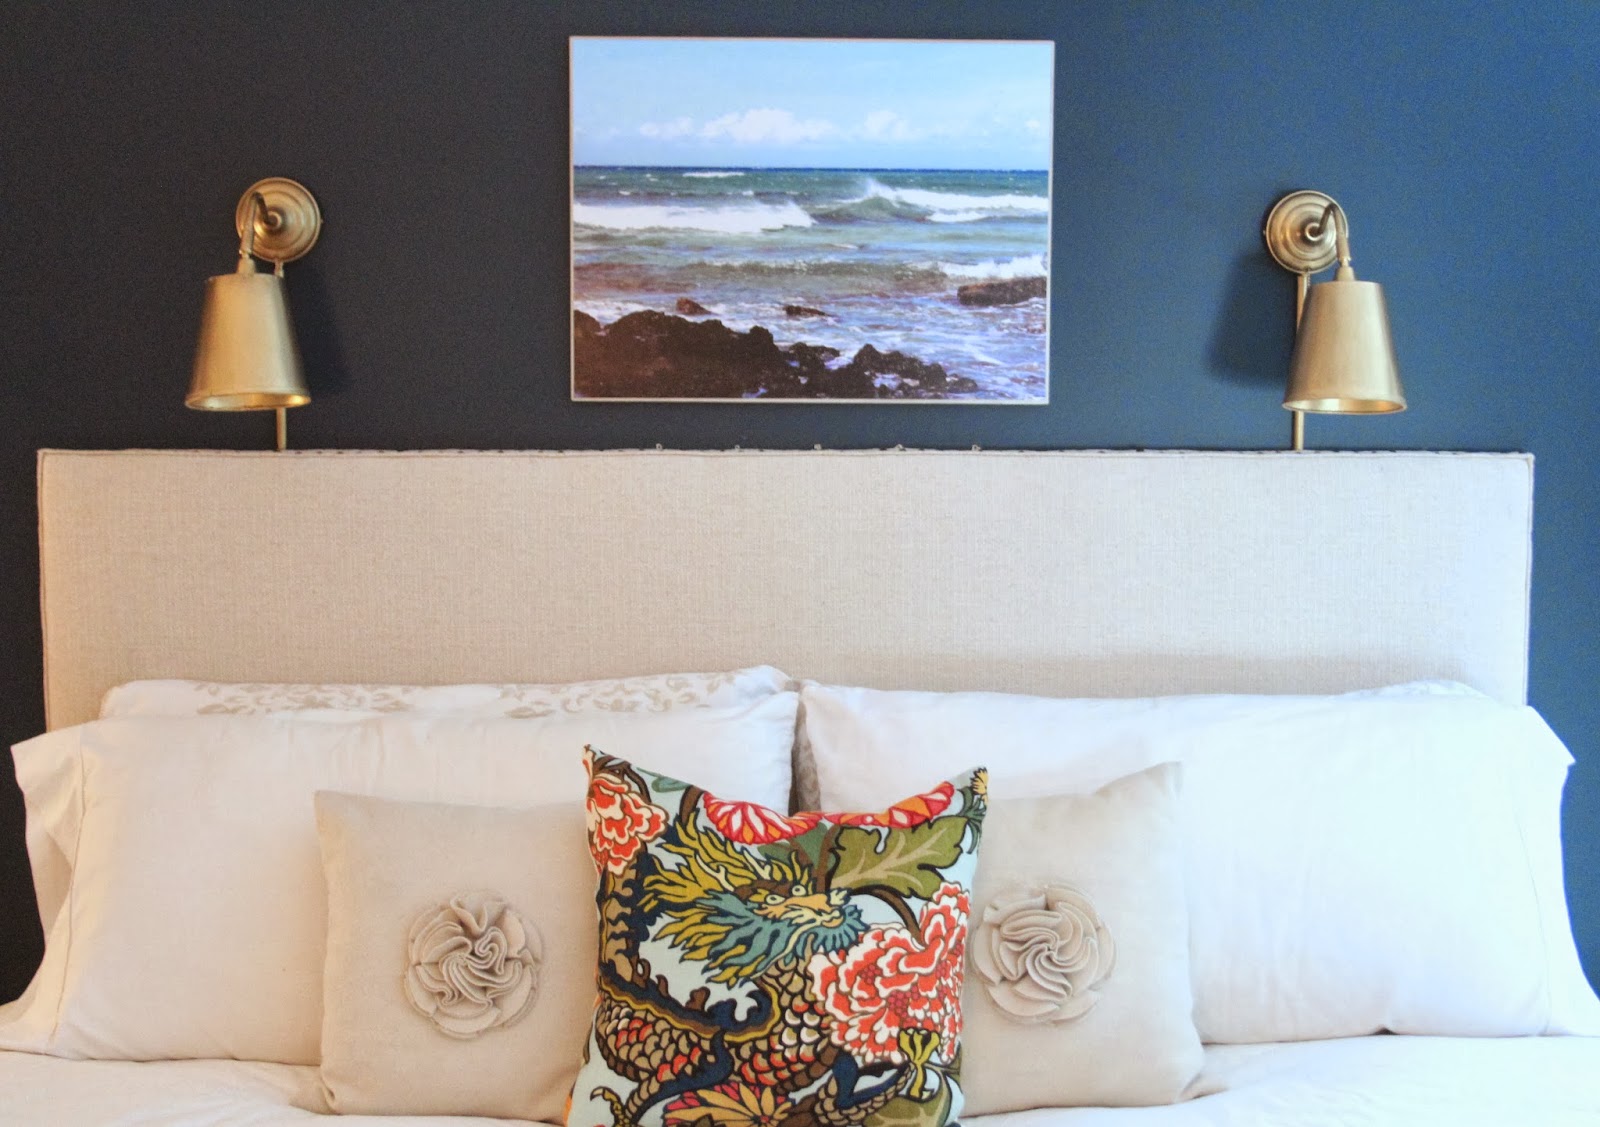
Lisa’s DIY Ikea wall light hack at Shine Your Light – not only just as beautiful as her inspiration but way more budget friendly too!

Ikea wall light hack @ShineYourLightBlog

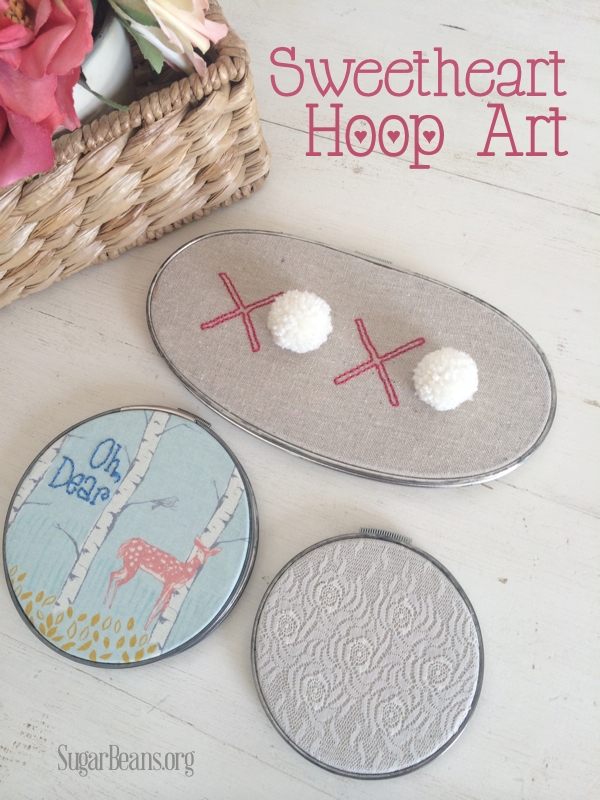
Looking for some easy sweet DIY wall art? The DIY sweetheart hoop at Sugar Beans fits the bill. So cute!

Sweetheart Hoop Art @SugarBeans

for the little ones…

Oh.My.Goodness! Isn’t this the most darling thing ever? It’s a DIY retro play kitchen at Imperfectly Imaginable

DIY play kitchen @ImperfectlyImaginable

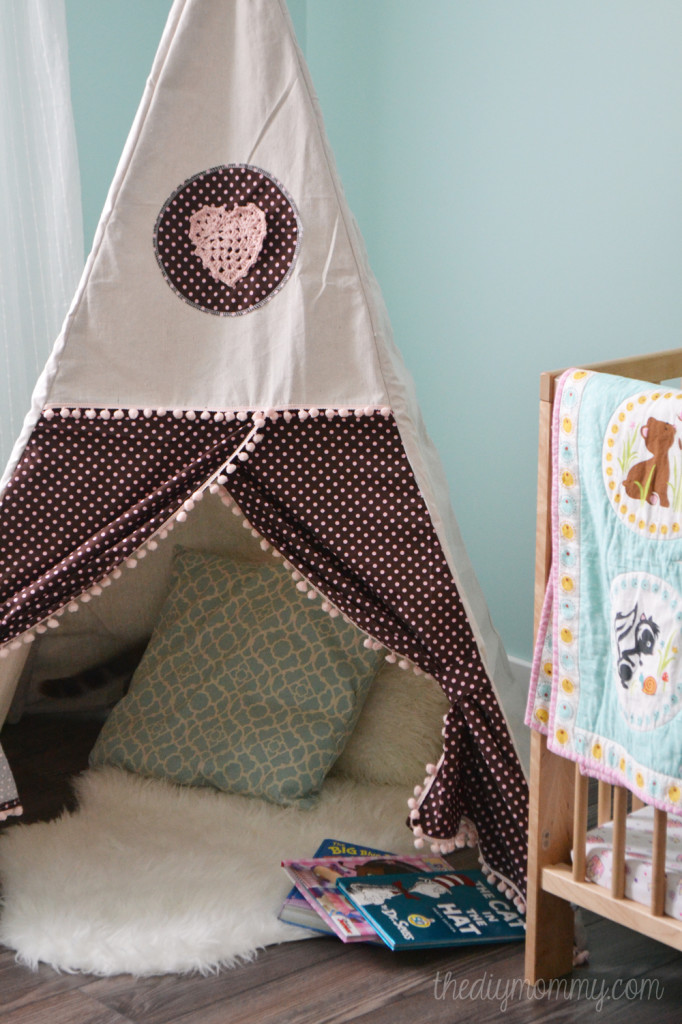
Need a place to hide away until spring arrives? I’d love to hole up in this DIY play tent at the DIY Mommy. Operation hibernation commence. 

DIY play tent tutorial @theDIYMommy

Remember to pin from the original source. See more DIY highlights on That DIY Party Pinterest Board for easy re-pinning…

thatdiyparty.pinboard

Have a DIY project to share? Well head on over to “show off” your DIY…

That DIY Party

Valentine’s Day Decorating {Vinyl Decal Glass Top Table Runner}

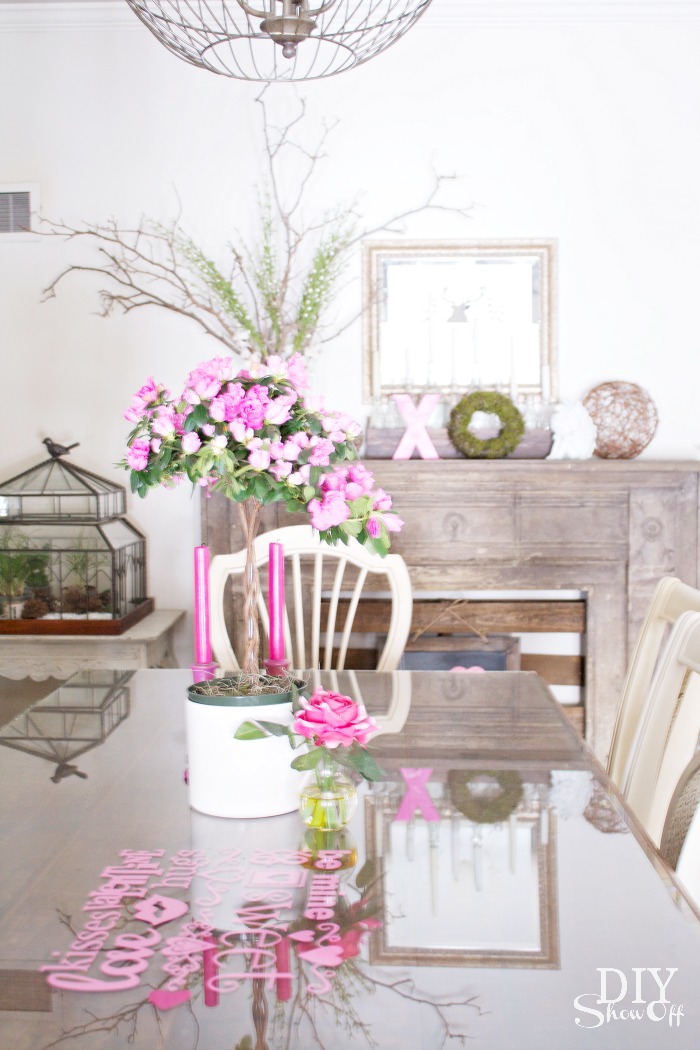
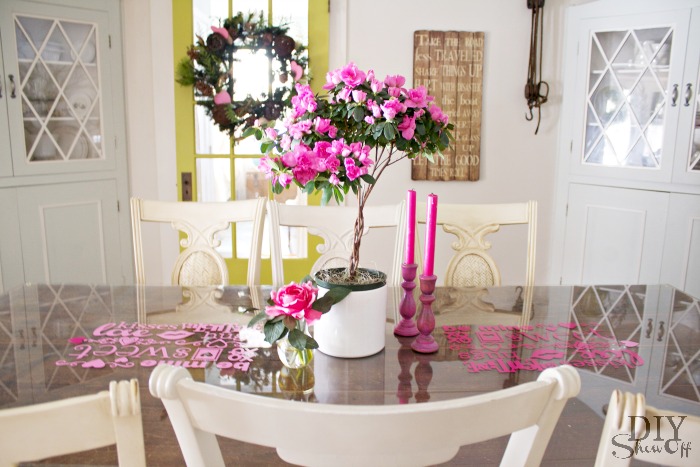
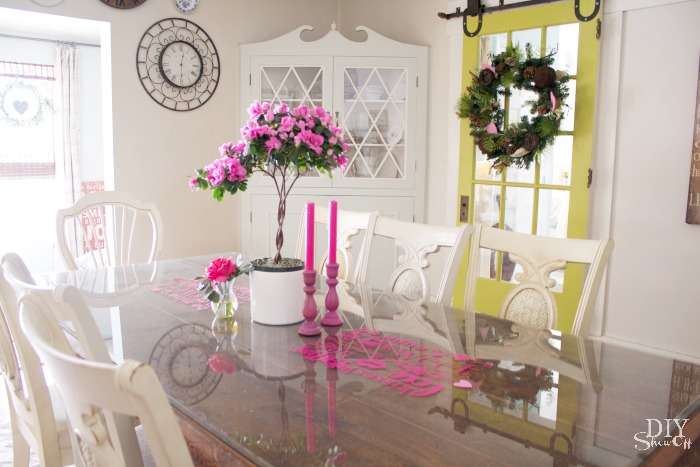
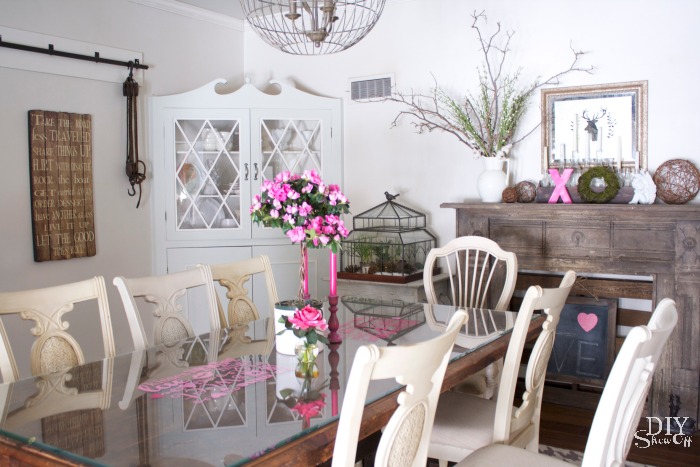
I’m not quite late in terms of sharing my Valentine decorating, am I? I don’t do much…just a little here and there, mostly in the dining room. 

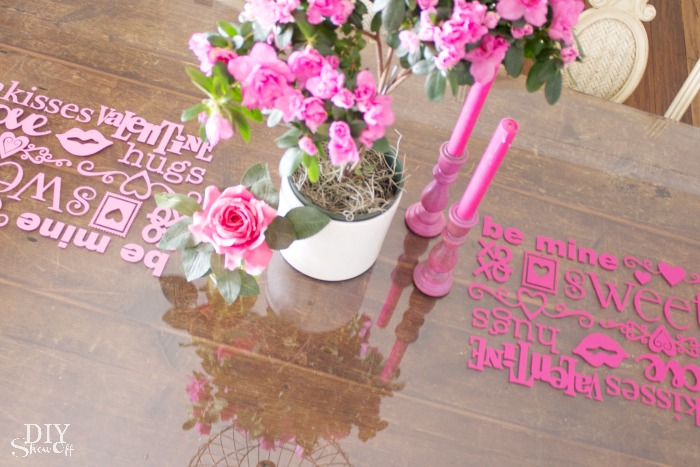
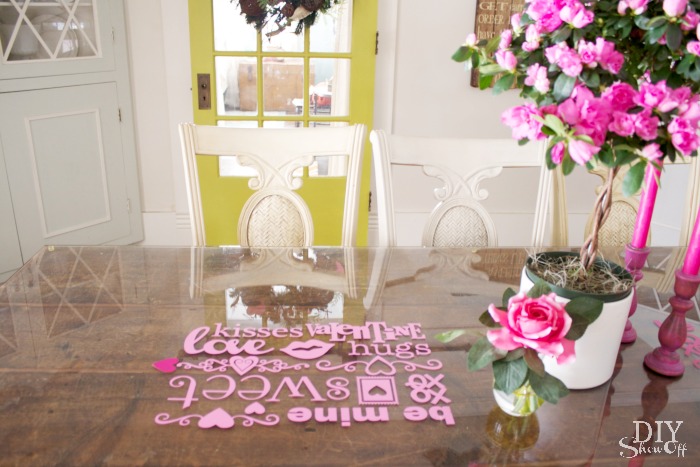
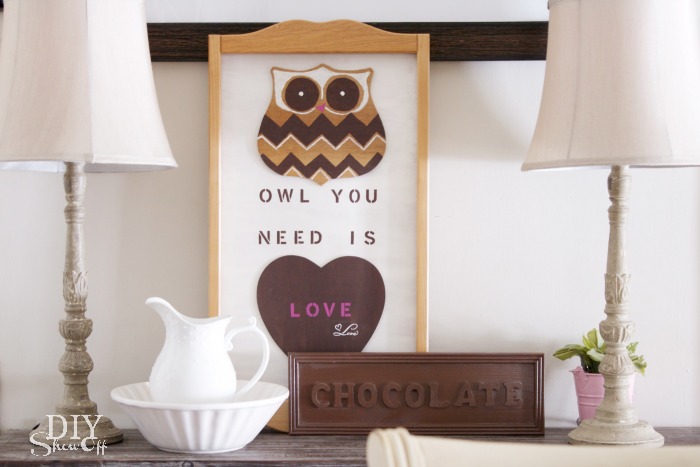
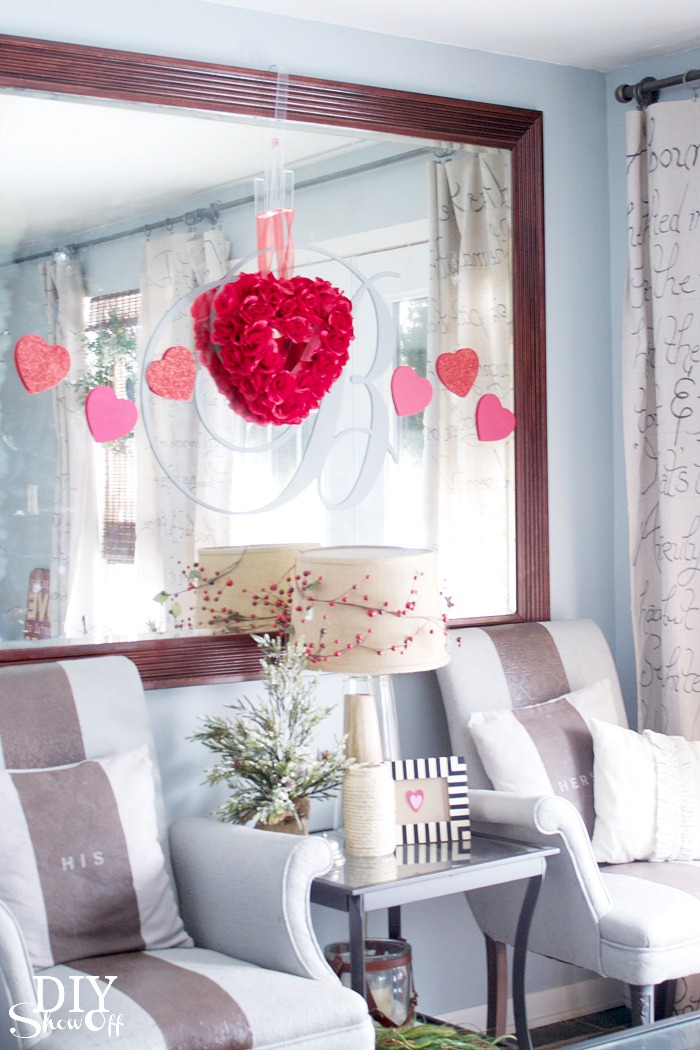
Valentine dining room decor

More pictures after a little vinyl tutorial: Having a vinyl cutting machine is GREAT for last minute decorating! Our reclaimed barn wood dining table is protected by a beveled glass top. And a glass top table is the perfect spot for an adhesive vinyl table runner just in time for Valentine’s day!

Valentine glass top table vinyl decals

You’ll need:

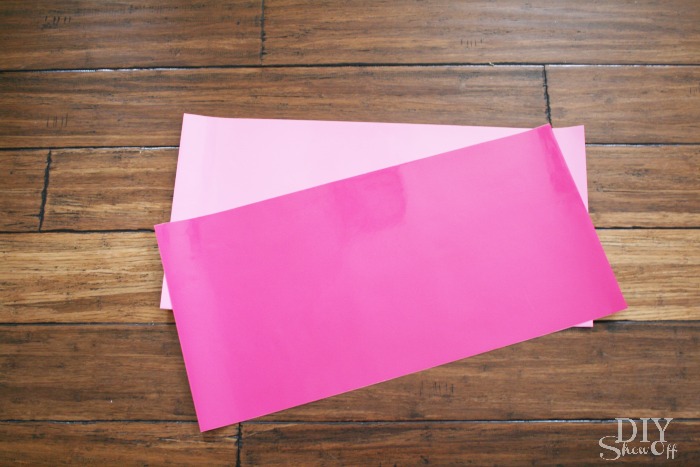
  • Adhesive vinyl from Happy Crafters in pink and soft pink
  • Transfer paper

Tools I used:

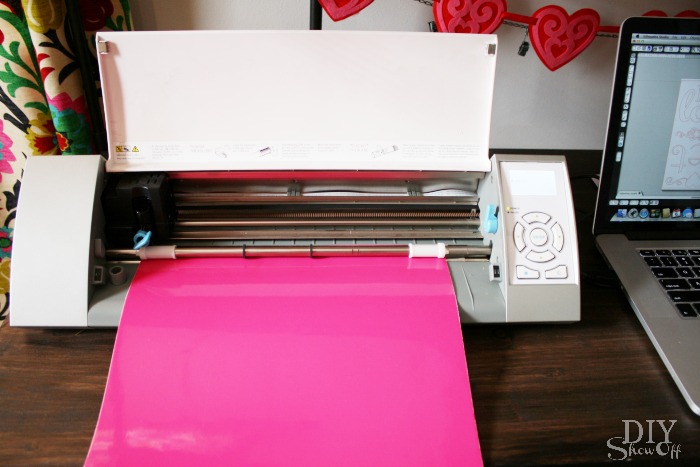
  • Silhouette Cameo
  • Silhouette Design Studio software
  • scissors
  • credit card/gift card

Happy Crafters Adhesive Vinyl

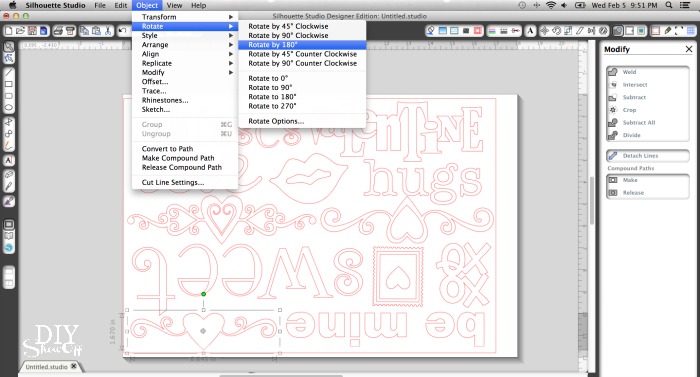
Using the Silhouette Design Studio software, I used different fonts to create Valentine text along with a few shapes from the online store.  Because I wanted to have the text reading different directions, I used the rotate tool to flip some of the text and shapes. 

Silhouette Design Studio software

Before sending the design to cut, I uploaded the vinyl into my machine color side up then changed my setting to cut adhesive vinyl. 

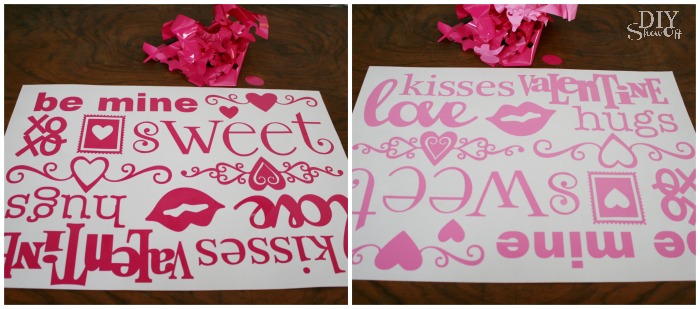
When cutting was complete, I removed and trimmed my vinyl design. Then inserted another sheet of vinyl and cut the design again. I used two sets of vinyl decals to create my table runner. cutting adhesive vinyl

Next up is removing all of the negative part of the vinyl design. Simply remove all vinyl that’s not a letter or shape. 

weeding vinyl decals

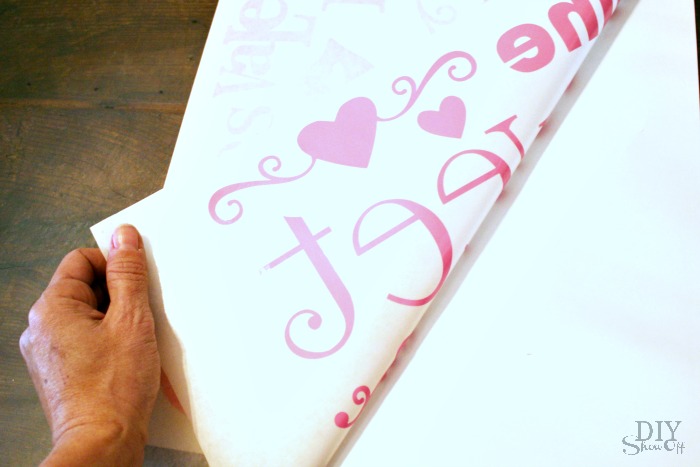
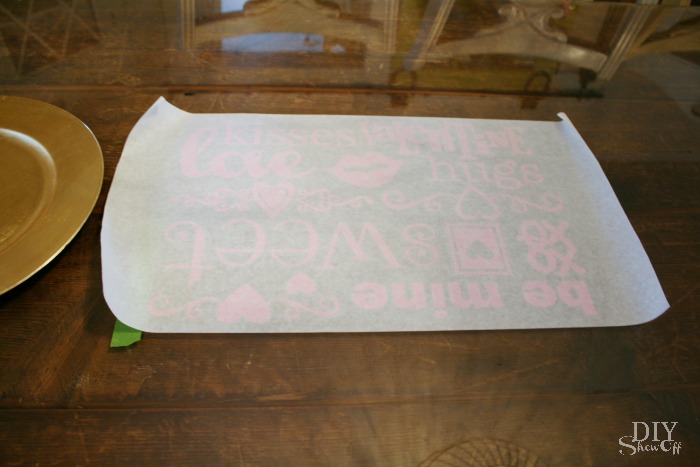
Now it’s like a sheet of vinyl stickers. Not something you want to place letter by letter so apply a piece of transfer paper over top of the vinyl decals. 

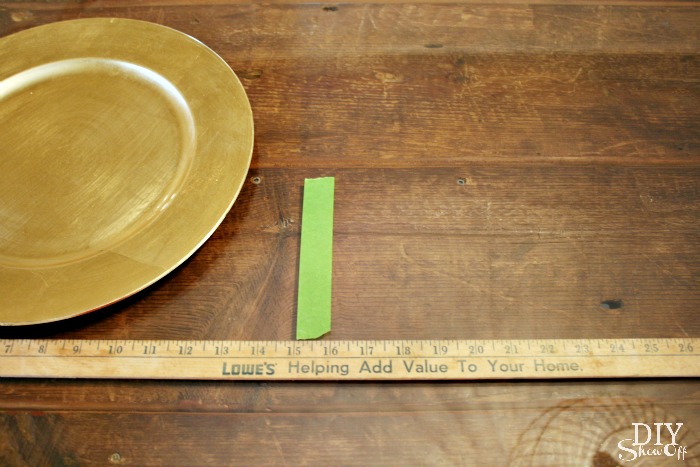
Measure placement and alignment of where the vinyl decal table runner will go onto your glass top table. 

vinyl decal placement

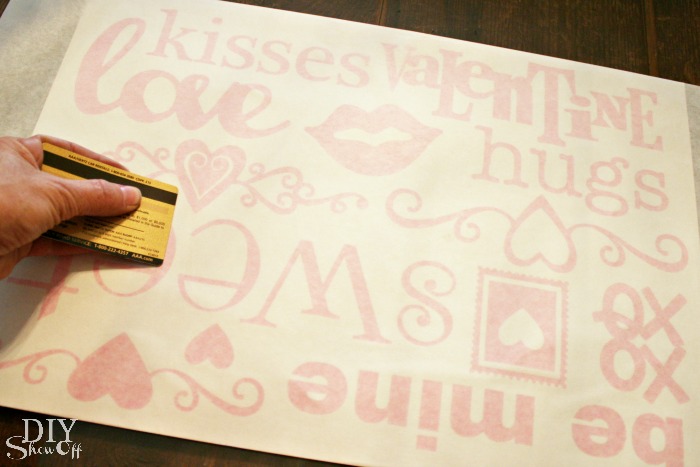
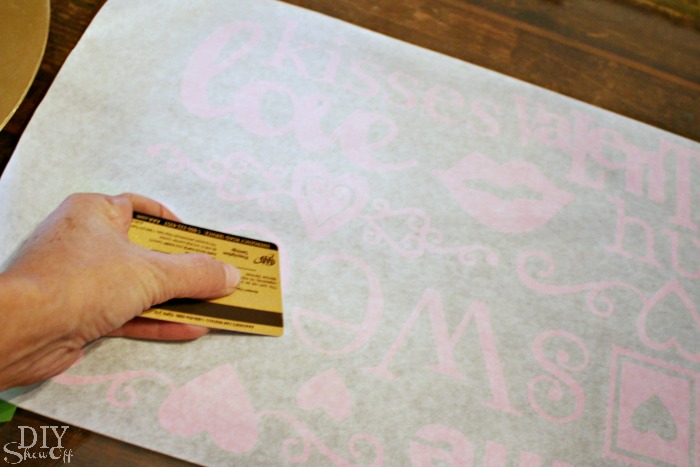
Rub the vinyl decals with a gift card so that the adhesive vinyl transfer from the wax paper backing to the transfer paper. 

transfer paper

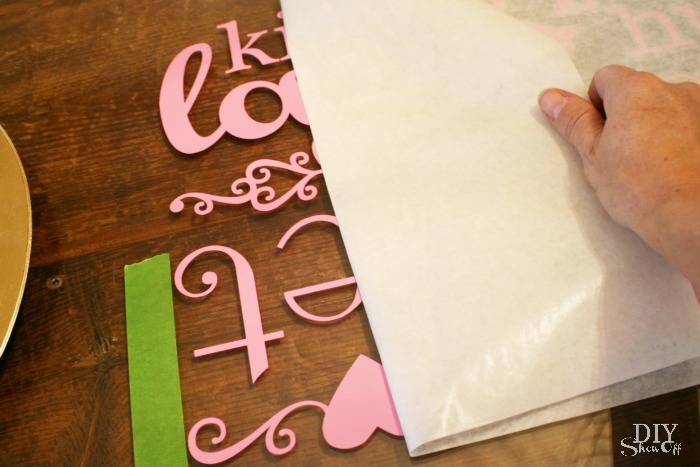
Remove wax paper backing. Sometimes I have to use my fingernail or thumbnail to help along the transfer. 

adhesive vinyl decal tutorial

Carefully align and place the vinyl decal with transfer paper onto the glass. 

glass top table vinyl decal

Rub with a gift card so that the vinyl transfers from the paper to the glass. 

transferring vinyl decal

Remove transfer paper. 

transfer paper vinyl decal

That’s it! Now the glass table top sports a sweet Valentine’s message!

adhesive vinyl Valentine centerpiece

Simply peel away the vinyl for easy removal.

Valentine table decor

More decorating around the DIYShowOff house: 

Valentine centerpiece


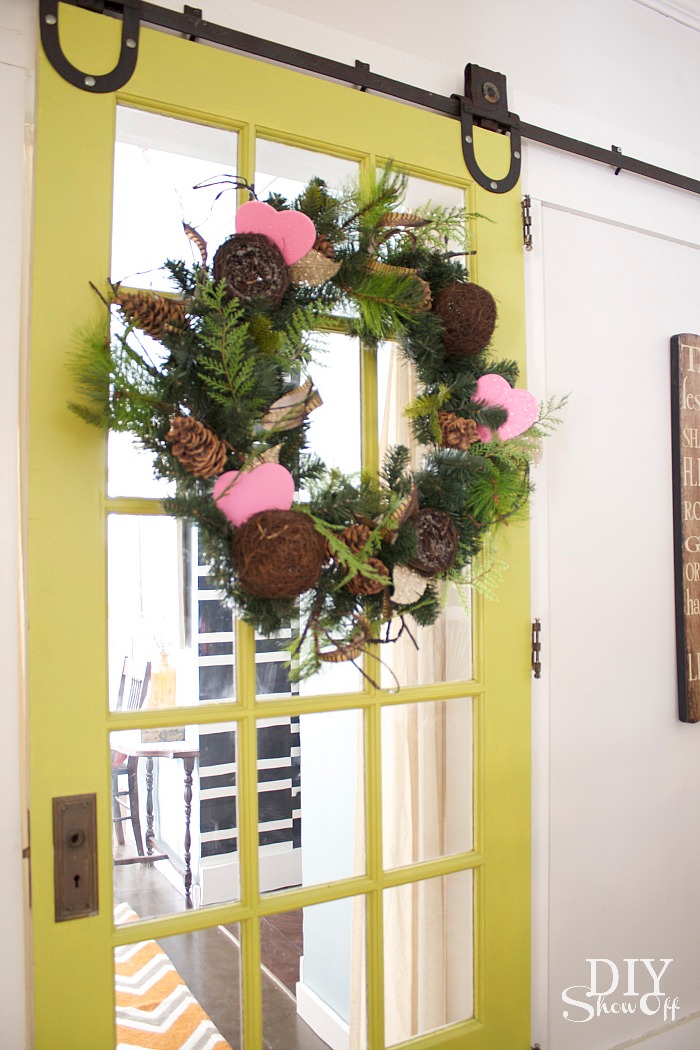
Valentine wreath

Valentine's day dining room decorating

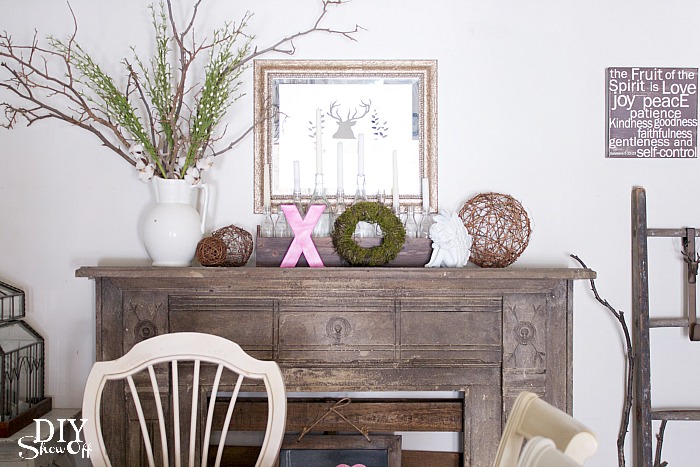
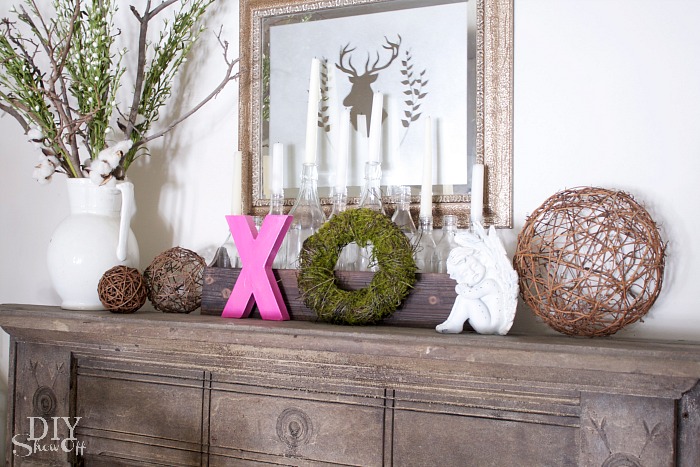
Valentine Mantel


DIYShowOff Valentine Mantel


Valentine dining room decor


Valentine dining room decor


Valentine decor


See more Valentine’s crafts in the DIYShowOff project gallery


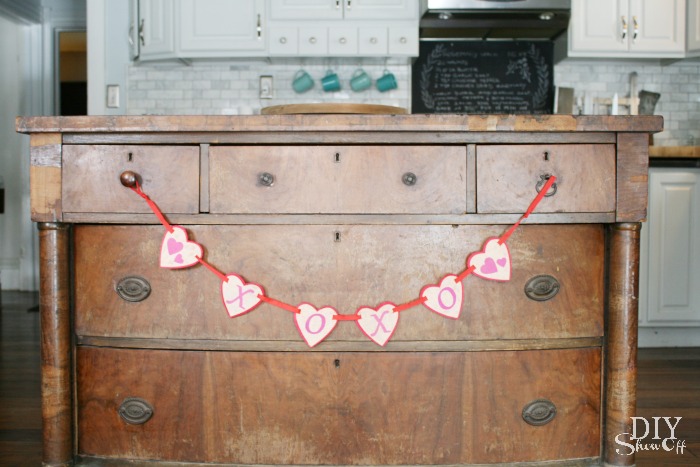
Valentine kitchen


Valentine decorating

*This post is sponsored by Happy Crafters. Tutorial, experience and opinion is my own.  I really love working with this vinyl. Check out all the supplies at Happy Crafters for inspiration for your next project. 

HClogopngsmall

Pantry Lighting Details

Some of you were wanting more details on the lighting when I shared the pantry reveal. The lighting in the open pantry area was a challenge. 1. There was no overhead/ceiling light to begin with. 2. Walls and ceiling are plaster. 3. Outlet was old and controlled by a switch on the wall. 

farmhouse pantry

Electrical work for the lighting was not DIY. My husband has installed recessed lighting in the kitchen but he was able to run electrical from the previously installed ceiling light, so it wasn’t quite so challenging. For the pantry area, no previous lighting meant pulling the wires from the wall to the ceiling. He started with drilling holes in the plaster wall and ceiling but the wood beam where wall meets ceiling had us realizing this job was ‘over our heads’ and not just literally. It was at this point that we decided to hire an electrician.

outlets

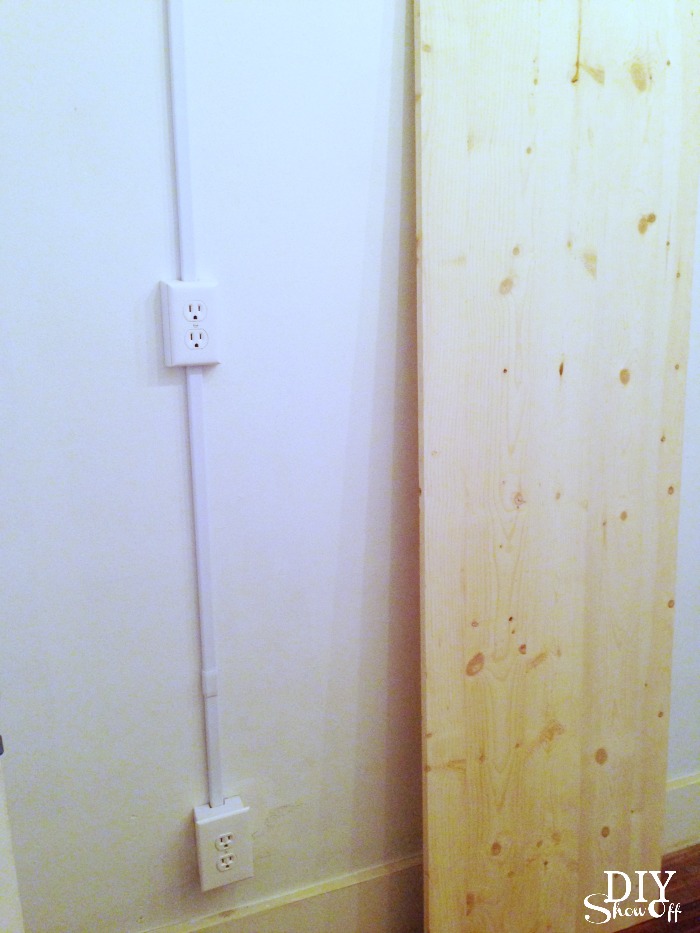
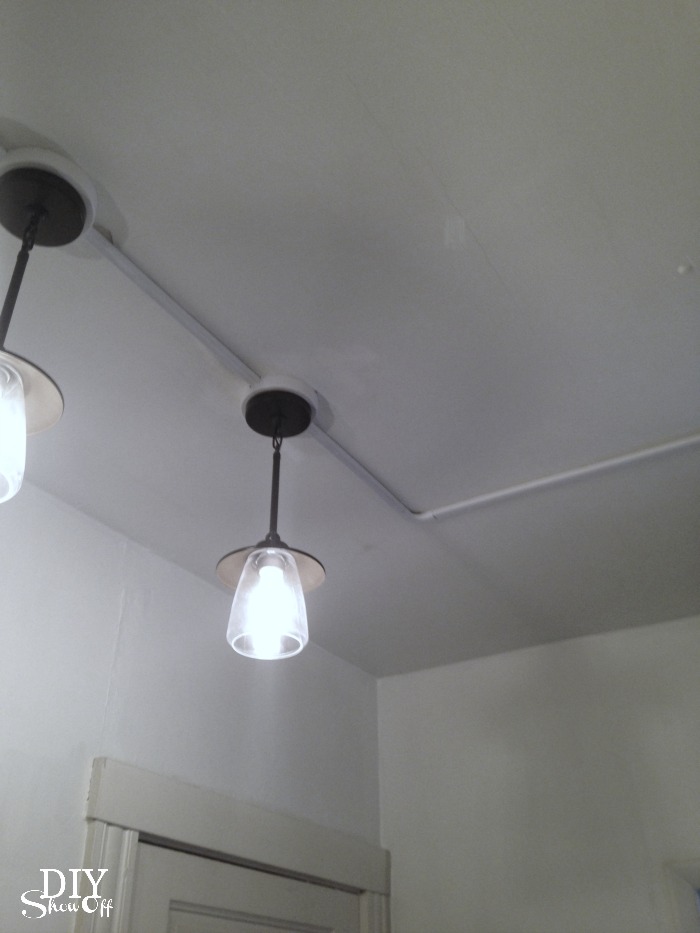
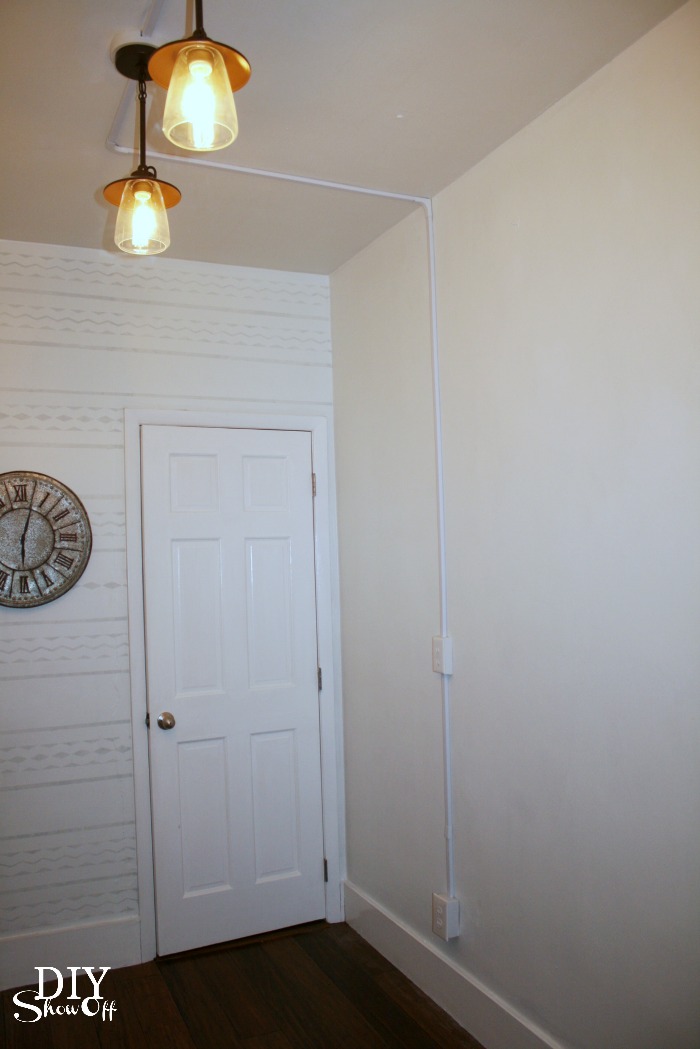
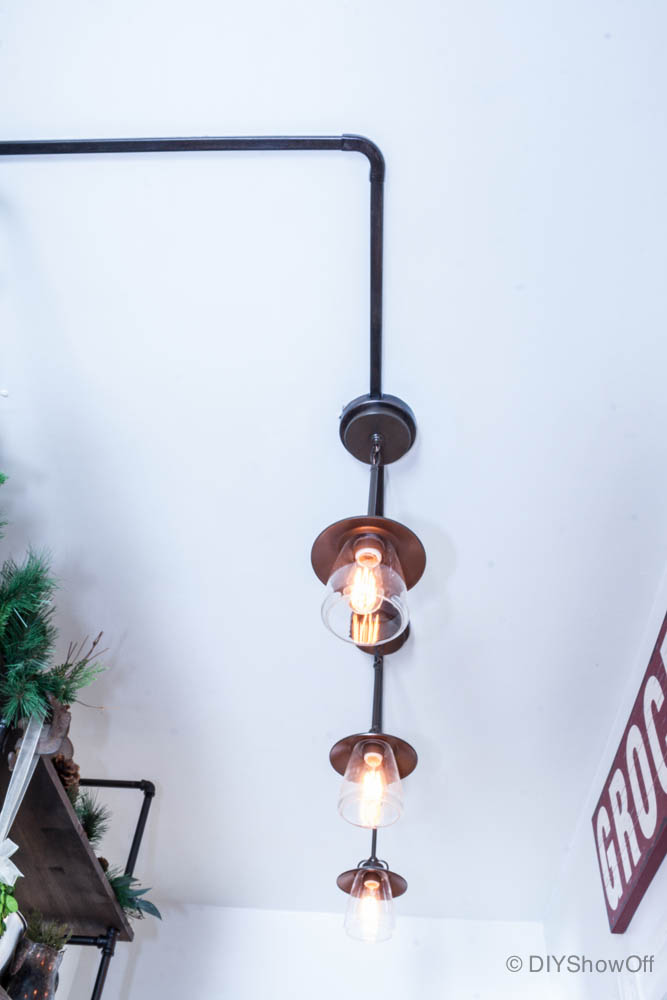
Then after some thought and to keep labor costs down, I let the electrician know that I wanted the wiring to run on the outside of the wall. He changed the old outlet near the floor (the old type that meant I needed an adapter anytime my plug had three prongs), added another outlet a little higher up to accommodate the microwave sitting on the pantry shelf (so I wouldn’t have to drill holes into the wood shelves for the cord to reach down to the lower outlet) and ran the lighting wiring up the wall, to the ceiling with a 90 degree turn to place the lighting. He also made the switch work for the lighting only, disconnecting the switch from the outlets. In hind site, I think this was something we could have done, but when in doubt, seek professional advice! 

connecting light fixtures

pantry lighting

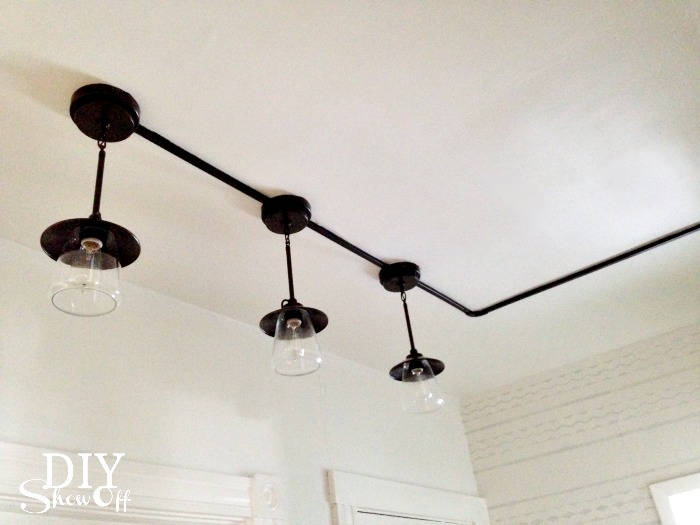
Cord covers for the wiring from outlets, along the outside of the plaster wall, along the ceiling and connecting each individual light fixture.

I centered the lighting from the front edge of the shelving to the other wall and since I chose pendant lights, I made sure they were out of the way of an opening door. 

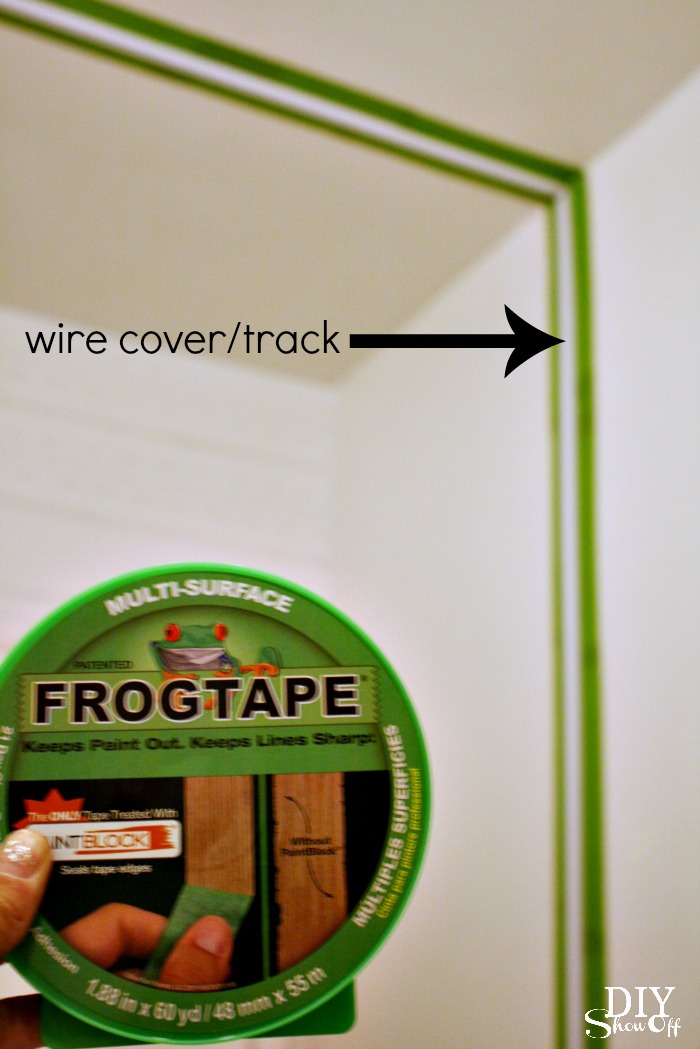
Then with the help of FrogTape® Multi-surface, I painted the track oil rubbed bronze.cord cover

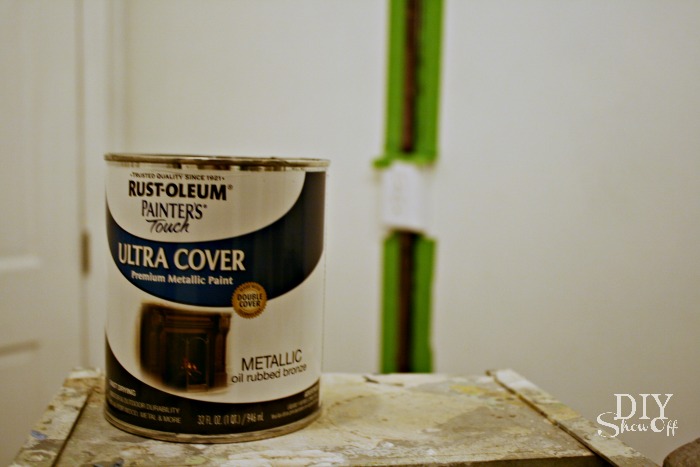
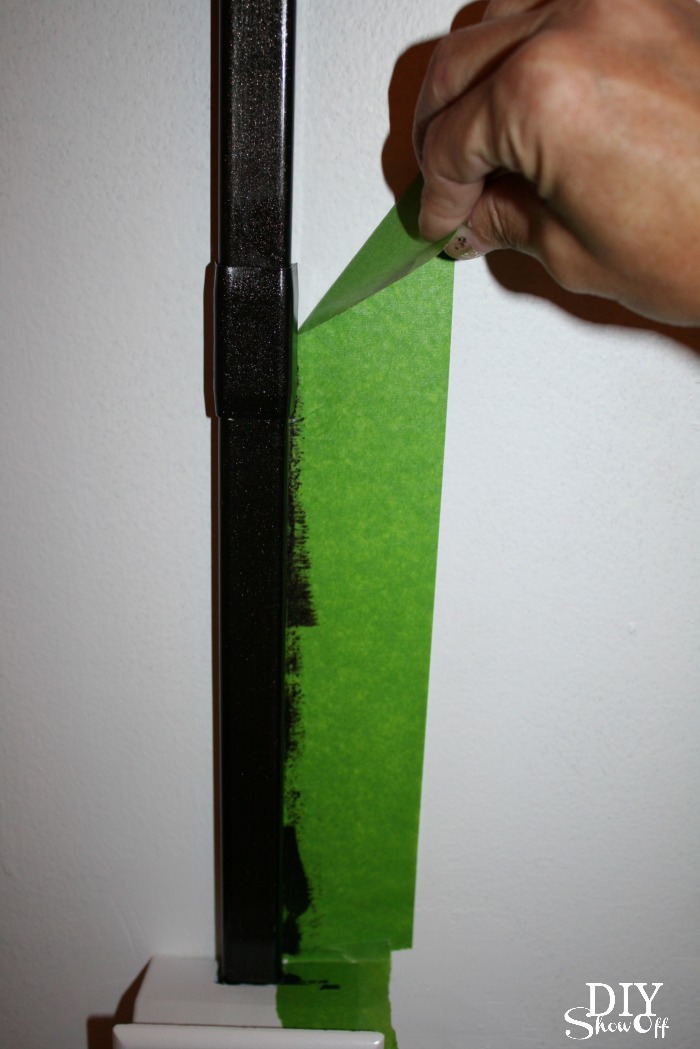
I simply taped off either side of the conduit track along the wall and ceiling with my FrogTape and used my thumbnail to activate the PaintBlock® Technology. Then just painted the track. The oil rubbed bronze paint is sticky since it’s oil based so drying time is longer but still worth the work. It took two coats. 

oil rubbed bronze paint

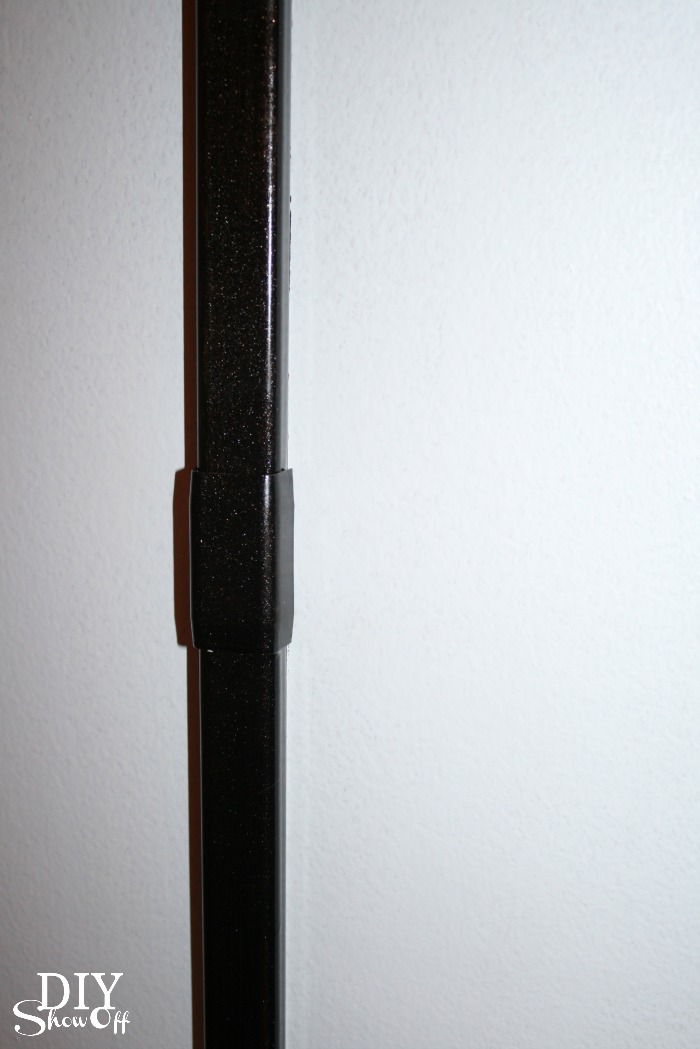
As soon as I finished applying the second coat, I removed the FrogTape. Nice and clean! Note: paint will take a long time to cure!

removing FrogTape

Painting the conduit the same color as the walls and ceiling would help disguise it more but I think the oil rubbed bronze against the white ceiling adds to the industrial charm, don’t you? Especially with the pipe shelving.

RustOleum Oil Rubbed Bronze

I love it!

industrial pantry lights with wall track

Project Supplies:

farmhouse industrial pantry lighting

 We also added a dimmer…
farmhouse pantry


{open pantry reveal}

FrogTape Blog Squad

Disclaimer: I received compensation to complete this project for using FrogTape® products. All opinions, projects and ideas are based on my own experience. See the  FrogTape® Blog Squad for more inspiration!