Painted Staggered Striped Accent Wall

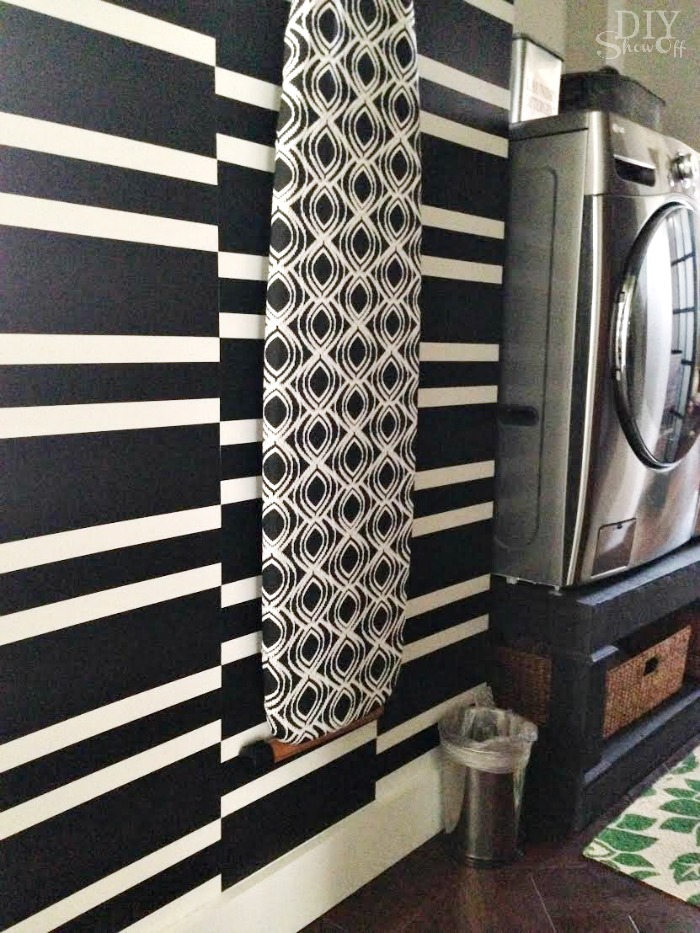
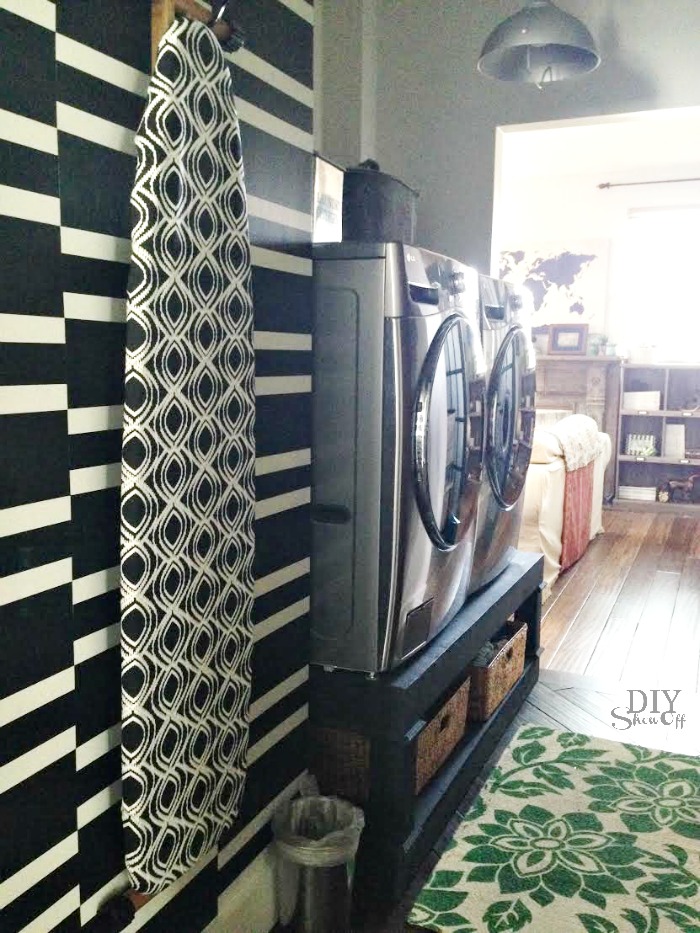
I’ve shared bits and pieces and sneak peeks of the accent wall in the laundry room and I have to say, photographing that small space is a big challenge but here’s the gist of what we did and how it’s looking. A small wall in a laundry room is a great way to play with a bold design.

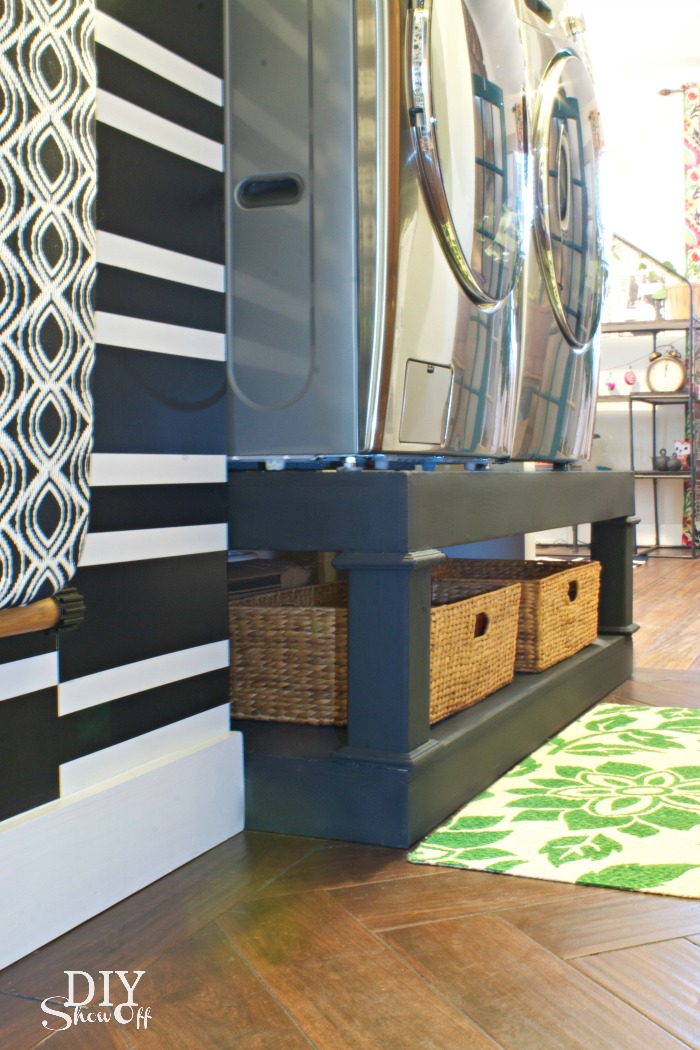
DIY laundry pedestal

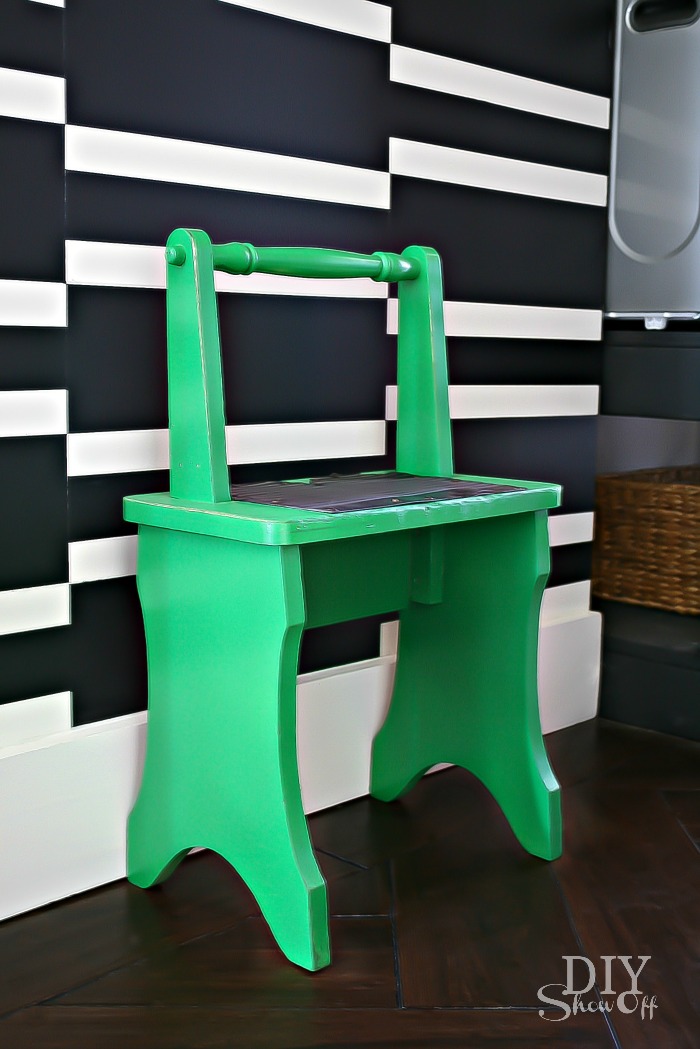
DIY Show Off step stool makeover

The base color on my walls is white. Clean, plain, simple. 

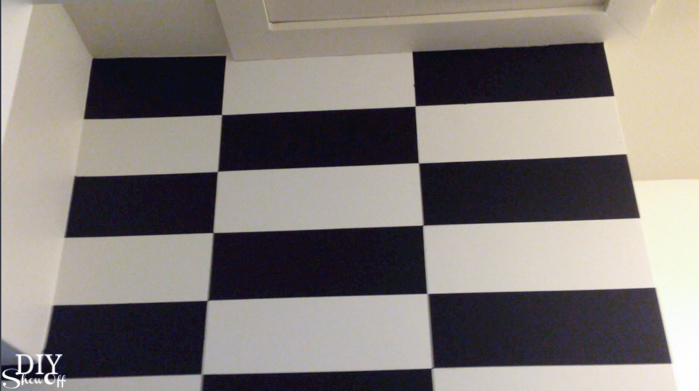
But adding black staggered stripes is a fun way to add a punch of wow!

laundry room at diyshowoff.com

Supplies:

  • Paint – I use latex in an eggshell finish. One color as the base, a bolder color for the accent.
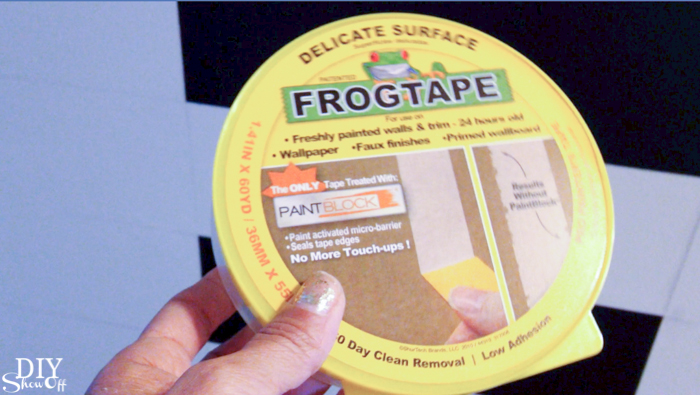
  • FrogTape® Delicate Surface (I also used FrogTape® Multi-Surface to start)

What I did:

Planning/measurements: I started by measuring the wall width and height. For me it’s 45.5 inches wide by 107 inches or so tall. My baseboard is 6 inches tall, leaving me with 101 inches of height. I decided on 5 inch high stripes. With a 45.5 inch width, I decided on roughly three 15 inch columns.

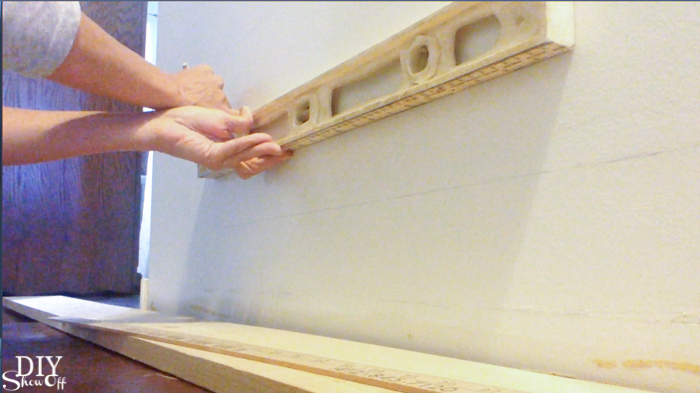
I’m going to start with how I did the design since painting the base color is basic…just paint the wall! For the stripes, using a yard stick, I made pencil marks every 5 inches above the baseboard and along the wall. 

staggered stripes accent wall @diyshowoff.comstaggered stripes accent wall @diyshowoff.com

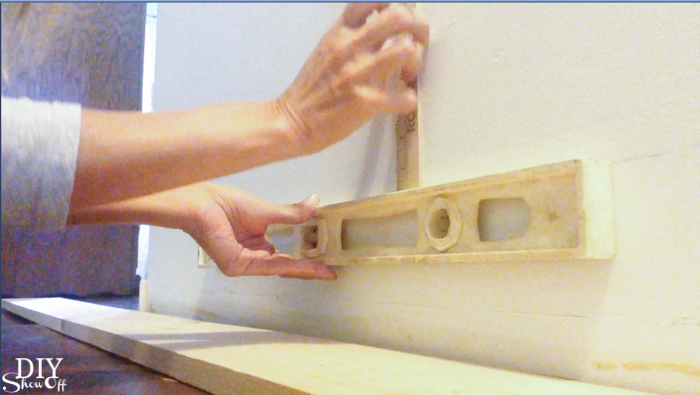
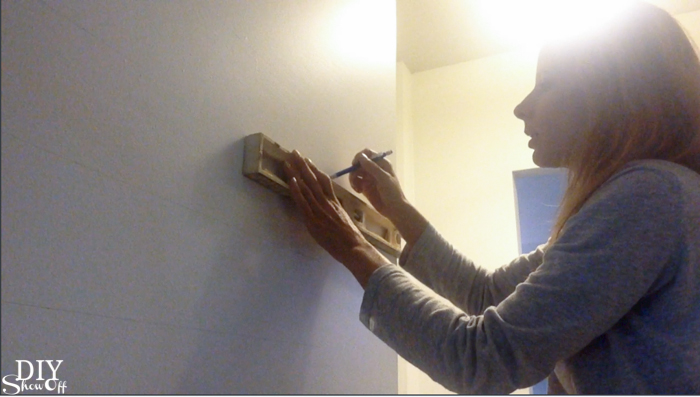
I then connected the dots using a light pencil line and my level to create evenly spaced horizontal lines up the wall from baseboard to ceiling.

staggered stripes accent wall @diyshowoff.com

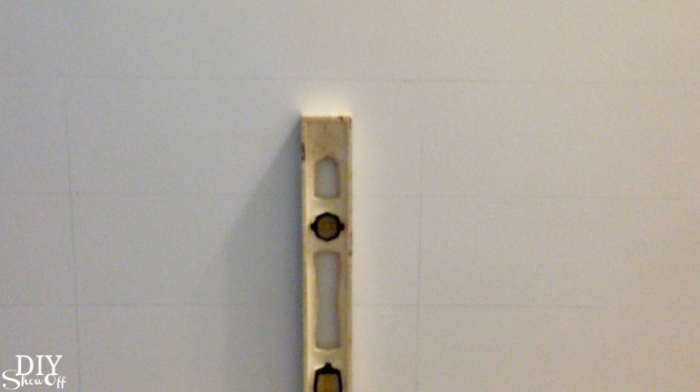
Because dividing 45.5 into 3 equal sections gets an odd long number, I made a mark in the center of each horizontal line on the wall (for me that was 27.75). From the center, I made a pencil mark at 7.5 inches left and right. My center column on the wall will measure exactly 15 inches. The left and right columns will be slightly larger than the center 15 inch column (but unnoticeable). 

I then used my level to connect the dots to mark my vertical lines and to create three columns on the wall. 

staggered stripes accent wall @diyshowoff.com

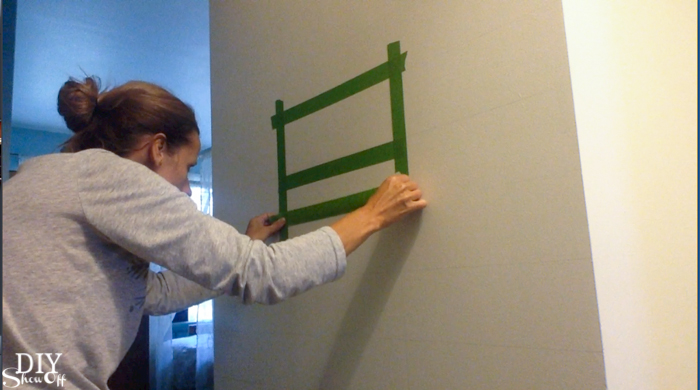
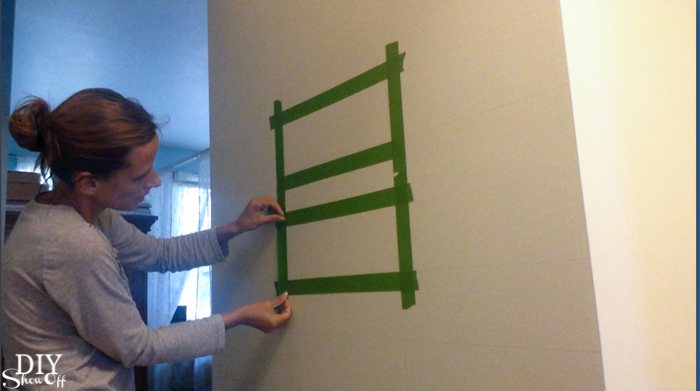
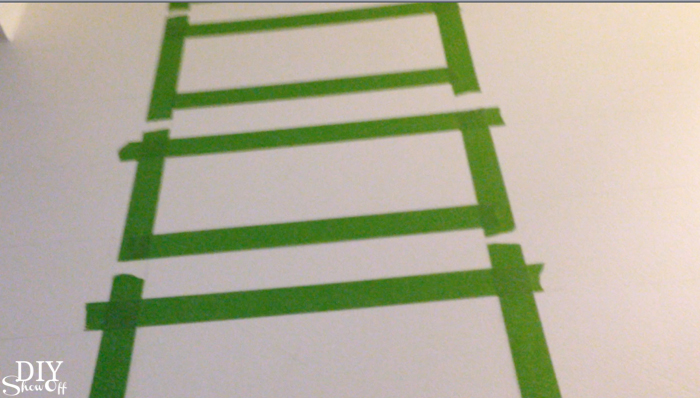
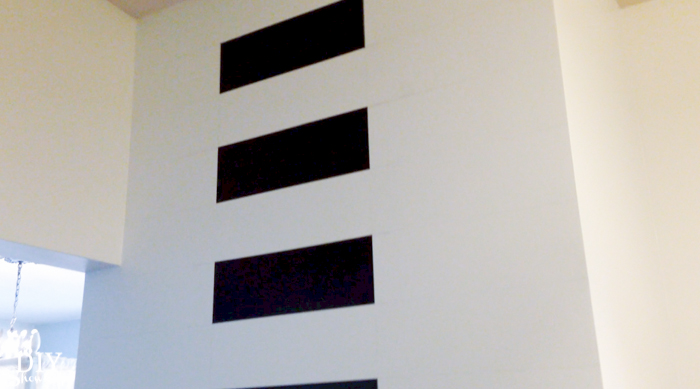
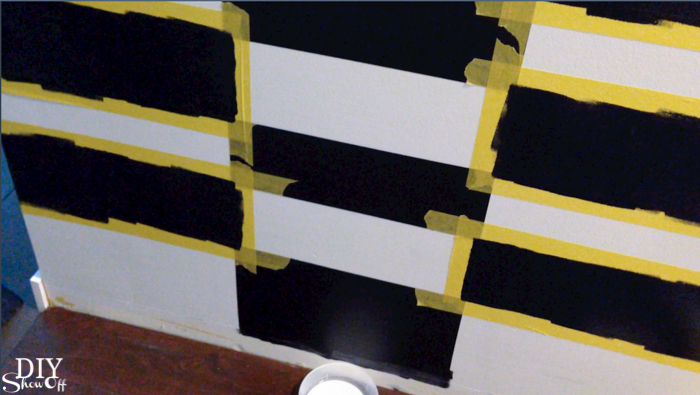
Time for FrogTape®! Starting with the center column, I taped off the “outside” of every other rectangle. 

staggered stripes accent wall @diyshowoff.com staggered stripes accent wall @diyshowoff.com staggered stripes accent wall @diyshowoff.com

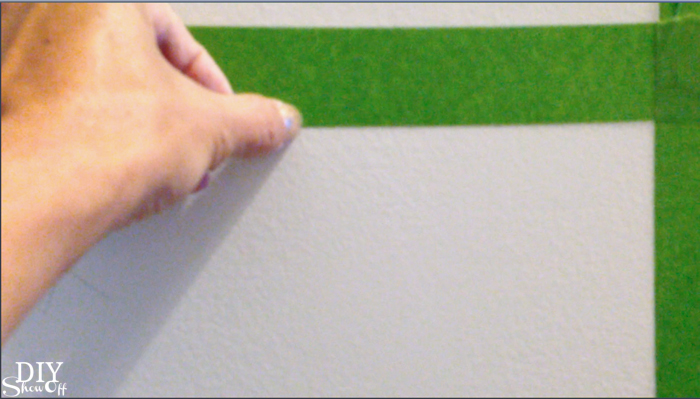
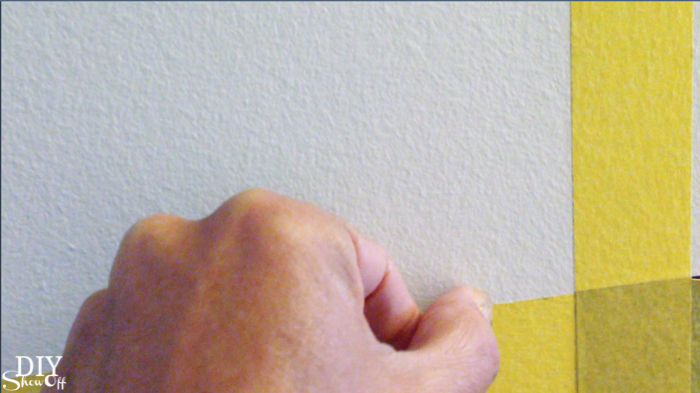
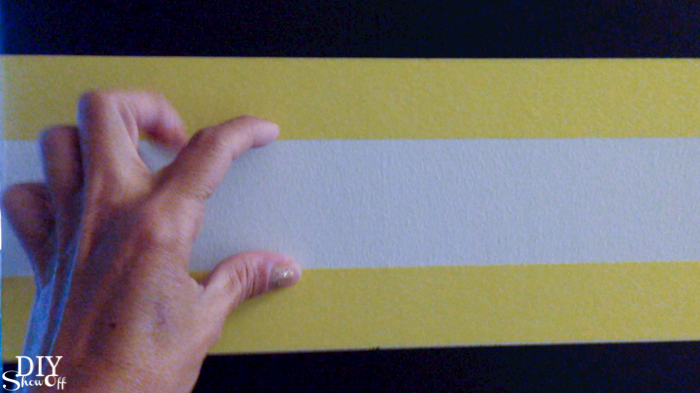
Burnish the edges of the FrogTape with a thumbnail.

staggered stripes accent wall @diyshowoff.com

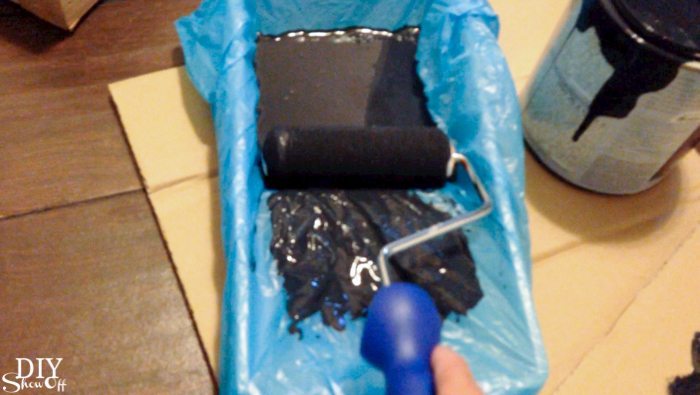
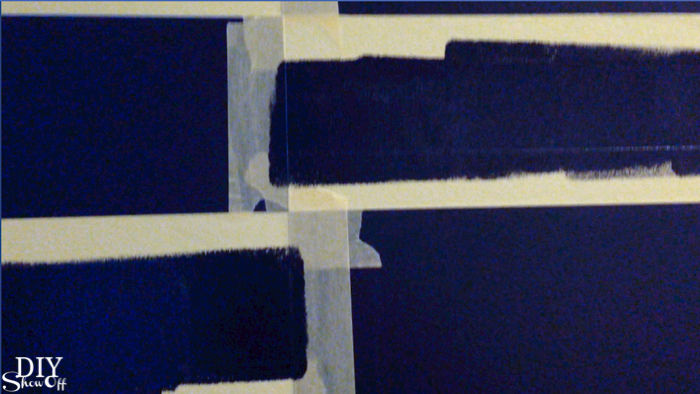
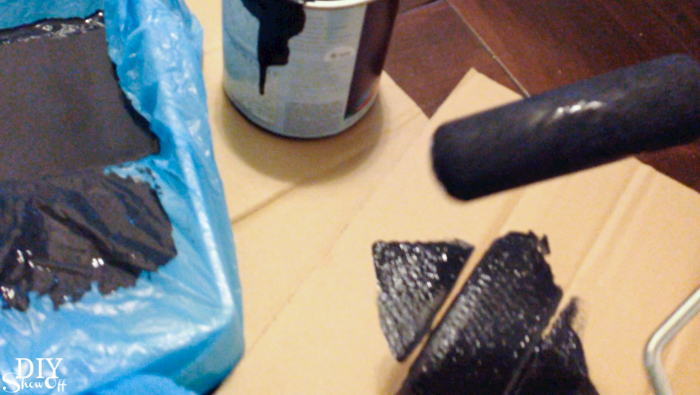
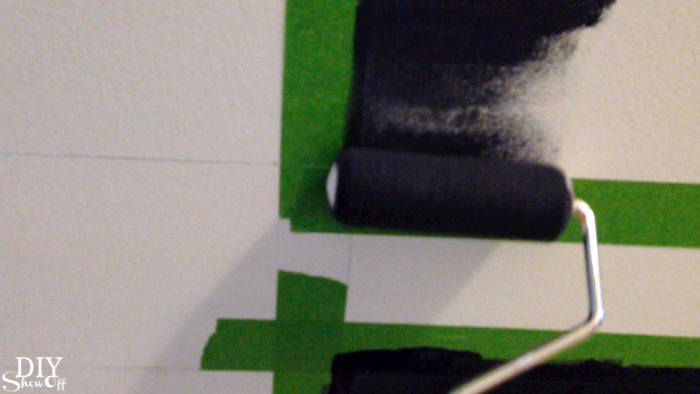
Using a dense foam roller, I painted each rectangle. I did three coats since I painted black on white. 

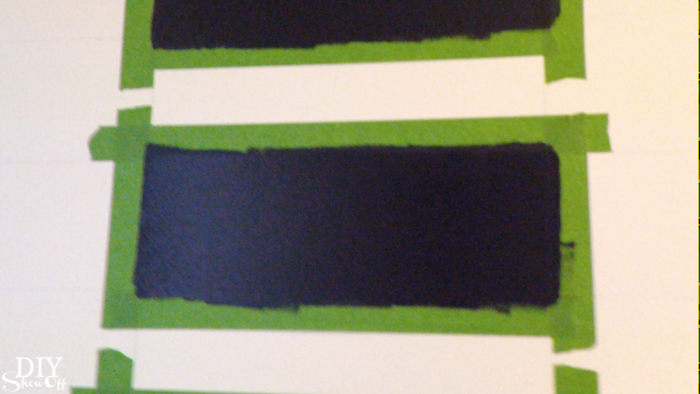
staggered stripes accent wall @diyshowoff.com staggered stripes accent wall @diyshowoff.com staggered stripes accent wall @diyshowoff.com staggered stripes accent wall @diyshowoff.com

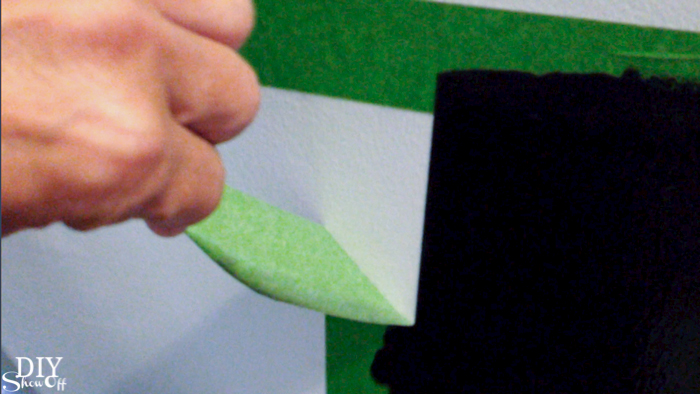
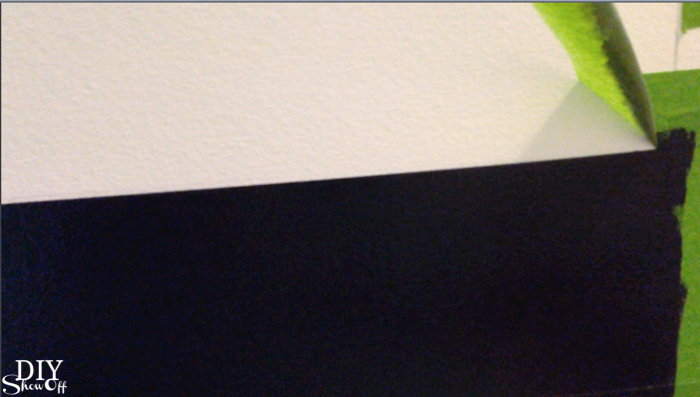
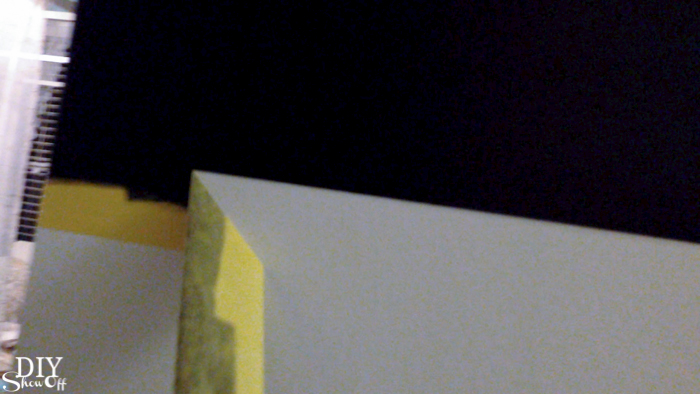
While the last coat of paint was still wet, I removed the FrogTape by pulling away from the paint. Let dry 24 hours. 

staggered stripes accent wall @diyshowoff.com staggered stripes accent wall @diyshowoff.com staggered stripes accent wall @diyshowoff.com

Time to paint the left and right columns! Using FrogTape Delicate Surface (since the black paint is still fairly fresh), I taped off each rectangle (staggered from the center column). 

staggered stripes accent wall @diyshowoff.com

Again, burnish the edges of the FrogTape with a thumbnail then paint. I did three coats throughout the day. 

staggered stripes accent wall @diyshowoff.comstaggered stripes accent wall @diyshowoff.com

While the last coat of paint is still wet, remove the FrogTape by pulling away from the paint. Let dry 24 hours. 

staggered stripes accent wall @diyshowoff.com

As is the way with DIY, I was not liking my initial design. It was more of a check board/racing flag look. Not what I was going for at all! Yikes! OH NO NO NO!

staggered stripes accent wall @diyshowoff.com

The fix: So, on the right and left columns I applied a strip of FrogTape Delicate to the white rectangle boxes/stripes…one on the top edge, one on the bottom edge. 

staggered stripes accent wall @diyshowoff.com

Then painted the white middle section of each rectangle black. Again, 3 coats!

staggered stripes accent wall @diyshowoff.com

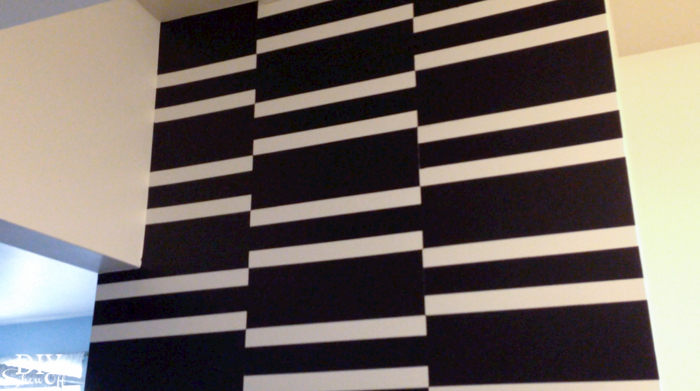
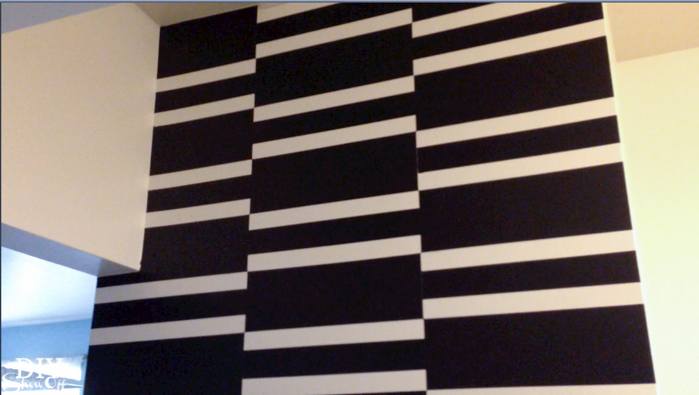
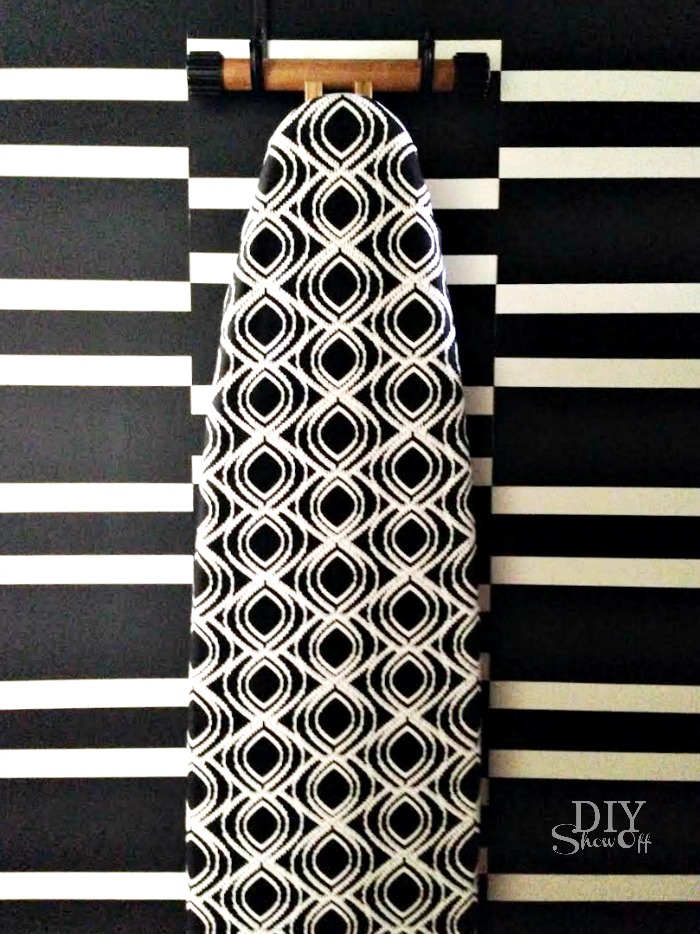
While the last coat was still wet, I removed the FrogTape….and the result was MUCH BETTER! It has a sort of 3D look to it. I was going to do that last paint step on the middle column’s black rectangle with white paint in the center but ended up liking it as is. 

staggered stripes accent wall @diyshowoff.com

It really pops agains the otherwise neutral white laundry room with silver appliances, black walnut porcelain tile floor, bright green decorative accents and adds some fun dimension. 

staggered stripes accent wall @diyshowoff.com

Well worth the math. Well worth the few hours of work a day for a couple of days. Now I get to enjoy the result for years! *I had to lighten the pictures (causing graininess) because there is NO natural light in this room.

laundry room wall at diyshowoff.comlaundry room at diyshowoff.com

It’s the perfect back drop for my ironing board with DIY cover too! Don’t you think?

laundry room at diyshowoff.com

More FrogTape Wall Ideas:

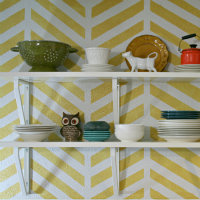
easy painted accent wallFrogTape-accent-wall

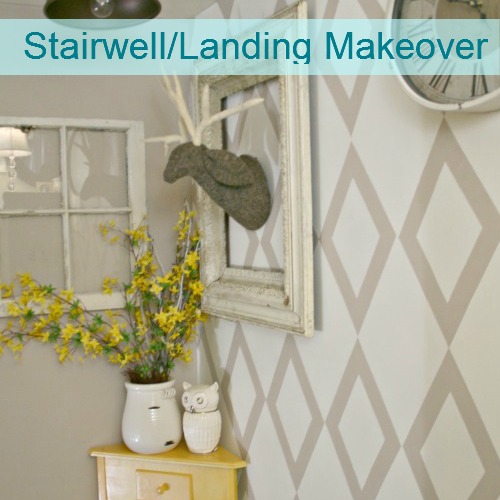
herringbone accent wall at diyshowoff.comDIY Show Off Home Tour - stairwell landing makeover

The annual Earn Your Stripes™ painting contest is taking place right now!!! Grand prize is $5,000.00!! I’d LOVE for a DIYShowOff reader to win! Imagine what you can do with $5000! Since I can’t enter, I hope you will! I’ll be participating in the judging! Enter here —> https://promotions.frogtape.com/earn-your-stripes/

FrogTape Earn Your Stripes

Deadline to enter is now through July 1st – so, plenty of time to get creative hats on and execute a project.  You’ll need before, during and after photos.  Here are the official rules: https://promotions.frogtape.com/earn-your-stripes/rules. Here are the FAQ’s for the contest:  https://promotions.frogtape.com/earn-your-stripes/faqs

Best part, all entries (see official rules) will receive a free roll of Shape Tape! Good luck! 

FrogTape Blog Squad

Disclaimer: I received compensation to complete this project for using FrogTape® products. All opinions, projects and ideas are based on my own experience.

16 Fabulous Leather Tutorials for the Home

Hello there friends of Roeshel! My name is Corinna and I’m the blogger behind For My Love Of. I love my home, and the process of making it a beautifully decorated home. For the past 2 years I’ve been learning and sharing different DIY home improvement and decor techniques on my blog. It’s a fun journey and I’m hoping it encourages others to take passion in their homes too. My most recent obsession in home decor is leather, so I’m pretty excited to be sharing today’s post with you- 16 Fabulous DIY Leather Tutorials for The Home!

*Please remember to pin from the original sources listed below.

16 Fabulous DIY Leather Tutorials For The Home Ugly Sofa Upcycled Into Leather Safari Sling Bench
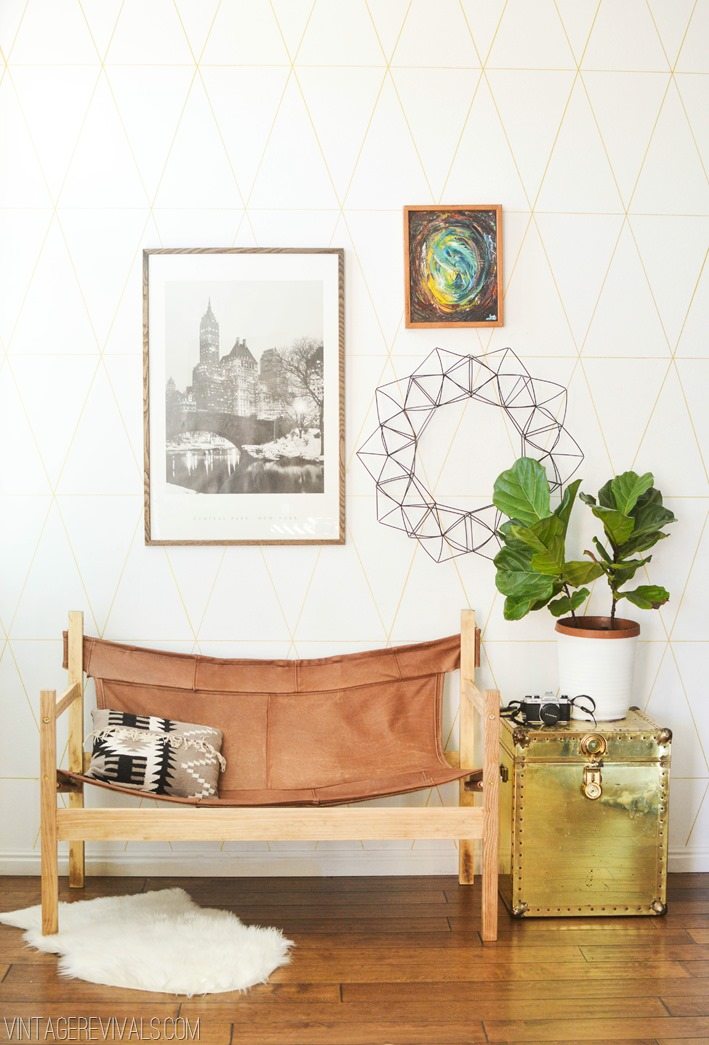
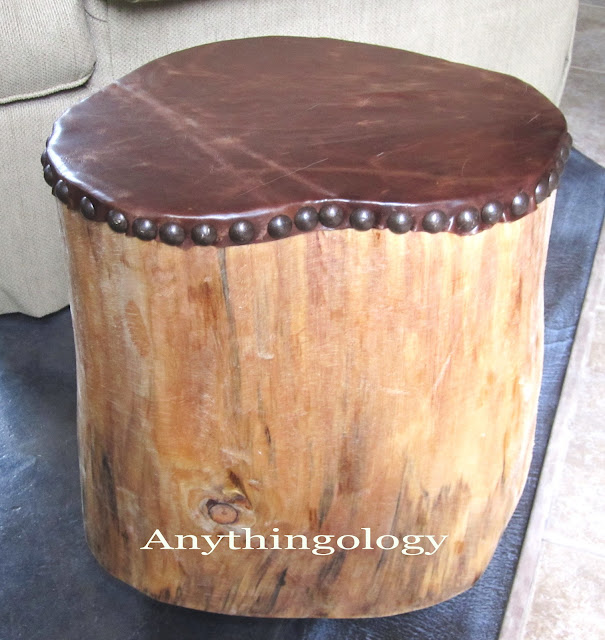
Might as well start big or go home, am I right? Ugly Sofa Upcycled Into Leather Safari Sling Bench by Mandi of Vintage Revivals. Incredibly impressive, using the fabric from one couch to create a sofa from bare materials! DIY Leather Herb Labels DIY Leather Herb Label by Chris Loves Julia. If you’re growing your own herbs, dress them up with cute leather labels! leather studded stump Leather Studded Stump by Anythingology blog. Everybody loves a good tree stump stool, and you can amp up a raw one with leather and upholstery tacks!

DIY Stitched Leather Stool

DIY Minimal Leather Stool Cover by Meg Kemner for Design Milk. Another fantastic stool, and so minimalistic! Personally, I think it could look really neat with colorful legs too! DIY (faux) leather accent pillow DIY Leather Accent Pillow by For My Love Of for The Love Nerds. For an easy touch of leather, and minimal tools, try adding a leather accent pillow!

hand sewn leather pillow tutorials

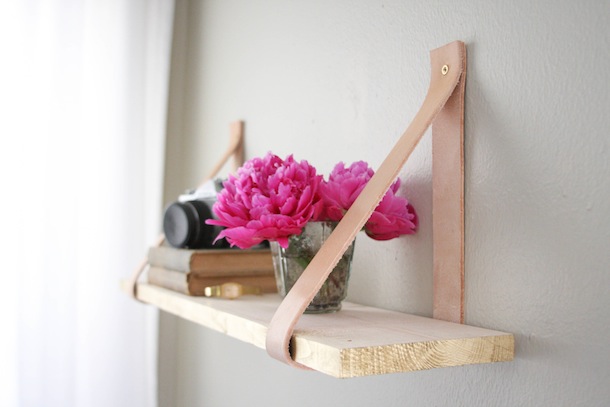
Pump up a basic pleather pillow with neon embroidery floss and some time and create a Hand Embroidered Leather Pillow with Pop of Neon by For My Love Of. Wood & Leather Suspended Shelf Wood & Leather Suspended Shelf by Camille Styles. Add style and texture in one easy DIY shelf!

DIY Leather Coasters

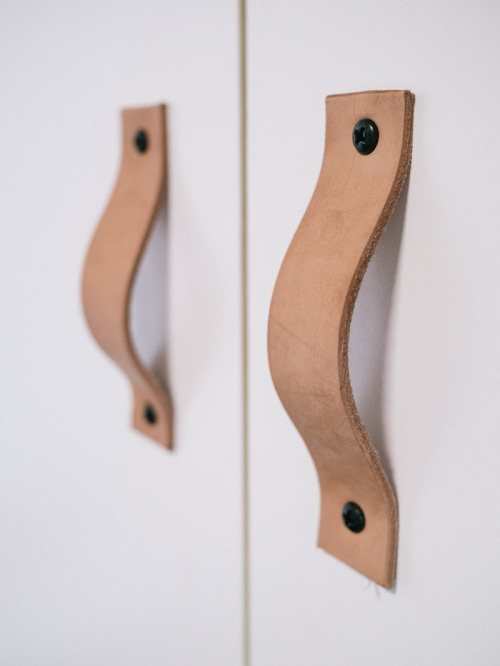
DIY Leather Coasters by Carly of Create Live Blog. For all the remnant leather fabric from other projects, you could create these fabulous coasters! DIY Leather Plant Hanger DIY Leather Plant Hanger by Steven Soria of Make Smith Leather Co. for Design Sponge. The honeycomb pattern created by the cuts in the leather is too cool for words. DIY Braided Leather Hanging Planter Tutorial DIY Braided Leather Hanging Planter by For My Love Of. And because hanging planters are so practical, here’s another one using leather-like materials. DIY Leather Cabinet Handles DIY Leather Cabinet Handles by Veronica Loves Archie. Another great project for leather remnant pieces. Definitely takes the boring out of those basic white cabinets.

Wood + Leather Magazine Holder DIY

Wood + Leather Magazine Holder DIY by A Beautiful Mess. A bit more skill is involved, but the end result is a stunning piece. Woven Stool Tutorial Woven Leather Stool Tutorial by Matt of Wood & Faulk. A great dose of leather and would make a fantastic footstool! Modern Leather Bench Tutorial
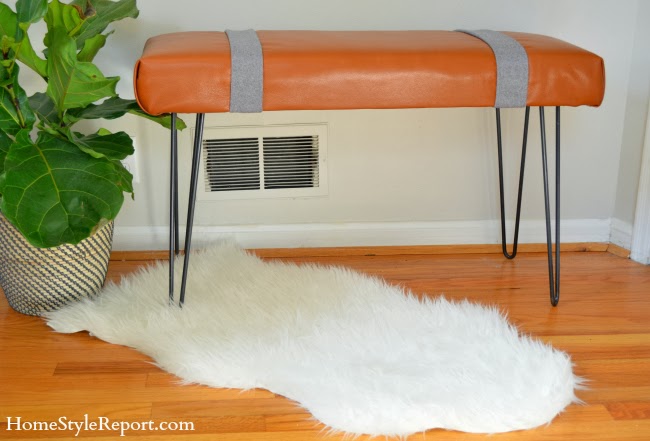
DIY Modern Leather Bench w/Hairpin Legs by Home + Style Report. I feel like this would be so practical for those of us with kids and it’s so stylish too!

 DIY Home Decor: How to Make a Leather Valet Tray

How to Make a Leather Valet Tray by Paul for Apartment Therapy. Couldn’t you find lots of uses for a leather tray like this one? DIY Leather Organizer Organize paperwork and add a dose of leather to your work space with this DIY Leather Organizer by Mandy Pellegrin for Design Sponge.
I hope you’ve enjoyed this collection of fabulous DIY projects and are inspired to try the material (faux or real) in one of your next home decor projects! Please share any of your leather projects in the comments below!

Facebook | Pinterest | Twitter | Instagram | Google+
Blogger behind For My Love Of

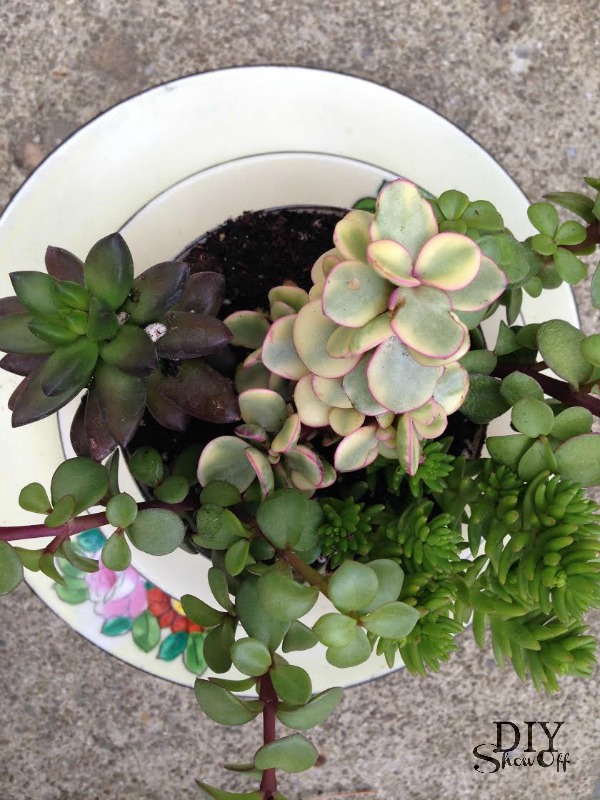
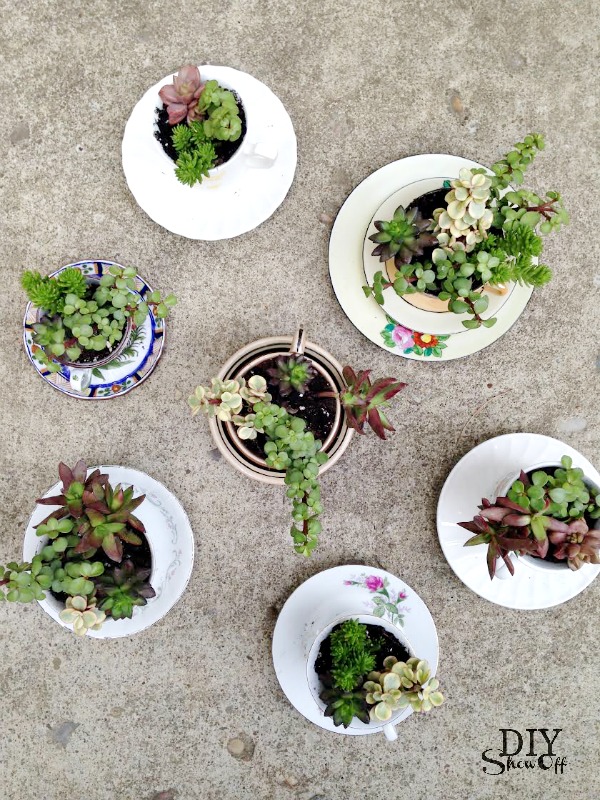
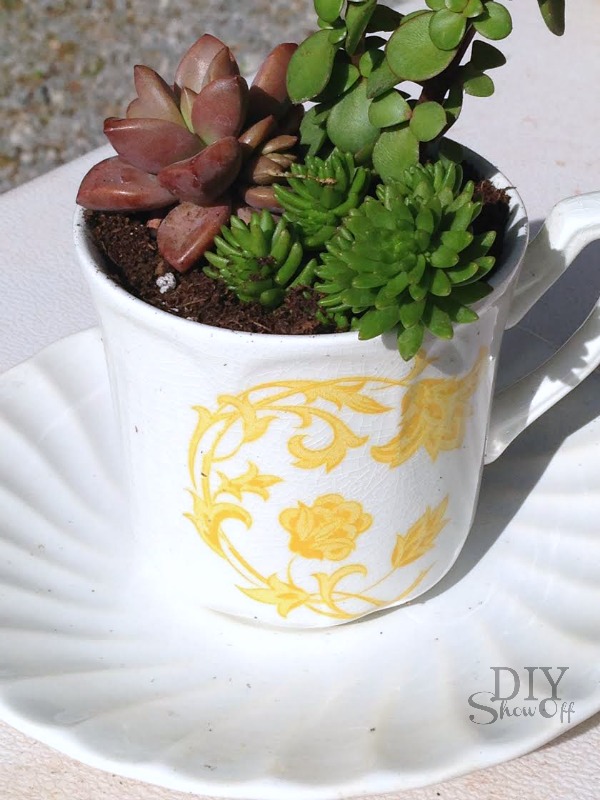
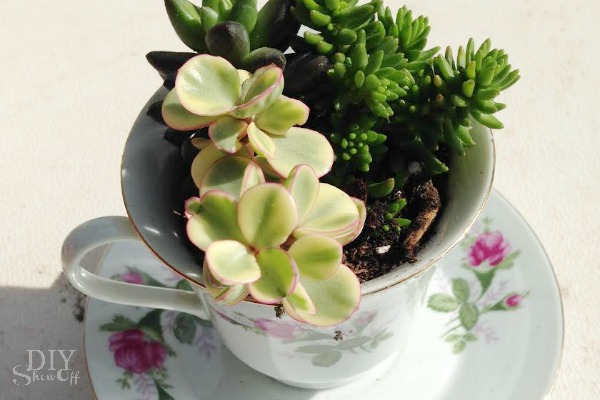
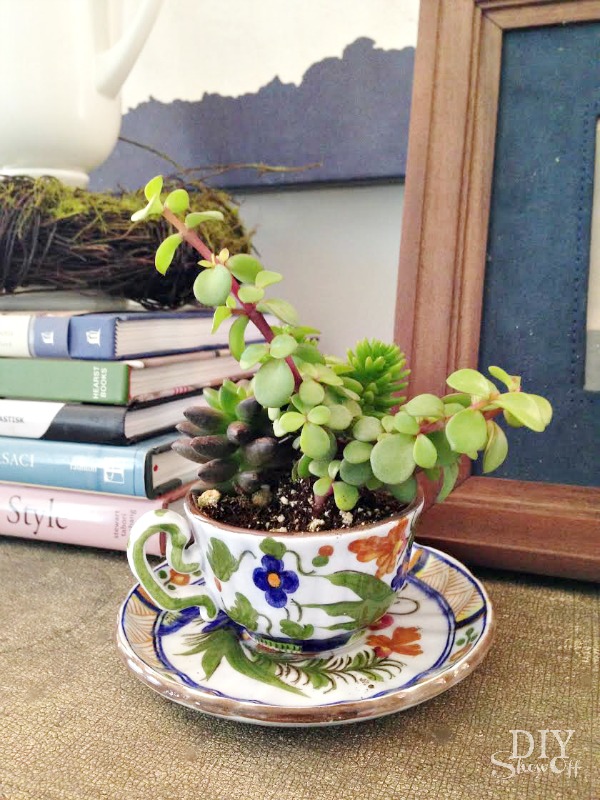
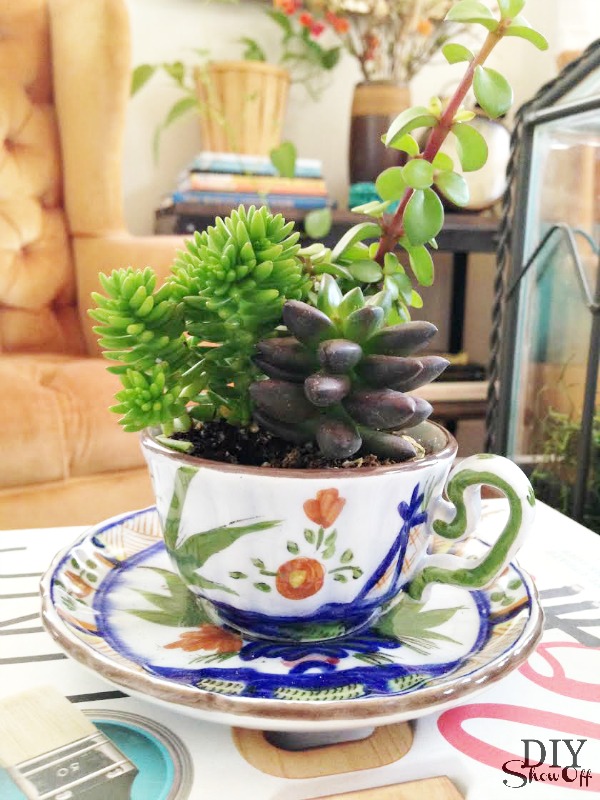
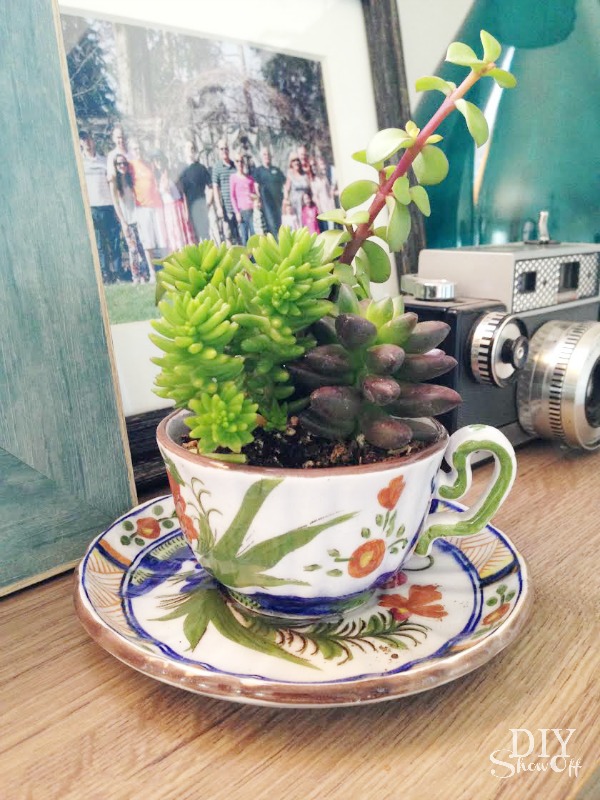
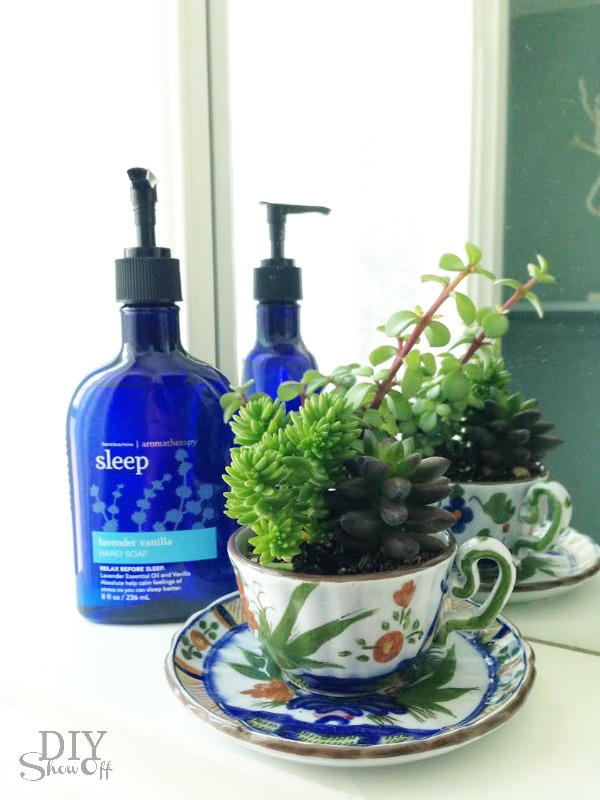
Tea Cup Succulent Planters

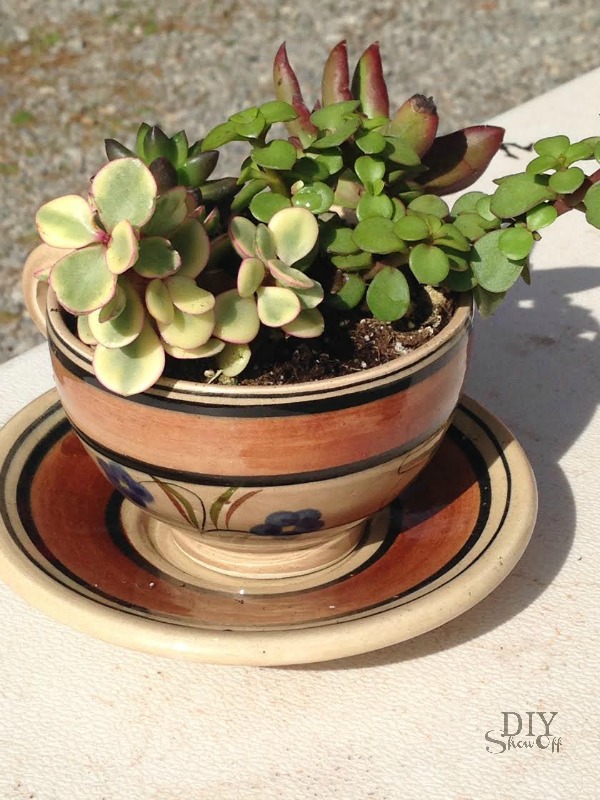
It’s become a tradition! Last year for Mother’s Day, the females in our family each planted flowers in chandelier planters. This year, we worked on another planting project but on a much smaller scale. Bri and I scoured the thrift stores for tea cups and saucers.
tea cup succulent planters at diyshowoff.com

And everyone planted some succulents in their tea cups. 

succulent planters - diyshowoff.com succulent teacup tutorial at diyshowoff.com succulents - diyshowoff.com tea cup planters - diyshowoff.com tea cup succulent planter - diyshowoff.com tea cup succulent planters - diyshowoff.com

So cute! Now to decide where to display mine…

tea cup succulent planters at diyshowoff.com tea cup succulent planters at diyshowoff.com tea cup succulent planters at diyshowoff.com tea cup succulent planters at diyshowoff.com

More planter ideas…

DIY Chandelier Plantertire flower planter tutorial at DIYShowOfffree-standing-vertical-pallet-herb-gardenDIY wire succulent gardenHow to Make Stacked Stenciled Ombre Flower Potshouse number flower pots


This post is sponsored by my Young Living business! Check out my essential oils page for more information on how you can get these amazing oils in your hands too along with helpful freebies, a gift from me, and tons of support:

young living essential oils @diyshowoff