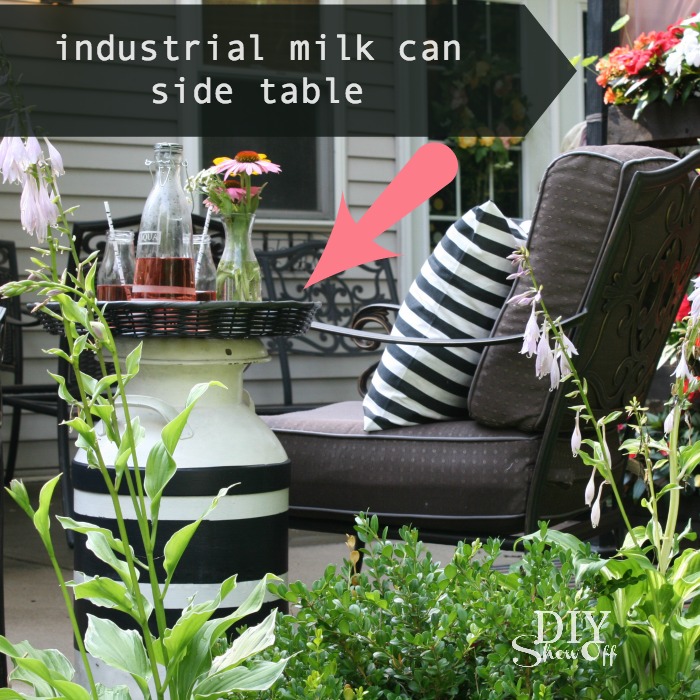
Industrial Milk Can turned Side Table

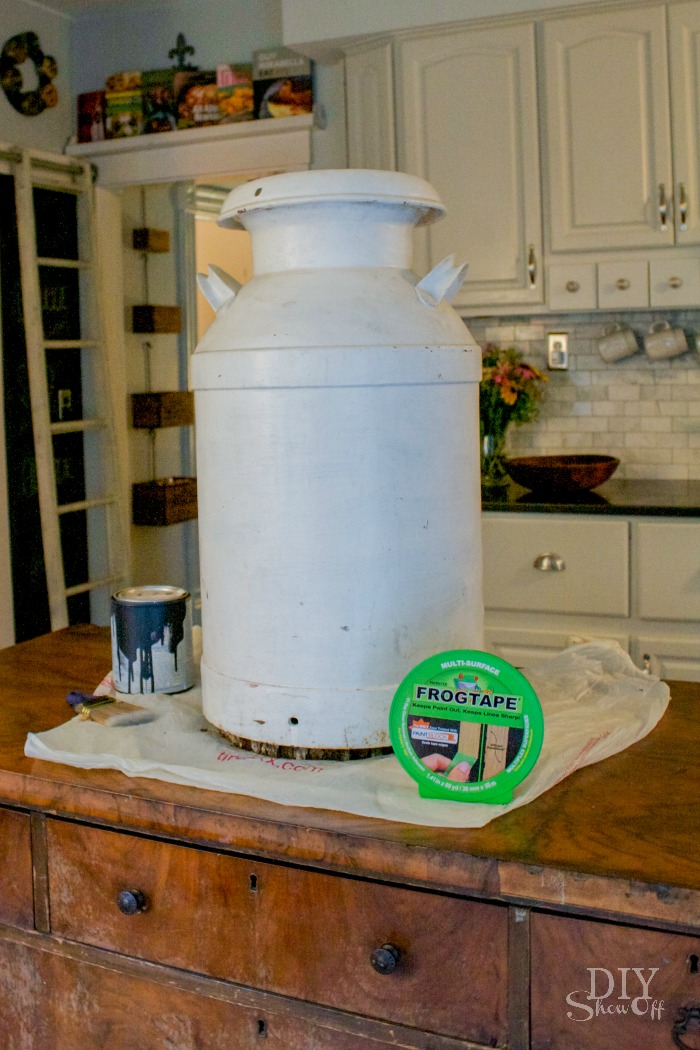
I’ve had old industrial milk can laying around, collecting dust (cobwebs too) just waiting for a fun DIY and repurposing it for a fun side table to add some charm to the patio seemed like just the right idea. 

DIY industrial milkman side table @diyshowoff summer patio

Materials I used:

  • found industrial milk can
  • black paint + primer in one
  • FrogTape® MultiSurface
  • round wicker-like tray (also found…thrift store, I think) 

What I did: 

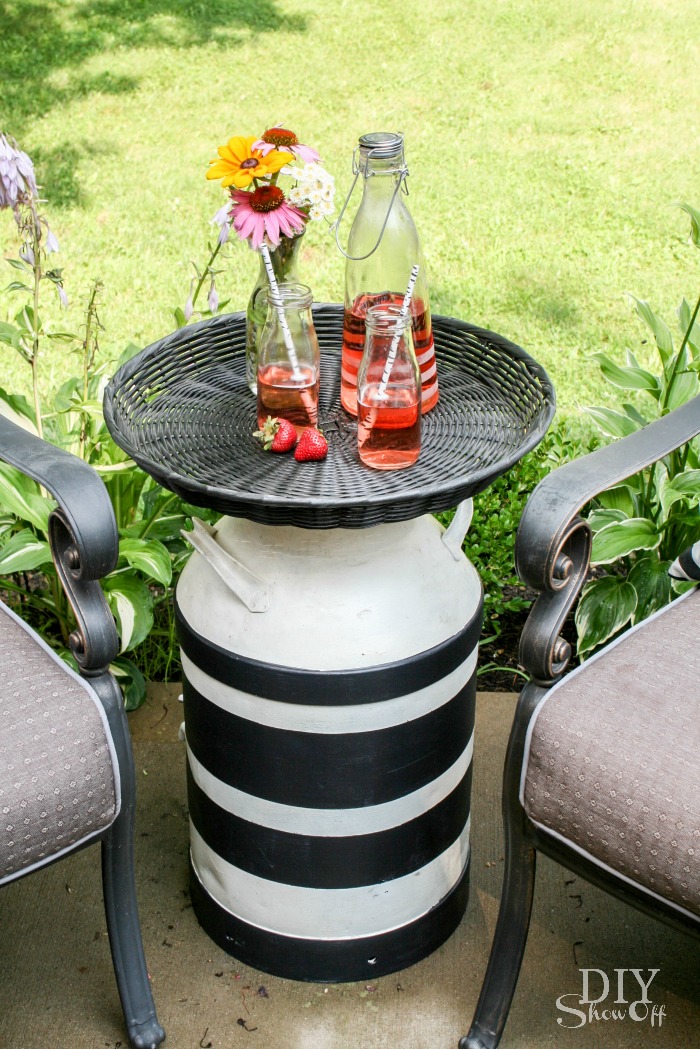
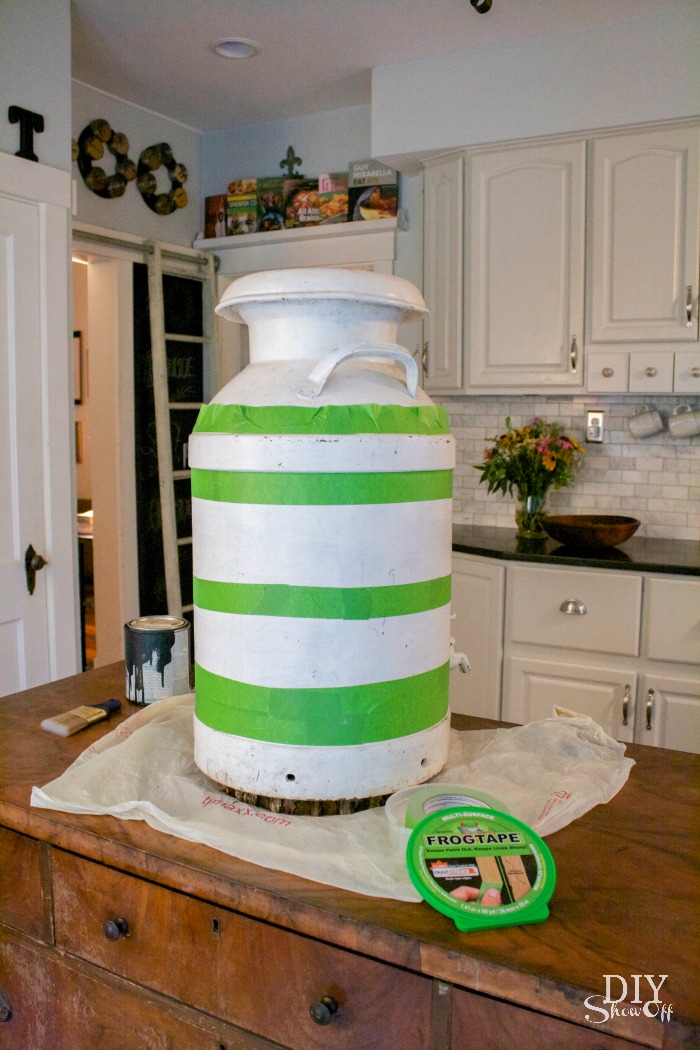
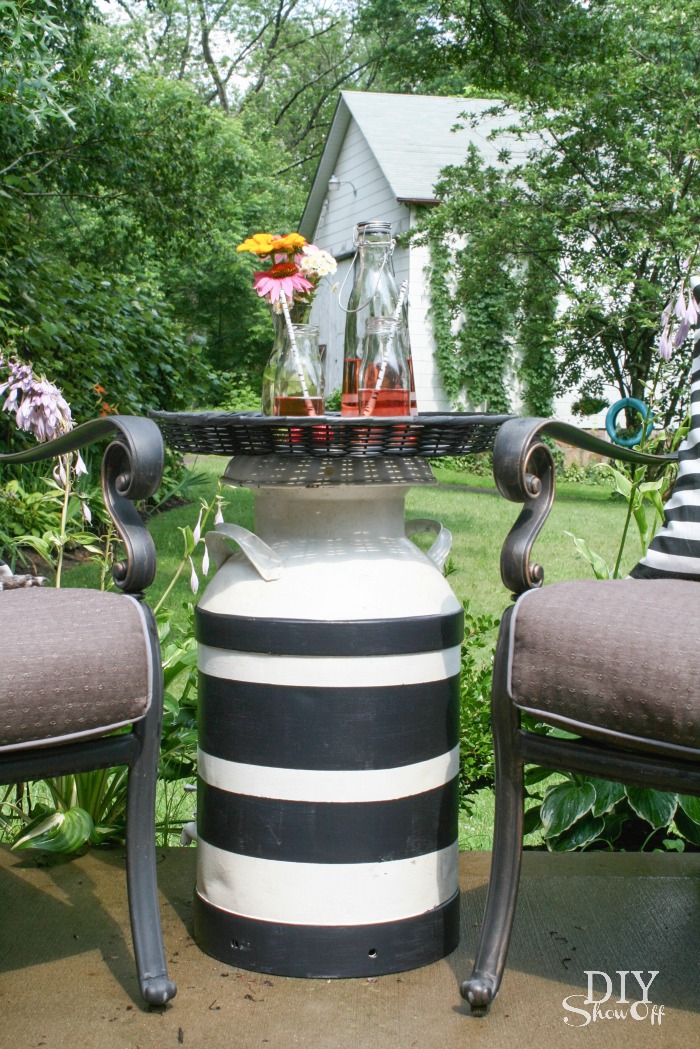
I like the distressed/dinged up paint finish but it needed a little pizazz. I gave it a good cleaning, then using FrogTape, I added some bold stripes. 

DIY industrial milkman side table @diyshowoff summer patio

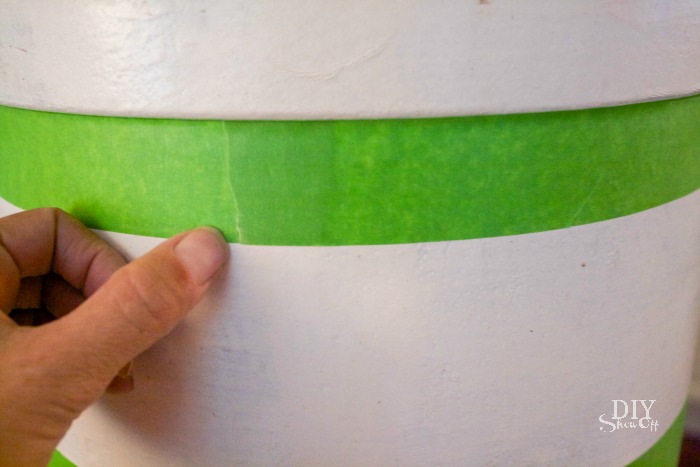
A spider crawled out of that hole too! Yikes! Once that was taken care of, using my thumbnail, I burnished the edges of the FrogTape to ensure crisp clean stripes.

DIY industrial milkman side table @diyshowoff summer patio DIY industrial milkman side table @diyshowoff summer patio

I applied two coats of black paint. Paint. Dry. Paint. 

DIY industrial milkman side table @diyshowoff summer patio

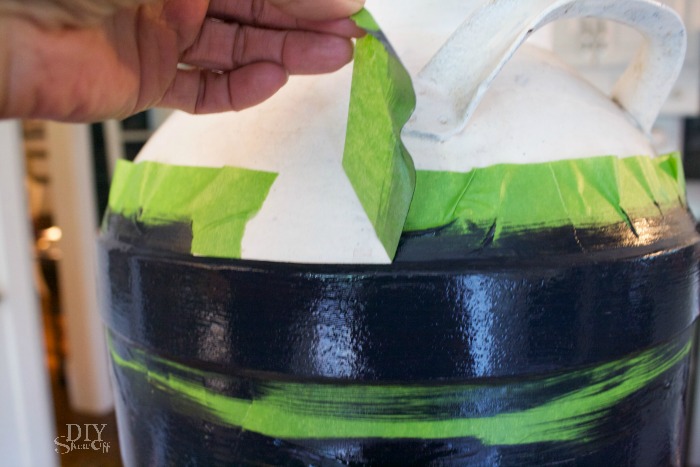
Right after I applied the second coat, while the paint was still wet, I carefully removed the FrogTape then let the paint dry. 

DIY industrial milkman side table @diyshowoff summer patio

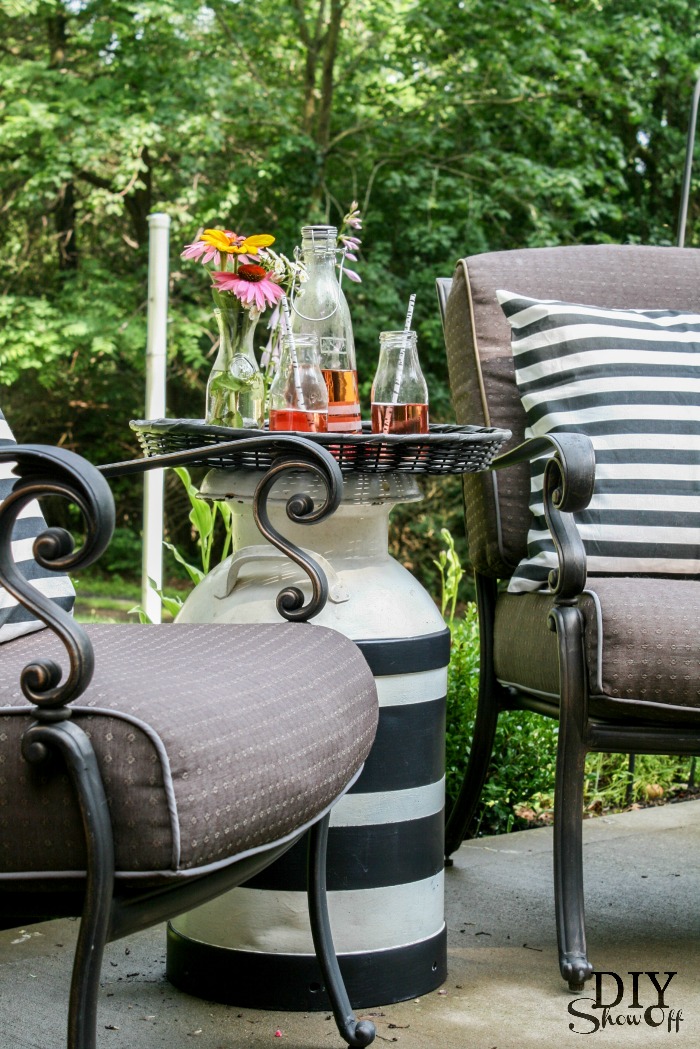
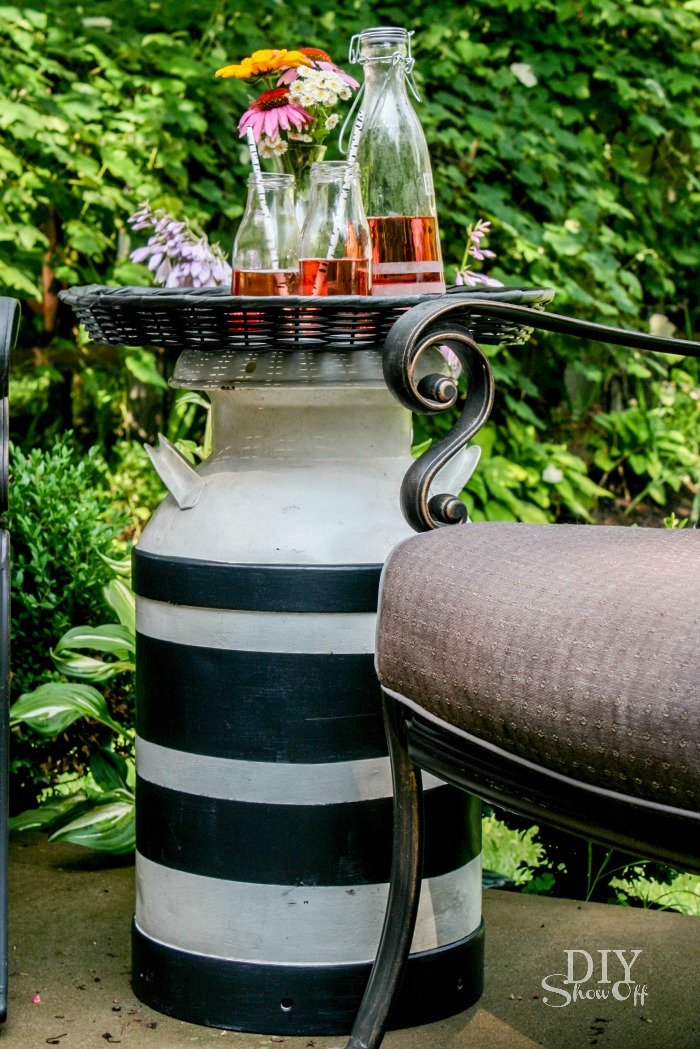
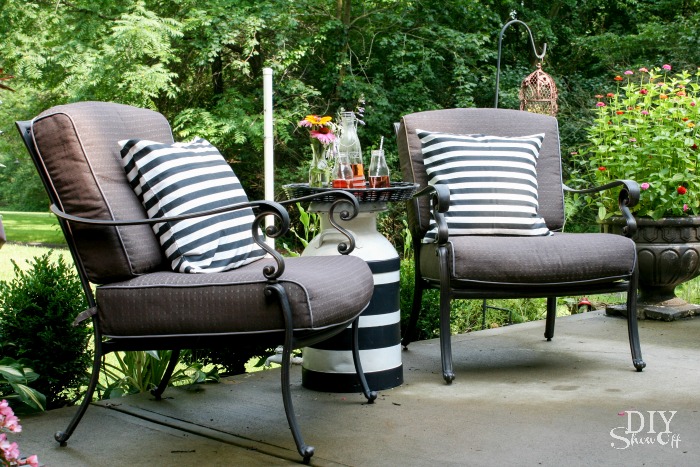
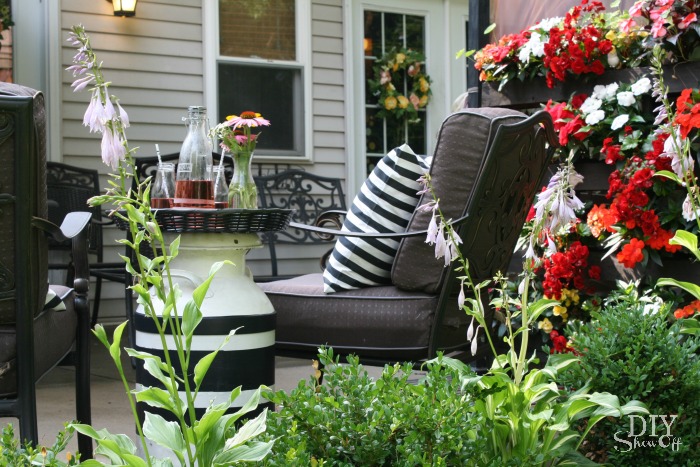
Secure a tray using whatever method you find best (glue and clamps, screws, etc.), (a round wooden table top or an old clock would be cool too) and ta-da! A fun side table for our patio: 

DIY industrial milkman side table @diyshowoff summer patio DIY industrial milkman side table @diyshowoff summer patio

I added in some coordinating accent pillows and I have a fun new look to a usually neutral area. The old industrial milk can is a great conversation starter too. DIY industrial milkman side table @diyshowoff summer patio DIY industrial milkman side table @diyshowoff summer patio DIY industrial milkman side table @diyshowoff summer patio DIY industrial milkman side table @diyshowoff summer patio
LOVE IT! Have you added any fun elements to your outdoor areas this summer? 

*I received compensation to complete this project for using FrogTape® products. All opinions, projects and ideas are based on my own experience.

 FrogTape Blog Squad

Colorblock Art

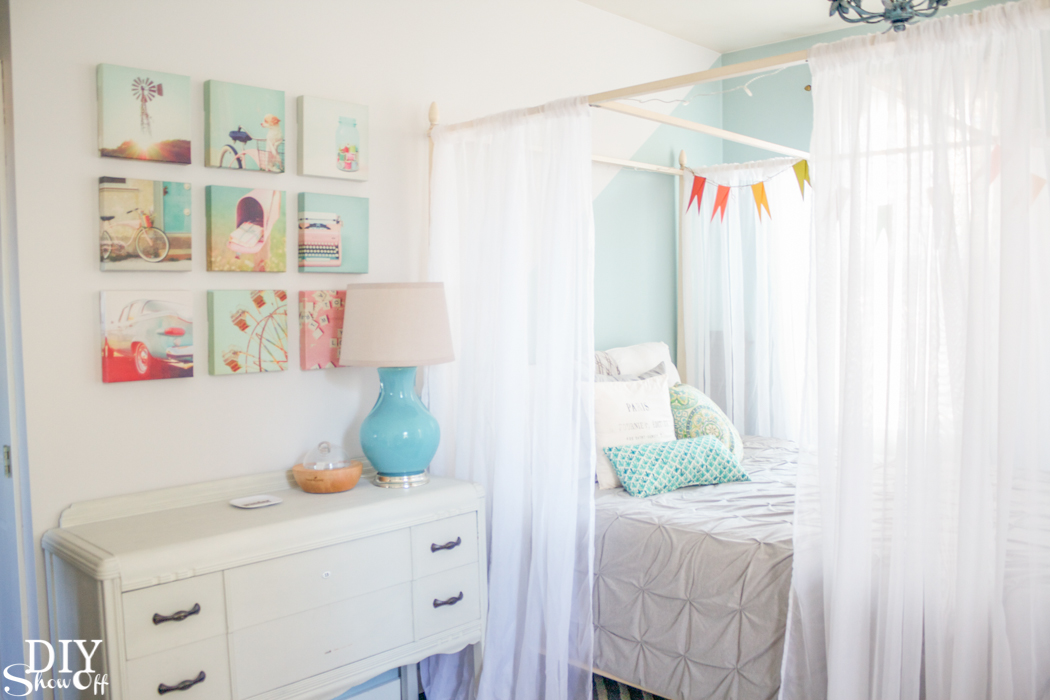
The area above the bed in the guest room was in need of a little something…

Guest Room/Nursery reveal @diyshowoff

I didn’t photograph the area in my guest room/nursery reveal closely because it was bare. But not anymore…

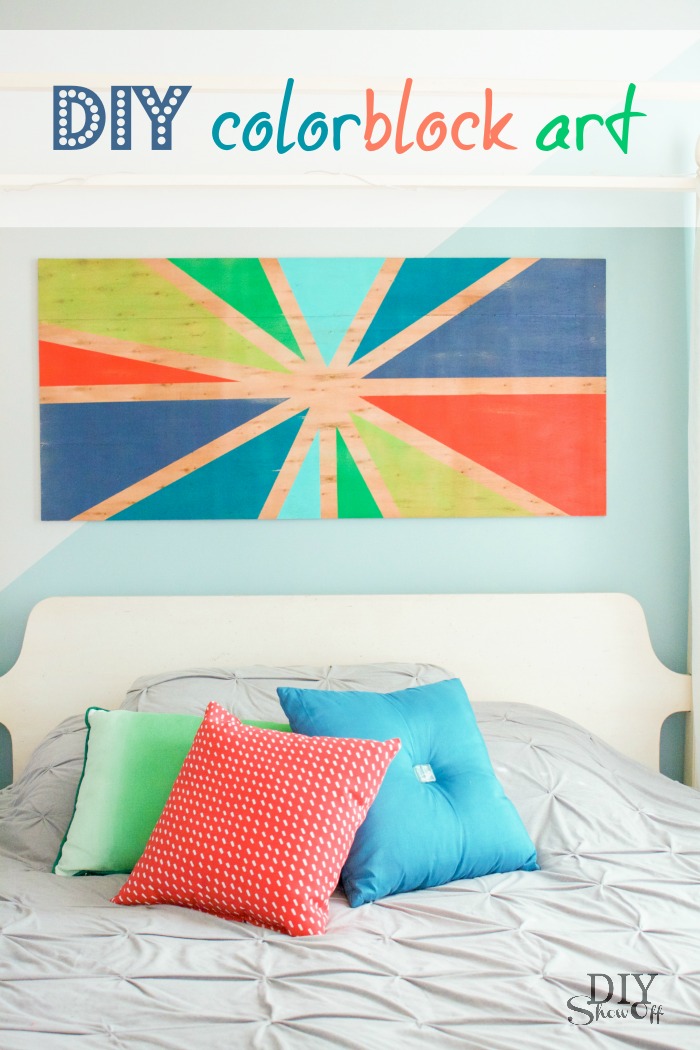
DIY color block sunburst wall art tutorial @diyshowoffI grabbed:

  • 48 x 22 inch plyboard (recycled from shipping packaging but available at the hardware store too)
  • FrogTape® MultiSurface
  • paint

Since my board was stored in the basement, I cleaned away the dust. 

Then measured and marked the center of my board. 

DIY color block sunburst wall art tutorial @diyshowoff

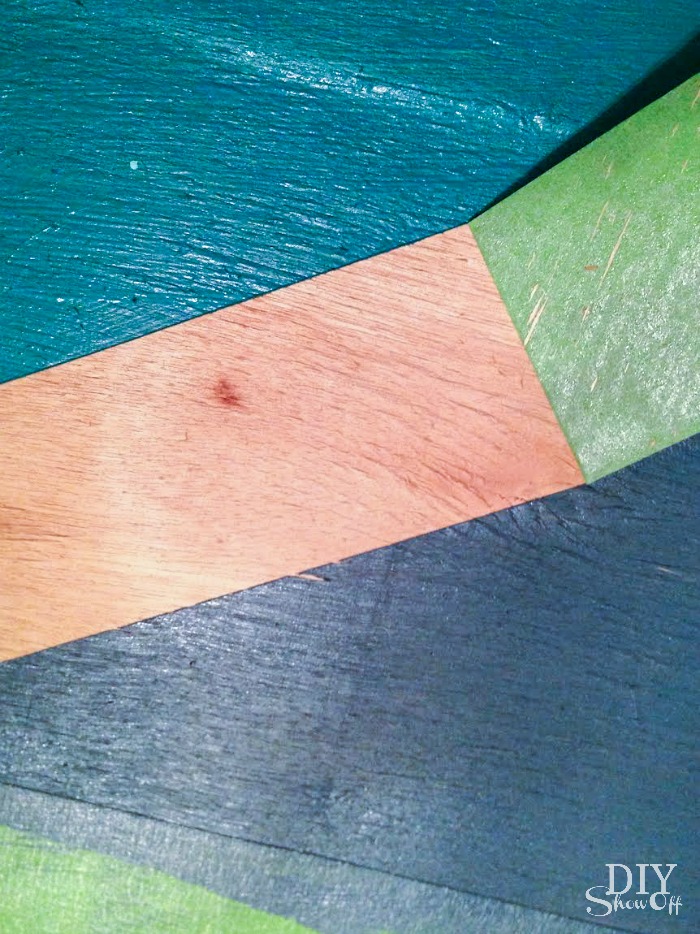
Next I applied FrogTape to create a sunburst design, starting from the center marking. I just placed my pieces randomly. 

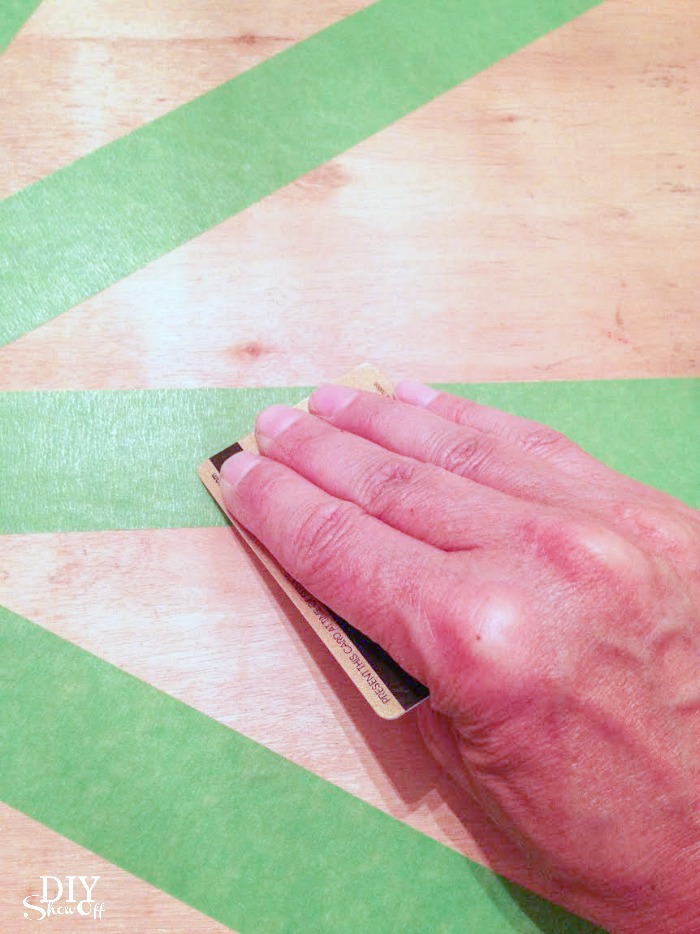
Using a gift card, I burnished the edges of the tape to get clean crisp lines. 

DIY color block sunburst wall art tutorial @diyshowoff

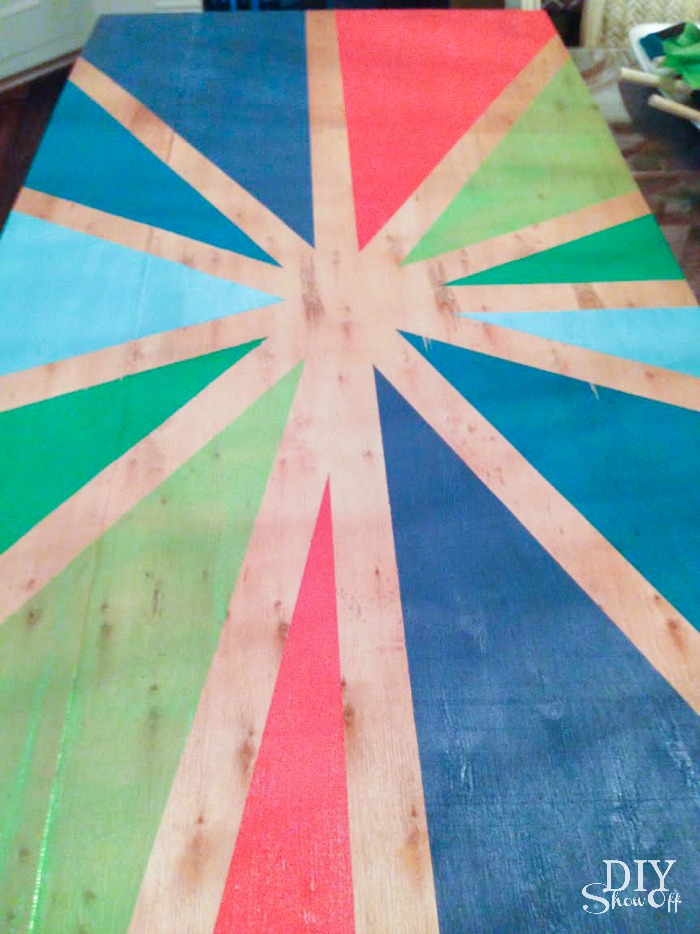
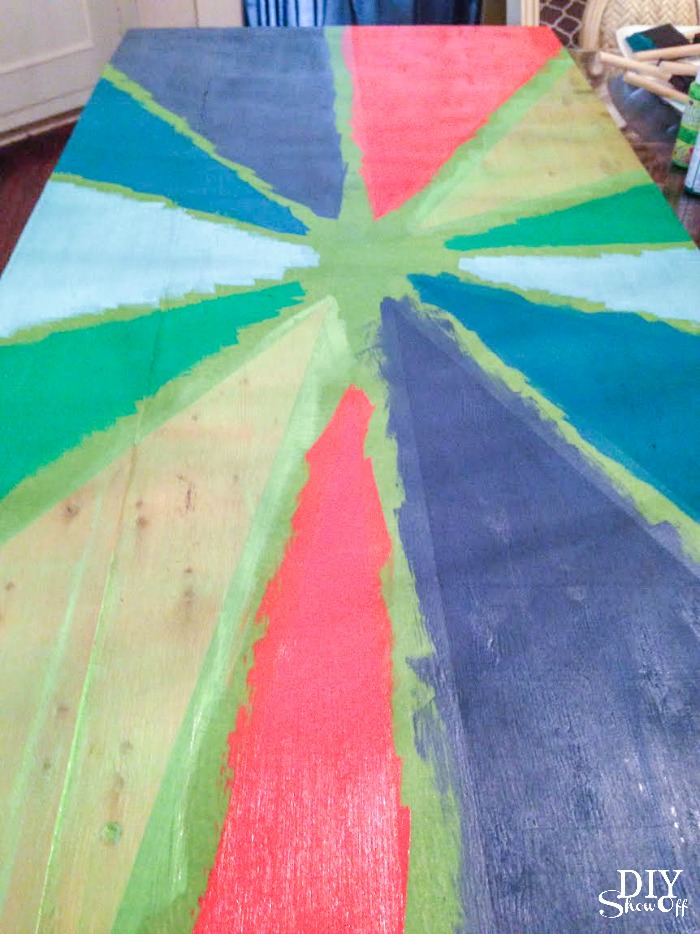
Then painted each area, applying paint in the direction of the wood grain with a foam brush. 

DIY color block sunburst wall art tutorial @diyshowoff

While paint was still wet, I carefully removed the Frogtape then let my painting dry. 

DIY color block sunburst wall art tutorial @diyshowoffDIY color block sunburst wall art tutorial @diyshowoff

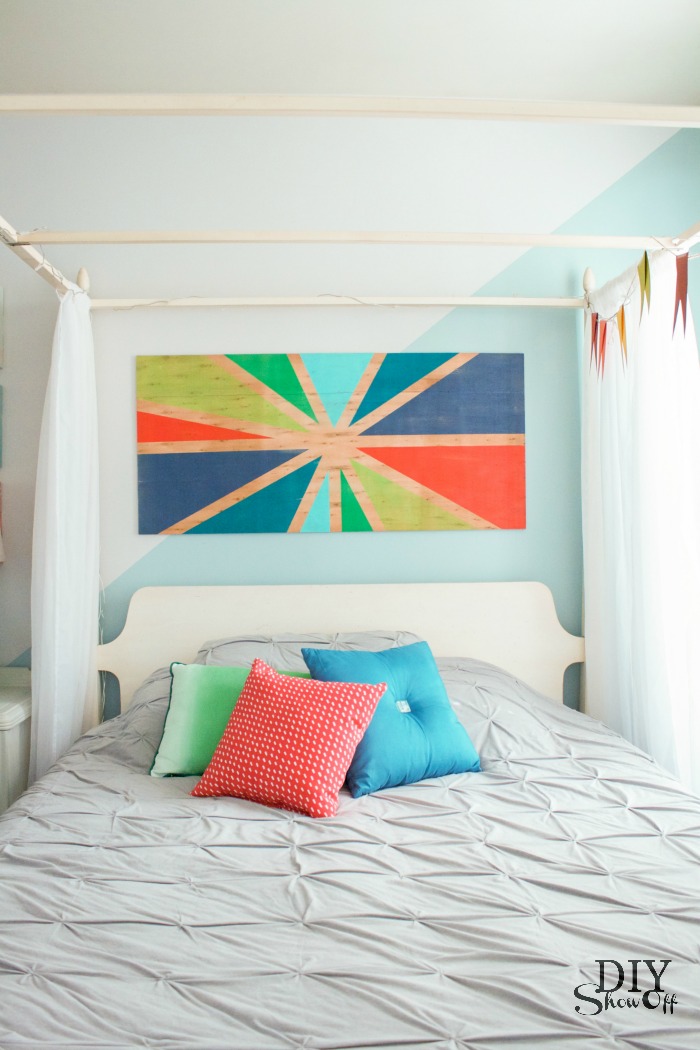
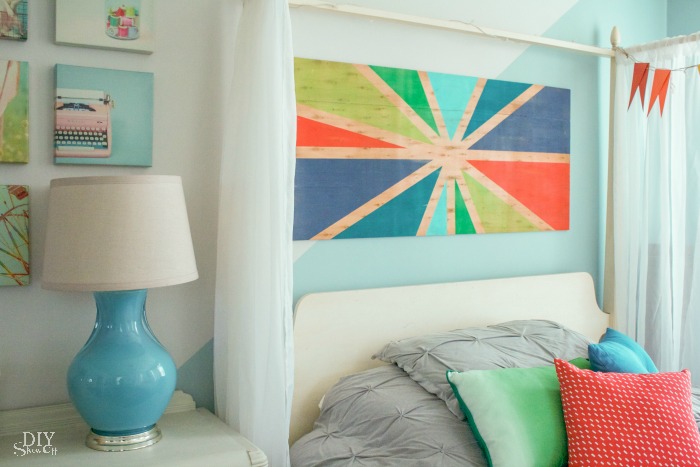
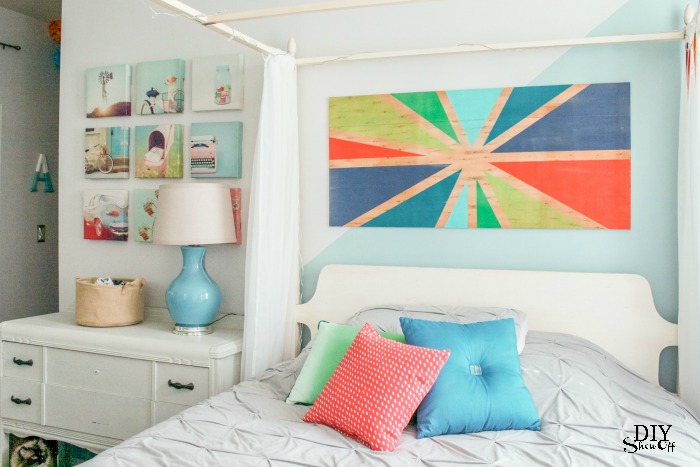
Add picture hanging hardware or use velcro hangers to display the masterpiece! It fills the space nicely and adds pops of color. Fun! A great way to add a big statement for little cost. 

DIY color block sunburst wall art tutorial @diyshowoffDIY color block sunburst wall art tutorial @diyshowoffDIY color block sunburst wall art tutorial @diyshowoff

{notice the photobomber? lol!}

I’m not very “artistic” when it comes to painting but a geometric pattern is something anyone can do. Coordinate colors with your existing decor, make a big statement without breaking the bank. 

See more details on the diagonal wall paint, the chevron/colorblock door and guest room/nursery makeover

easy diagonal wall paint design tutorial @diyshowoffcolor block door makeover @diyshowoffcombined guest room nursery reveal @diyshowoff 

*I received compensation to complete this project for using FrogTape® products. All opinions, projects and ideas are based on my own experience.

 FrogTape Blog Squad

Creating a Reading Nook

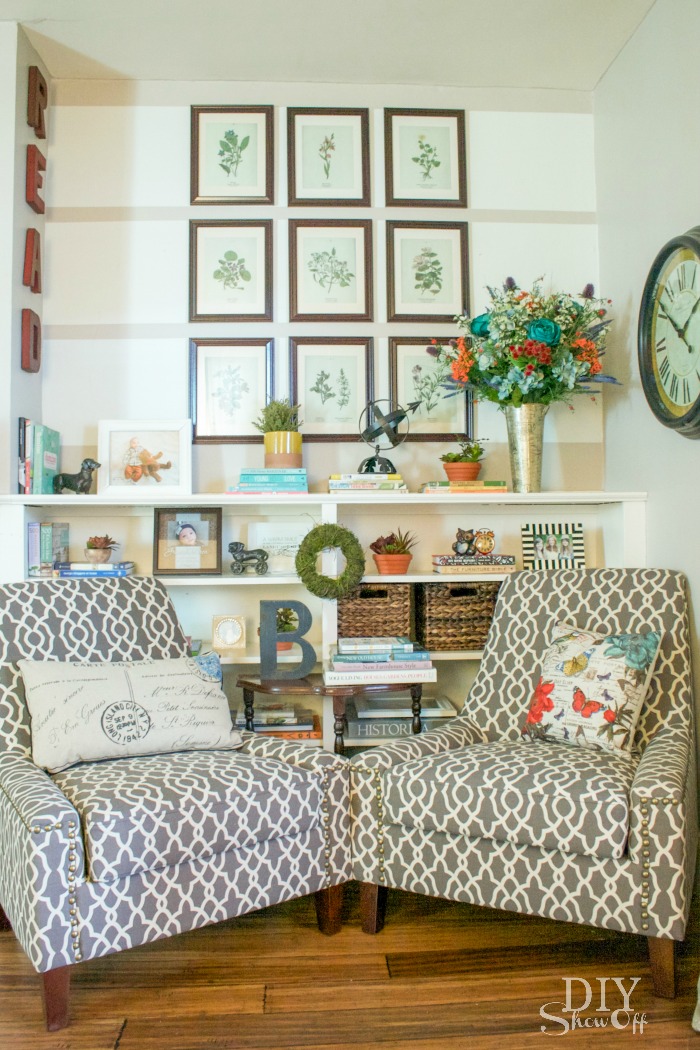
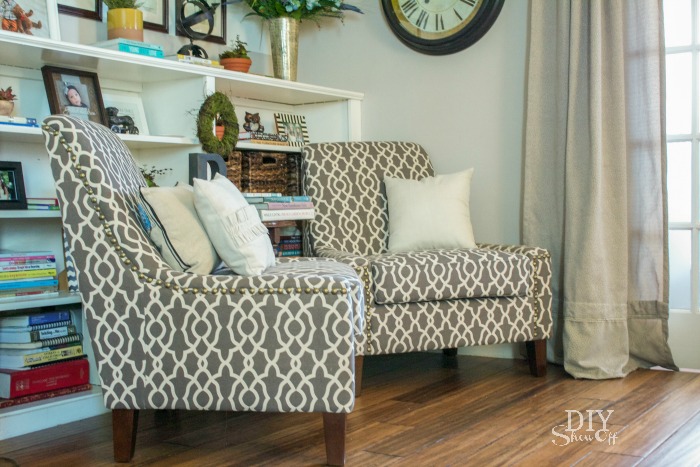
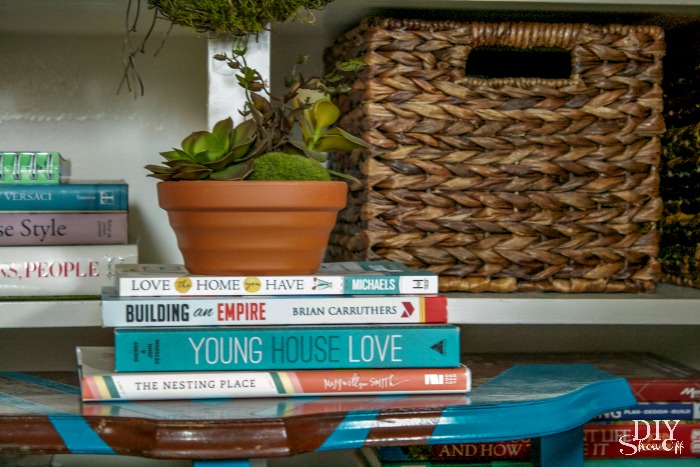
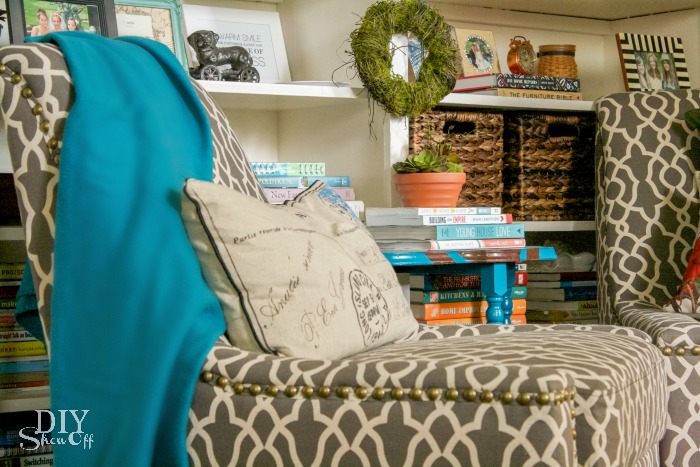
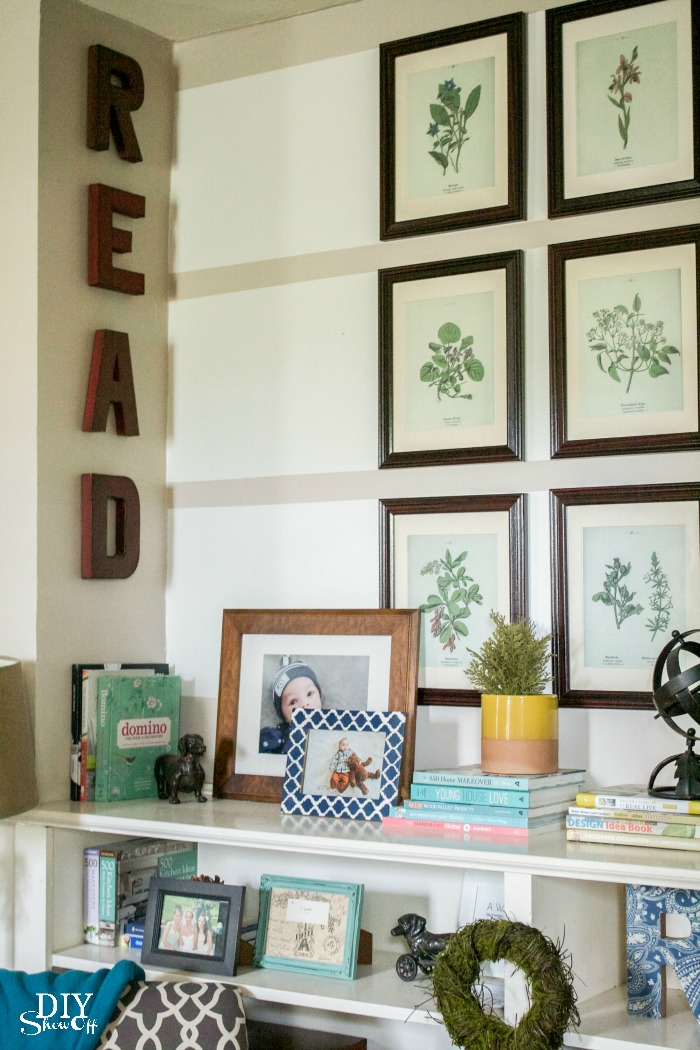
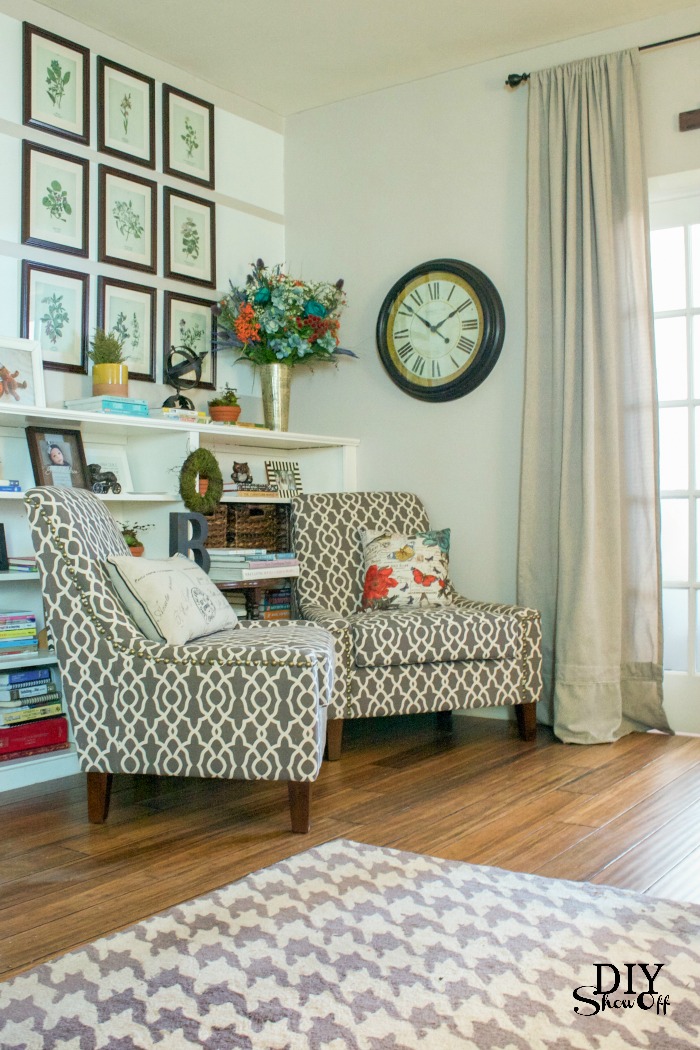
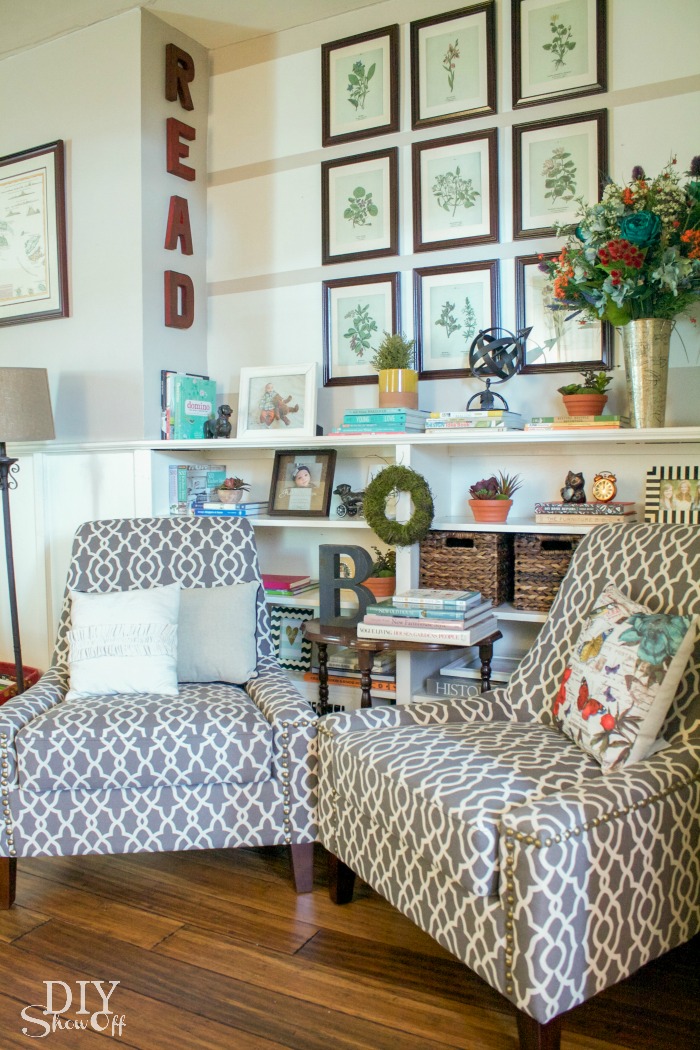
There’s a section of our living room near the built in shelving that I like to call our reading nook. It’s a place for displaying my DIY, decorating, home improvement book collection. A place where I enjoy curling up and flipping through the pages of the latest issue of my favorite home magazines.

Things to consider when creating a reading nook:

Bookshelves or bookcases are a must-have for display and organization. In our home, I use a section of built-ins in the living room.

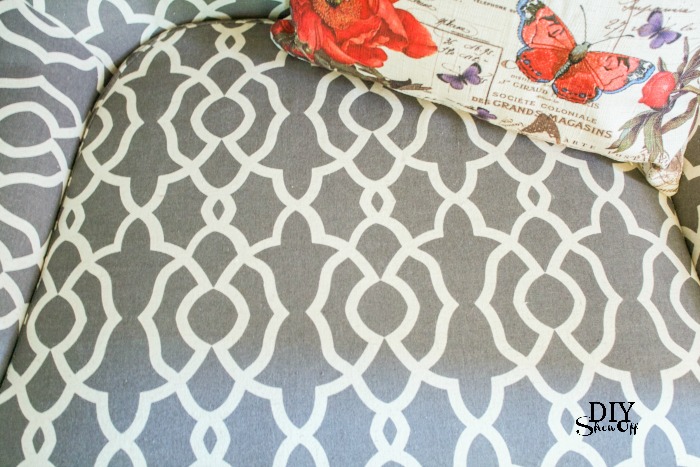
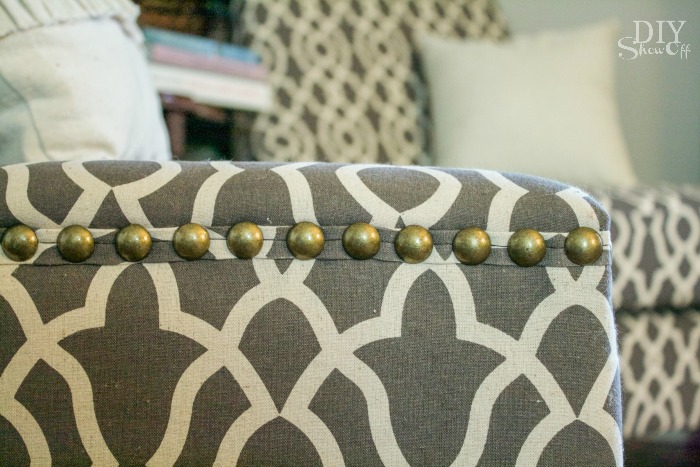
Comfortable seating. I chose two Nico Accent Chairs by Sauder. I love the sturdiness, traditional design, durable linen fabric and fun print in neutral colors with nailhead trim for completing the look and function in this space.
Lighting: Everyone knows that reading in the dark was bad for our eyes, right? You’ll want to make sure there’s some sort of adequate lighting to provide a bright atmosphere for reading. I currently use a pole lamp but would love to incorporate some wall mounting lighting.

Accessories: A collection of books (and/or magazines) of course,

a warm comfy throw,

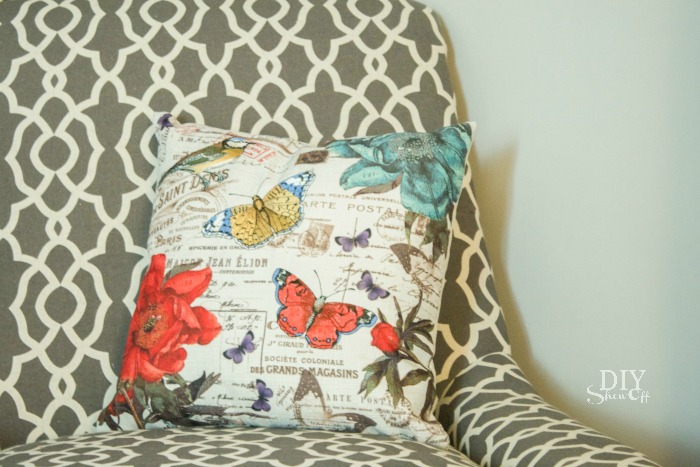
a foot stool (I’m still scouring estate and yard sales), coordinating accent pillows

and a few decorative accents that reflect your style.
Everything needed to inspire quiet time and reading. It’s my favorite spot in our living room, a little library corner.
For more design inspiration, check out the Sauder Look Book.

Do you have a designated reading space in your home? Do you have any tips to add for creating a quiet comfortable space?

*This is a sponsored conversation written by me on behalf of Sauder. The opinions and text are all mine.