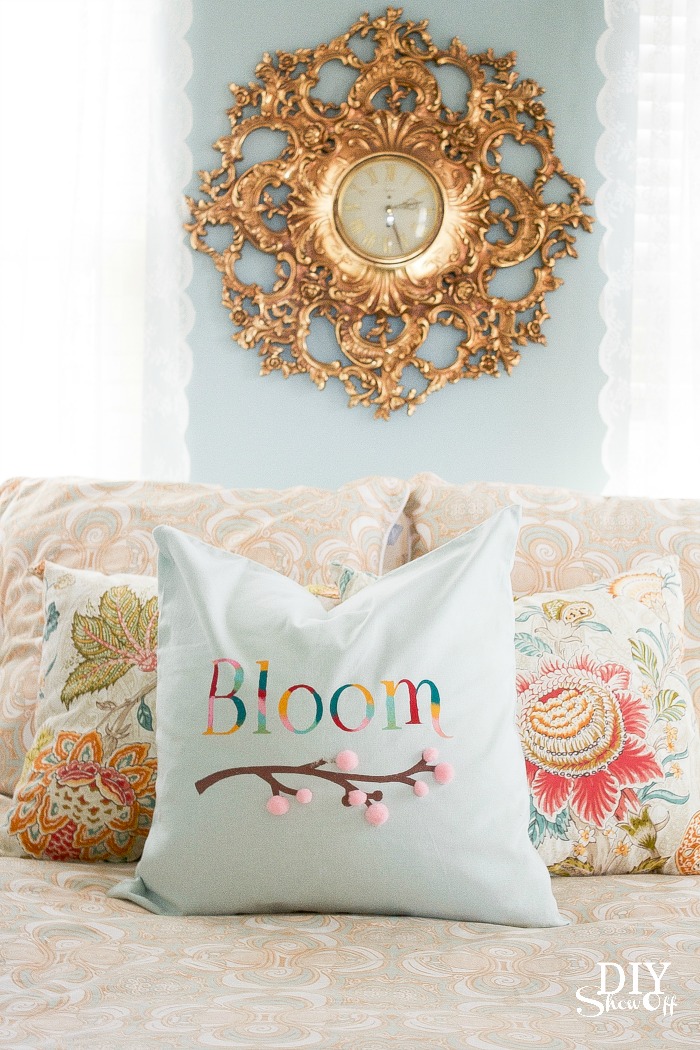
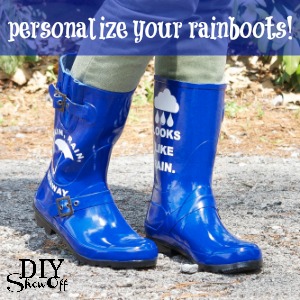
April showers bring May flowers! Dress up your rain boots by creating custom vinyl decals.
Materials:
- Rain boots
- Adhesive vinyl from Happy Crafters
- Transfer paper
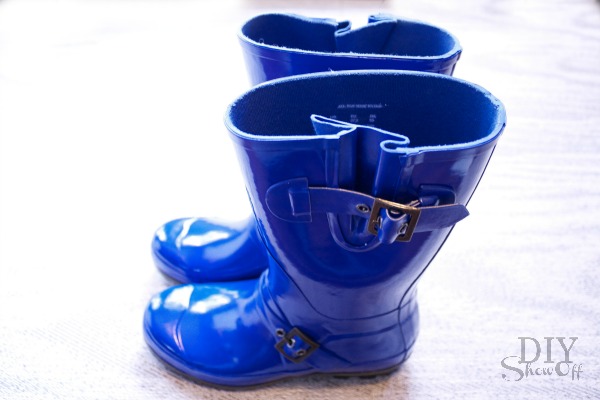
Rain boots before:
What I did:
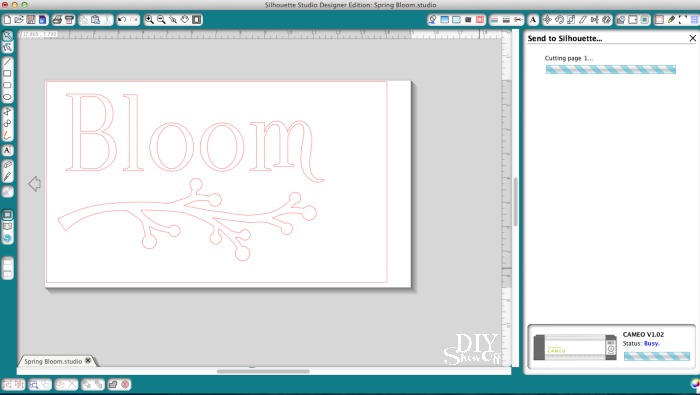
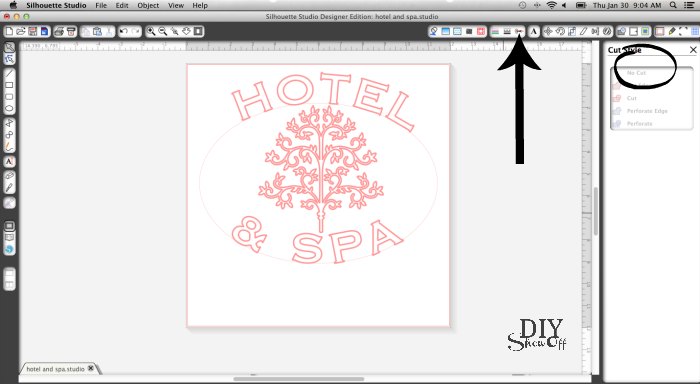
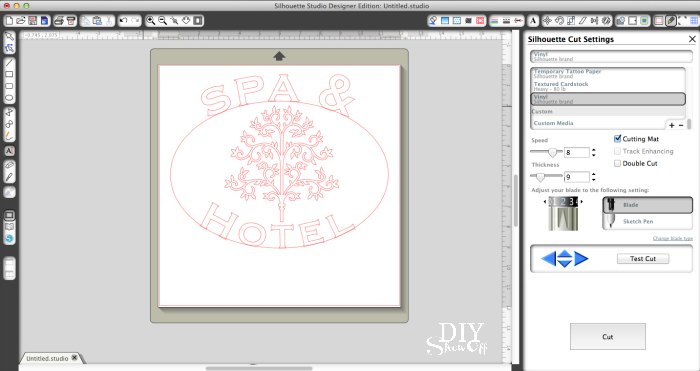
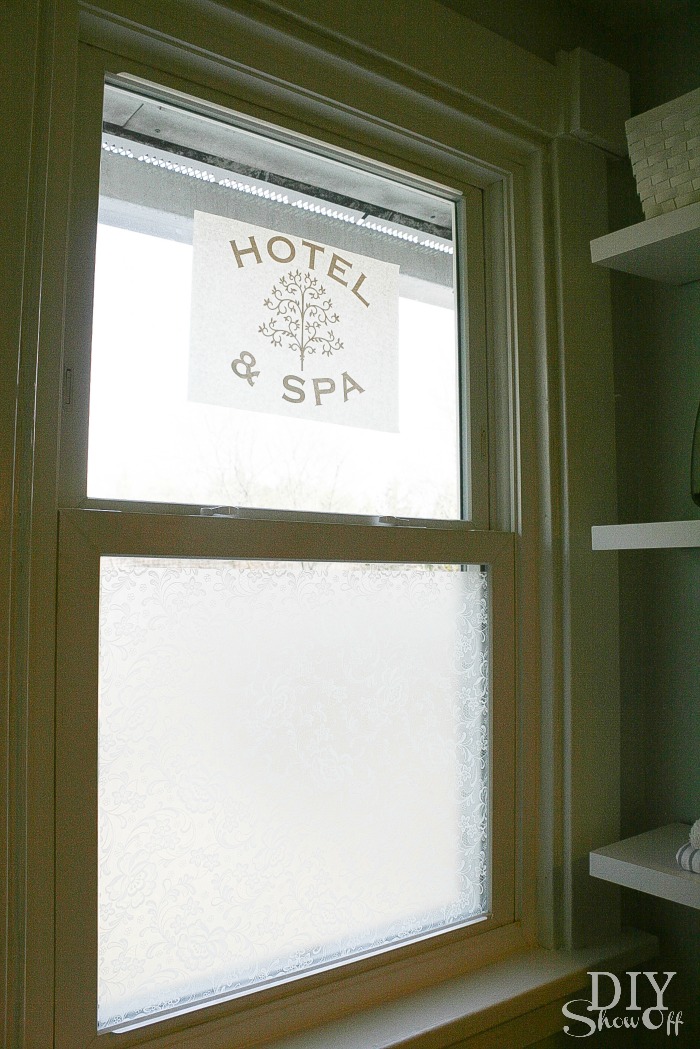
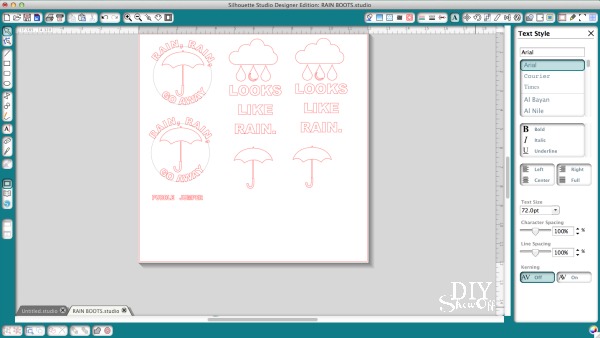
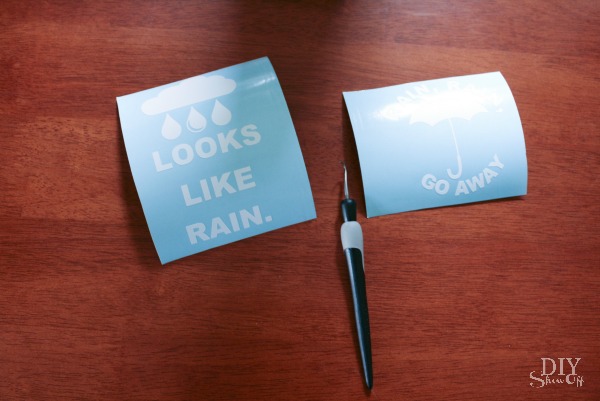
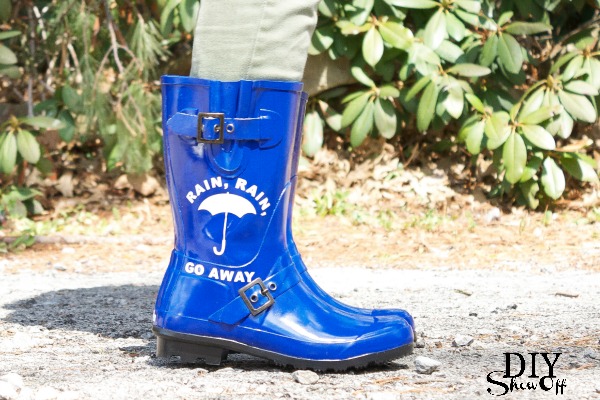
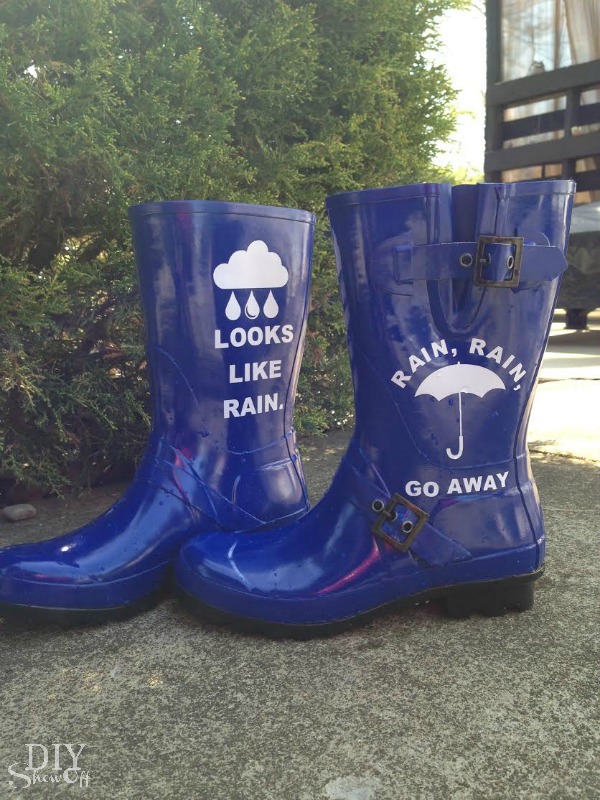
I created a design with umbrellas, rain clouds, raindrops and text in my Silhouette Design Studio software. Be sure to measure design area on boot and size vinyl design to fit.
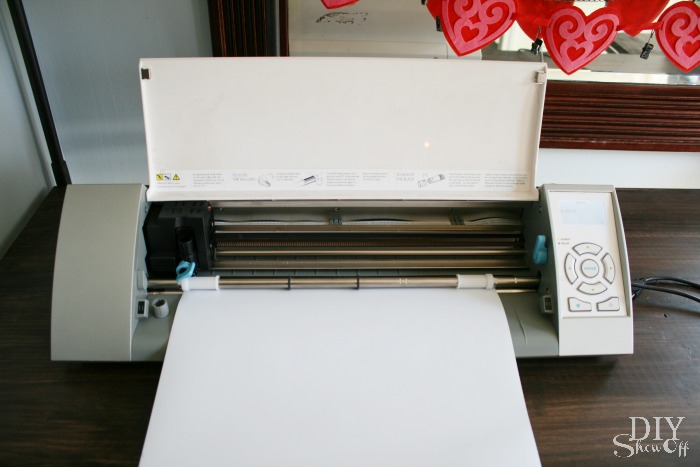
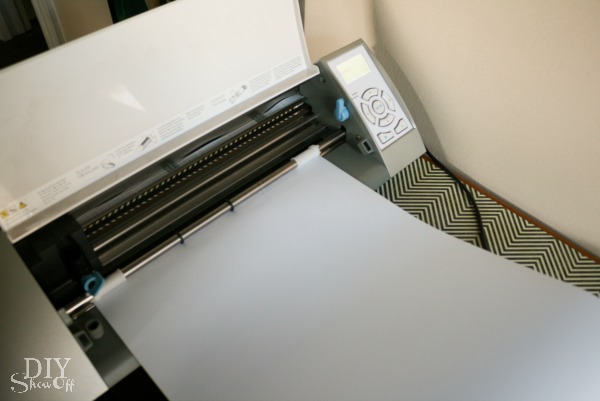
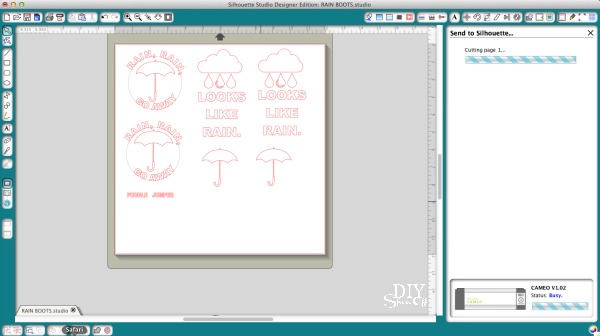
Insert vinyl into the machine, vinyl side up. Adjust blade settings and send design to cut.
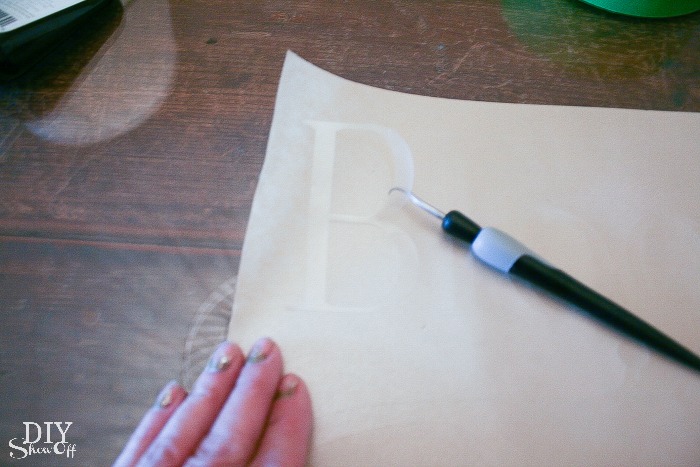
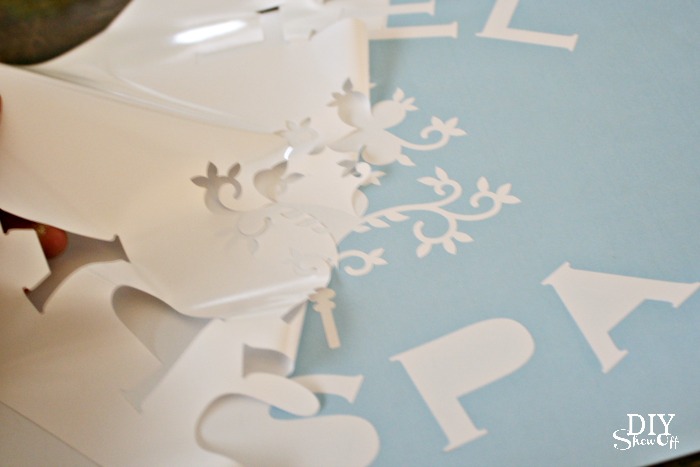
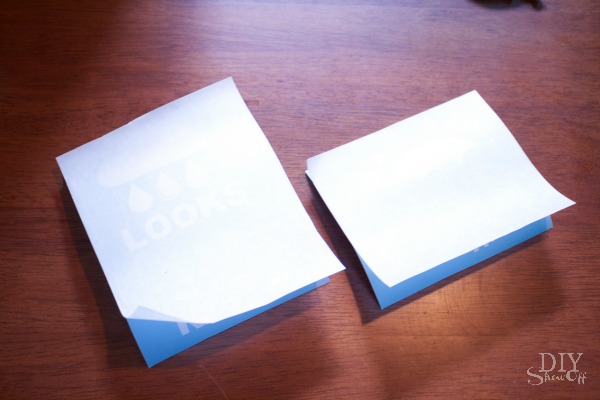
When cutting has finished, unload vinyl from machine. Weed away the excess vinyl that’s not a part of the design.
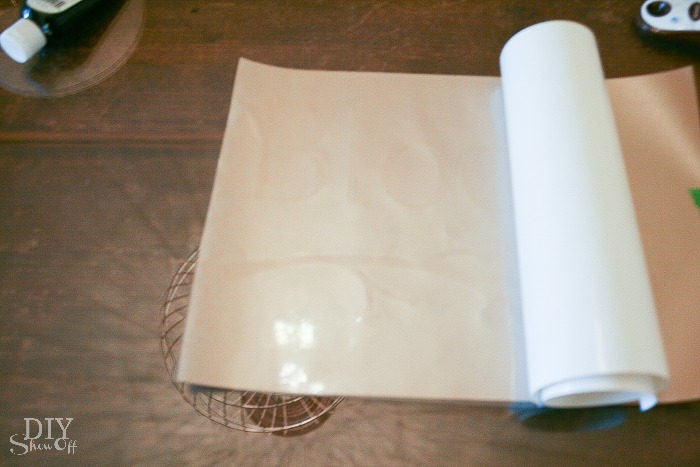
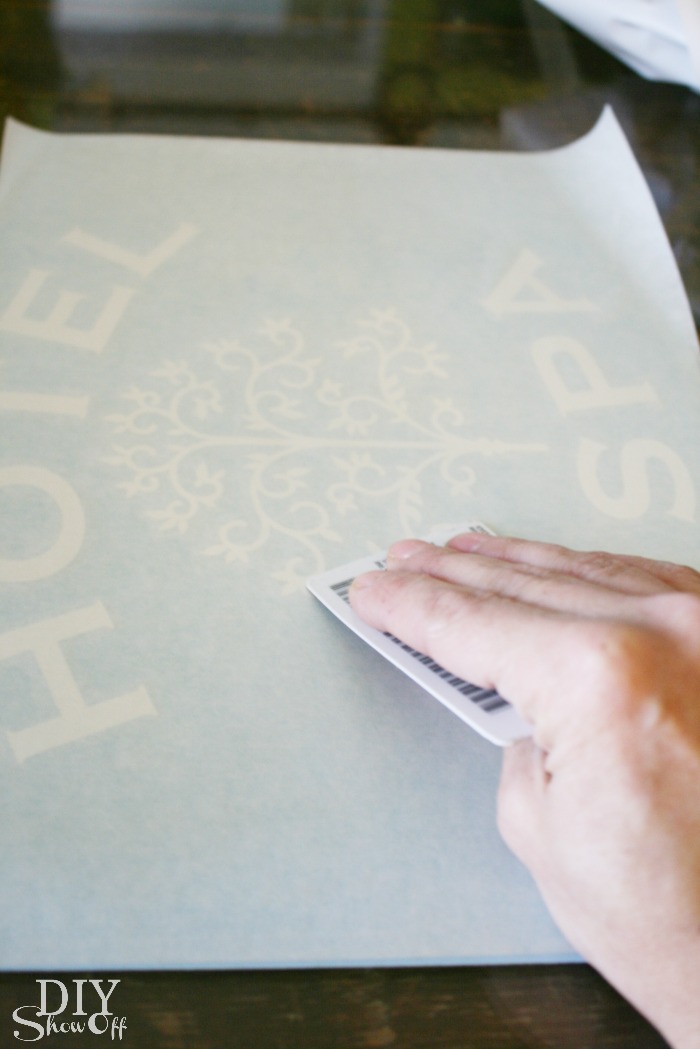
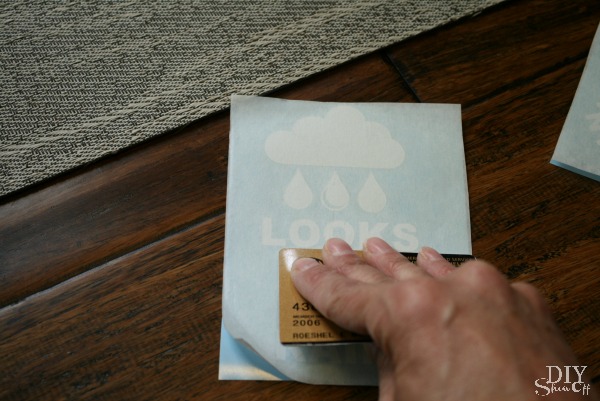
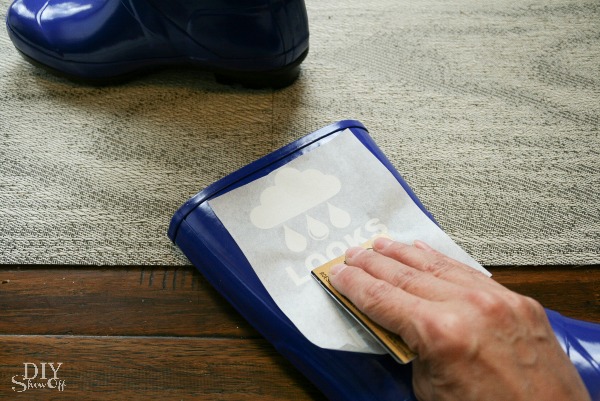
Apply transfer paper to vinyl. Rub with a credit card.
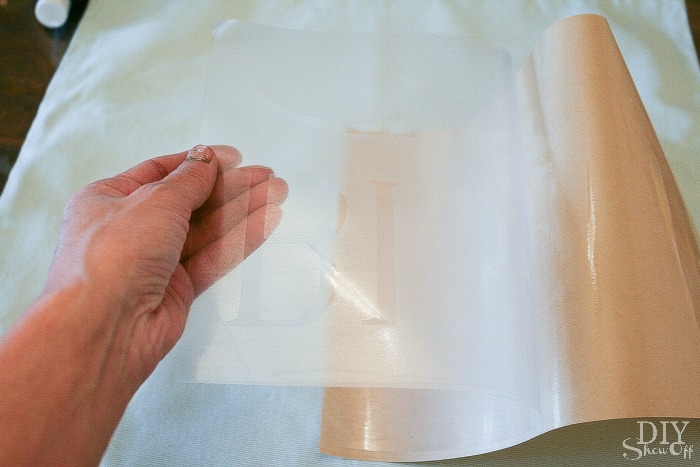
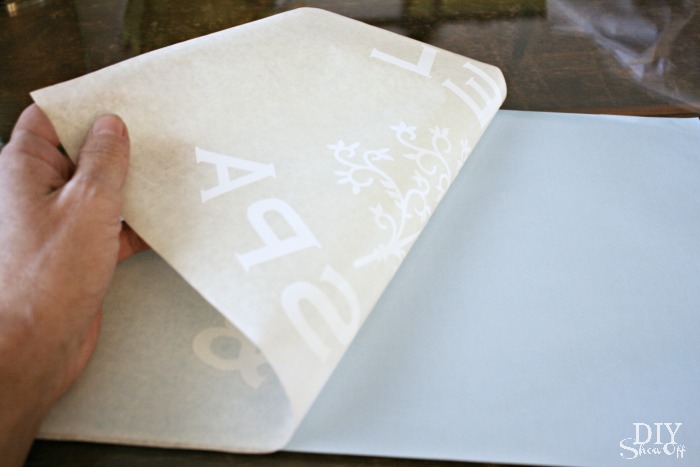
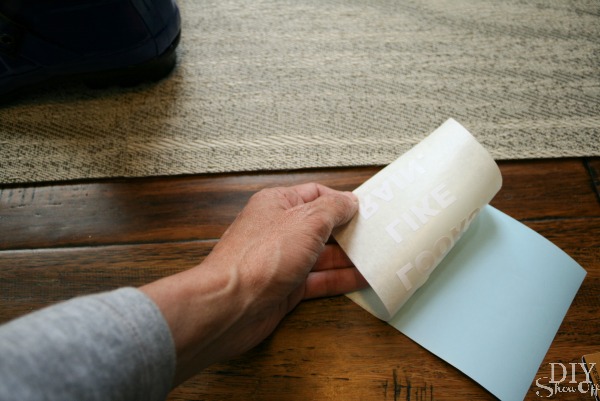
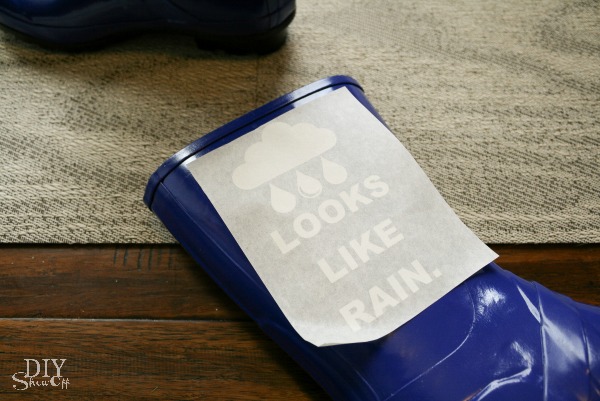
Remove wax paper back, transferring vinyl to sticky transfer paper.
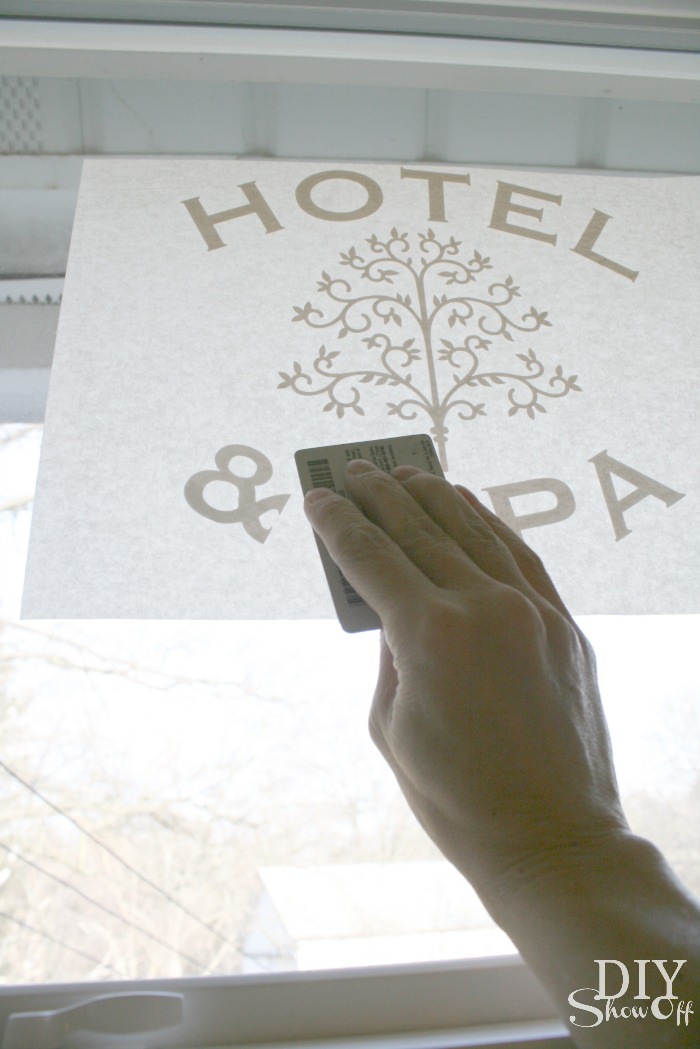
Place vinyl design onto rain boot. Rub with a credit card to transfer the vinyl to the boot.
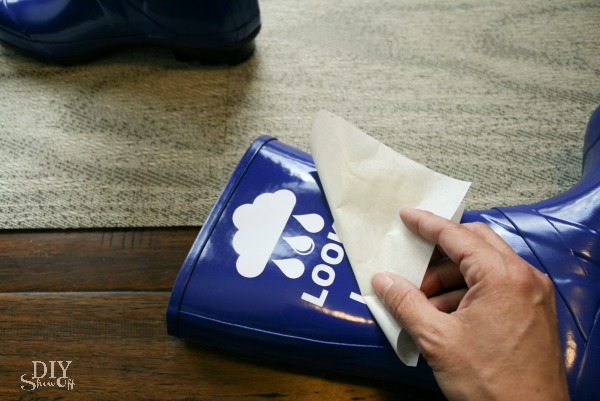
Slowly peel away transfer paper.
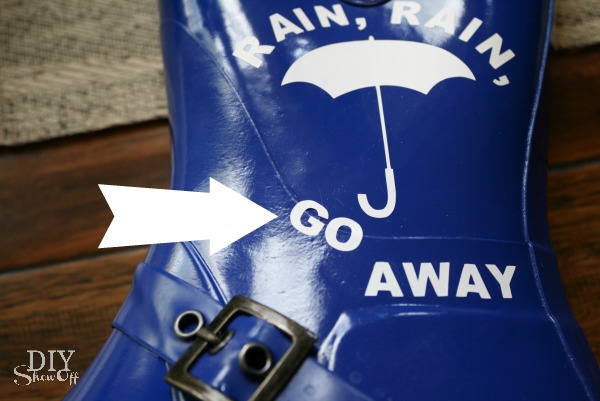
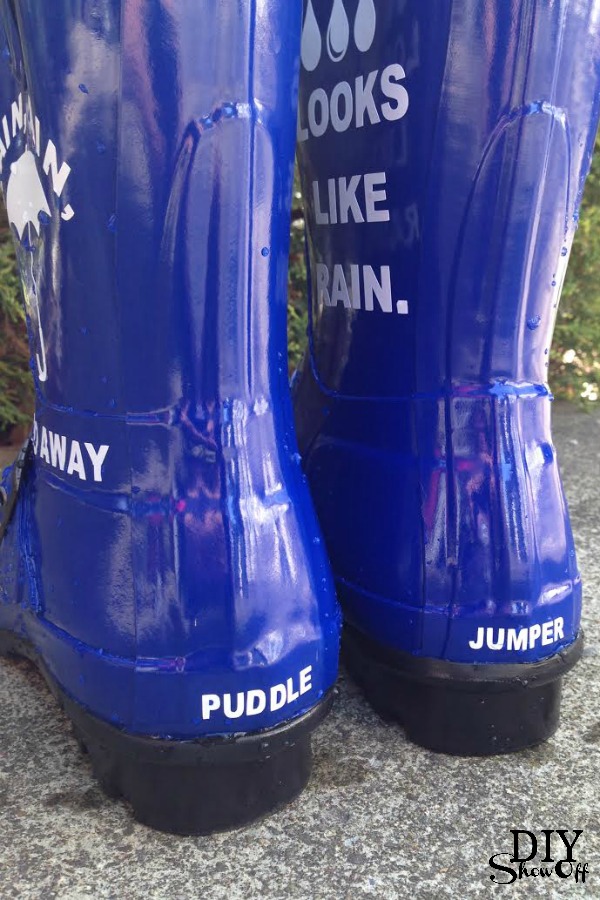
Remember in step 1 where I mentioned measuring and sizing. Oops. I was a bit off. So I peeled up the vinyl, like stickers, and re-placed them for a better fit (not over a seam).
Now I have cute custom rain boots! I also tested the vinyl adhesive using water and the vinyl is still “stuck”!
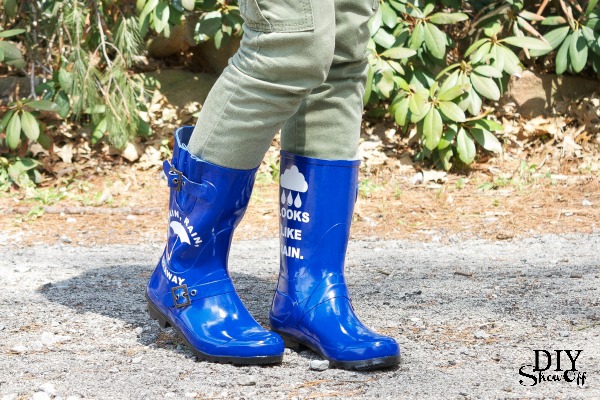
Lots of fun options to play with! Raining cats and dogs, dance in the rain, your name or a cute and trendy design. What would you create for your rain boots?
*This post is sponsored by Happy Crafters. Tutorial, experience and opinion is my own. Check out all the supplies at Happy Crafters for inspiration for your next project.