Chevron Reindeer Games sign tutorial

DIY Chevron Reindeer Games Sign 

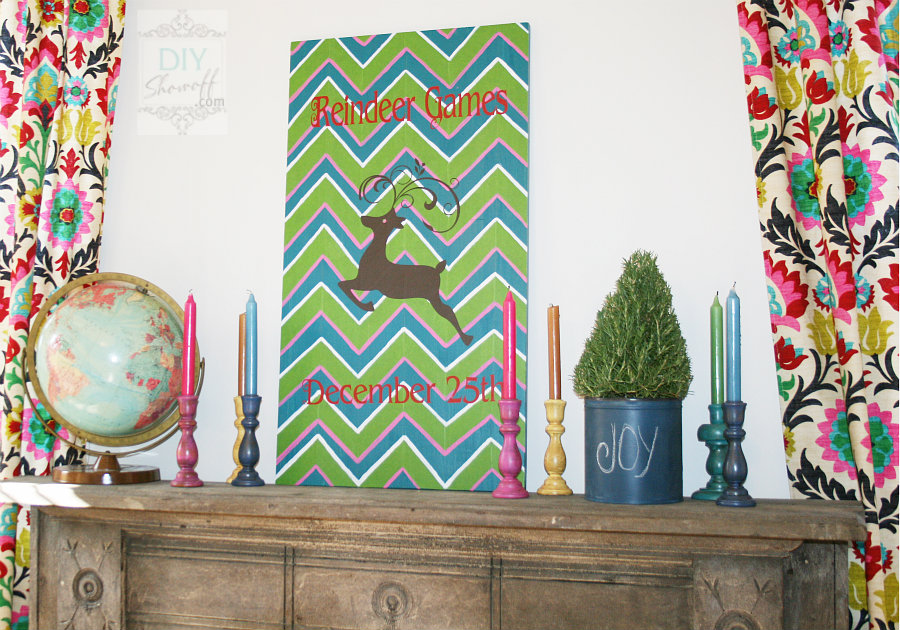
DIY colorful Christmas chevron reindeer games sign

It’s officially time for Christmas decorating in our home! I know! By blogging standards, I’m late to the game. With a family room makeover in progress, it’s at a point where plans for completion can be put on hold until after the holidays and I can still decorate that room to be pretty once I put away the ladder and some tools. I really loved the chevron garden sign I made for summer {here}. I decided I wanted to create a fun colorful Christmas sign incorporating some of the fun colors in the fabric I chose for the curtains.

Remember the tabletop I replaced on the kitchen bar for the apartment? {If not, you can see my post on my DIY wood plank kitchen bar top.} Time to recycle it! I knew it’d be a great material for a DIY sign one of these days. Tabletop to holiday decoration. Why not? To prep for making a sign, I scuffed up the finish with sandpaper and gave it a coat of left over teal paint and let it dry. I’ll call it my “canvas”.

This is what the top looked like before:
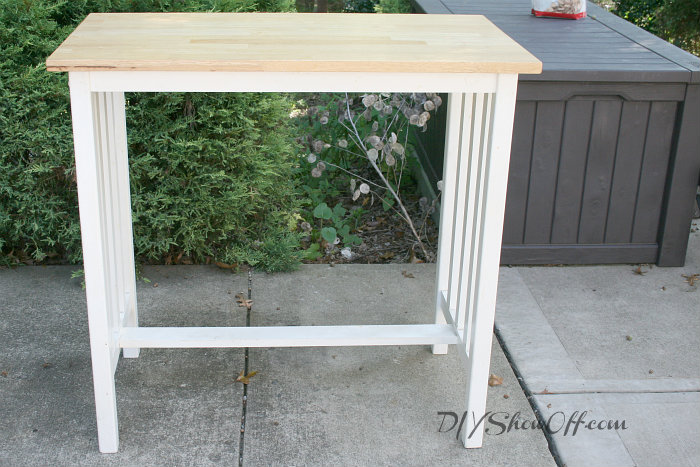
kitchen island before

Tips for creating a chevron pattern using FrogTape:

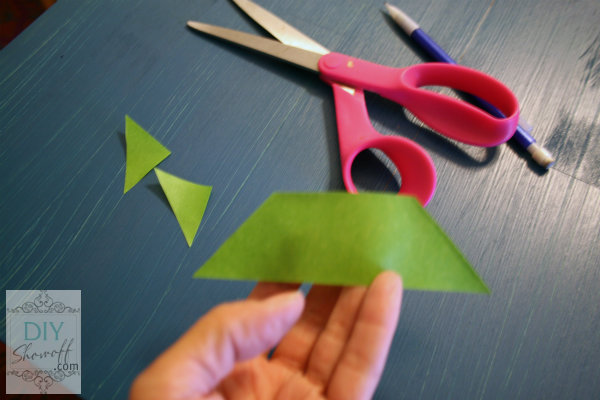
It’s hard to explain how to create a chevron pattern words/pictures {next time I’ll do a video} but some tips:

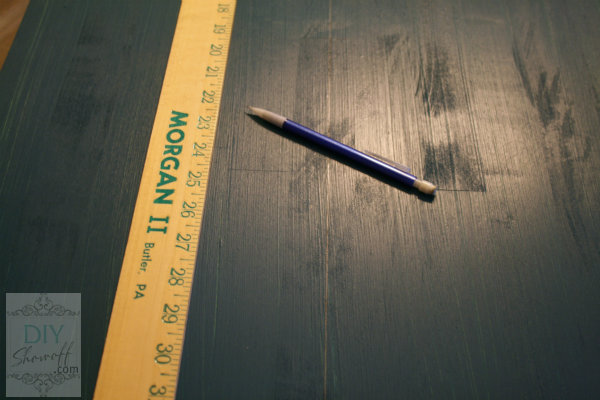
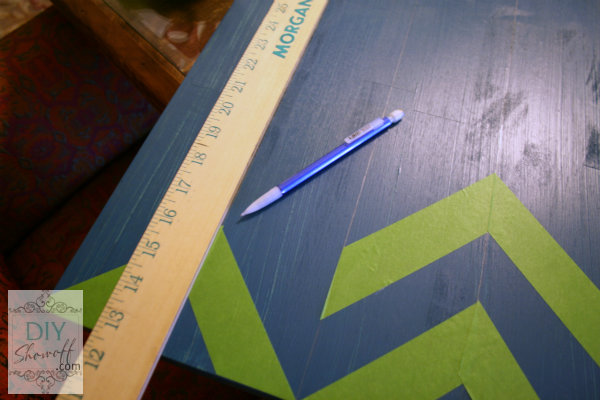
My first row is measured. 5″ strips of FrogTape.

DIY chevron Christmas Reindeer Games sign

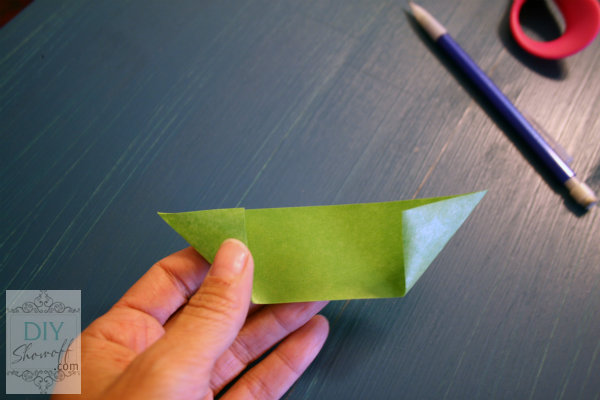
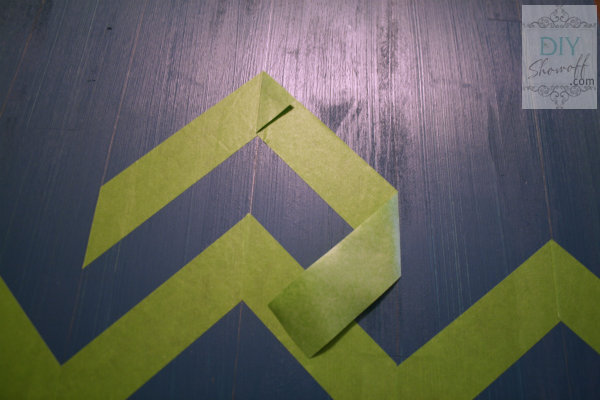
Depending on how it would line up, I creased the edges of the tape (non-sticky side) to create a line for cutting.

DIY chevron Christmas Reindeer Games sign

Cut on fold.

DIY chevron Christmas Reindeer Games sign

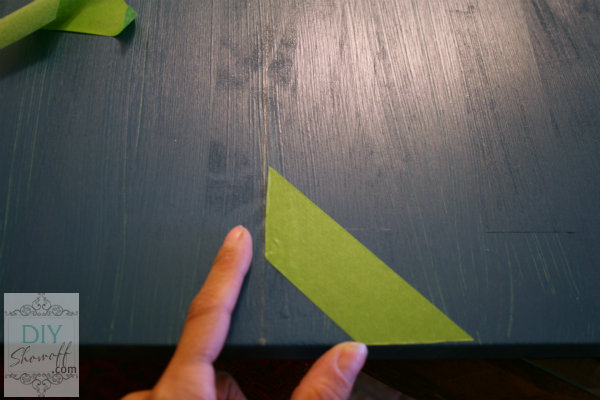
I placed the angled side on my center pencil line and cut the bottom flush with the bottom of the canvas and smoothed it into place.

DIY chevron Christmas Reindeer Games sign tutorial

I drew vertical lines with my pencil from the peaks and “v’s” of my first chevron row.

DIY chevron Christmas Reindeer Games sign tutorial

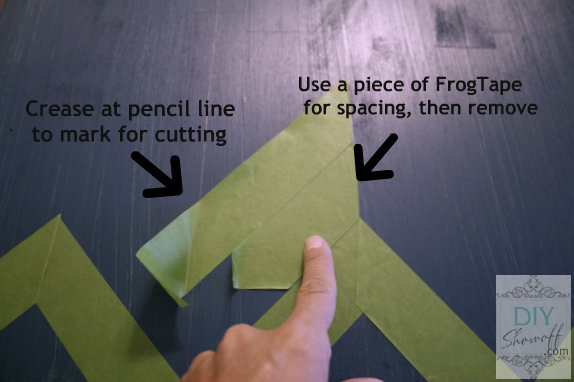
Once my first line was in place, I used a piece of FrogTape for spacing, I worked from the center out by placing another longer piece of tape angled from the center pencil line down to the right pencil line.

DIY chevron Christmas Reindeer Games sign tutorial

Then I pulled up a corner and folded it on the pencil line so I would know where to cut. Most of the time, the pencil transferred to the sticky side of the tape, creating a cutting guide.

DIY chevron Christmas Reindeer Games sign tutorial

I repeated those steps until I reached the top and finished.

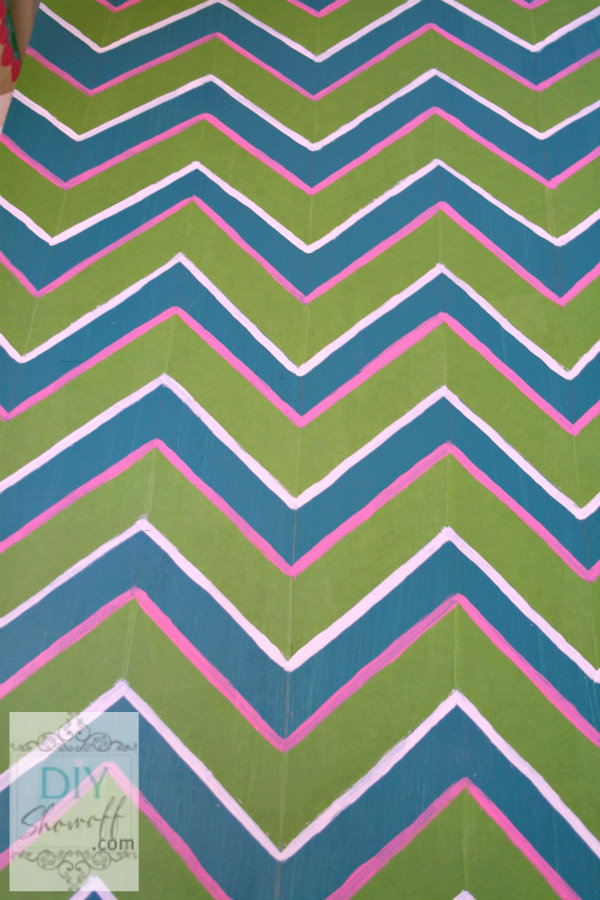
I used pink and white craft paint to add more color.

DIY chevron Christmas Reindeer Games sign tutorial

My plan was to paint the blue area showing green and peel away the FrogTape, but I decided to keep the FrogTape in place. {Paint colors: Benjamin Moore Pacific, DecoArt Pretty in Pink “Hope Pink” and Americana Warm White, Green is FrogTape}

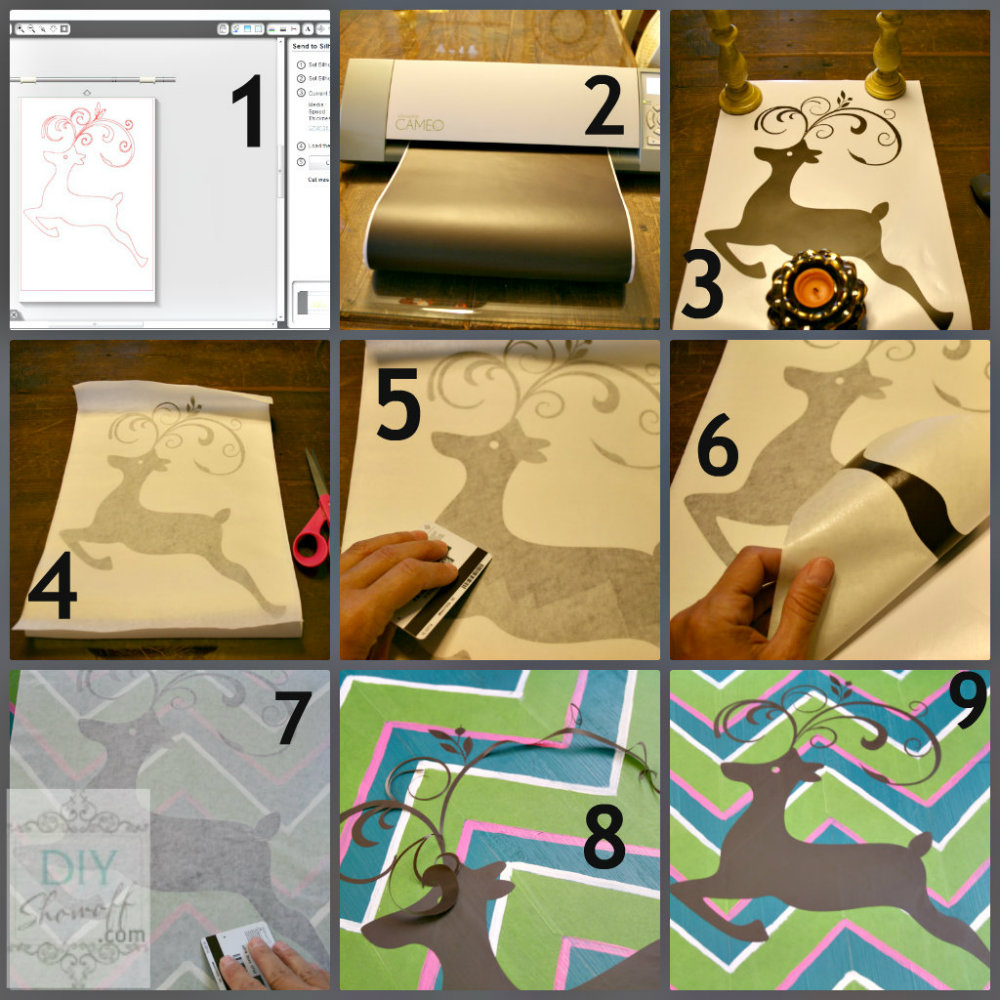
Using my Silhouette Cameo, I chose a reindeer from the online store and my Cameo cut it out {brown vinyl}. I created my letters for “Reindeer Games December 25th” using the software and chose the premium dark red vinyl and LDI Fancy Font. I peeled away the negative vinyl (the parts that are not the design) and applied my transfer paper. I made sure the transfer paper was secure by rubbing with a credit card.

DIY chevron Christmas Reindeer Games sign tutorial

Peel away the backing {the vinyl is transferred to the tacky transfer paper} and place on canvas. Rub the design with a credit card to get it to stick and peel away the transfer paper. In my case, all of the design wasn’t transferring, so I had to be careful and some of my reindeer was applied just as I would a sticker.

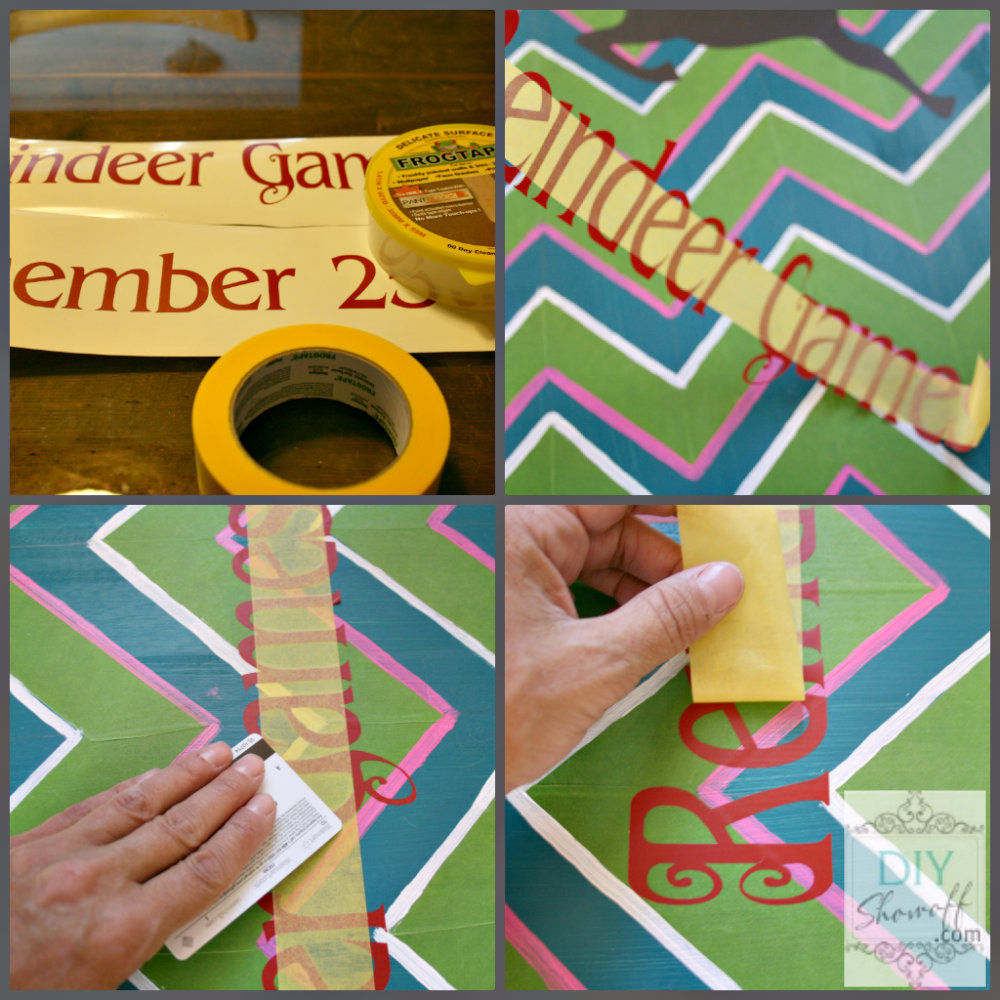
I followed the same steps for my lettering, however, knowing that the transfer paper was tricky for my project, I chose to use Delicate Surface FrogTape (the yellow tape) to help transfer my letters. This worked a little easier than applying by hand like stickers and kept my lettering evenly spaced and level.

DIY chevron Christmas Reindeer Games sign tutorial

I haven’t had time yet, but since I have FrogTape and vinyl on my sign, I’m going to seal everything with a coat or two of ModPodge. Ta-da!

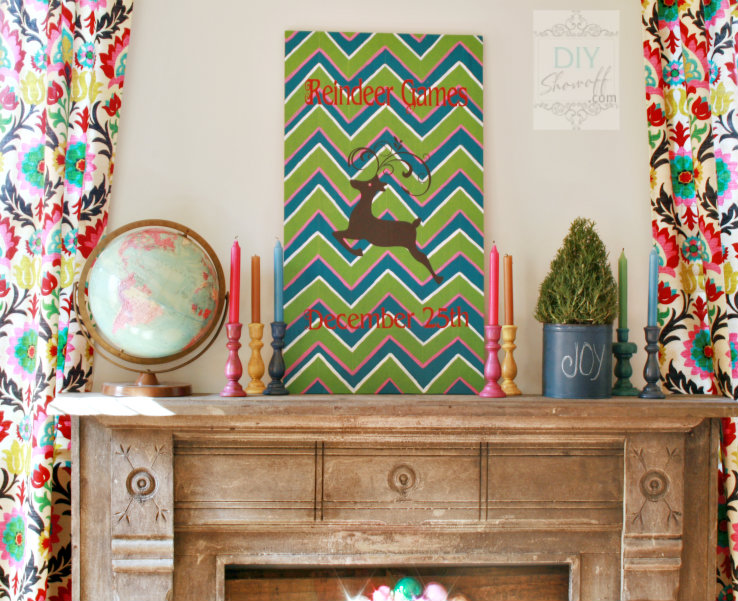
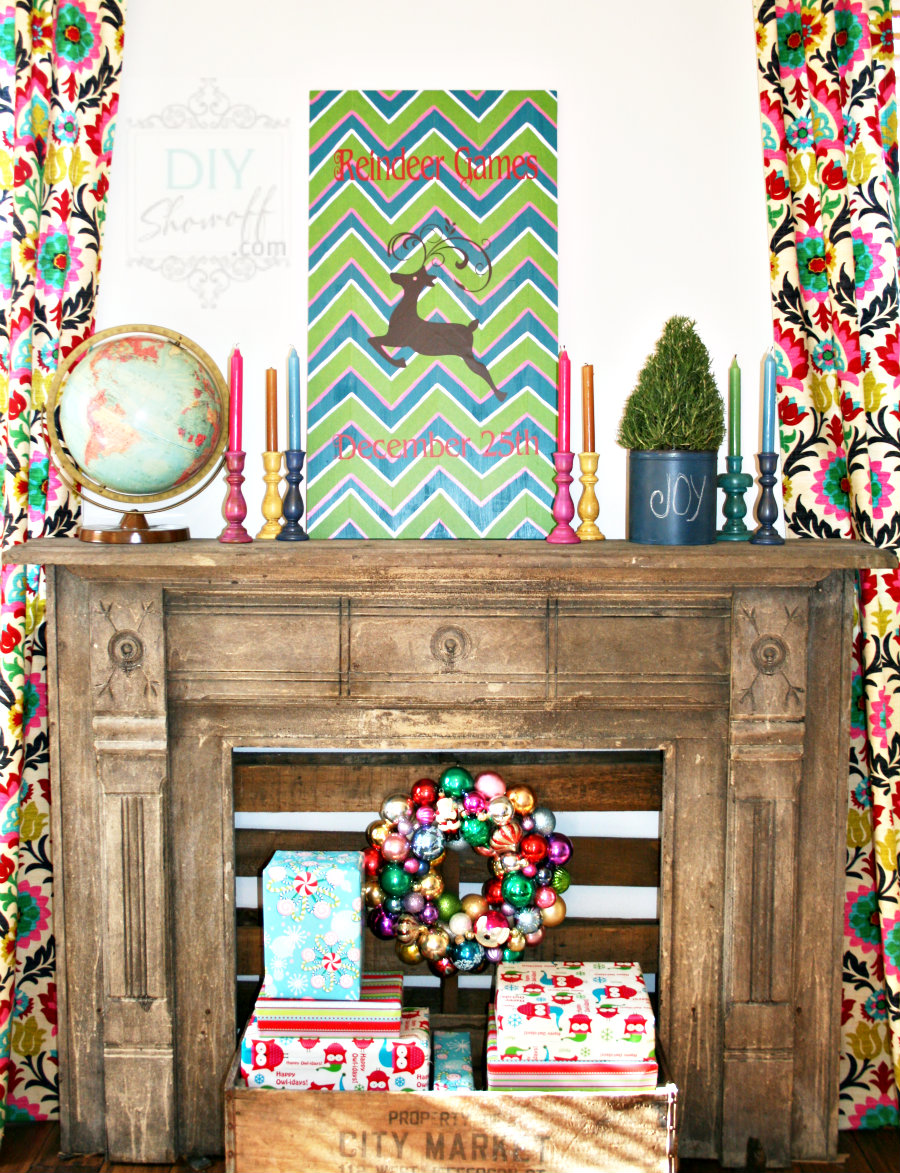
Colorful Christmas DIY reindeer sign tutorialNon-traditional. Colorful. Fun. I love it. It fits in perfectly with my eclectic colorful family room.

DIY chevron Christmas Reindeer Games sign

What do you think? I just sort of quickly staged for photos so I could share this today. I’ll be re-arranging, re-decorating. In fact, this mantel is even moving to another wall. More on the family room renovation and Christmas decorating coming soon.

colorful Christmas decor

I will attach a saw tooth hanger to the back and hang and rearrange but…I wanted to get this done to share and to tell you something important:


*I was not compensated for my review but I did receive vinyl and I participate in the Silhouette America affiliate program and will earn a percentage of sales when you use the code “SHOWOFF” for your purchase. This is a sponsored post brought to you by FrogTape. The opinions are completely my own based on my experience. Results may vary. 

FrogTape Blog Squad

Party time:
52 Mantels

DIY Show Off DIY Holiday Highlightsshabby creek cottageThe Shabby NestWeekend Bloggy Readingchristmas-linky-parade-button-songbirdHome Stories A2Z

Songbird & Cottage Magpie


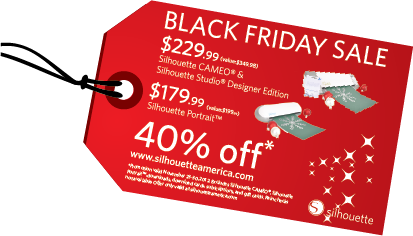
Black Friday Sale

Silhouette America Black Friday Sale 

DIY SHOWOFF Silhouette Black Friday specials

Visit this page: http://silhouetteamerica.com/blackfriday.aspx and use the code SHOWOFFto get:

  • 1 Silhouette CAMEO® plus 1 copy of Silhouette Studio® Designer Edition (MSRP $349.98) for $229.99
  • 1 Silhouette Portrait™ for $179.99
  • 40% off!  {WOW!} at silhouetteamerica.com (Offer only valid at silhouetteamerica.com. % discount excludes Silhouette CAMEO®, Silhouette Portrait™, downloads, download cards, subscriptions, and gift cards).

USE the promotional code “SHOWOFF” to take advantage of the great Black Friday deals starting NOW {12 a.m. midnight EST}. WHILE SUPPLIES LAST! No waiting in line but you’ll have to act fast!

Later Friday morning I’ll be sharing a tutorial for my DIY Chevron Reindeer Games Sign…

DIY colorful Christmas chevron reindeer games sign

You can make SO.MANY.THINGS. with the assistance of Silhouette’s electronic cutting tools! My favorite Silhouette projects are DIY signs but I love that without leaving the house, I can create gifts, party placecards, cards, decorations easily with scrapbook paper or vinyl I have on hand. And this time of year is a great time to have all of the cutting help you can get for creating decor and gifts!

——>click here to go to the secret link/Black Friday Silhouette America sale!<——

Silhouette America Black Friday specials

First, the winner of the Silhouette Portrait giveaway is…

Congratulations, Rebecca!! Rebecca has been emailed with instructions to claim her prize.

*I was not compensated for my review but I did receive vinyl and I participate in the Silhouette America affiliate programand will earn a percentage of sales when you use the code “SHOWOFF” for your purchase…so thank you in advance! Amazon is also an affiliate link – lots of great deals!

Kitchen Island Makeover

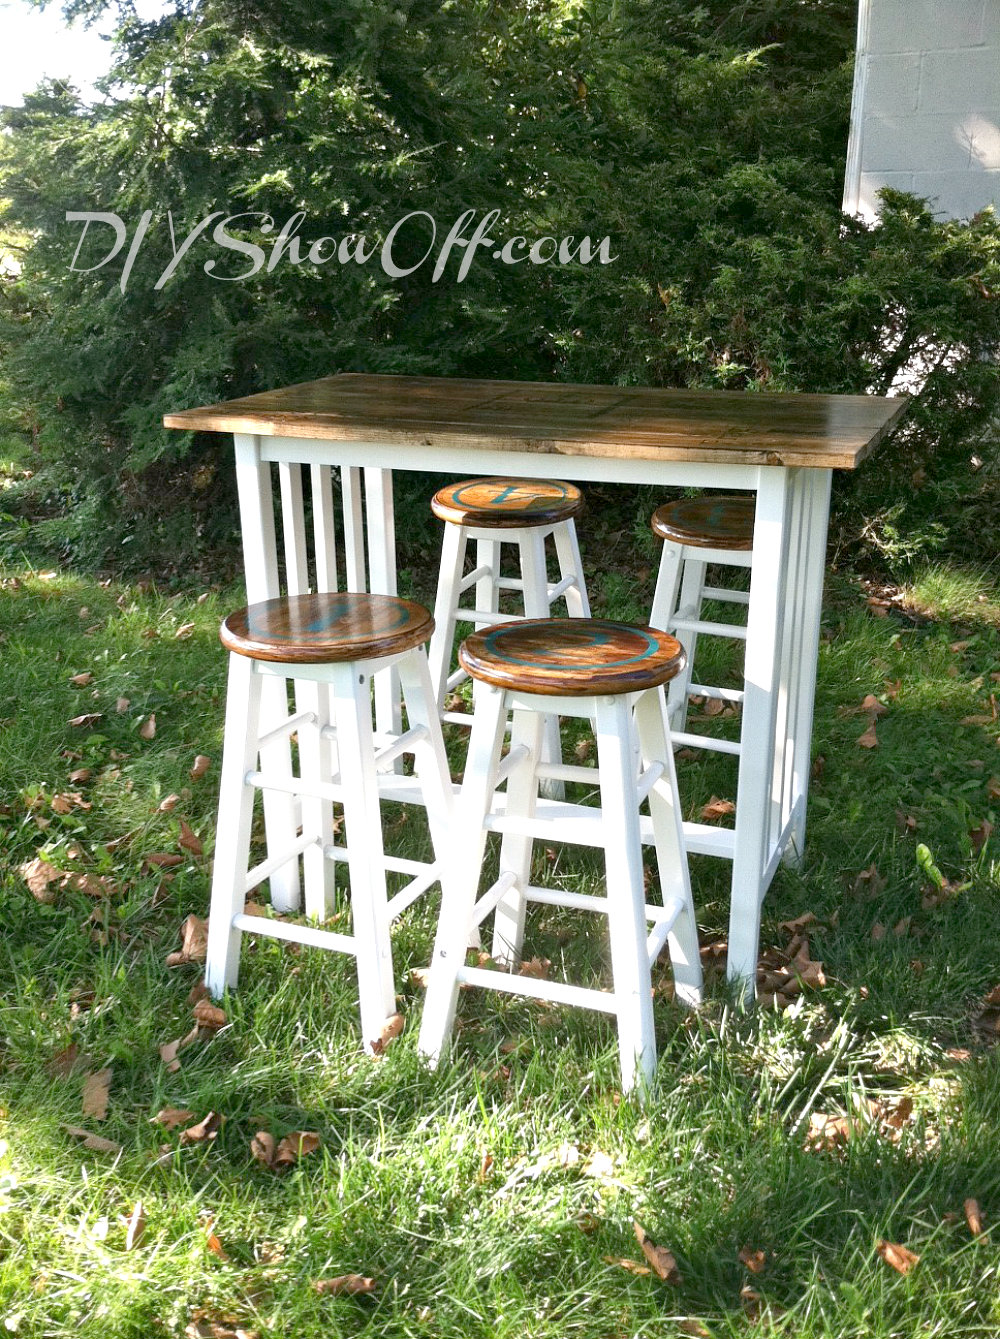
We’re starting to furnish the apartment – on a very tight budget. An old inexpensive portable kitchen bar/island with bar stools is something we’ve had sitting around and the perfect size for creating a dining area in a tiny apartment.

But the old top was in bad condition. Pictures don’t show the pink stains (Kool-Aid, maybe or magic marker) and scratches…

kitchen island before

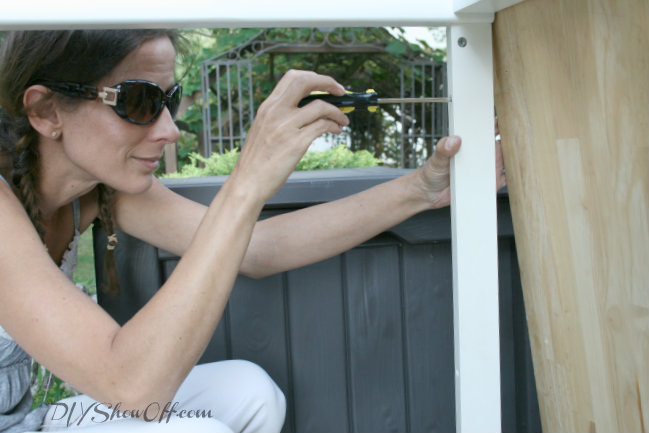
I removed the top.

removing table top

The frame was spraypainted white to freshen up an old scratched finish.

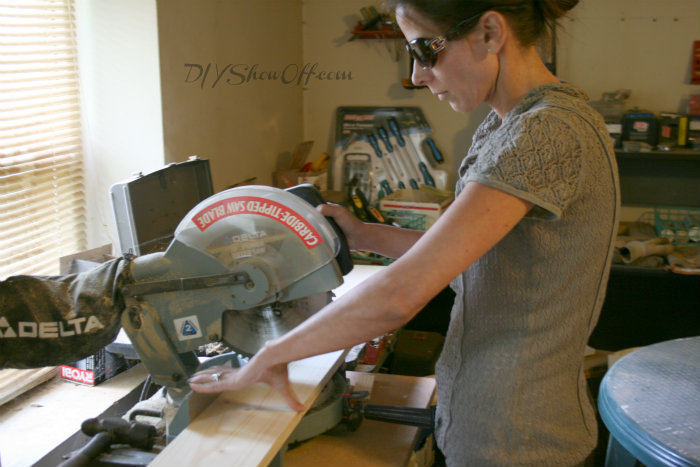
New top was made using alternating sizes of 1×3 and 1×5 pine planks cut to 40″ in length…a little bigger than the previous table top.

cutting wood planks

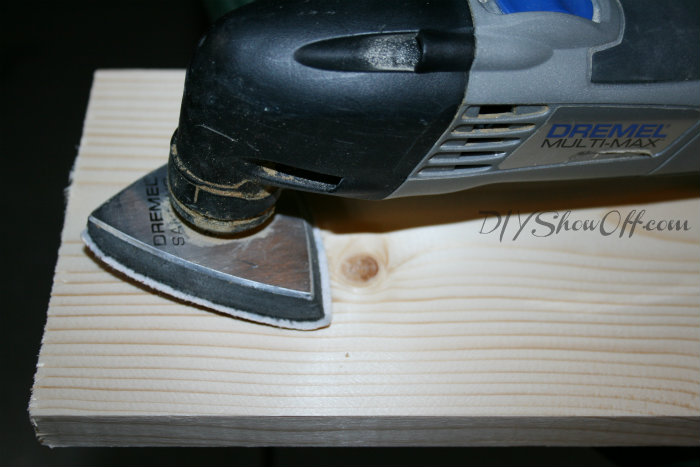
Boards were sanded.

sanding plank table top

I used wood glue to assemble the planks together…

Gorilla wood glue

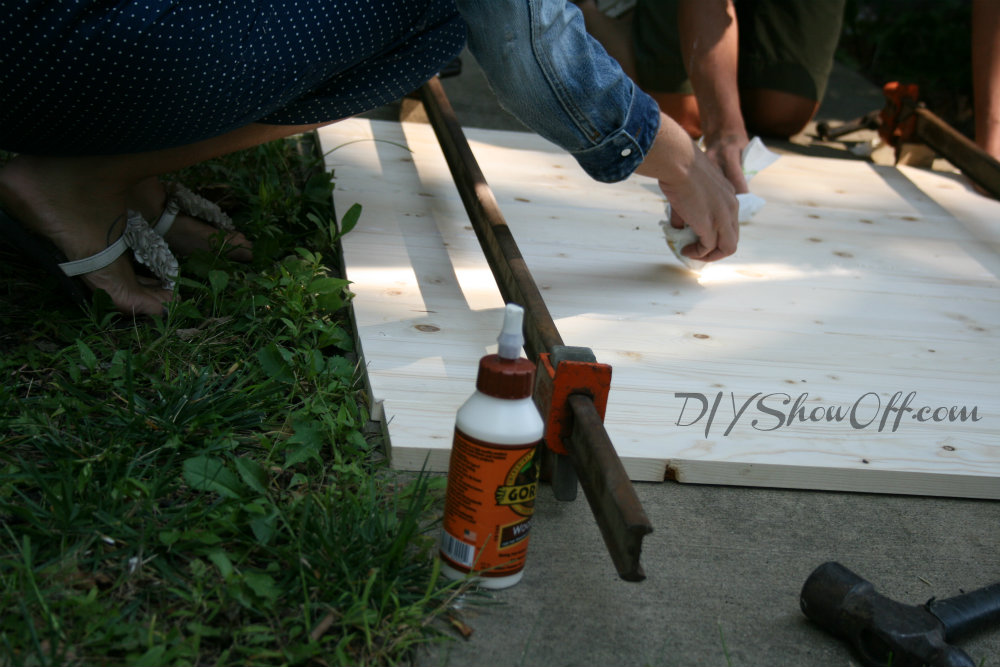
Then clamped until the glue dried, wiping away excess wet glue.

clamping wood planks

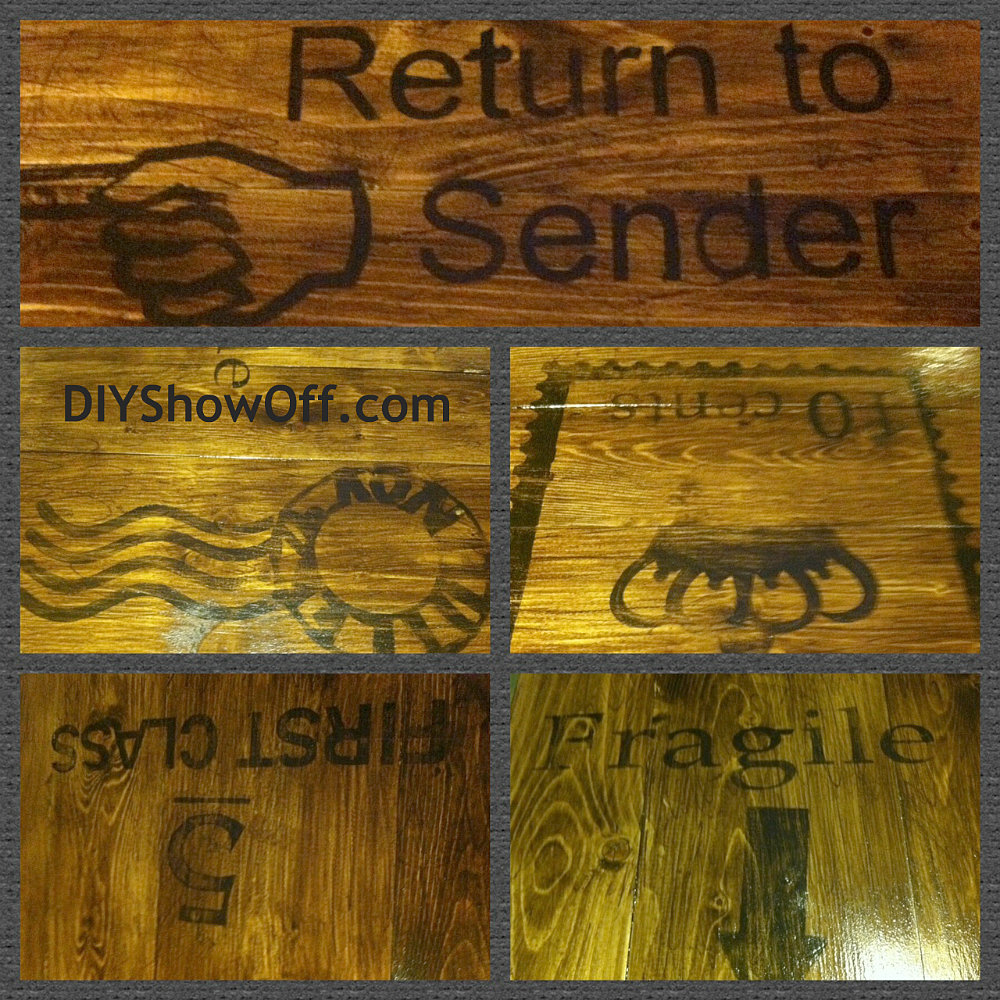
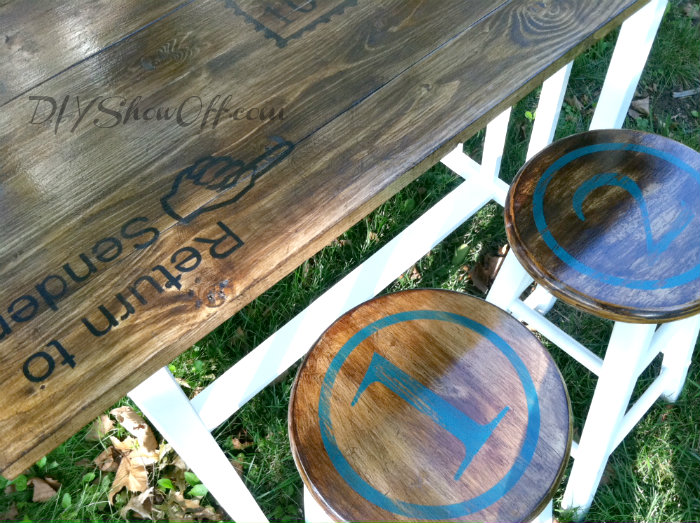
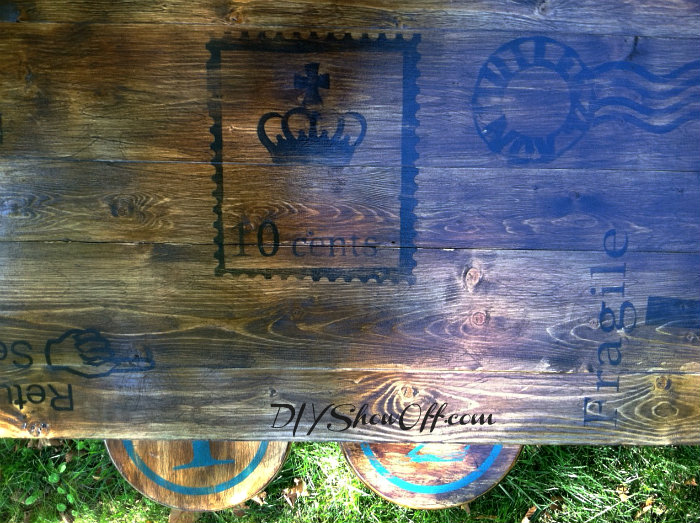
I didn’t take pictures but I stained and used my Silhouette Cameo to make some ‘postage’ themed stencils at Ali’s request. Then sealed the top with about four coats of polyurethane and let dry.

stained stenciled table top

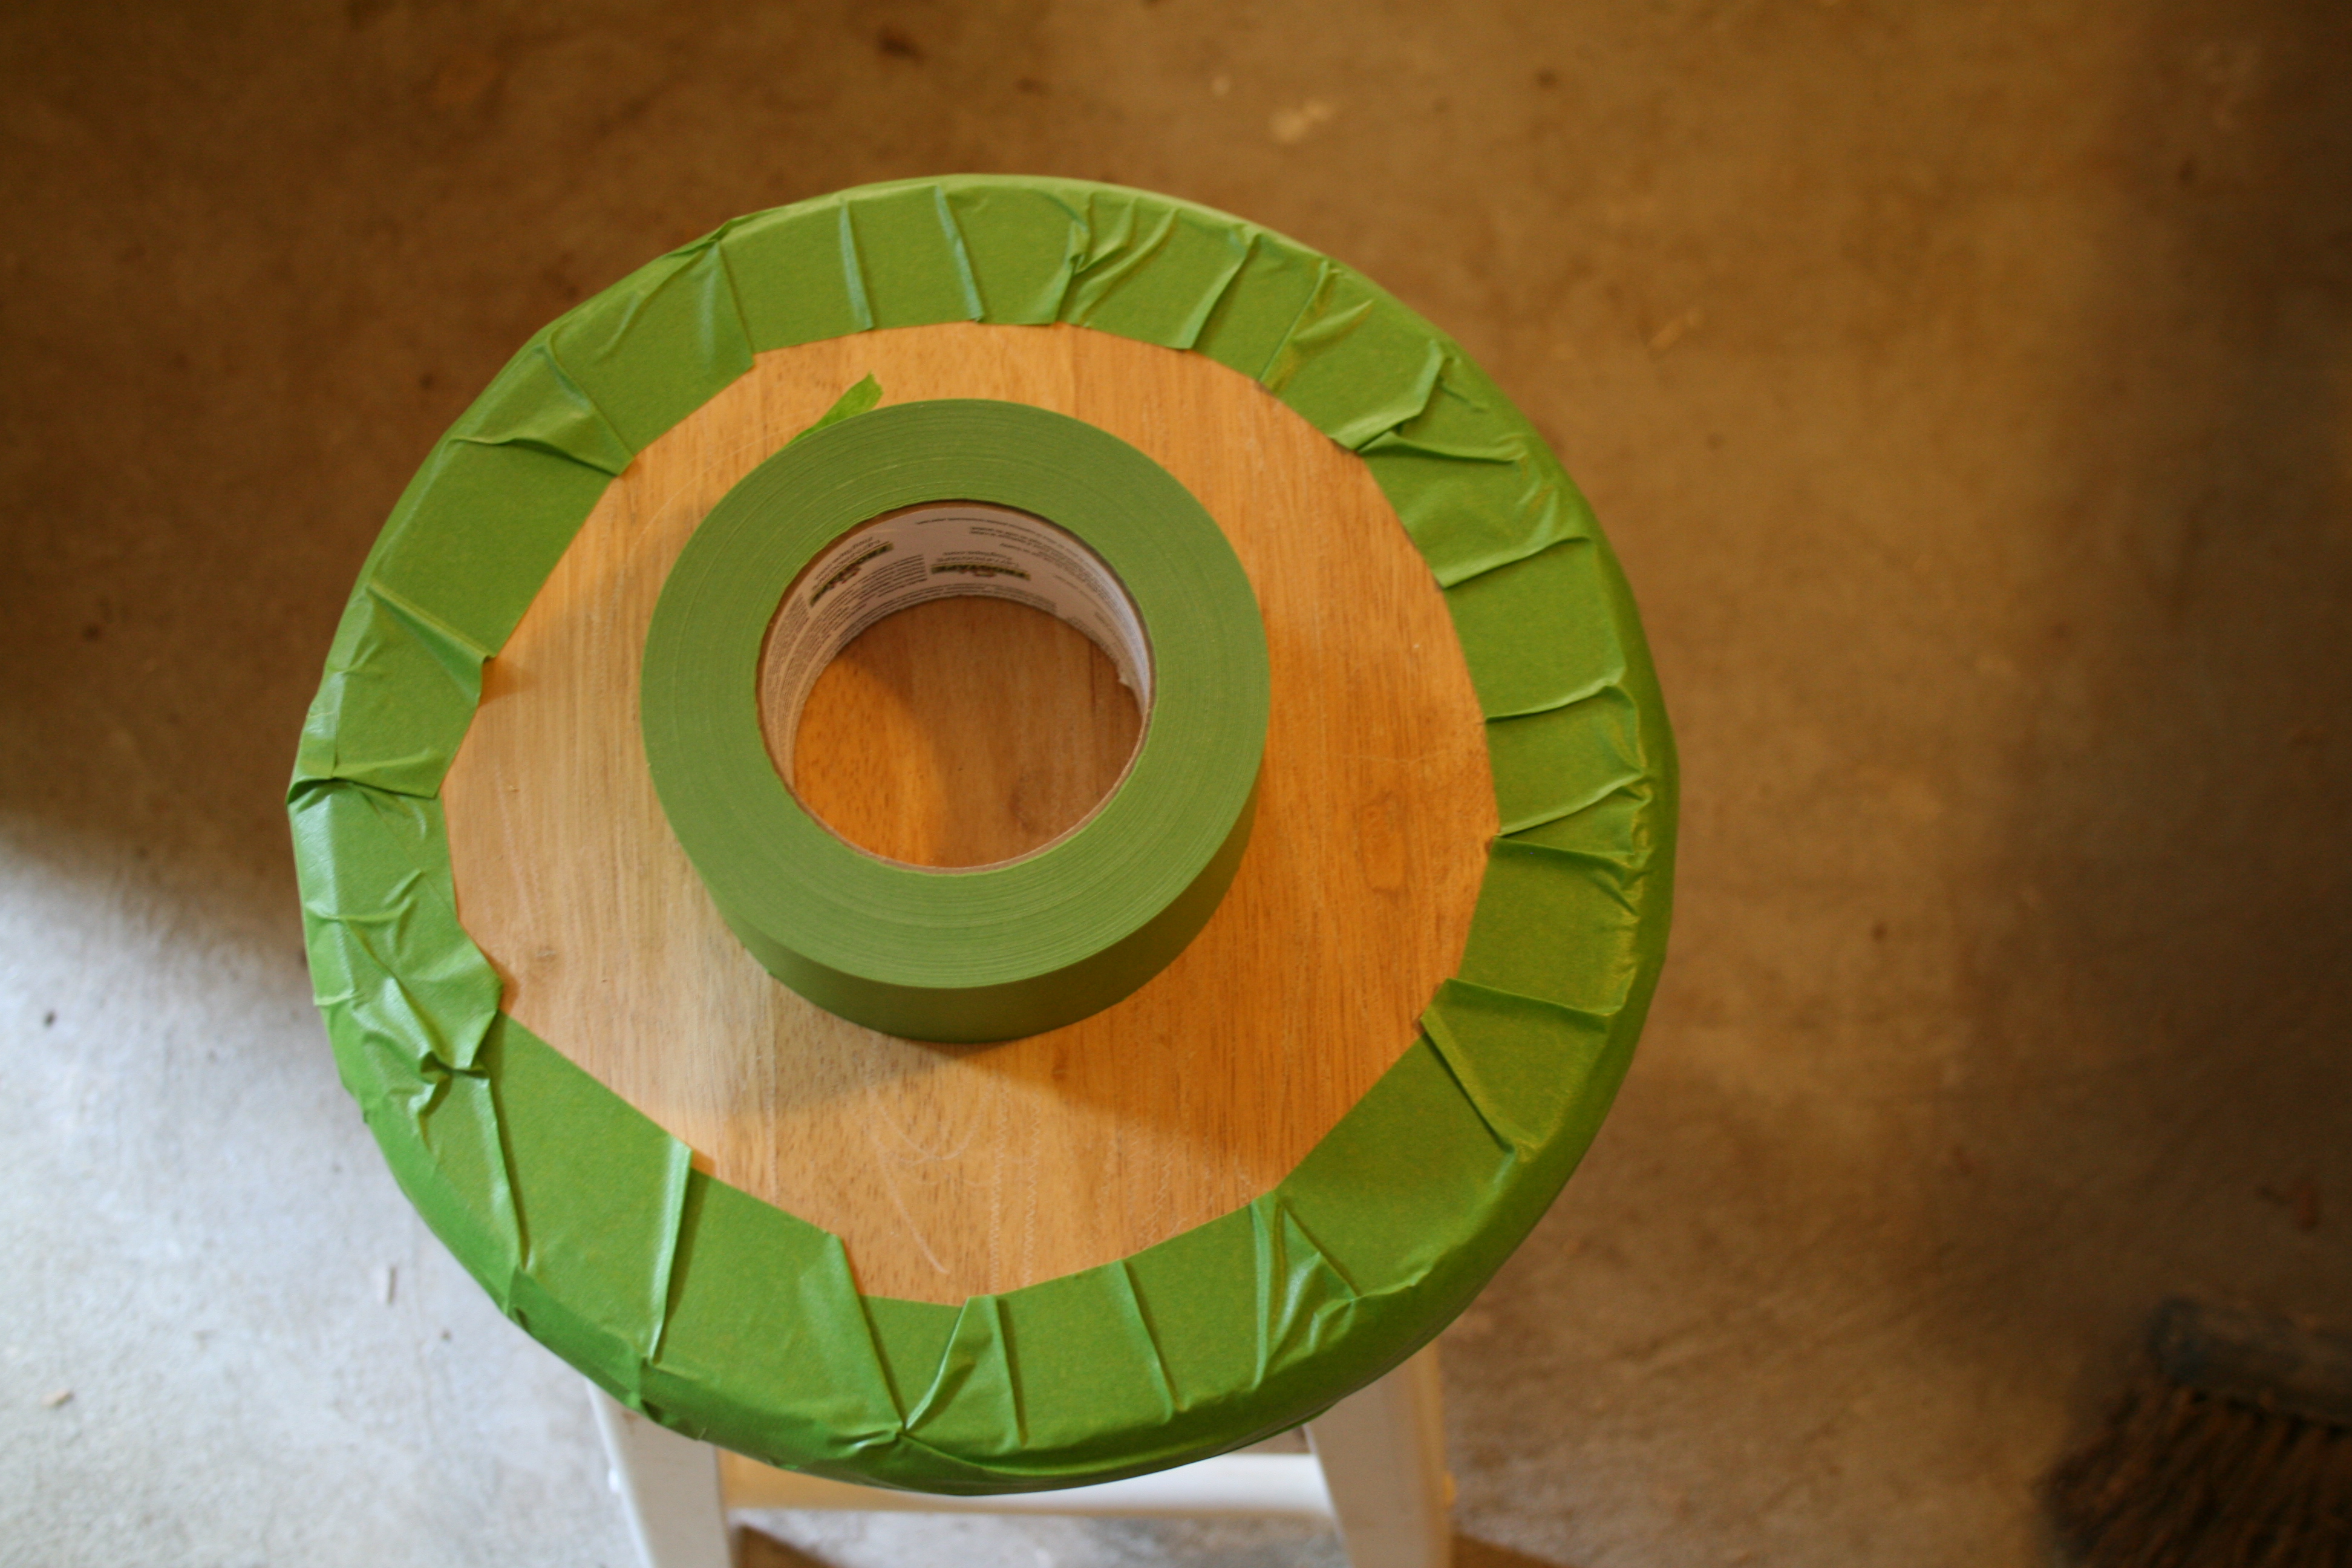
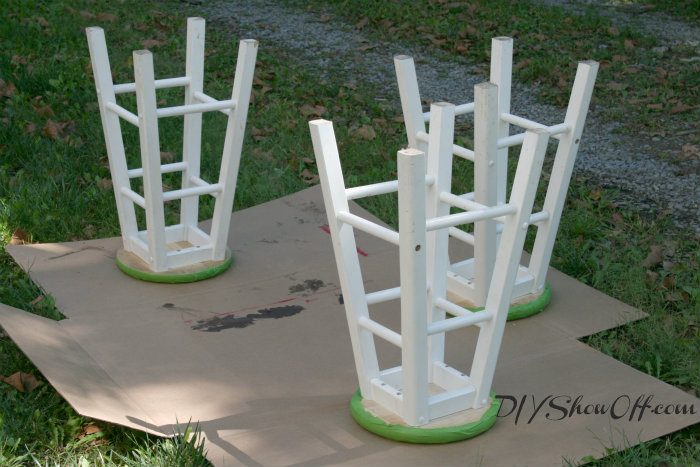
The bar stool tops were sanded and taped off using FrogTape while frames were spray painted a fresh new coat of white.

FrogTape

spray painting bar stools

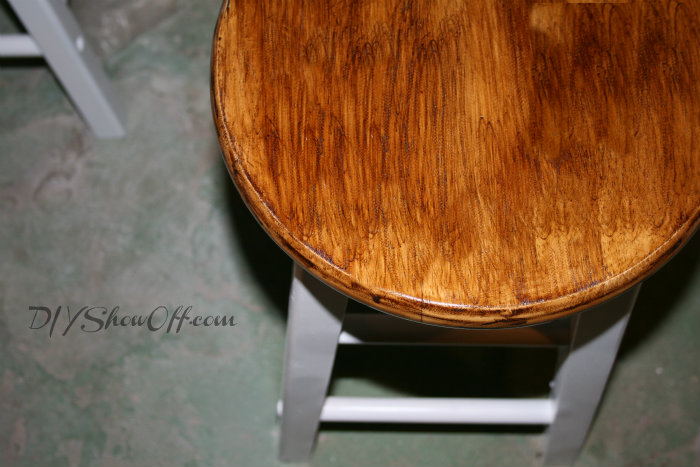
I applied a coat of stain to the top of the barstools…

staining barstools

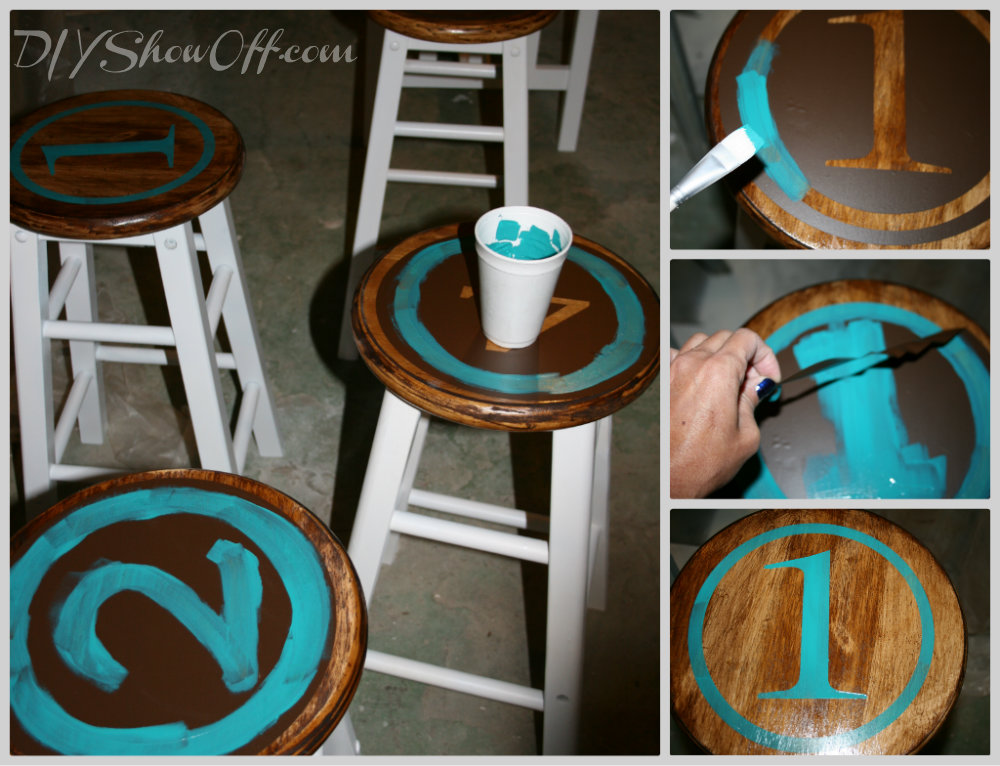
When that was dry, I used my Silhouette Cameo to create number stencils with a circle border. Using transfer paper, I applied the stencils to the top of the stools. (They didn’t stick to the shiny finish of the stain very well and took a little work to remove the transfer paper, but I managed to do it! I’d recommend staining after the numbers have been painted…although it will change the color of your paint unless you’re using a clear coat. Removing the vinyl also pulled off some of the finish…but that just added to the distressed character of the top of the stools.)

applying Silhouette vinyl

I painted in my stencils using acrylic craft paint and immediately removed the vinyl stencil.

painting stenciled barstools

I let the numbers dry over night and then applied several protective coats of Polycrylic, allowing it to dry between each coat (also lightly sand using a fine grit between coats).

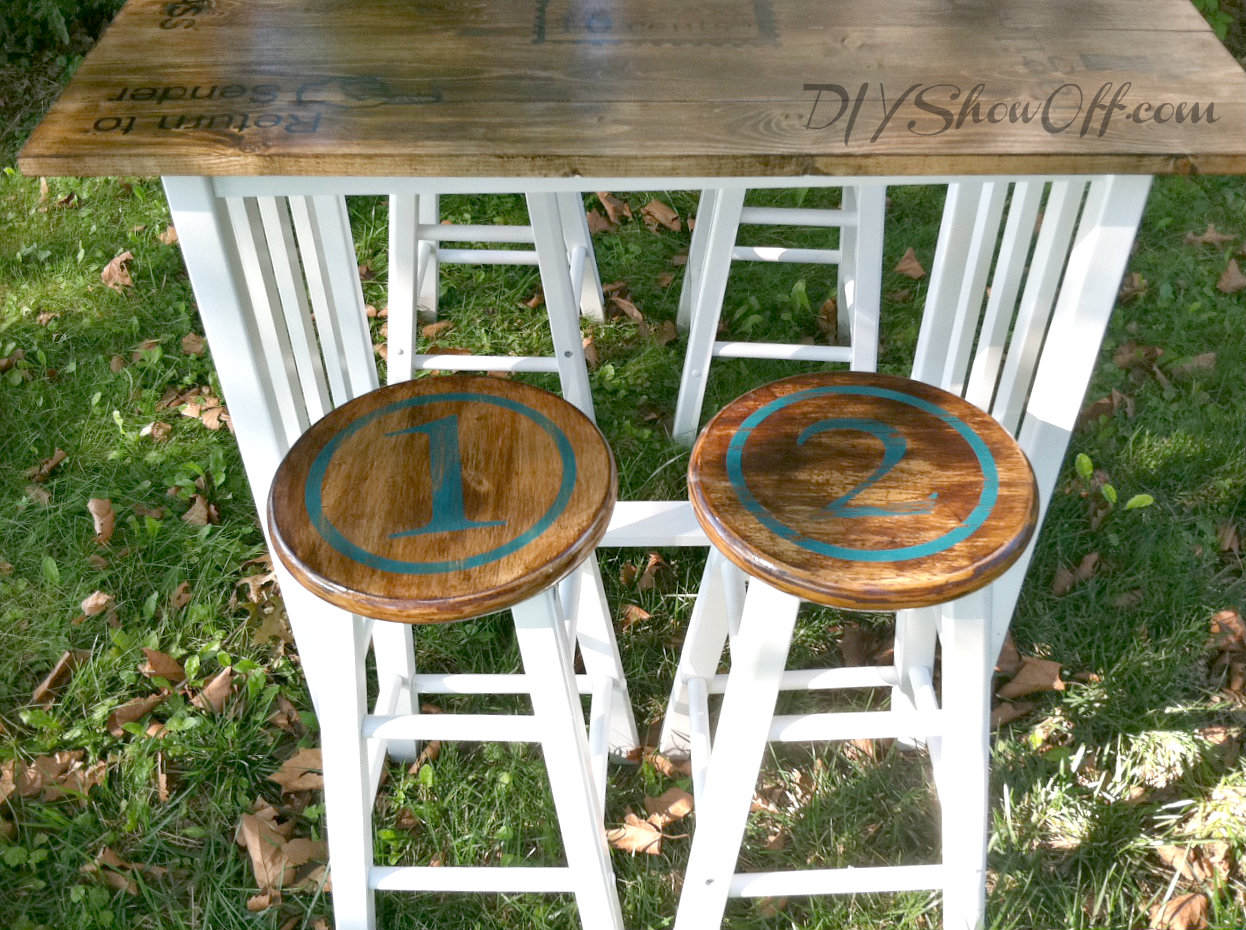
So cute, aren’t they? Better pictures coming up in the apartment reveal. That’s where this kitchen bar set will be living. VERY SOON! Hurray!

kitchen island after

kitchen island finished

kitchen island makeover

stenciled stained plank table top

Sharing over at Beth’s this week:

Home Stories A2Z

I LOVE my Silhouette Cameo – it’s my #1 way to create vinyl stencils. There’s also a special going on right now with the new Silhouette paper label kit! So cool – print and cut your own labels! There are so many fun ways to use this machine. LOVE that!

Silhouette sticker labels

Enter the unique promo code SHOWOFF to get 1 CAMEO, 1 package of printable gold foil, 1 package of printable silver foil, and 1 package of printable white sticker paper for $269.99. (Savings of almost $57!) These are brand new Silhouette products that just got back in stock after they sold out after release, so don’t wait too long!

Use the promo code “SHOWOFF” and click this link to get this sweet deal: http://www.silhouetteameria.com/blog-special-media-1.aspx. The discount will run through the 30th of September

~*~*~*~

The Silhouette America link is an affiliate link. I make a small percentage of sales. I share about my experience with my Silhouette Cameo in my own words. 

This is a sponsored post brought to you by FrogTape. The opinions are completely my own based on my own experience. 

FrogTape Blog Squad