Decorating a Lamp Shade with Vinyl

Lamp Makeover

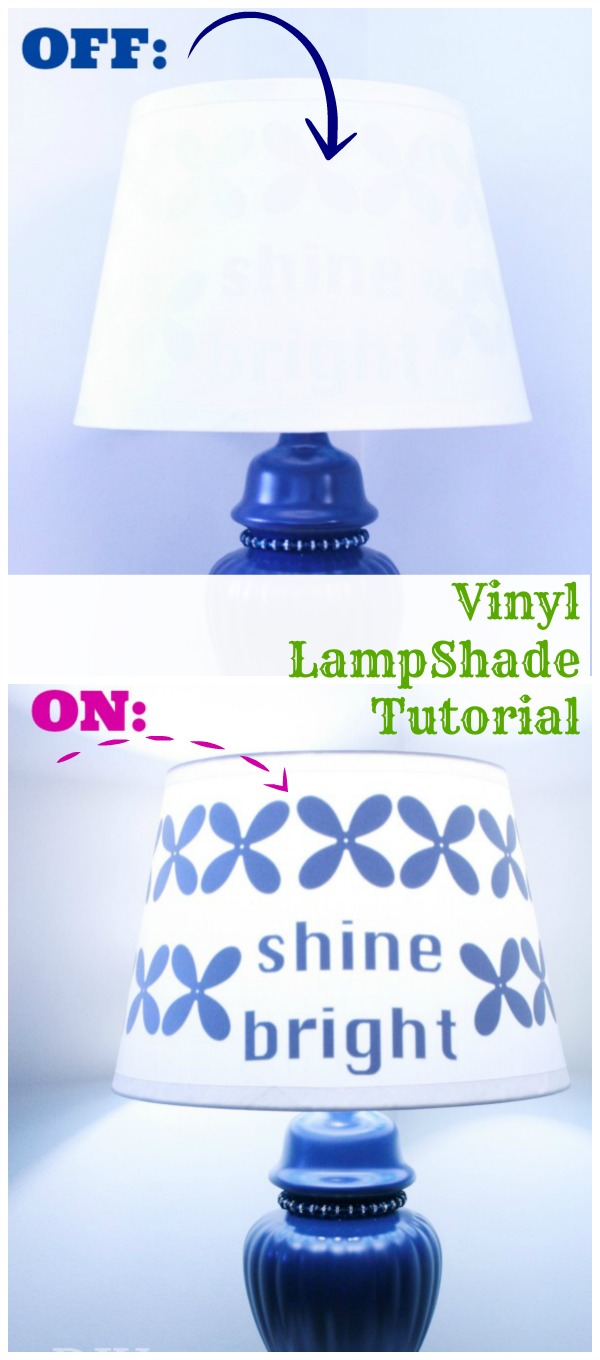
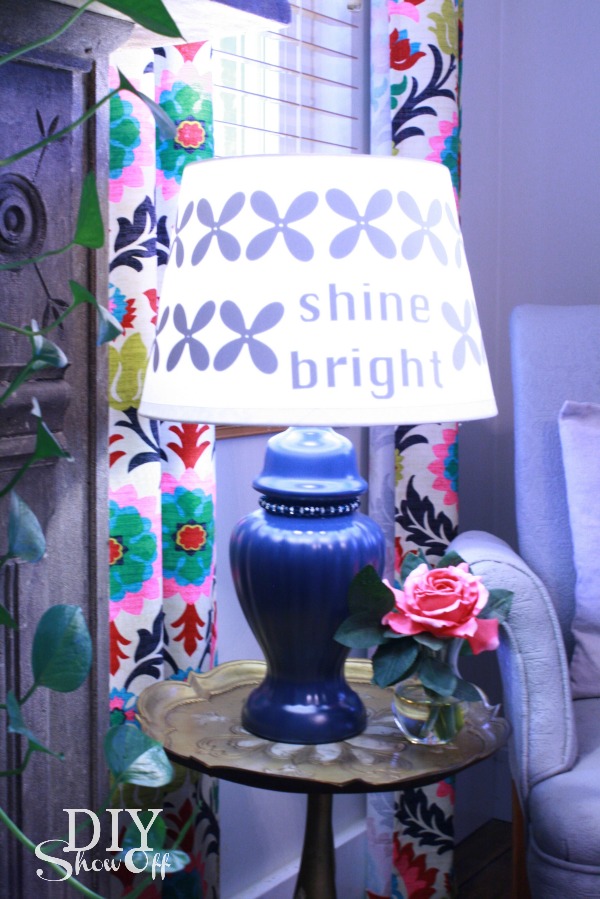
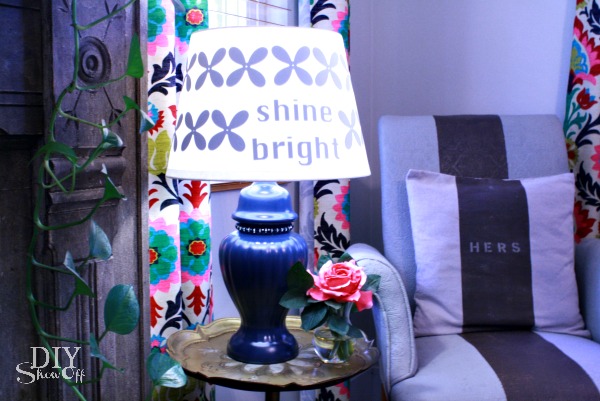
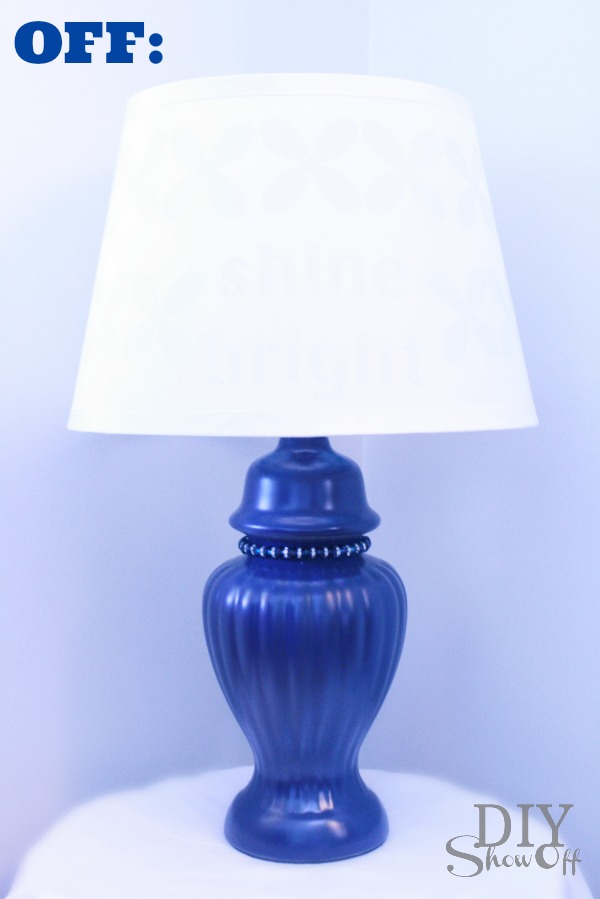
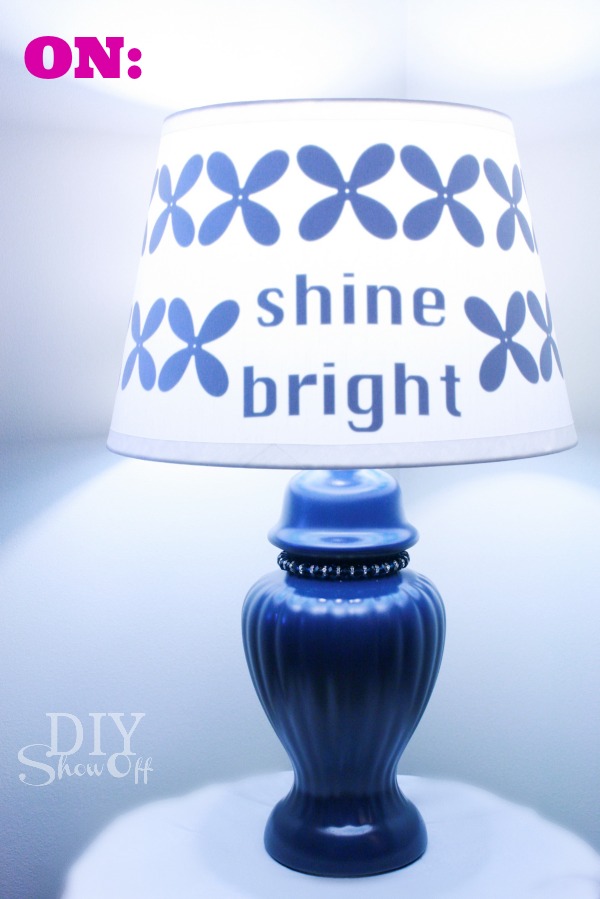
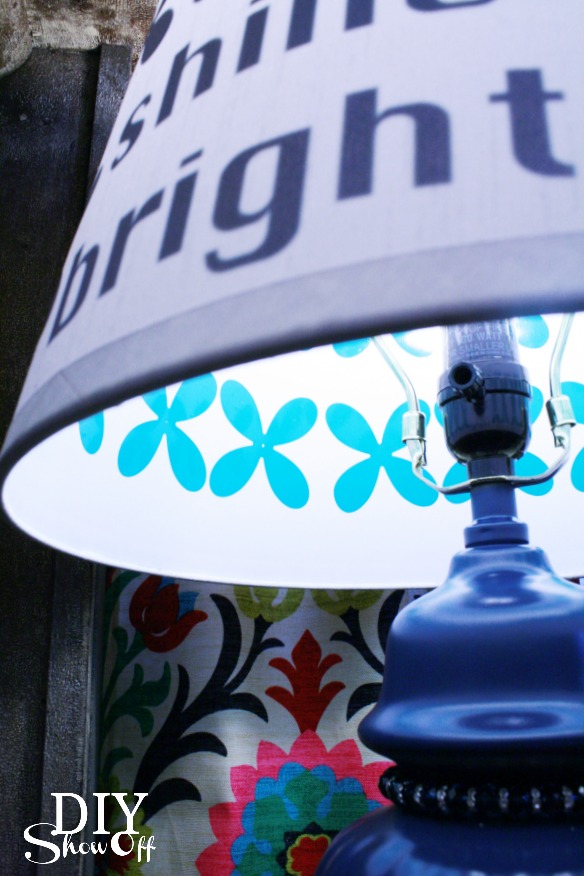
Plain white lamp shades are the perfect clean slate for adding a little DIY color and pattern to a room. I used vinyl on the inside of my shade to make it a little more special. When the lamp is turned off, the design is subtle, almost invisible but when the lamp is turned on, there’s a sweet little reminder to “shine bright”.

vinyl lampshade tutorial

Materials I used:

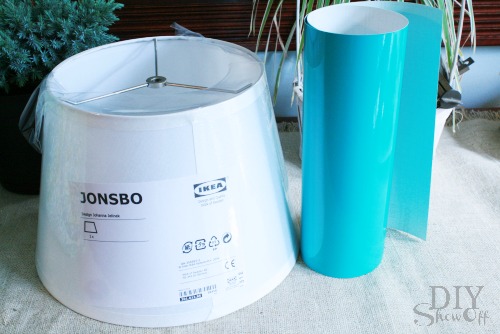
lamp shade and vinyl

  • old lamp
  • FrogTape® Multi-surface
  • spray paint (Valspar Indigo)
  • Ikea Jonsbo lamp shade
  • Glossy adhesive vinyl (turquoise) from Happy Crafters
  • optional: elastic gemstone bracelet

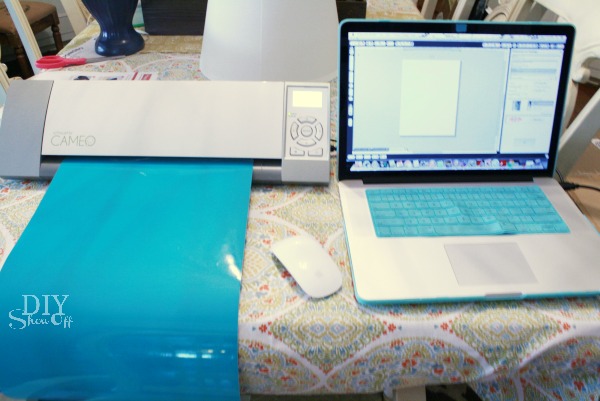
Tools: Silhouette Cameo

How I did it:

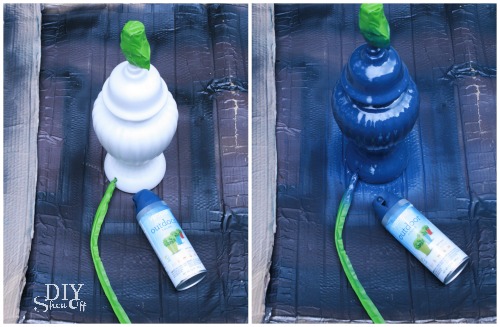
After taping off the light socket and cord using FrogTape®, I spray painted my old lamp a pretty navy and let it dry. Then simply removed the FrogTape to reveal a nice clean cord and nice clean switch and socket. 

spray painting lamp

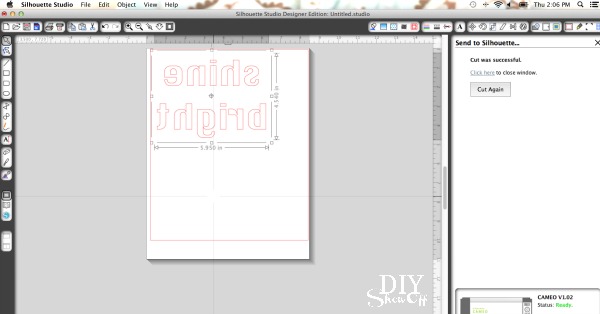
For the vinyl wording: I created my lettering in the Silhouette Design Studio. Be sure to right click the text when finished and “flip horizontally” so it shows backwards. IMPORTANT: MIRROR IMAGE the TEXT!

mirror image text

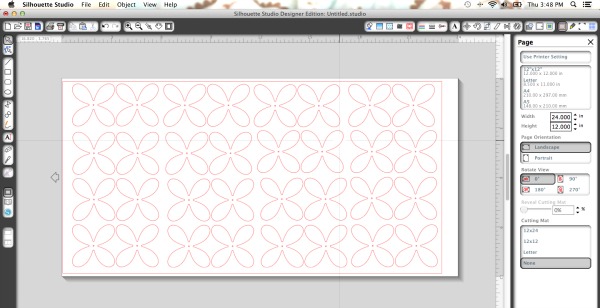
I also used a flower garland shape for my design in addition to “shine bright”. 

vinyl flower design

I sent both to my Silhouette Cameo to “cut” once I adjusted my settings for vinyl. If you don’t have a vinyl cutter, you could also use vinyl decals if the design looks the same backwards (remember: text must be flipped horizontal/mirror image for this project).

Silhouette Cameo tutorial

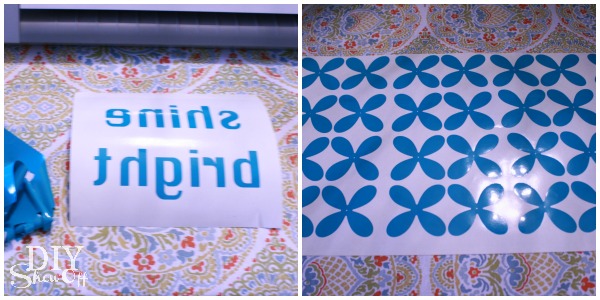
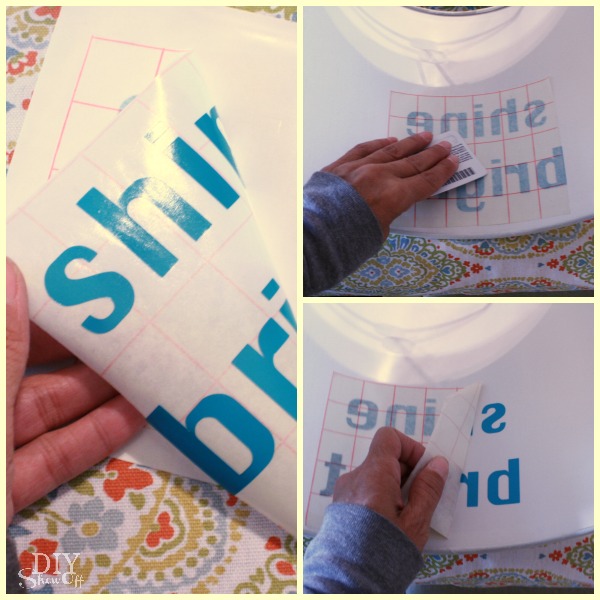
I then removed all of the unnecessary vinyl from my designs by weeding away the vinyl that isn’t a part of the design…

vinyl lettering and design

and added the transfer paper. 

Happy Crafters vinyl

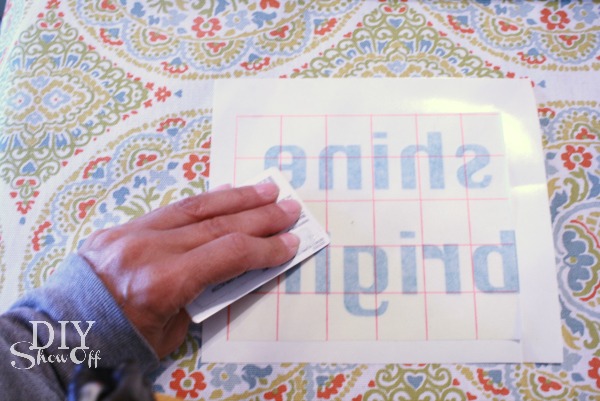
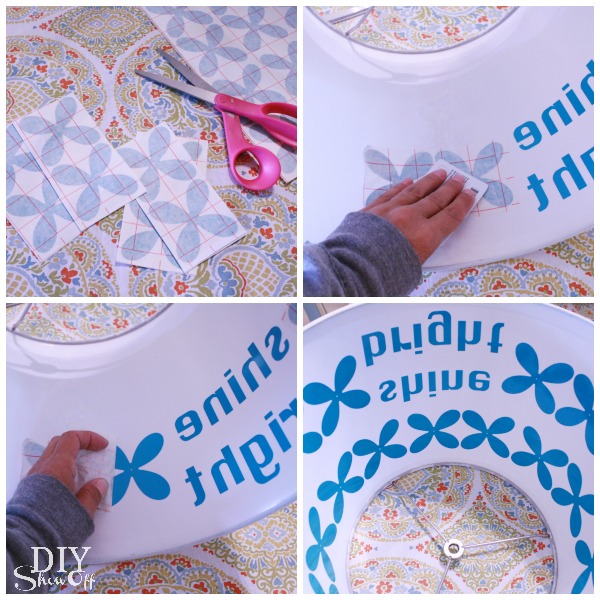
I removed the waxpaper backing and placed my designs on the inside of the lamp shade. I used a credit card to rub down the design for transferring. Then I removed the transfer paper. 

applying vinyl to lampshade

Note: I found cutting and adding my flower design in sections of two to be the best way with the rounded/tapered lamp shade. Keep vinyl pieces individual/smaller sized to go around the curved lampshade to prevent wrinkling when applying. 

applying vinyl to plastic lamp shade

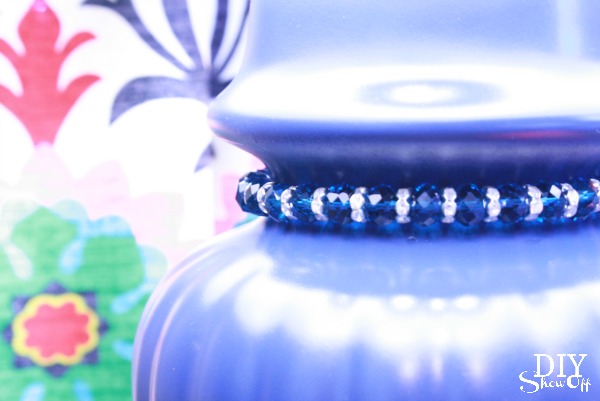
I added the turquoise bracelet for a little additional bling. 

accessorizing lamp

Here’s a shot of the inside and outside. I do love how the turquoise vinyl lettering on the inside shows navy-ish on the outside. I couldn’t have planned that better if I tried!

inside outside of lampshade

It’s perfect on a side table in our family room for a little extra reading light…

lamp makeover

lamp makeover

Lamp off… 

lamp makeover

 Lamp on…

lampshade makeover


NEAT! Love it! I also thought “Note to self: Relax.”, a monogram or a damask pattern would have been pretty. What would your lamp shade say?

FrogTape Blog Squad*This is sponsored by FrogTape®. FrogTape provided by Shurtech. The opinions are completely my own based on my own experience. 

Happy Crafters supplied the vinyl for this sponsored blog post.

 HClogopngsmall

DIY Serving Tray Makeover

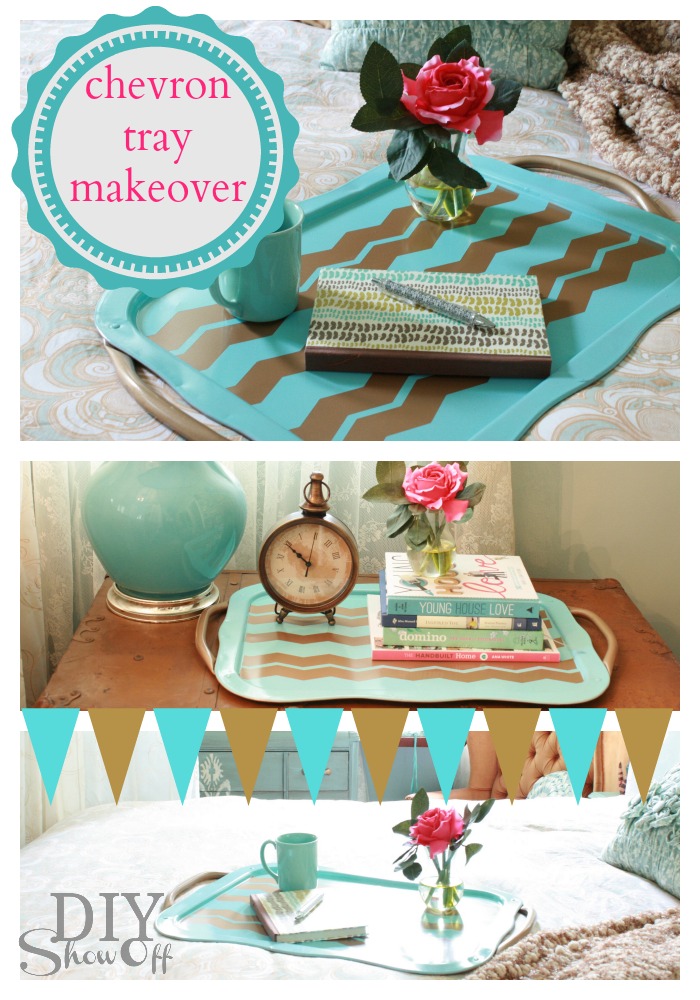
DIY Serving Tray Makeover:

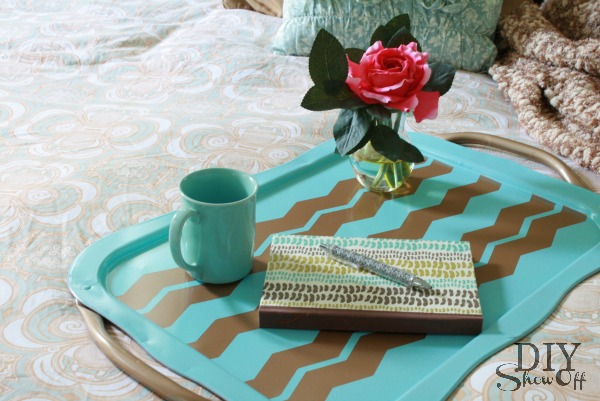
chevron Shape Tape tray

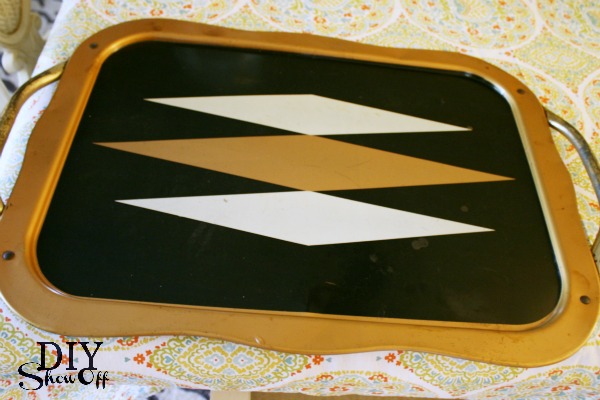
I found this old serving tray hanging on a nail in our basement stairwell. We’ve been in this house quite a while and I’ve never noticed it. lol! In my defense, I’m talking about the dark creepy stairwell to the 80+ year old scary basement (I prefer to use the newer stairwell).

before: scratched up

serving tray before makeover

It was the perfect project to try out the new chevron pattern Shape Tape from FrogTape which also comes in a wave and scallop pattern. FrogTape sharp paint lines and fun patterns…gotta love that!

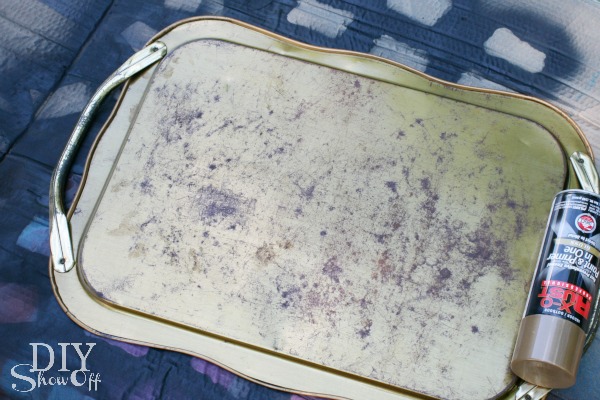
Both sides of the try got a good spray of paint + primer in gold. I let it cure/dry for a few days.

spray paint tray

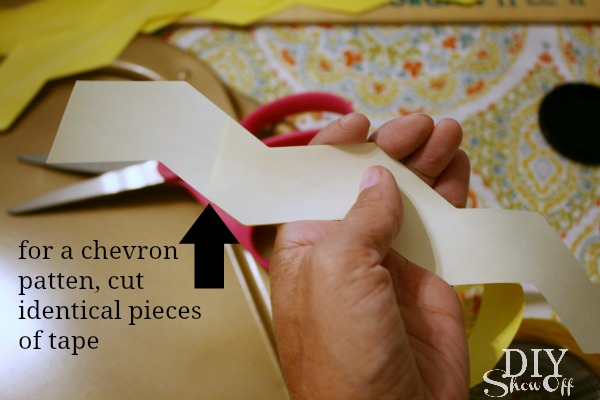
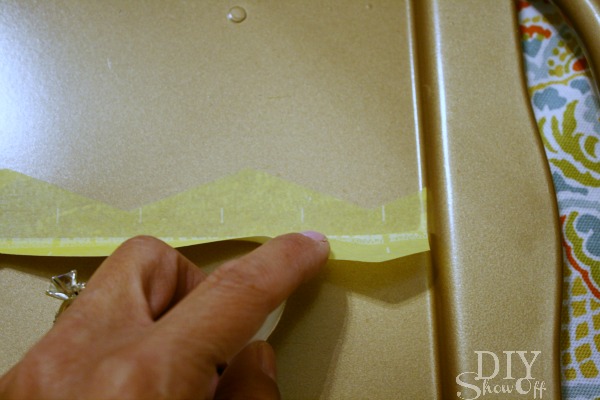
To get a perfect chevron zig zag, you’ll need to cut identical pieces (not just cut off continuous pieces from the roll of Shape Tape). 

FrogTape chevron Shape Tape

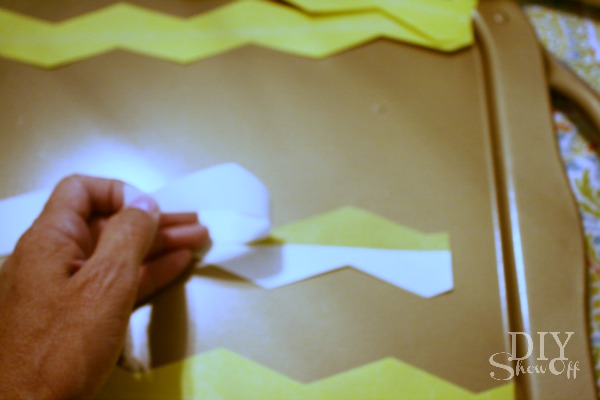
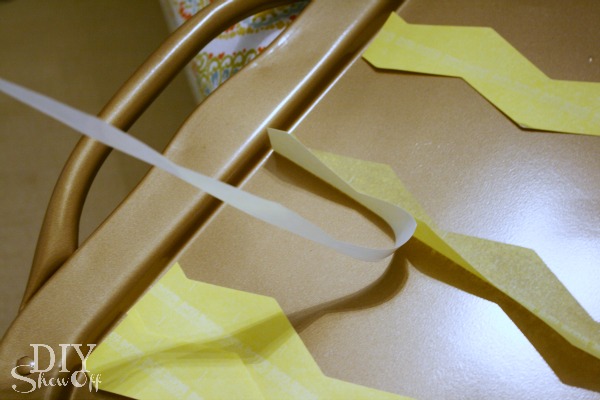
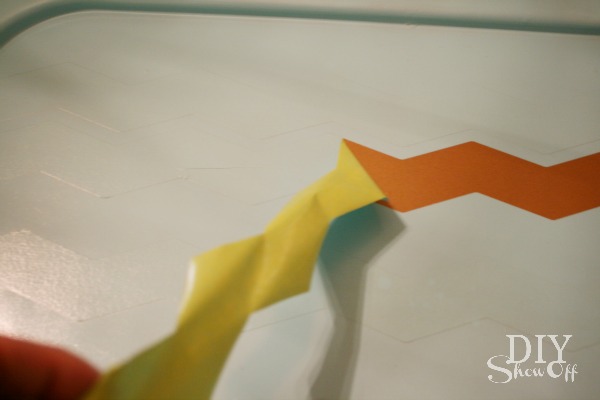
Then peel away one side of the backing…

chevron shape tape

smooth into place…

FrogTape chevron Shape Tape

and remove the other side of the backing and smoothing the adhesive into place. 

Shape Tape

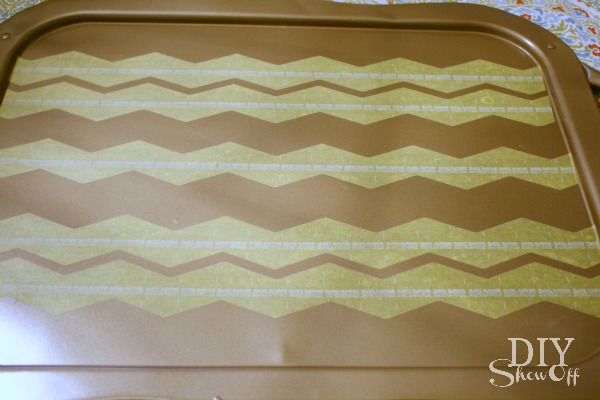
Be sure that all tape edges are secure…

chevron FrogTape Shape Tape

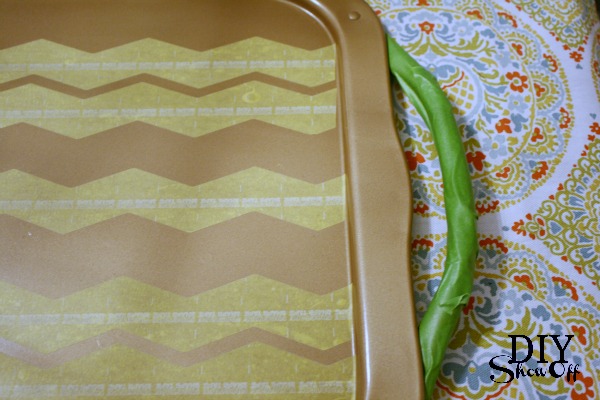
I taped up the handles so they’d remain protected/gold too…

FrogTape

then sprayed a top coat of “ocean breeze” by Krylon and removed the tape once the spray paint dried for a couple of hours. Nice crisp paint lines! 

removing Shape Tape

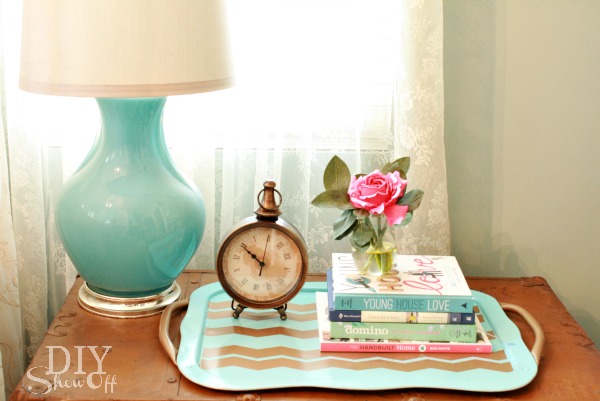
Ta-da! Love it. Although Bri thinks it’s a pretty tray with “bacon” decals. Hey, I love bacon so all is well! 😉 

chevron serving tray makeover

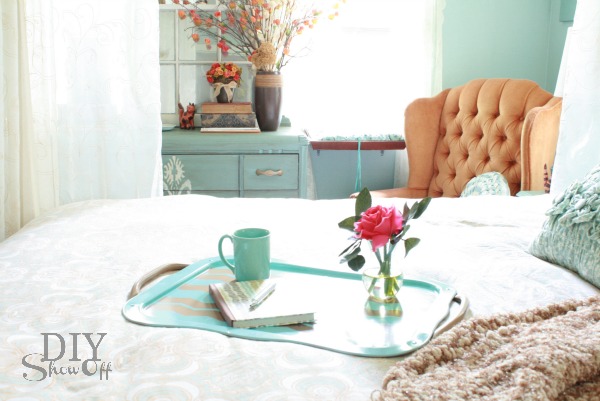
Now it’s a serving tray that coordinates with our guest room

guest room

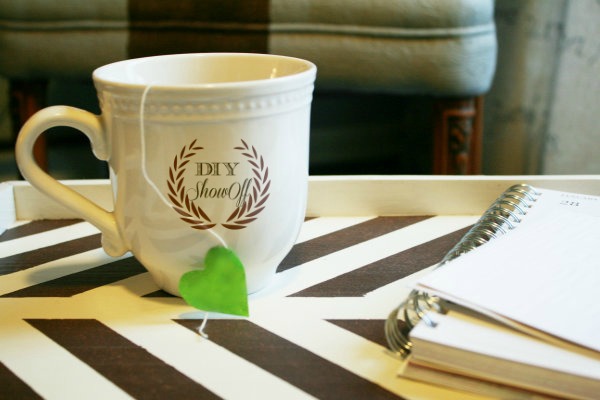
Serving trays are so fun to makeover.  I still use the one I did a few months ago all.the.time. Trays make great photo props.

DIY herringbone serving tray

Frogtape serving tray

Great for not only serving, but more often – displaying vignettes on a coffee table or side table. 

bedside tray vignette

*This sponsored by FrogTape. FrogTape provided by Shurtech. The opinions are completely my own based on my own experience.

 FrogTape Blog Squad


Ps. Fun FrogTape Pin to Win Sweepstakes now through August 5th!

pintowinFrogFB

Framed Pet Silhouettes

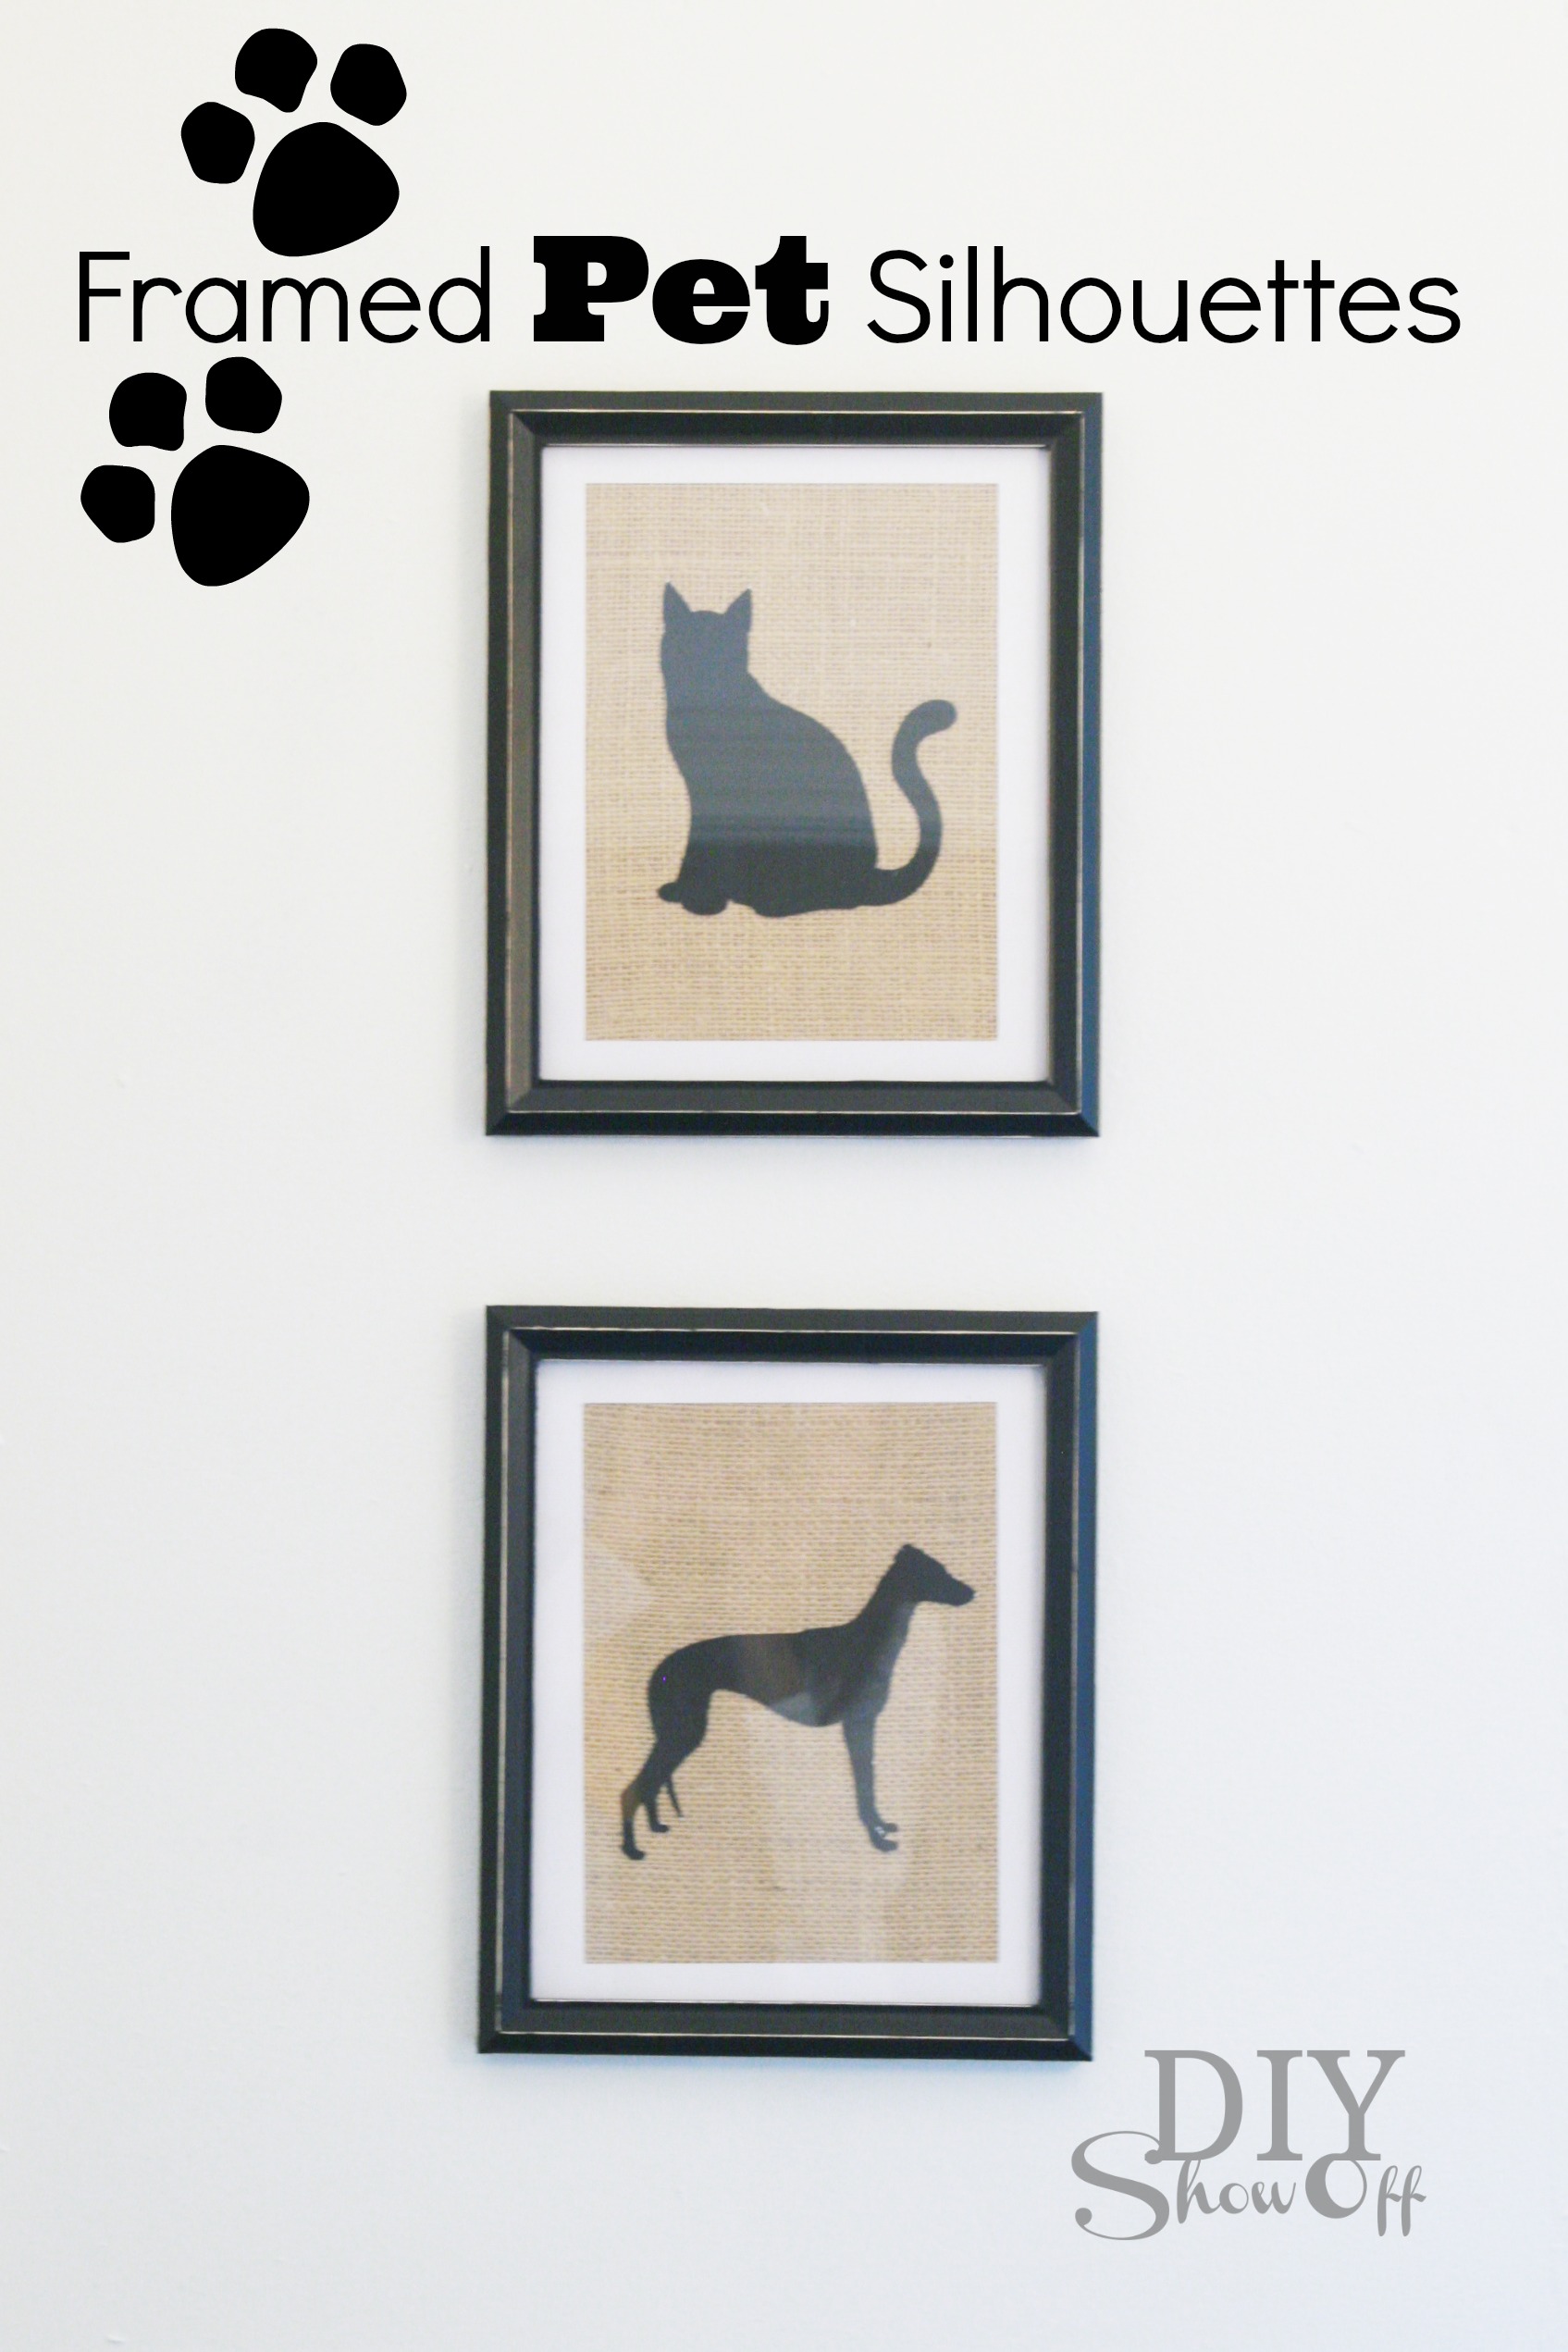
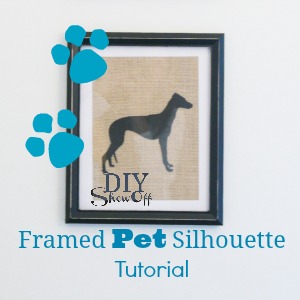
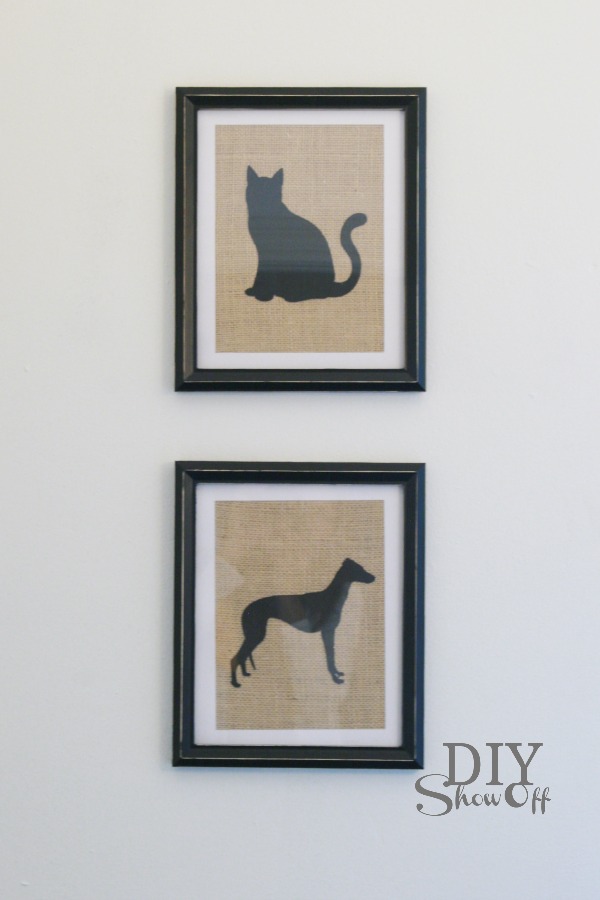
I love silhouette shapes, don’t you? In need of some sort of framed art in our hallway, I decided to whip up some silhouettes of my pets to frame.

Framed Pet Silhouettes on Burlap

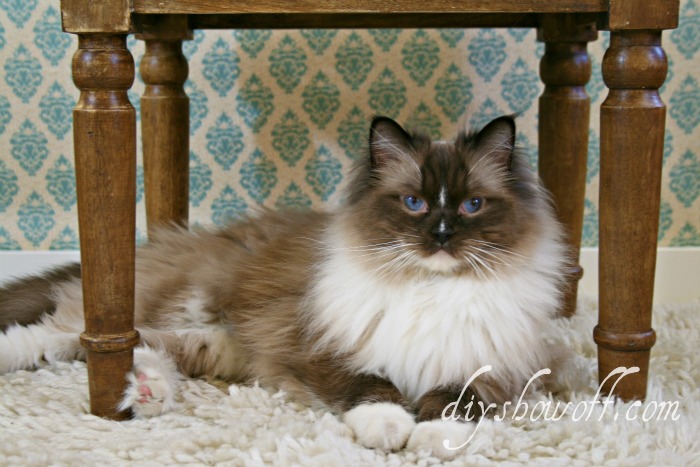
We have two pets in our home…Lalka, our ragdoll cat:

lalka.ps2

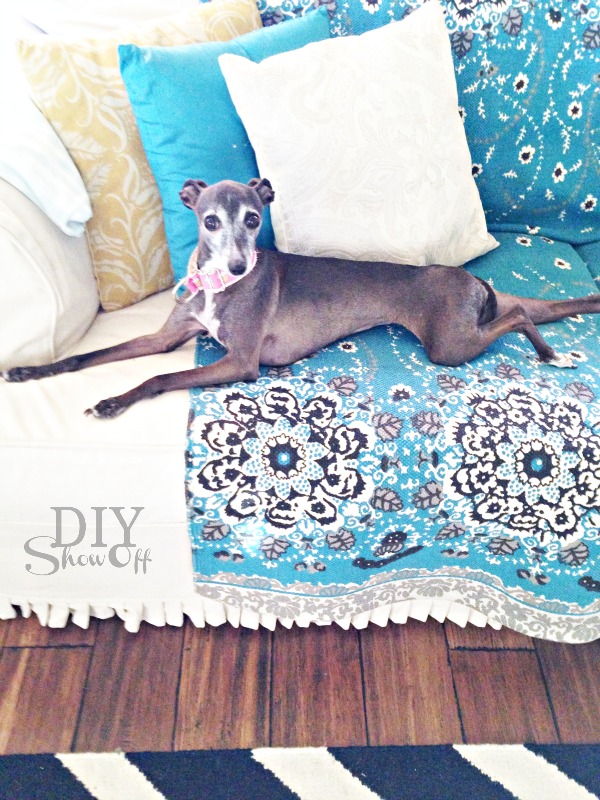
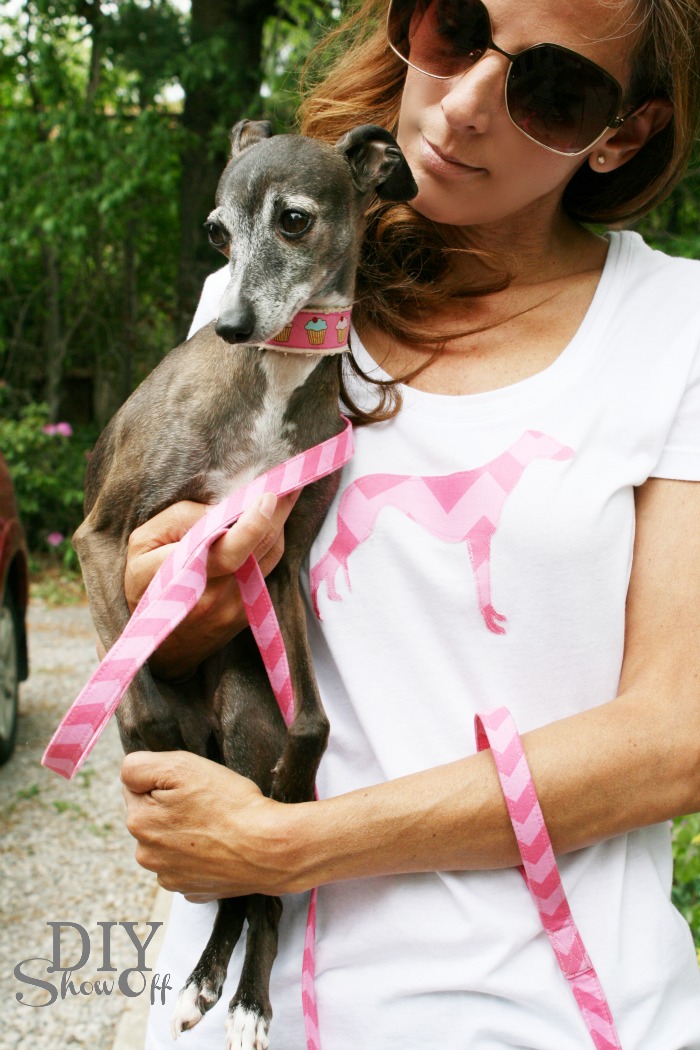
CocoRosie, our Italian greyhound:

rosie italian greyhound

Actual pictures of them are something I haven’t framed but black silhouettes on burlap are just about as sweet!

how to make a framed pet silhouette

Materials I used:

  • Two 8×10 picture frames
  • Burlap
  • Silhouette textured adhesive cardstock from Happy Crafters

What I did:

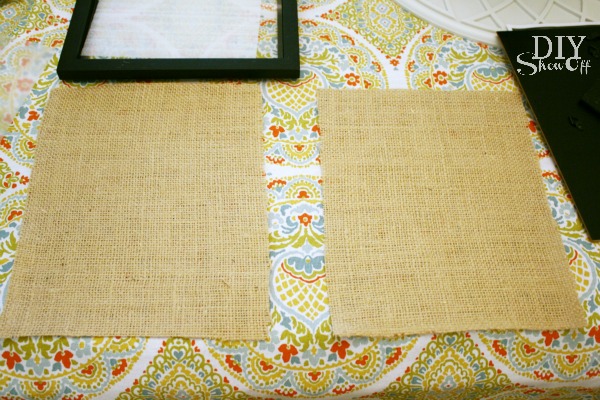
1. I cut out two 8×10 pieces of burlap (and ironed them using my irons highest setting and spritzing the burlap with water (not steam) on both sides).

burlap craft

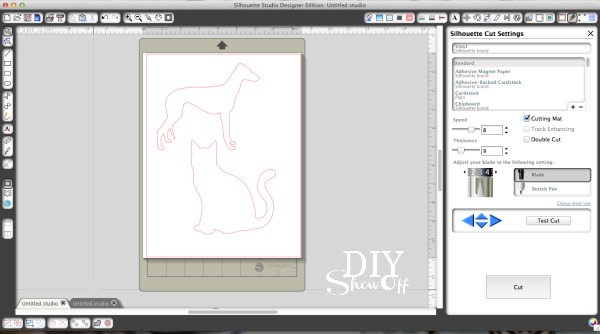
2. Using my Silhouette designer studio software, I purchased a cat and greyhound silhouette from the Silhouette store and created two designs for cutting, one of an 8 x 10 matte for my white adhesive card stock and a dog and cat measured to fit inside of the matte on black adhesive card stock. I also saved my designs to cut out more adhesive cat and dog shapes for making handmade cards (using the adhesive card stock is like making your own custom stickers and adhesive labels).

pet silhouettes

matte

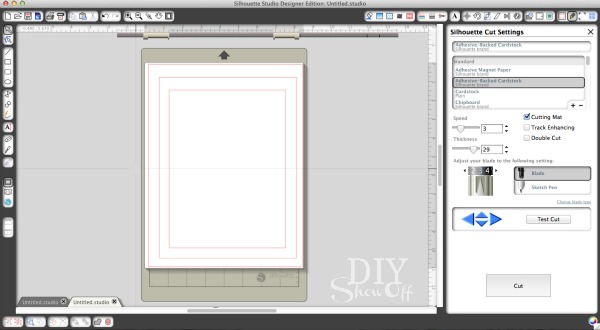
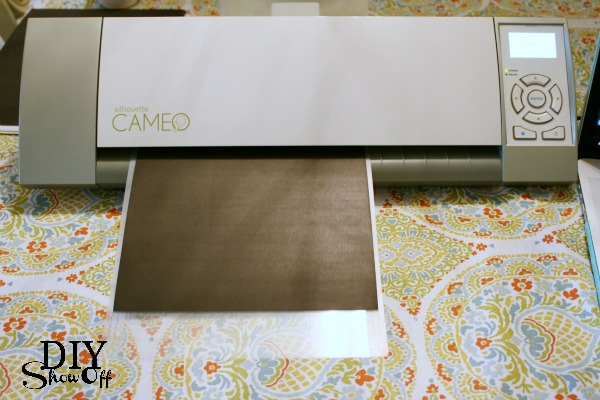
3. Then adjusted the settings according to the “adhesive card stock” option and sent to the Silhouette for cutting. 

cutting pet silhouettes

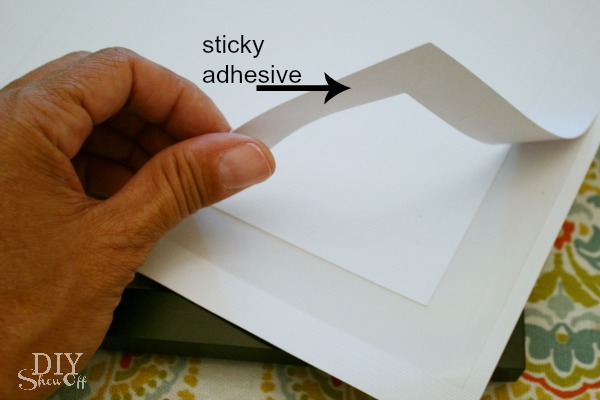
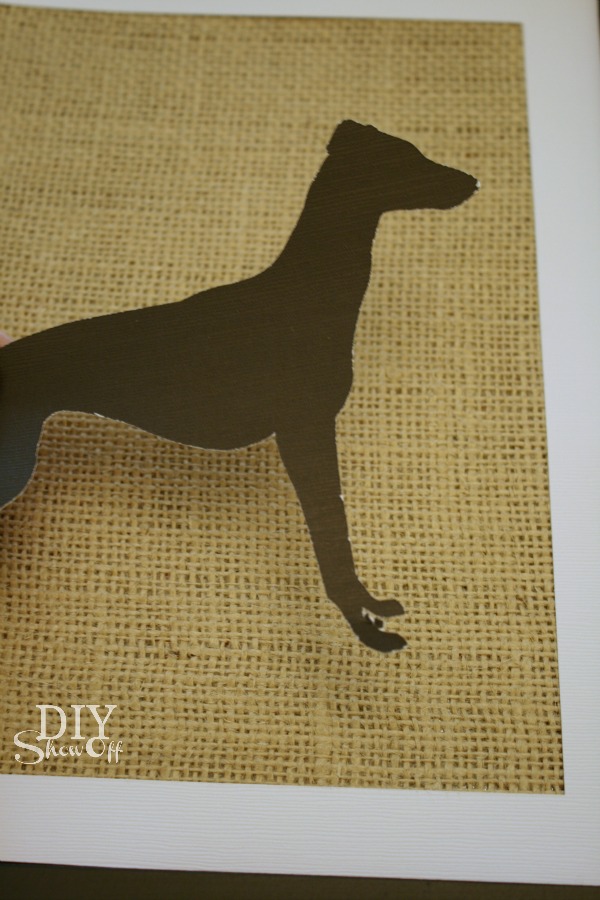
4.  Then simply peeled away my designs and placed them on the burlap. Easy peasy! I like that the adhesive keeps my designs in place on the burlap. 

adhesive cardstock

Italian greyhound silhouette

5. Then framed and hung them up on the wall. 

framed burlap adhesive cardstock pet silhouette tutorial

So cute!

Do you have pet art in your home? I love whimsical pet silhouettes. Remember my Italian Greyhound t-shirt?

DIY chevron greyhound applique

Who knows what I’ll embellish next! I don’t have a pet accented throw pillow yet. It might be next on the list. 🙂 
HClogopngsmall

This post was sponsored. Happy Crafters provided the adhesive card stock. As always, opinion, experience and tutorial are my own. 🙂