DIY Holiday Wall Decals

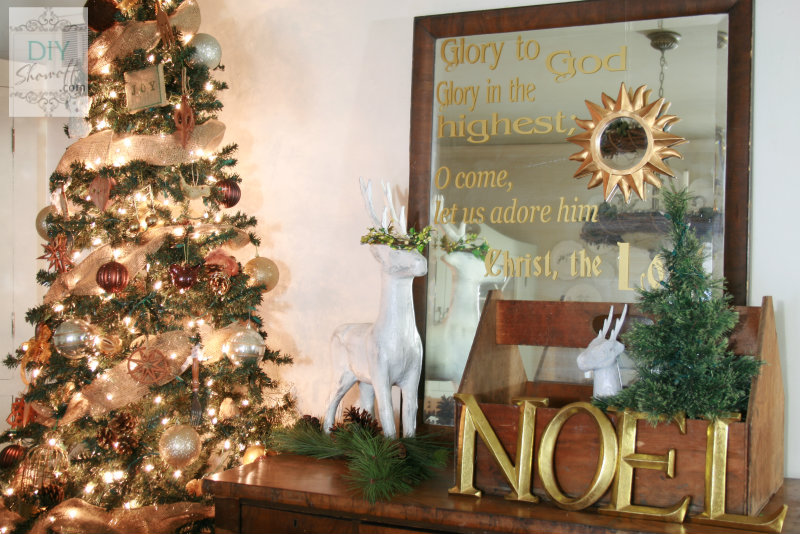
DIY vinyl holiday wall decals are perfect for adding some festive touches to existing decor during the holidays. Great for making new decor too! Last year I added gold vinyl lettering to a large mirror (Glory to God in the Highest).

Christmas Dining Room 2012

Christmas mirror

I also love using vinyl lettering to create signs or to place directly on the wall.

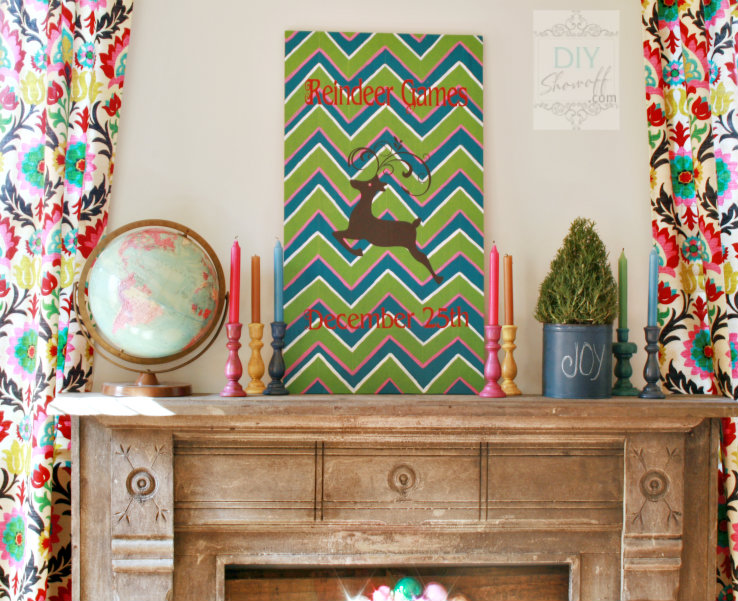
Reindeer Games Sign Tutorial

DIY chevron Christmas Reindeer Games sign

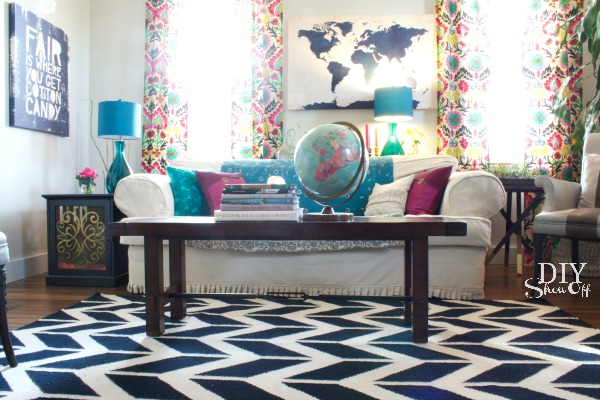
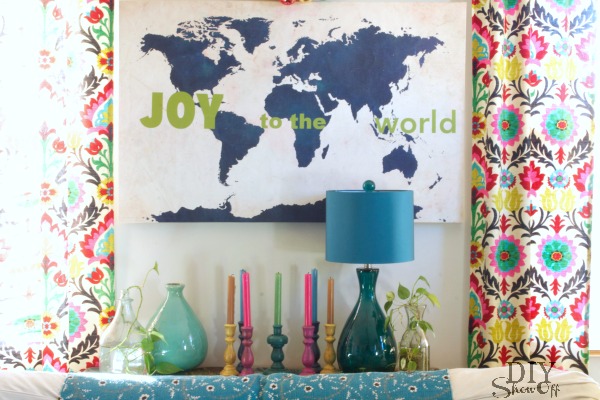
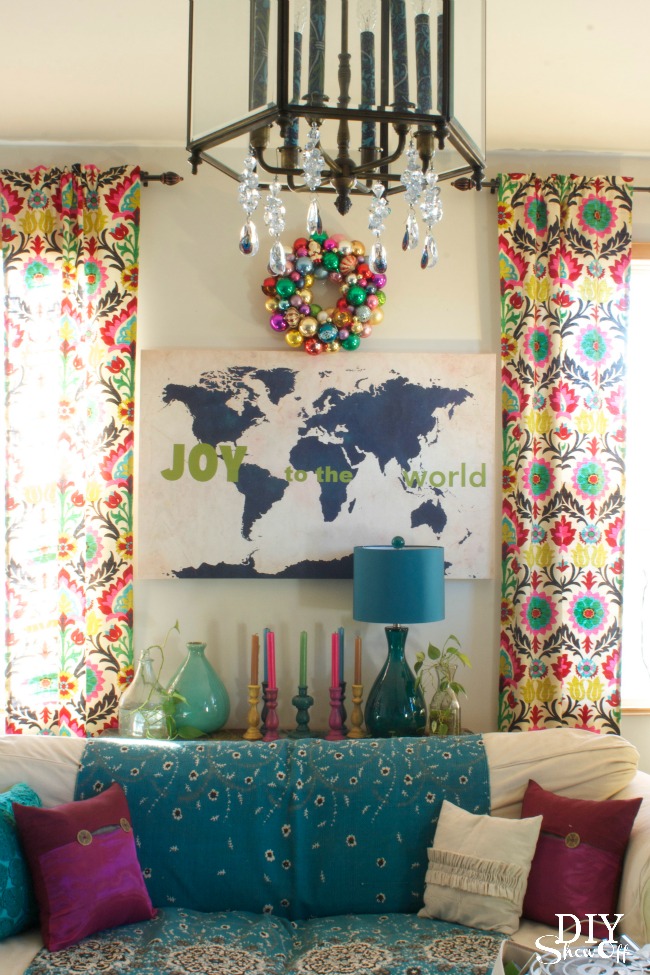
But this year, I have a large world map in the family room. I tested the vinyl on the canvas and it didn’t cause any damage so this project got the ‘green light’ for me! Yay! (Please do your own test before applying vinyl directly to canvas or art work.) If it didn’t work, plan B was to use vinyl lettering on a wood plank sign for above my canvas. or to add vinyl lettering to a laminated map poster. 

before {family room makeover}

family room makeover

MaterialsI used:

Tools: 

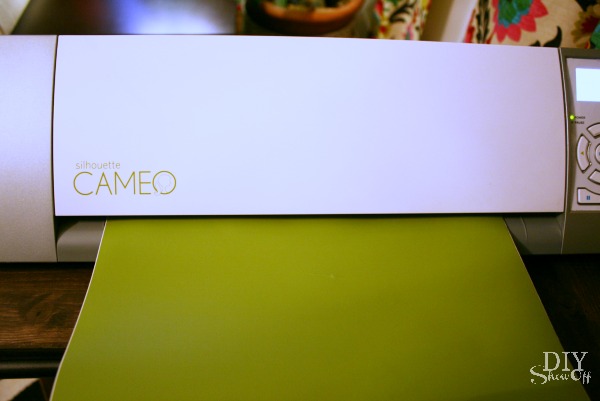
  • Silhouette Cameo

What I did:

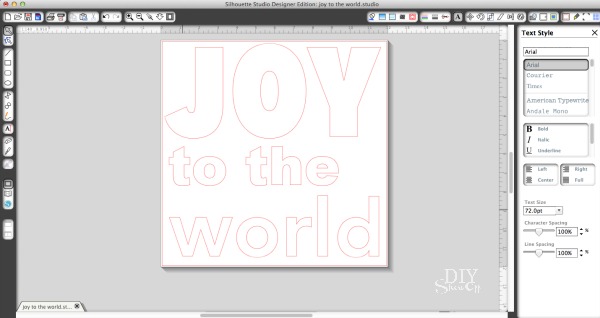
I created my lettering for “Joy to the World” using my Silhouette Studio software.

Joy to the World Christmas lettering

*Incidentally, there is a nearly identical ‘world shape’ as shown on my canvas, so you could also cut out vinyl continents in any color and apply directly to the wall or onto a large piece of plyboard to create your own overall “Joy to the World” wall decals. 

Load the vinyl into the Silhouette Cameo color side up. 

Happy Crafters Tutorial

Adjust the blades as needed and send design to “cut”. 

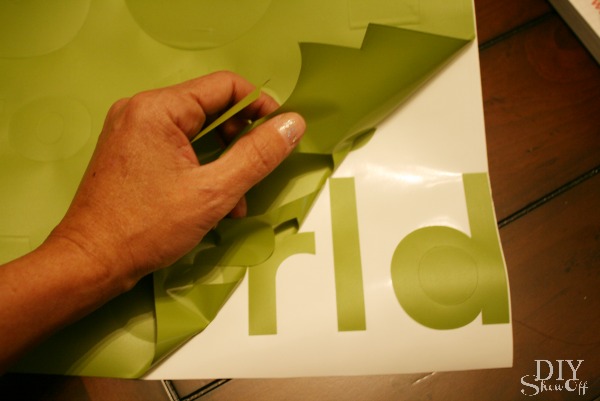
Remove vinyl from machine and weed away negative space around lettering and centers from the letters o and e.

Joy to the World vinyl wall art

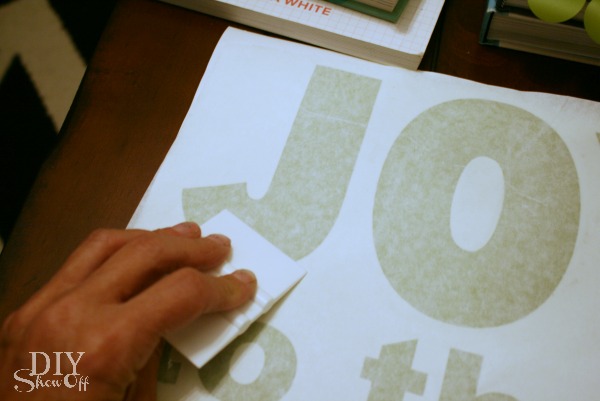
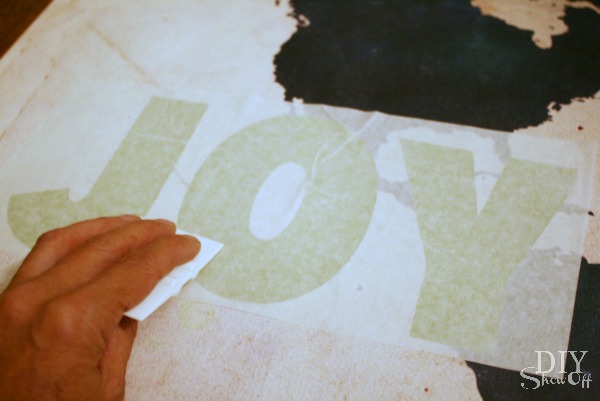
Place transfer paper over the design and rub with a credit card. 

Joy to the World vinyl wall art

Peel away waxpaper backing from lettering. If letters are sticking to the wax paper, replace transfer paper and rub again. Sometimes I have to use my thumbnail to help the vinyl transfer.

Place vinyl design with transfer paper onto the canvas.

Tricky! Rub the design without stretching the canvas. I supported the back side of the canvas with a book before rubbing. 

Joy to the World vinyl wall art

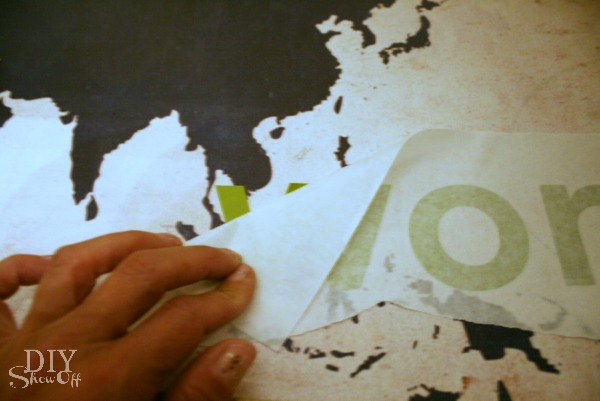
Peel away transfer paper. 

Joy to the World vinyl wall art

All done!

The best part is that I can remove the vinyl letters after the holidays without damaging my printed canvas (remember to test your art before attempting this – or create a specifically designated piece for the holidays). 

Joy to the World Christmas wall art

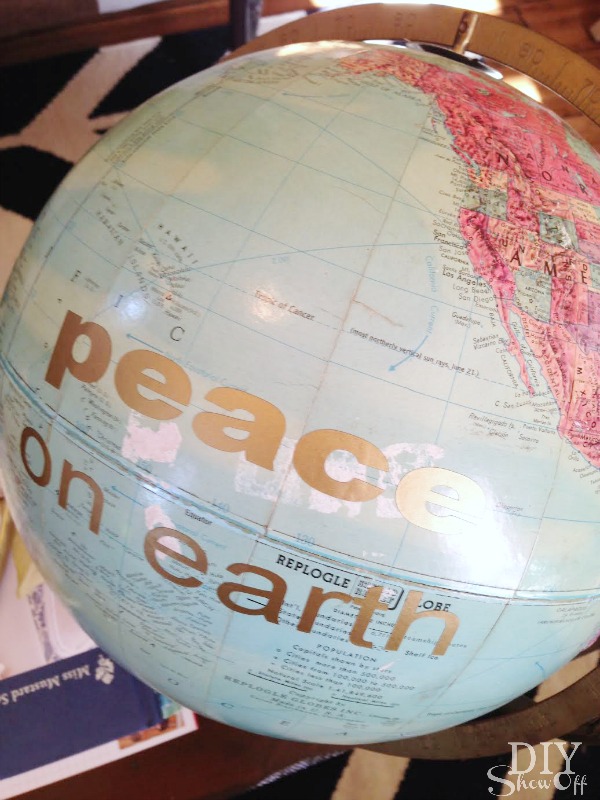
I also added “peace on earth” to my globe to help camouflage the area where numerous price tag stickers removed the map paper…

peace on earth globe

How are you adding vinyl to your holiday decor this year? 

Joy to the World Vinyl Decals on Map

*This post is sponsored by Happy Crafters. Tutorial, experience and opinion is my own. 

HClogopngsmall

Anthropologie Inspired WishBone Tutorial

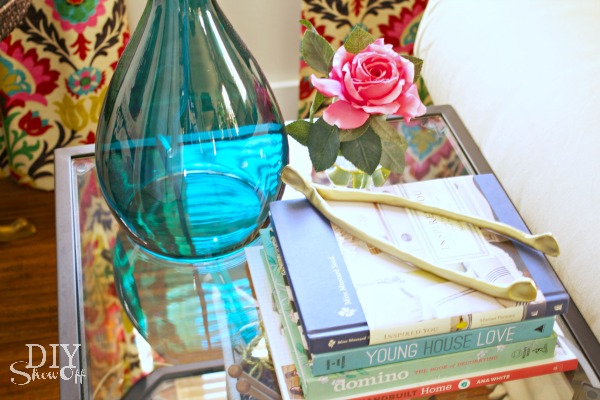
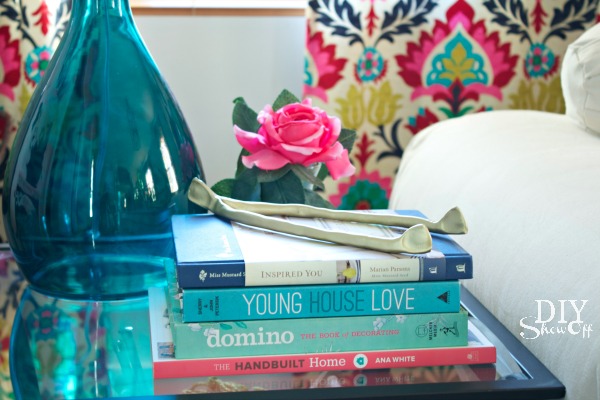
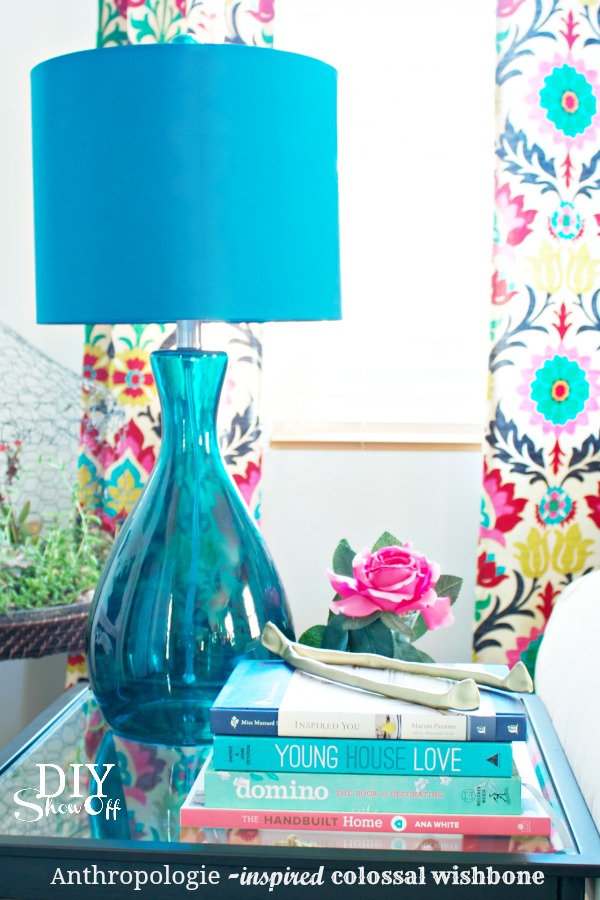
Anthropologie inspired golden wishbone

DIY Anthropolgie inspired colossal wishbone

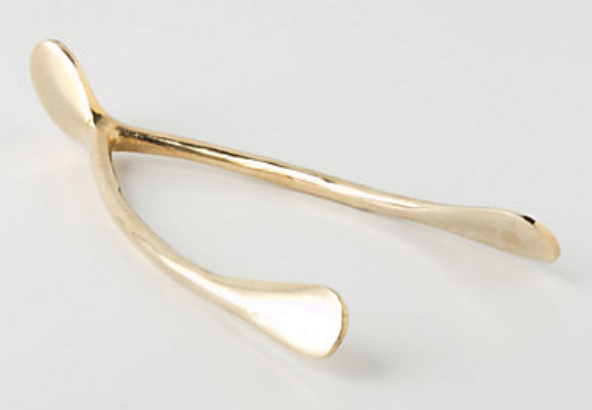
I love Anthropologie and always find their catalog filled with inspiration and beautiful products. The Anthro Colossal Golden WishBone has been on my wish list.anthropologie golden wishbone

Knocktoberfest hosted by our talented friend Lindsay from Makely Home this week was the perfect opportunity and motivation to create my own DIY version for less than $58 and in different sizes.  

Knocktoberfest 

If you’re popping over from visiting the amazing Karianne at Thistlewood Farms, welcome! I’m so happy you’re here today and look forward to getting to know you if we’re not already acquainted. 🙂  

What I used: 

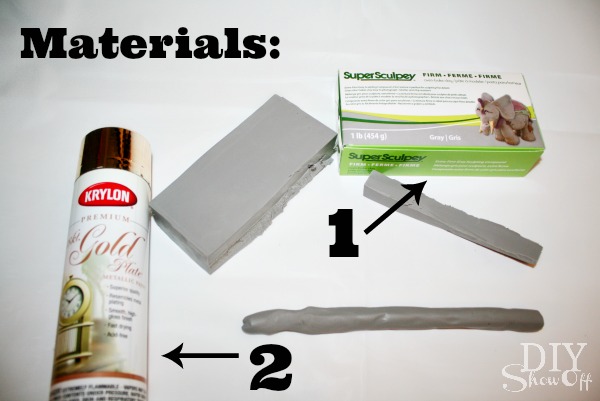
DIY wishbone materials

  1. Super Sculpey polymer clay 
  2. Krylon 18 kt. Premium Gold Plate

I found purchased both of materials from Michaels Craft Store.

Tutorial:

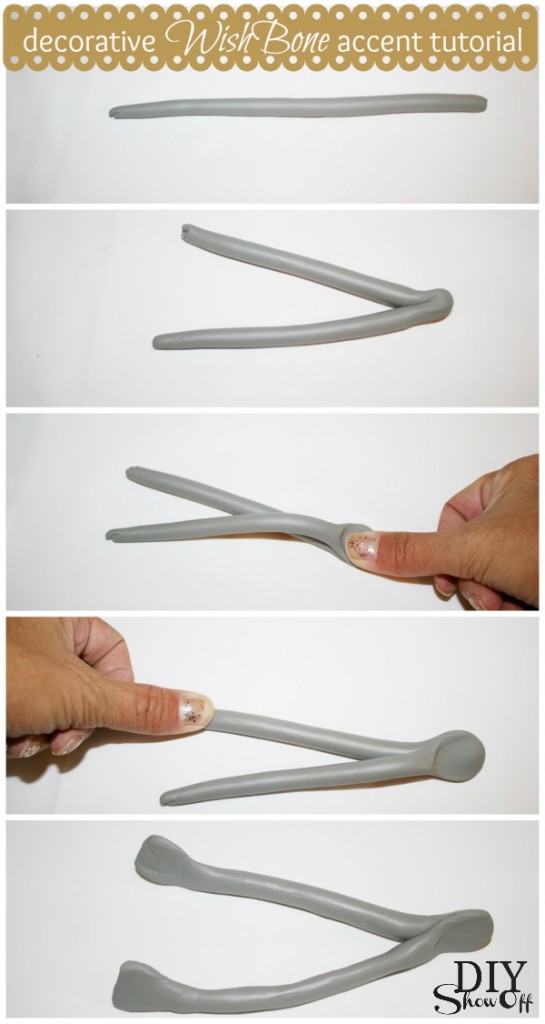
The Anthro version is 13 x 6 inches. I tried to stay around that measurement by rolling two pieces of clay to about 13″ in length and “pinched” the end pieces of each together, then pressed each individual end with my thumb. Play with re-shaping. I also created two smaller versions by rolling a piece of clay to about 1/2 inch thickness. Fold in half. Pinch/thumb-press ends. 

Anthropologie inspired wishbone tutorial

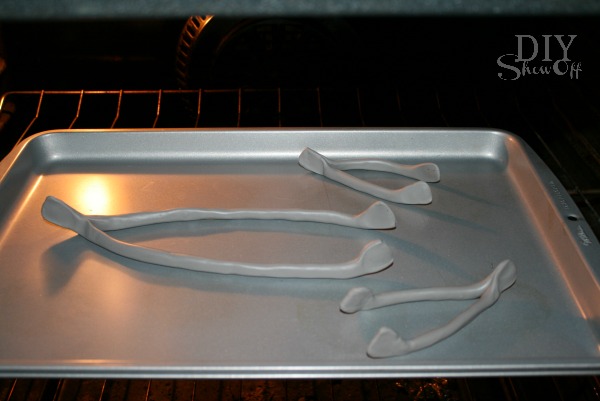
Move to a cookie sheet and perfect the wishbone shape a little more while the clay is still pliable. DIY wishbone accent tutorial

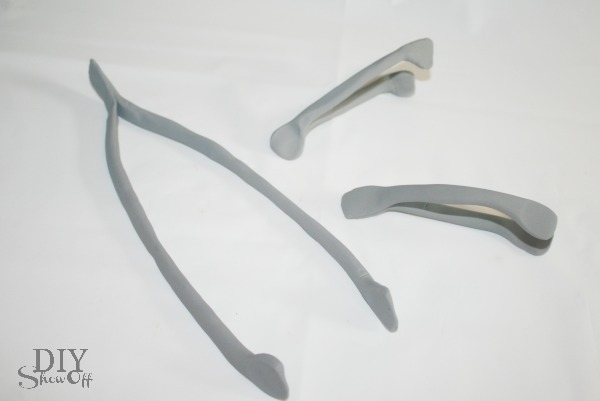
I baked mine for about 35 minutes at 275 degrees. (Be sure to follow package instructions for your project.) Let them cool. Now the wishbones are firm and hold their shape. clay wishbone tutorial

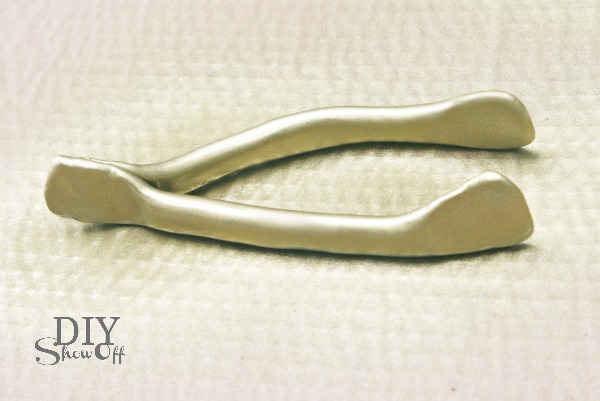
Paint and let dry. gold wishbone tutorial

Simple!

DIY Anthro Inspired Wishbone Decorative Accent

This is my first time working with clay so I have a feeling I can do a better job with more practice. I have a lot of clay and spray paint leftover to perfect my technique to create more wishbones.DIY wishbone accent

They’re going to be a sweet holiday gift idea/package toppers too. 

Next up on the Knocktoberfest tour is my fun & talented friend, Sandra from Sawdust Girl. Head over to see her creative knock off project that’ll knock your socks off!

Knocktoberfest

Ready to see more knock off inspiration and DIY? Follow along the entire series from Makely Home. 25+ designer inspired DIY projects? Woo hoo! What fun! A BIG thanks to our lovely host, Lindsay and genius behind Knocktoberfest. 

Follow the entire Knocktoberfest series:

Day 1

1.  Lindsay – Makely School for Girls
2.  Beth – Home Stories A to Z
3.  Gina – Shabby Creek Cottage
4.  Beckie – Infarrantly Creative
5.  Emily – Decorchick!
6.  Wendy – The Shabby Nest
 
Day 2
 
1.  Donna – Funky Junk Interiors
2.  Jess and Monica – East Coast Creative
3.  Jackie – Teal and Lime
4.  Jen – Tatertots and Jello
5.  Carmel – Our Fifth House
 
Day 3
 
1.  Chris – Just a Girl
3.  Melissa – The Inspired Room
4.  Ana – Ana White
5.  Marianne – Songbird
6.  Karianne – Thistlewood Farms
 
Day 4
 
1.  Roeshel – DIY Show Off
2.  Sandra – Sawdust Girl
3.  Jamie – C.R.A.F.T.
4.  Cassity – Remodelaholic
5.  Melissa – 320 Sycamore
6.  Mandi – Vintage Revivals 
 
Day 5
 
1.  Ashley – The Handmade Home
2.  Stacy – Not JUST a Housewife
3.  Traci – Beneath My Heart
4.  Brooke – All Things Thrifty
5.  Laura – Finding Home
6.  Sarah – Sarah M Dorsey Designs

 *Linking up to Home Stories  A to Z

DIY Halloween Candy Skull Owl Plaque

This post is part of a social shopper marketing insight campaign with Pollinate Media Group™ and Sharpie, but all my opinions are my own. #pmedia #NeonSharpie http://cmp.ly/3/8vNxcO.
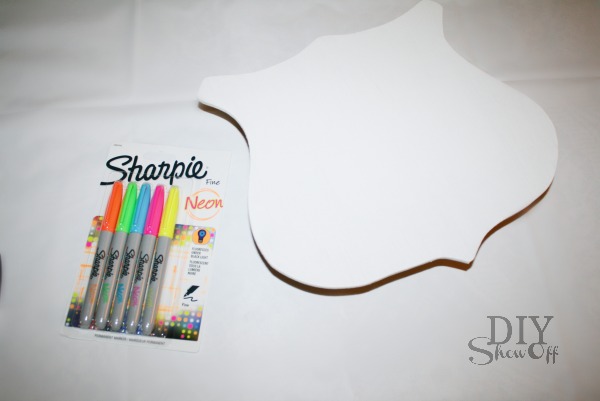
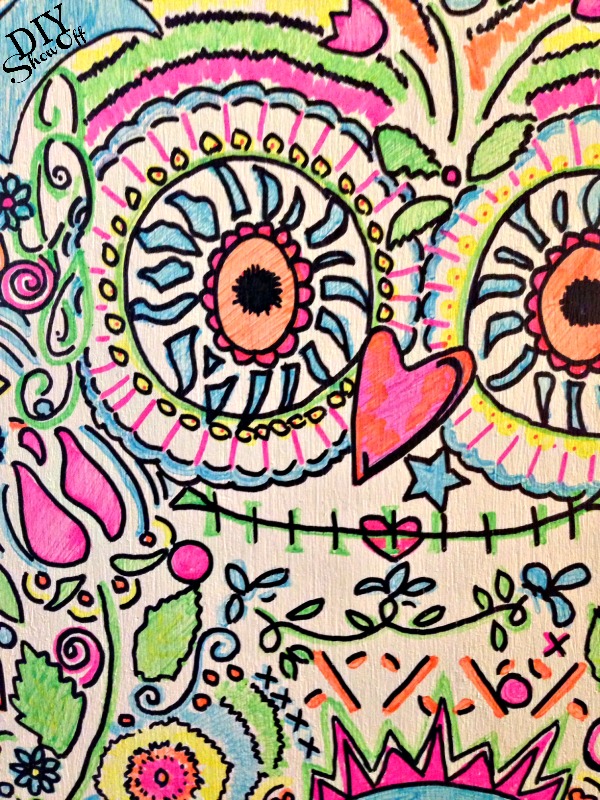
I do love my Sharpies so I happily accepted the offer to participate in the Neon Sharpie campaign with a fun colorful Halloween project. I used the coupon link shared below to snag my 5 pack at Target…along with more than that of course…isn’t that always the way in that store?

NEW Sharpie Fine Point Neon markers have fun ultra vivid colors in natural light with ink that turns fluorescent in black light.

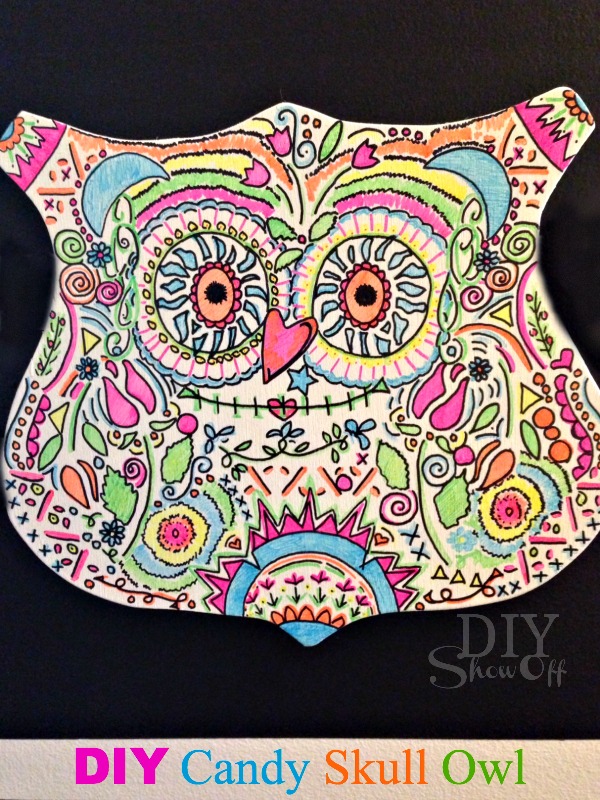
DIY Halloween Candy Skull Owl Plaque

DIY Neon Sharpie Candy Skull Owl Tutorial

Materials: 

  • 5 pack Neon Sharpie Markers
  • Wooden shield or route 66/road plaque (I picked mine up at a yard sale but you could also cut your own from thin plyboard or purchase online or in craft stores)
  • White craft paint
  • Black Sharpie

Tutorial:

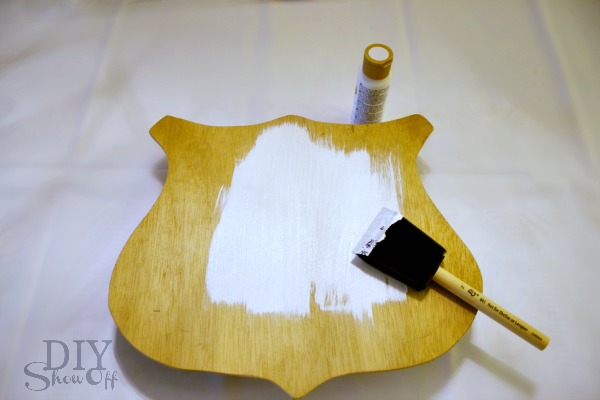
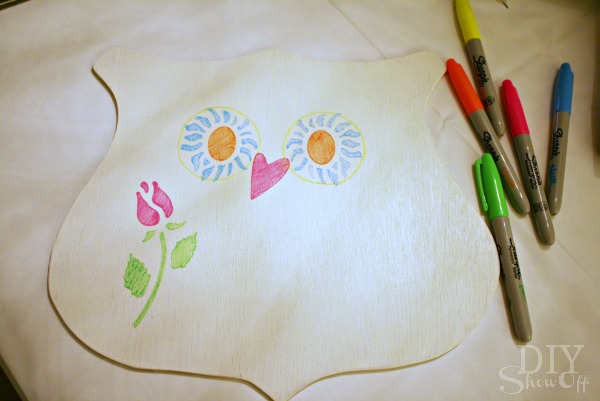
My plaque is a shield/road route shape but doesn’t it look like the shape of an owl too? Perfect for this project! I gave it two coats of white paint and let it dry. candy skull halloween owl

candy skull halloween owl tutorial

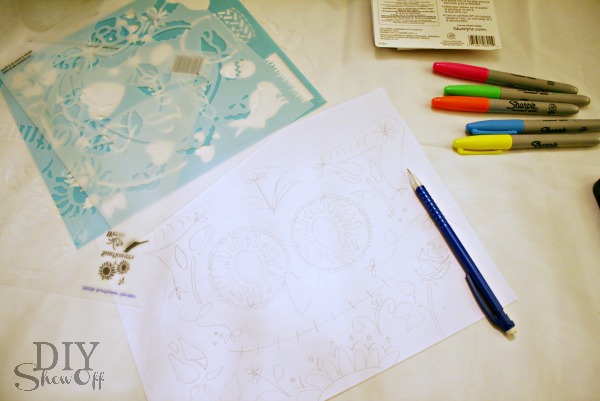
After a quick online image search to get an idea of candy skull designs, I practiced a few design sketches on a piece of paper. candy skull owl tutorial

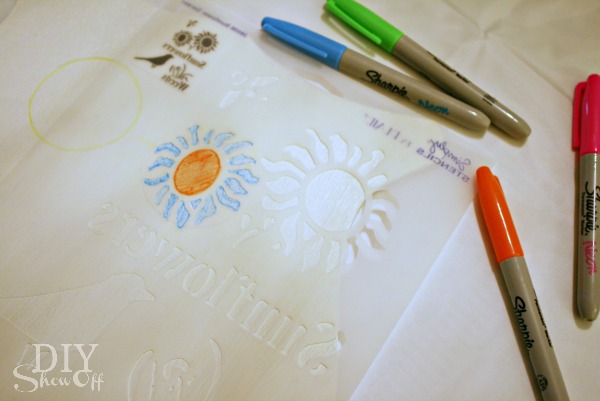
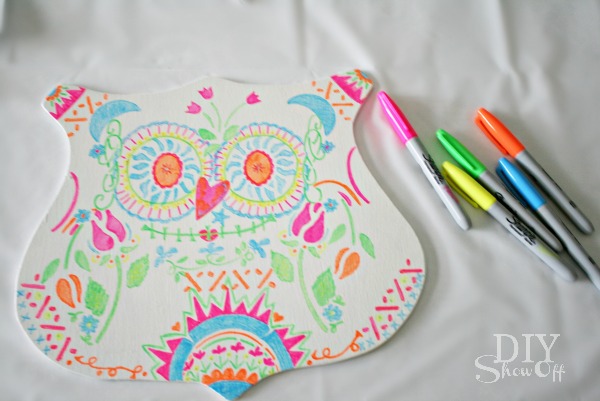
Using a pencil, I traced my camera lens cap for large circle eyes then utilized a few stencils but mostly just doodled with my neon Sharpie markers. I filled in the white surface with designs, shapes, flowers, spirals, etc. candy skull stenciling

and filled in some more…candy skull tutorial

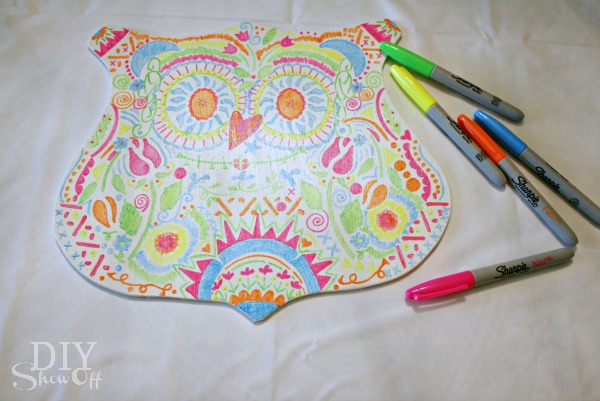
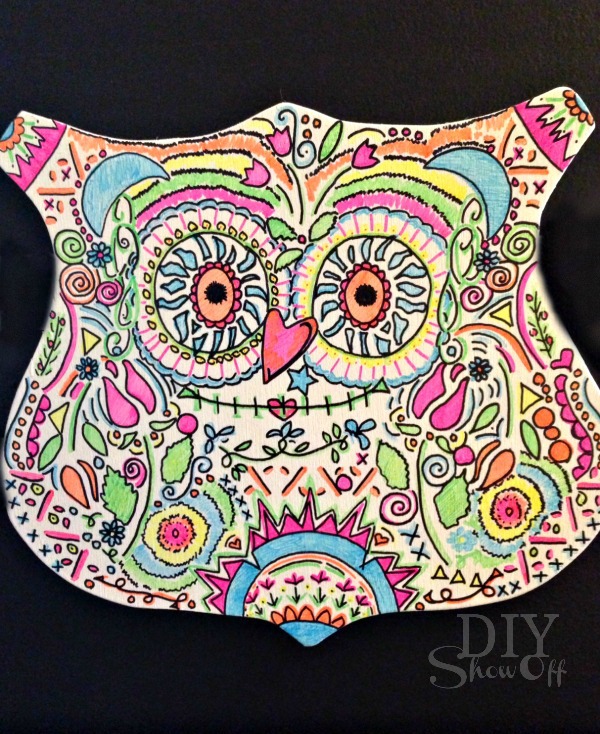
and more. I tried to keep things symmetrical but being an amateur candy skull artist, it’s a bit off. I compensated here and there with design but a part of having hand-drawn charm is the imperfection, right? It doesn’t jump out and say OFF BALANCE. It’s still pretty!diy candy skull halloween owl tutorial

Sometimes, I walked away when interrupted or at a loss of what else to draw then came back with a fresh look and filled in the design some more…DIY candy skull owl

until I was happy with my overall design. I love the bright vivid colors. So fun!
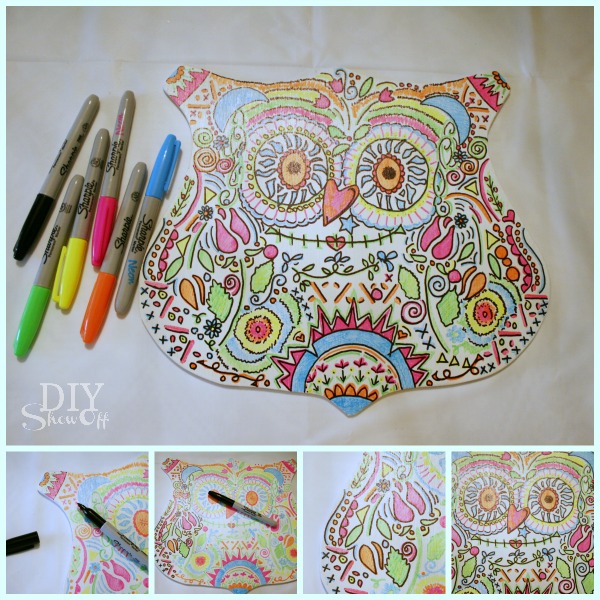
Next I outlined everything using my black Sharpie…Neon Sharpie Candy Skull Owl

 One of a kind…DIYShowOff Candy Skull Owl

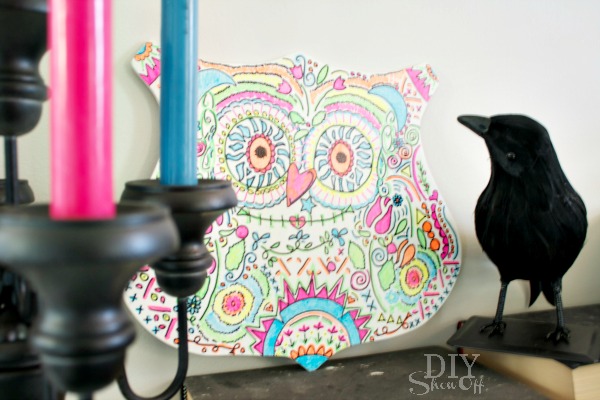
 Isn’t it cute? Perfect for a fun colorful Halloween accent!candy skull owl decor

It’s so cool that the neon marks show fluorescent under a black light too!DIY Neon Sharpie Candy Skull Owl

1$ off coupon (available while supplies last and in select stores) to purchase the 5 pack of Neon Sharpies from Target. Coupon Link: http://coupons.target.com/sharpie-coupons

See more fun Sharpie ideas: