Easter Succulent Garden

Take a moment to gather your thoughts, count your blessings and start the holiday weekend with a grateful heart.
 
But God demonstrates his own love for us in this: While we were still sinners, Christ died for us. ~Romans 5:8
 
Blessings to all this Good Friday.

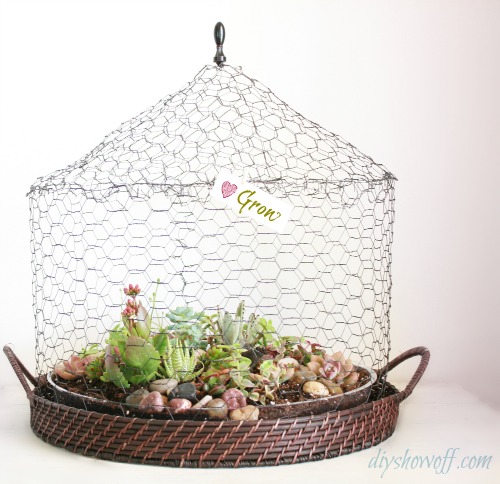
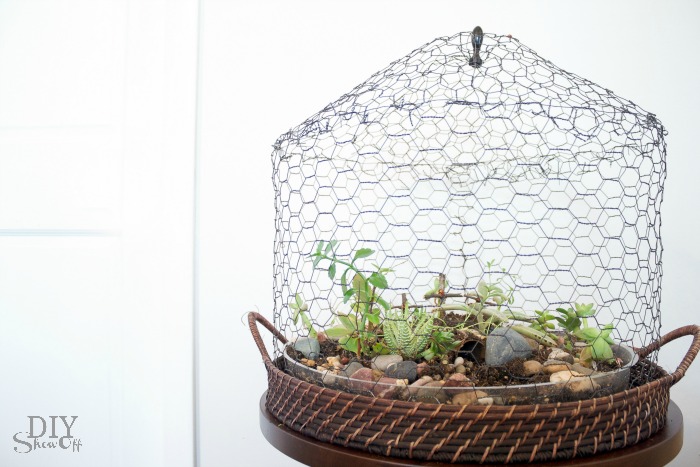
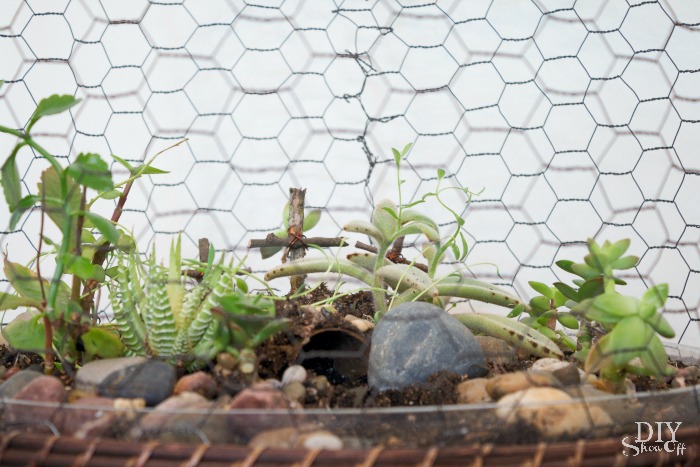
Remember that one time last year when I made a wire cloche for a succulent terrarium/garden? It’s a miracle! I haven’t managed to kill the plants! I love that succulents are so hardy, nearly fool-proof. Well, for Easter, I’ve done a little re-arranging in my little succulent garden. 

DIY wire succulent garden

{DIY wire cloche for succulent garden}

It’s still alive and thriving but it was looking a bit neglected and sad (okay, so some of the plants didn’t make it) but I took a few minutes to freshen it up for spring, trying to make up for my non-green thumb. I saw something similar somewhere one time but for the life of me, can’t find it now to properly credit that glimpse of inspiration. Here’s what I did: 

Easter succulent garden at diyshowoff.com

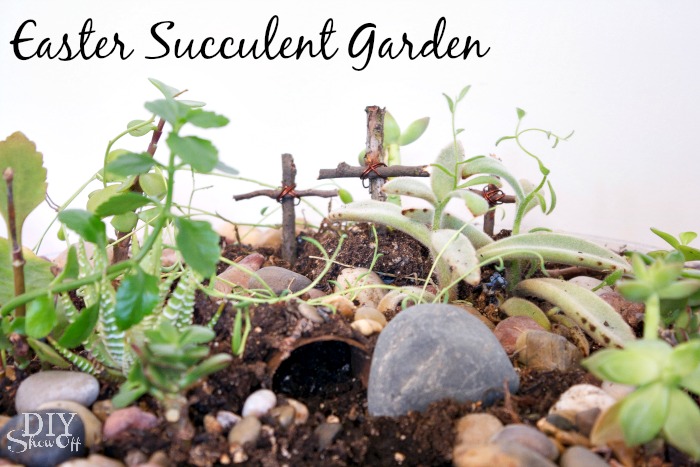
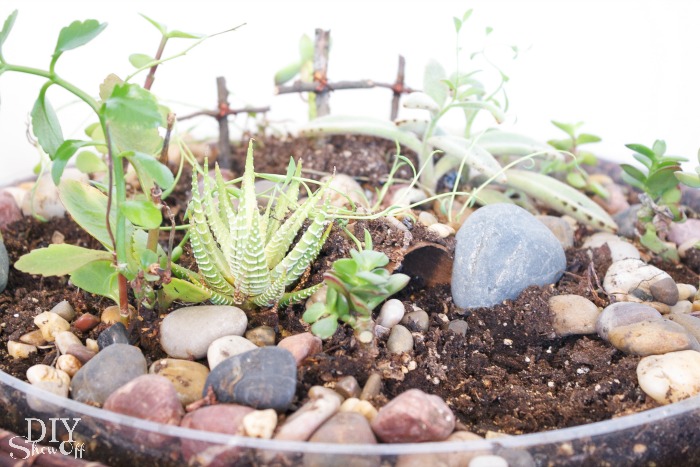
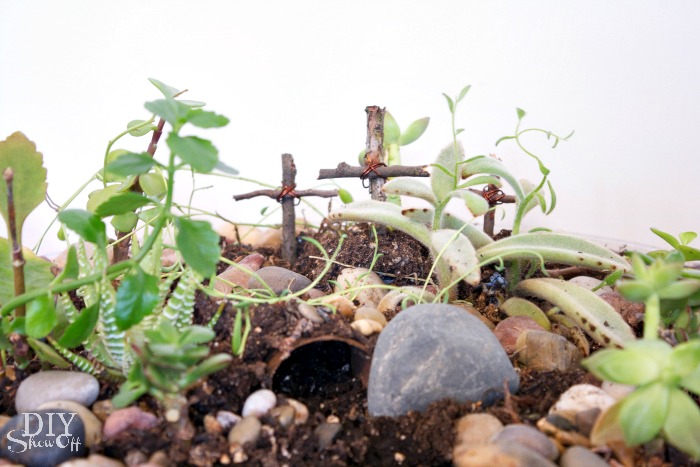
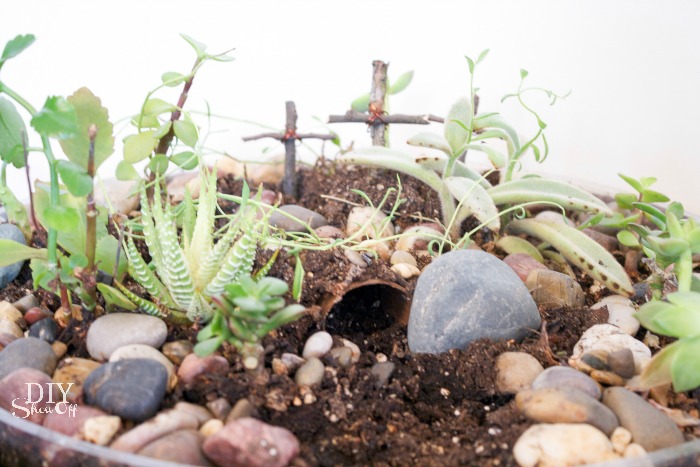
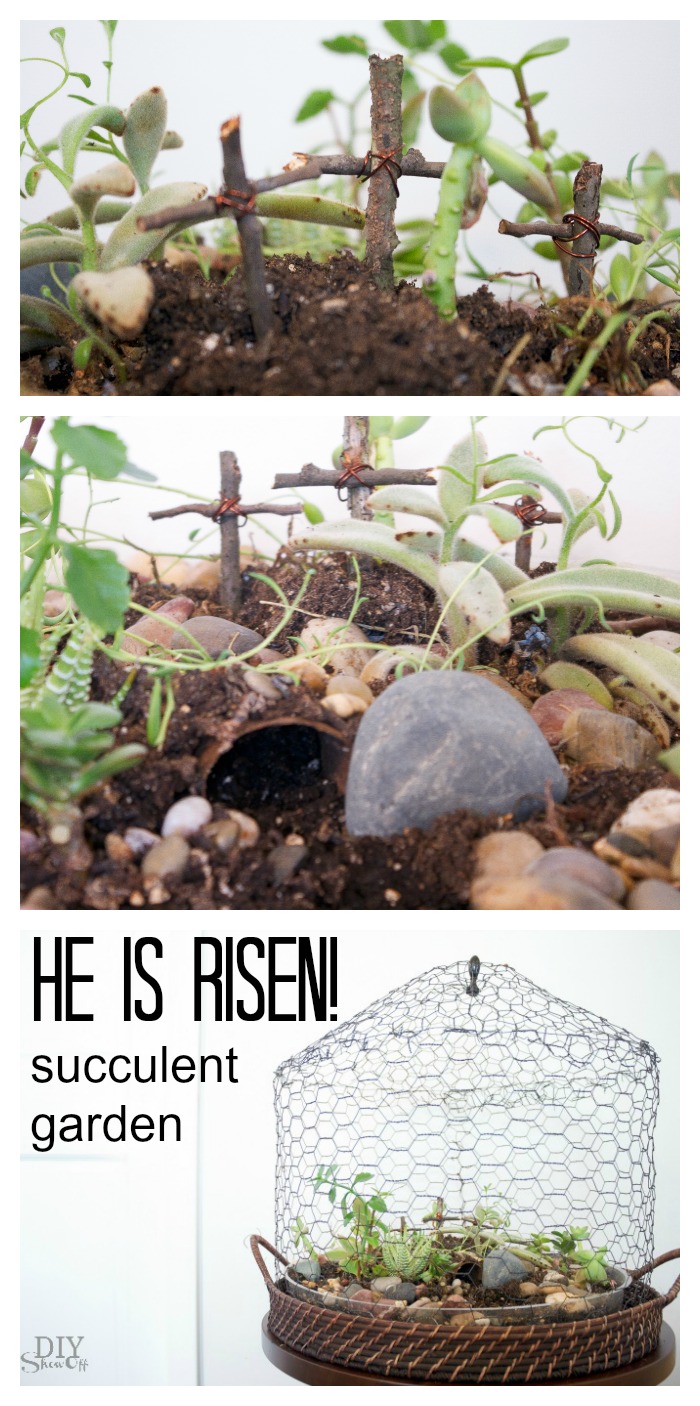
  • I added water so the soil was wet. I broke up the compacted soil with a fork then added half of an empty toilet paper roll. I covered it with soil and pebbles then added a rock to the side…just like Jesus’ tomb. 
  • Using twigs from my yard and scrap floral wire, I created 3 little stick crosses and tucked them near the back. 

succulent garden for Easter at diyshowoff.comEaster succulent terrarium at diyshowoff.comEaster succulent garden - diyshowoff.comHe is Risen succulent garden at diyshowoff.com

When Easter decorating becomes bunnies, eggs, chicks and candy overload (which I do love too, don’t get me wrong!). However, it’s important to have a sweet reminder of the true reason for celebrating Easter. He is risen! 

Jesus' tomb succulent garden at diyshowoff.com

 He is Risen, indeed. xo 

He is Risen! succulent garden at diyshowoff.com

 Update: Here are links to some more (thanks for sharing, Graziela!)

This post is sponsored by my Young Living business! Check out my essential oils page for more information on how you can get these amazing oils in your hands too along with helpful freebies, a gift from me, and tons of support:

April 2019:

Hello April DIYShowOff welcome bundle 2019

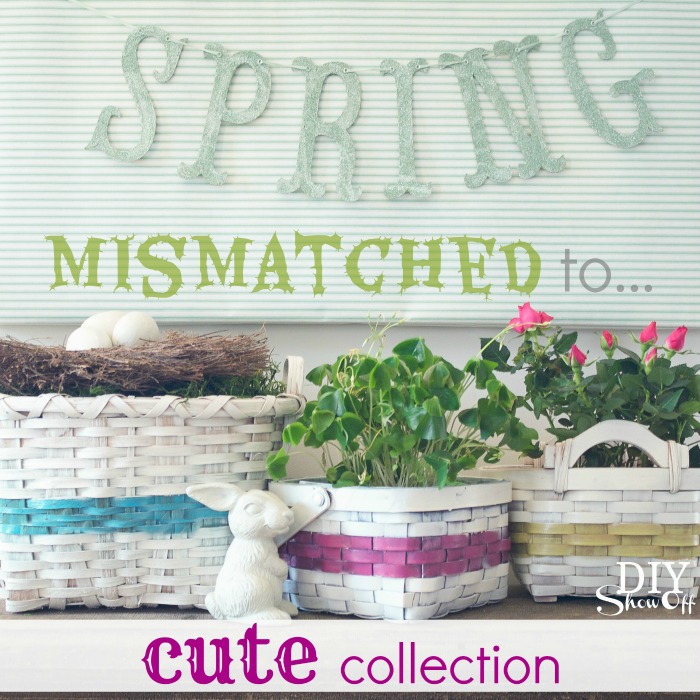
Mismatched Baskets to Matching Spring Collection

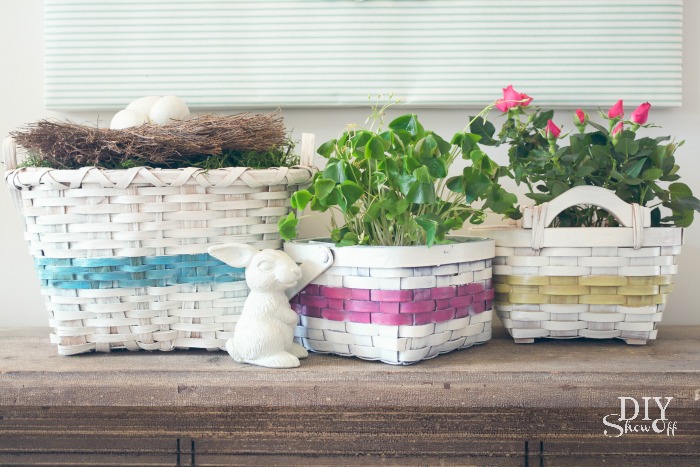
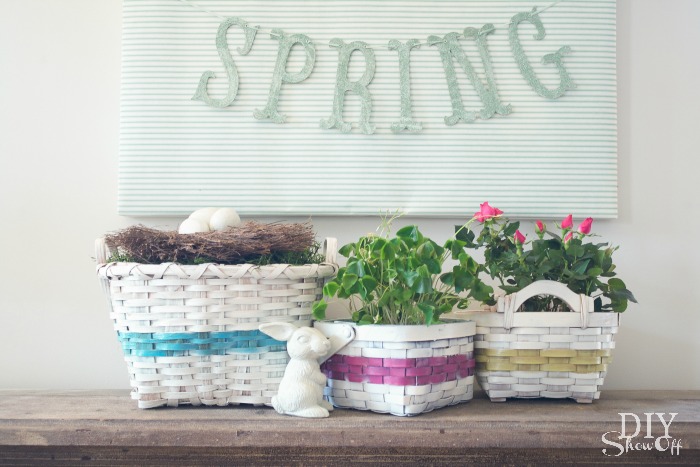
Have a bunch of mismatched baskets sitting around? Why not gather them up and create a matching collection just in time for spring organizing or Easter decorating? 

mismatched to cute collection - basket DIY at diyshowoff.com

Materials:

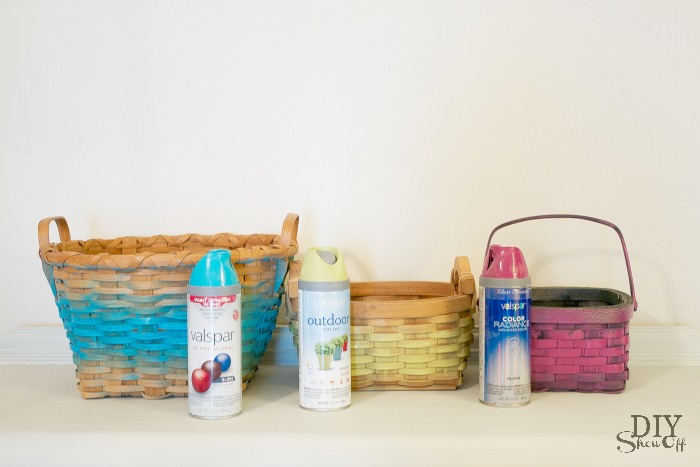
  • baskets (thrift stores or your own stash)
  • spray paint
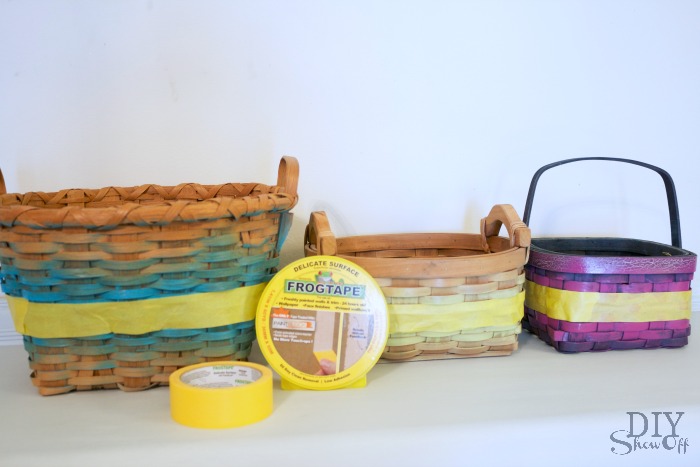
  • FrogTape® Delicate Surface

I first cleaned up my baskets since they were a bit dusty. Then sprayed each basket with a different color of spray paint around the middle/outside and let dry. 

DIY painted basket collection

After 24 hours, I used FrogTape® Delicate Surface to create (and protect) a stripe around each basket. 

DIY painted basket collection with FrogTape

Use a thumbnail or credit card to activate the patented PaintBlock® Technology, giving the edges of the tape a good seal the best you can with the woven basket texture. 

Next I sprayed each basket inside and out with white spray paint. 

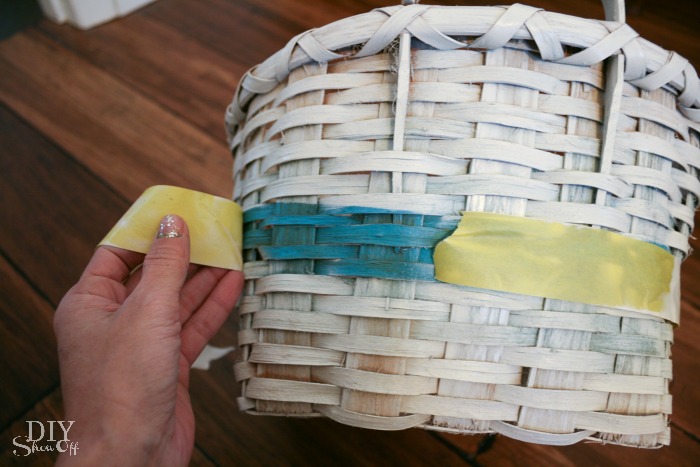
You can remove the tape while paint is wet but I forgot and removed it about four days later without any problem.

removing FrogTape

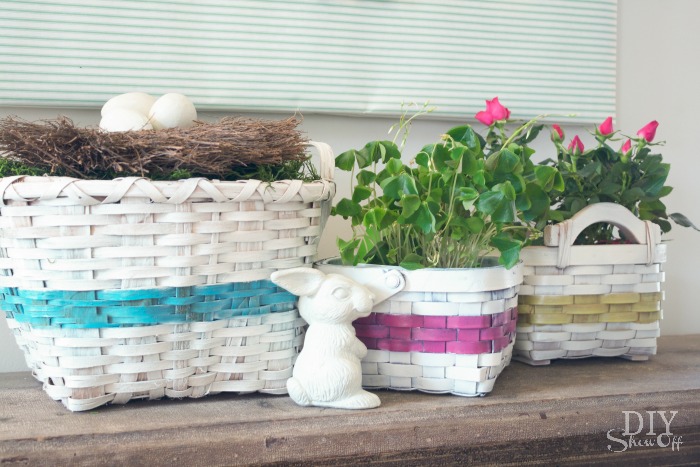
Now instead of 3 junky baskets, I have a set of 3 cute matching baskets all ready for the Easter Bunny…

DIY spray painted basket collection at diyshowoff.comhow to make an easter basket collection at diyshowoff.comspray painted basket collection

FrogTape Blog Squad

Disclaimer: I received compensation to complete this project for using FrogTape® products. All opinions, projects and ideas are based on my own experience.

DIY Window Vinyl Decal

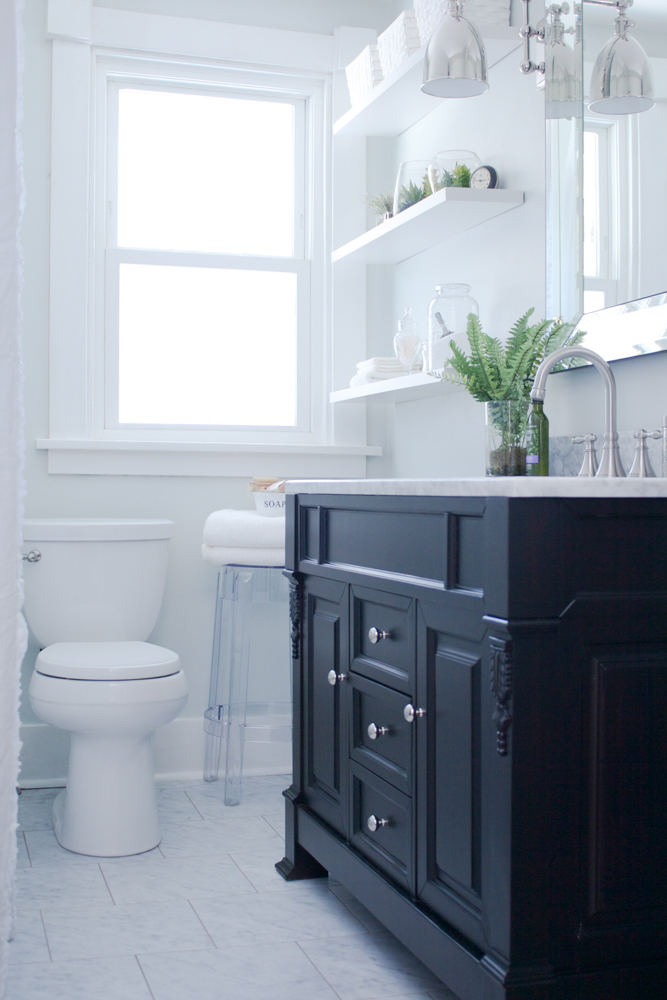
I recently revealed our bathroom makeover

bathroom makeover after

and you may have noticed that the window is bare. 

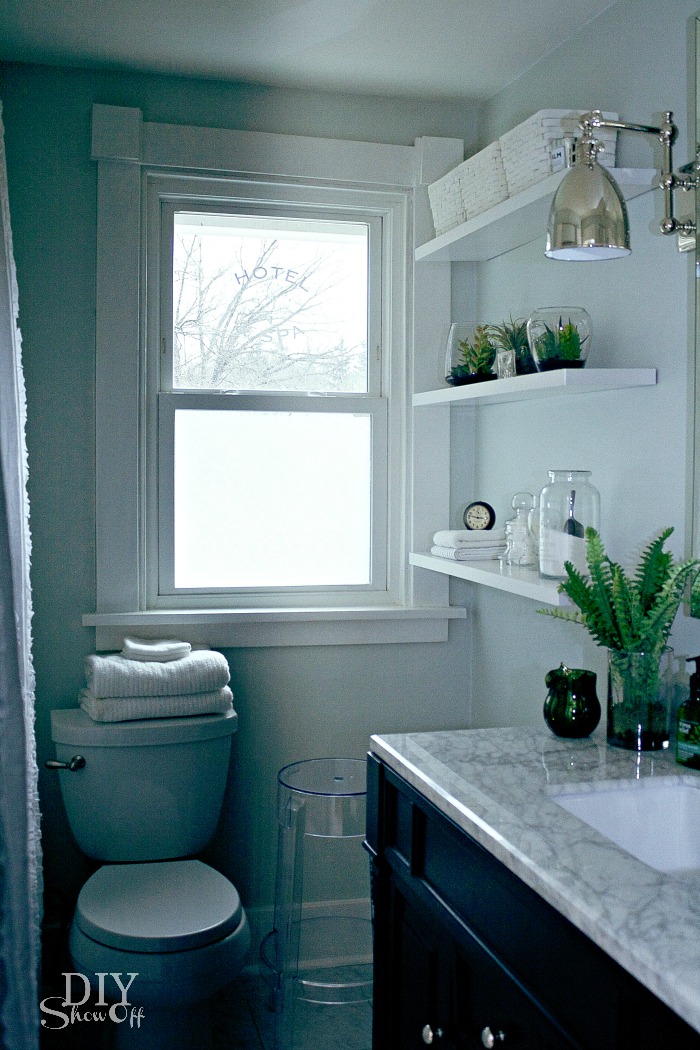
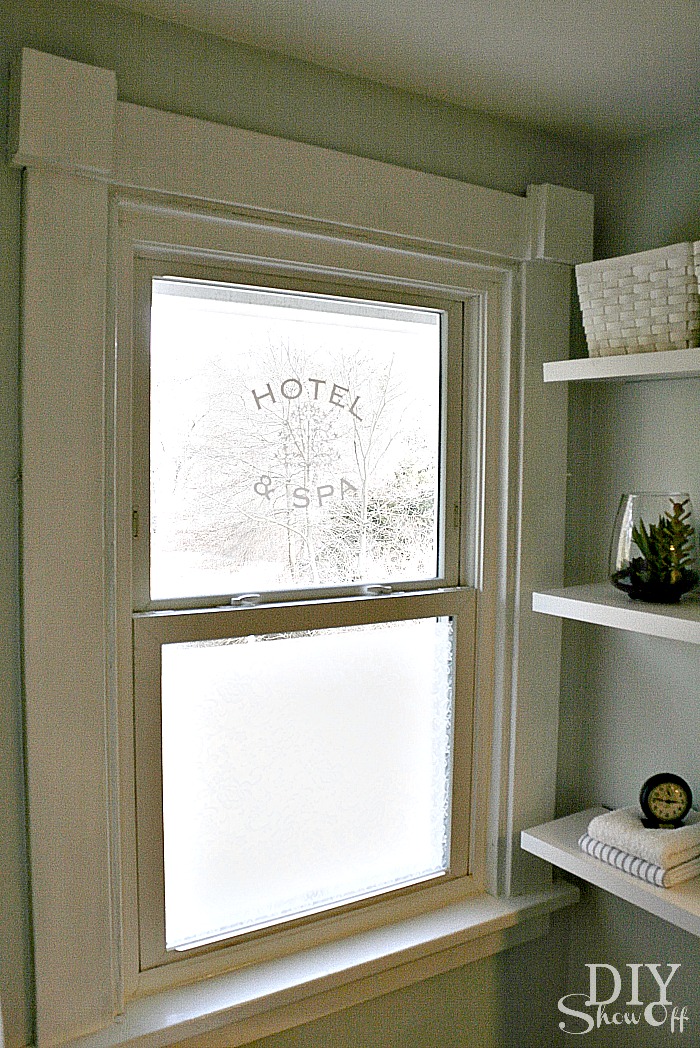
Problem: I haven’t been able to decide on curtains…the length would be awkward with placement of the toilet. I like the natural light during the day since I use this space to get ready in the mornings. But I don’t like the lack of privacy even if it is on the second floor. Pictures of the window in the day time are tricky…but here goes!

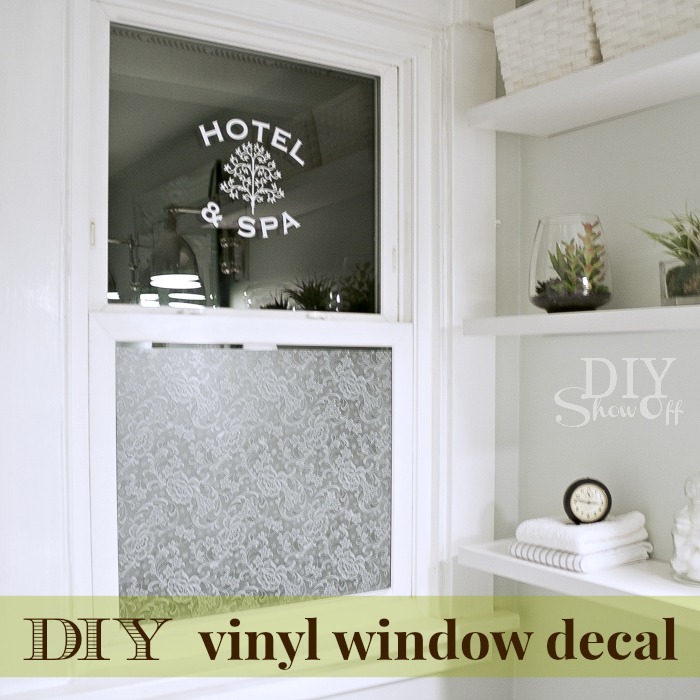
DIY vinyl window decal tutorial at diyshowoff.com

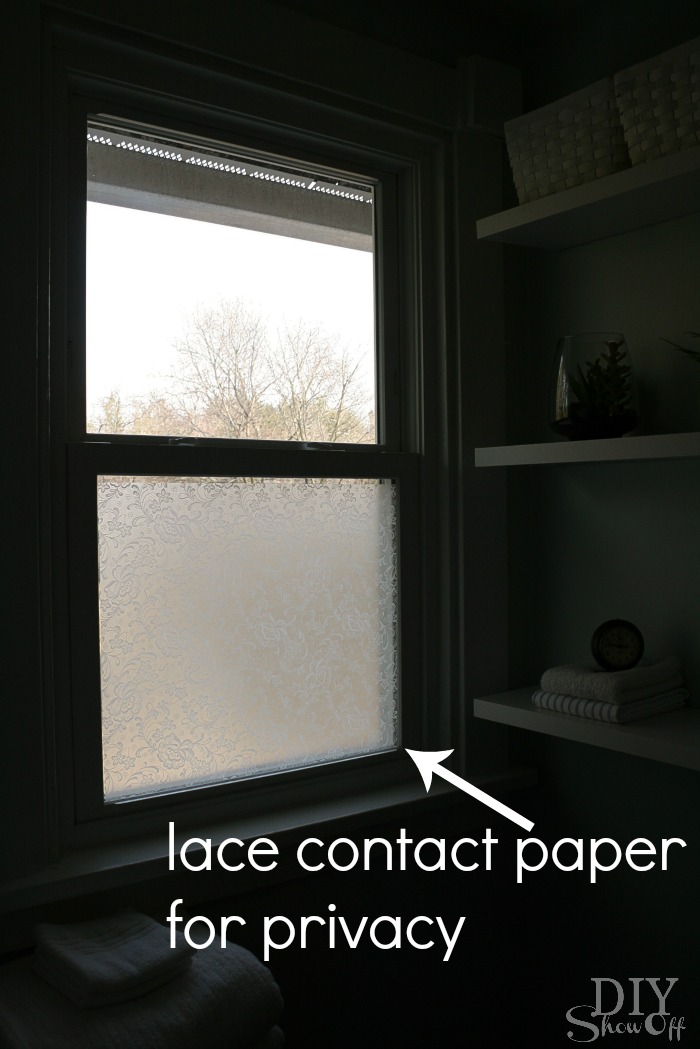
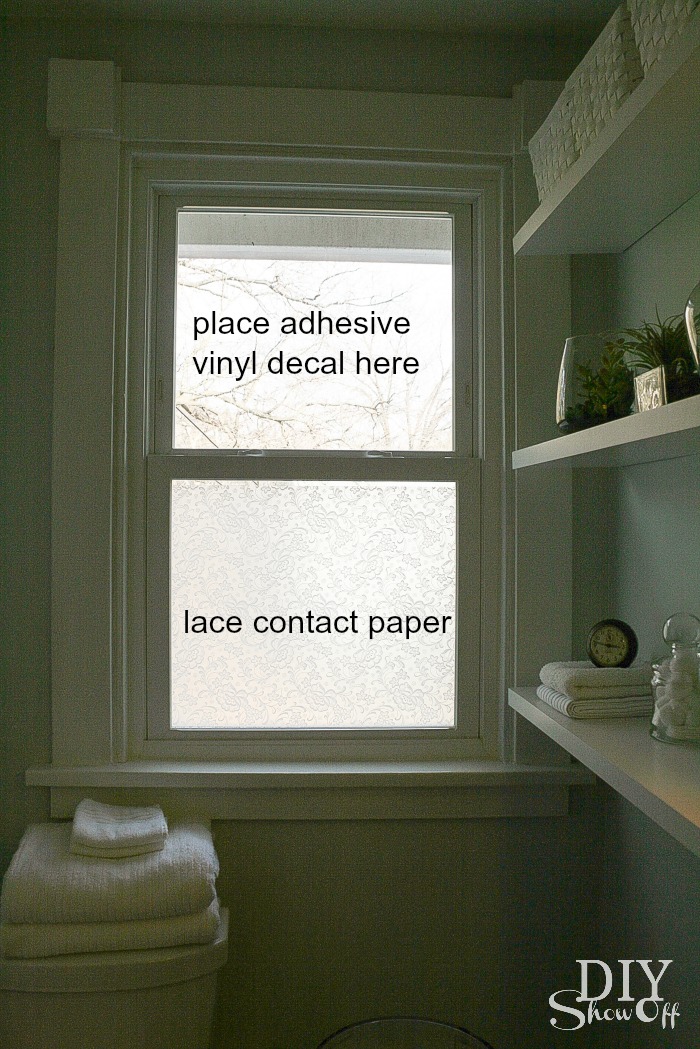
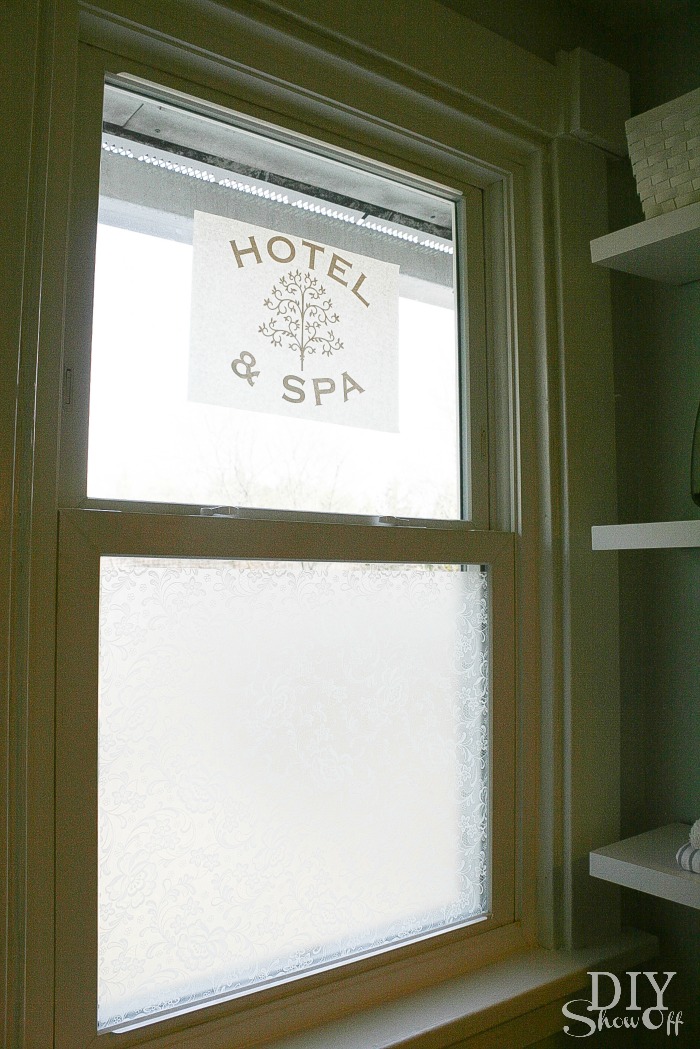
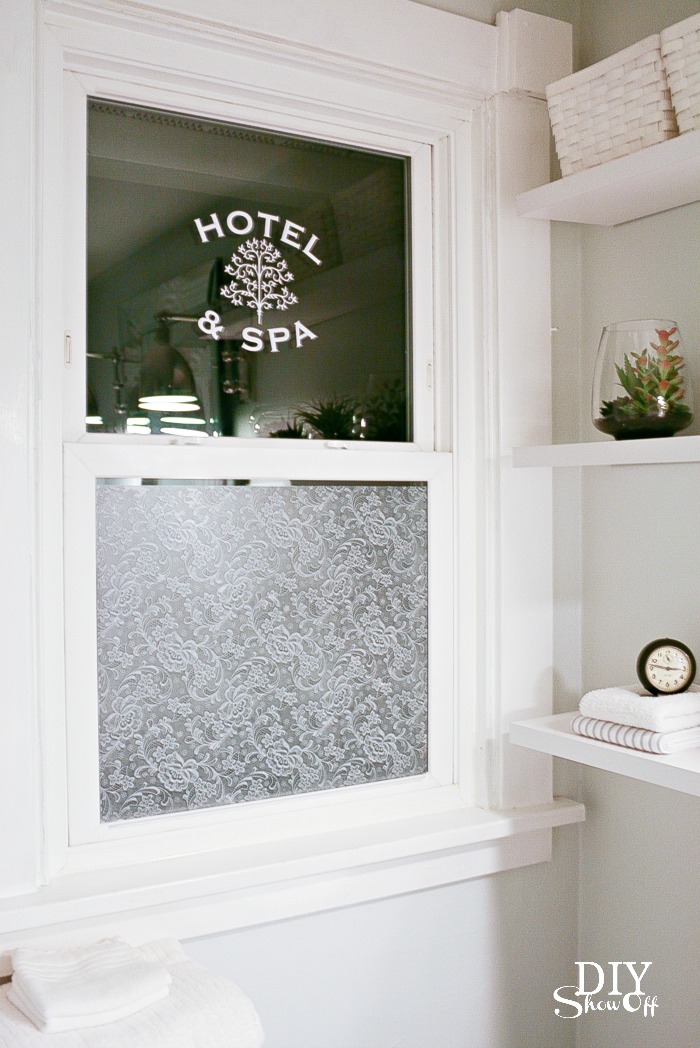
Solution: I applied a lace contact paper {affiliate link} to the bottom window which is where someone from the outside looking up from a distance would be able to see someone standing in the bathroom with the light on at night. Then I created a fun decorative vinyl decal for the top window.

lace contact paper on bathroom window for privacy

Materials:

Tools:

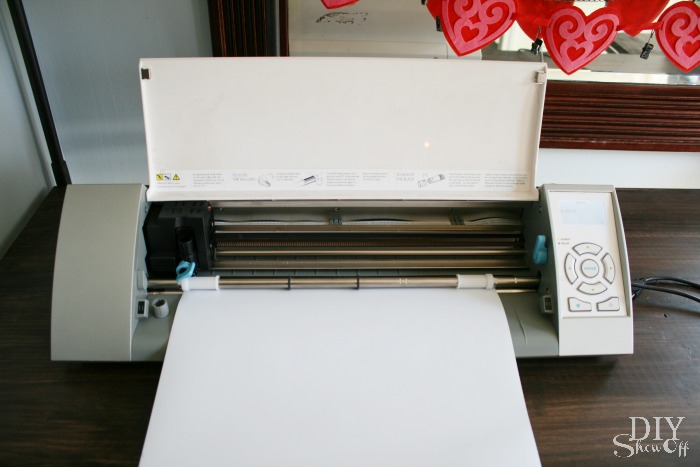
  • Silhouette Cameo and Silhouette Studio Designer Software
  • Scissors
  • Credit/gift card for rubbing

What I did:

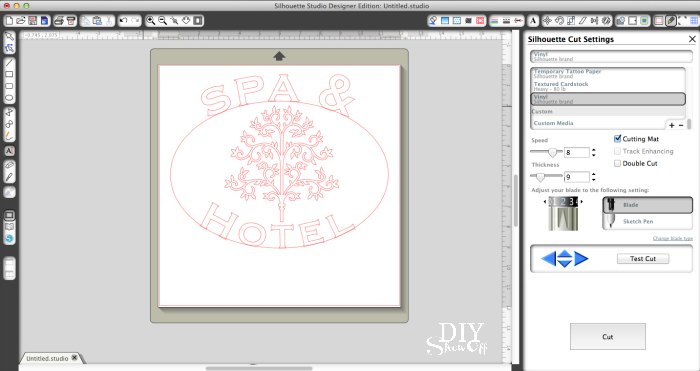
Using the Silhouette Studio Designer software, I created my design. I purchased a tree shape from the online Silhouette store and surrounded it with curved “Hotel & Spa” text since my new bathroom has a relaxing spa feel. 

bathroom window treatment

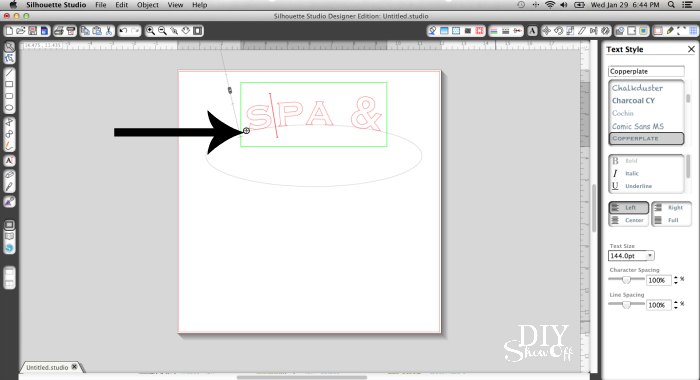
How to curve text: Click the circle shape on the left. Drag to size, shape and center on design. Next click the font button on the left and create your text. While the text box is surrounded with a green window, click the circle with a cross. Drag text to the inner or outer circle border. (You can also change the character spacing in the font tool.) 
Silhouette curved text tutorial

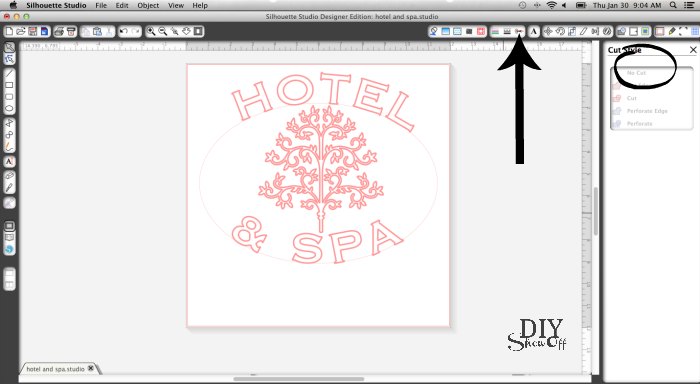
Next, select the circle again by clicking on it. Then click the scissors button in the right hand corner. Choose “no cut”. Now the text in the design will be cut but the circle won’t. (As you can see, I played around with rearranging my text too.)

Silhouette curved text

Load vinyl into the machine color/vinyl side up. Change blade and settings for adhesive vinyl cutting. Send design to cut. 

Happy Crafters vinyl tutorial

Silhouette vinyl window decal

Remove vinyl from the machine and trim to a more manageable size around the design.

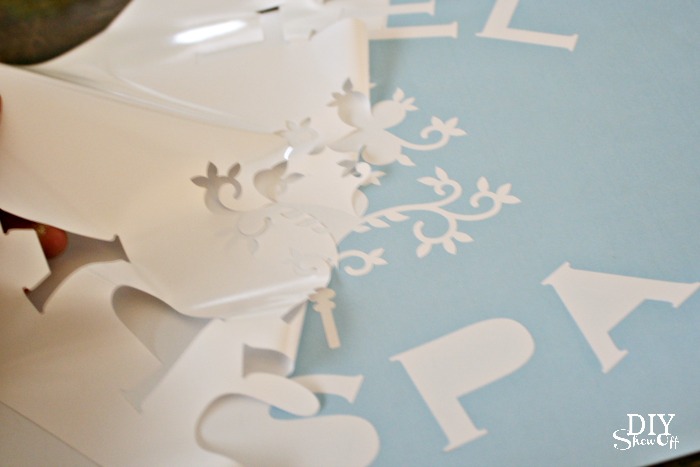
Weed away the unused part of the vinyl design. 

vinyl weeding

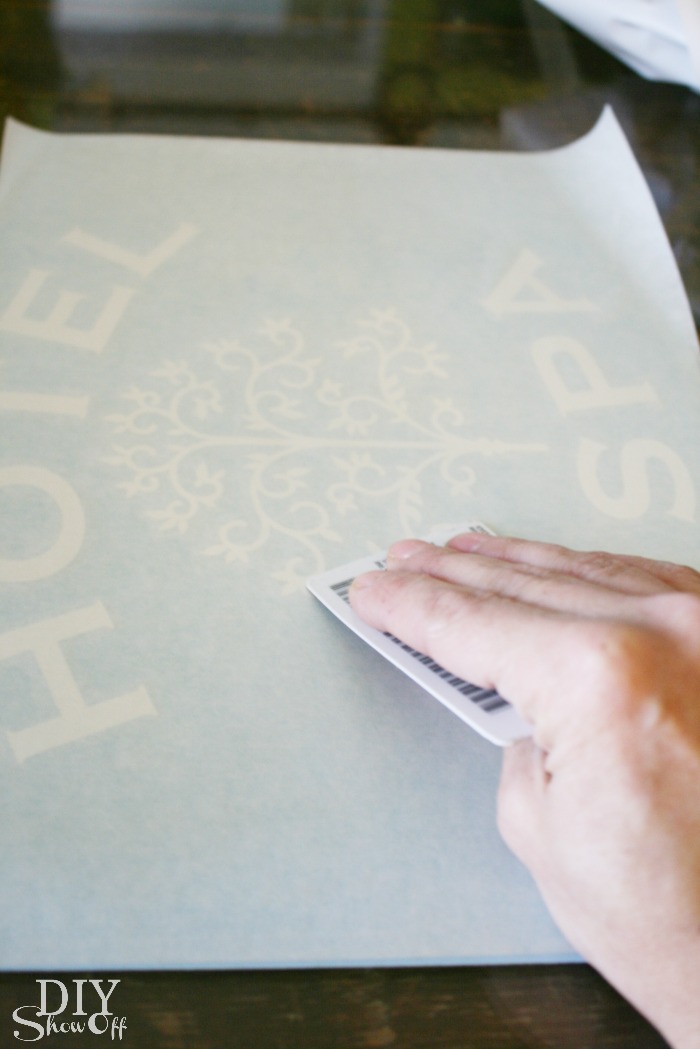
Cover vinyl decal with transfer paper. Rub with a credit card.

adhesive vinyl tutorial

Clean window. 

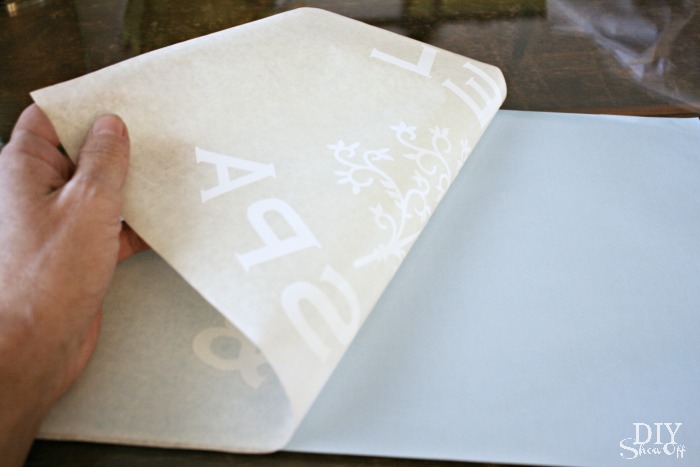
Peel away paper backing, transferring the vinyl decal to the sticky transfer paper. 

transfer paper tutorial

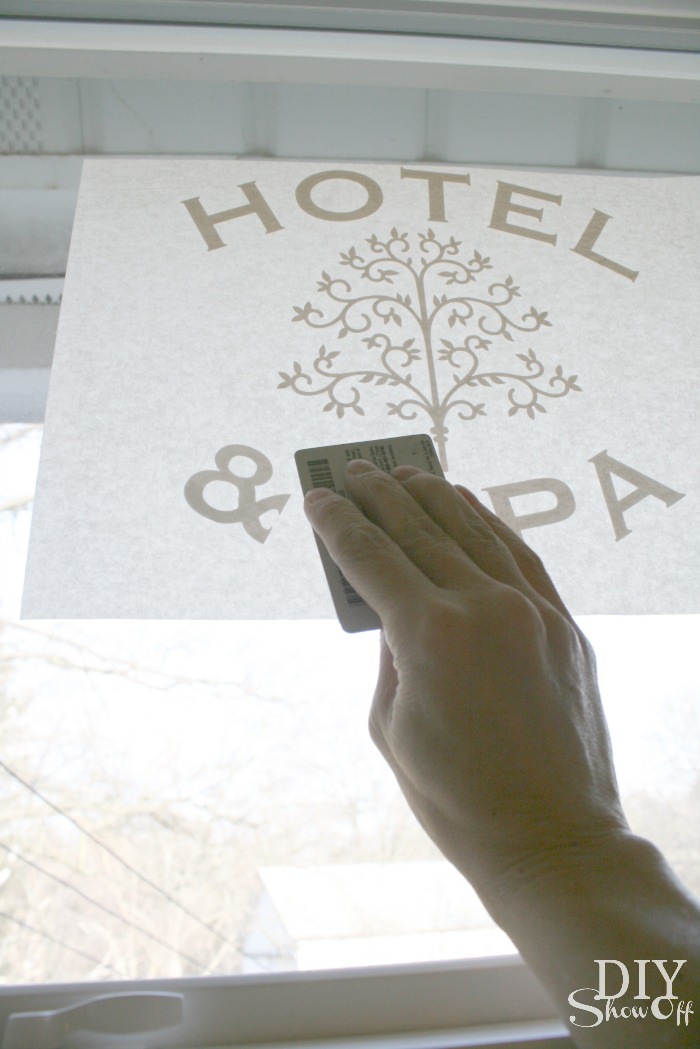
Place design on window. Rub with a credit card and peel away transfer paper. 

bathroom window vinyl decal tutorial

DIY vinyl window decal

Ta-da! Now my window has some decorative type detail without curtains or a blind. I have privacy and natural light. What do you think?

day time

vinyl window decal tutorial


{It’s difficult to capture in a photo of a window in day light but it’s very visible in real life.}

bathroom window privacy idea

night time

vinyl window decal tutorial

*This post is sponsored by Happy Crafters. Tutorial, experience and opinion is my own.  I really love working with this vinyl. Check out all the supplies at Happy Crafters for inspiration for your next project. 

HClogopngsmall