Upcycled T-Shirt Tote Bag

This post may contain affiliate links.

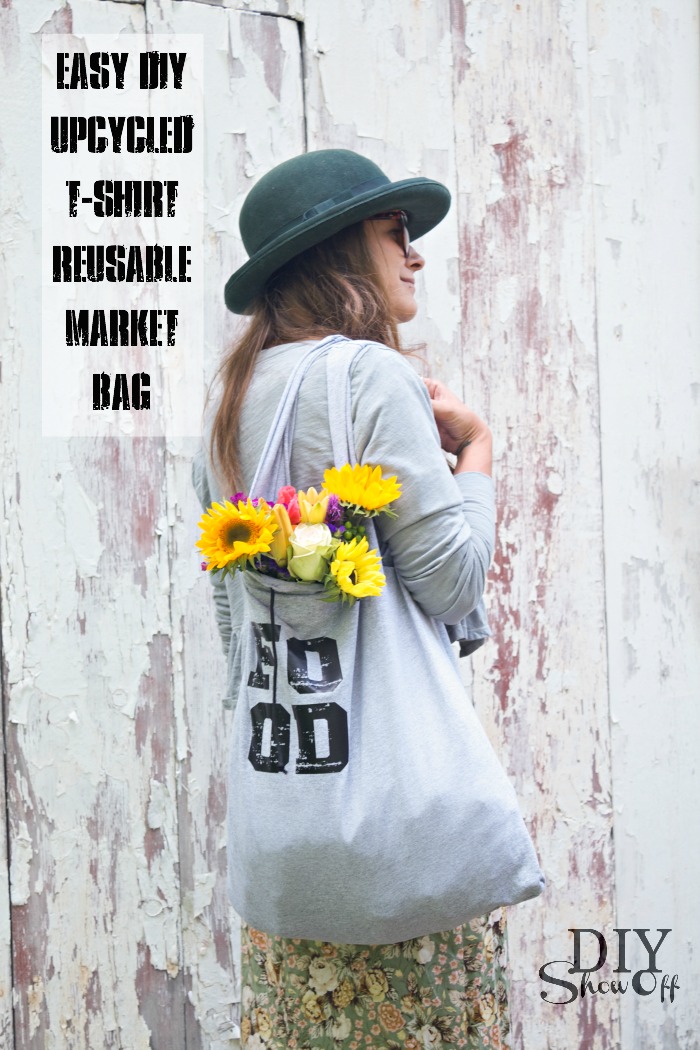
Going green? It’s great to have reusable shopping bags handy. How about one that’s DIY, upcycled and customizable? All the better! 

easy DIY tshirt tote bag tutorial at diyshowoff.com

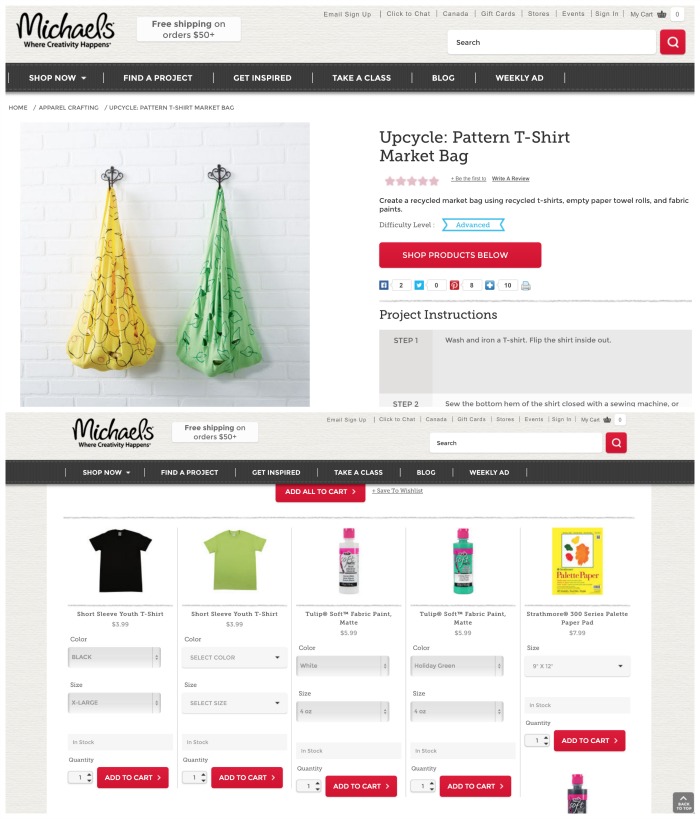
YOU CAN NOW SHOP AT MICHAELS.COM online! YES! Find a project, simply add the supplies to your cart or shop for similar supplies for your own spin, check out and begin your DIY project the day your materials arrive at your home! You can now purchase all of your favorite arts and crafts supplies on any computer, tablet or smartphone. You can also check out what’s trending on Michaels Pinterest page by scrolling and shopping through the “Favorite Pins” section. Free Shipping on $50+ at Michaels.com.

This upcycled t-shirt market bag project from Michael’s was the perfect inspiration.

ordering online at michaels

My take on the Upcycled T-Shirt Tote Bag

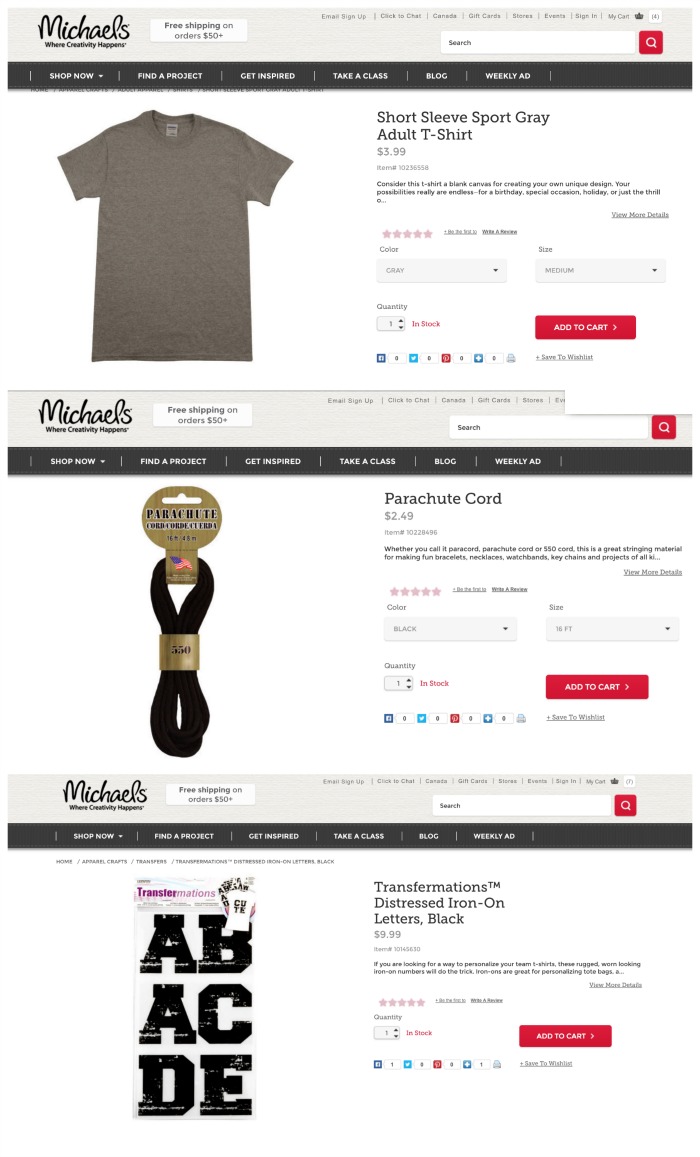
Materials I used:

  • short sleeved sport gray adult medium t-shirt
  • black parachute cord 
  • black distressed iron on letters
  • gray thread 

upcycled tshirt tote back supplies 

Skill Level: Easy

Project Time: 30-60 minutes

You’ll also need:

  • scissors
  • sewing machine (optional) 
  • needle
  • iron

Michael’s Coupons: 

What I did:

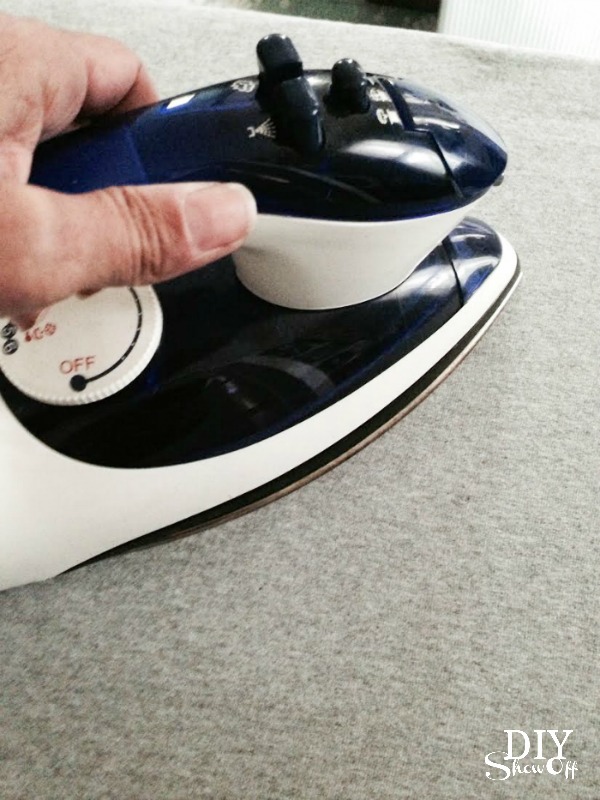
1. Start with a washed, dried, and ironed t-shirt then flip inside out. 

easy tshirt tote bag tutorial at diyshowoff.com

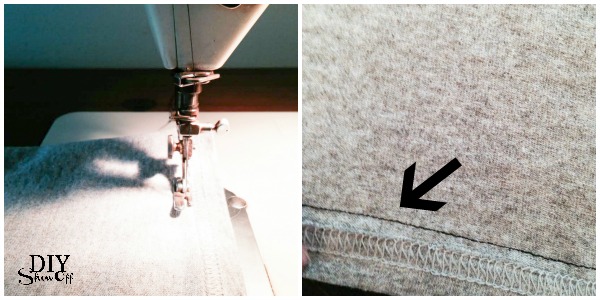
2. Next sew the bottom hem of the shirt closed using a sewing machine (you could also do this by hand).

easy DIY tshirt tote bag tutorial at diyshowoff.com

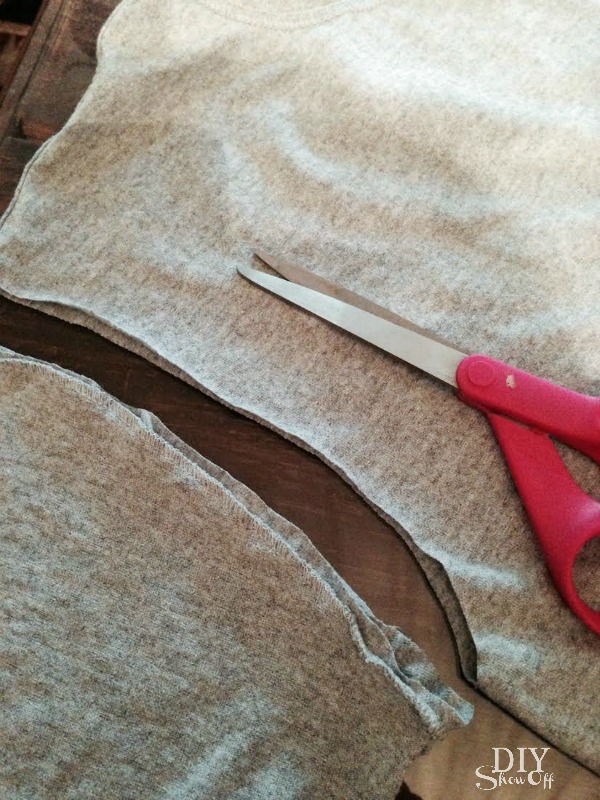
3. Cut off the sleeves.

easy DIY tshirt tote bag tutorial at diyshowoff.com

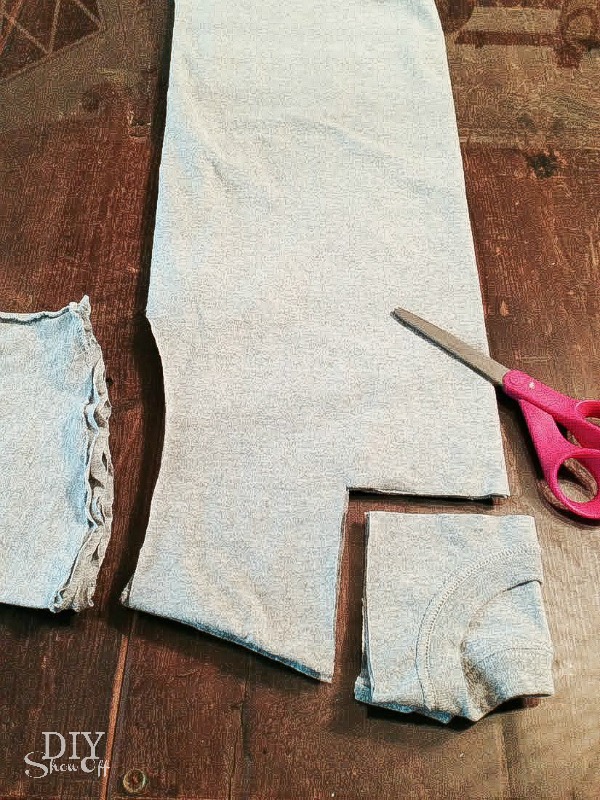
4. Cut off the neckline (squared).

easy DIY tshirt tote bag tutorial at diyshowoff.com

5. Flip t-shirt right side out. That easy – it’s a bag! 

The following steps are optional. Use your imagine to come up with your own creative take on it!

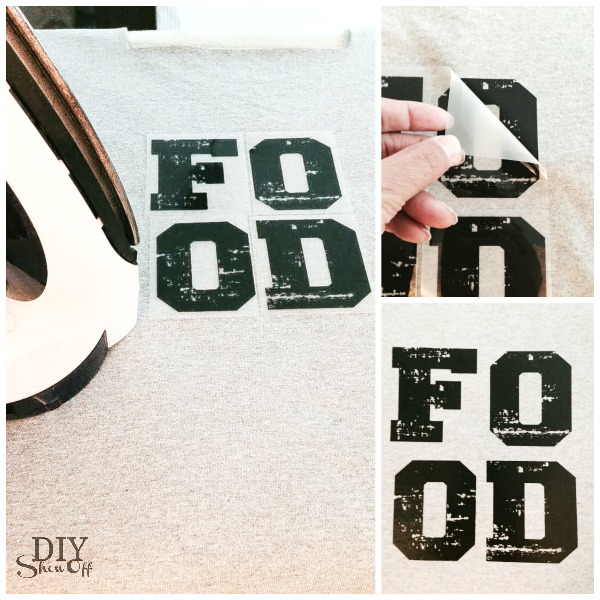
6. Embellish! I chose to use iron on letters (apply to t-shirt according to package instructions) but you could also decorate with fabric paint and/or stamps as shown in Michael’s instructions. 

easy DIY tshirt tote bag tutorial at diyshowoff.com

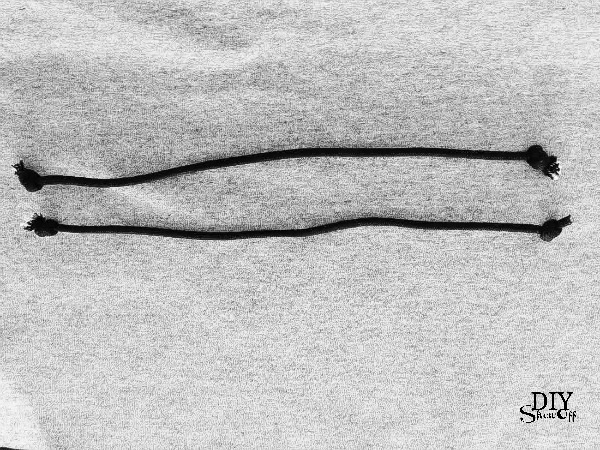
7. Cut two 12″ pieces of parachute cord and knot each end of each piece.

easy DIY tshirt tote bag tutorial at diyshowoff.com

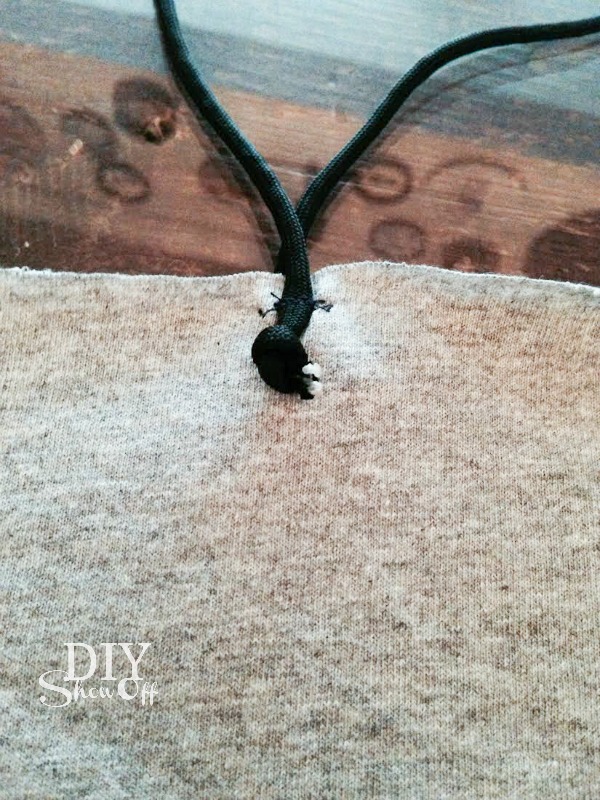
8. Using a needle and thread or sewing machine, attach the parachute cord for bag ties between each of the handles (at one knotted end). 

easy DIY tshirt tote bag tutorial at diyshowoff.com

All done! Place near the door, ready to toss in the car for shopping.

easy DIY tshirt tote bag tutorial at diyshowoff.com

Cute, cute, cute! Love it! Easy to do with so many possibilities…love that kind of DIY, don’t you?  

easy DIY tshirt tote bag tutorial at diyshowoff.comeasy DIY tshirt tote bag tutorial at diyshowoff.com

Michaels.com: Your 24-hour Arts & Crafts Store

I recently joined the Michael’s Makers team which means I receive a gift card to complete and share fun craft challenges.


DIY Sisal Rope Planters

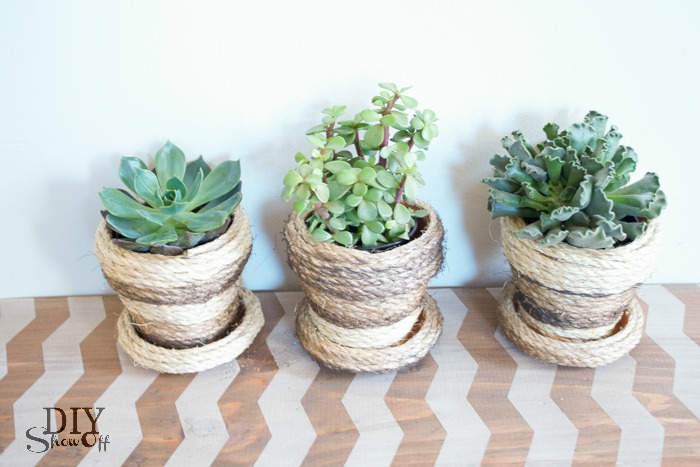
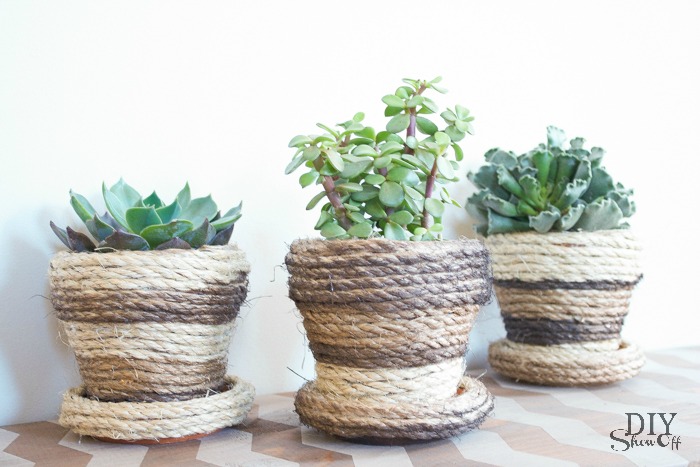
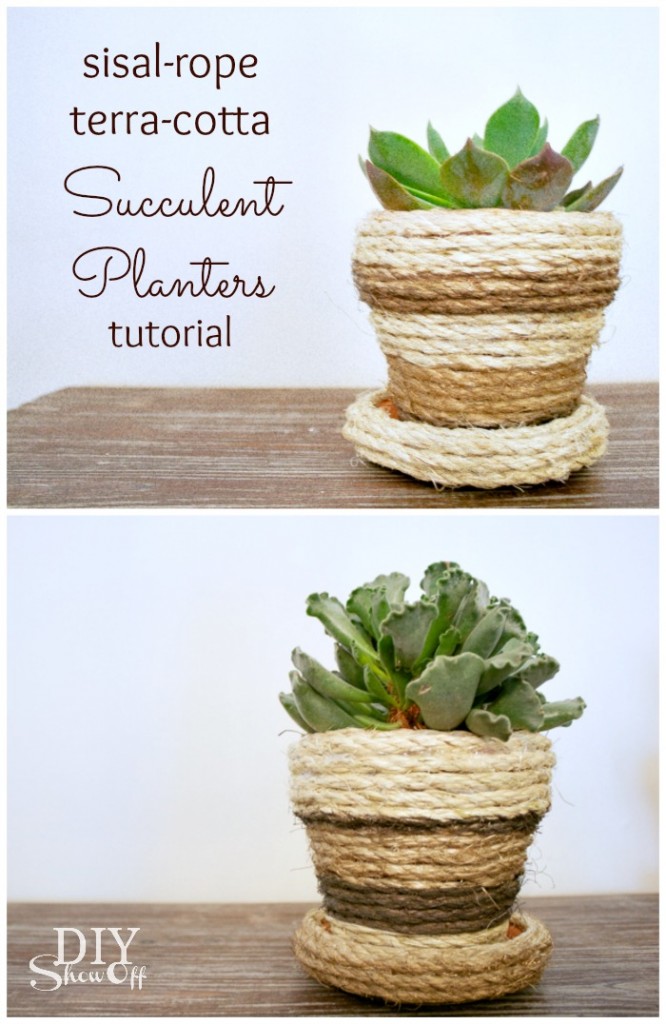
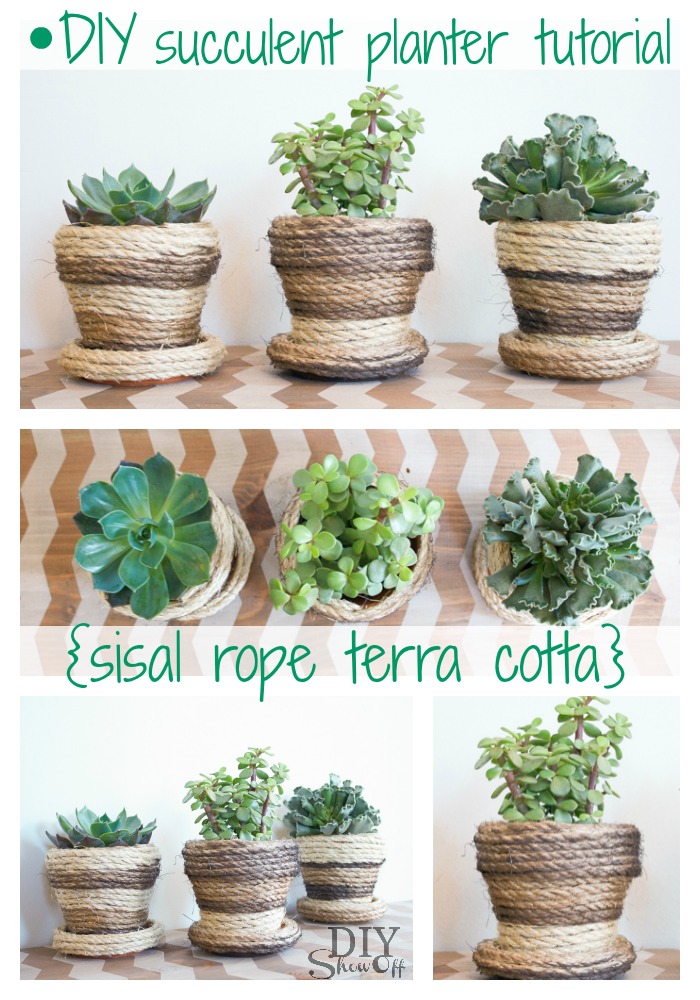
June’s Lowe’s Creative Ideas challenge had several themes. I chose rope and succulents…perfect for adding a little summer time decorative accents and texture with a DIY sisal rope planter. 

DIY succulent planter tutorial - diyshowoff.com

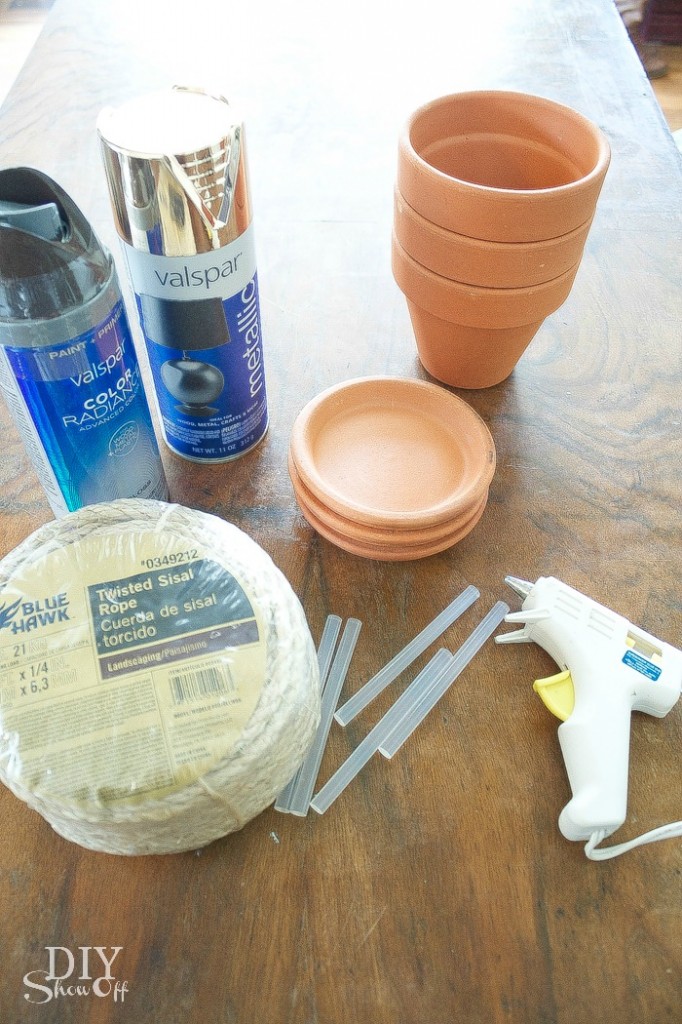
Materials I used:

DIY sisal rope wrapped terra cotta planters tutorial at diyshowoff.com

  • BlueHawk twisted sisal rope
  • (3) small terra cotta pots
  • (3) small terra cotta saucers
  • Valspar metallic spray paint (gold)
  • Valspar paint + primer (brown)
  • FrogTape
  • hot glue gun/sticks
  • (3) succulent plants

What I did:

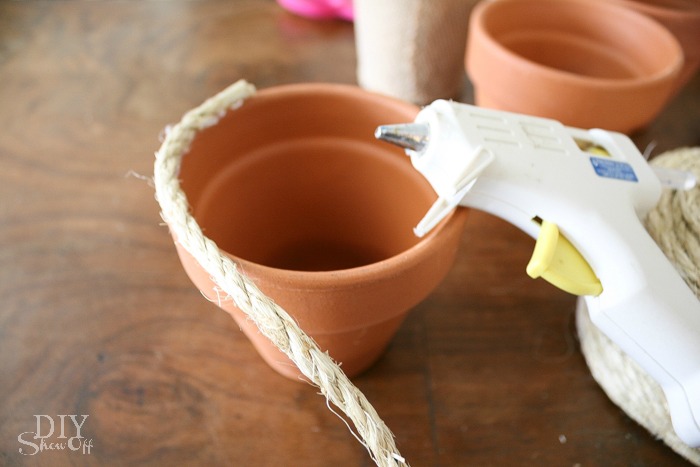
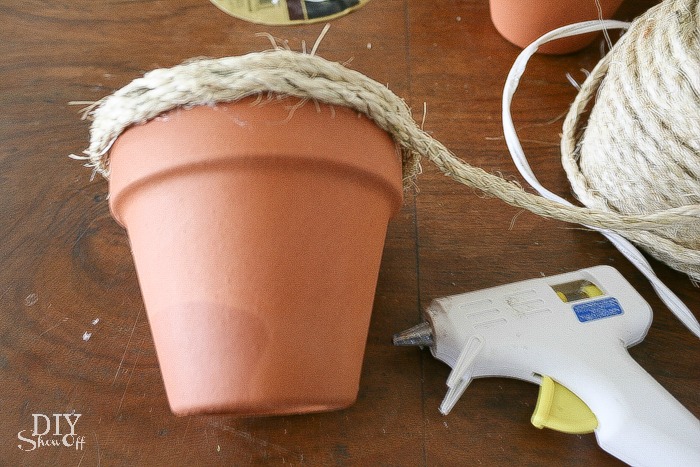
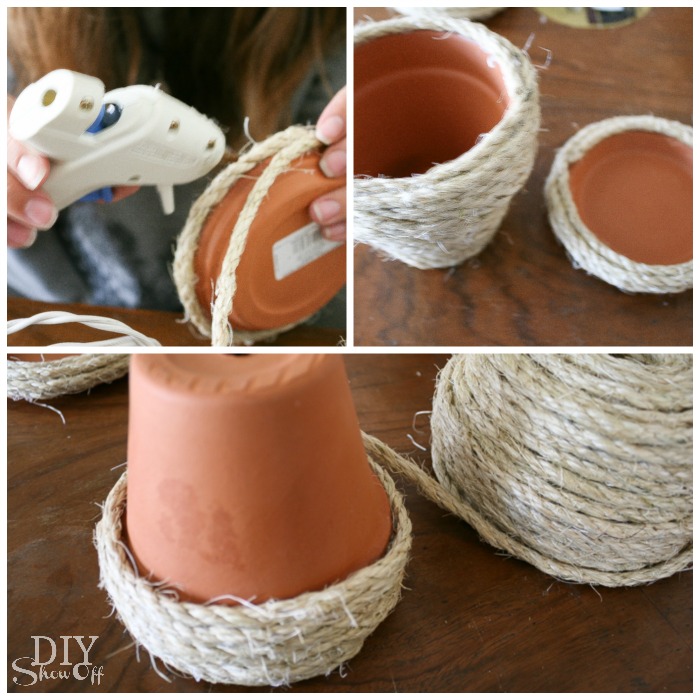
Using hot glue to adhere, I added sisal rope to the terra cotta pots and saucers. 
DIY sisal rope wrapped terra cotta planters tutorial at diyshowoff.comDIY sisal rope wrapped terra cotta planters tutorial at diyshowoff.comDIY sisal rope wrapped terra cotta planters tutorial at diyshowoff.com

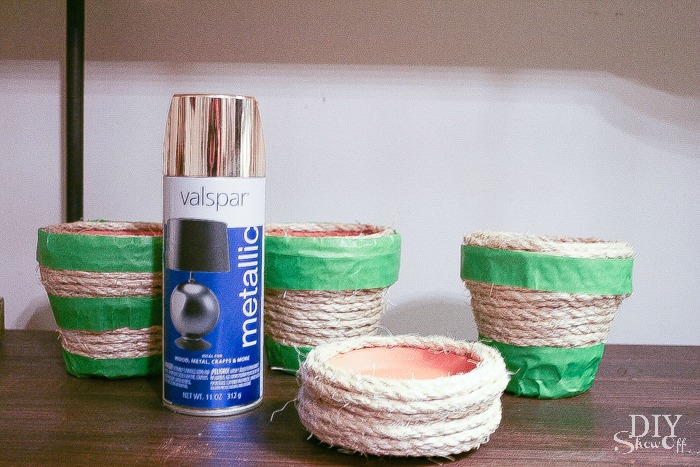
Use FrogTape to add decorative stripes.
DIY sisal rope wrapped terra cotta planters tutorial at diyshowoff.com

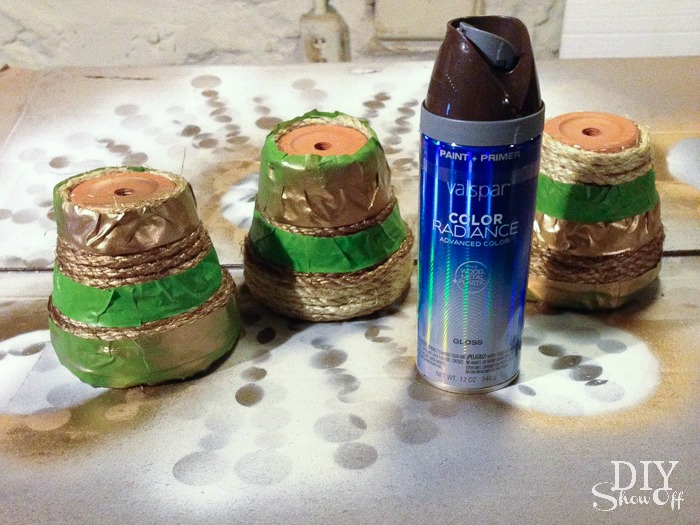
Spray paint the pots and let dry. (I did two colors/two step spray painting.)

DIY sisal rope wrapped terra cotta planters tutorial at diyshowoff.com

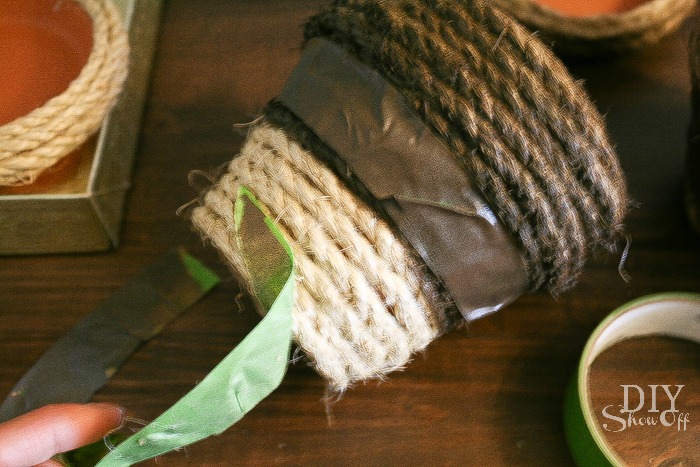
Remove FrogTape.

DIY sisal rope wrapped terra cotta planters tutorial at diyshowoff.com

Add plants!

DIY sisal rope wrapped terra cotta planters tutorial at diyshowoff.com 

So easy to do! Instant texture and greenery for your decor to liven things up. 

DIY sisal rope wrapped terra cotta planters tutorial at diyshowoff.comWorks for flowers or plants too!

DIY sisal rope wrapped terra cotta planters tutorial at diyshowoff.com

I received a Lowe’s gift card to complete this challenge. Opinion and above idea is 100% my own. More DIY ideas at Lowe’s Creative Ideas, follow Lowe’s on InstagramPinterest and sign up for the Creative Ideas magazine and app!  

LCI Summer Badge


Check out more of my Lowe’s Creative Ideas challenges:

DIY hanging organizer - Pantone radiant orchid DIY Chalk Finish Paint Recipe pipe shelving how toDIY foldable luggage rack tutorial DIYShowOff tire flower planter tutorial at DIYShowOff LCR dice game tutorial

Party Favor Jewelry Dish

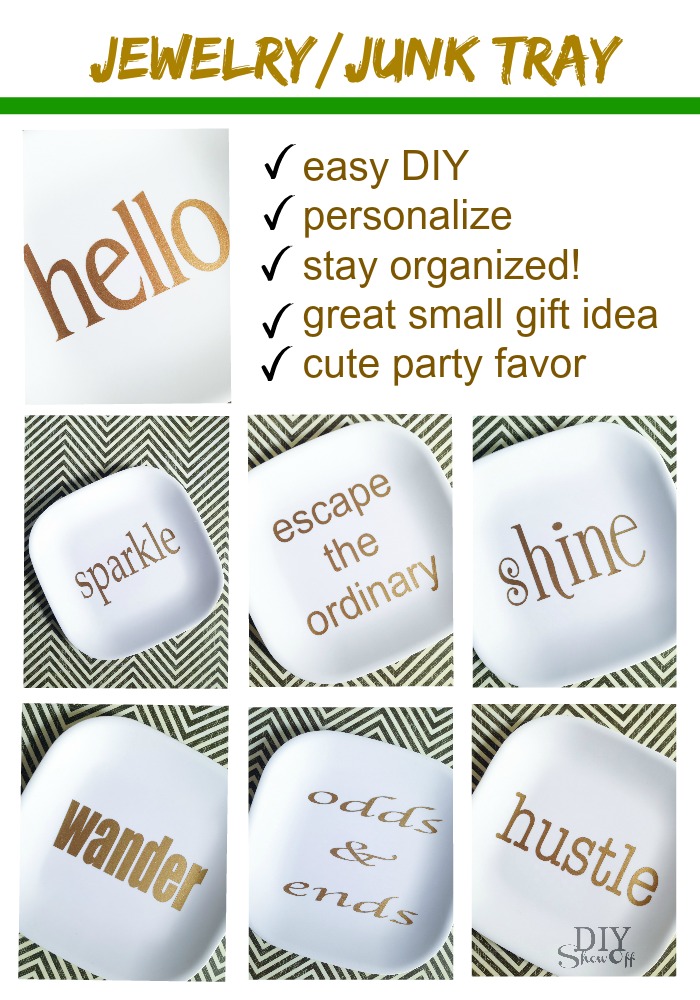
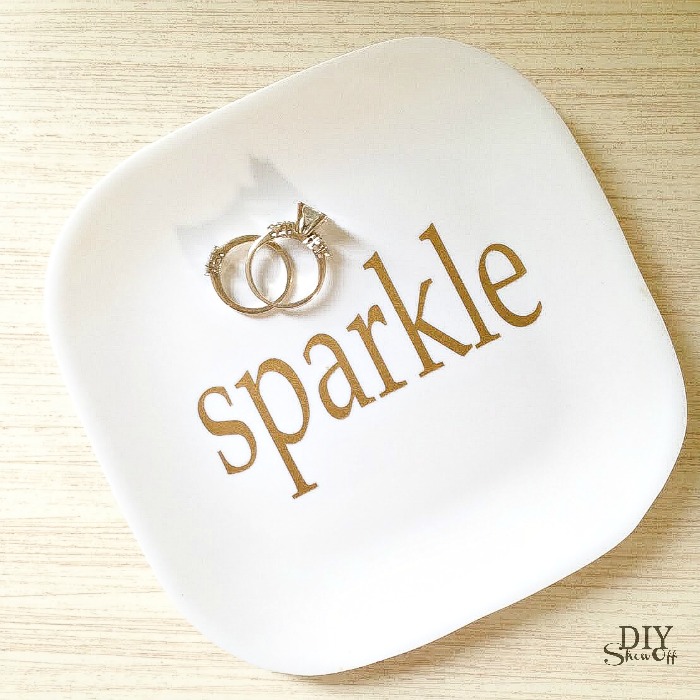
Looking for an easy DIY party favor idea? These melamine appetizer plates with vinyl decals make a cute little gift!

jewelry junk tray tutorial @diyshowoff.com

What I used:

What I did:

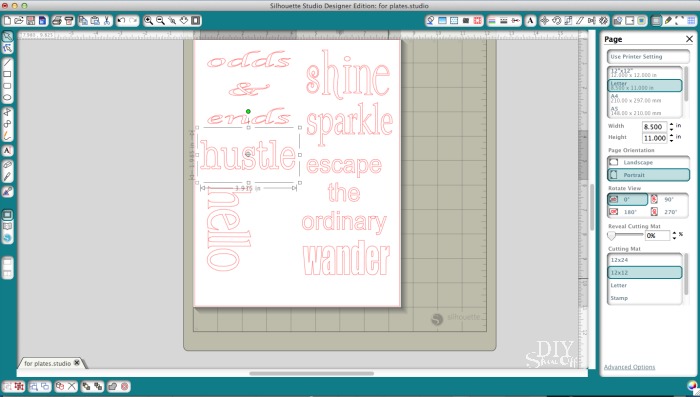
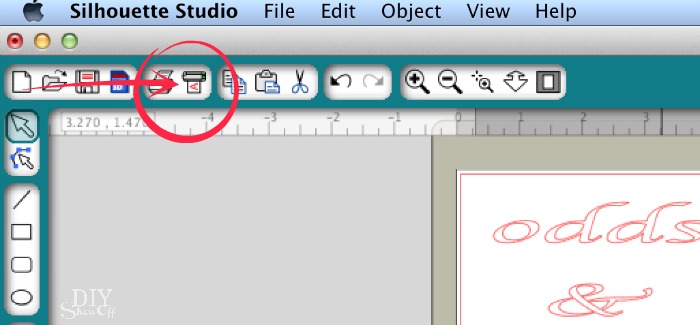
Measure flat center area of plates. Mine allowed for a 3.5 inch square design. Open the Silhouette Studio Design software and create words using font/text in a size that fits. I created six different designs.

vinyl decal tutorial for plates @diyshowoff.com

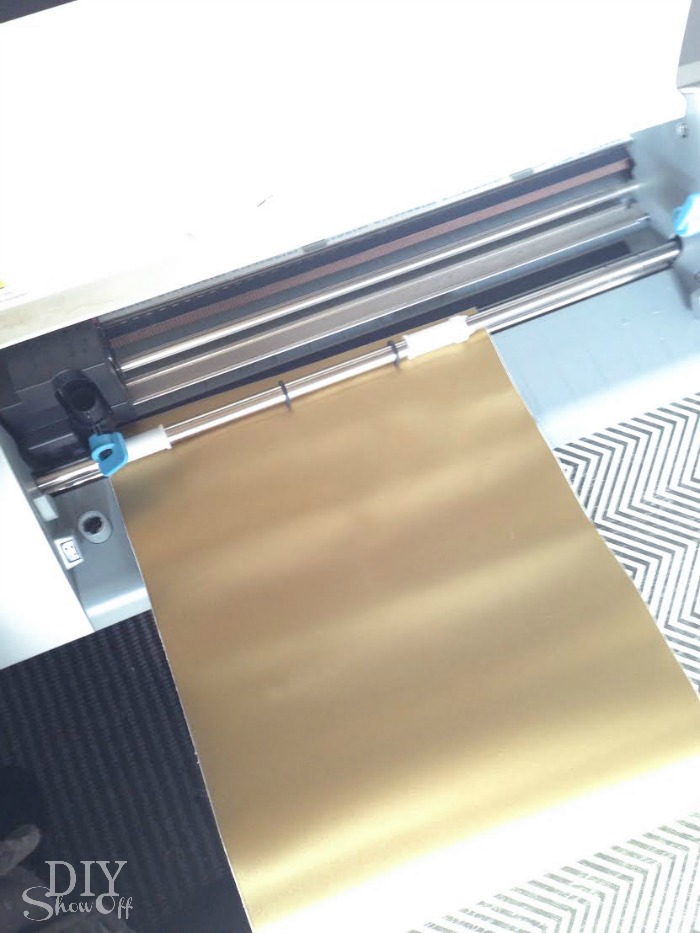
Load adhesive vinyl into the vinyl cutter color side (vinyl side) up. 

vinyl decal tutorial for plates @diyshowoff.com


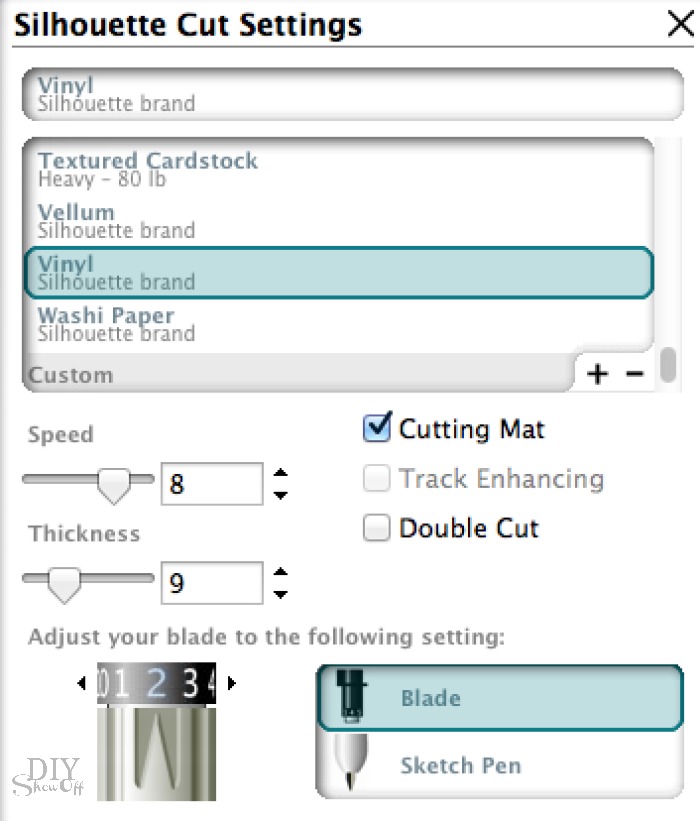
Adjust blade setting for vinyl. 

vinyl decal tutorial for plates @diyshowoff.comSend to cut and unload vinyl.

vinyl decal tutorial for plates @diyshowoff.com

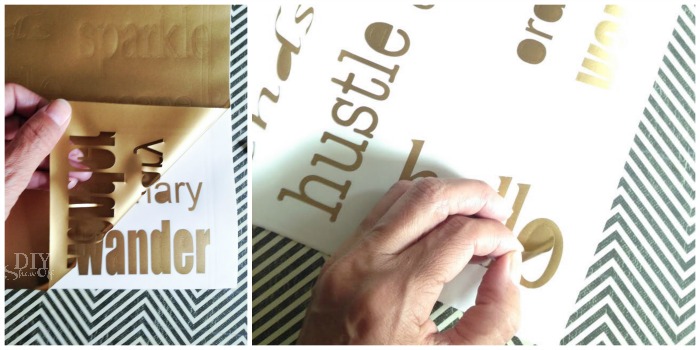
Weed away excess vinyl from the design. 

vinyl decal tutorial for plates @diyshowoff.com

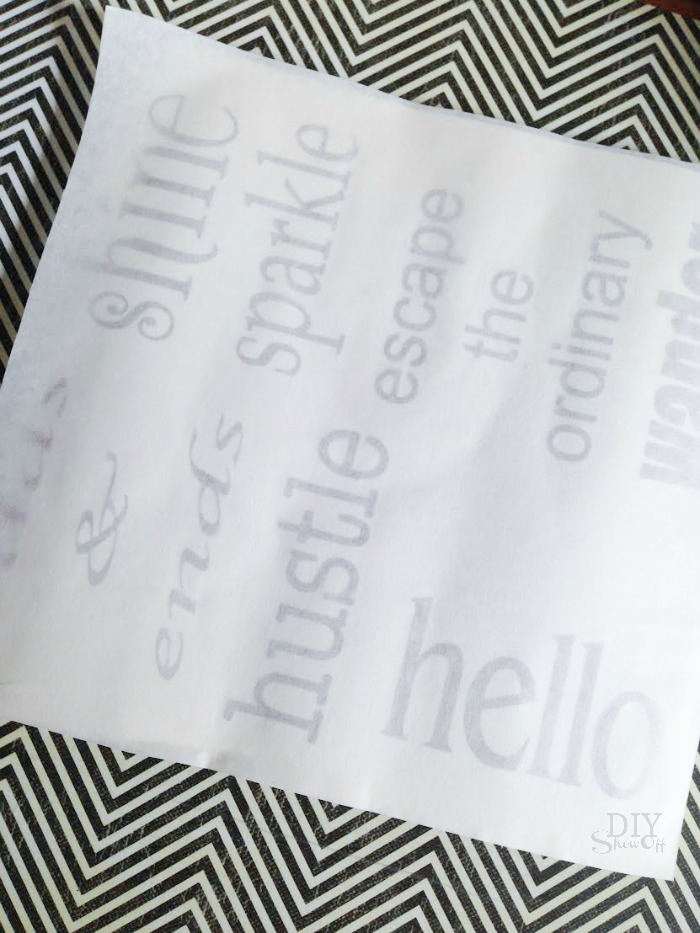
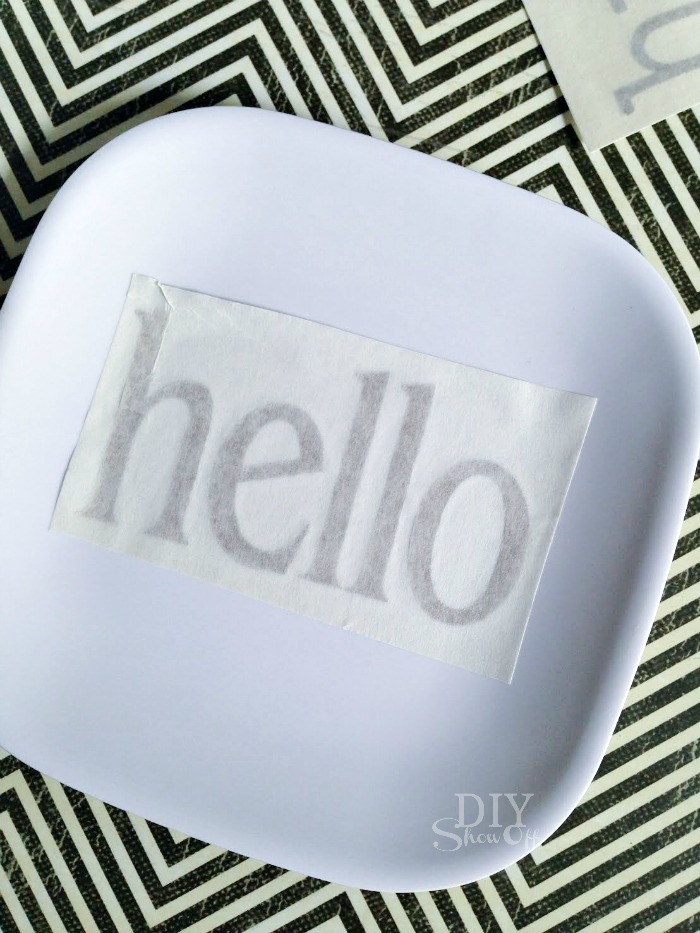
Apply transfer paper over the vinyl lettering. 

vinyl decal tutorial for plates @diyshowoff.com

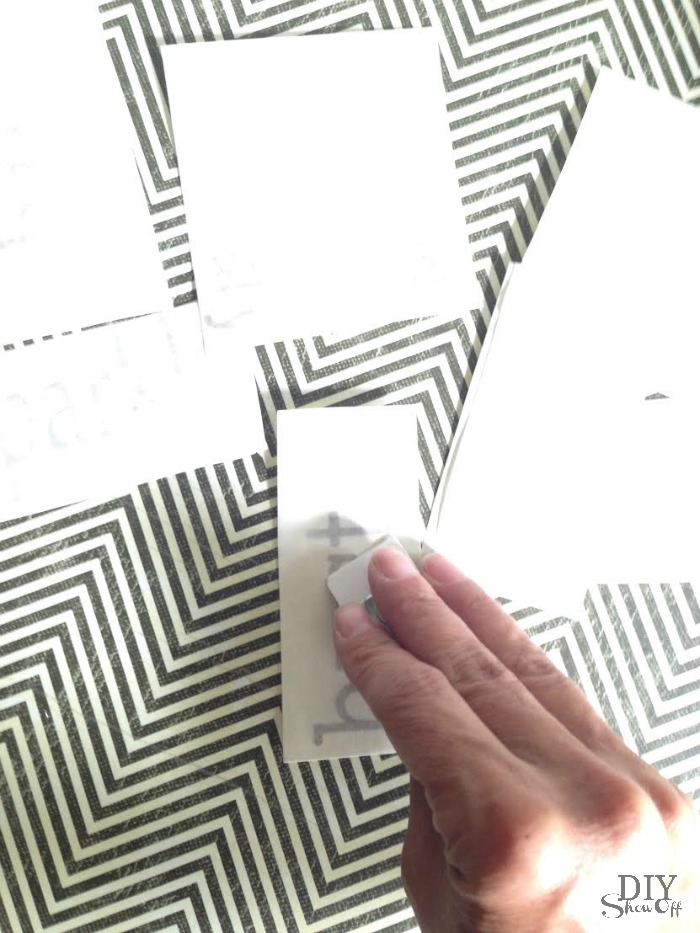
Cut into individual designs. 

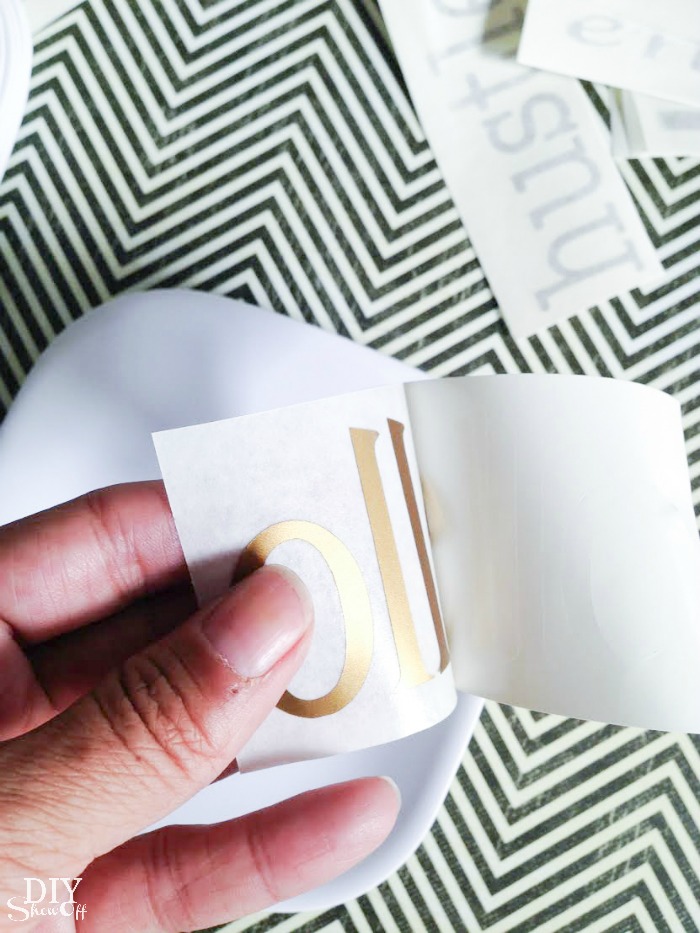
Rub the transfer paper over each piece. I just grabbed a hard plastic name tag with a straight edge. You could also use a credit or gift card. 

vinyl decal tutorial for plates @diyshowoff.com

Peel away wax paper backing, transferring vinyl to the transfer paper. 

vinyl decal tutorial for plates @diyshowoff.com

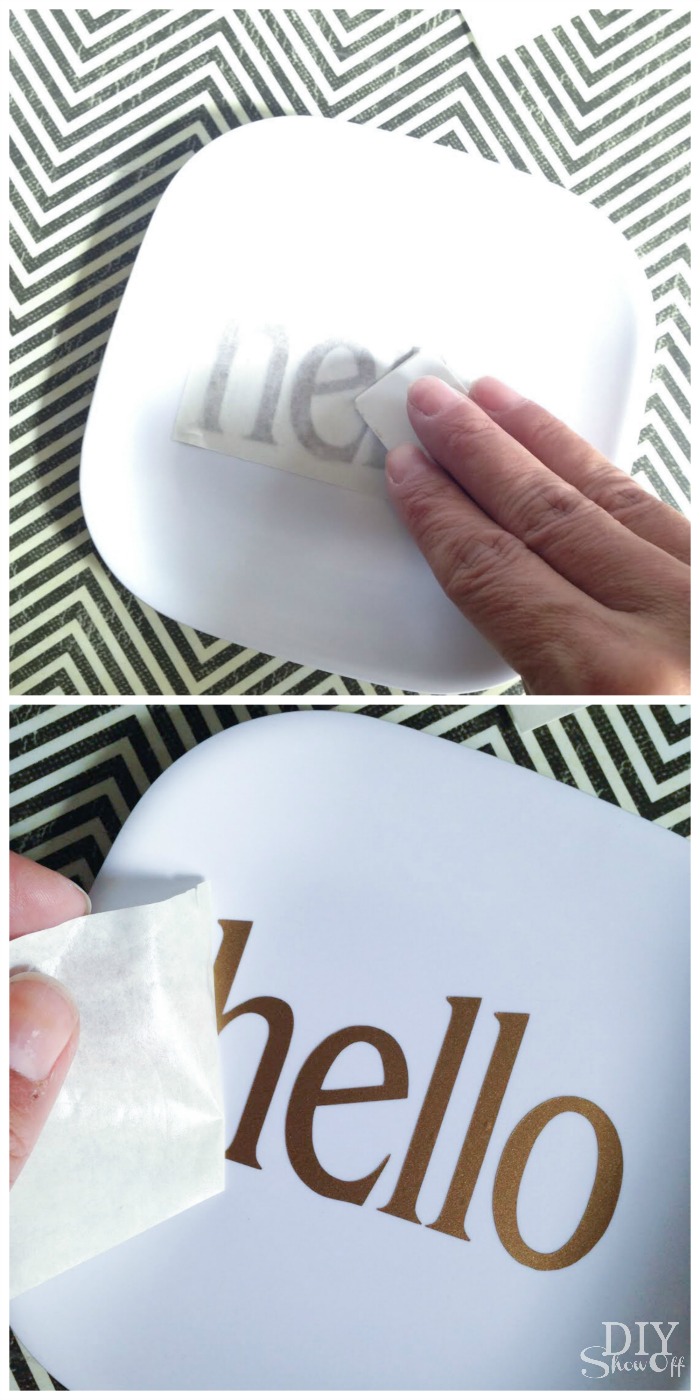
Place onto plate. 

vinyl decal tutorial for plates @diyshowoff.com

Rub with plastic card and remove transfer paper. 

vinyl decal tutorial for plates @diyshowoff.com

Simple but so many options. Try different colors, different fonts, personalize with quotes, monograms, shapes or words. 

Cute inexpensive gift to include with a card or gift basket or to use as party favors. 

Perfect for keeping tabs on jewelry, paperclips on a desk, keys in an entryway, spare change in the laundry room, Q-tips in the bathroom, etc. 

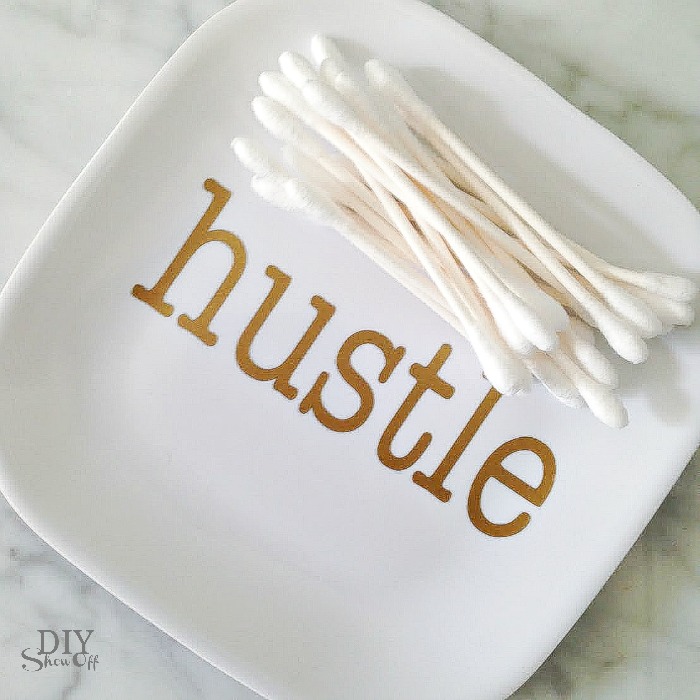
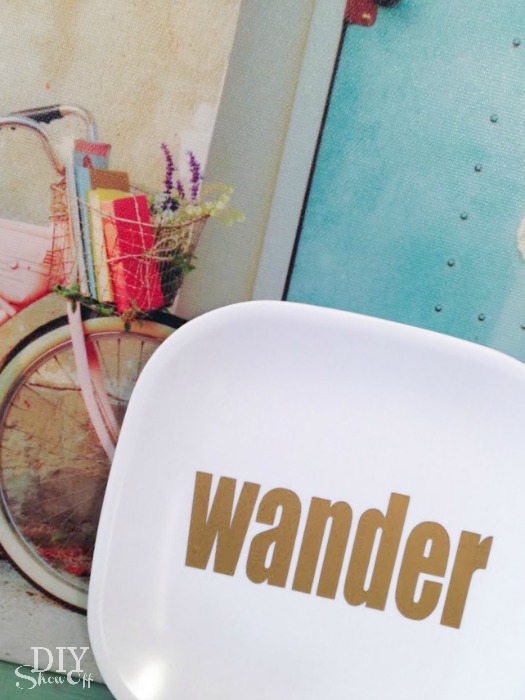
sparkle vinyl decal plate tutorial at diyshowoff.comhello vinyl plate decal tutorial at diyshowoff.comshine vinyl plate decal tutorial at diyshowoff.comhustle vinyl decal plate tutorial at diyshowoff.comkate spade inspired plate tutorial at diyshowoff.comwander vinyl decal plate tutorial at diyshowoff.com

*This post is sponsored by Happy Crafters. Tutorial, experience and opinion is my own.  Check out all the supplies at Happy Crafters for inspiration for your next project. 

HClogopngsmall