Framed 3 Dimensional DIY Pumpkin Wall Art

Helloooo, DIY lovers! I’m still hanging on to summer but there’s no mistaking that fall is in the air! My first official challenge for Michaels’ Makers is a DIY Pumpkin Challenge. Fun!

DIY craft pumpkin challenge @diyshowoff #michaelsmakers

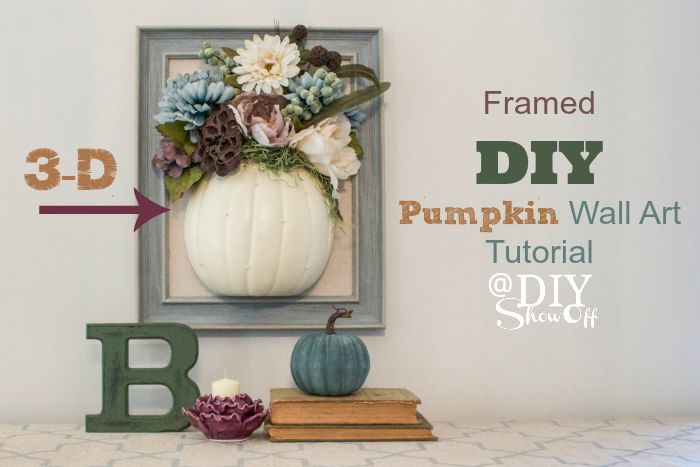
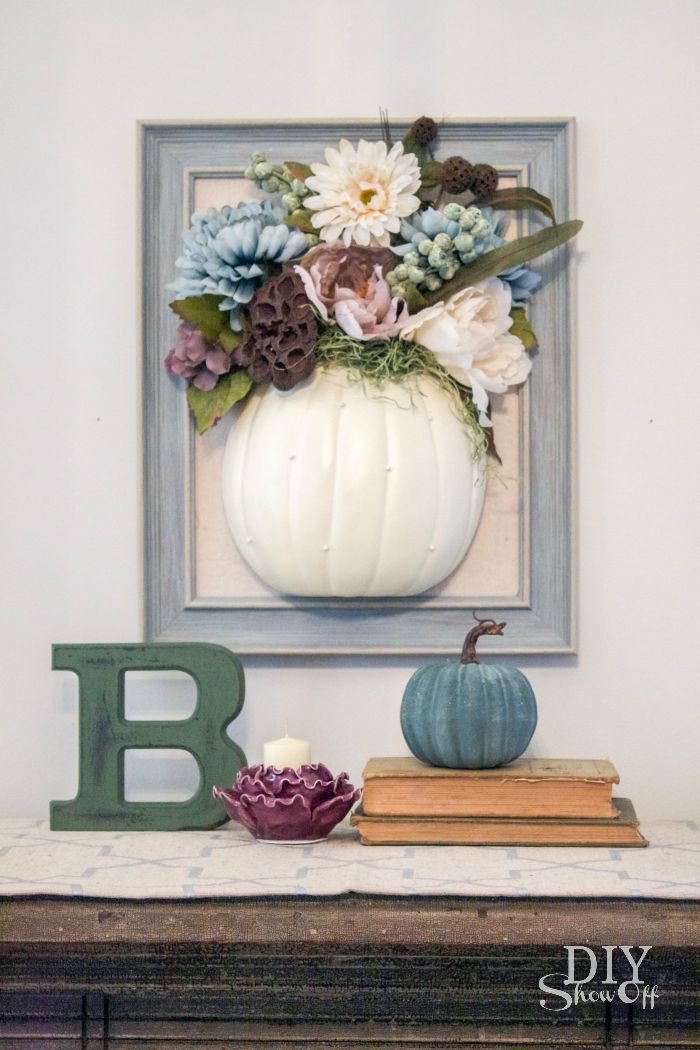
It’s nearly that time of year! Shorter days, chilly evenings. I love faux pumpkins or ‘funkins’ for fall DIY crafts and decor! This year Michaels has “half craft pumpkins”! The tutorial tag I saw in the store showed 3 vertically on ribbon with the letters “B – O – O”. How cute is that? But I decided some framed 3D wall art was in order! I always think floral arrangements in pumpkins are so pretty…works of art. So why not add a frame and make it 3D wall art?

3D framed DIY pumpkin wall art tutorial @diyshowoff #michaelsmakers

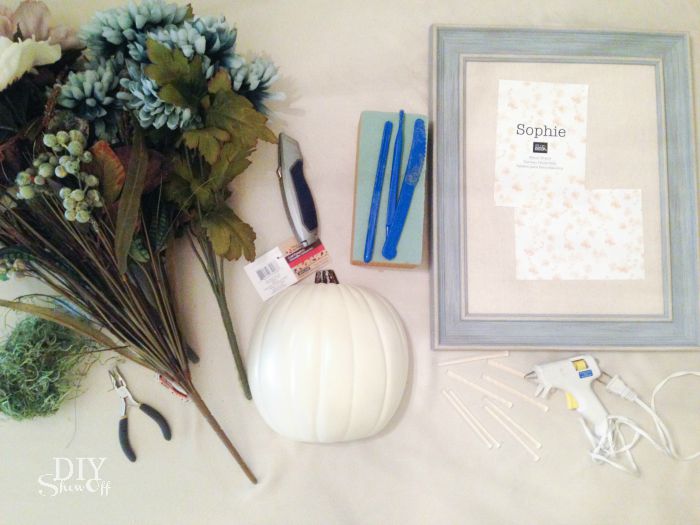
Materials I used: (some affiliate links included)

3D framed DIY pumpkin wall art tutorial @diyshowoff #michaelsmakers

Tools: wire cutters, hot glue gun, knife or box cutter

Project Time: Less than 1 hour. 

What I did:

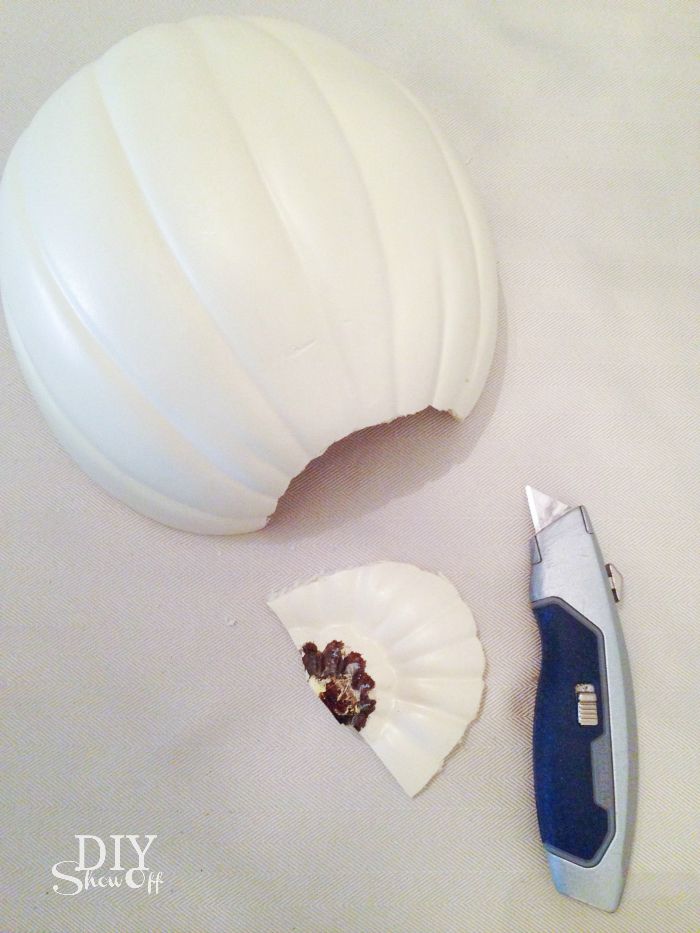
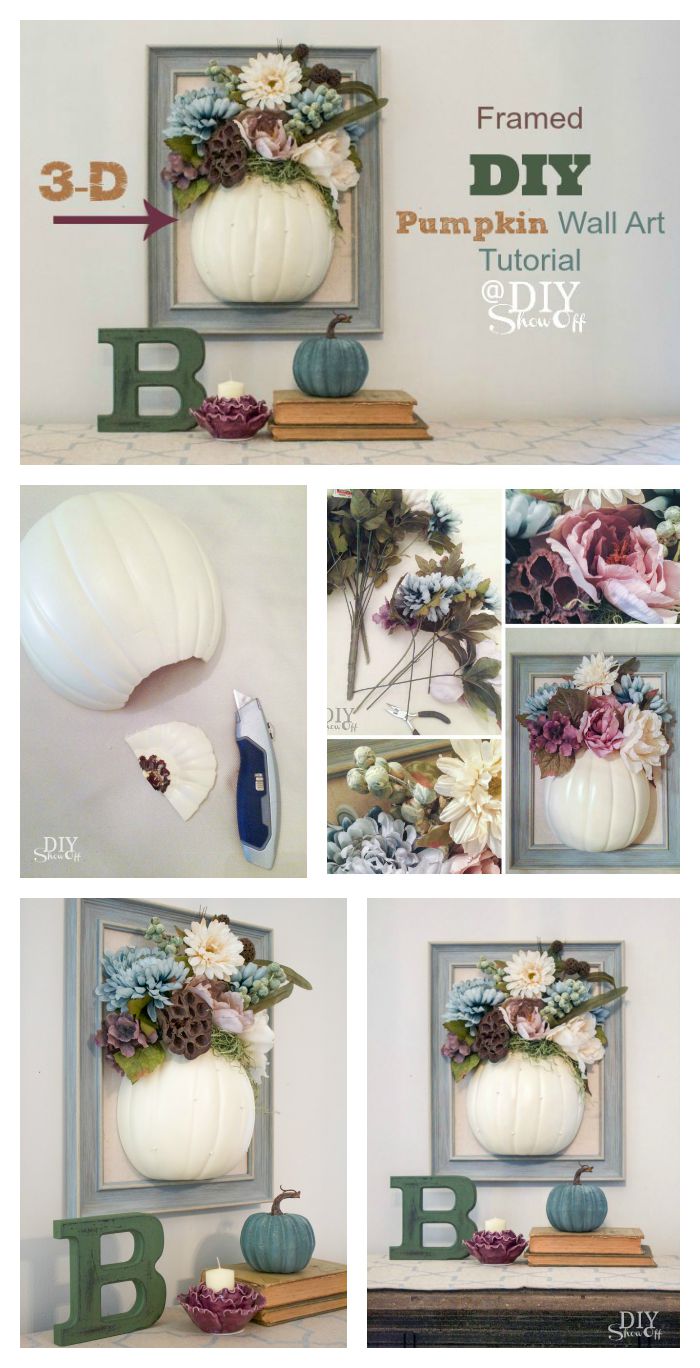
1. With the box cutter, I cut the top off of my half craft pumpkin similar to the way I would cut the top of a whole pumpkin. 

3D framed DIY pumpkin wall art tutorial @diyshowoff #michaelsmakers

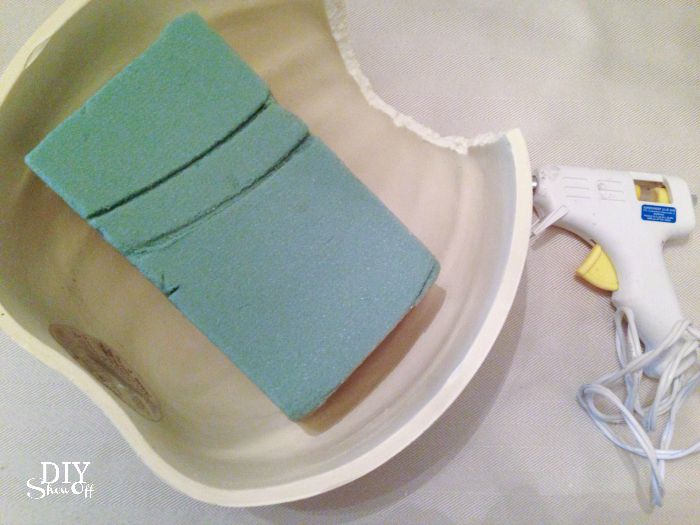
2. Cut down the foam brick to fit inside of the craft pumpkin and secure with hot glue . This step may not be necessary but I think it makes the flower arranging easier and keeps the arrangement in place. Flowers can be swapped out for a different look.

3D framed DIY pumpkin wall art tutorial @diyshowoff #michaelsmakers

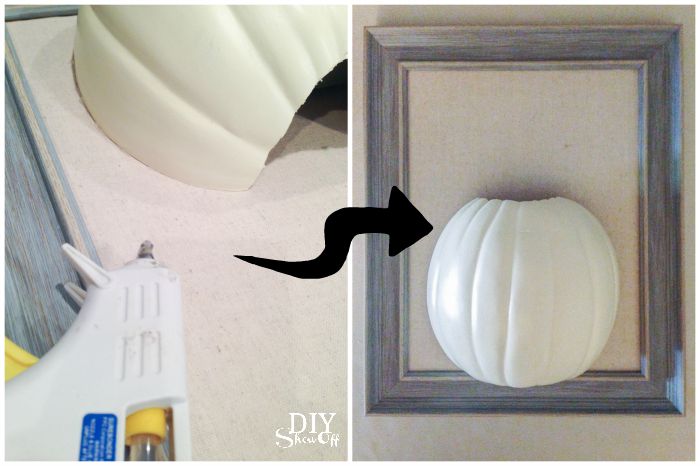
3. Secure the half craft pumpkin to the the message board, centered inside of the frame with hot glue. I really think it’d work to attach it to a picture frame with backing (with glass or without) using hot glue too! If you give that option a try, let me know. I’d love to see it! Well, if you try this project at all, do share your creativity! I want to see! 

3D framed DIY pumpkin wall art tutorial @diyshowoff #michaelsmakers

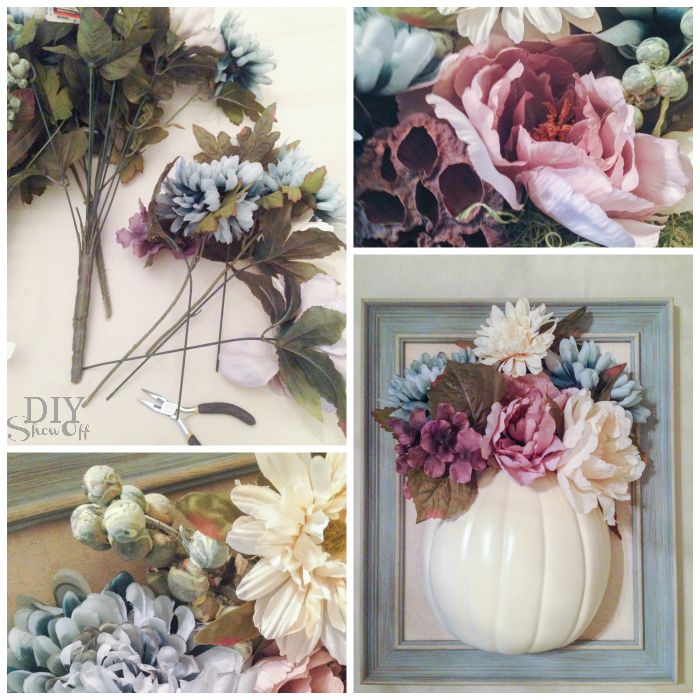
4. Using wire cutters, remove stems from floral bunches and arrange flowers inside of the half craft pumpkin, poking stems into the foam brick to secure. 

3D framed DIY pumpkin wall art tutorial @diyshowoff #michaelsmakers

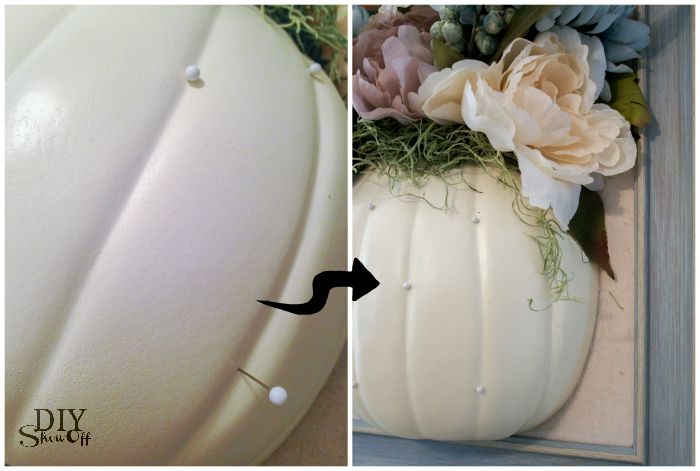
5. Embellish pumpkin if you wish. I just added the push pins that came with my message board. Stuff in some Spanish moss, if you’re inclined to do so. It adds some texture.

3D framed DIY pumpkin wall art tutorial @diyshowoff #michaelsmakers


6. Hang to display! 

3D framed DIY pumpkin wall art tutorial @diyshowoff #michaelsmakers


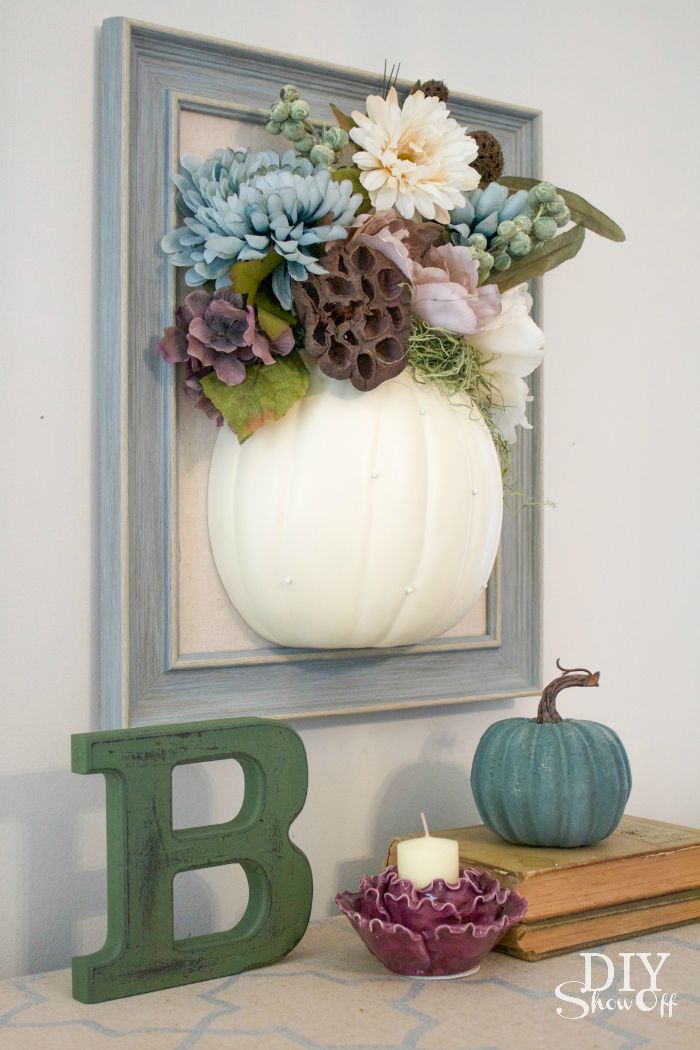
Isn’t it pretty?

3D framed DIY pumpkin wall art tutorial @diyshowoff #michaelsmakers

The other accessories are from Michaels too! I really love the combination of blues, plums, creams and green for a fresh fall vignette but I think traditional colors with touches of metallic gold would be gorgeous too! 

3D framed DIY pumpkin wall art tutorial @diyshowoff #michaelsmakers

See more Michaels Makers DIY Pumpkin Crafts from these talented blog friends (starting today at 10 a.m. CST):

DIY craft pumpkin challenge @diyshowoff #michaelsmakers

·         To kick off fall in your own home, visit Michaels.com and check out the variety of craft pumpkins available – there is every color, shape and size you could ever want!

·         There are tons of ways to DIY your own craft pumpkin for your home, a party or even as a gift.

·         If you’re looking for something a little bit different, Michaels recently started selling these fun half pumpkins, perfect for fall décor wall mounts and fun signs.  

·         If you’re in need of more fall décor inspiration be sure to look at the 49 other DIY pumpkin projects from the rest of the Michaels Makers – they are fabulous!

*I received a Michaels’ gift card to complete this challenge. All opinions are my own. 

Decorating with Natural Accents

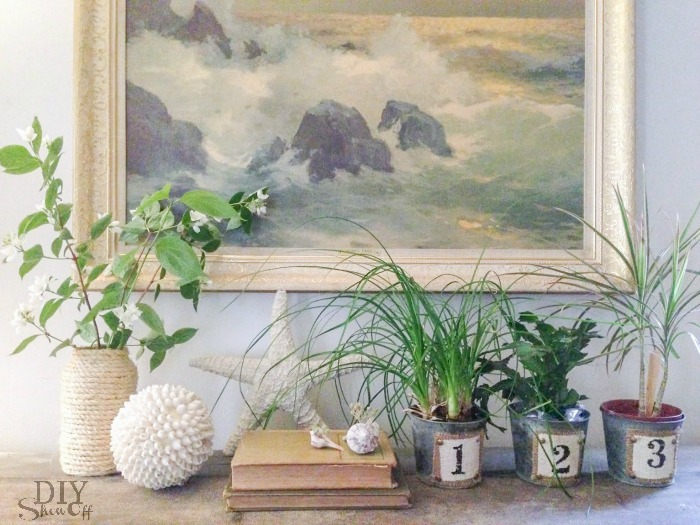
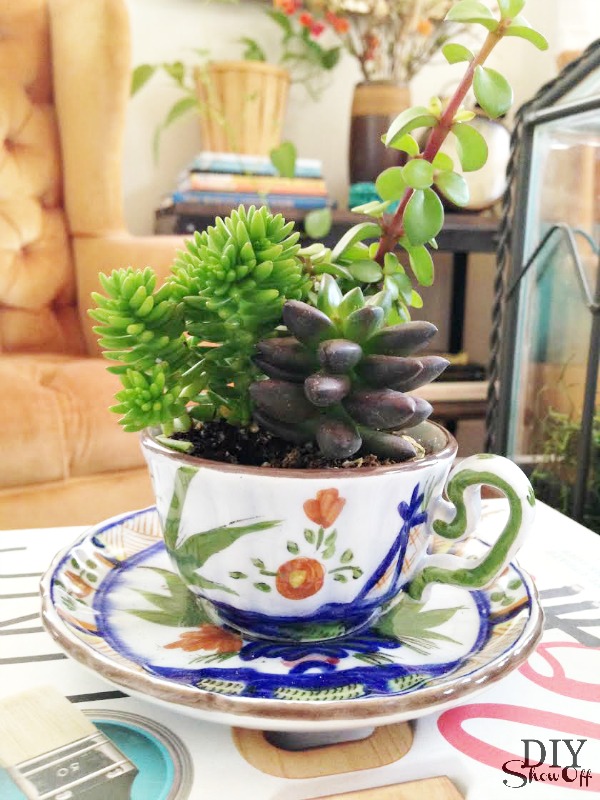
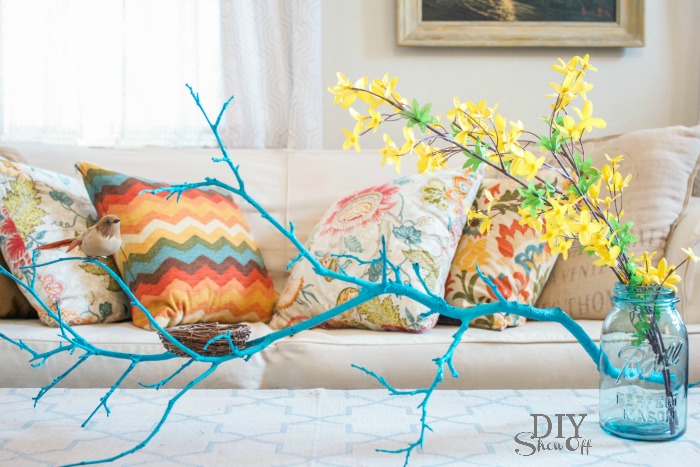
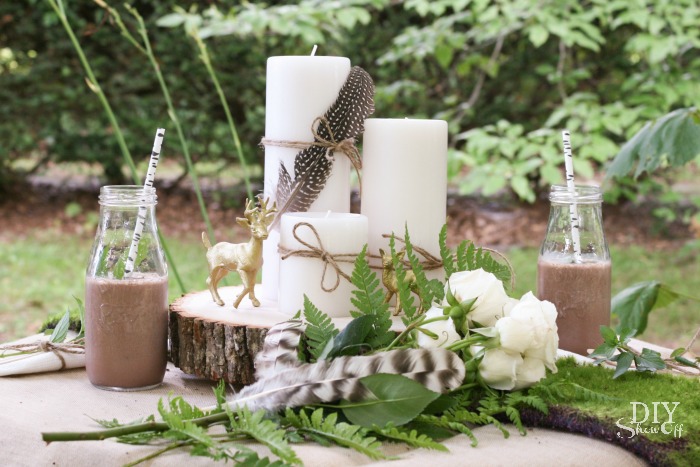
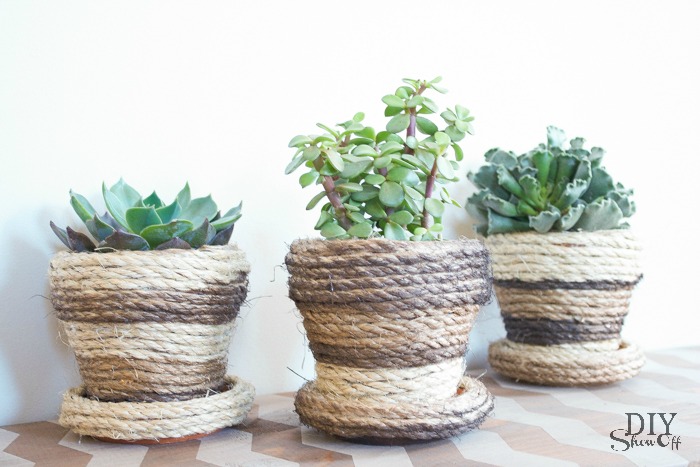
Because of tight budgets and a desire to make a pretty home, I’m no stranger to using natural accents and being creative with plants and natural elements from our back yard by incorporating them into our decor from succulents in teacups to a nature-themed baby shower to my husband working on creating a log-handle for his beloved Big Green Egg as I’m typing up this blog post.

summer beach mantel @diyshowoff

There’s just something “real” about adding bits of nature to my decorating that make it feel alive.

rustic glam woodland centerpiece at diyshowoff.comDIY succulent planter tutorialtea cup succulent planters at diyshowoff.comspring twig centerpiece tutorial @diyshowoff

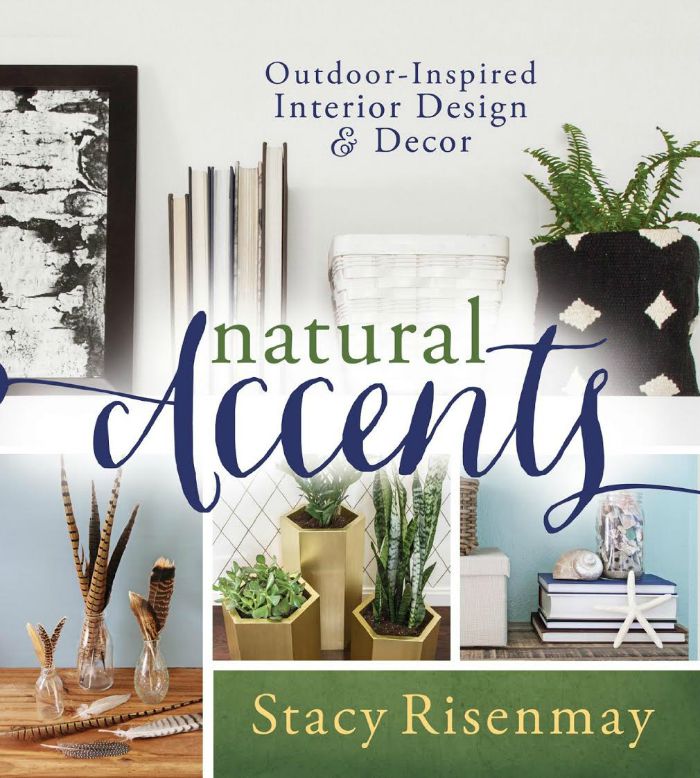
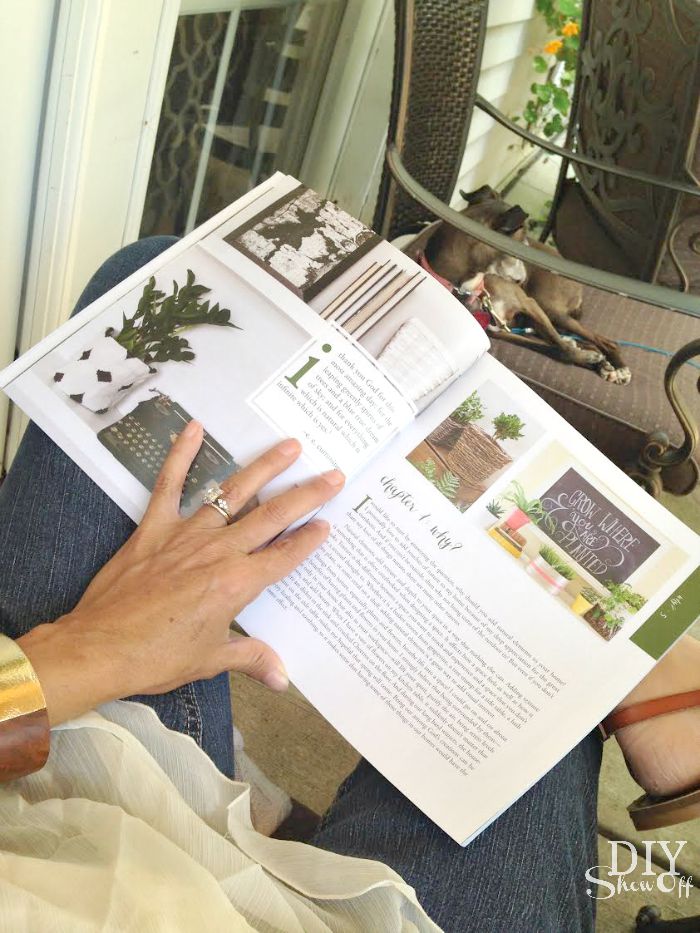
So I was so super excited when a) our sweet friend, Stacy from Not Just a Housewife, was publishing a book and b) when I found out it was all about bringing the outdoors in with natural accents! Beautiful, natural budget friendly decorating inspiration?! Yes, please! 

Natural Accents by Stacy Risenmay

My summer has been crazy but I finally had the time to enjoy flipping through the pages, losing myself in gorgeous staging and decorating and discovered so much inspiration.
diyshowoff

I loved that it’s more than a decorating book. It’s filled with beautiful photos, helpful tips, 35 tutorials and fresh new ideas. Natural elements can add texture to design and Stacy’s thoughts, memories and writing add an additional beautiful dimension to the pages of this helpful book. I love it! I think you’ll love it and want to add this book to your collection too!
I have my favorites DIY projects bookmarked and I’m already referring back to it for tips on keeping cut flowers and houseplants in tip top shape! 

You can get it here on Amazon (affiliate link) or here at Barnes & Noble or Books & Things


Easy DIY Image Transfer Stickers

It’s the beginning of another fun crafting year as a Michaels Maker! Hurray! As a member of the team, I have the opportunity to participate in fun craft challenges and share lots of crafty goodness!  I’m super bummed that I wasn’t available to attend the Michaels Makers Summit last week (although I do show up in some of the photos!). It looks like everyone had an amazing trip! See recaps of all the fun in the links below. 

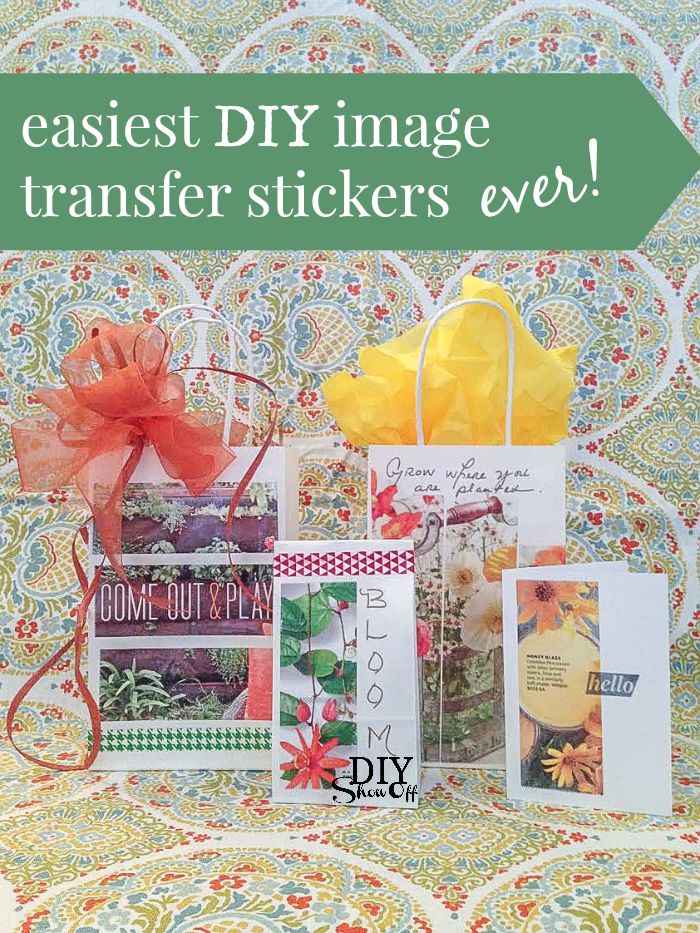
Michaels Maker Summit This month’s challenge options are awesome! Since I’m a frequent gift-giver, I chose image transfers to decorate note cards and gift bags using the tutorial from Courtney at CreativeBug. Hey, we may not have attended the summit, but we can create the same fun projects! Take a look at the full image transfer tutorials/videos and more, found online at Michaels until 8/22/15. Which would you choose?

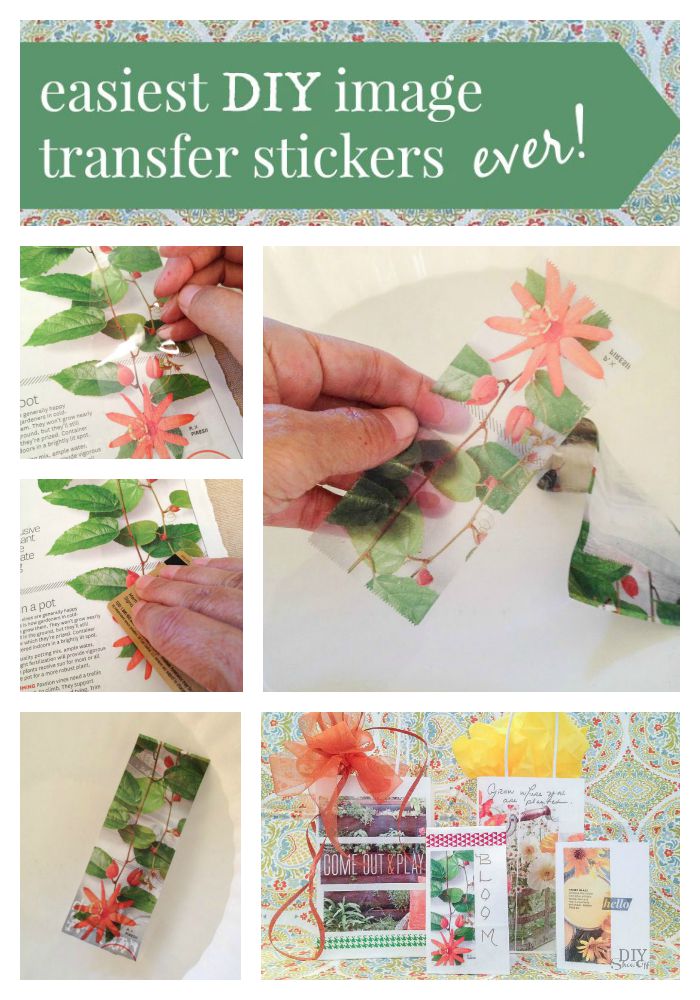
Here’s a quick tutorial of my choice, the image transfers using packing tape. Seriously so cool, you’re going to want to grab a roll of packing tape and a few magazines! Today!

easiest DIY image transfer stickers ever! @diyshowoff #MadeWithMichaels

Easy DIY Image Transfer Stickers  

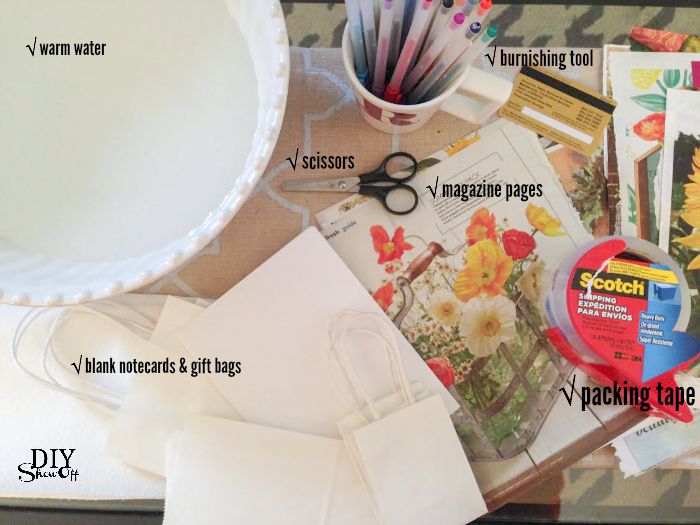
Materials I used:

how to make DIY image transfer stickers @diyshowoff #MadeWithMichaels

CLICK.BUY. CREATE. Shop Michaels.com today!

Also needed: scissors, warm water, credit card (burnishing tool), paper towels, optional: embellishments

What I did: 

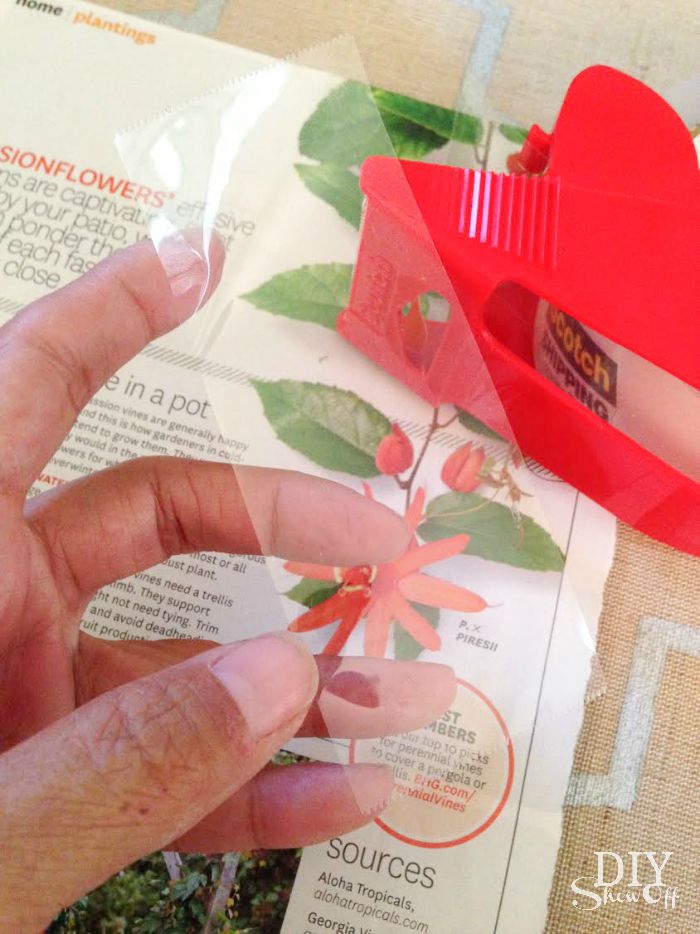
Cut a piece of packing tape. 

easy image transfer stickers tutorial @diyshowoff

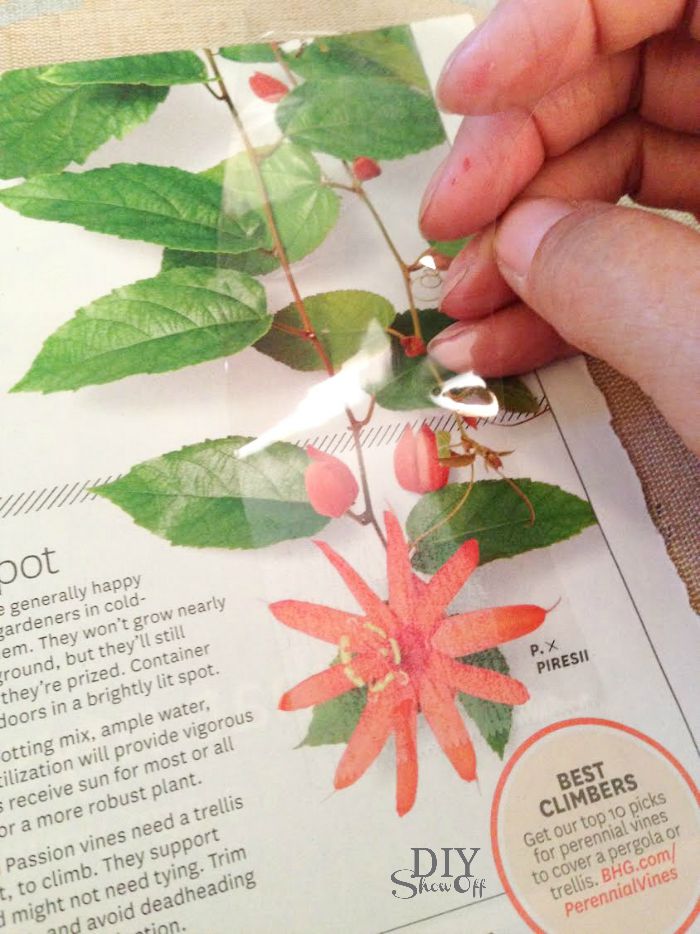
Carefully place it onto magazine image, smoothing with fingers to avoid air bubbles. 

easy image transfer stickers tutorial @diyshowoff

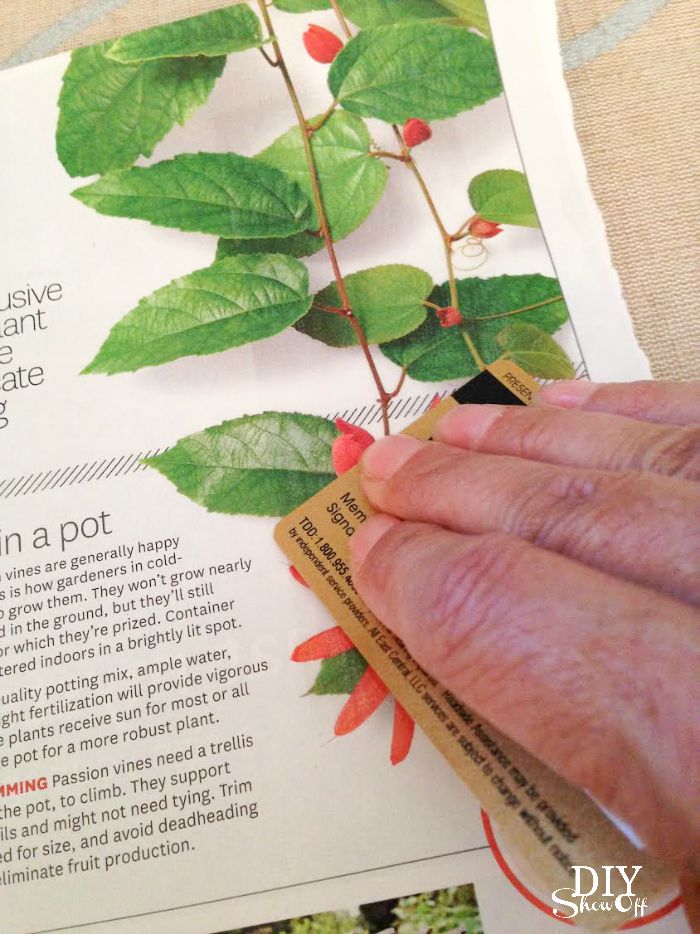
Burnish the packing tape. 

easy image transfer stickers tutorial @diyshowoff

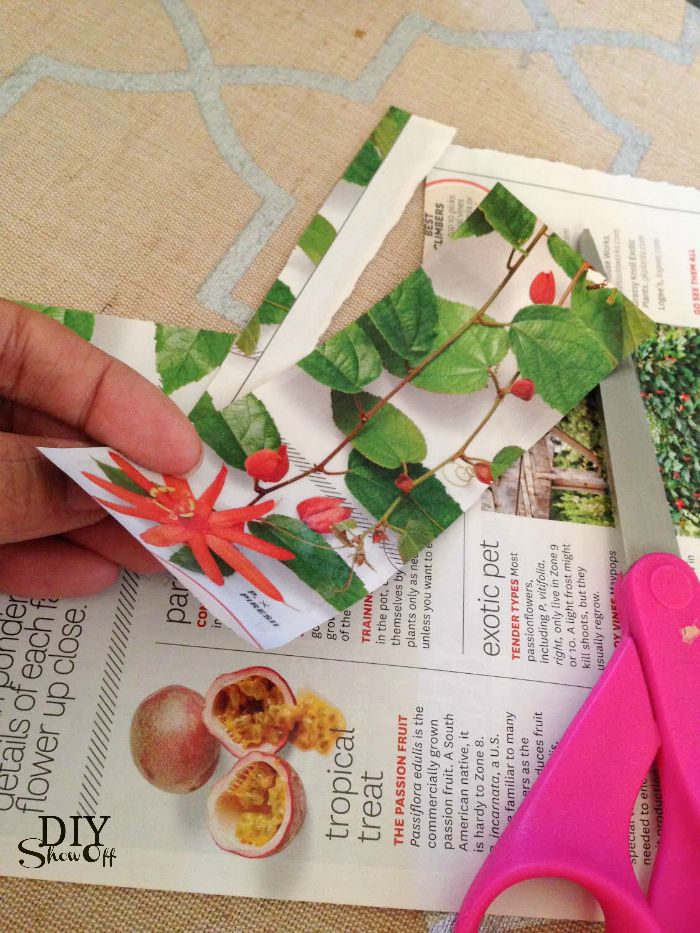
Trim rip away excess magazine page. 

easy image transfer stickers tutorial @diyshowoff

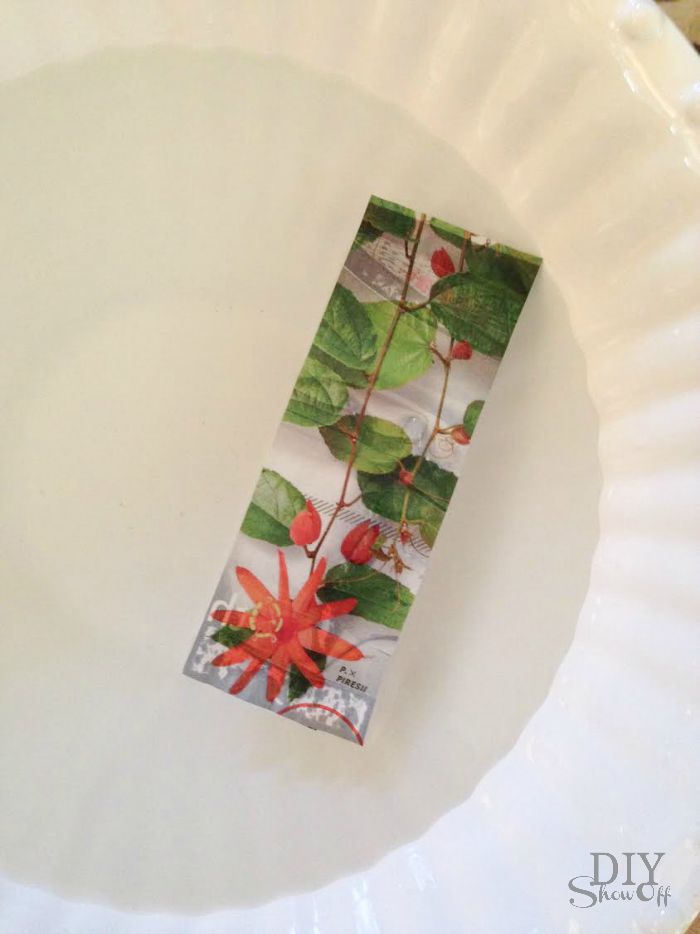
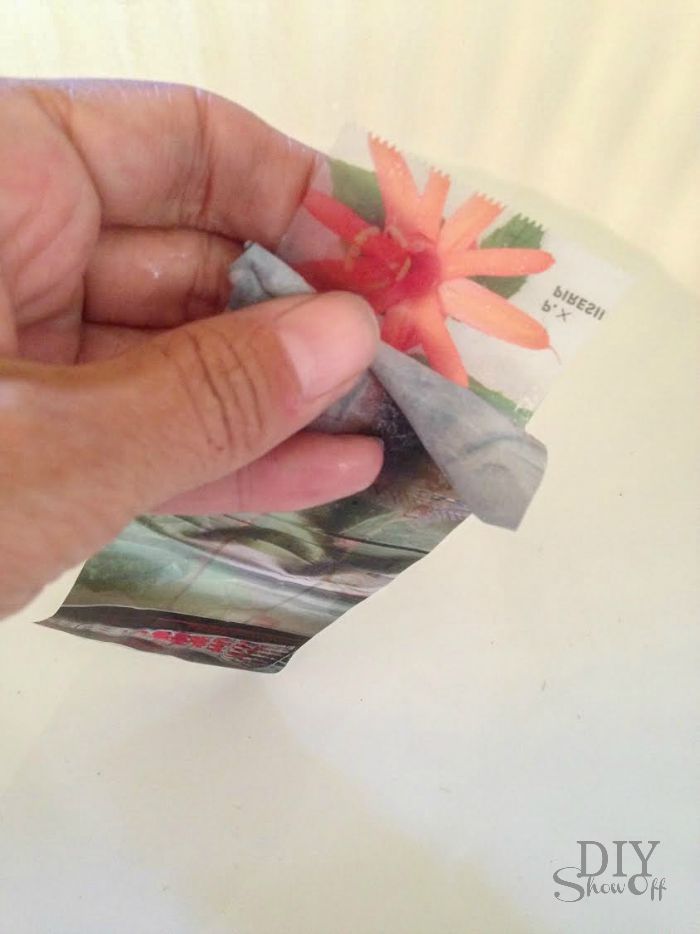
Place into warm water. I let mine sit for maybe a minute or two but you could do longer if you’re working on creating more or give it less time if you’re impatient. 

easy image transfer stickers tutorial @diyshowoff

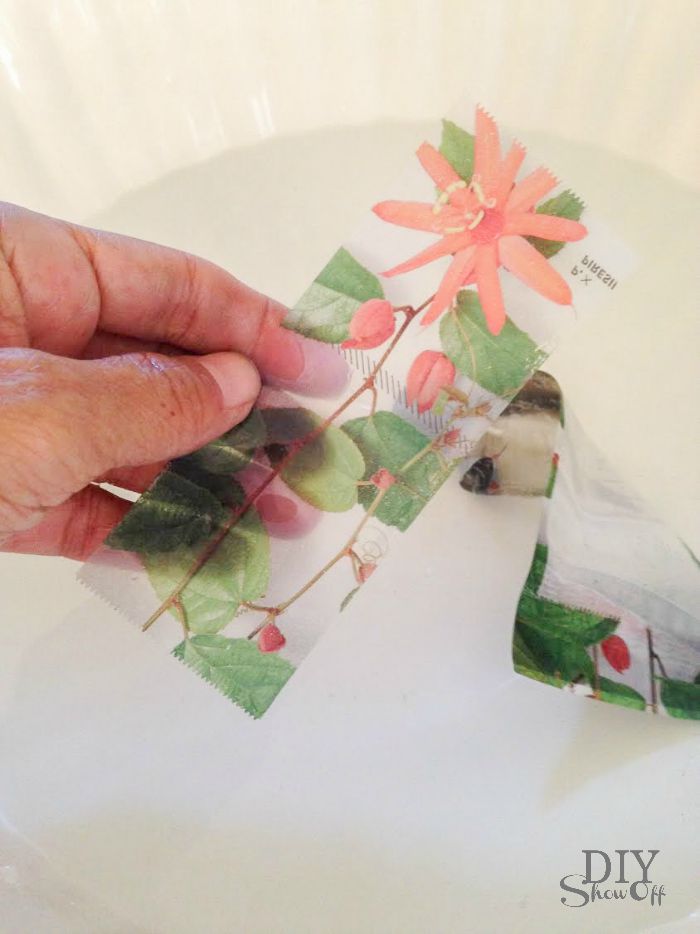
Remove from water and using thumb, rub away paper. Dunk back in water during the process to “clean” away the paper. Thicker magazine pages (like the weight of a magazine cover) will take more work than thinner pages. 

easy image transfer stickers tutorial @diyshowoff

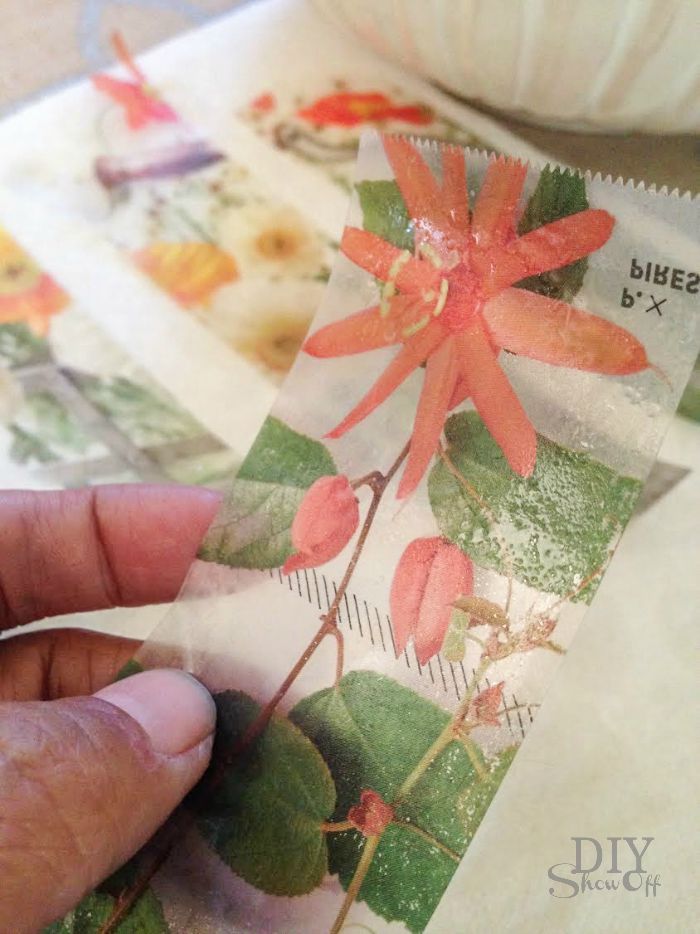
Ta-da! A transparent image transfer! How is it that I’ve never known about this fun project? Love!

easy image transfer stickers tutorial @diyshowoff

easy image transfer stickers tutorial @diyshowoff

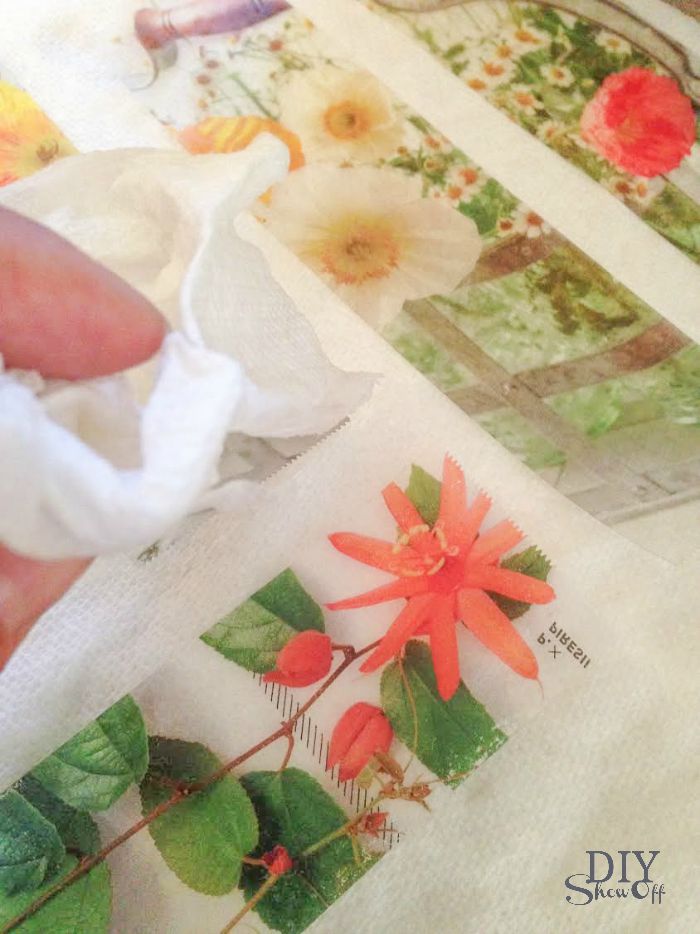
Pat with a paper towel and let dry a few minutes. As packing tape dries, it becomes sticky again! So cool, right? If it dries out, I found that dipping back into warm (not cool) water reactivated the glue. If not using right away, store your image transfer stickers on wax paper. 

easy image transfer stickers tutorial @diyshowoff

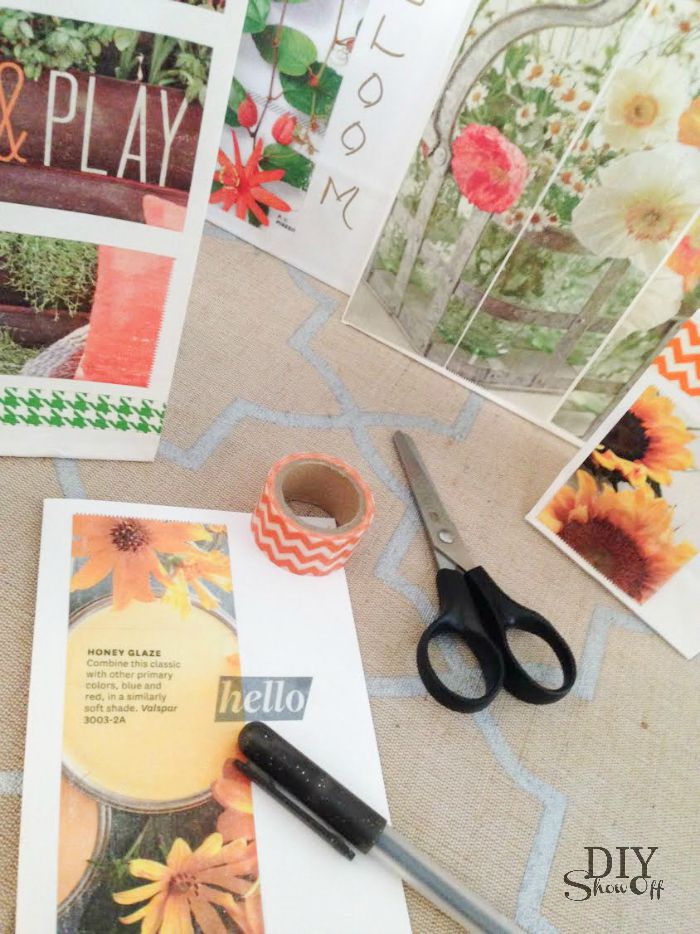
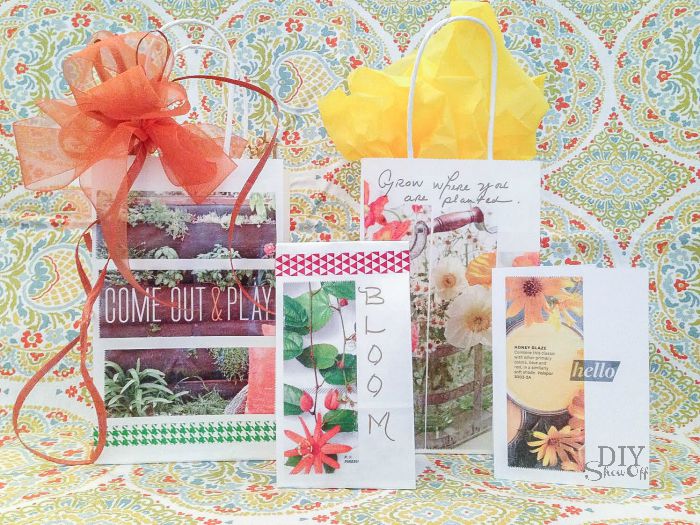
Apply to gift bags, blank note cards, wrapping paper, packages, scrap books, collages, even glass. Embellish if desired with ribbon, decorative tape, quotes, etc.

easy image transfer stickers tutorial @diyshowoff

So many ideas and finally a real use for those pretty magazine pictures! Go grab your packing tape and old magazines. Make up your own and share using #MadeWithMichaels

easy image transfers tutorial @diyshowoff #MadeWithMichaels

So fun & easy!

More fun craft ideas from the Michaels Makers Summit: 

·         Some of the Michaels Makers attended the Michaels Makers Summit last week where they learned four amazing classes (weaving, watercolor, paper flowers and image transfer) – all taught by Michaels education partner, Creativebug and great news –  each of the classes are available online for FREE on Michaels.com until 8/22 (you can re-create one or all of the summit projects)!

·         In case you haven’t met all 50 of this year’s Makers, check out each of our blogs and bios here! Follow along throughout the year and feel free to create projects with us by sharing on Instagram using #MadeWithMichaels for a chance to be featured!

See more about the Michaels Makers Summit from these awesome blog friends at 10 a.m. CST: 

 Loading InLinkz ...

how to make DIY image transfer stickers @diyshowoff #MadeWithMichaels

Disclaimer: As a member of the Michael’s Makers blog team, I received a Michael’s gift card to complete this craft challenge. 

Roeshel #MichaelsMakers