DIY Sisal Rope Planters

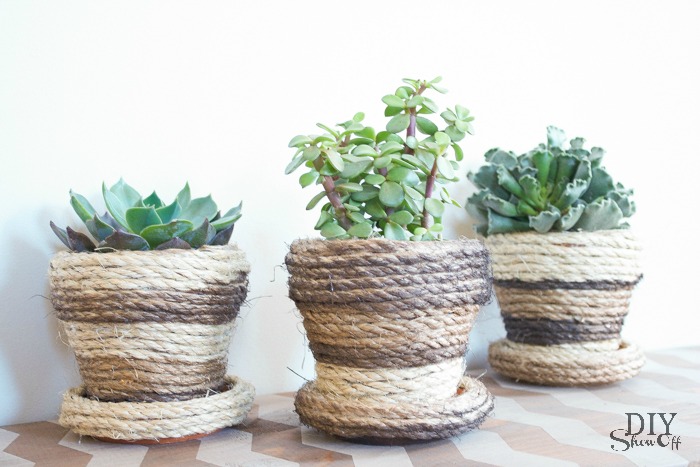
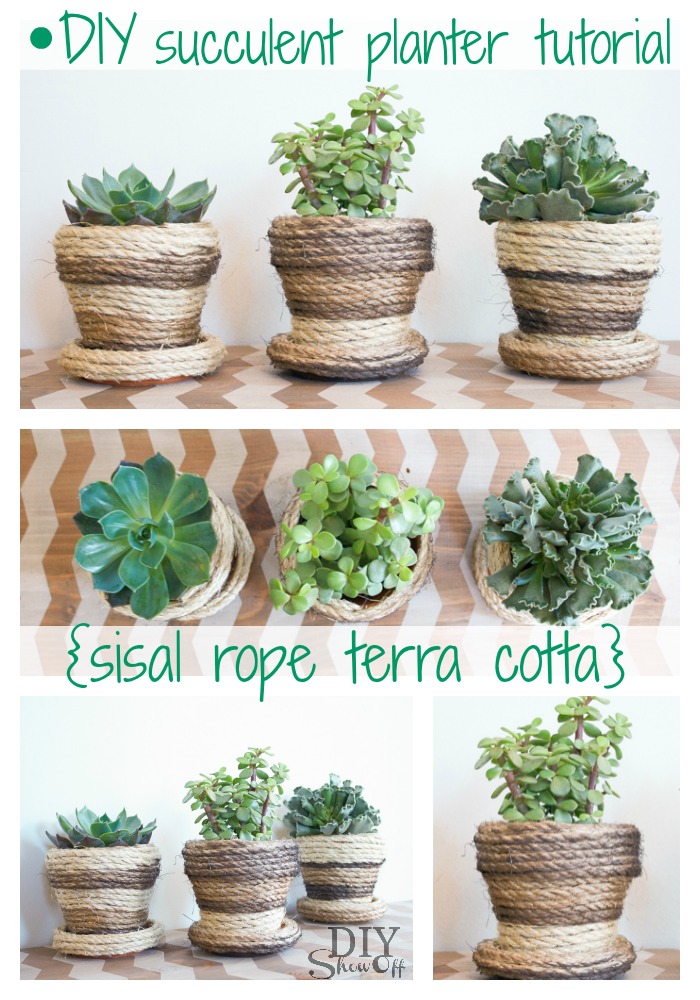
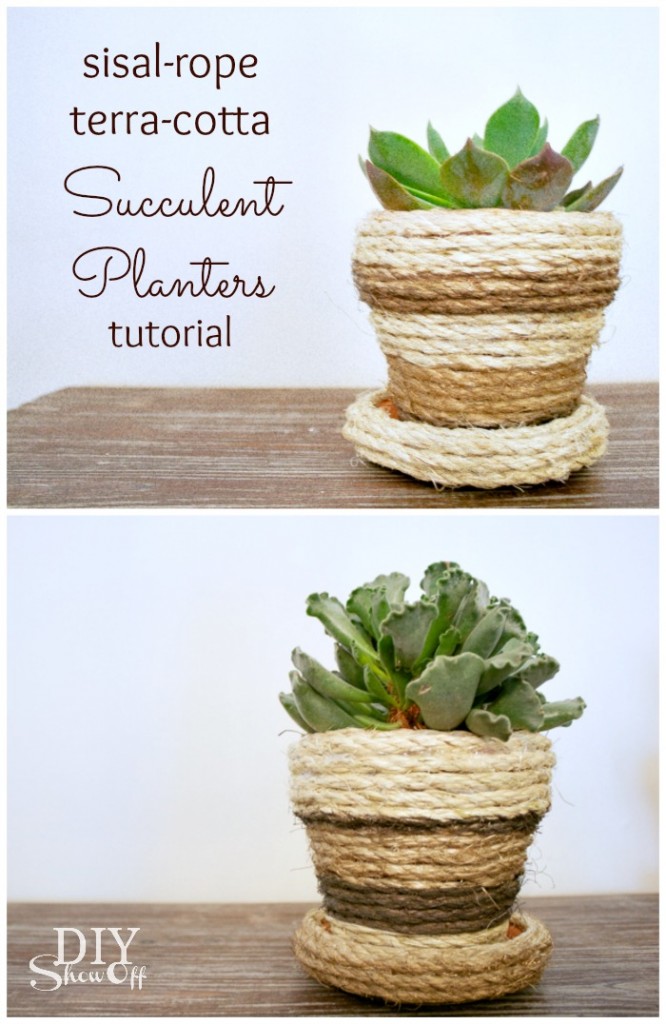
June’s Lowe’s Creative Ideas challenge had several themes. I chose rope and succulents…perfect for adding a little summer time decorative accents and texture with a DIY sisal rope planter. 

DIY succulent planter tutorial - diyshowoff.com

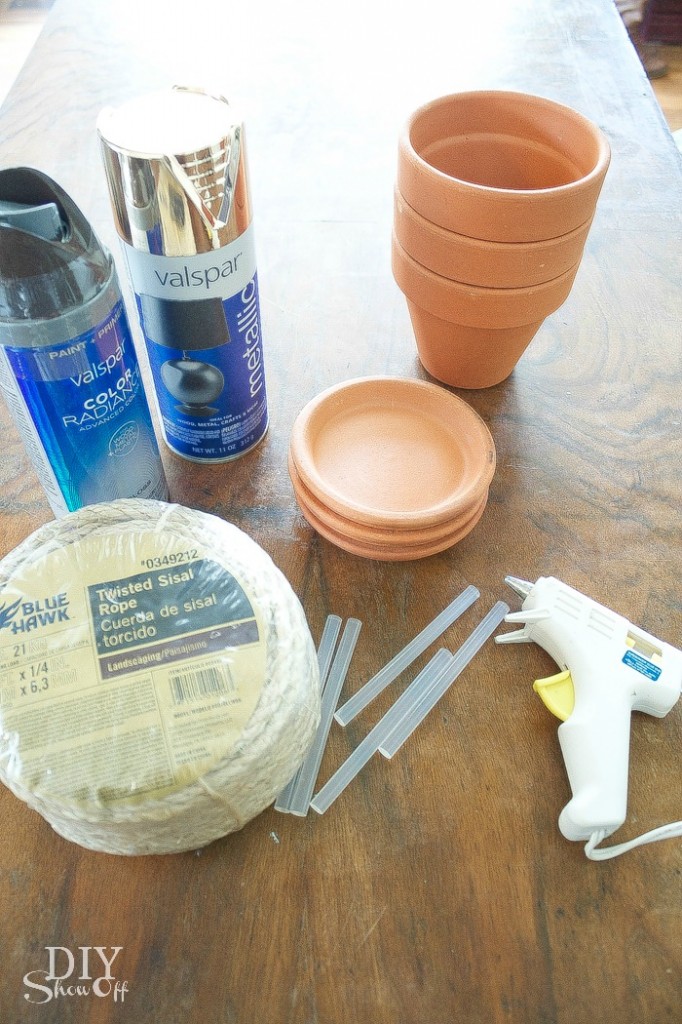
Materials I used:

DIY sisal rope wrapped terra cotta planters tutorial at diyshowoff.com

  • BlueHawk twisted sisal rope
  • (3) small terra cotta pots
  • (3) small terra cotta saucers
  • Valspar metallic spray paint (gold)
  • Valspar paint + primer (brown)
  • FrogTape
  • hot glue gun/sticks
  • (3) succulent plants

What I did:

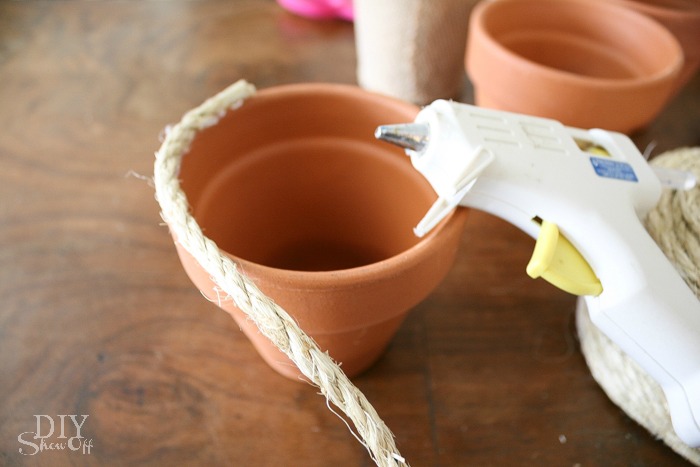
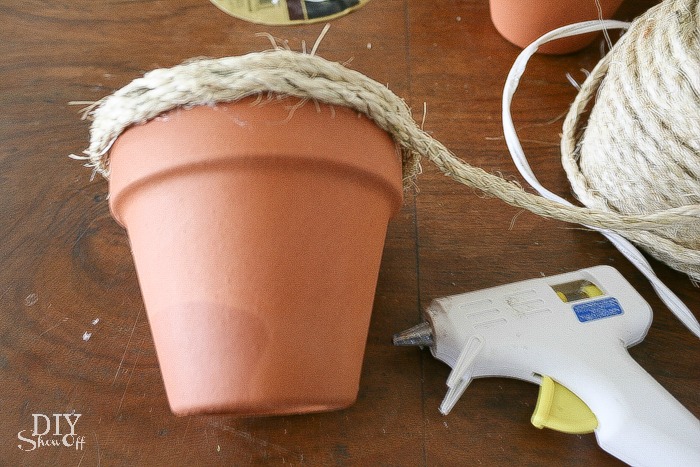
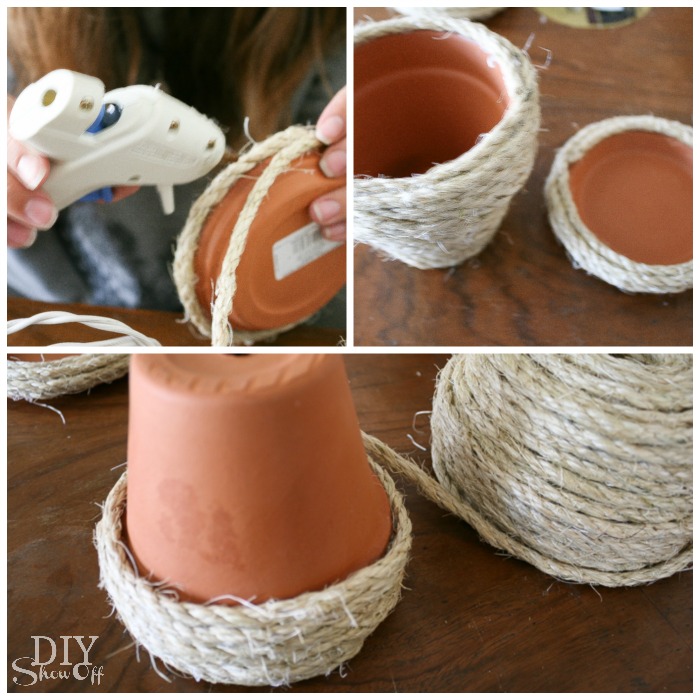
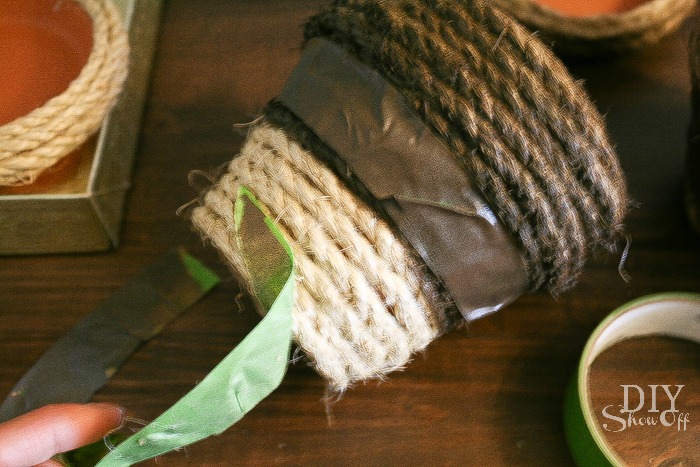
Using hot glue to adhere, I added sisal rope to the terra cotta pots and saucers. 

DIY sisal rope wrapped terra cotta planters tutorial at diyshowoff.comDIY sisal rope wrapped terra cotta planters tutorial at diyshowoff.comDIY sisal rope wrapped terra cotta planters tutorial at diyshowoff.com

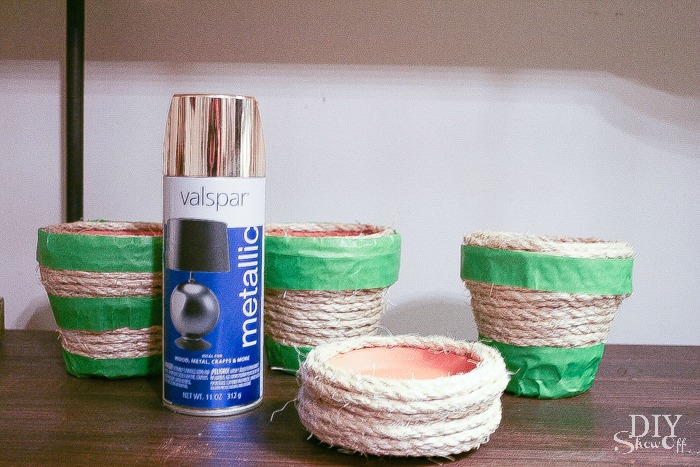
Use FrogTape to add decorative stripes.

DIY sisal rope wrapped terra cotta planters tutorial at diyshowoff.com

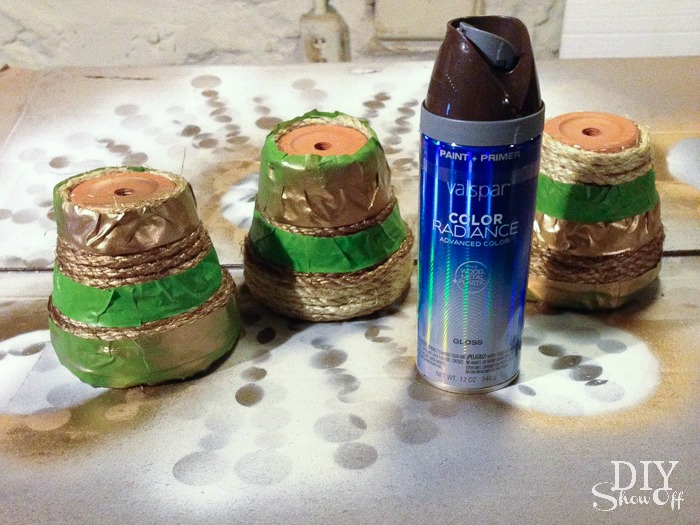
Spray paint the pots and let dry. (I did two colors/two step spray painting.)

DIY sisal rope wrapped terra cotta planters tutorial at diyshowoff.com

Remove FrogTape.

DIY sisal rope wrapped terra cotta planters tutorial at diyshowoff.com

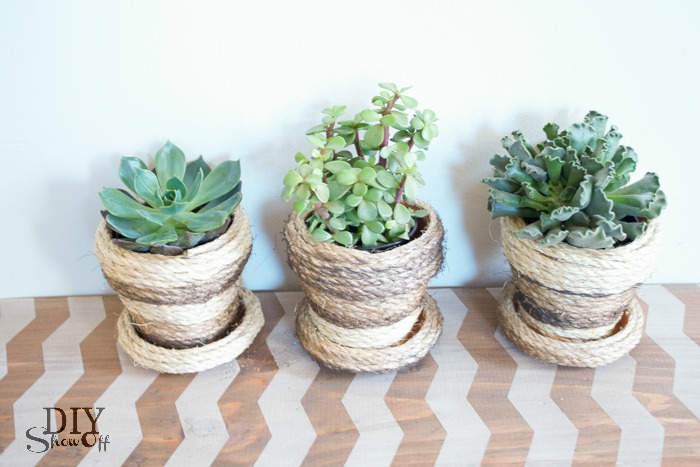
Add plants!

DIY sisal rope wrapped terra cotta planters tutorial at diyshowoff.com 

So easy to do! Instant texture and greenery for your decor to liven things up. 

DIY sisal rope wrapped terra cotta planters tutorial at diyshowoff.comWorks for flowers or plants too!

DIY sisal rope wrapped terra cotta planters tutorial at diyshowoff.com

I received a Lowe’s gift card to complete this challenge. Opinion and above idea is 100% my own. More DIY ideas at Lowe’s Creative Ideas, follow Lowe’s on InstagramPinterest and sign up for the Creative Ideas magazine and app!  

LCI Summer Badge


Check out more of my Lowe’s Creative Ideas challenges:

DIY hanging organizer - Pantone radiant orchid DIY Chalk Finish Paint Recipe pipe shelving how toDIY foldable luggage rack tutorial DIYShowOff tire flower planter tutorial at DIYShowOff LCR dice game tutorial

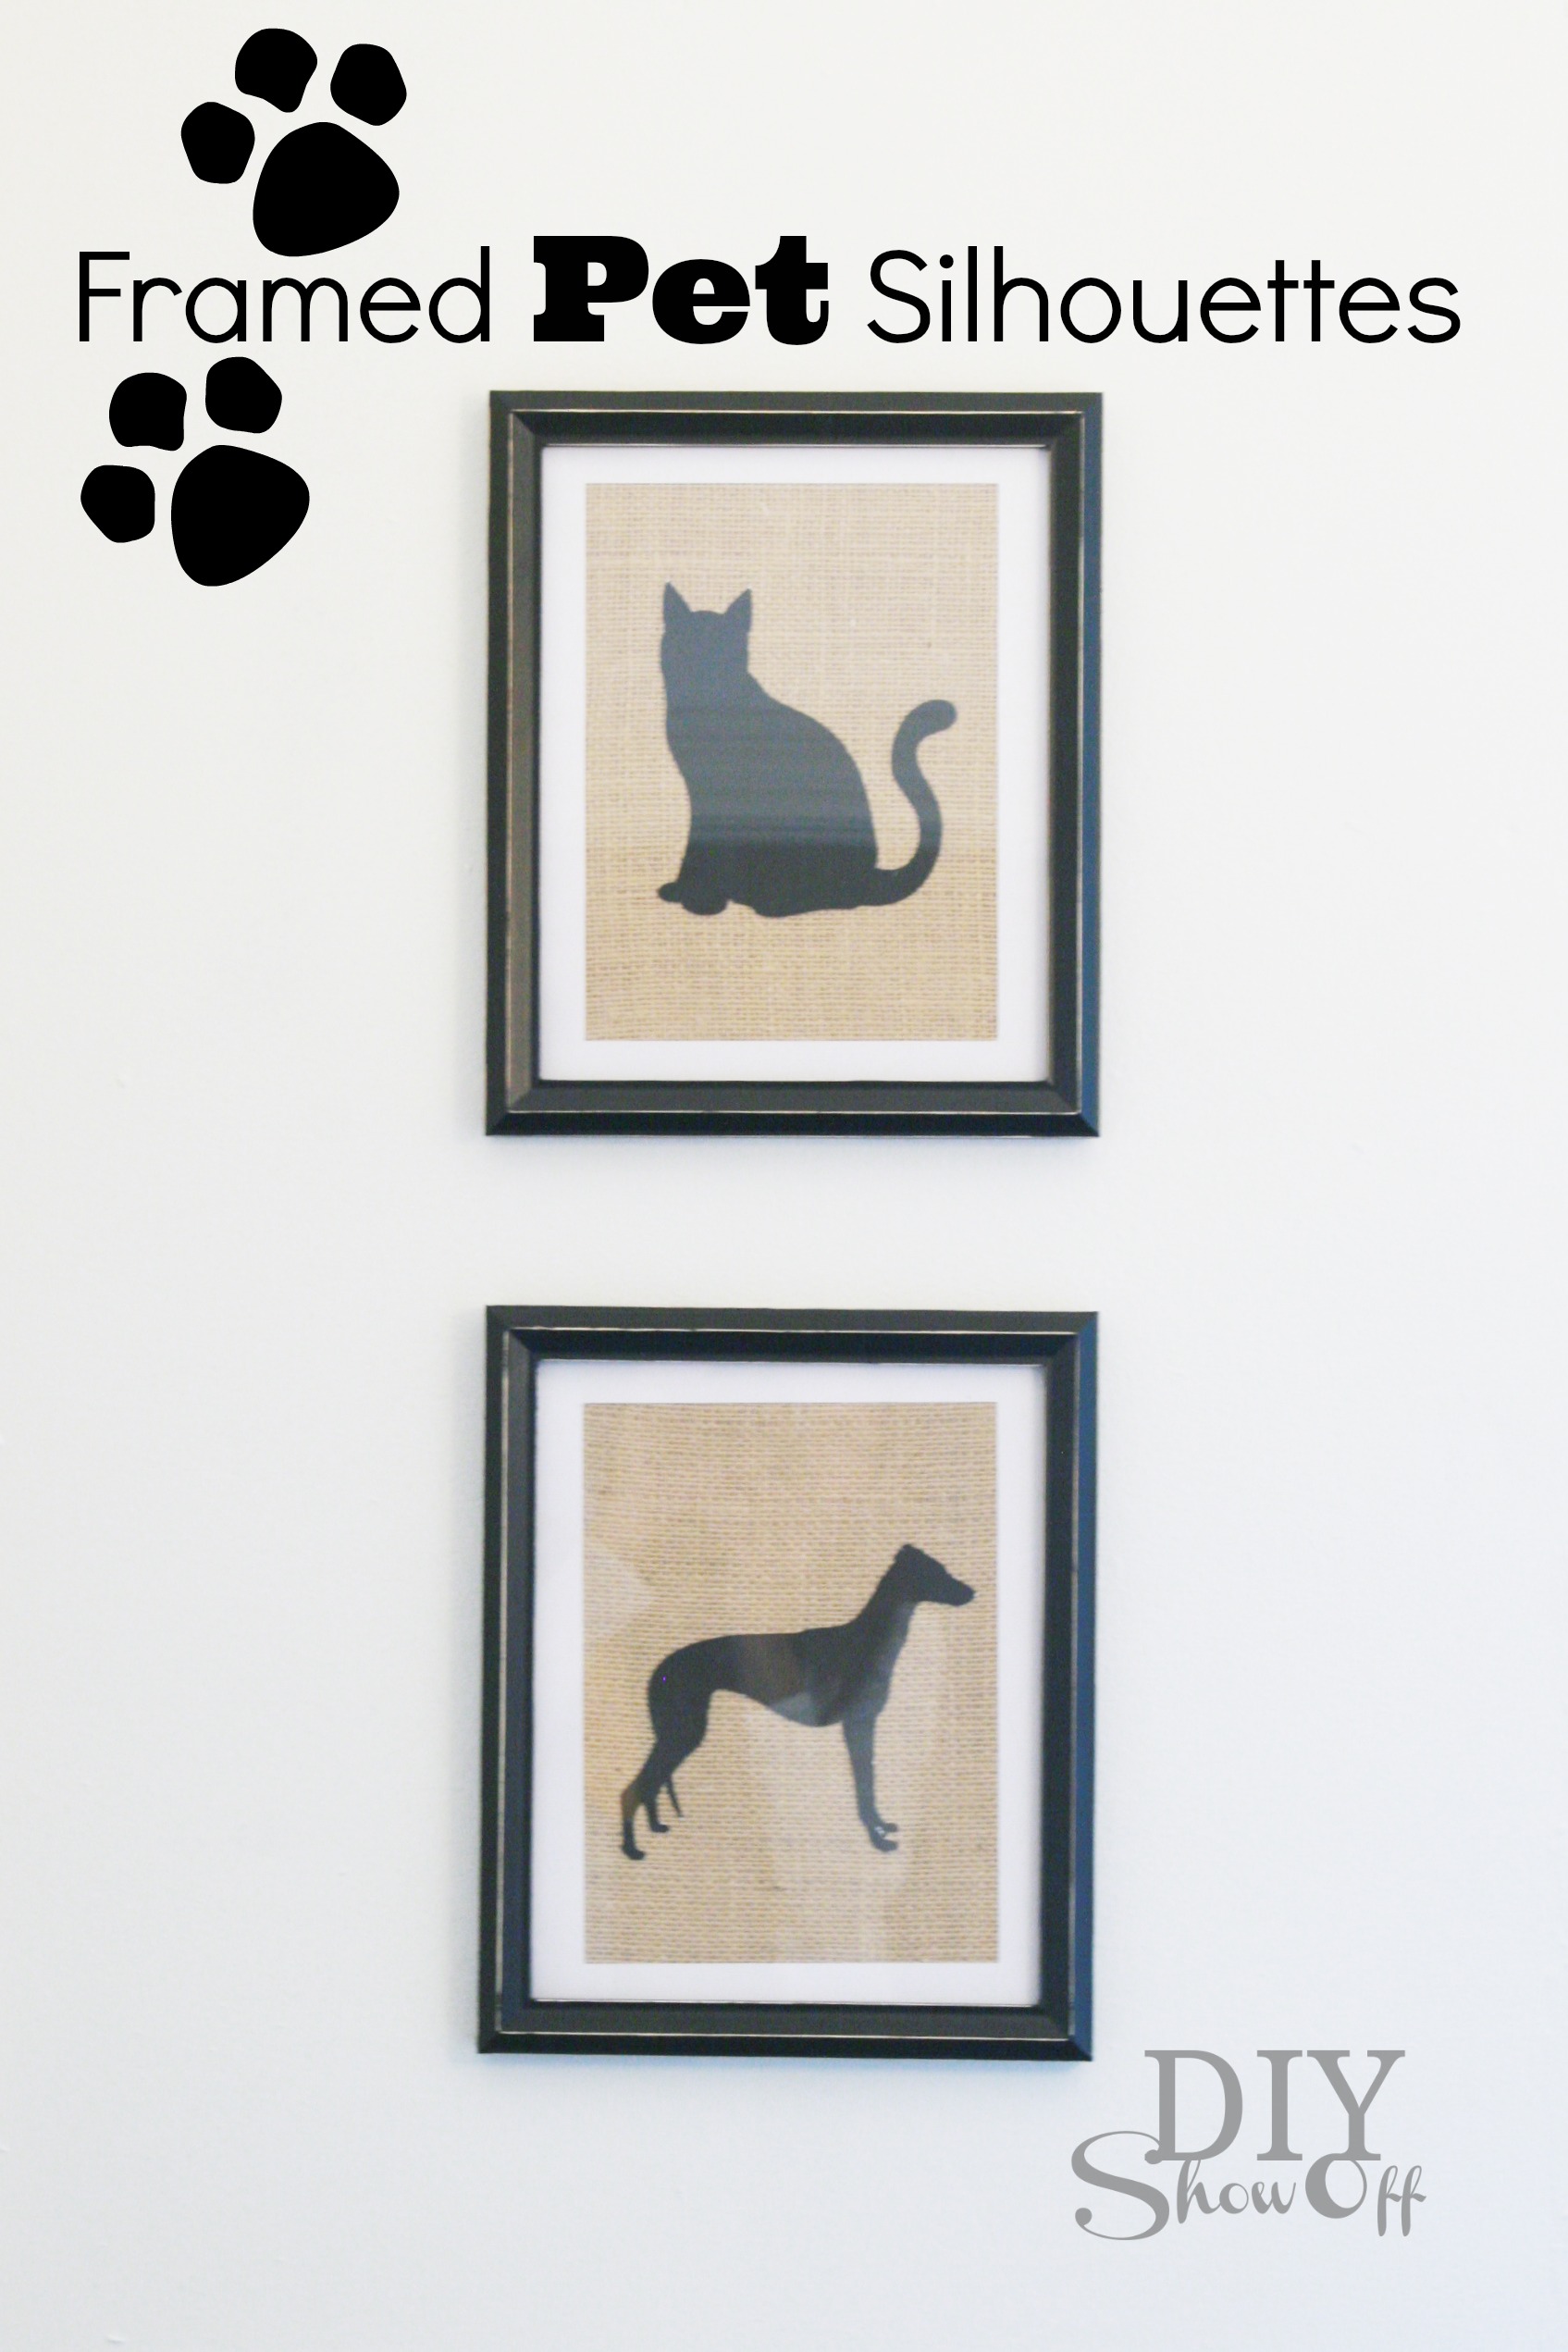
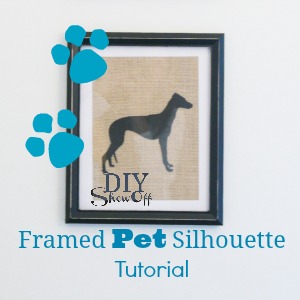
Framed Pet Silhouettes

I love silhouette shapes, don’t you? In need of some sort of framed art in our hallway, I decided to whip up some silhouettes of my pets to frame.

Framed Pet Silhouettes on Burlap

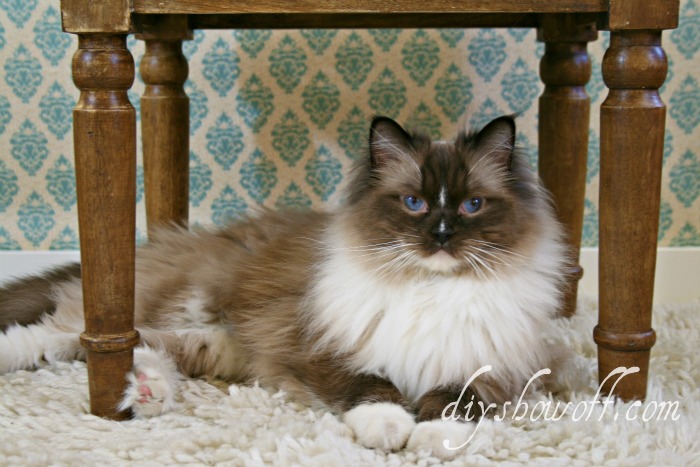
We have two pets in our home…Lalka, our ragdoll cat:

lalka.ps2

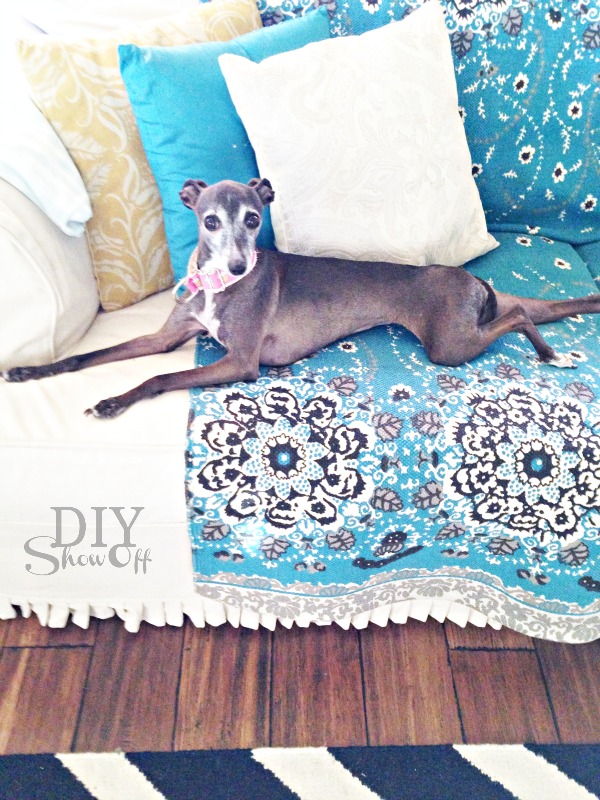
CocoRosie, our Italian greyhound:

rosie italian greyhound

Actual pictures of them are something I haven’t framed but black silhouettes on burlap are just about as sweet!

how to make a framed pet silhouette

Materials I used:

  • Two 8×10 picture frames
  • Burlap
  • Silhouette textured adhesive cardstock from Happy Crafters

What I did:

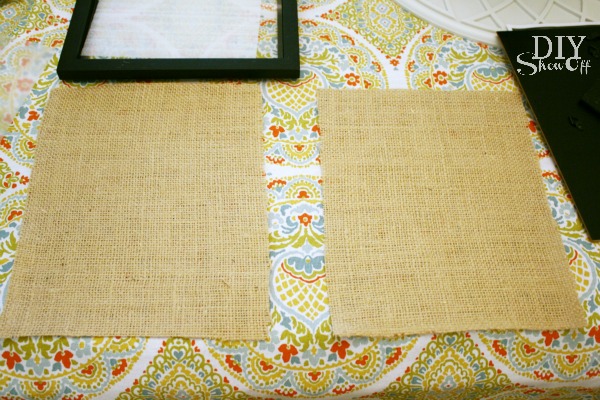
1. I cut out two 8×10 pieces of burlap (and ironed them using my irons highest setting and spritzing the burlap with water (not steam) on both sides).

burlap craft

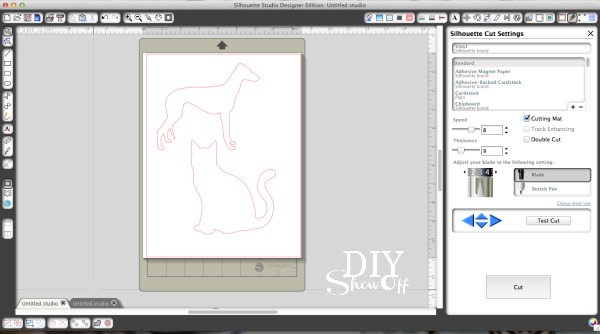
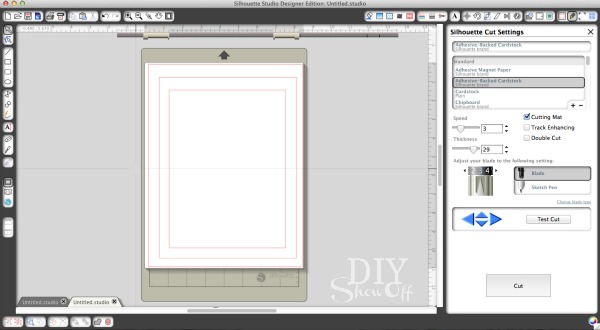
2. Using my Silhouette designer studio software, I purchased a cat and greyhound silhouette from the Silhouette store and created two designs for cutting, one of an 8 x 10 matte for my white adhesive card stock and a dog and cat measured to fit inside of the matte on black adhesive card stock. I also saved my designs to cut out more adhesive cat and dog shapes for making handmade cards (using the adhesive card stock is like making your own custom stickers and adhesive labels).

pet silhouettes

matte

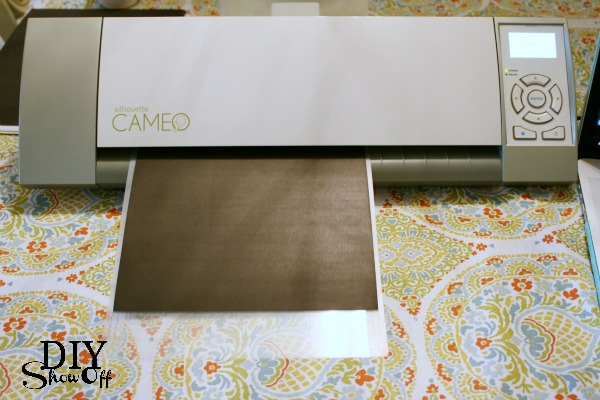
3. Then adjusted the settings according to the “adhesive card stock” option and sent to the Silhouette for cutting. 

cutting pet silhouettes

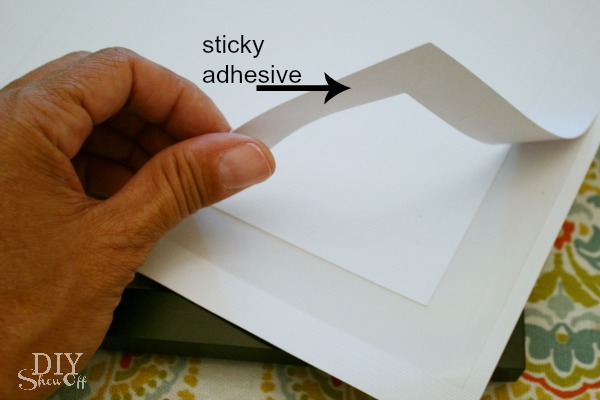
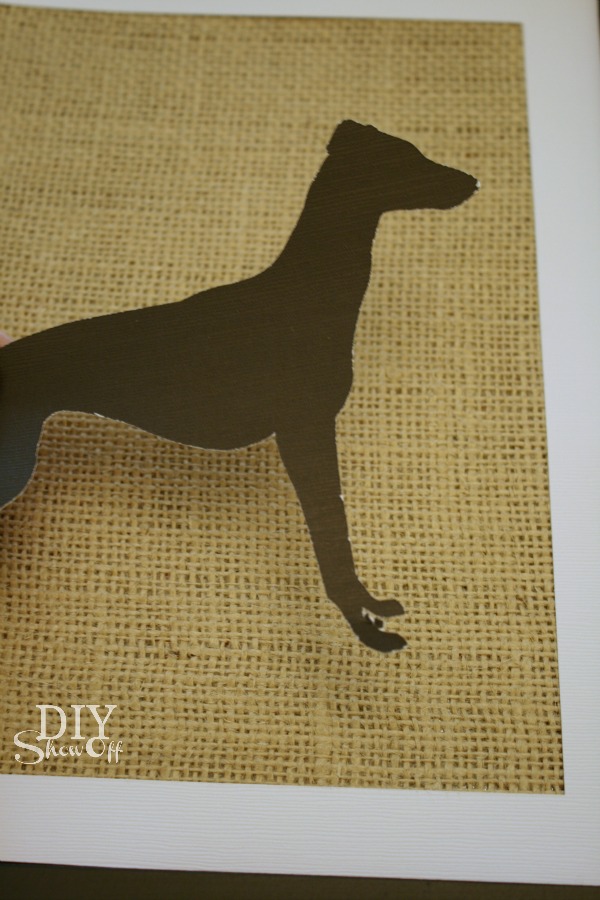
4.  Then simply peeled away my designs and placed them on the burlap. Easy peasy! I like that the adhesive keeps my designs in place on the burlap. 

adhesive cardstock

Italian greyhound silhouette

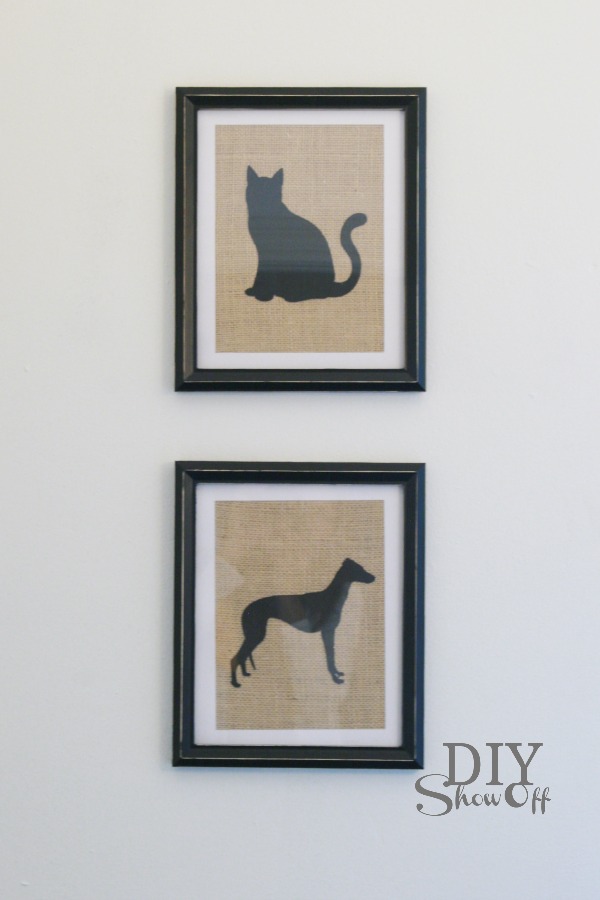
5. Then framed and hung them up on the wall. 

framed burlap adhesive cardstock pet silhouette tutorial

So cute!

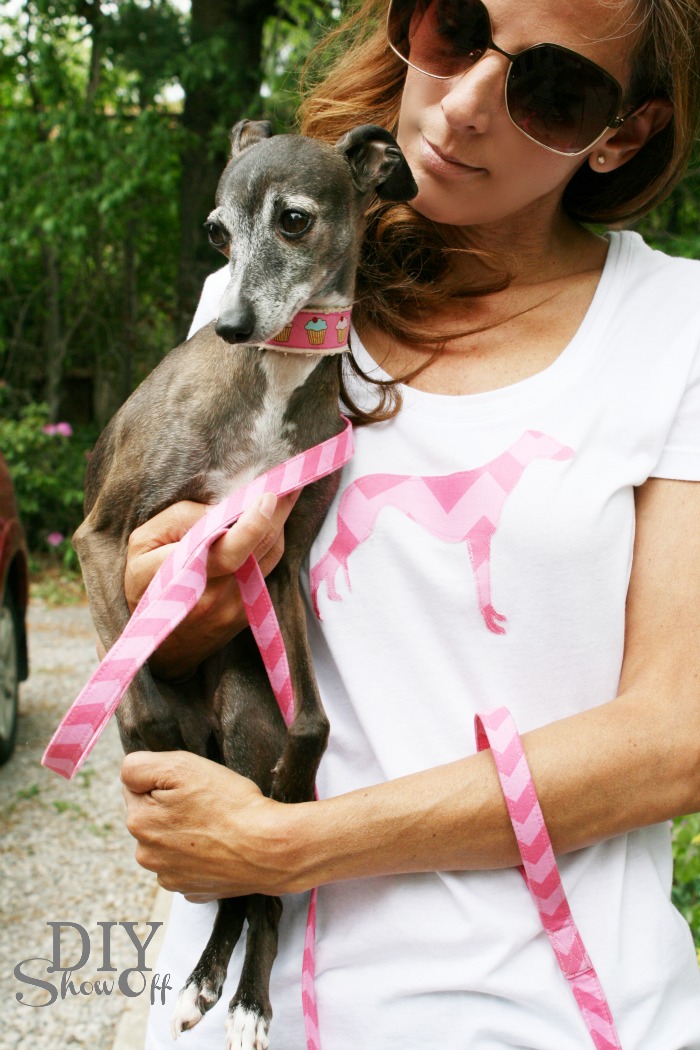
Do you have pet art in your home? I love whimsical pet silhouettes. Remember my Italian Greyhound t-shirt?

DIY chevron greyhound applique

Who knows what I’ll embellish next! I don’t have a pet accented throw pillow yet. It might be next on the list. 🙂 

HClogopngsmall

This post was sponsored. Happy Crafters provided the adhesive card stock. As always, opinion, experience and tutorial are my own. 🙂 

DIY Alphabet Burlap Cork Board Message Center

Hello DIY friends! One of my favorite stores is Michaels – although it’s one of those stores that I can’t run in for just one thing because I end up with a cart full of the cutest decorative accents and more materials for my craft stash. You too, right? Well, Michaels just announced the addition of pre-cut craft fabric to the thousands of creative products available in its stores, providing us with one-stop shopping for DIY projects. This is BIG HUGE news when you live in a smaller city with only one local fabric store! While I was there, I also discovered that Michaels sells a complete line of sewing supplies as well…this cuts my shopping time in half. One store instead of two. Bonus!
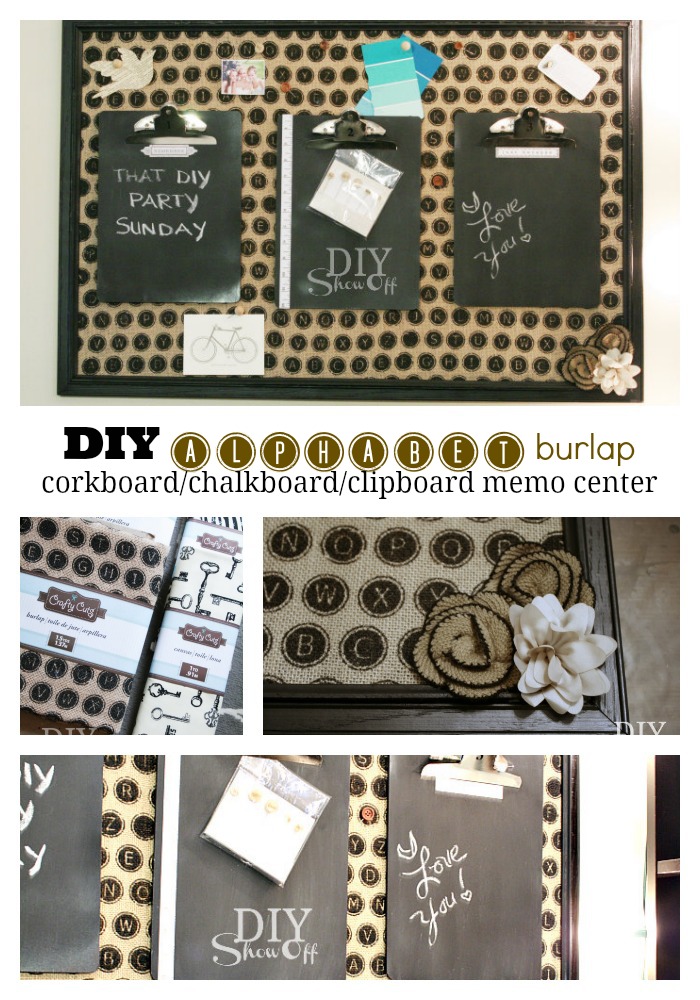
DIY burlap message center

Michaels supplied me with this awesome stash of fabric as a part of a promotion for their new line of home decor fabric. Isn’t it darling? 
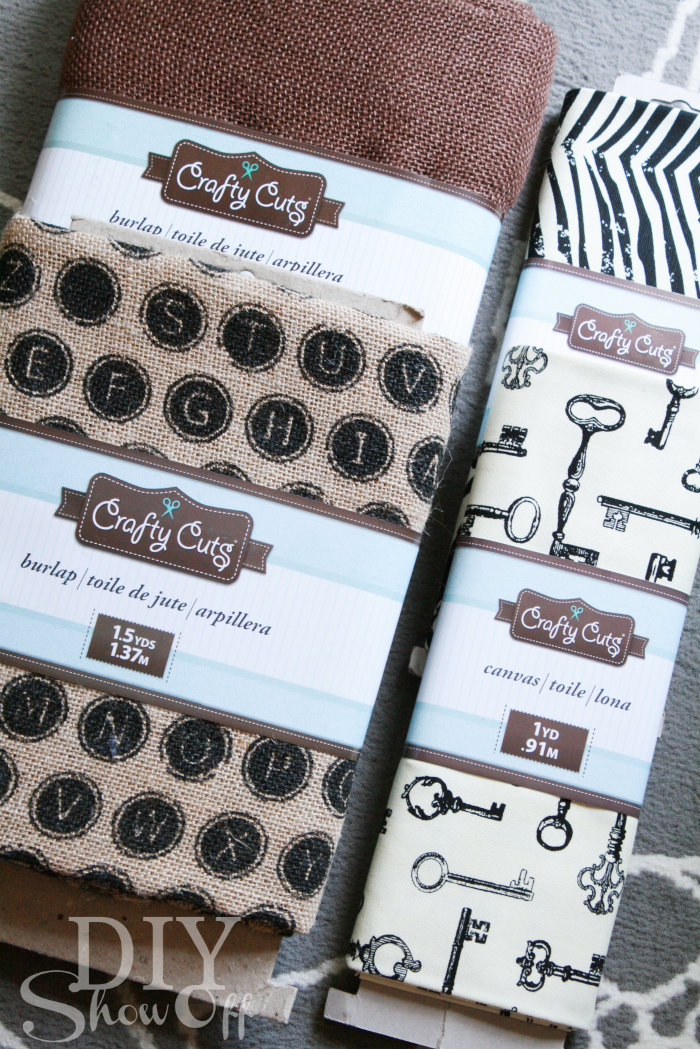
Michaels fabric line

The alphabet burlap is ADORABLE! and a perfect match for my craft room so I decided I would make myself a burlap covered corkboard message center to help keep me organized. Cork board, Chalk board, Clip board AND burlap? That’s what I’m talking about! A fun combo!

Materials:

  • 36″ x 24″ framed corkboard
  • Crafty Cuts alphabet burlap
  • 4 pieces of thin wood trim (Michael’s also sells a small miter box & saw)
  • Black spray paint (or you could probably get away with one can of chalkboard spray paint)
  • Spray adhesive
  • 3 clipboards
  • Chalkboard spray paint
  • Hot glue (and hot glue gun)
  • Embellishments
  • Push pins

Corkboard/Chalkboad/Clipboard Message Center Tutorial:
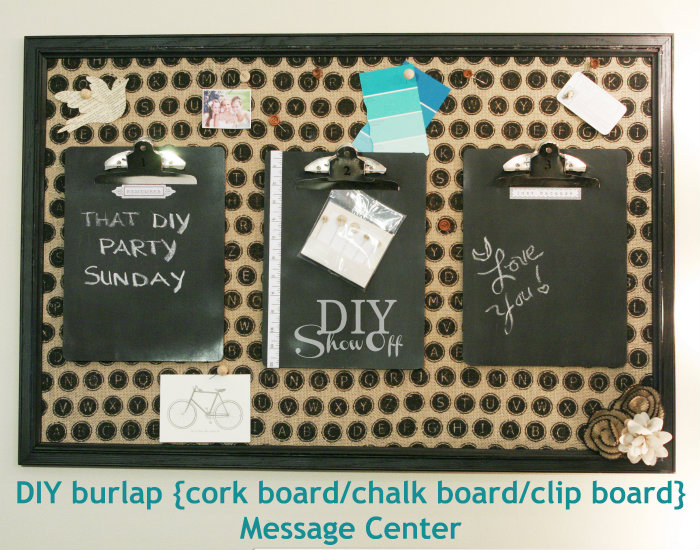
DIY message center

1. Measure and (miter) cut small trim pieces to fit inside of the corkboard’s frame. 
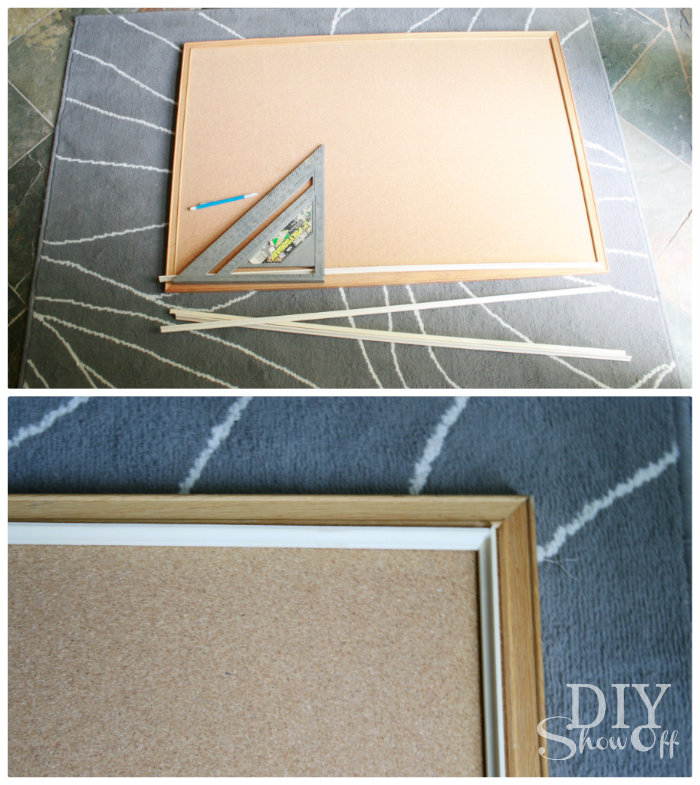
DIY burlap covered cork board

2. Iron burlap. I used my iron’s highest setting and sprayed water (not steamed) to get out wrinkles. Iron both sides. 
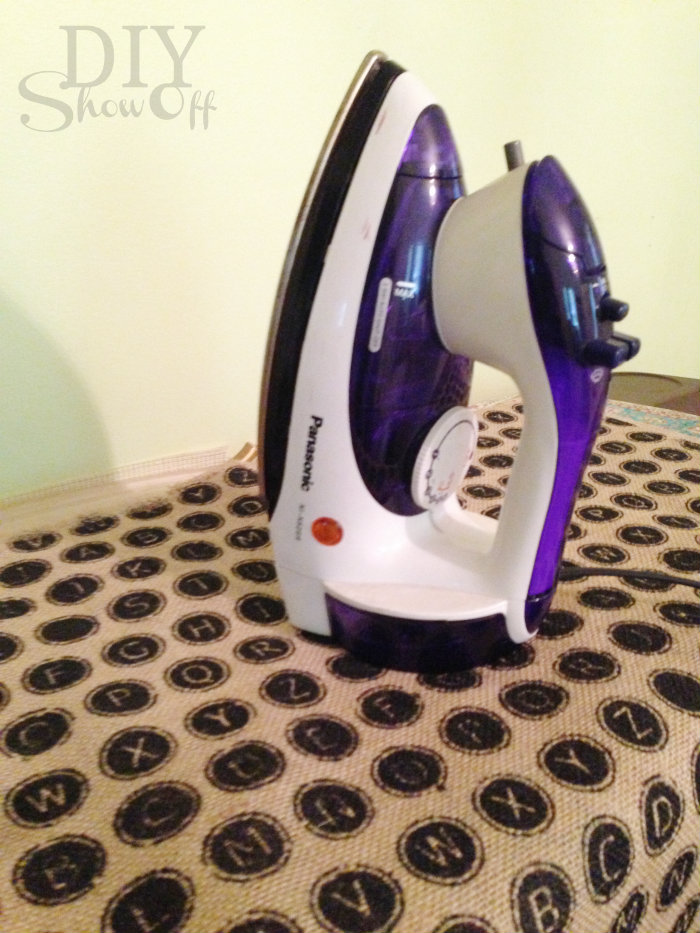
ironing burlap

3. Measure inside of corkboard frame and cut a piece of the burlap to those measurements (mine was 34.5″ x 22.5″). If you subtract 1/4″, it will save you from having to trim the fit later. If it’s a smidge small, it’s okay (and actually better) and will be hidden by the added wood trim later. Set fabric piece aside. 
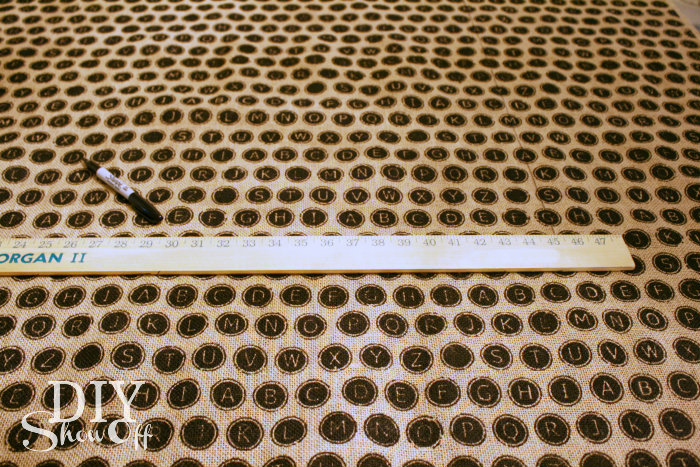
alphabet burlap

4. Spray paint the corkboard frame and trim pieces black. I was okay with imperfect coverage for a distressed look. (You could also sand edges when dry.) No need to tape the corkboard since it’ll be covered later. Let paint dry. 
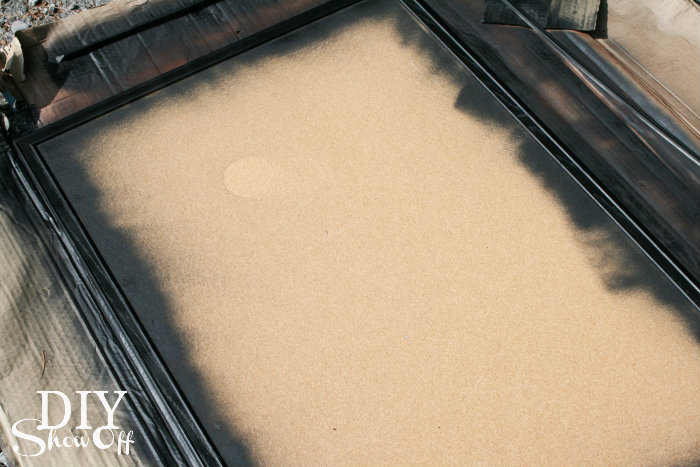
DIY burlap corkboard message center

5. Give the cut burlap piece a coat of spray adhesive on the back side.  (I do this outside because of the overspray but be mindful of the wind direction blowing the adhesive spray mist as well as when picking up the sticky burlap, not to touch/fold which mine did but easily quickly pulled apart.) Immediately move to step 6.
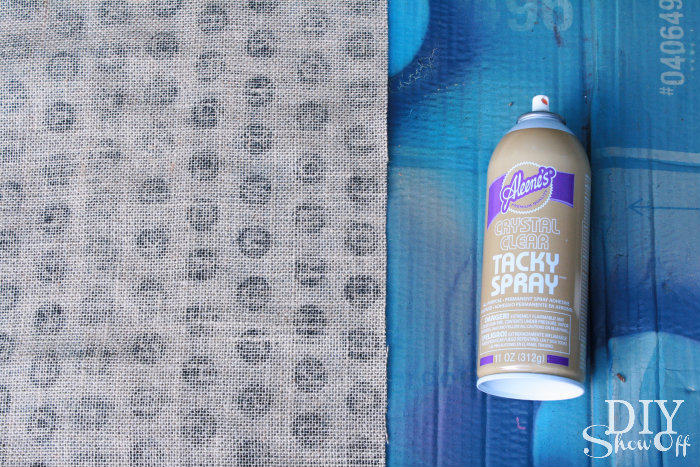
DIY burlap covered cork board message center

6. Working from the middle out, smooth the burlap over the corkboard (inside the frame). It’ll be reposition-able right away if needed. 
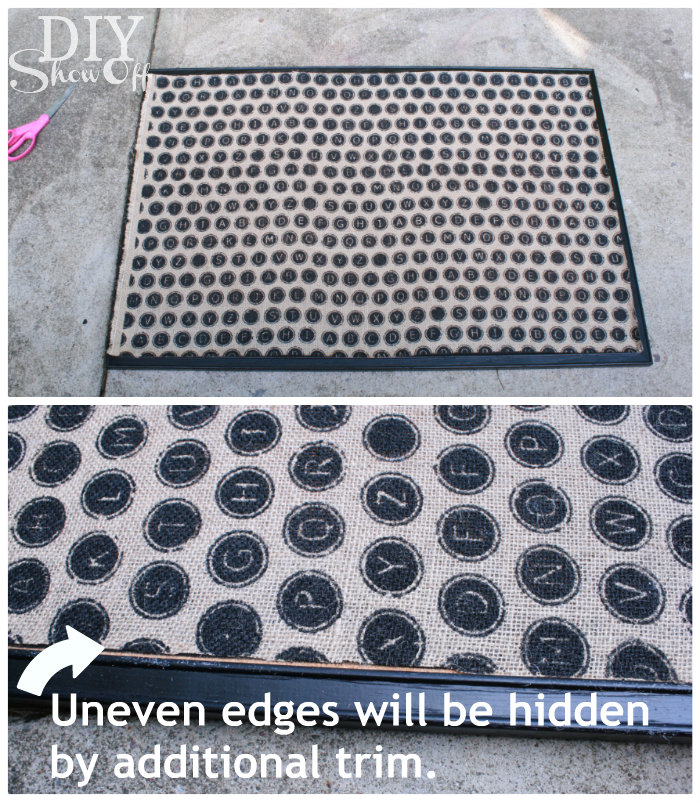
DIY burlap covered cork board

7. Next I used hot glue to attach my small mitered trim pieces over the burlap edges, right next to the inside of the corkboard frame. This covers the edge of the burlap.
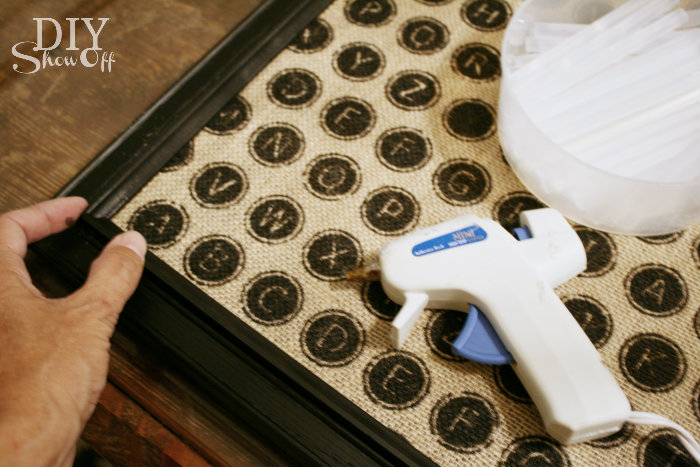
DIY burlap covered cork board

If you need to re-cut a mitered piece or accidentally scratch the black paint finish, simply fix it with a black Sharpie.
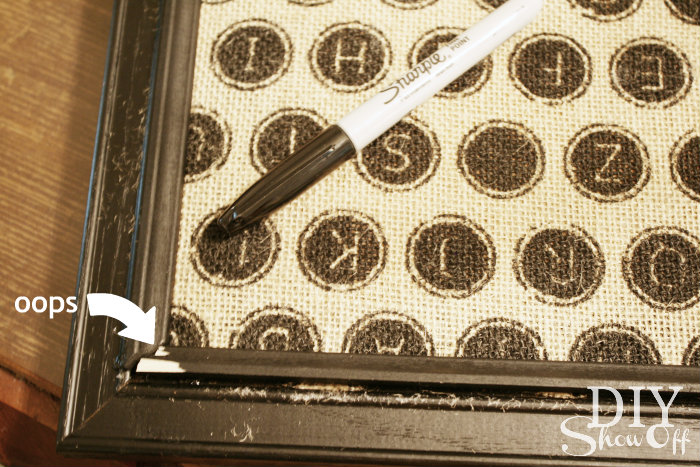
DIY burlap covered cork message center

8. Embellish as desired. My mitered edges surprisingly were a great fit after the mitered cut fix above, but these adorable flower embellishments attached with hot glue would work for covering a not so professional {tricky cuts!} mitered fit too. 
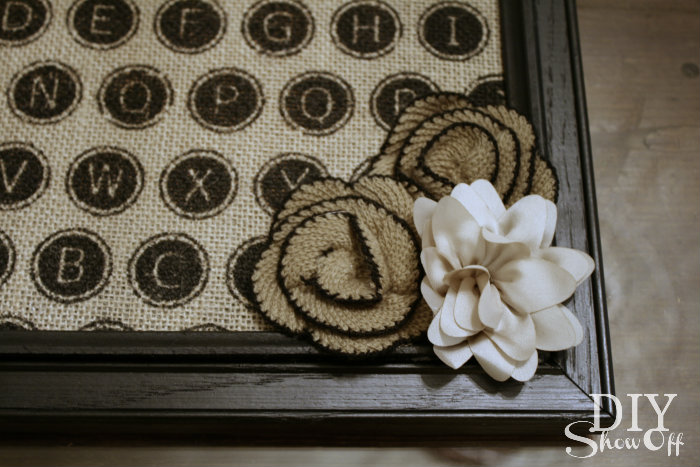
flower embellishments

9. Clipboards: Remove metal clip hardware, coat with chalkboard paint, let dry and repeat a second coat and let dry. 
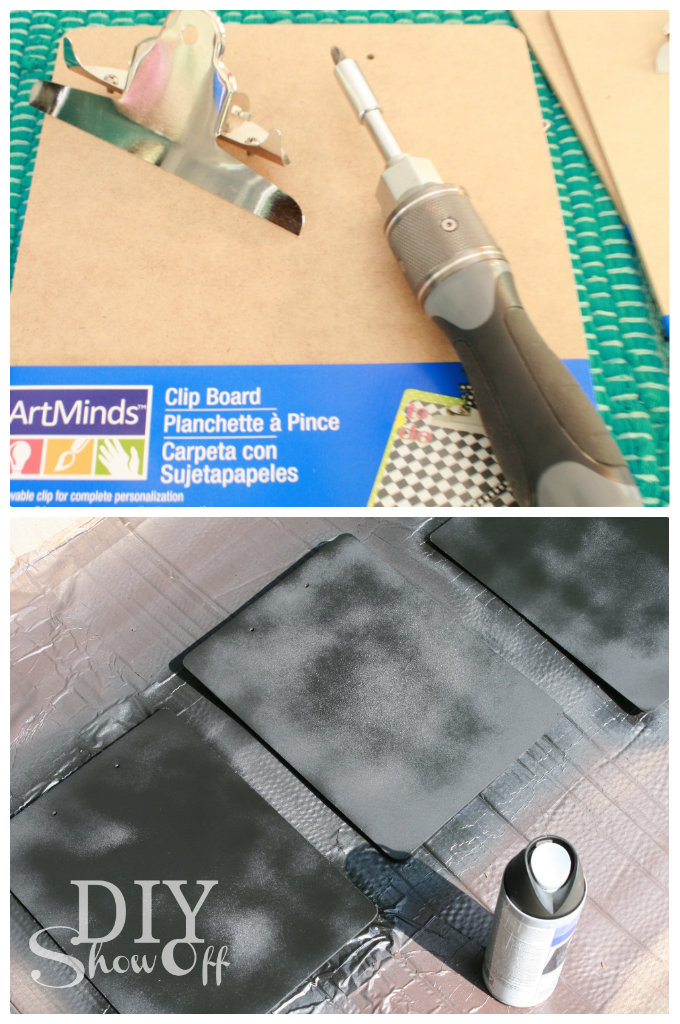
chalkboard clipboard

10. Season chalkboard by rubbing the length of a piece of chalk over the complete surface then erasing. 
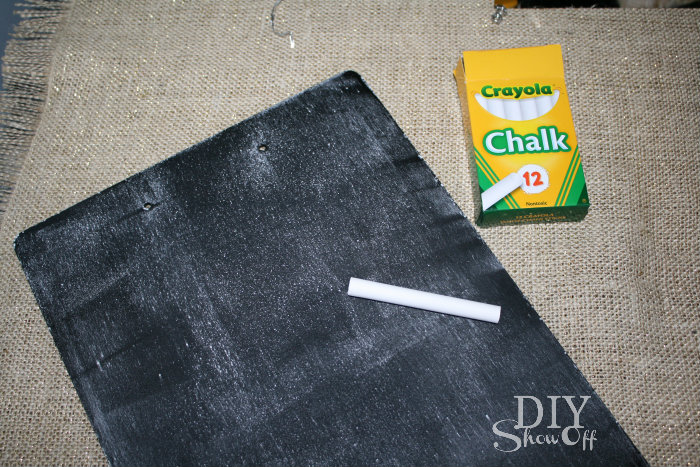
seasoning chalkboard

11. Re-attach clips. I found that using a twist tie to hold the clip open then lining up screws made reattaching the clip to the board a lot easier (because of the spring in the clip). Once screws are in place and tightened, remove twist tie. 
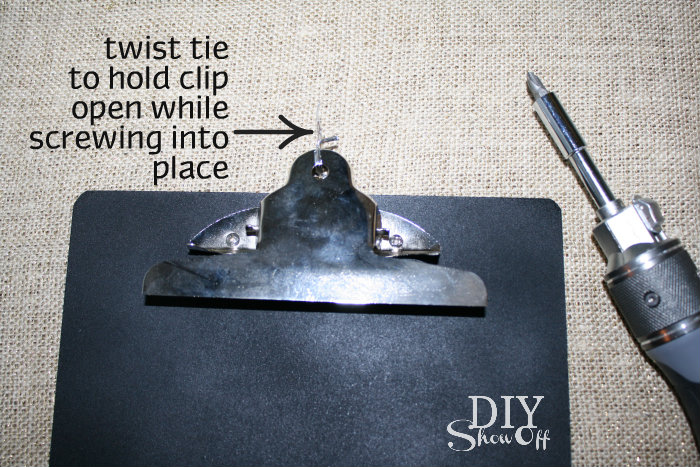
reattaching clipboard hardware

12. Embellish chalkboard clipboards if desired. I numbered mine and added some cute stickers. 
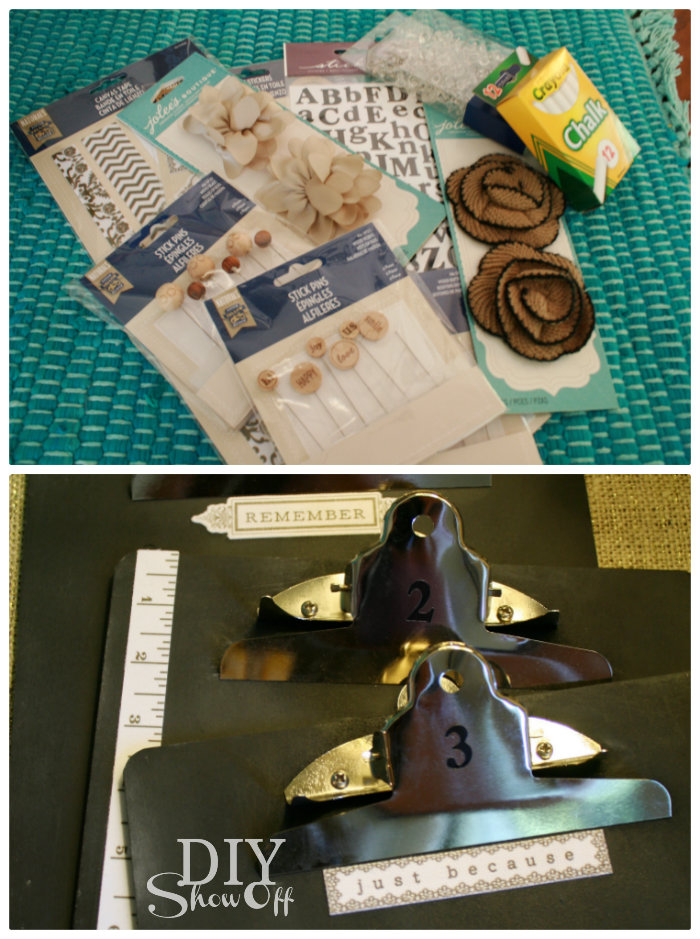
decorating chalkboard clipboard

13. Hang! Corkboard should come with hanging hardware but large Command strips will work too. 
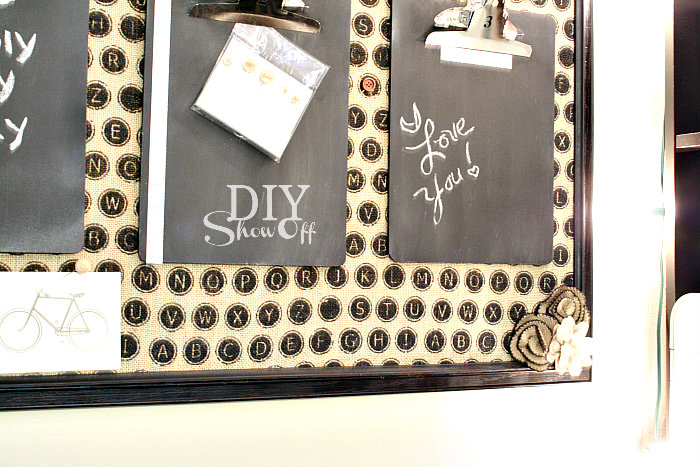
alphabet burlap message center

It’s perfect for my black, natural, vintage inspired craft room. Lovin’ it!
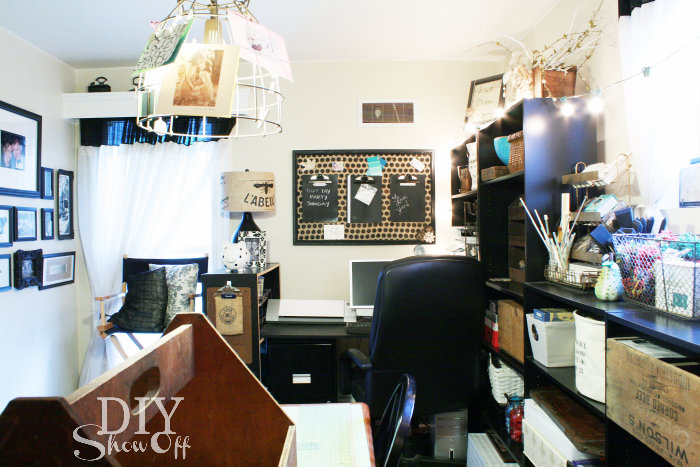
craft room

There’s a lot of “stuff” in this room but it is clean and organized!
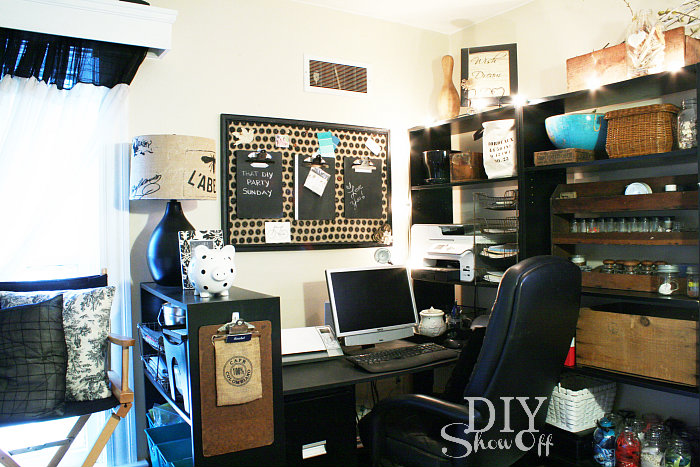
craft room / home office

I was provided with fabric and a Michaels gift card to complete the challenge. Michaels.com and Michaels Pinterest Boards feature project ideas that use fabric, including throw pillowslamp shadeschair seat covers, and bracelets. Laminated burlap, a Michaels limited exclusive, can be fed through most home printers to add personalized messages and images to fabric projects…I want to try that next!