Distressed Wood Sign Tutorial
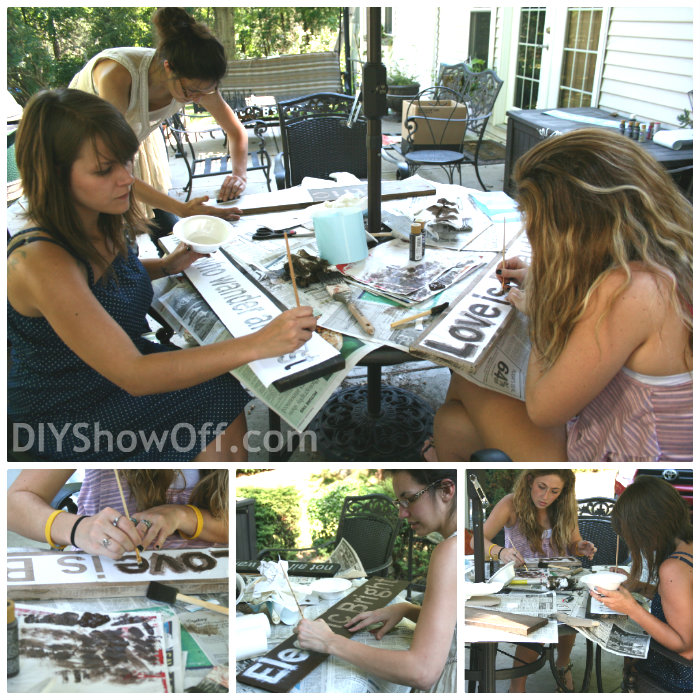
One busy day last week, when I wasn’t renovating an apartment, Bri and her friends {Amber and Megan} joined me for a morning of thrifting and in the afternoon while I was working on a wood plank DIY project {can’t wait to show you!}, they scooped up the wood scraps and created personalized signs. They did also give me a hand on a couple of projects I was working on so a barter of wood scraps for a little creativity was the perfect “thank you”. It was a super fun and productive day! Here is a tutorial for creating a DIY wood plank sign by Megan, Amber & Bri:
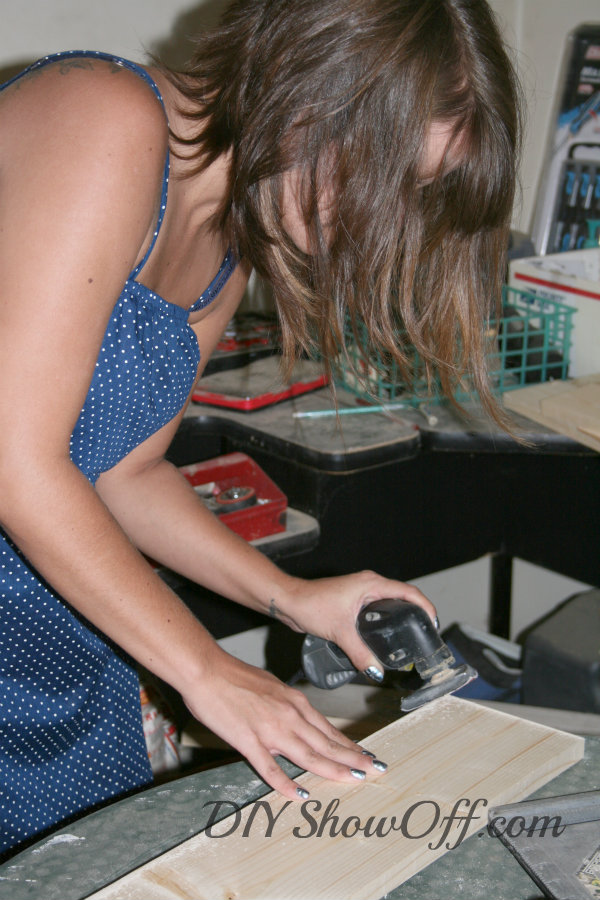
They each grabbed a board, my Dremel Multi-Max and sanded the edges. These girls are DIY divas! Affiliate link: Dremel 6300-05 120-Volt Multi-Max Oscillating Kit
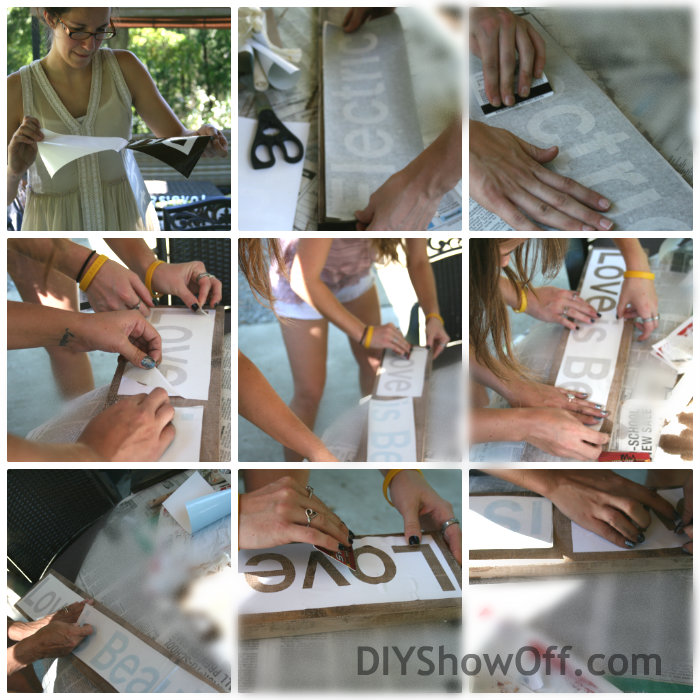
Each girl chose a quote (or in Amber’s case the name of her upcoming Etsy shop – exciting and I’ll share more when she’s ready) and I used my Silhouette Cameo to create and cut out vinyl stencils. Affiliate link: Silhouette Cameo Starter Kit Bundle Cutter
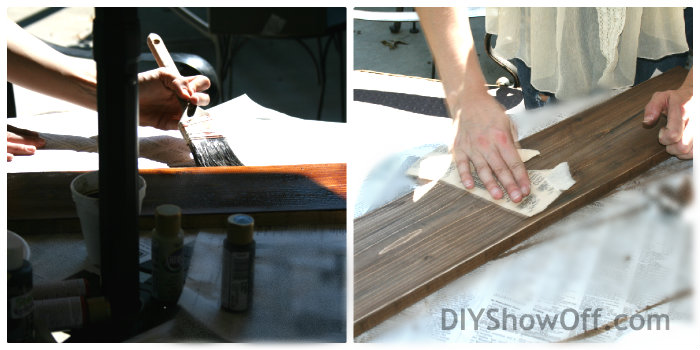
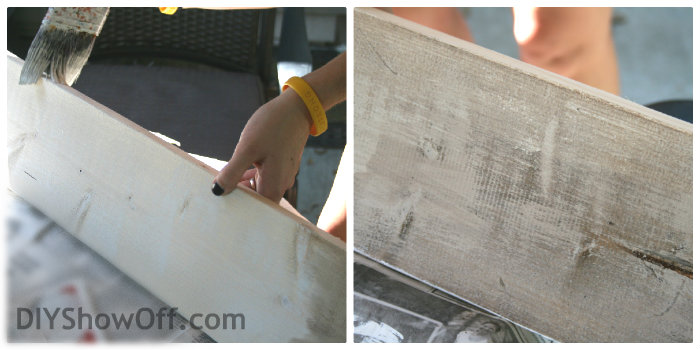
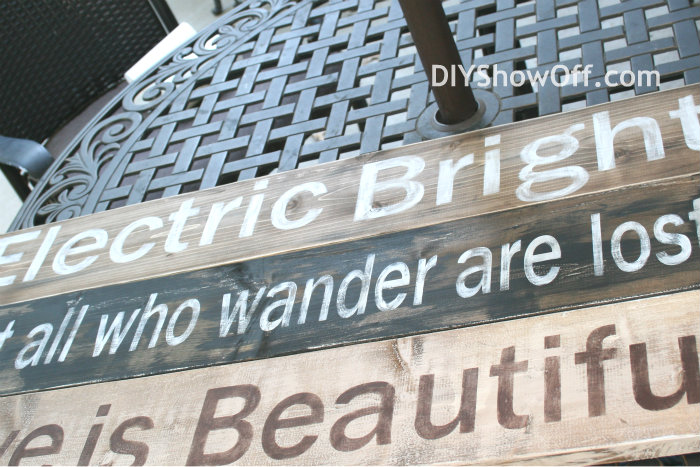
They each went for a classic distressed/antiqued look.
Bri chose a dry brush technique with black and a brown glaze.
Amber chose to distress with a stain.
Megan did a white wash (dry brush technique) with a brown glaze.
Silhouette vinyl was used as a stencil and applied to the painted/glazed boards once they were dry…
The vinyl was rubbed down with a plastic card to secure the vinyl to the board.
They each painted the letters for their quotes using craft paint…
and promptly removed the stencil.
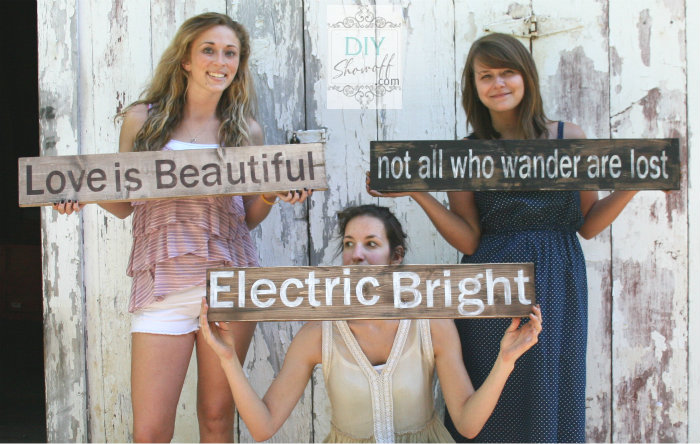
It didn’t take long for their signs to dry. I love them all lined up. They look awesome!
And they each took home a sign to display in their homes…
So easy. So pretty! (the signs are cute too! lol!)
Have an amazing weekend! I’ve been working on details to help out with a family reunion for Saturday so I won’t be around but hope to see you Sunday at the DIY Project Parade!
More DIY sign tips:





The girls and their signs are wonderful! They each did a fabulous job. I love a great stenciled sign!
gail
ps have a great reunion
Cute signs! It’s so fun to make something like that so each person can personalize it and use a phrase that is special to them.
Pingback: DIY Project Parade | | DIY Show Off ™ - DIY Decorating and Home Improvement BlogDIY Show Off ™ – DIY Decorating and Home Improvement Blog
Wow, those look amazing. Need one for my apartment 🙂
Love your DIY. Just posted a link to your site at http://www.creativeabolitionist.com
I love youe signs, I would like to get started. What do you suggest I get to begin
with. Keeping in mind, I want to put minimum in until I know if I want to go full boar.
Anything you can give me to begin would be wounderful to start with. Thank you.
Thanks, Janice. I’m not sure what you mean…get started with a scrap piece of wood and paint – that’s the easiest way to practice. If you really enjoy making signs (I love them! And they make great gifts, then I’d suggest getting a Silhouette machine to cut your own vinyl stencils.) 🙂
Is there a post that goes over the different ways to distress the wood??
For these signs, just the techniques are listed (using brown glaze on white paint, staining and sanding with glazing, dry brushing) without the specifics. Here are some posts that might help:
https://diyshowoff.com/2012/02/09/distressed-vintage-looking-alphabet-blocks-by-thistlewood-farms/
https://diyshowoff.com/2012/08/27/how-to-make-a-distressed-chevron-sign/
https://diyshowoff.com/2013/02/27/diy-at-the-woodgrain-cottage/
Good luck!
Hey what wood did you use and can you suggest where to look for some? 🙂
Hi Chloe. I just used scrap pine boards (Lowe’s). Hope that helps! Good luck!