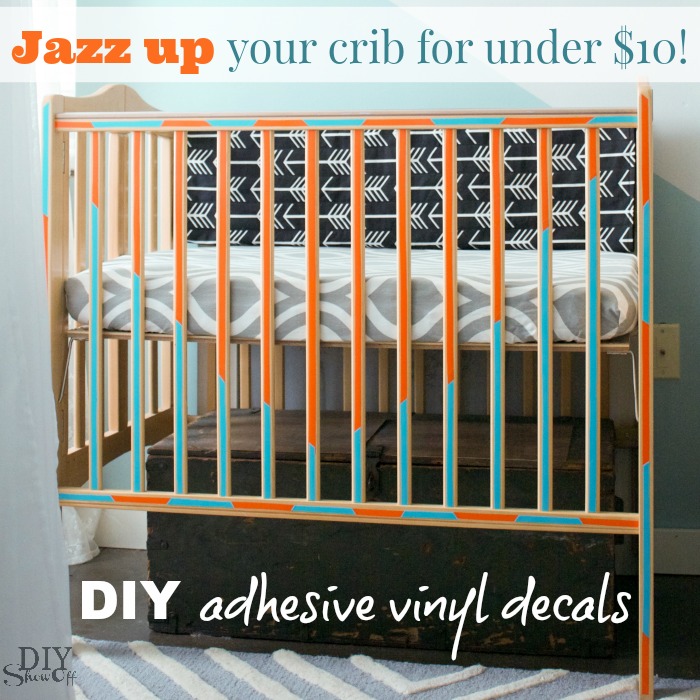
Need a splash of color in the nursery? Jazz up the crib with vinyl decals for less than $10!
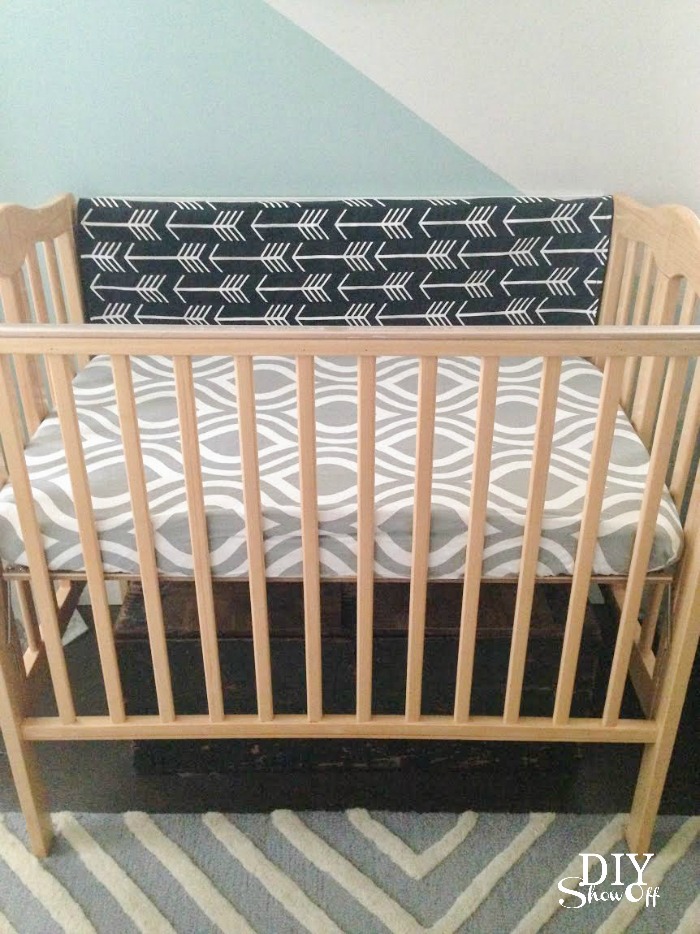
Crib before:
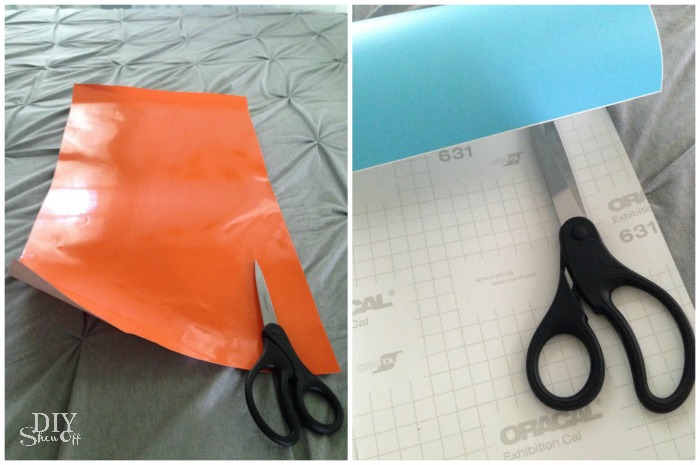
Materials I used: Happy Crafters adhesive vinyl x 2 colors
Tools Needed: Scissors
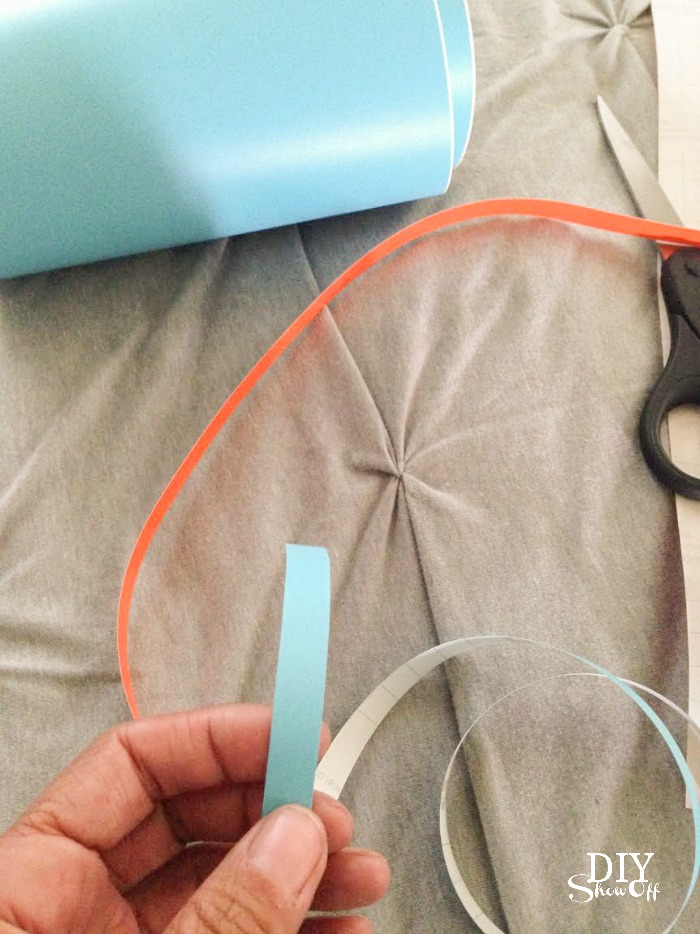
The Oracle brand adhesive vinyl from Happy Crafters has a grid on the back side. Using scissors, simply cut strips of adhesive vinyl to size. No vinyl cutting machine required.
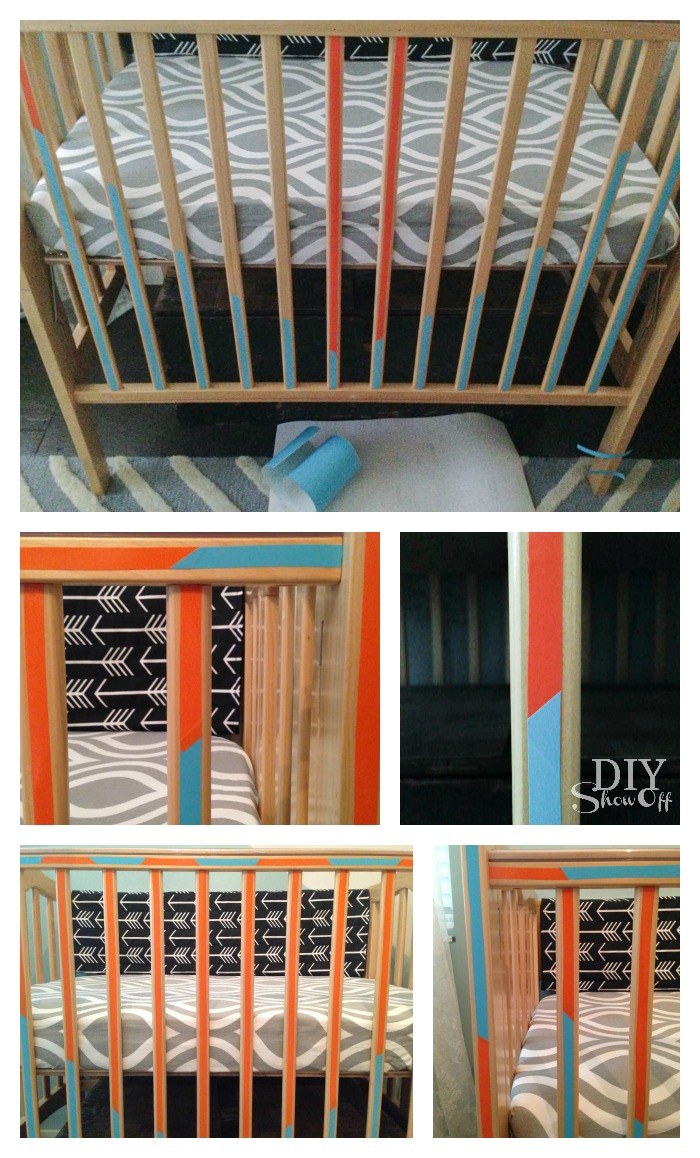
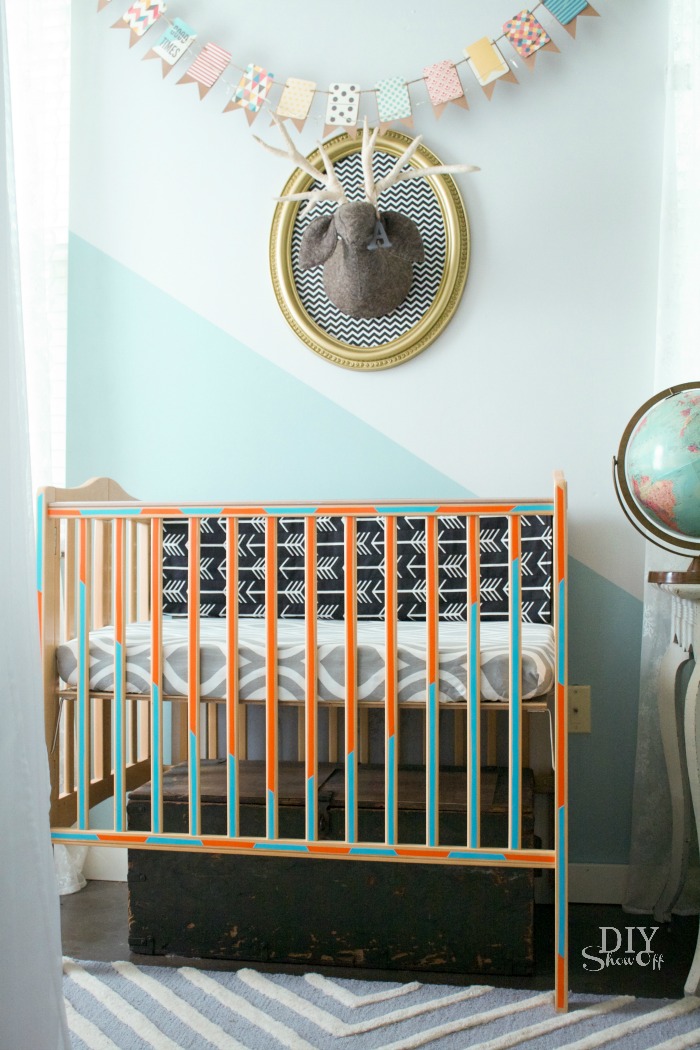
Remove backing and place onto crib like stickers. You choose the color or colors that coordinate with your space. Best part? They’re removable! Get a fresh new look temporarily without ruining the crib’s finish.
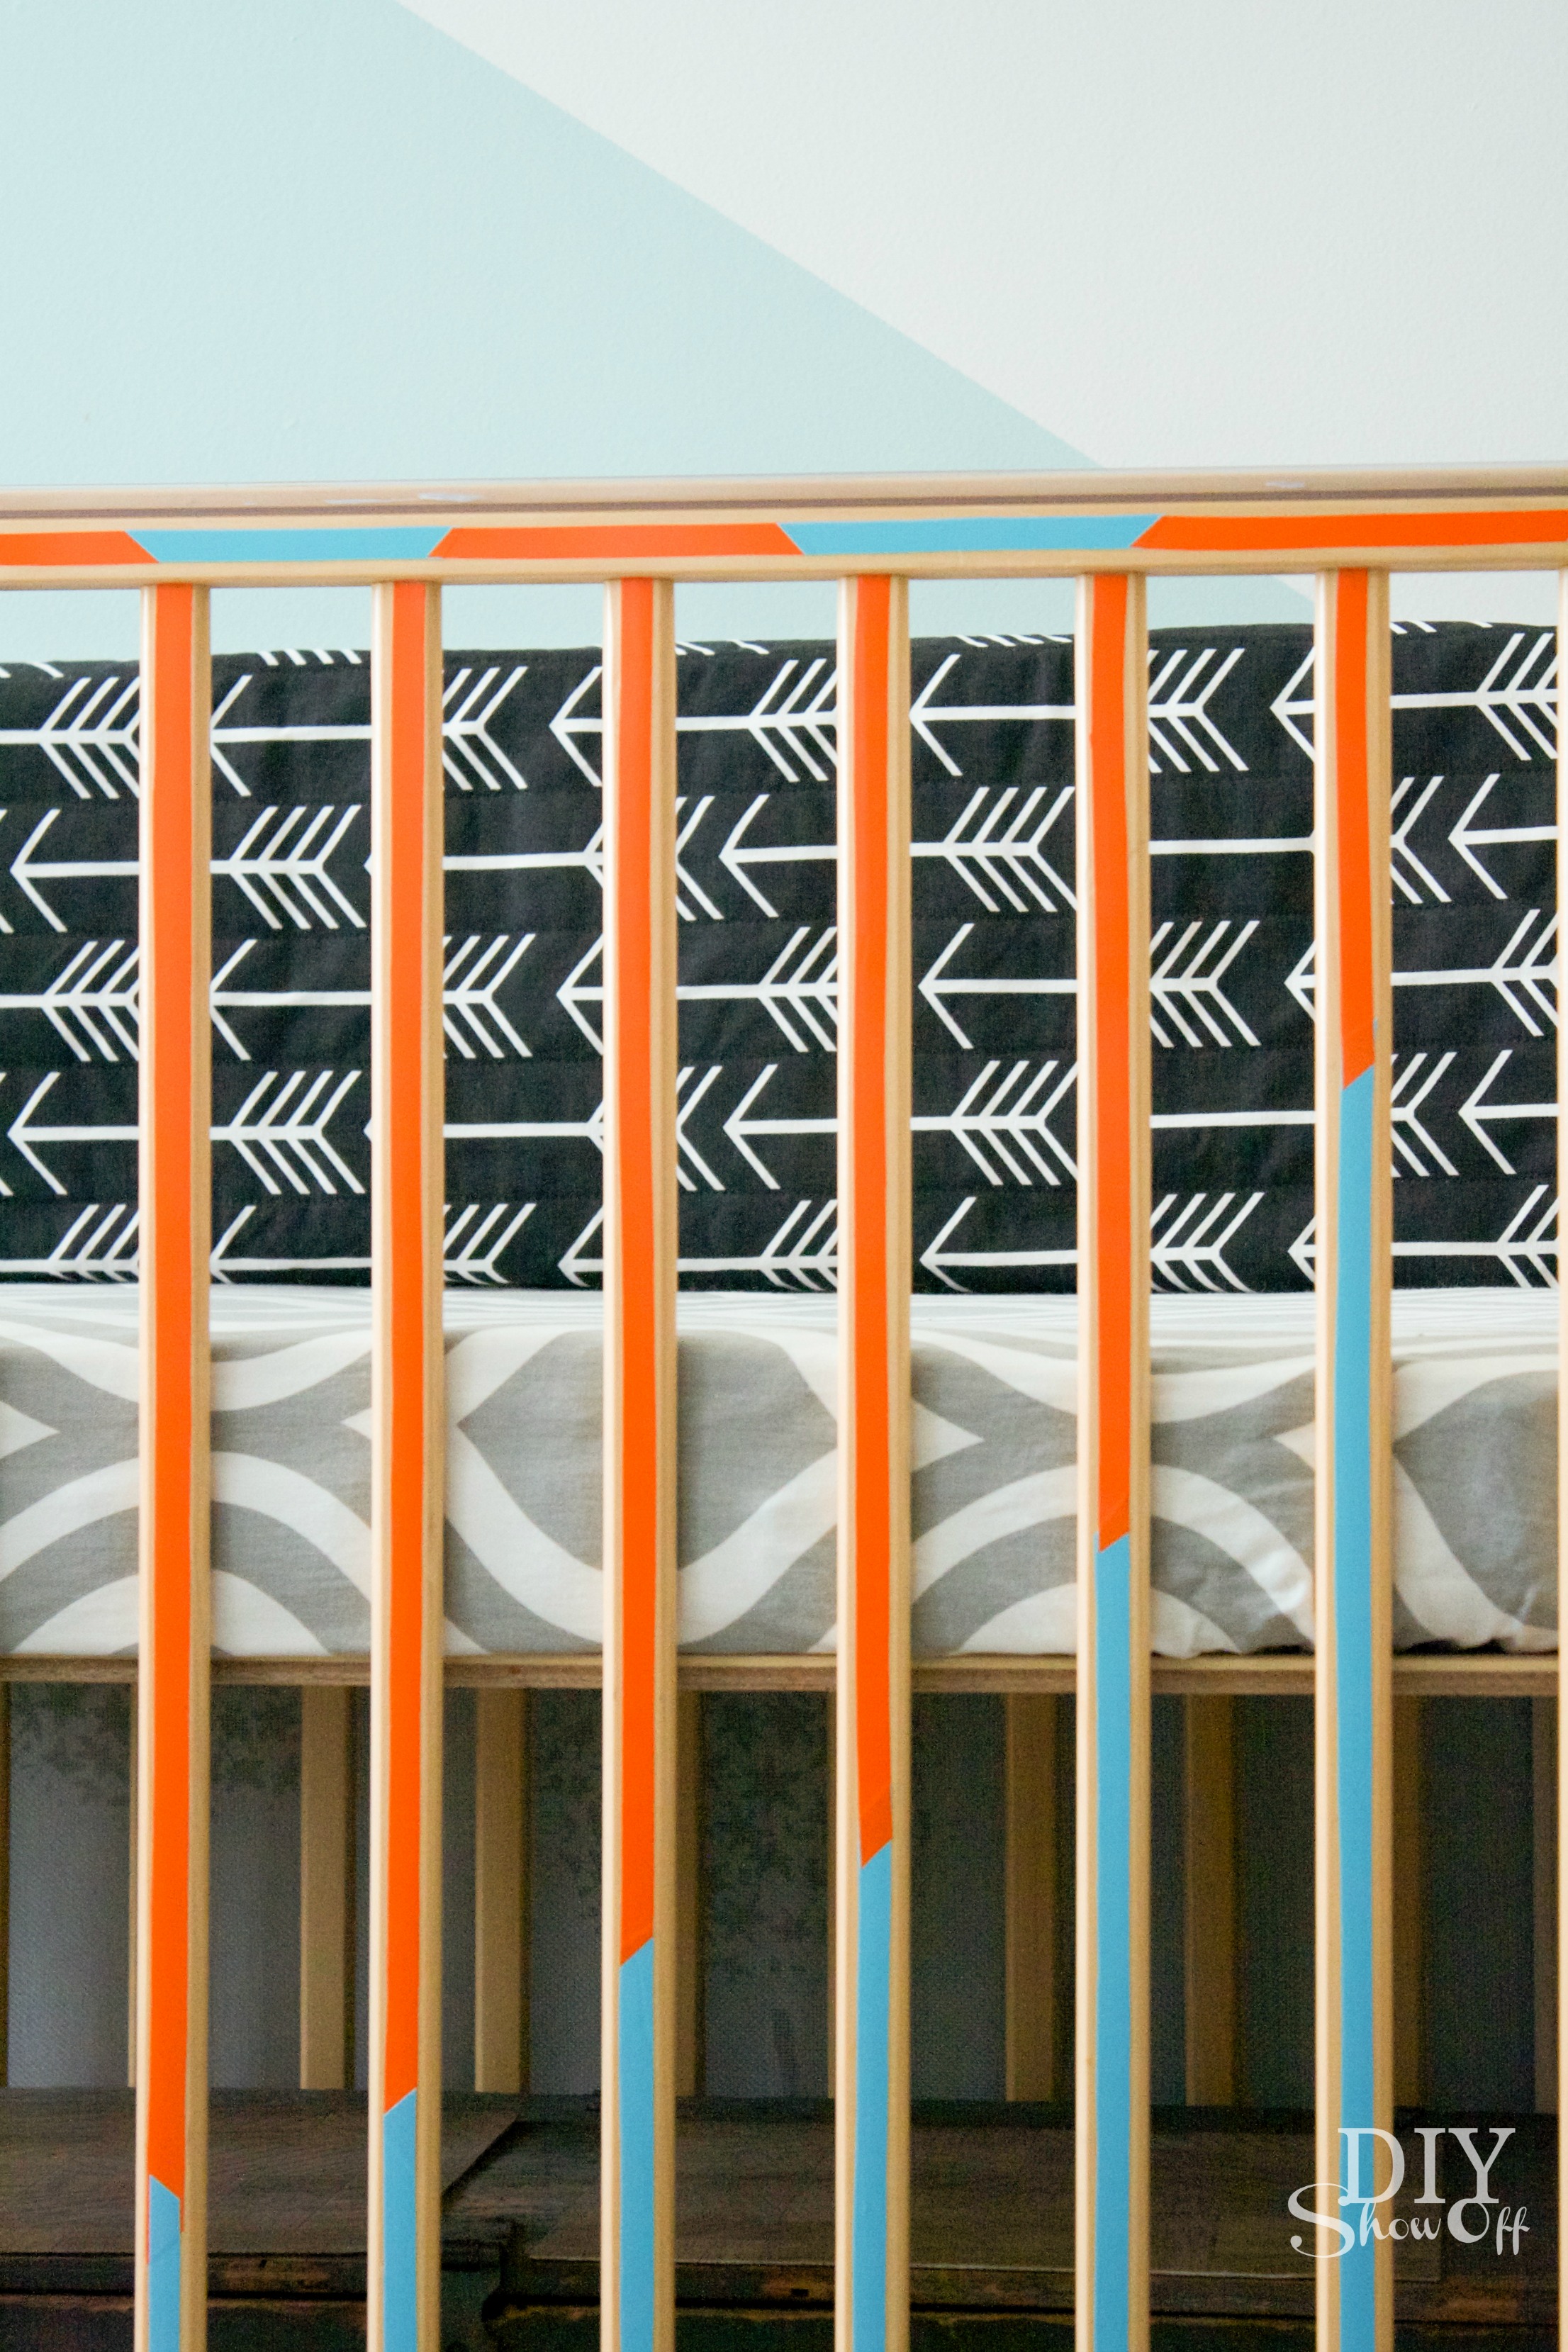
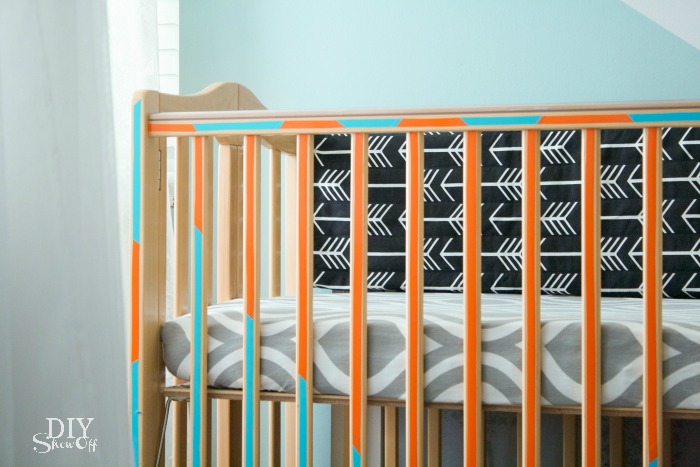
After:
Can’t go wrong with easy, affordable, temporary and cute crib decorating!
*Please note that you should make safety your first priority. If you find that your vinyl decals are peeling up, remove vinyl immediately. We do not have any issues, I’m only sharing a decorating project that works for us. Attempt this project at your own risk.
**This post is sponsored by Happy Crafters. Tutorial, experience and opinion is my own. I love the products and the prices are affordable. Check out all the supplies at Happy Crafters for great prices, products and inspiration for your next project.



Gorgeous, and looks so simple too! Would love to pick some of this up, I can already think of a lot of things I could use this stuff with. Thanks so much for sharing!
I love this! We have a crib that has currently gone through 2 kids and although it is structurally still fine, it has seen better aestetic days! Thanks so much for sharing. I can’t wait to do this!