


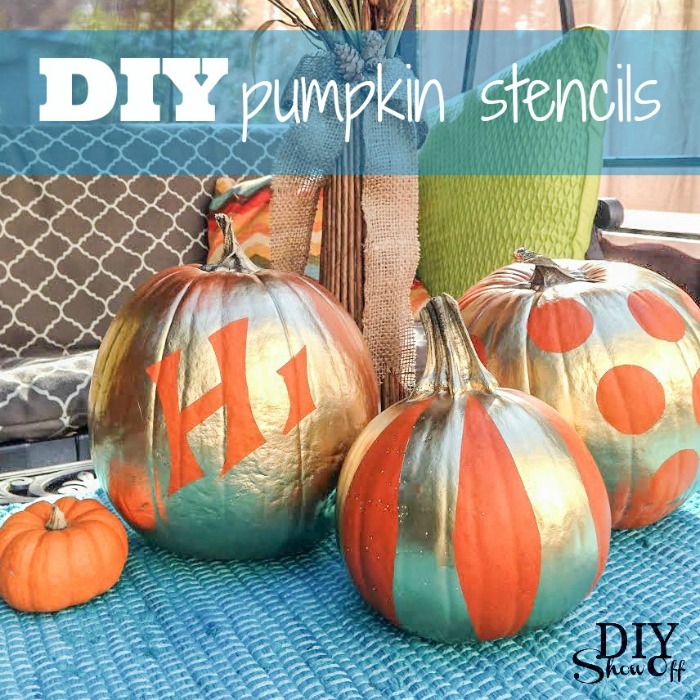
DIY Pumpkin Stencil Tutorial
Materials:
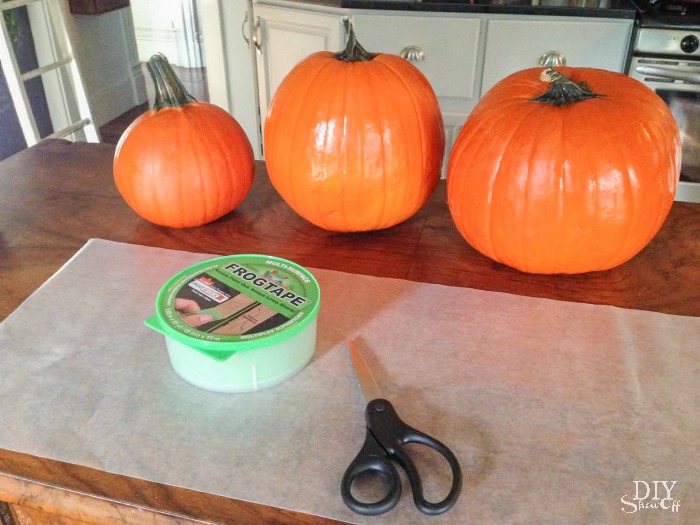
- Pumpkins
- FrogTape® Multi-Surface
- Wax paper
- Spray Paint
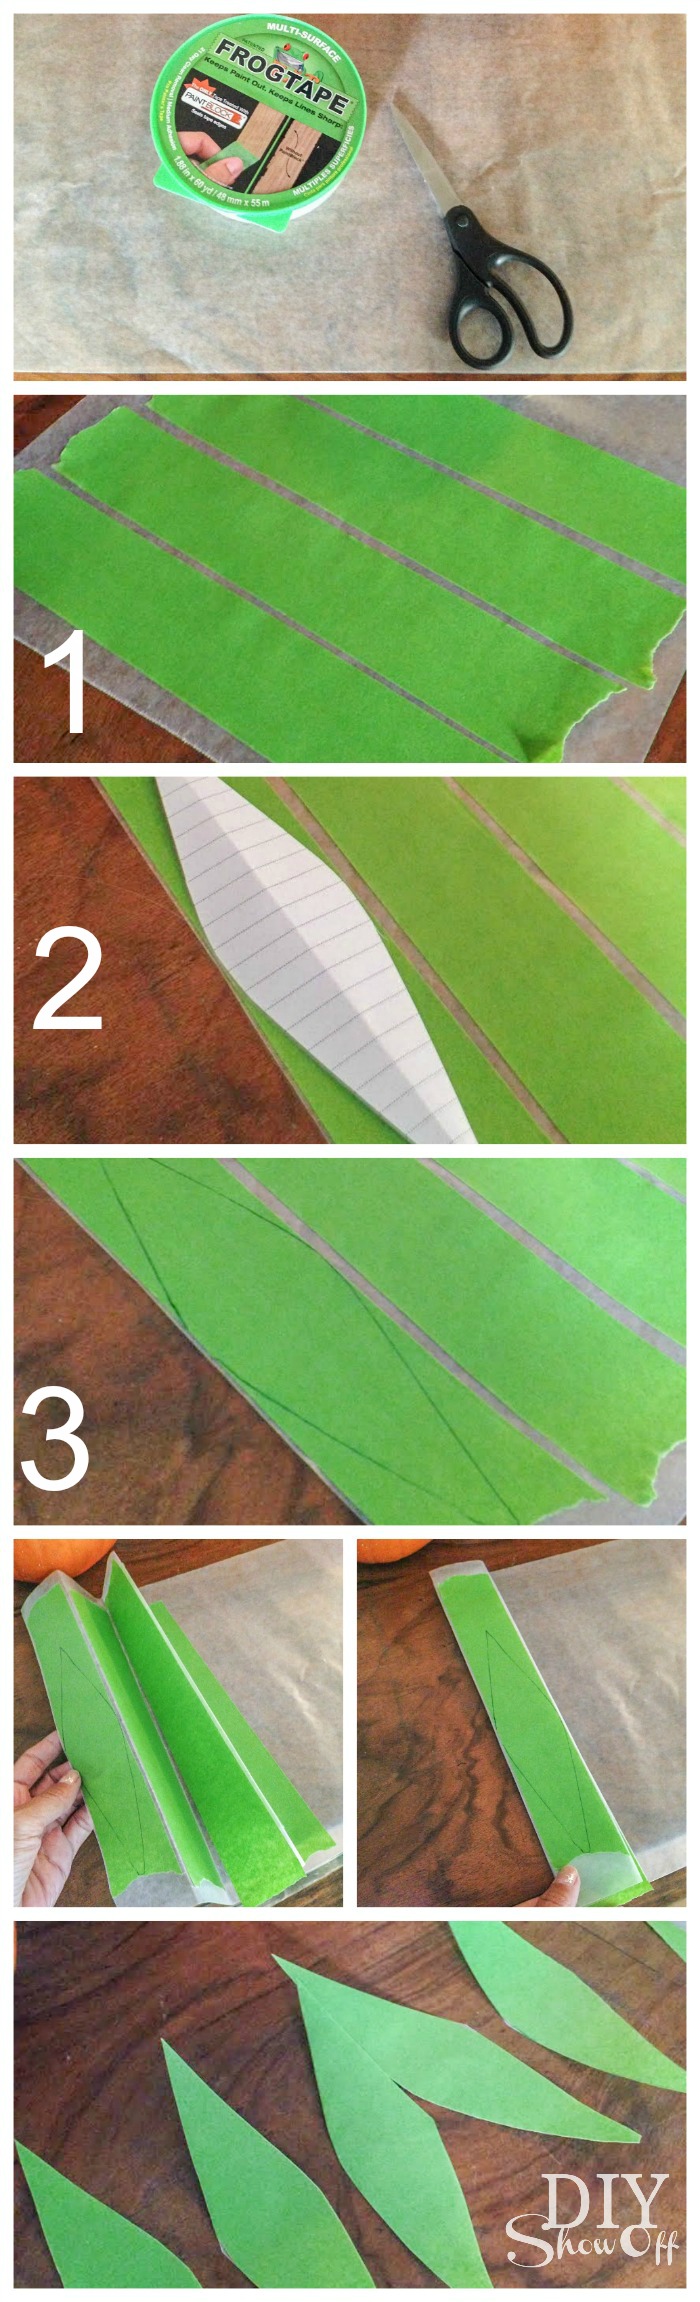
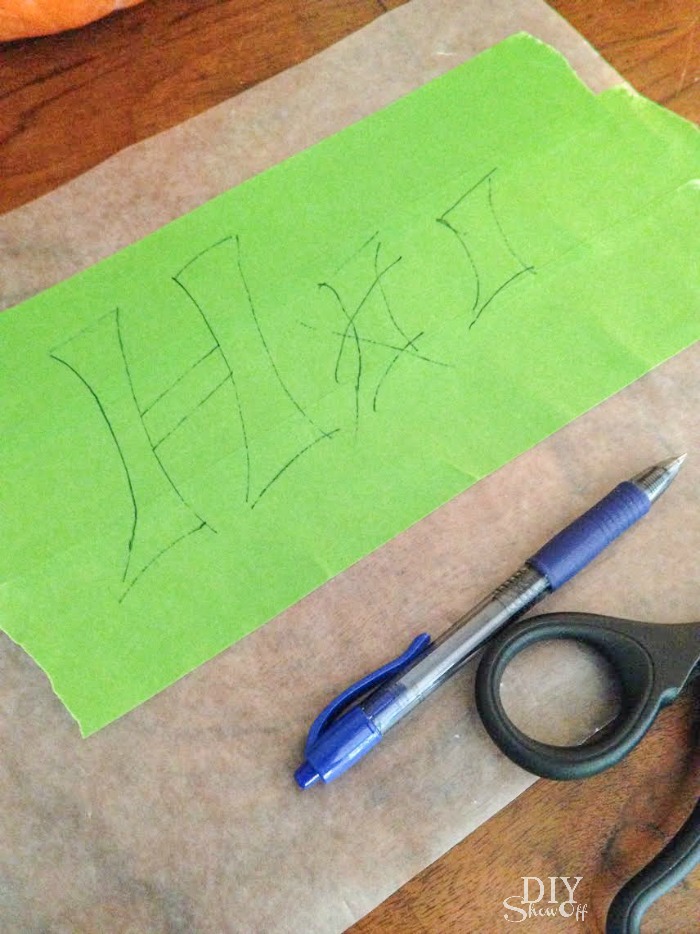
1. Adhere pieces of FrogTape to wax paper.
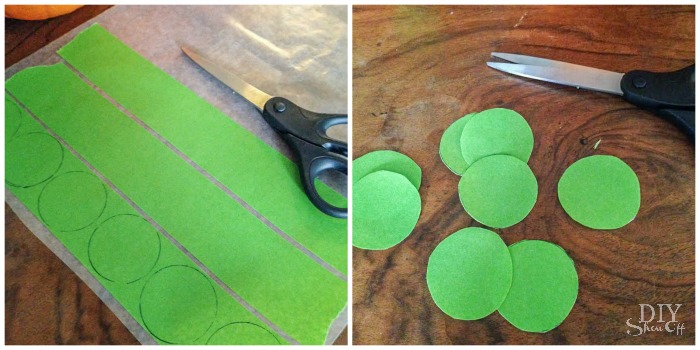
2. Using a pattern (I made mine from a piece of paper), freehand or by tracing shapes; create stickers.
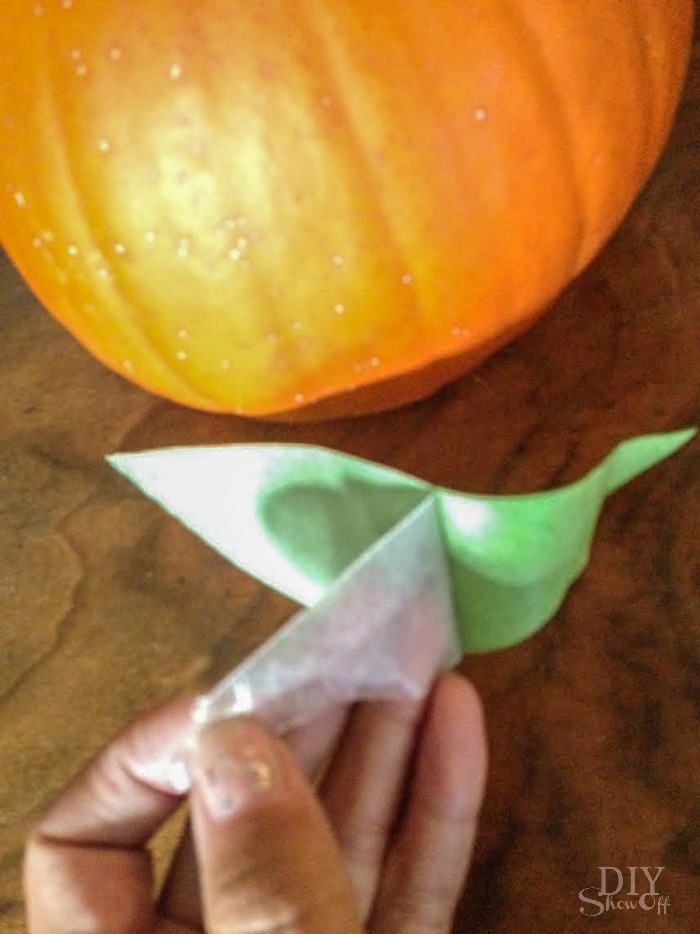
3. Cut out stencils. I folded a few of mine to create more.
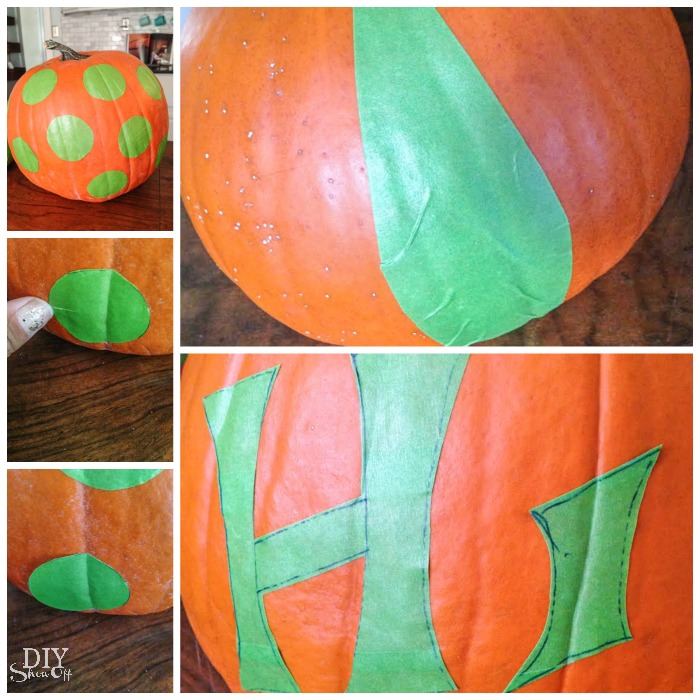
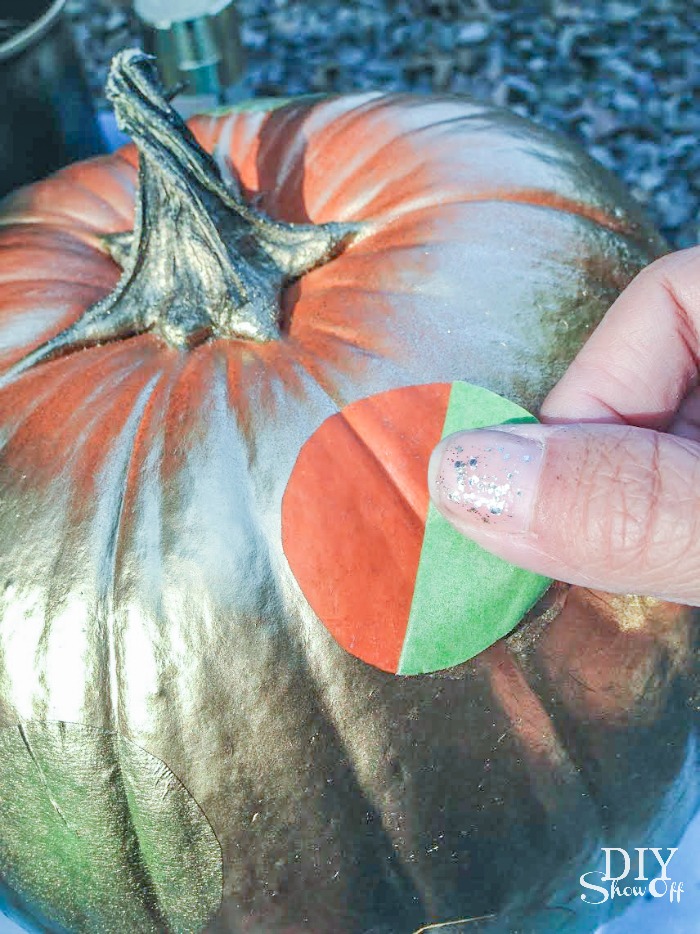
4. Remove wax paper backing and apply your DIY FrogTape stencils to the clean, dry surface of a pumpkin.
5. Use your thumbnail to burnish the edges of the tape and to smooth out creases.
6. Tape off stem if desired. Spray paint pumpkin.
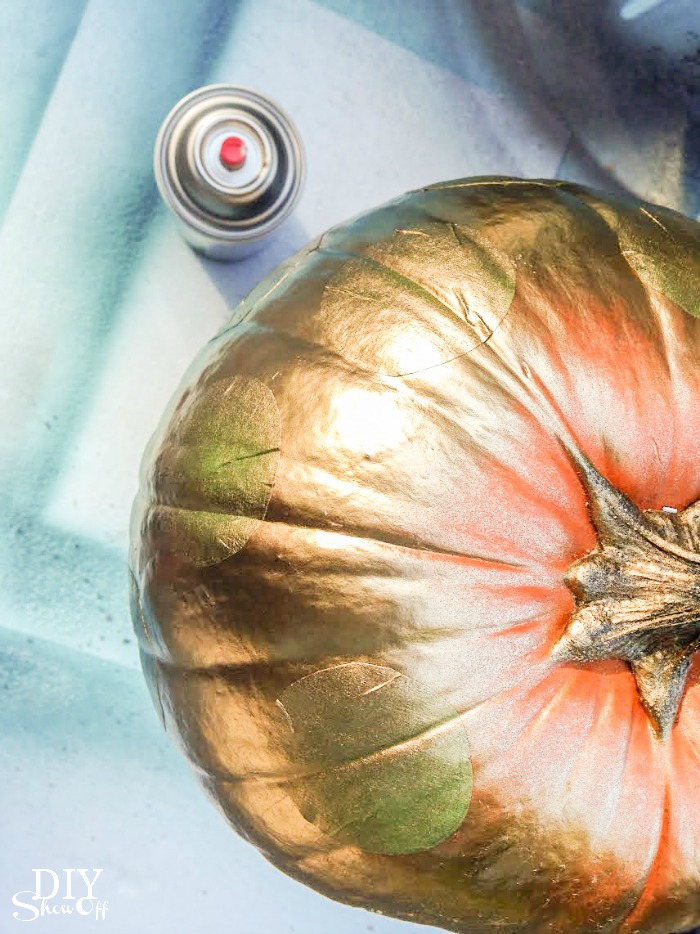
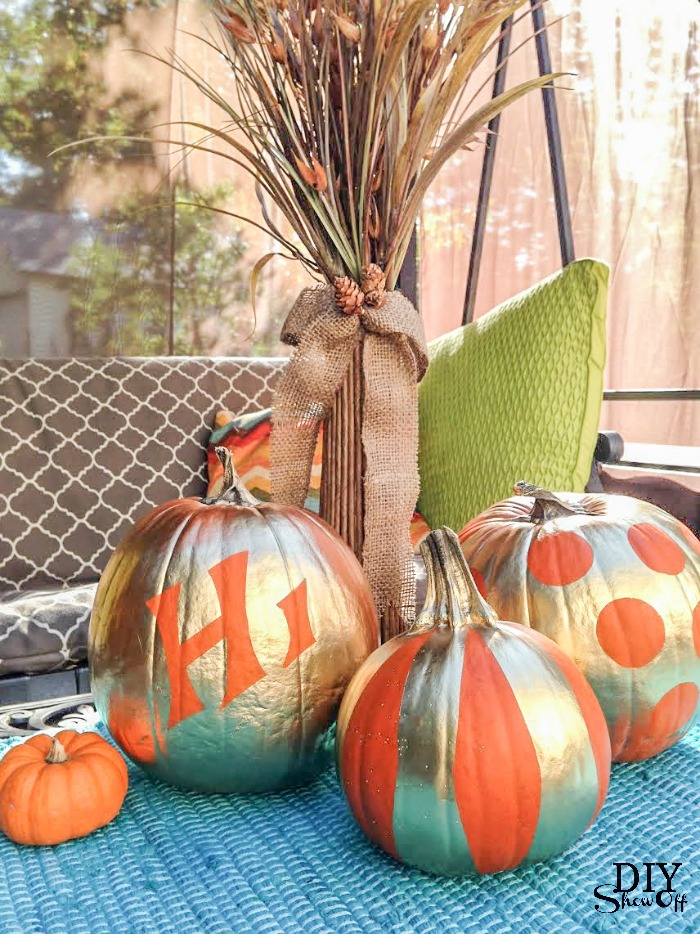
7. Paint dried really fast for me since I just did a light coat with some of the pumpkin showing through in most places. After just a few minutes, remove stickers/stencils.
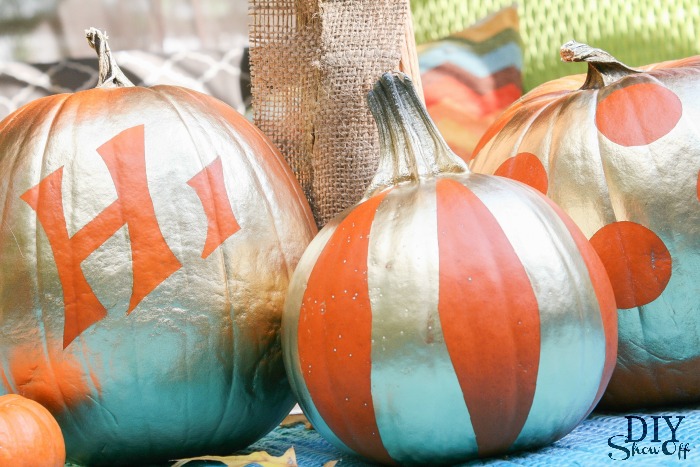
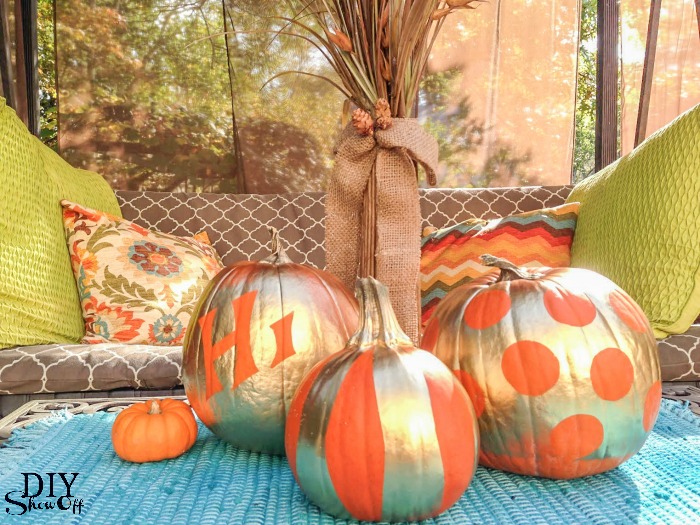
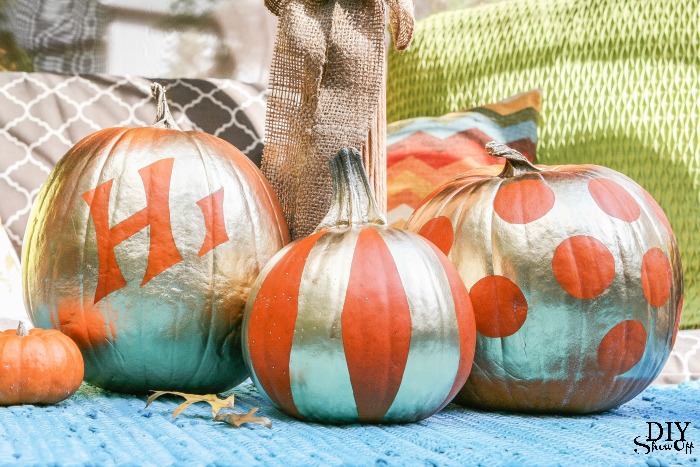
Display!
Disclaimer: I received compensation to complete this project for using FrogTape® products. All opinions, projects and ideas are based on my own experience.
Roeshel, you never fail to blow my mind! This is so simple and so brilliant. Pinning. Love it!
Awesome idea! Thanks for sharing. I’m pinning!
I love creating stickers out of FrogTape! I cut out little mexican diamond/ aztec shapes once to apply to a shelf in my office. The possibilities are endless, and I love that this means I don’t have to cut open my pumpkin and cause it to rot faster!
What brand of spray paint did you use? Your pumpkins are darling!
Hi Christine! Sorry for the delay! I used RustOleum metallics spray paint. 🙂
Wow I really like this! What a great idea! I can’t wait to try this with my daughter!
These pumpkins are amazing! You did a great job and make it seem so easy! I must give it a try!