Kids’ Plastic Picnic Table Makeover

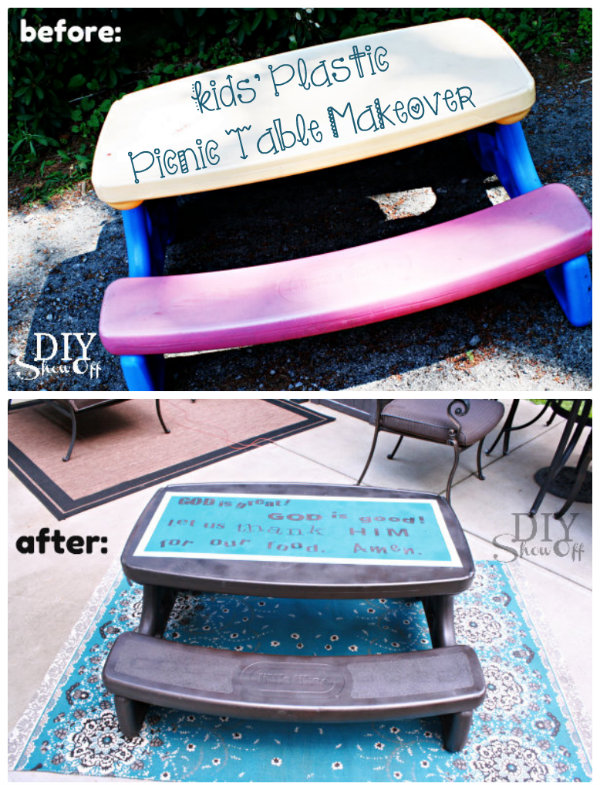
As you know, we entertain a lot in the summer, hosting quite a few family picnics. Guests include my 3-year-old nephew and 2 and 4-year-old nieces. It was decided that I needed a kid’s table and mom scored a Little Tykes picnic table at a yard sale for me for $15. Hurray for yard sale season (and moms)!

How to paint a child's plastic picnic table 

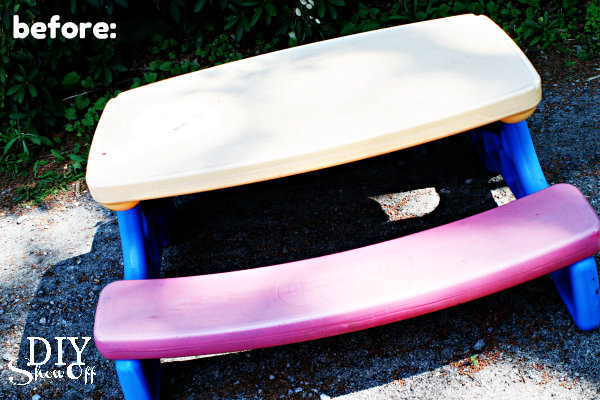
But when you don’t have a yard full of fun brightly colored kids’ toys; the red, blue and yellow looks out of place, not to mention it was faded and a little worse-for-wear. 

kids picnic table before

I decided a little makeover was in order. 

Materials:

  • Spray primer (2 cans)
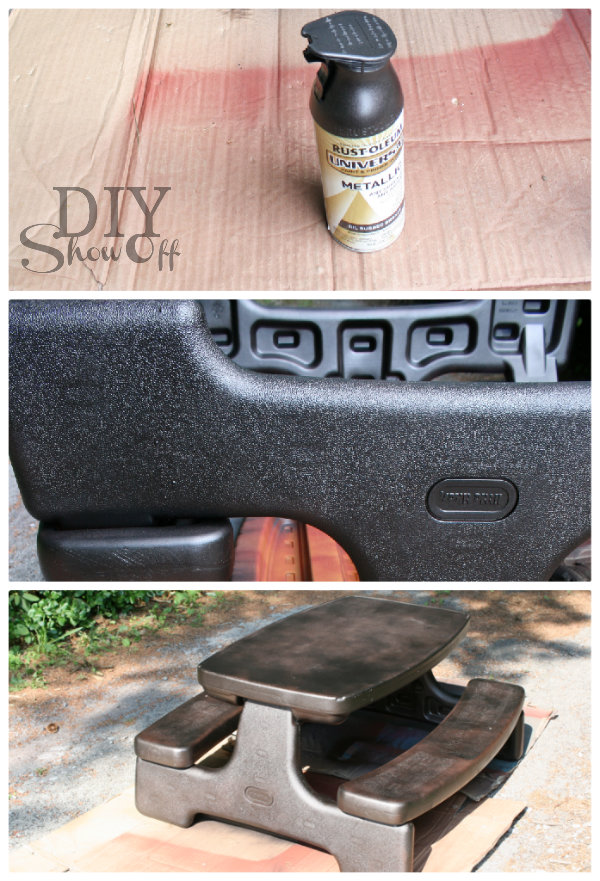
  • Spray paint (2 cans for all over) I used Rustoleum Oil Rubbed Bronze.
  • Another can for decorative purposes (optional)
  • Spray clear coat
  • FrogTape
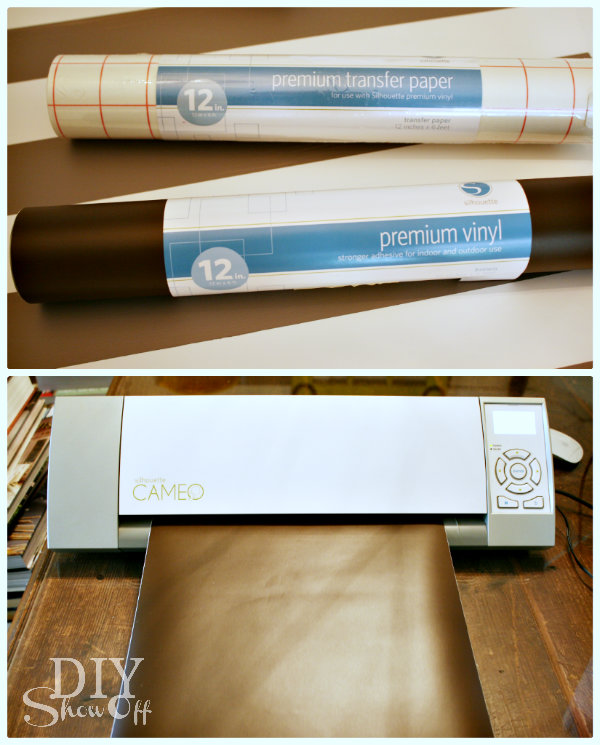
  • Vinyl decals (I made my own using supplies from Happy Crafters)

Tutorial:

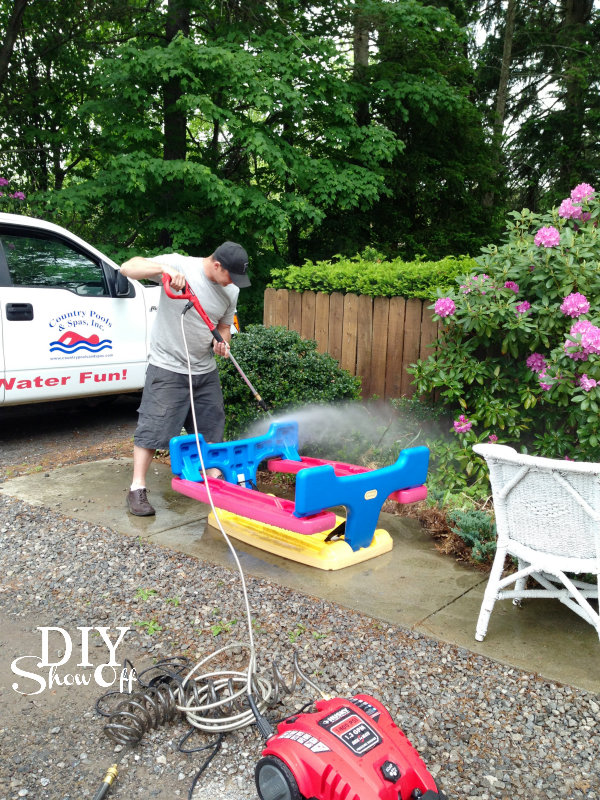
First, I lightly sanded the picnic table with a fine grit sandpaper and gave it a good spraying with the pressure washer. (Thanks, Steve!)

washing picnic table

This also comes apart some how, but I couldn’t figure it out so I didn’t bother. Apply a coat of primer: 

DIY plastic picnic table transformation

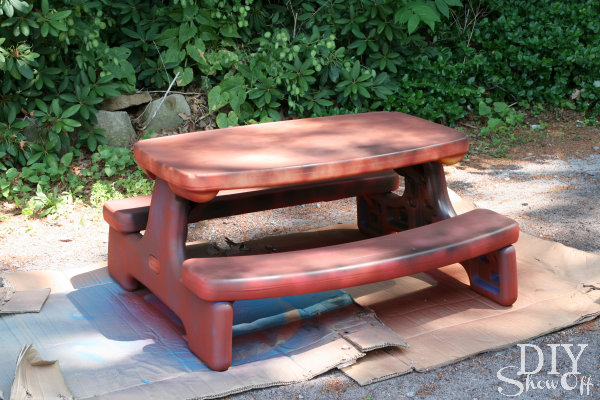
Then spray paint:

painting plastic picnic table tutorial

I let it dry and ‘cure’ for a few days. 

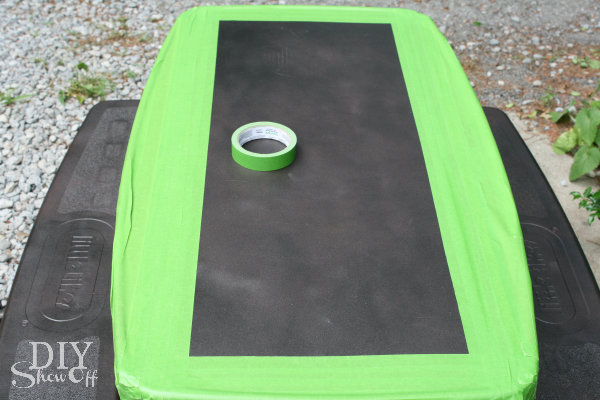
Using my FrogTape, I created a rectangle (table runner) outline on the table part of the picnic table and taped off the rest of the table top. 

child's picnic table makeover

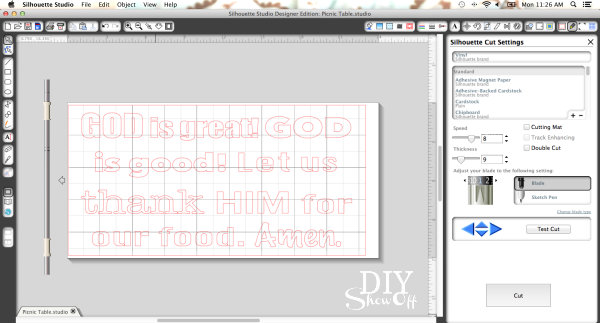
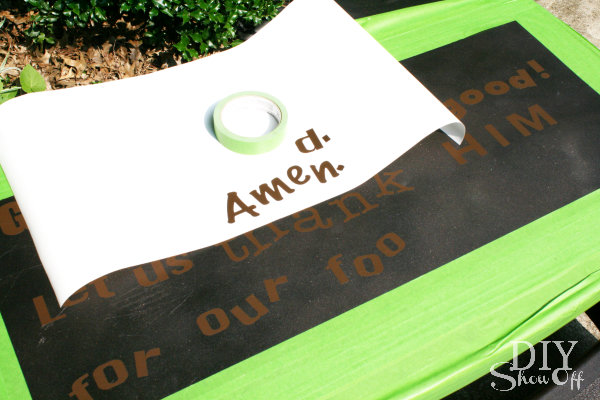
Using my Silhouette Cameo and Silhouette Design Studio software, I created and cut out the letters for a dinner time prayer.

Silhouette Studio designer software

Happy Crafters

I applied the sticker type vinyl letters to the center of my rectangle and made sure FrogTape and vinyl letters were pressed down securely.

kids picnic table makeover

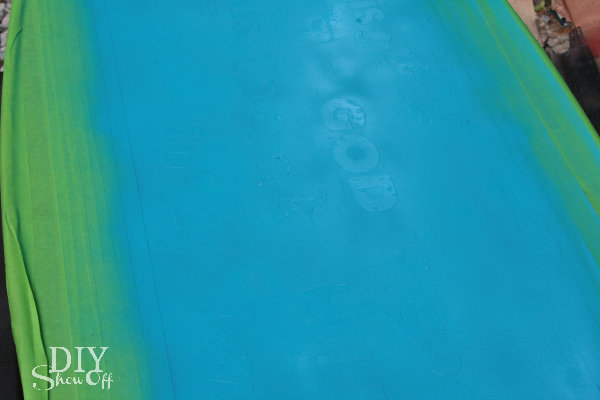
Then gave it a coat of spray paint in Rustoleum’s Lagoon. (I used a large piece of cardboard to shield the benches.)

painting plastic picnic table

I peeled away the FrogTape and decals while the paint was still wet. I still have blue fingernails to prove it. 

picnic table makeover

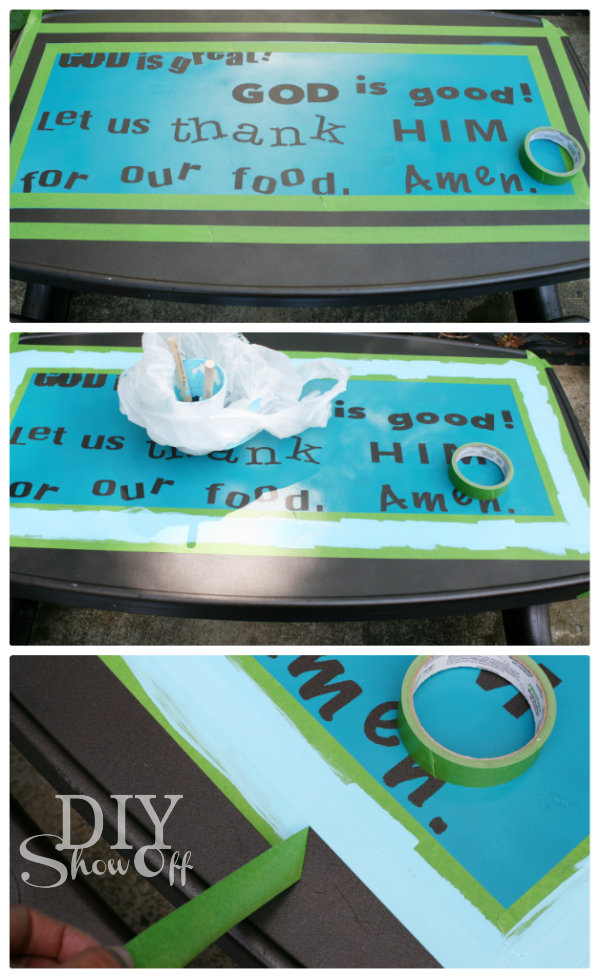
I let that dry for a few days (in my vehicle mostly since it’s been raining off and on so much)…which is why I had no choice but to be patient as well! Then I used my FrogTape again to create a border around my “place mat” and filled it in with DecoArt’s Patio Paint. Then peeled away my FrogTape and again…let it dry for a few days.

painting kids plastic picnic table

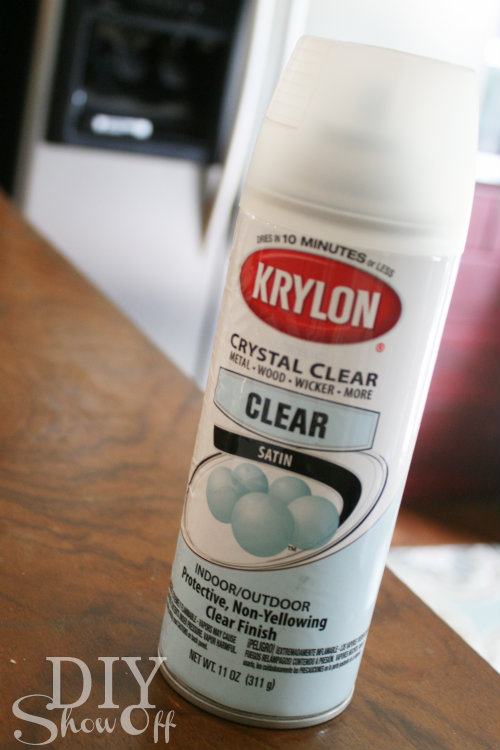
I had to touch up the paint here and there. Then sealed it with a spray clear coat (satin finish) and let that dry.

clear coat

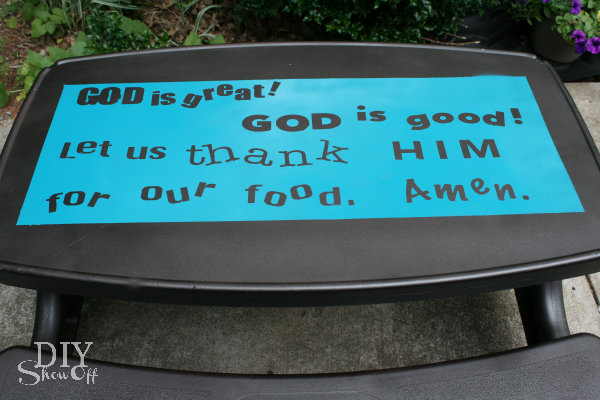
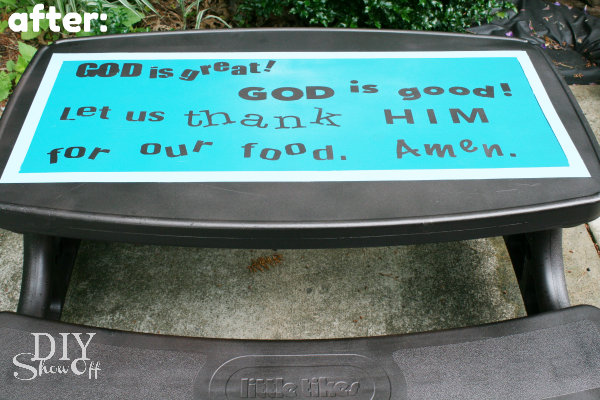
Much better! And a sweet little reminder for the little ones to pray before digging in. 

childs picnic table makeover after


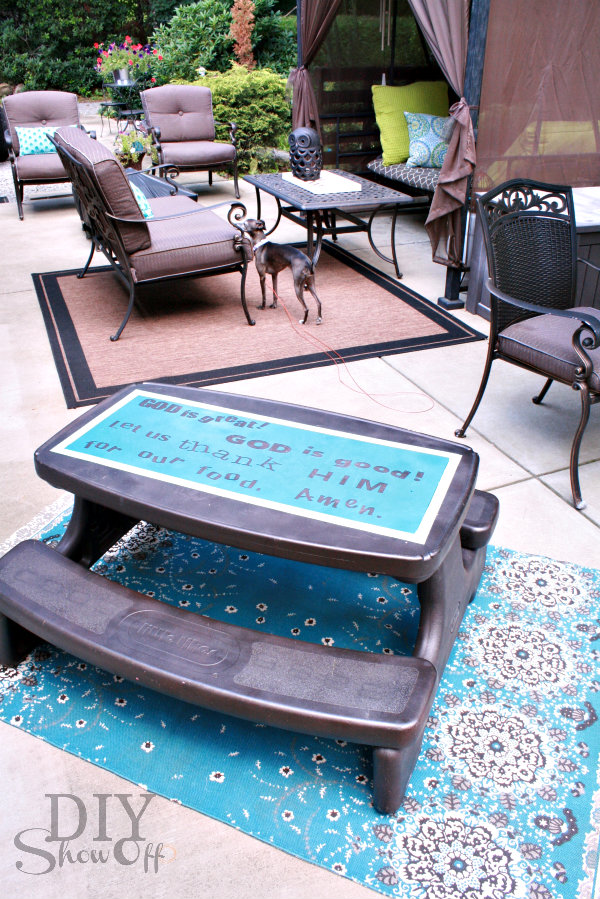
We tested it out over the fourth of July. Now it fits in with our patio…

plastic picnic table makeover

*This sponsored by FrogTape. FrogTape provided by Shurtech. The opinions are completely my own based on my own experience.

 FrogTape Blog Squad

 *Vinyl provided by Happy Crafters.

HClogopngsmall

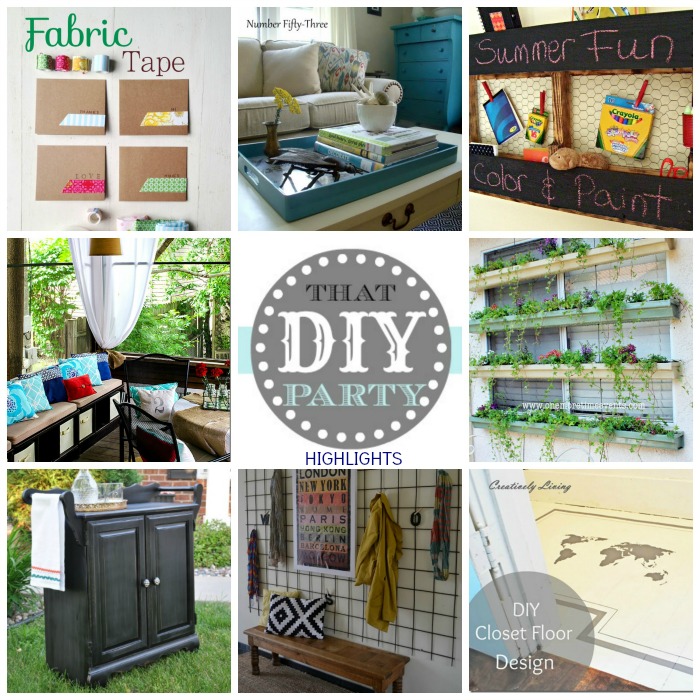
DIY Highlights

As always (and I mean ALWAYS AND FOREVER), I’m blown away and inspired by everyone’s creativity and hard work. Thank you for sharing your links in the weekly THAT DIY PARTY. I love visiting the party links, pinning and seeing what others have been doing. It motivates me to work on projects, inspires me to think outside of the box. Here are some DIY highlights from last week that I think you’re going to want to see if you missed them:

DIY Party Highlights

INSPIRING ROOMS

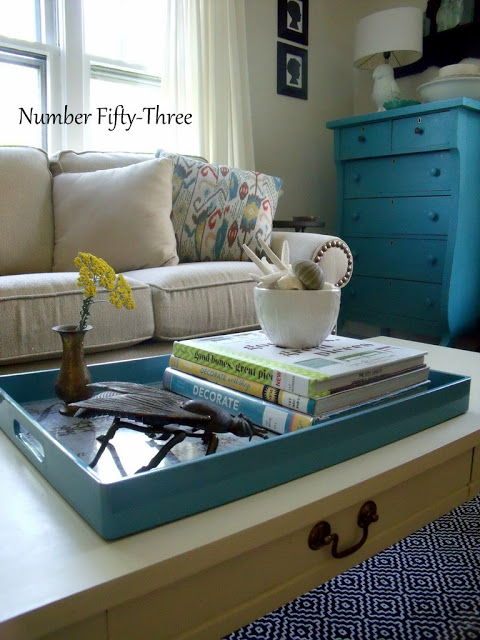
It’s no secret that I love Angela’s style, furniture makeovers and beautiful home. She shared her living room tour at Number Fifty Three this week and it’s such an amazing mix of old and new. It calls me to  relax, unwind and to just be peaceful. 

number fifty three blog living room tour 

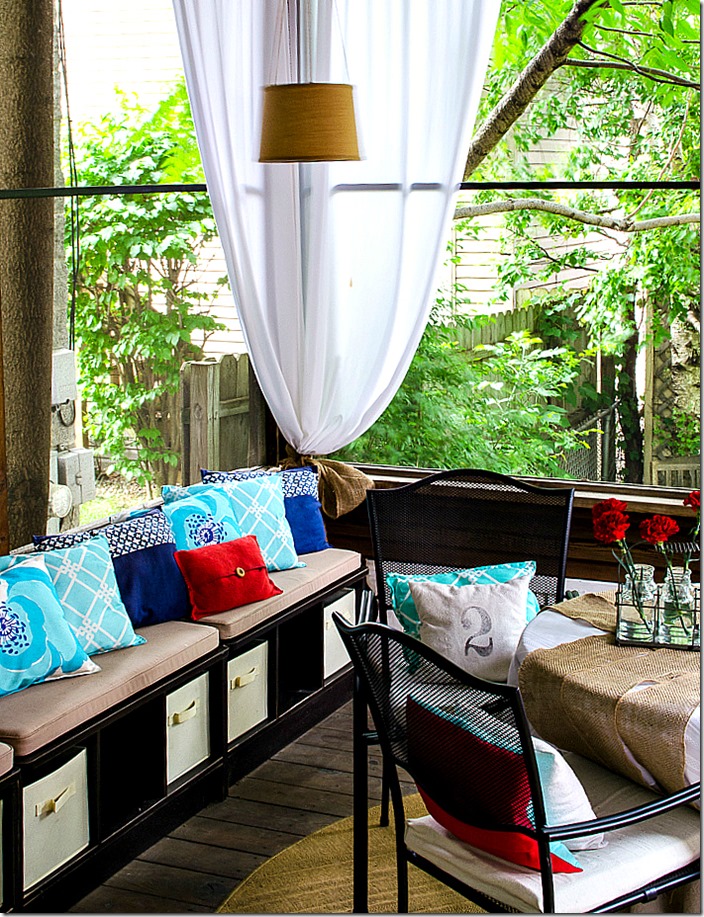
I’d spend every minute at home if this was mine: Linda’s beautiful and inspiring screened porch at It All Started with Paint.

It All Started with Paint screened porch makeover

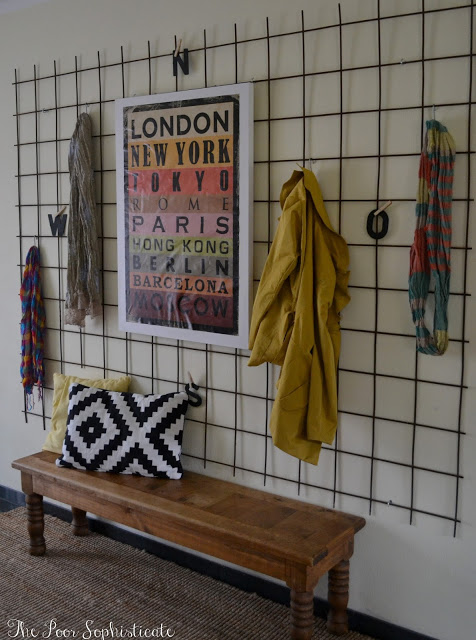
Molly’s eclectic style reeled me in. Love her DIY salvaged industrial and colorful entryway at the Poor Sophisticate! Fun!

bohemianindustrialentryway at the poor sophisticate

AWESOME ACCENTS

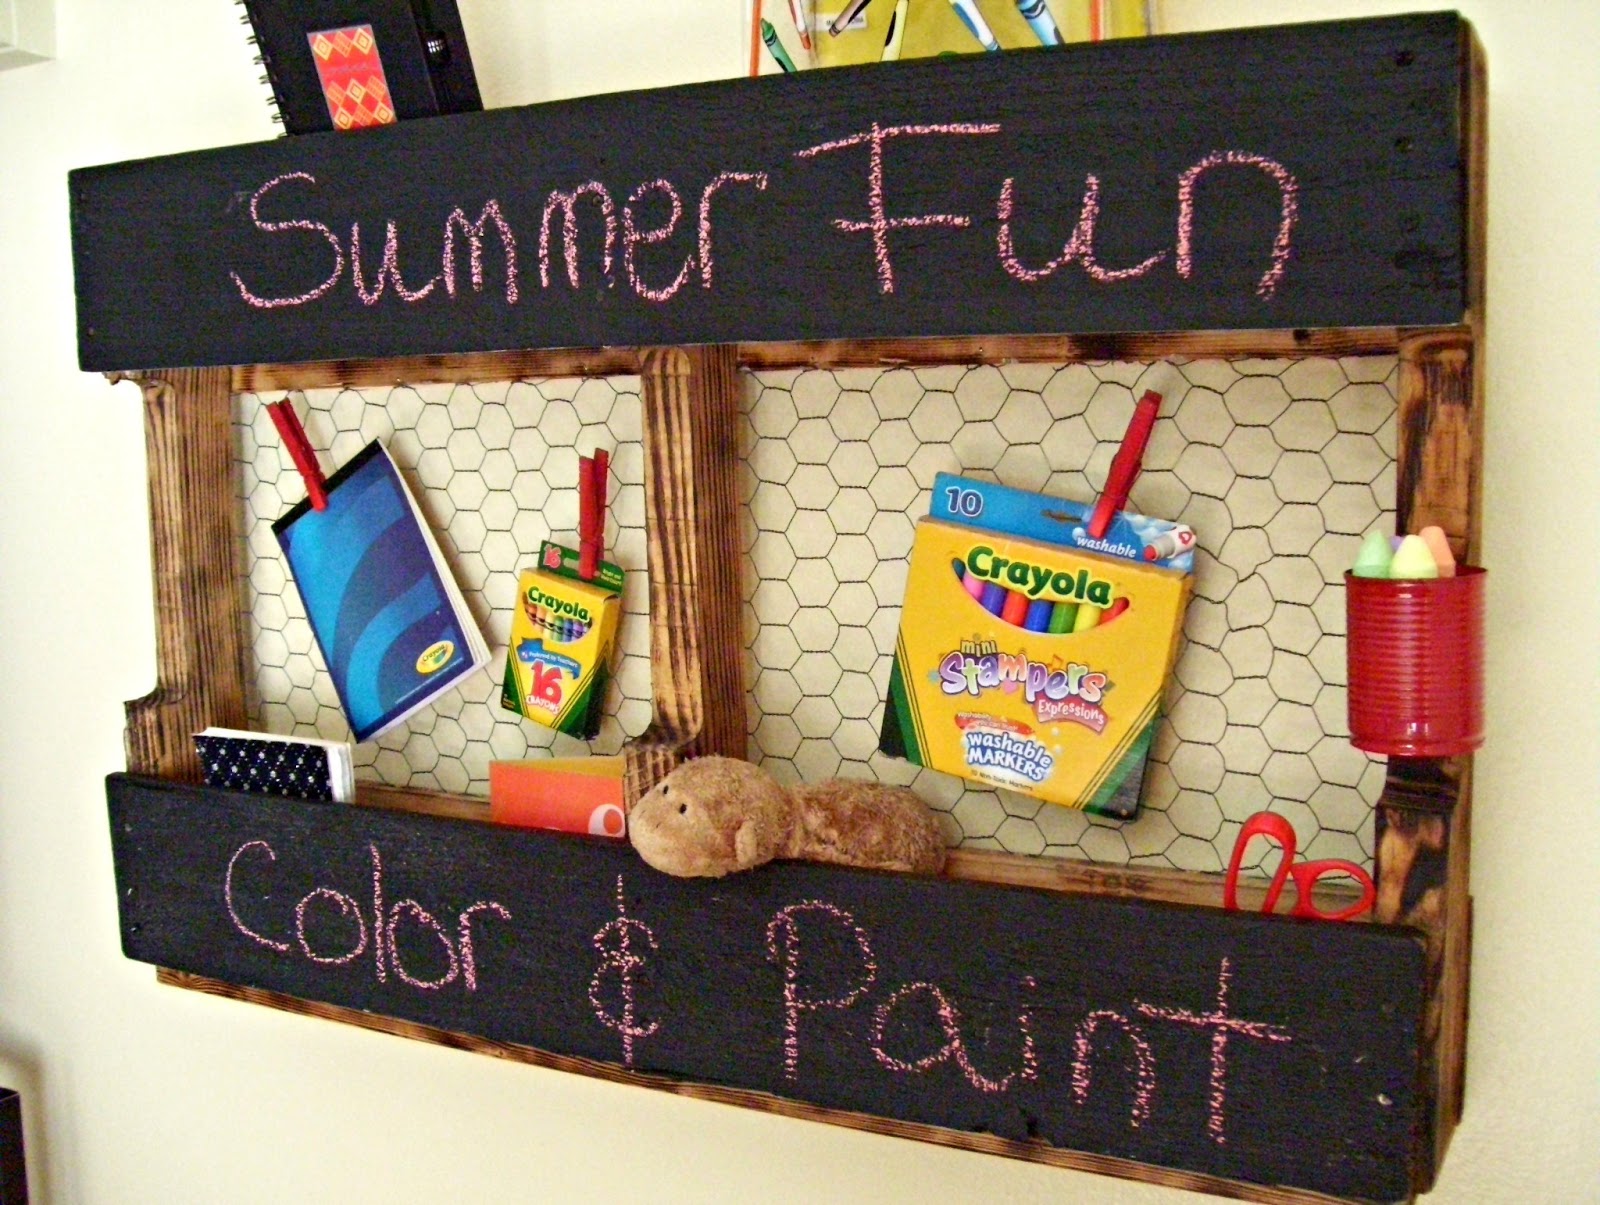
Susan took and old pallet and created this super fun pallet chalkboard message center at Rustic Rediscovered. Pallet, chalkboard, chicken wire – love it!

pallet message center at rustic rediscovered 

FUN DIY

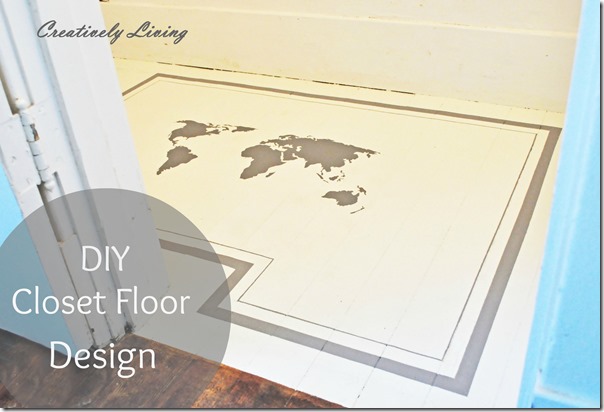
You know I love painted floors (here and here). I know it’s not an option for everyone but if it’s something you’d really love to try too, how about trying it in a closet? That’s what Katie did. I love her painted closet floor at Creatively Living Blog

Closet-Floor-Design at Creatively Living Blog

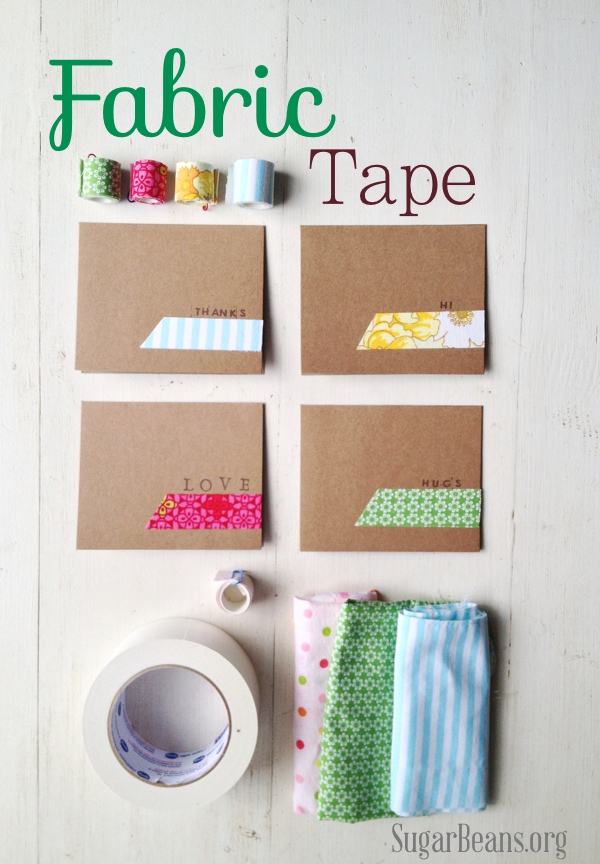
I’ve never seen this done before and thought it was pretty clever and a great idea for all of those left over fabric scraps. Susan shares how to make fabric tape at Sugar Beans. (Susan – I tried to leave you a comment to let you know…I tried three different commenting options but kept being told to try again later.)
diy fabric tape at sugar beans

FAB FURNITURE

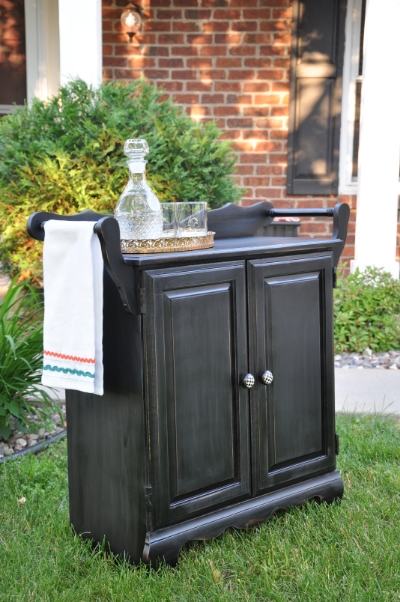
Allison shares an old washstand turned bar makeover at Fab Rehab Creations. How clever! Function and beauty!

washstand bar at Fab Rehab Creations

OUTDOOR PROJECTS

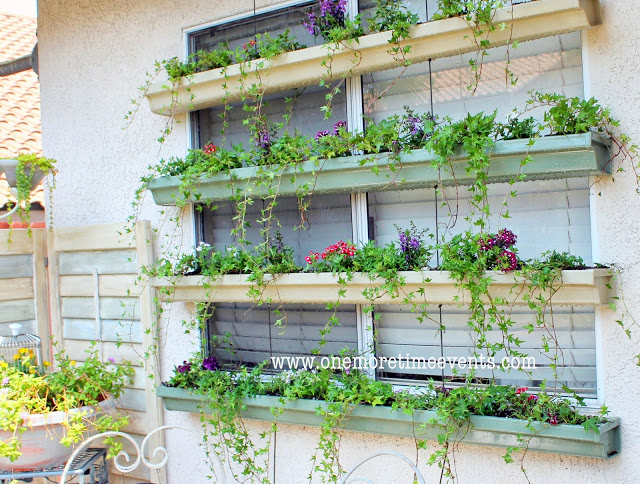
I am in loooove with Tammy’s DIY gutter planter outdoor window shade project at One More Time Events. I need this, don’t I? 

gutter planter window shade at One More Time Events


Thanks for sharing your inspiring DIY projects and creativity, ladies!

That DIY Party Highlights 24

Got something to ‘show off’? Head over to THAT DIY PARTY to share! A large percentage of DIY party links are pinned each week in an effort to ‘show off’ your hard work and creativity even more! A job well done deserves some recognition!  

That DIY Party

That DIY Party

Is it THAT DIY PARTY time again already? Hurray! Time to party!

That DIY Party

Here’s a recap of my week:

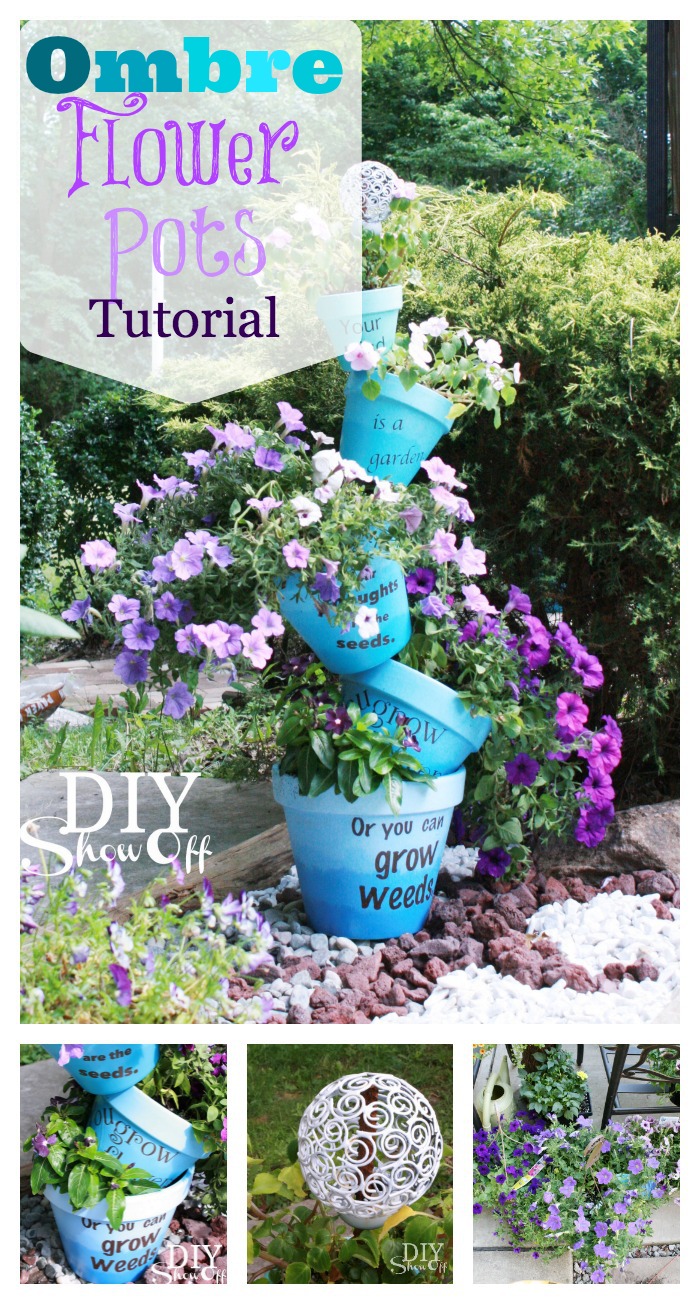
Ombre Stacked Stenciled Flower Pots

Stacked Stenciled Ombre Flower Pots Tutorial

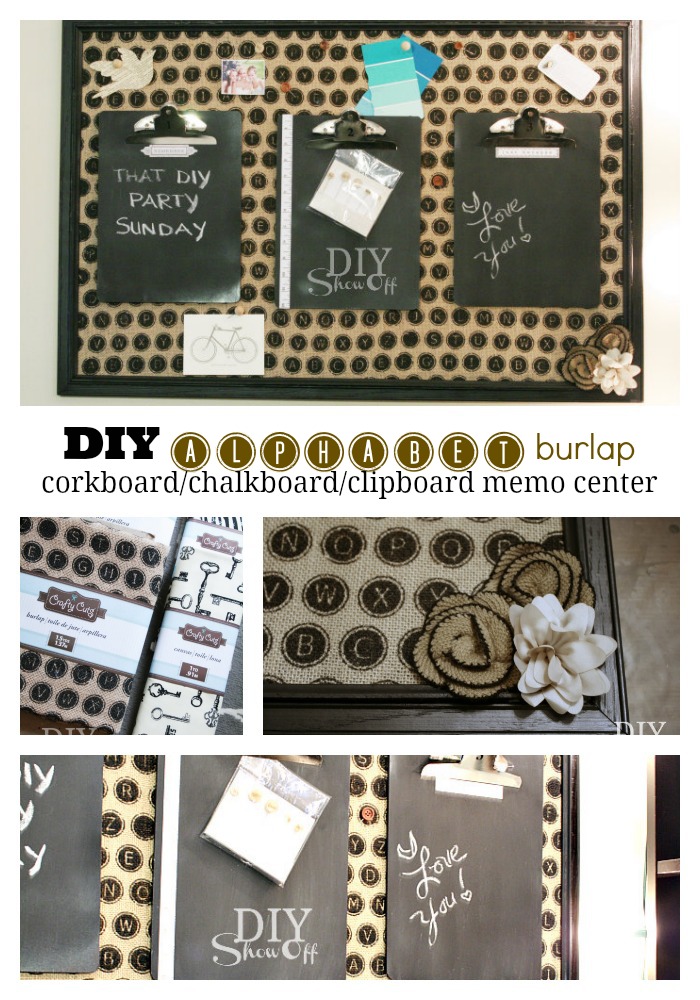
DIY alphabet burlap message center with cork board, chalkboard and clipboards

DIY burlap message center 

I was introduced (in a way) to my ‘neighbors’, the Farm Kings

farm kings 

Hello? Still with me? haha!

Catch the previous week’s DIY features

that DIY party highlights

Who else is counting down the days to Haven? I’m trying to ignore my anxiety and getting pretty excited. Bri is tagging along too! Hurray! 

Come back this week to see last week’s DIY highlights or check out and repin from the original source by following THAT DIY PARTY pinboard.

thatdiyparty.pinboard

Now let’s see what you’ve been up to!

DIY Show Off

<div align="center"><a href="https://diyshowoff.com/category/other/that-diy-party/" title="DIY Show Off"><img src="http://i899.photobucket.com/albums/ac195/Roeshel/thatdiyparty125button_zps360f71b1.jpg" alt="DIY Show Off" style="border:none;" /></a></div>

1. Please use the button above or text and link to this post to share the linky love. Here is the link: https://diyshowoff.com/category/other/that-diy-party/. I’m not one to double check and will feature your DIY project if I love it whether you linked back or not. However, I’d love for you to share a link, share on FB or by tweet or pin too! Invite your friends!

2. This blog linky party is for DIY projects only. Links not related to DIY will be deleted. Please share your link one week only.  Please do not link recipes, giveaways, linky parties, promotions or a collection of inspiration that isn’t your own DIY project. 

3. By joining the party, you give permission for your project to be featured and ‘shown off’ via blog highlight, Twitter, Facebook, Pinterest, G+ and the possibility of being featured on a new DIY feature site coming soon! 

4. If you’ve been featured, feel free to proudly display a DIY Show Off “I’m Featured Button” found here.
Linking up today? Please take a moment to share a link back to this post or one of my projects above via FB, G+ Twitter or Pinterest. I’d be so grateful! xoxo


Linking up today? Please take a moment to share a link back via FB, G+ Twitter or Pinterest. Thank you so much!