THAT DIY PARTY and DIY Highlights

Hello, DIY friends! How was your week? Ready for a fresh new week of DIY inspiration and showing off your latest projects?

that diy link party

DIY Show Off Recap:

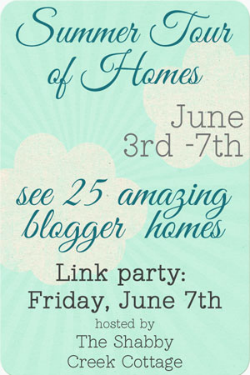
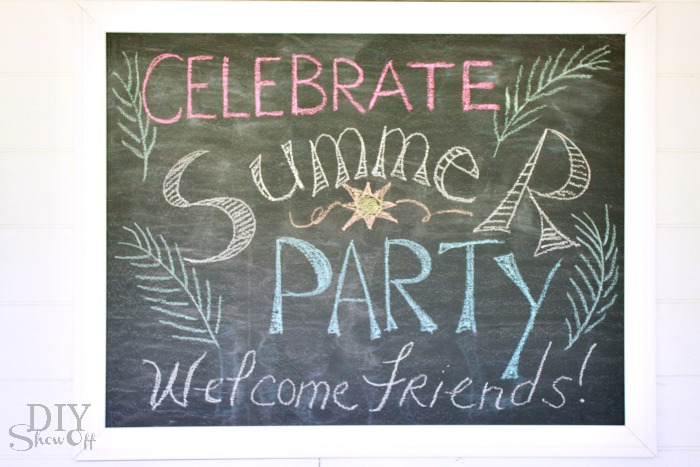
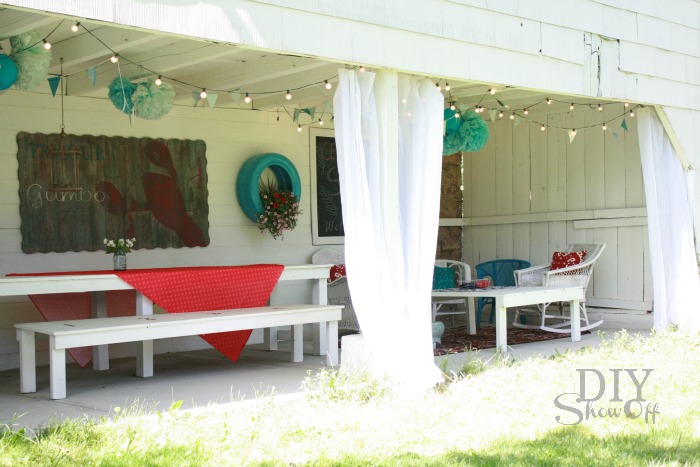
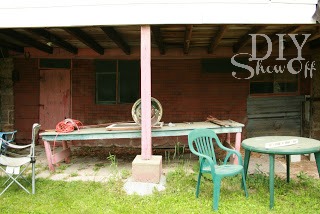
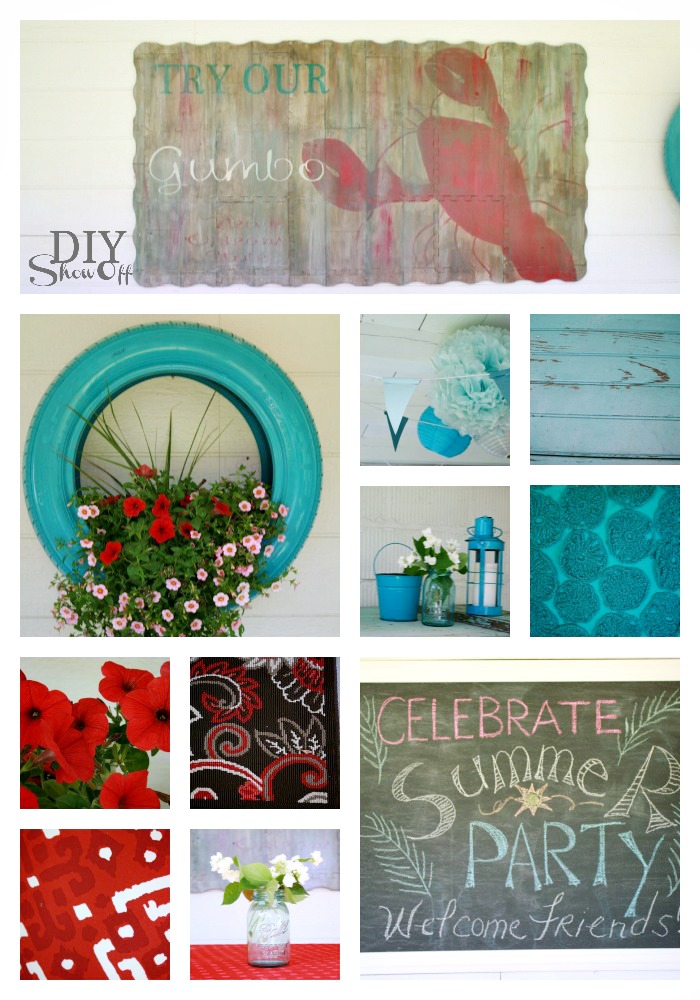
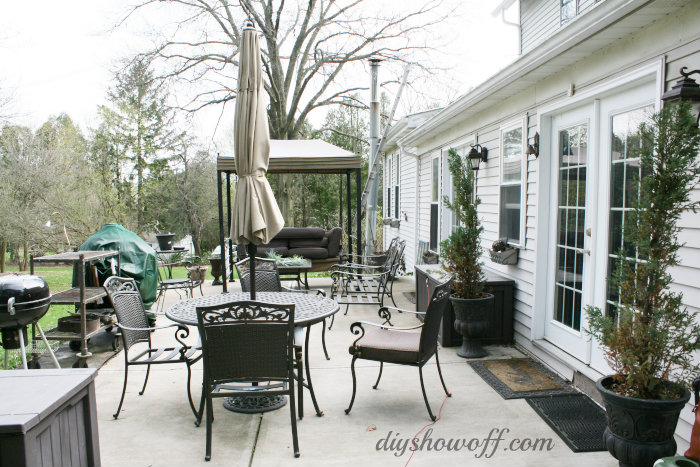
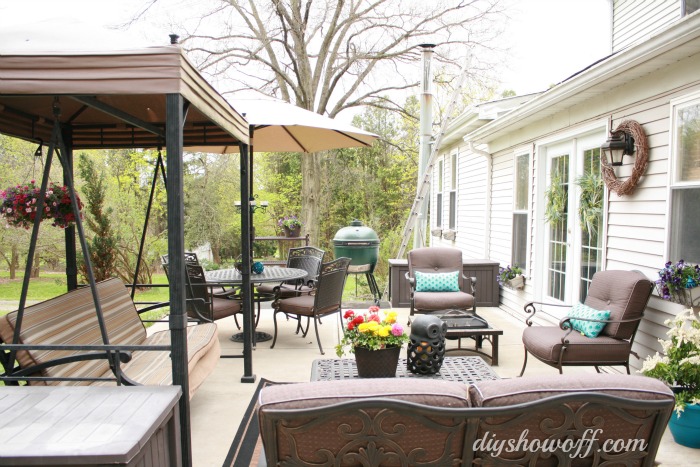
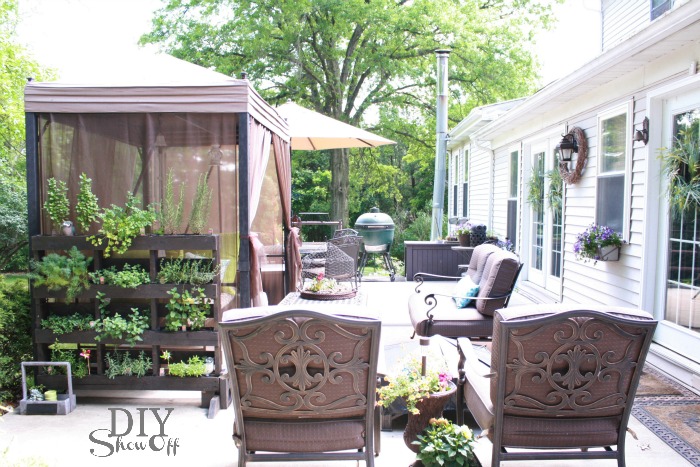
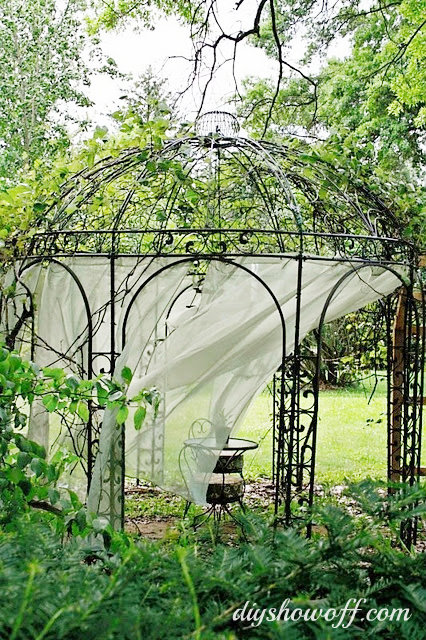
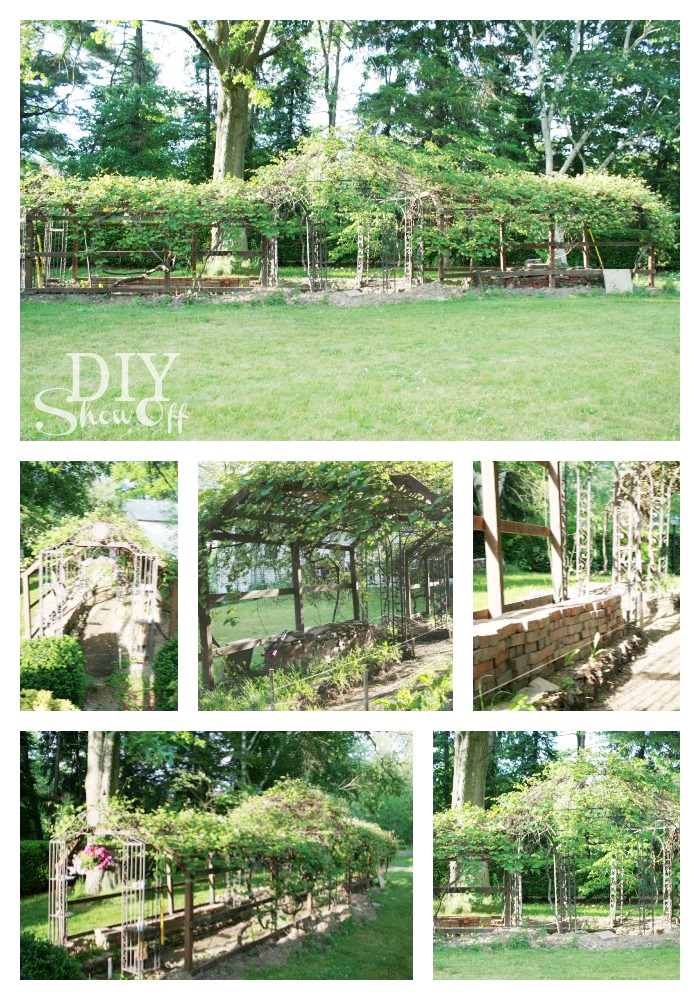
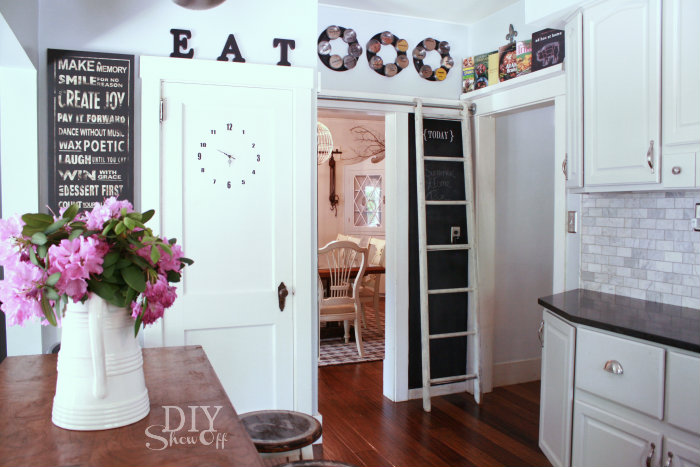
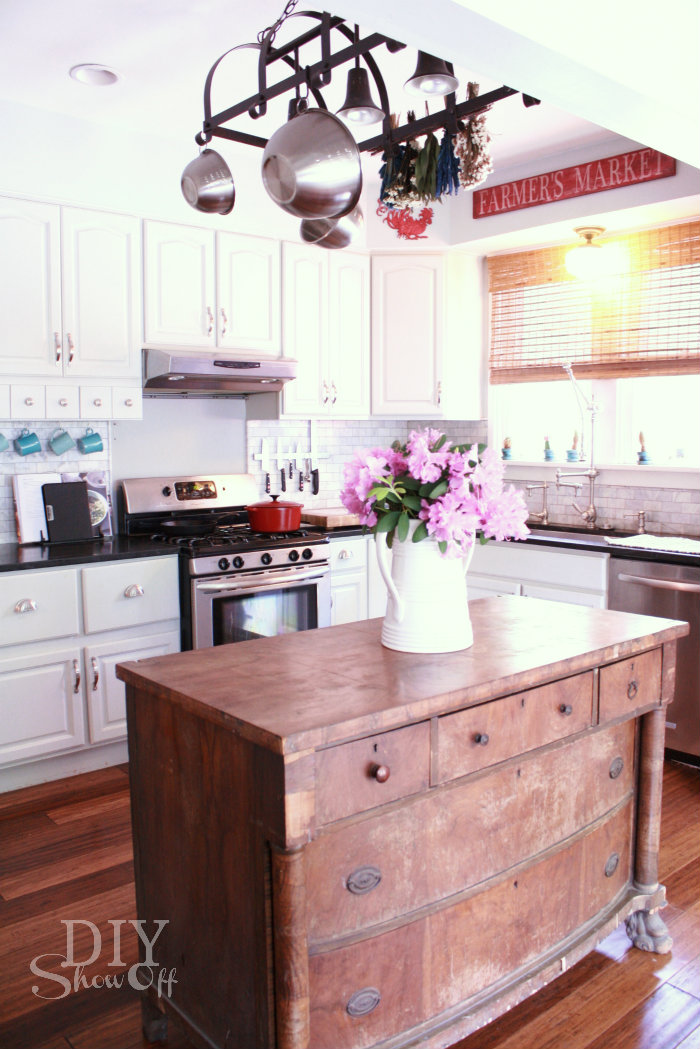
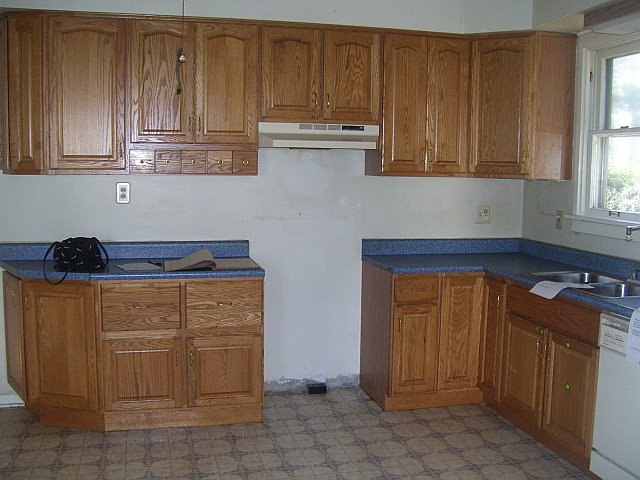
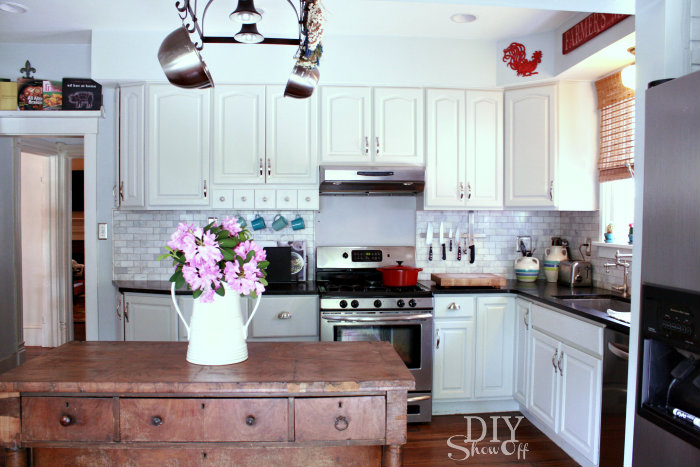
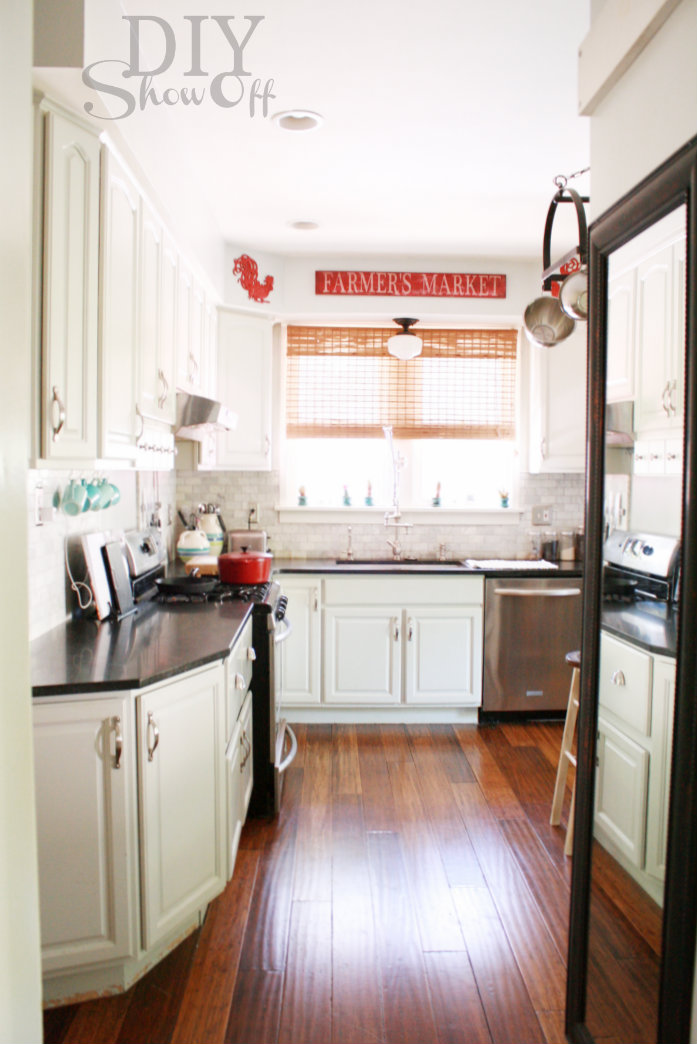
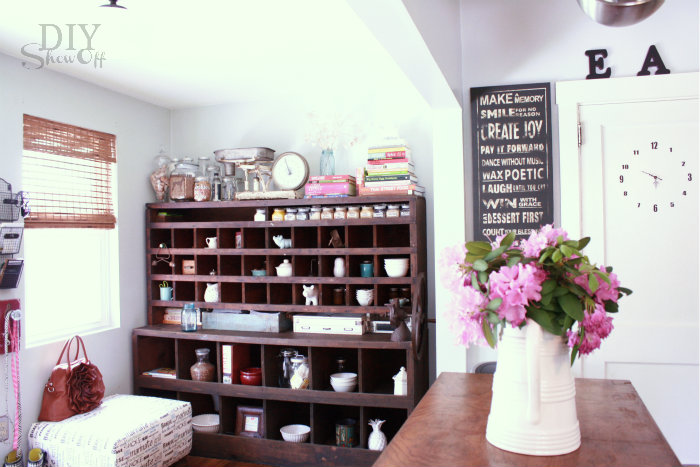
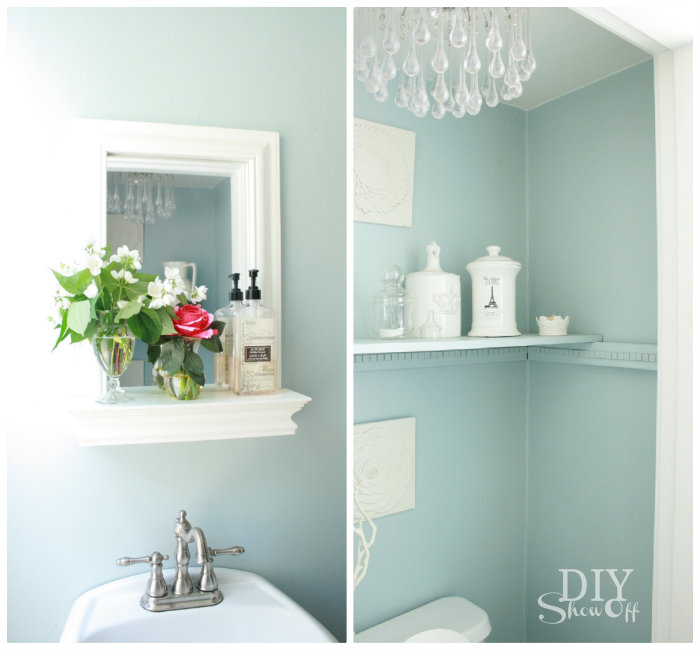
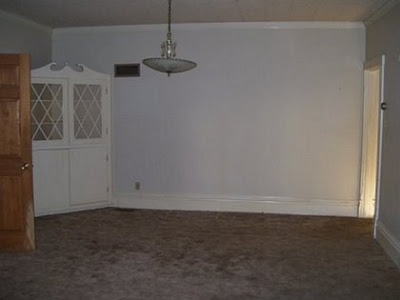
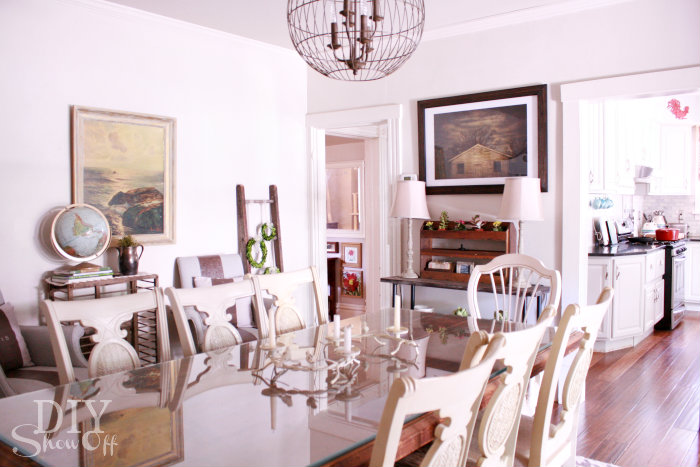
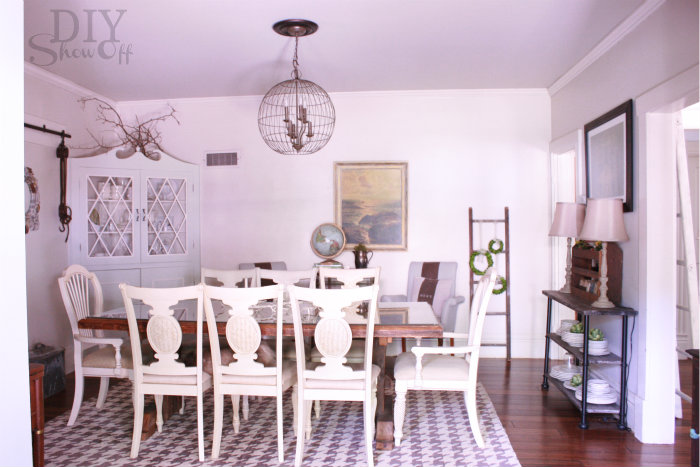
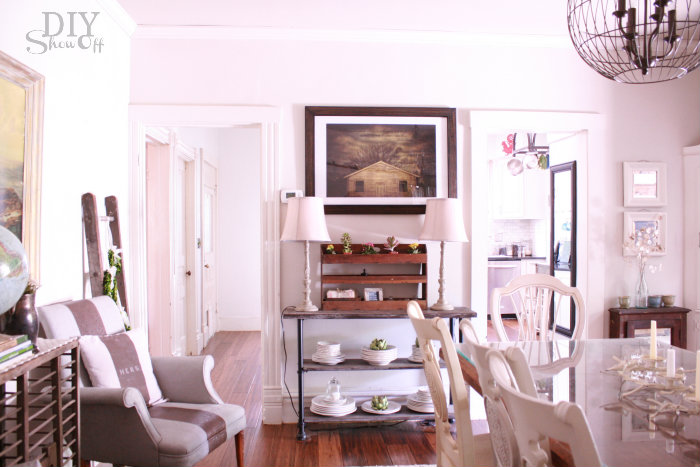
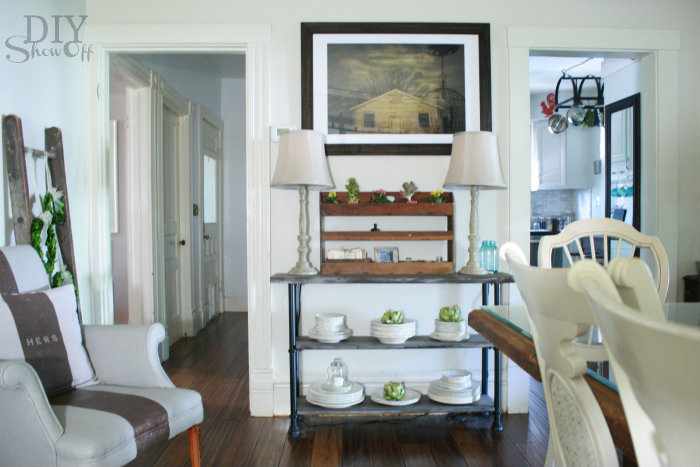
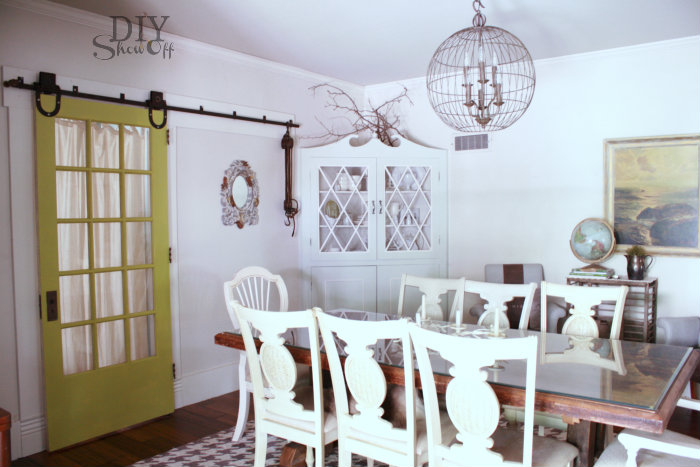
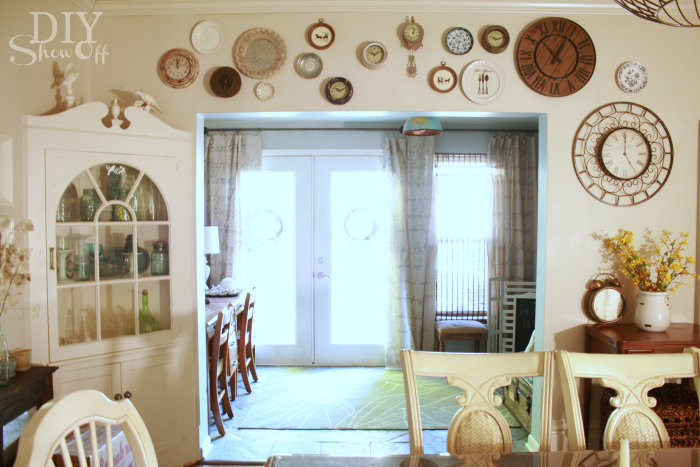
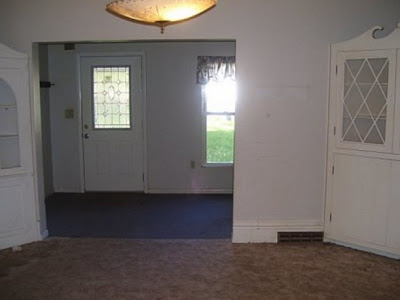
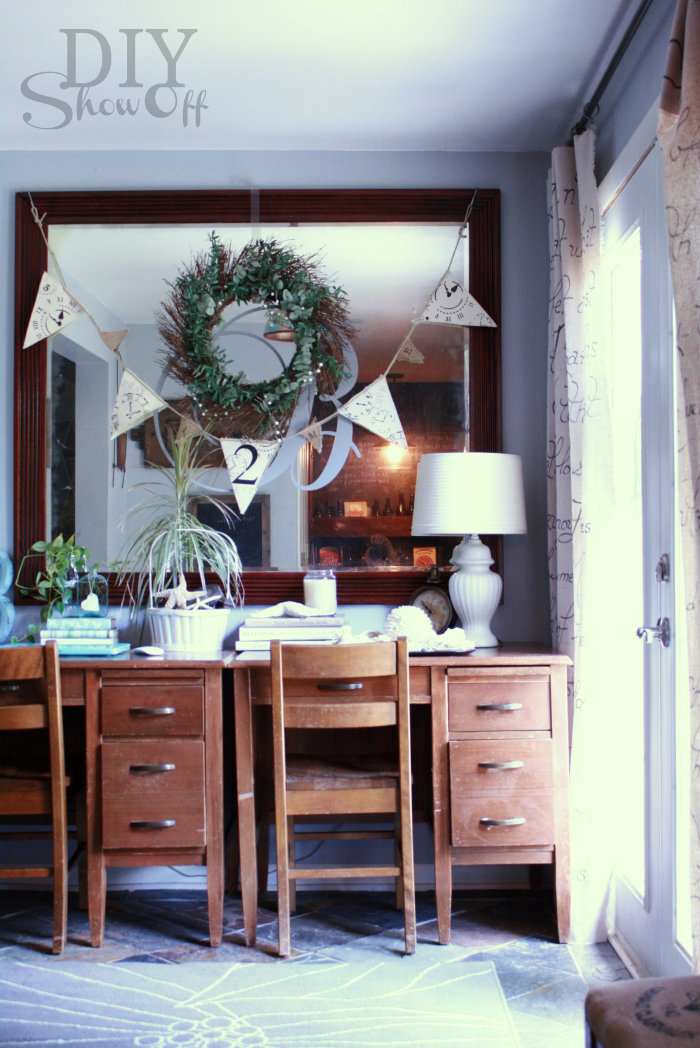
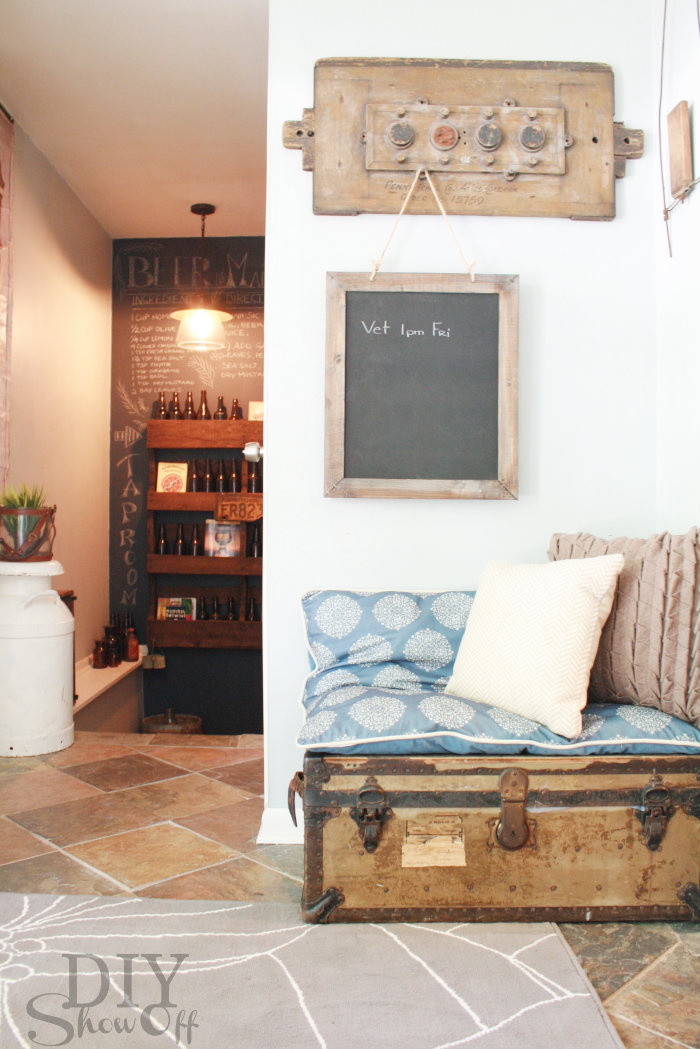
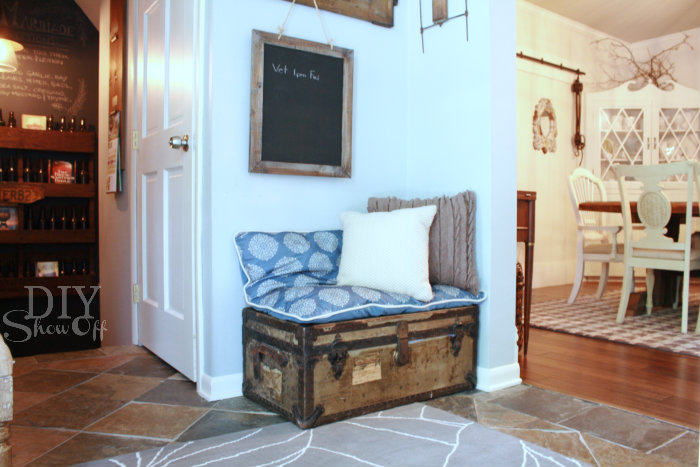
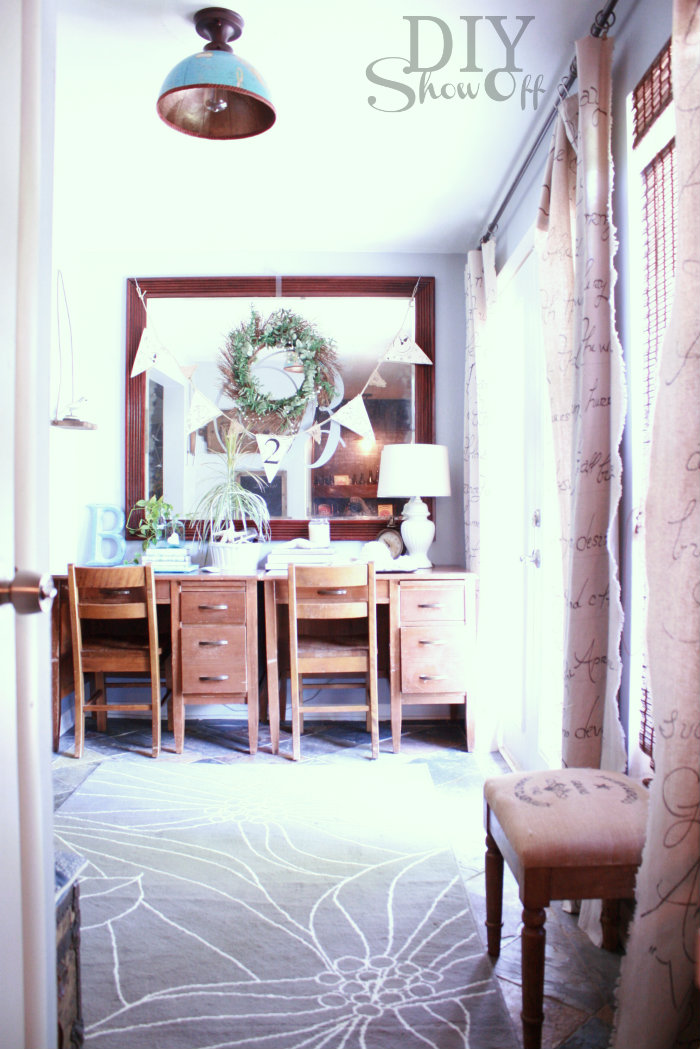
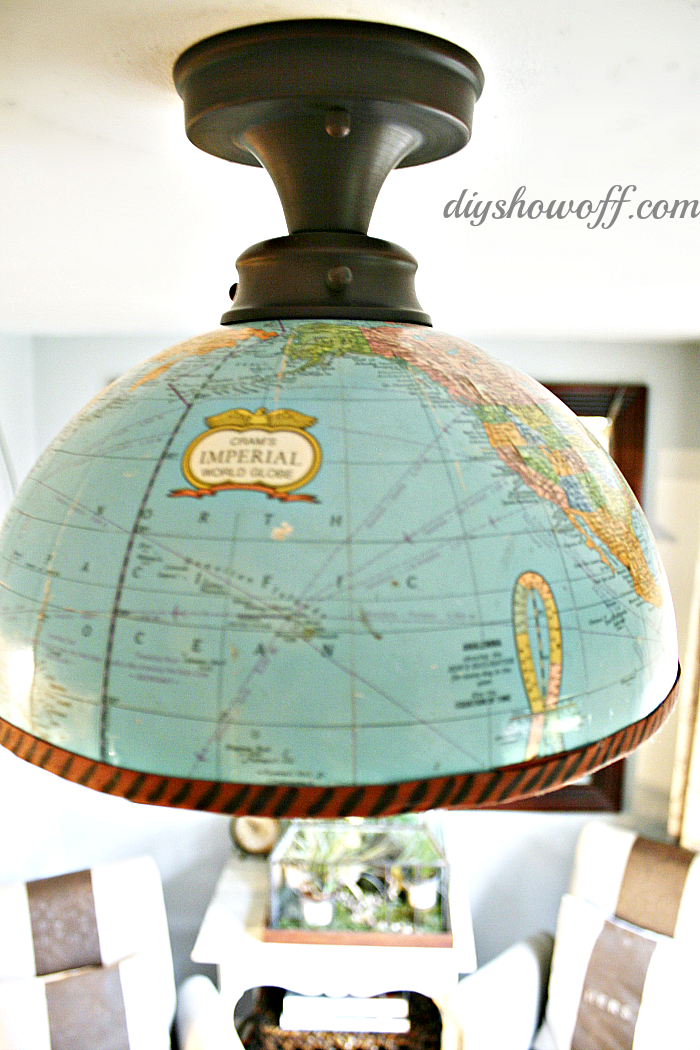
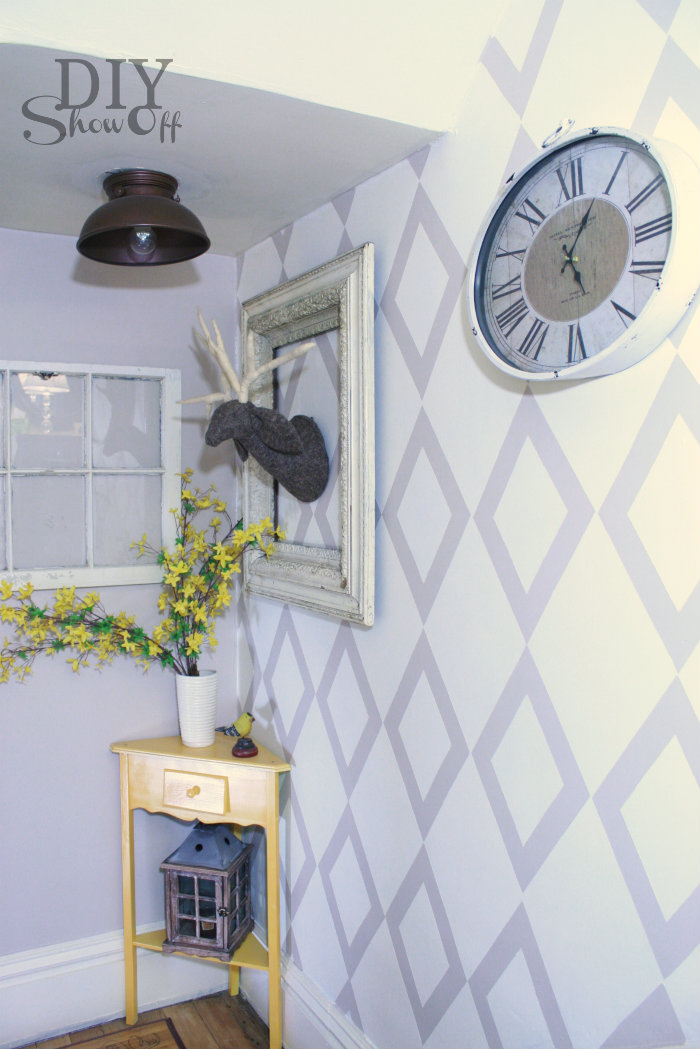
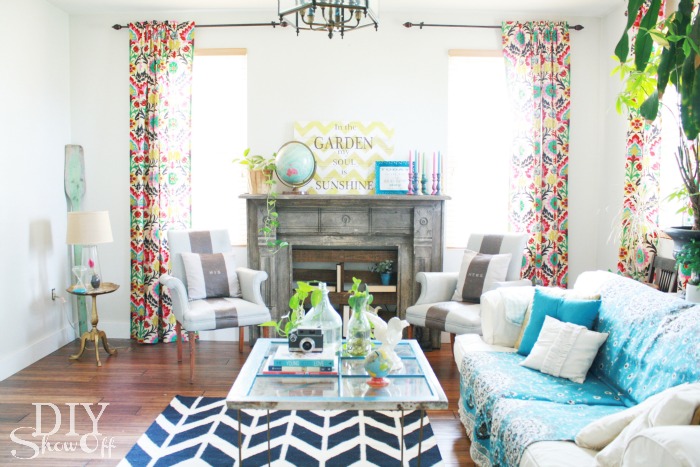
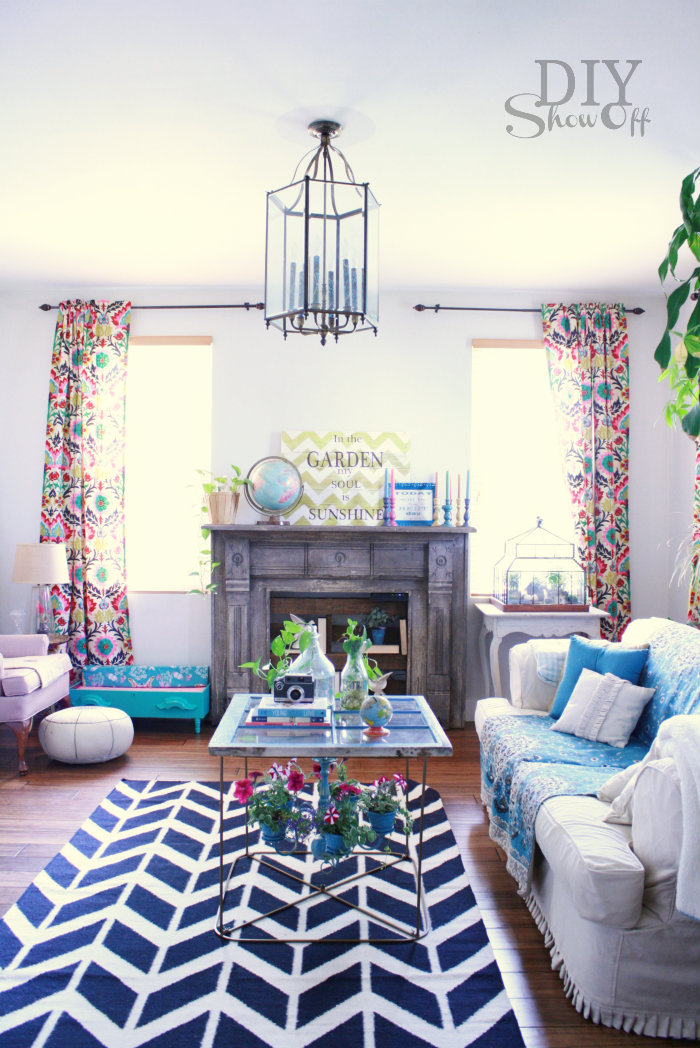
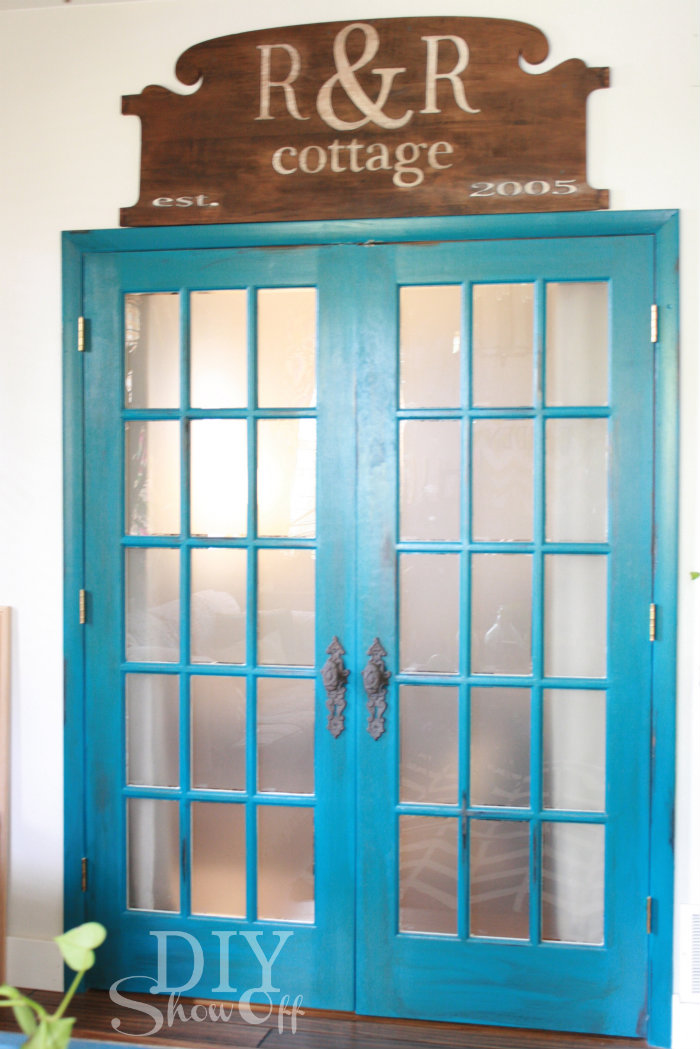
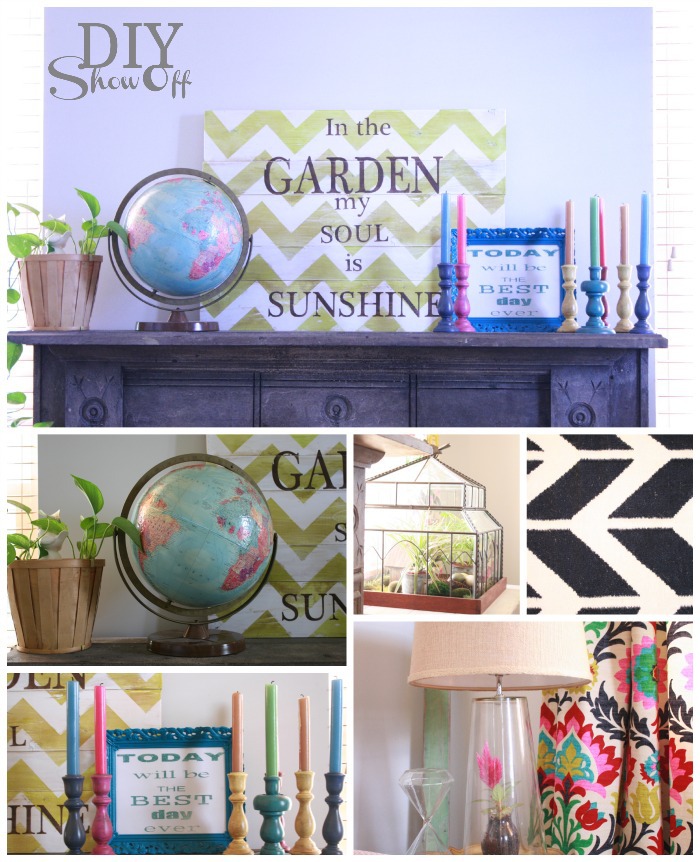
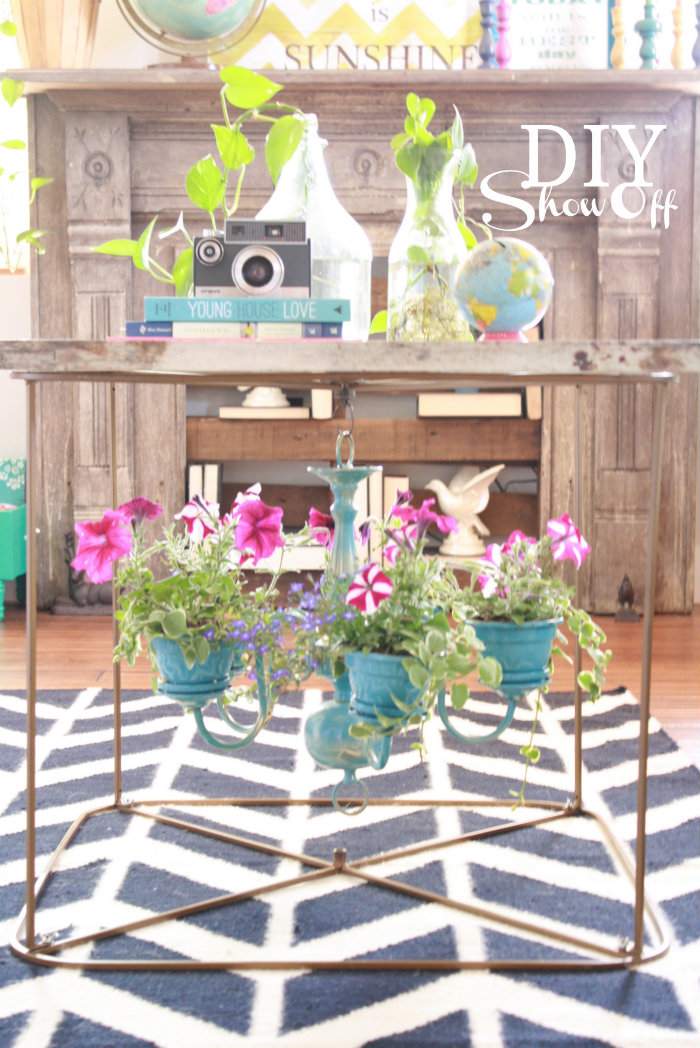
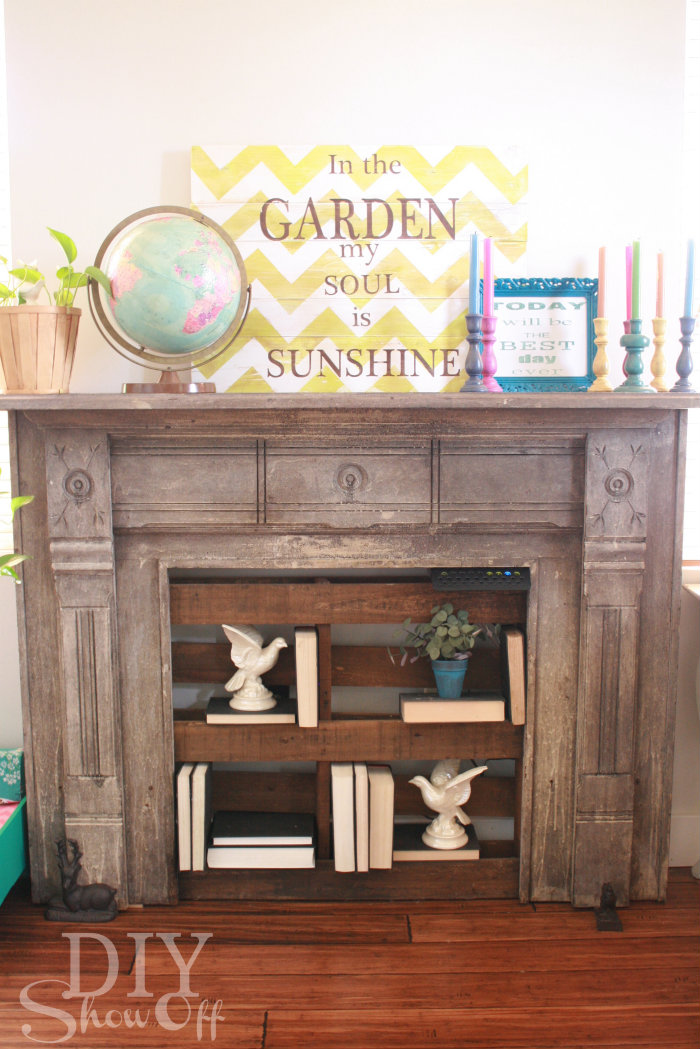
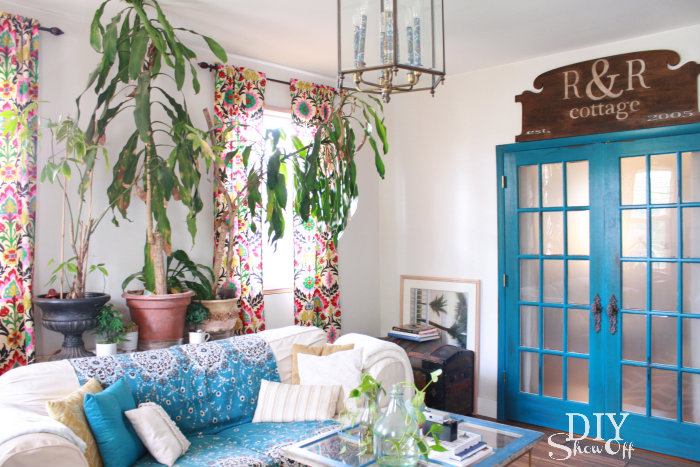
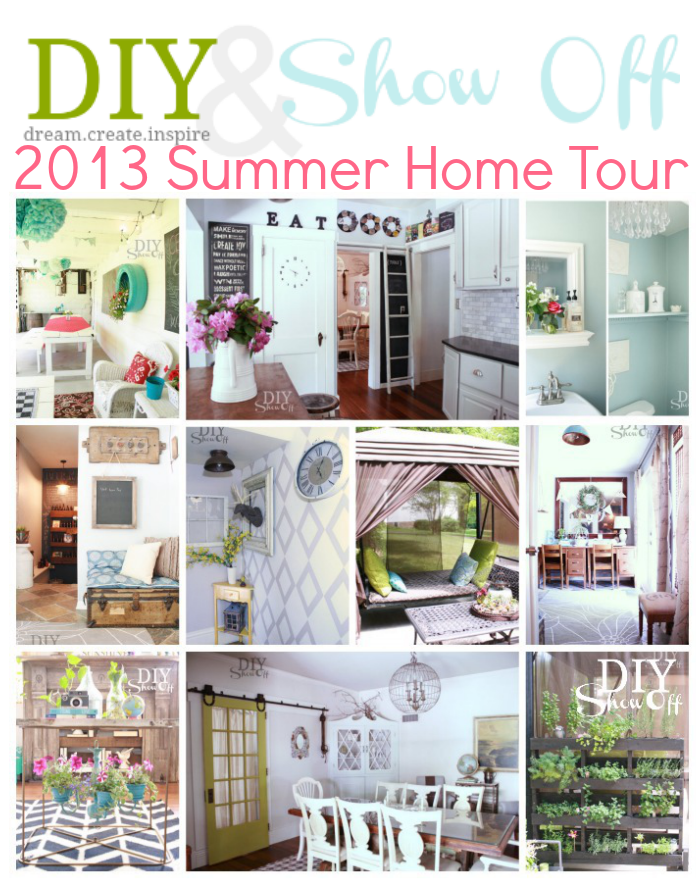
This is a post I’d love for you to click over to and check out. I spent the day cleaning for my online guests and share a few new sneak peeks of our home right now. I am super excited to be participating in the Summer Tour of Homes. Did you follow along to see a total of 26 blogger homes PLUS the awesome party link ups all ready for summer?

DIYShowOff Summer Home Tour

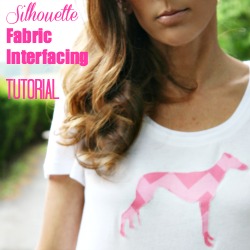
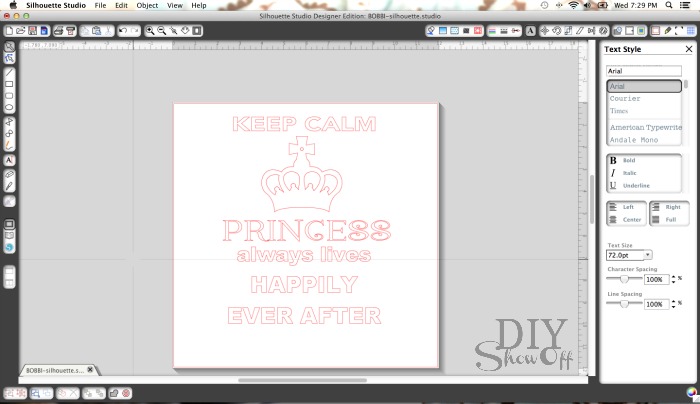
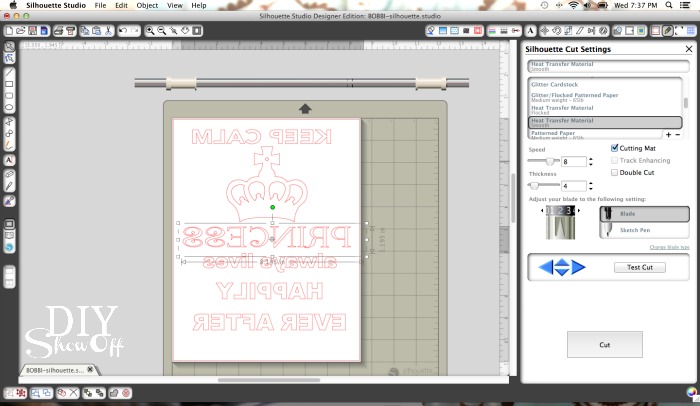
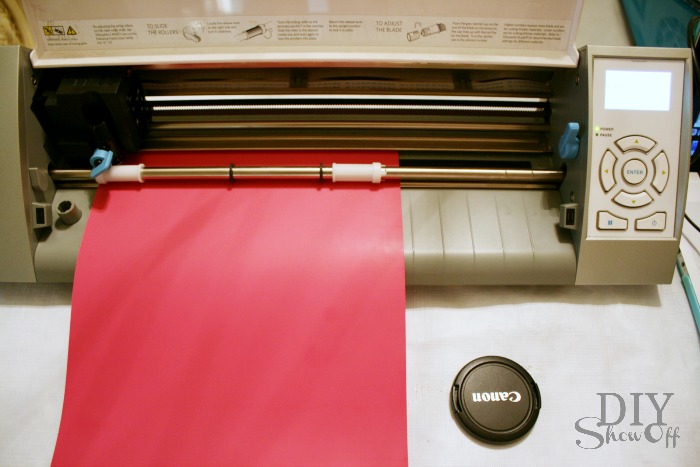
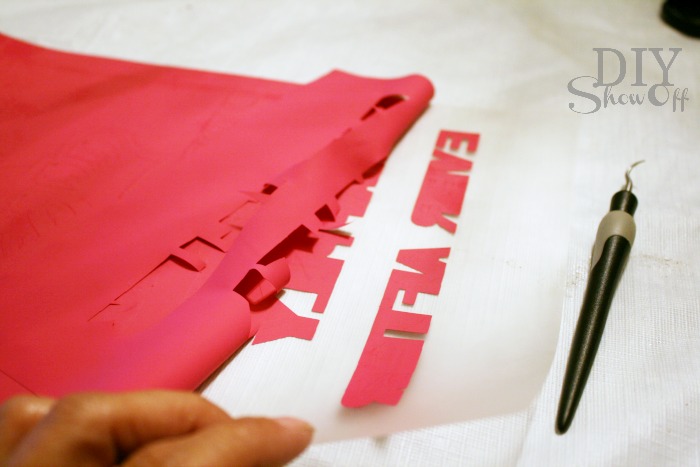
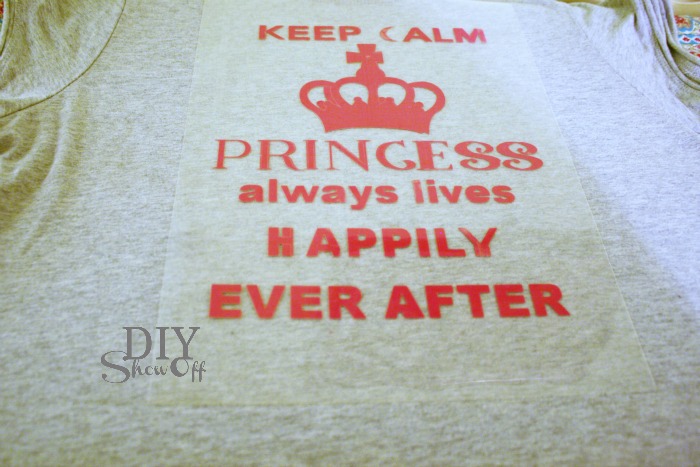
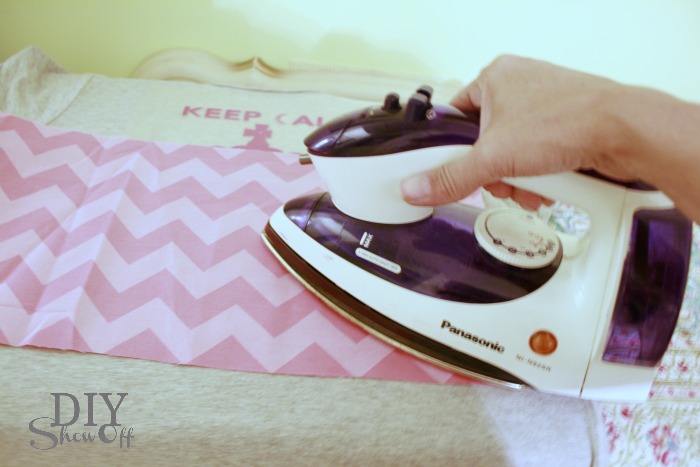
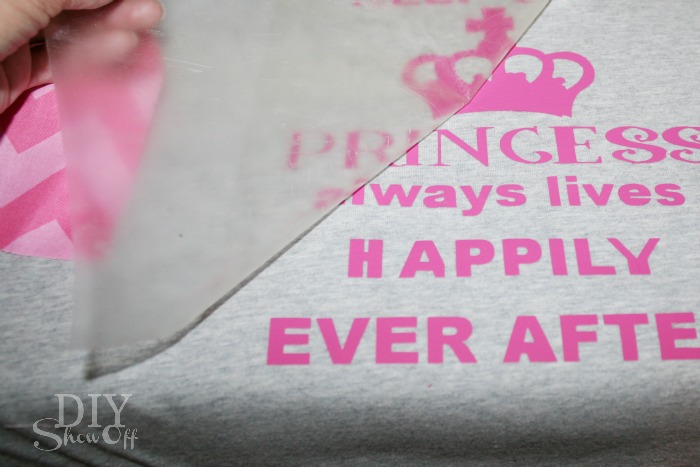
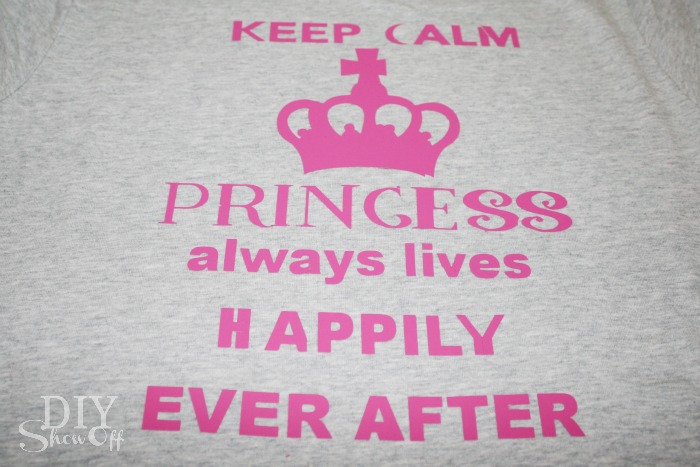
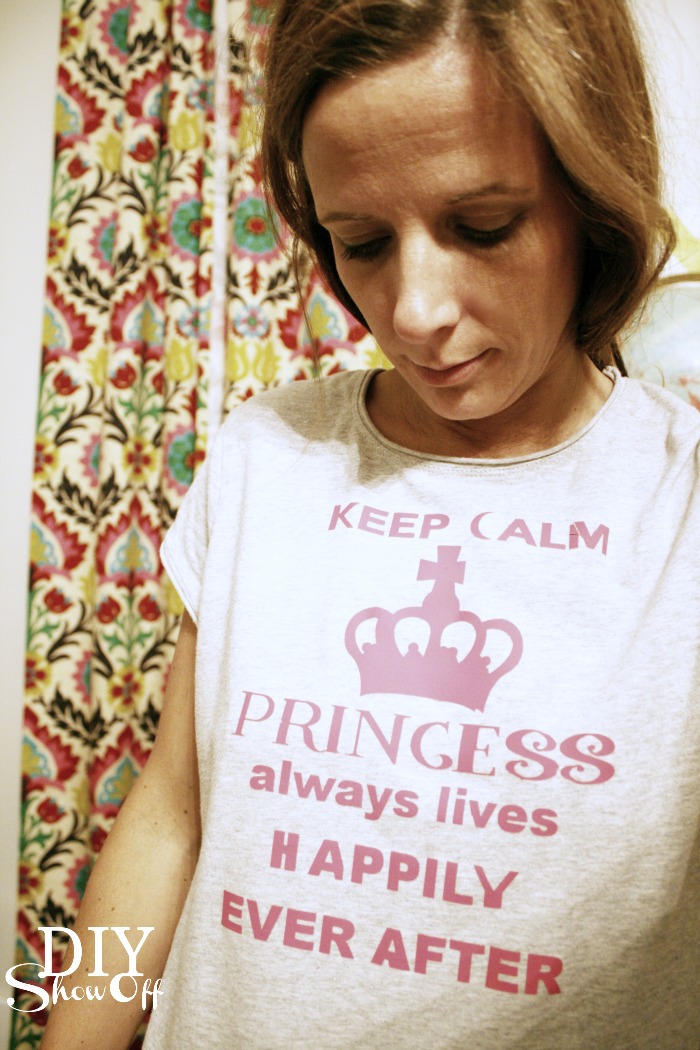
Silhouette Heat Transfer tutorial and a re-assuring message on a t-shirt for my sister (as well as a Silhouette Portrait giveaway that ends Sunday 6/9 at midnight).

breast cancer tshirt

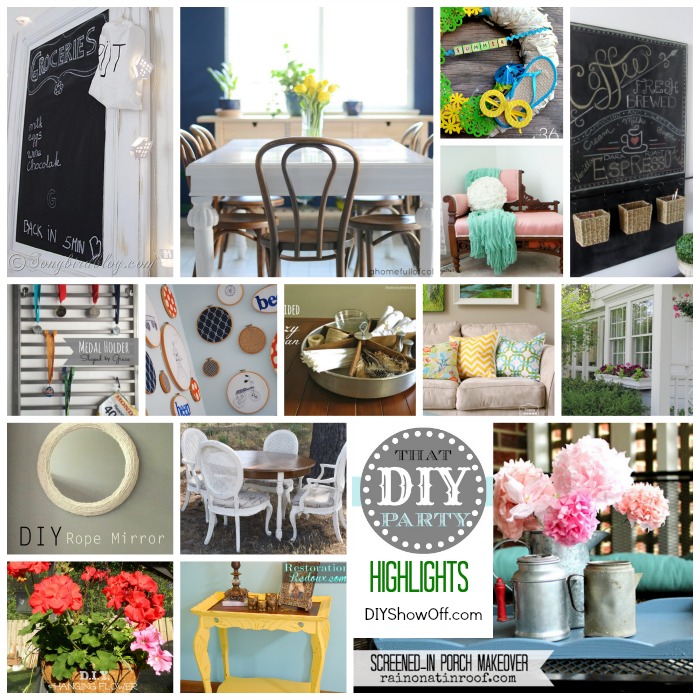
SHOWING OFF:  Here are some highlights from last week’s DIY party for some summer time DIY inspiration.
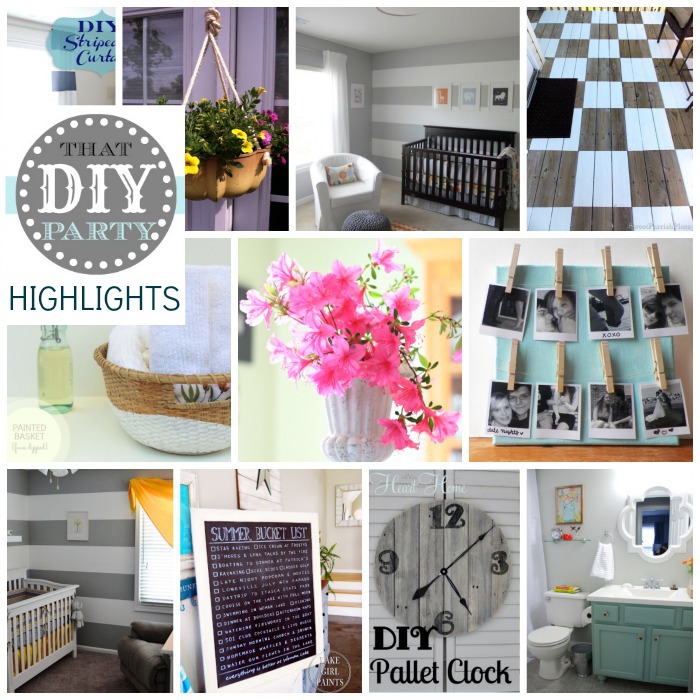
DIY Highlights 19

~Awesome Rooms~

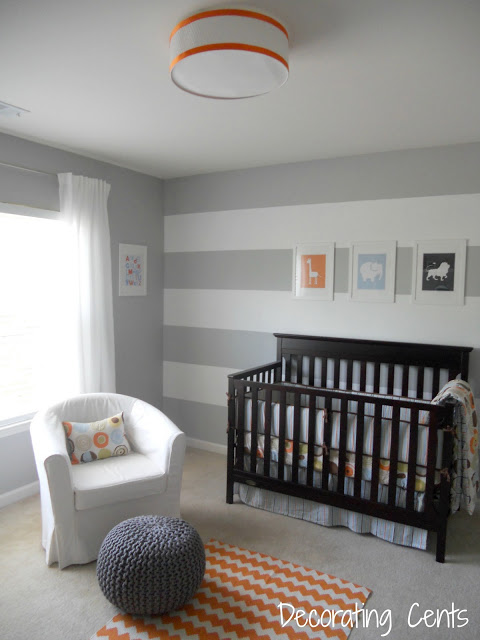
Awe! Andrea shared her precious little guy’s sweet nursery reveal at Decorating Cents, filled with lots of love and DIY.

nursery reveal at Decorating Cents

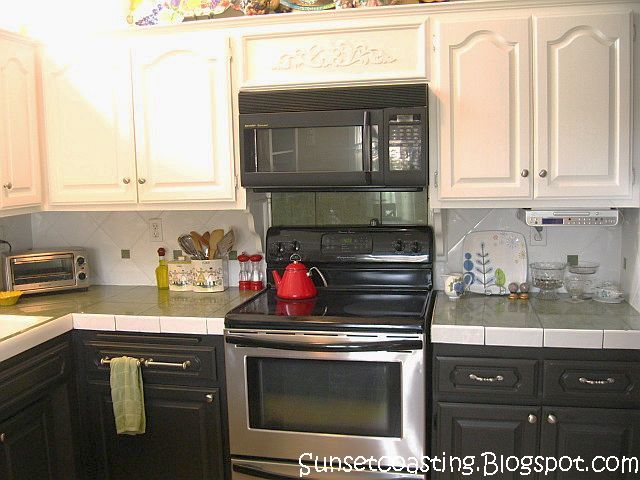
I can’t get enough of painted kitchen cabinets before and after. Check out Cindy’s beautiful two-toned kitchen cabinet transformation at Sunset Coast.

black and white-kitchen-cabinets at Sunset Coast

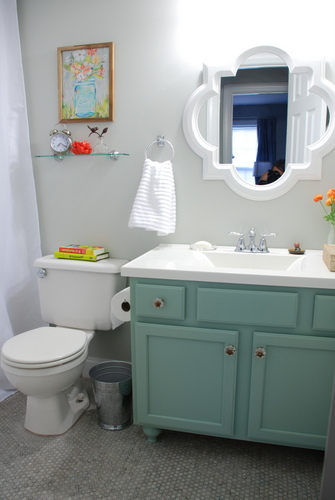
Paige’s bathroom before and after at Lively Green Door is gorgeous! I love the vanity and entire fresh new look.

bathroom makeover at Lively green Door

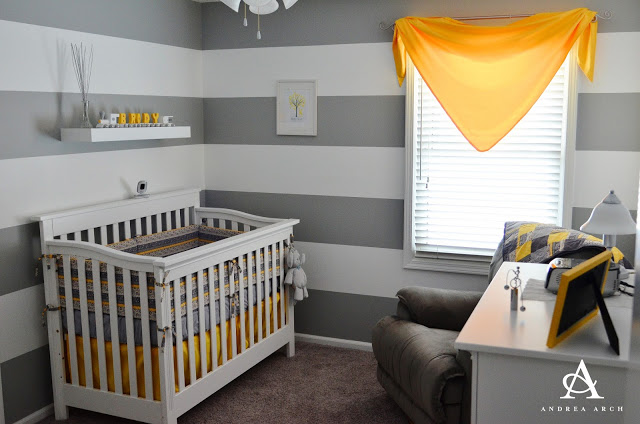
Andrea’s gender neutral nursery is adorable! Gray and yellow is such a great color combination. Lots of DIY and tips on painting horizontal stripes at Arch.

Arch striped nursery reveal

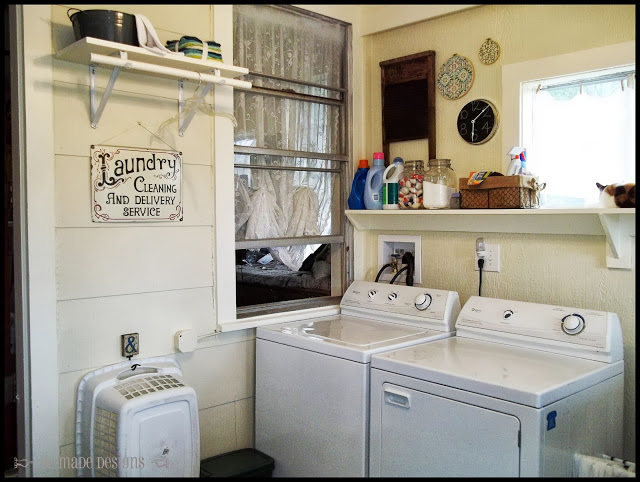
Unbelievable laundry room at Be Made Designs. Whoa! It’s awesome!

laundry room makeover at BeMadeDesigns

~Fab Furniture~

Industrial and rustic, this how to make a plumbers pipe bench at DIO Home Improvements just got added to my DIY to-do list. Love it, Dria!

howtoplumbingpipebench at DIO

~Amazing Accents~

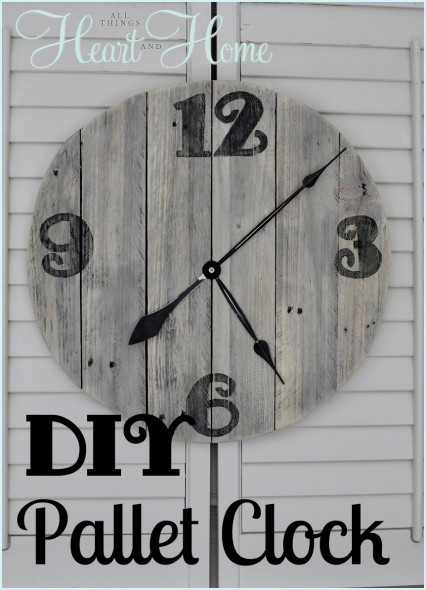
Robin’s DIY pallet clock at All Things Heart and Home is awesome. Big, pallet, DIY. So cool!

DIY-Pallet-Clock All Things Heart and Home

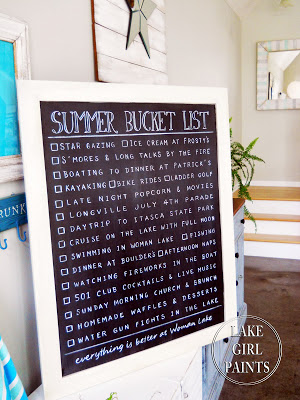
This DIY summer bucket list at Lake Girl Paints is such a great summer project…so fun! Check out her great tip for transferring lettering.

Chalk Summer Bucket List framed Art at Lake Girl Paints

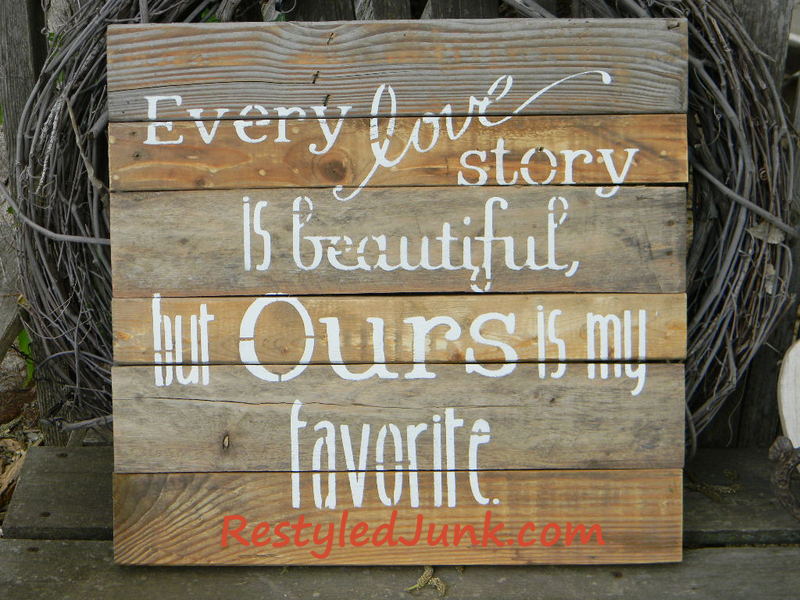
Did you see this beautiful DIY stenciled wood plank sign at Restyled Junk? I’m in love.

stenciled plank sign at Restyled Junk

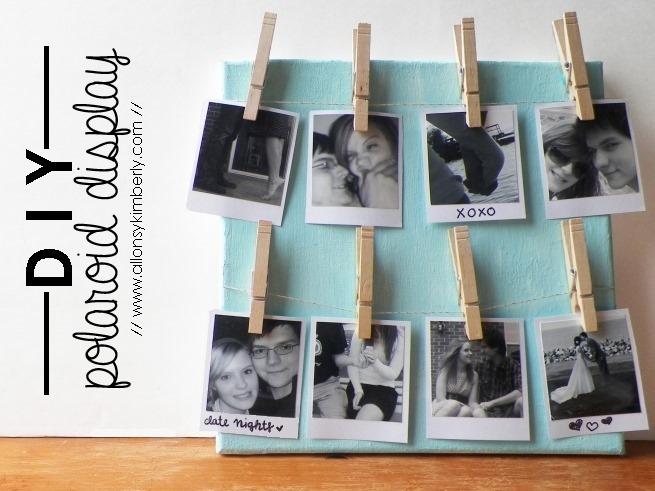
Looking for a cute DIY photo display project? This DIY polaroid display at Allons-y Kimberly looks like an easy and fun one to add to your summer craft list. Great way to display any photos or cards.

diy polaroid display at AllonsyKimberly

Fun bold curtains are one of my favorite decorative accents. I’m loving Leslie’s DIY wide striped curtains at Paper Daisy Designs. The perfect “jewelry” for her beautiful eclectic media room.

DIY striped curtains at Paper Daisy Designs

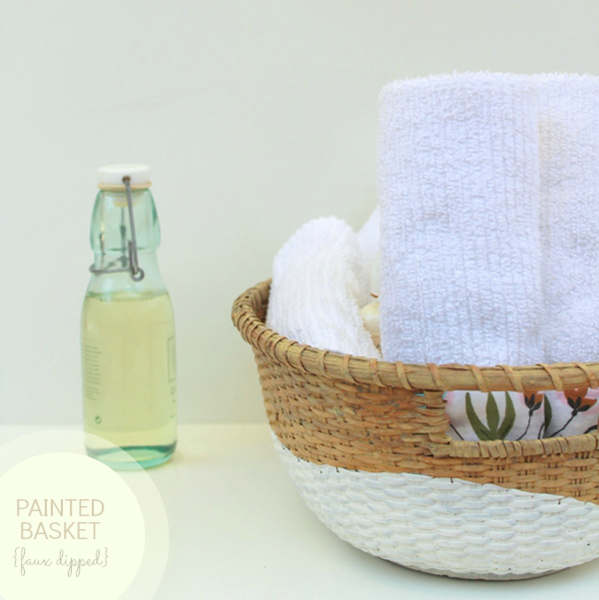
Carolyn’s faux dipped basket at Homework is a great easy, quick and sooo cute DIY project…sometimes it’s the little things that make a big difference.

faux dipped basket at Homework Blog

~Outdoor Projects~

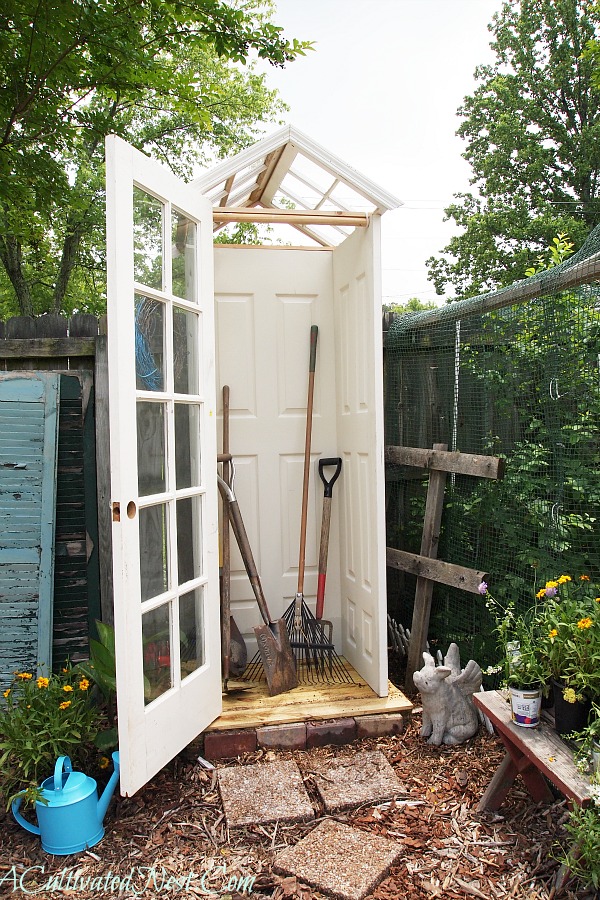
Manuela shares her awesome DIY garden shed at A Cultivated Nest. My garden tools  (propped up against a barn wall) are envious. Yes, so am I. Lovely, isn’t it?

diy garden shed at A Cultivated Nestdiy garden shed at A Cultivated Nest

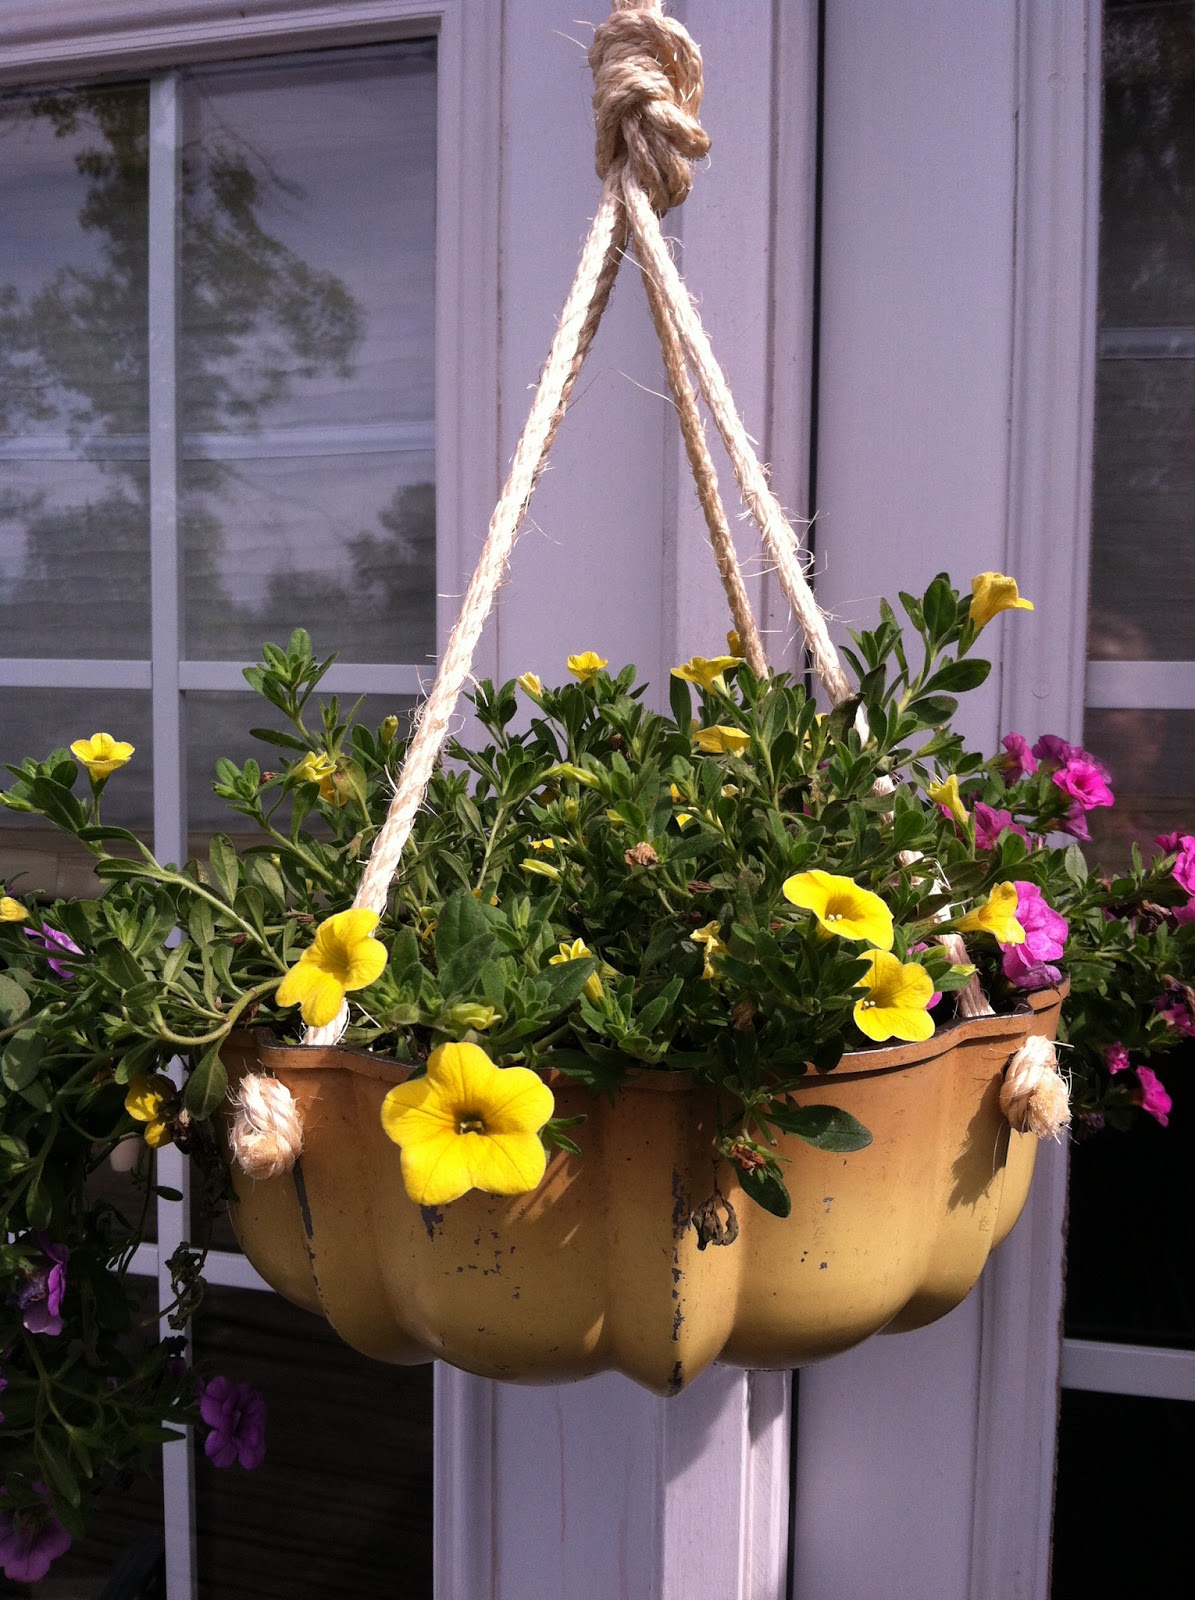
Tricia’s bundt pan flower planter at Upcycled Stuff is adorable and so clever!

Bundt Planter at Upcycled Stuff

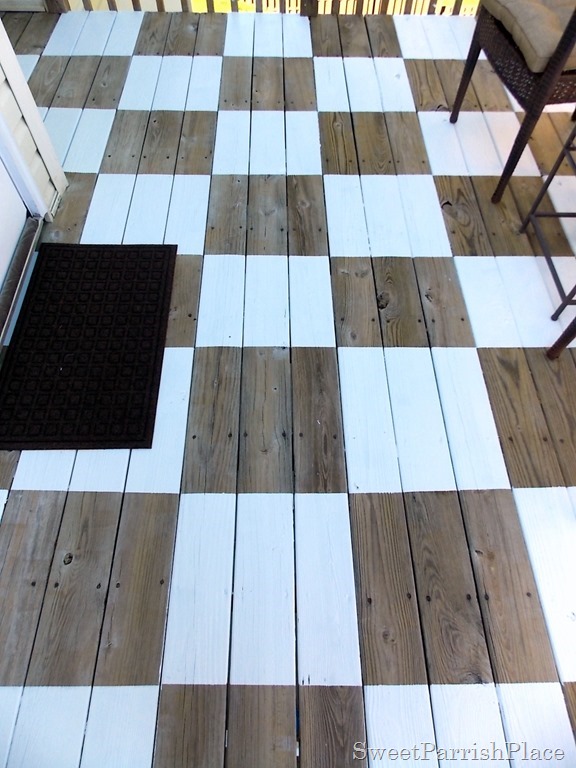
Wow! I love Nicki’s awesome DIY checkerboard painted deck at Sweet Parrish Place. So fun and inspiring!

painted deck at Sweet Parrish Place

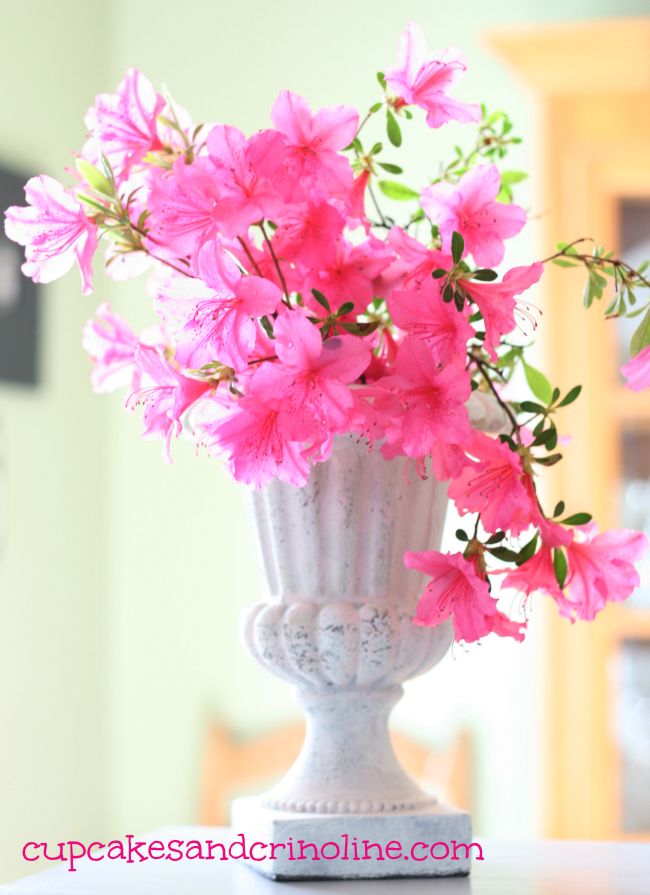
A truly beautiful garden tour by Mary Beth at Cupcakes and Crinoline, so much flowering eye candy!

garden tour at Cupcakes and Crinoline

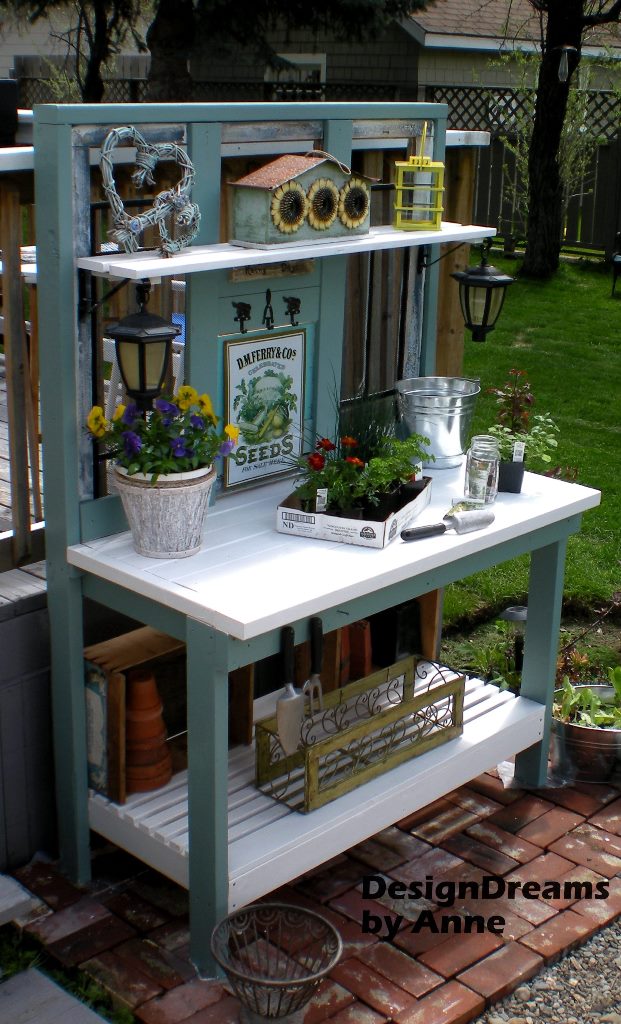
Wow! Amazing DIY potting bench at Design Dreams by Anne. Anne, you did a fantastic job!

diy potting bench at Design Dreams by Anne

~Tips & Tricks~

I don’t even have a granite sink but maybe you do. Check out Terry’s “how to easily clean a granite sink” at Forever Decorating. So helpful!

cleaning a granite sink at Forever Decorating

Pin Courtesy: Follow THAT DIY PARTY highlights Pinterest board with pins from the That DIY Party links every week to re-pin my pins linked to original party link sources.

thatdiyparty.pinboard

More DIY Highlights: Previous week’s DIY highlights if you missed them. So much creativity!

DIY Highlights

THAT DIY PARTY: Now let’s see what you’ve been up to!

DIY Show Off

<div align="center"><a href="https://diyshowoff.com/category/other/that-diy-party/" title="DIY Show Off"><img src="http://i899.photobucket.com/albums/ac195/Roeshel/thatdiyparty125button_zps360f71b1.jpg" alt="DIY Show Off" style="border:none;" /></a></div>

1. Please use the button above or text and link to this post to share the linky love. Here is the link: https://diyshowoff.com/category/other/that-diy-party/. I’m not one to double check and will feature your DIY project if I love it whether you linked back or not. However, I’d love for you to share a link, share on FB or by tweet or pin too! Invite your friends!

2. This blog linky party is for DIY projects only. Links not related to DIY will be deleted. Please share your link one week only.  Please do not link recipes, giveaways, linky parties, promotions or a collection of inspiration that isn’t your own DIY project. 

3. By joining the party, you give permission for your project to be featured and ‘shown off’ via blog highlight, Twitter, Facebook, Pinterest, G+ and the possibility of being featured on a new DIY feature site coming soon! 

4. If you’ve been featured, feel free to proudly display a DIY Show Off “I’m Featured Button” found here.


Silhouette Heat Transfer Tutorial

I recently shared a tutorial for Silhouette Fabric Interfacing which is great for creating fabric appliqués.

silhouette fabric interfacing tutorial

Silhouette’s heat transfer material is another great option, especially when you don’t want to sew around a larger design or a lot of lettering. As a member of the Silhouette affiliate program, I had the opportunity to try the Silhouette Heat Transfer Starter Kit. I was not paid to share this tutorial but did receive the starter kit and receive a small percentage of sales generated from this month’s Silhouette Sale when readers use code “SHOWOFF” at checkout at Silhouette America. Promotion ends June 15th.  Here are this month’s awesome deals:

Silhouette June Promo

If you’re a DIY Show Off social media fan, you may know that last year my mom battled breast cancer (doing great!) and just recently my younger sister was diagnosed with breast cancer. She is so brave and keeping a positive spirit. I’ve purchased her several fun t-shirts with sayings like “I pay my oncologist big bucks for this hair style.”, “Does this shirt make me look bald?” and “Save the Hooters.” She has a great sense of humor and is very social. She has a close group of friends who’ve nicknamed her “princess”. She also has an amazing sweet heart and her big concern right now is how others are affected by her diagnosis. So, I decided a “Keep Calm. Princess always lives happily ever after.” t-shirt would send a reassuring message to her social group. 

heat transfer starter kit

The Silhouette Heat Transfer Starter Kit comes with:

  • 3 sheets of smooth heat transfer material (9 in x 12 in of black, teal, dark pink)
  • 2 sheets of flocked heat transfer material (9 in x 12 in of white and yellow)
  • Silhouette hook
  • exclusive download card good for 10 heat transfer designs
  • idea booklet and instruction guide
  • instructional DVD

Silhouette Heat Transfer Tutorial

Tutorial: 

1. Download the heat transfer designs from the Silhouette online store. (I chose a design I already had on hand instead but love that bicycle!)

silhouette heat transfer shapes

2. Create design in the Silhouette Studio. 

silhouette studio keep calm princess

3. Right click on each individual element of the design and click “FLIP HORIZONTALLY” to create a mirror image. 

silhouette studio mirror

4. Send to cut. Choose Silhouette Heat Transfer (flocked or smooth…I used smooth).

silhouette heat transfer cut

5. Load paper shiny side down and adjust blade setting as recommended (2).

loading heat transfer paper

6. Cut and unload. 

7. Remove negative heat transfer. 

removing negative heat transfer

8. IMPORTANT: This is tricky with intricate designs and lettering. Be sure you’re in a well lit area so you can see the cut lines and utilize the Silhouette hook to remove small pieces of negative area when necessary. GO SLOW! 

I did remove some of what I shouldn’t have and had to improvise…let’s not dwell on my imperfections. If you have the extra materials, you may want to do a “practice run” before your true project, especially if it’s your first time and if you’re creating a gift. 

7. One side will be sticky with a backwards design. The other side is shiny and readable. 

8. Place heat transfer/transparency sticky side down onto shirt or tote or dish towel.

keep calm silhouette heat transfer

9. Iron using a towel or scrap fabric between the transparency and iron according to directions. 

ironing silhouette heat transfer

10. Slowly remove sticky/shiny transparency. (If some of the design is still stuck to the transparency, replace and iron again.)

silhouette heat transferring

Ta-da!

silhouette heat transfer starter kit

Imperfections and all, I think she’s going to like it! 

breast cancer tshirt

THIS GIVEAWAY HAS ENDED.  WINNER is Rachael from My Disorganized Life

How about a chance to win a Silhouette Portrait?

Silhouette Portrait giveaway

I excited to offer an opportunity to give one lucky DIY Show Off reader a Silhouette Portrait machine. Enter using the Rafflecopter widget below. Giveaway starts now and ends Sunday, June 9th. Winner will be chosen randomly and announced shortly after. Open to US residents only. Lots of chances to win!

a Rafflecopter giveaway

Need more info? Check out these helpful YouTube videos:

http://www.youtube.com/watch?v=qvpSG7DqdAY

http://www.youtube.com/watch?v=bA7jgv8BA-w

http://www.youtube.com/watch?v=DwuItoS5ZXY

http://www.youtube.com/watch?v=AYDCiH2HlMg

http://www.youtube.com/watch?v=VB2vHZoVvRE

http://www.youtube.com/watch?v=YVKuAIL9-pc

http://www.youtube.com/watch?v=1fGXW_8BbGQ

This project is sponsored by Silhouette America, who provided the heat transfer kit in exchange for a tutorial. Experience and opinions are my own. Sales generated from this post using code “showoff” earn me a small percentage of sales (thank you!) and Silhouette is providing a Silhouette Portrait to one lucky DIYShowOff reader (good luck!). Prize includes a Silhouette Portrait only and ships directly from Silhouette America. Other Silhouette materials are the responsibility of the winner.

Summer Home Tour

Welcome to the Summer Tour of Homes Day 2! If you’re following along and just popped over from visiting Emily’s gorgeous home at Decor Chick, welcome guests!

Summer Tour of Homes

I’m so excited to participate in Day 2 of the Summer Tour of Homes hosted by Gina at the Shabby Creek CottageIt’s my favorite time of year! Longer days for productivity and lots of DIY.

DIYShowOff Summer Home Tour

Are you ready for LOTS of pictures? I hope so! summer chalkboard

Most of our summer is spent outdoors. We do a lot of summer entertaining, hosting BBQs and family cook-outs. So making our outdoor areas pretty is where our tour begins…

barn patio

We have a bank barn which we use for storage (much like a huge garage), but the bottom part opens up into our BIG party gathering space in the summer where we can set up volley ball in the yard and sit around a bon fire.

teeny tiny scary before picture…

barn before

The barn patio area provides a covered space for setting up a picnic buffet for entertaining or a quiet place for relaxing. Improvements are still on the DIY ‘to-do’ list but you can see it’s a big improvement already. This area has been a great location for grad parties, a co-ed baby shower BBQ, a fashion photo shoot, family reunions, picnics and cook outs.

barn patio makeover

outdoor entertaining

outdoor living

party patio

barn party patio

red and turquoise patio

Sources: DIY painted foam playmat art tutorial, tire planter tutorial coming soon, DIY tissue paper poufs and banner, old weathered door/barrel buffet, spray-painted accessories (Rustoleum Lagoon), turquoise crocheted accent pillow (Target), red petunias, outdoor area rug (Better Homes & Gardens, WalMart), red accent pillows (Target), blue mason jar vase, red outdoor fabric table cloth (Kmart), DIY framed chalkboard. 

The patio off the back of our home also got a mini-makeover last month with some cleaning, refreshening accents with some spray paint, some re-arranging, flowers and a few new decorative touches…

(see the before the patio and installation)

before

patio-before

patio makeover

patio-makeover

patio makeover

The patio swing was looking a little tired and inspired an outdoor swing/daybed makeover patio daybed

My hubby’s favorite hobby is cooking and having fresh herbs near the French doors to the kitchen is convenient. Decorative and functional with our free standing pallet herb garden

free standing pallet herb garden

patio accents

One of the things I loved about the property when we purchased our home was the mature huge grape arbor. It was very rickety but the grapes were plentiful…

before

grape arbor before

We rebuilt the framing and added a gazebo to the center…

grape arbor gazebo

This year we’re recycling a pile of old bricks for a paved walkway and seating area underneath the gazebo (more on that coming up this summer). Again, a work currently in progress, but check out those vines! LOVE!

grape arbor gazebo

It’s been a while since I’ve done a home tour. Things are mostly the same with some rearranging but here are some most recent pictures. Our house before was down right disgusting and scary but we saw past that to the potential…location, charm, character, size. But definitely a true fixer upper. 

kitchen (links to kitchen before/after, more pictures, DIY door clock tutorial, spice loft, sliding ladder, marble subway tiled backsplash how-to, painting cabinets, cook book library, etc.)

farmhouse kitchen makeover

kitchen tour

before

kitchen before

 after…

farmhouse kitchen

farmhouse kitchen tour

eclectic farmhouse kitchen

eclectic kitchen tour

The French doors lead right to our patio. It’s so convenient for entertaining and hosting BBQs. The sun sets on the other side of the house so evenings are shaded and comfortable. Perfect for alfresco summer dining. 

before…

farmhouse kitchen before

farmhouse kitchen before

now…DIYShowOff kitchen tour

powder room before and after

powder room

dining room

before

dining room before

now…

diningroom tour

diningroom makeover

DIYShowOff diningroom

farmhouse dining room

eclectic dining room

DIYShowOff dining room

I’m always re-arranging the sitting room. It’s gets a makeover about once a month. It’s an ever changing multi-functional space. Sometimes it’s a sitting room, sometimes a dining area or mudroom.

before

sitting room before

This month, it’s a small office/work space…

office space eclectic hallway DIYShowOff Home Tour sitting room

DIY: no sew script drop cloth curtains, wall mounted pallet shelf, French doors, slate floors, pet gate, globe light fixture cover.

half-globe-light-cover

Our stairway landing hasn’t changed at all. I just love it the way it is. For now.

stair landing

And the family room is still a work in progress so these are a bit of a reveal since I haven’t shared little things in this room before, but fun DIY art and lots of color adds a touch of summer…

family room

Still a lot of DIY planned for this room!

DIYShowOff family room tour.jpg

headboard door pediment tutorial

turquoise french doors.jpg

family room accents.jpg.jpg

DIY chevron garden sign, painted thrift store candlesticks, Today will be the Best Day sign, DIY curtains (fabric is Waverly Santa Maria Desert Flower), window/chandelier coffee table, and a DIY chandelier planter tutorial coming soon.

chandelier planter.jpg

eclectic family room makeover.jpg

free standing fireplace surround with pallet shelving faux fireplace with pallet shelving

eclectic family room tour.jpg

Last but not least, even CocoRosie, our Italian Greyhound, enjoys the summer weather with her shaded dog bed

DIY shaded dog bed

Whew! Lots to see, right? Thanks for sticking around if you made it through it all! You can see more room by room before/after and DIY at the DIY Show Off Home Tour

Are you all set for summer? Don’t forget to link up your summer home tour on Friday, June 7th at the Shabby Creek Cottagesummer-tour-of-homes-schedule

DAY 1 (June 3rd)

2 – The Nester @ Nesting Place
3 – Mandi @ Vintage Revivals
5 – Ashley @ The Handmade Home
6 – Kristin @ The Hunted Interior
 

DAY 2 (June 4th)

1 – Beckie @ Infarrantly Creative
3 – Chris @ Just a Girl
4 – Brooke @ All Things Thrifty
5 – Karen @ The Graphics Fairy
6 – Emily @ Decor Chick
7 – Roeshel @ DIY Show Off
 

DAY 3 (June 5th)

1 – Melissa @ The Inspired Room
2 – Wendy @ The Shabby Nest
3 – Donna @ Funky Junk Interior
4 – Marianne @ Songbird
7 – Brittany@ PrettyHandyGirl
 

DAY 4 (June 6th)

1- Rhoda @ Southern Hospitality
2- Traci @ Beneath My Heart
3-Stacy @ Not Just a Housewife
4-Jen @ Jennifer Rizzo
5-Lindsay @ Makely Home
6-Sandra @ Sawdust Girl